Why Your Painted Greens Look Fake (And How to Finally Fix It)
I’ve spent more than two decades with a brush in my hand, mostly working in oils, and I can tell you this: if there’s one color that separates a new painter from an experienced one, it’s green. I’ll never forget one of my first serious landscapes. The composition was solid, but the fields looked like they were molded from shiny plastic. My greens were just… flat, bright, and totally lifeless.
In this article
- First, Let’s Talk About Why Paint Behaves This Way
- Your Green-Mixing Toolkit: The Essential Palette
- The Four Foundational Mixes You Need to Know
- The 30-Minute Exercise That Will Change Your Painting
- The Real Secret: Taming Your Greens with a Touch of Red
- Common Problems and Easy Fixes
- Galerie d’inspiration
An older artist I shared a studio with came over, glanced at my canvas, and without saying much, picked up my palette knife. He scooped a speck of Cadmium Red—a tiny, almost invisible amount—and pulled it into my main puddle of green. Instantly, the color transformed. It softened, it deepened, and it suddenly looked real. That one simple move taught me more than any book ever had. Green isn’t just blue mixed with yellow. It’s a complex color that often needs its opposite to come alive.
So, this isn’t about some secret formula. It’s about the practical stuff I’ve learned from thousands of hours at the easel. We’ll look at why your pigments behave the way they do, how to control them, and how to dodge the common mistakes that leave you with muddy or toy-like results. Honestly, mastering green is a journey of observation, and it all starts with what you choose to squeeze onto your palette.
First, Let’s Talk About Why Paint Behaves This Way
Before we start mixing, you gotta understand what’s happening in the paint itself. When you see a green leaf in your yard, your eye is seeing the light that the leaf didn’t absorb. In painting, we’re faking that process with pigments. When you mix blue and yellow paint, you create a substance that absorbs the red and violet light, leaving only the green light to bounce back to your eye. Simple enough, right?
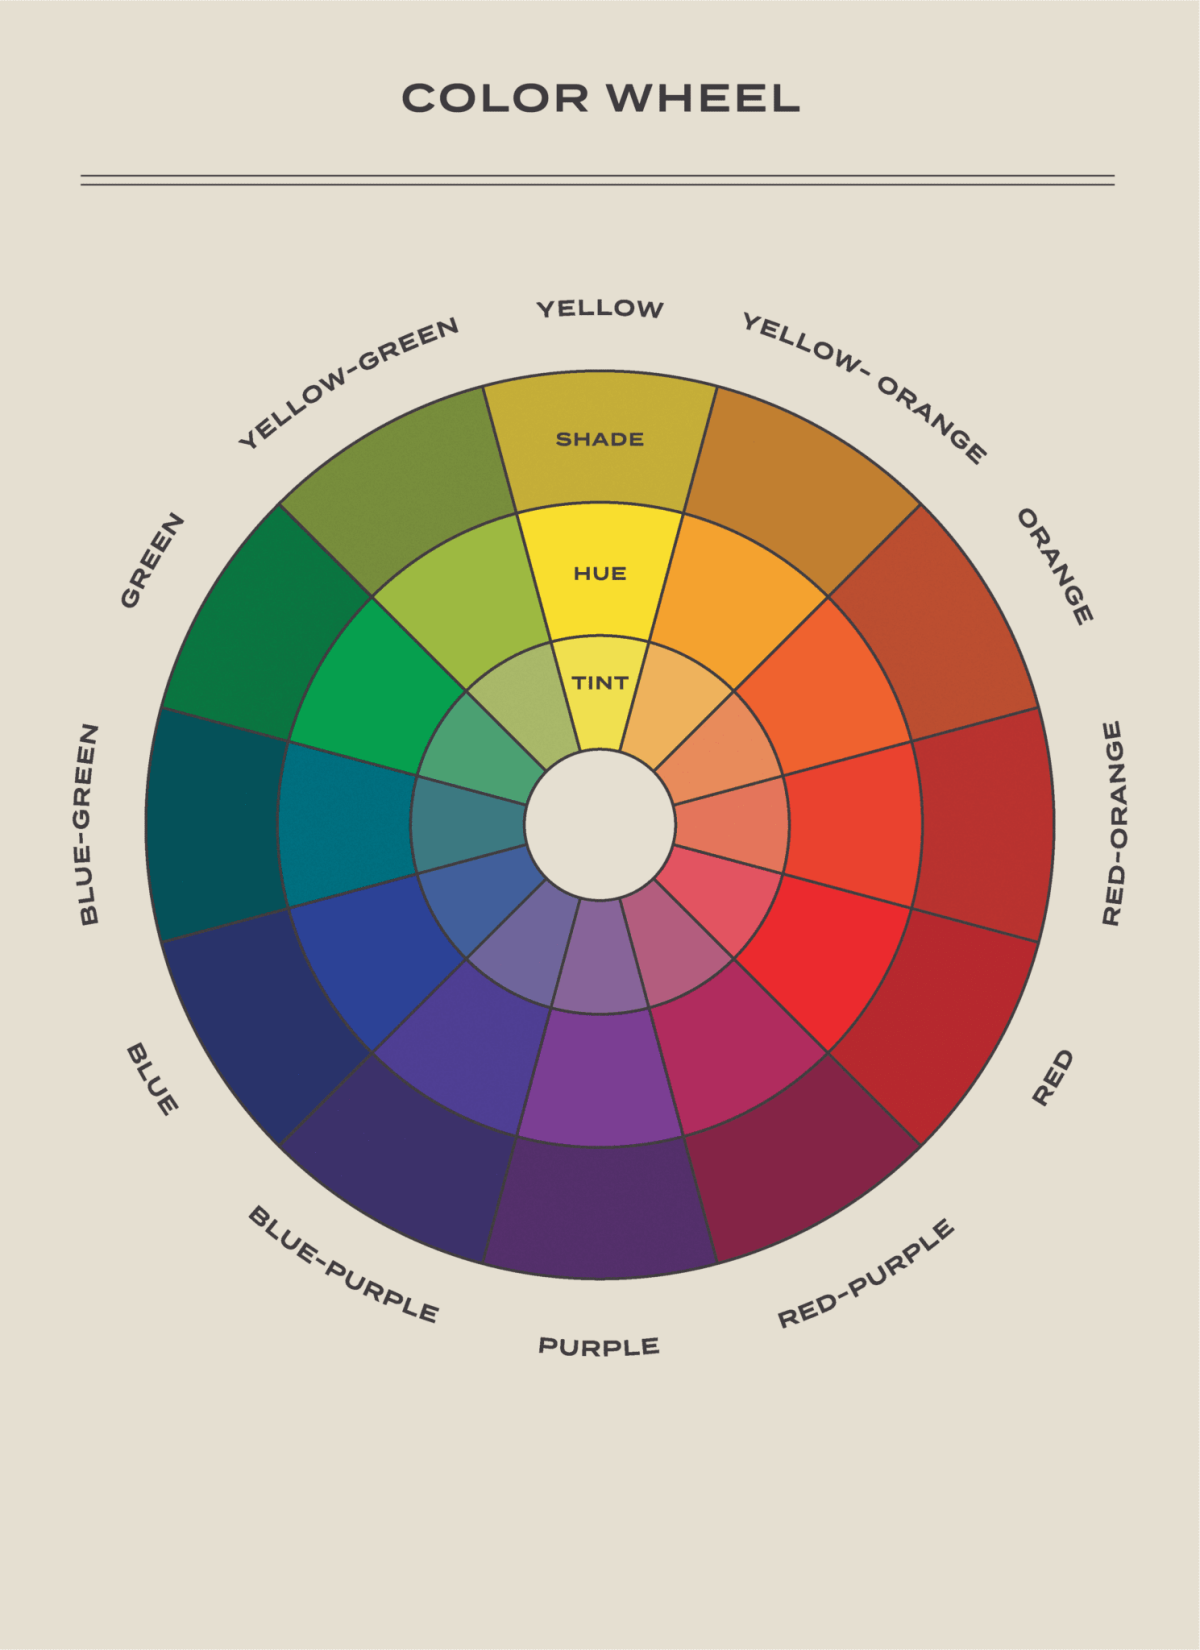
But here’s the catch: no paint pigment is perfect. Every blue has a little bit of green or red in it, and every yellow has a little bit of green or orange. This tiny, built-in lean is called color bias or color temperature, and it’s the single most important thing to get your head around for mixing clean, predictable greens.
Your Green-Mixing Toolkit: The Essential Palette
You don’t need a dozen tubes of green paint. In fact, that’s usually a bad idea. You just need two blues and two yellows with different biases. This gives you way more control. Here’s a look at a pro-level palette and a fantastic budget-friendly alternative.
Heads up! The pricier paints (often with names like “Cadmium”) have a higher pigment load, meaning the color is more intense. The budget versions (often called “Hues”) are great for learning and can produce beautiful results, you just might need to use a bit more paint.

A Solid Pro Palette (about $15 – $30 per tube):
- Warm Blue: French Ultramarine (PB29) – Leans a little toward violet. The workhorse of many landscape palettes.
- Cool Blue: Phthalo Blue (Green Shade, PB15:3) – An intense, transparent blue that leans heavily toward green. Handle with care, this stuff can take over a mix!
- Warm Yellow: Cadmium Yellow Deep (PY37) – A rich, slightly orange-ish yellow.
- Cool Yellow: Cadmium Lemon (PY35) – A sharp, acidic yellow with a definite green-ish tinge.
A Killer Budget-Friendly Palette (about $5 – $12 per tube):
- Warm Blue: French Ultramarine (the hue is often identical in color to the pro version).
- Cool Blue: Phthalo Blue (the hue is still very powerful!).
- Warm Yellow: Cadmium Yellow Medium Hue or Hansa Yellow Deep.
- Cool Yellow: Lemon Yellow Hue or Hansa Yellow Light.
Oh yeah, and grab one more thing: a tube of Burnt Sienna. Trust me. We’ll get to why it’s a secret weapon in a minute.
The Four Foundational Mixes You Need to Know
Okay, with your four colors, you can now create a huge range of greens by mixing one blue with one yellow. Understanding what each combo does is like having a superpower.
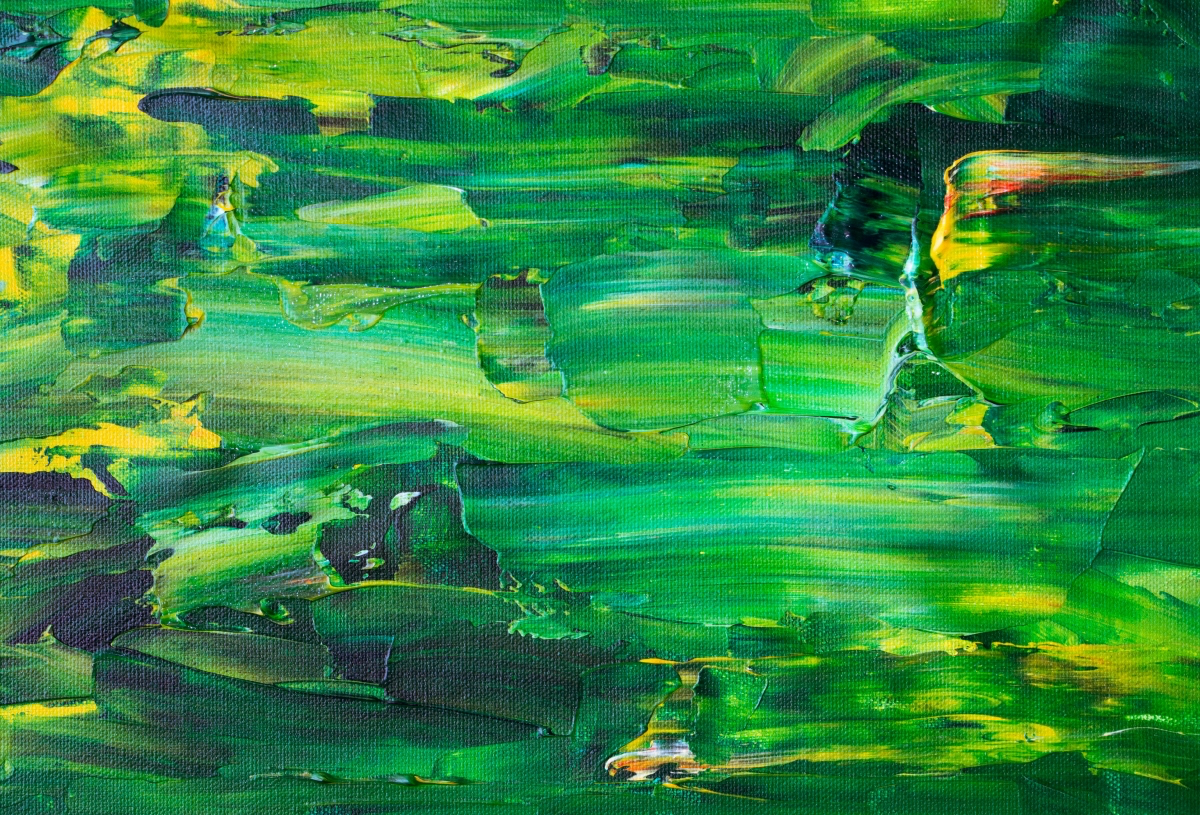
A cool blue plus a cool yellow (like Phthalo Blue + Lemon Yellow) gives you those super bright, electric greens. Think of new spring foliage catching the sun or the color of tropical water. It’s a beautiful mix, but it can easily look artificial in a landscape if you don’t tone it down a bit.
On the other end of the spectrum, a warm blue and a warm yellow (like Ultramarine + Cadmium Yellow Deep) creates muted, earthy, olive-toned greens. Because both pigments lean a little toward red, they slightly neutralize each other. These are fantastic for foliage in shadow, distant hills, or the tired greens of late summer.
Mixing a cool blue with a warm yellow (Phthalo Blue + Cadmium Yellow Deep) is your standard, all-purpose green. It’s a very useful, versatile mix that’s less electric than the cool/cool mix but cleaner than the warm/warm one.
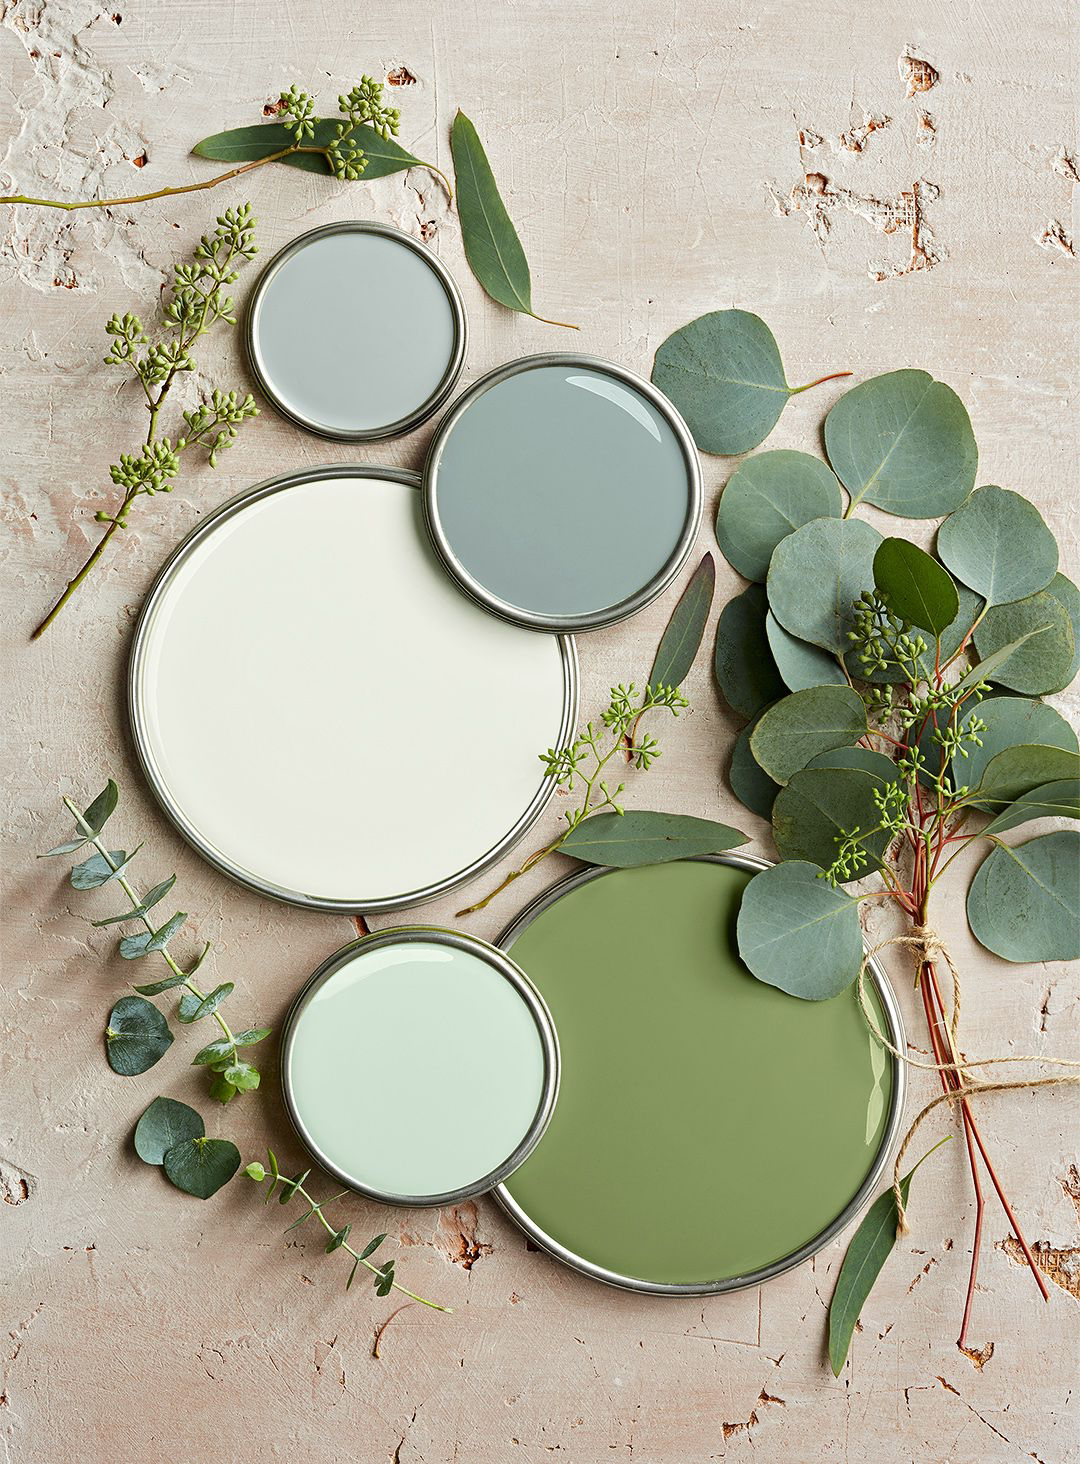
And here’s the one that often surprises people: a warm blue with a cool yellow (Ultramarine + Lemon Yellow). This combination can create some wonderfully subtle, often grayish greens. The reddish lean of the Ultramarine fights with the greenish lean of the Lemon Yellow, resulting in a sophisticated, low-intensity color. It’s perfect for things like sagebrush or eucalyptus leaves.
The 30-Minute Exercise That Will Change Your Painting
I know, I know, making charts feels like homework. But I promise, this is an investment of 30 minutes that will pay off for years. Here’s how to do it, super simple:
- Grab a piece of canvas paper or a small panel. You can get a pad of canvas paper from stores like Hobby Lobby or Michaels for about $10.
- Squeeze out a dime-sized dollop of your two blues and two yellows.
- Visually divide your canvas into four sections. In the first section, mix your first blue (say, Ultramarine) with your first yellow (Lemon Yellow). Create a few swatches, varying the amount of blue and yellow.
- Now, in the next section, mix that same blue (Ultramarine) with your second yellow. See the difference?
- Repeat the process with your other blue (Phthalo) and each of the yellows.
By the end, you’ll have a personal roadmap to your greens. You’ve moved from guessing to making intentional, informed choices about your color.
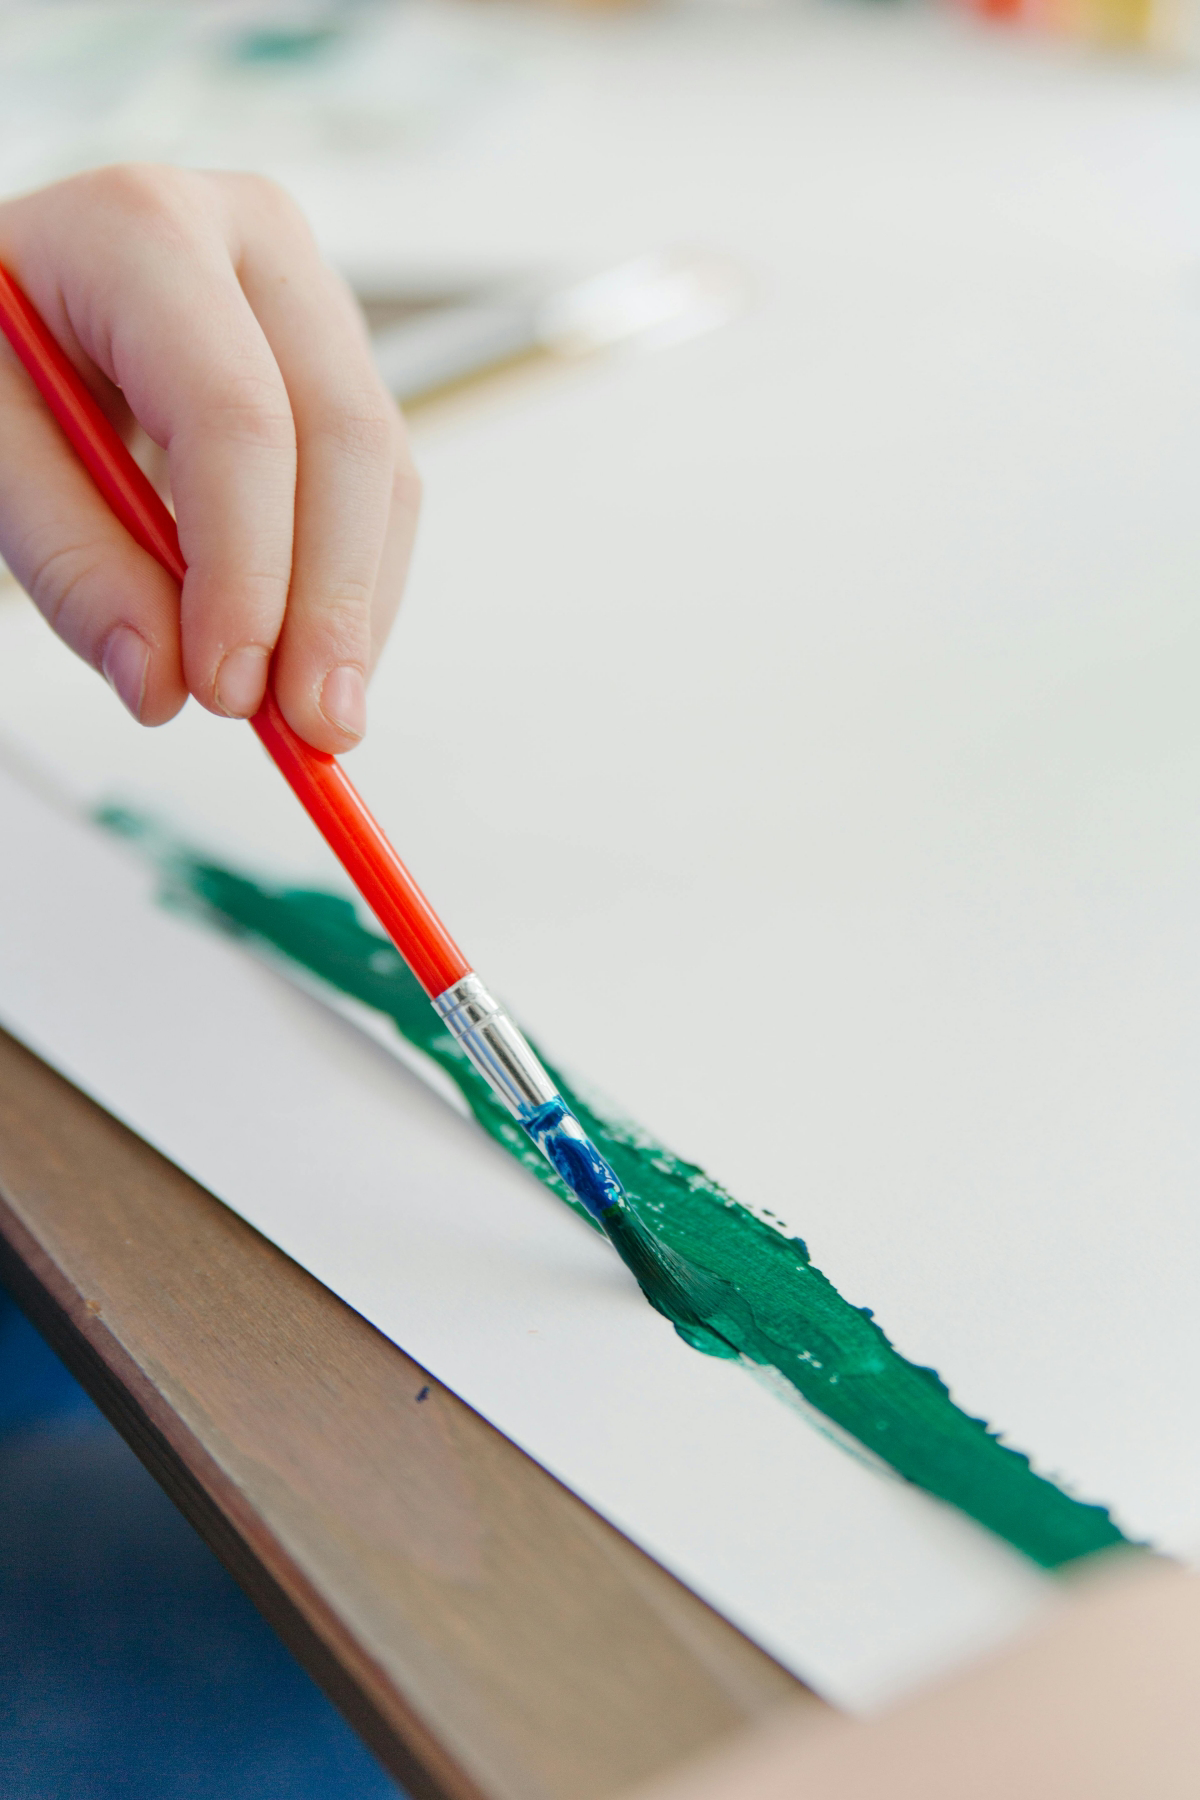
The Real Secret: Taming Your Greens with a Touch of Red
Remember that story from the beginning? That little speck of red is the final piece of the puzzle. The fastest way to make a green look more natural is to neutralize it with its complementary color, which is red.
By the way, did you know that the original Sap Green pigment was notoriously fugitive? It was often made from buckthorn berries and would literally fade away in sunlight. Today’s Sap Green is permanent, but that history is a good reminder that greens straight from a tube often need a little help to look natural!
Quick Tip: The absolute fastest way to kill that “fresh out of the tube” look on any green is to mix in a tiny dot of an earth tone like Burnt Sienna. It contains a lot of red and orange, so it instantly dulls the green in a very organic, pleasing way. It’s my go-to for probably 90% of the foliage I paint.
Common Problems and Easy Fixes
Let’s wrap up with some troubleshooting, because we all run into these issues.
“My greens look like they’re glowing!”
This is a classic symptom of using a pure cool blue + cool yellow mix. It’s just too vibrant for most natural scenes. The fix is to neutralize it. Add a tiny speck of red, orange, or—even easier—just mix in a little of your warm blue (Ultramarine) or a touch of Burnt Sienna.
“My green turned into brown mud!”
Yep, been there. This means you got a little too excited with your neutralizer! The trick is to start with your big puddle of green and add the red or Burnt Sienna with the very tip of a palette knife, not with your brush. Add a tiny bit, mix it in completely, and then look. It’s a slow dance. You can always add more, but you can’t take it out.

So, get your paints out, make a mess on a test sheet, and really get to know your colors. Mastering green is all about observing the world more closely and then having the confidence to mix the color you see, not just the color you think it should be.
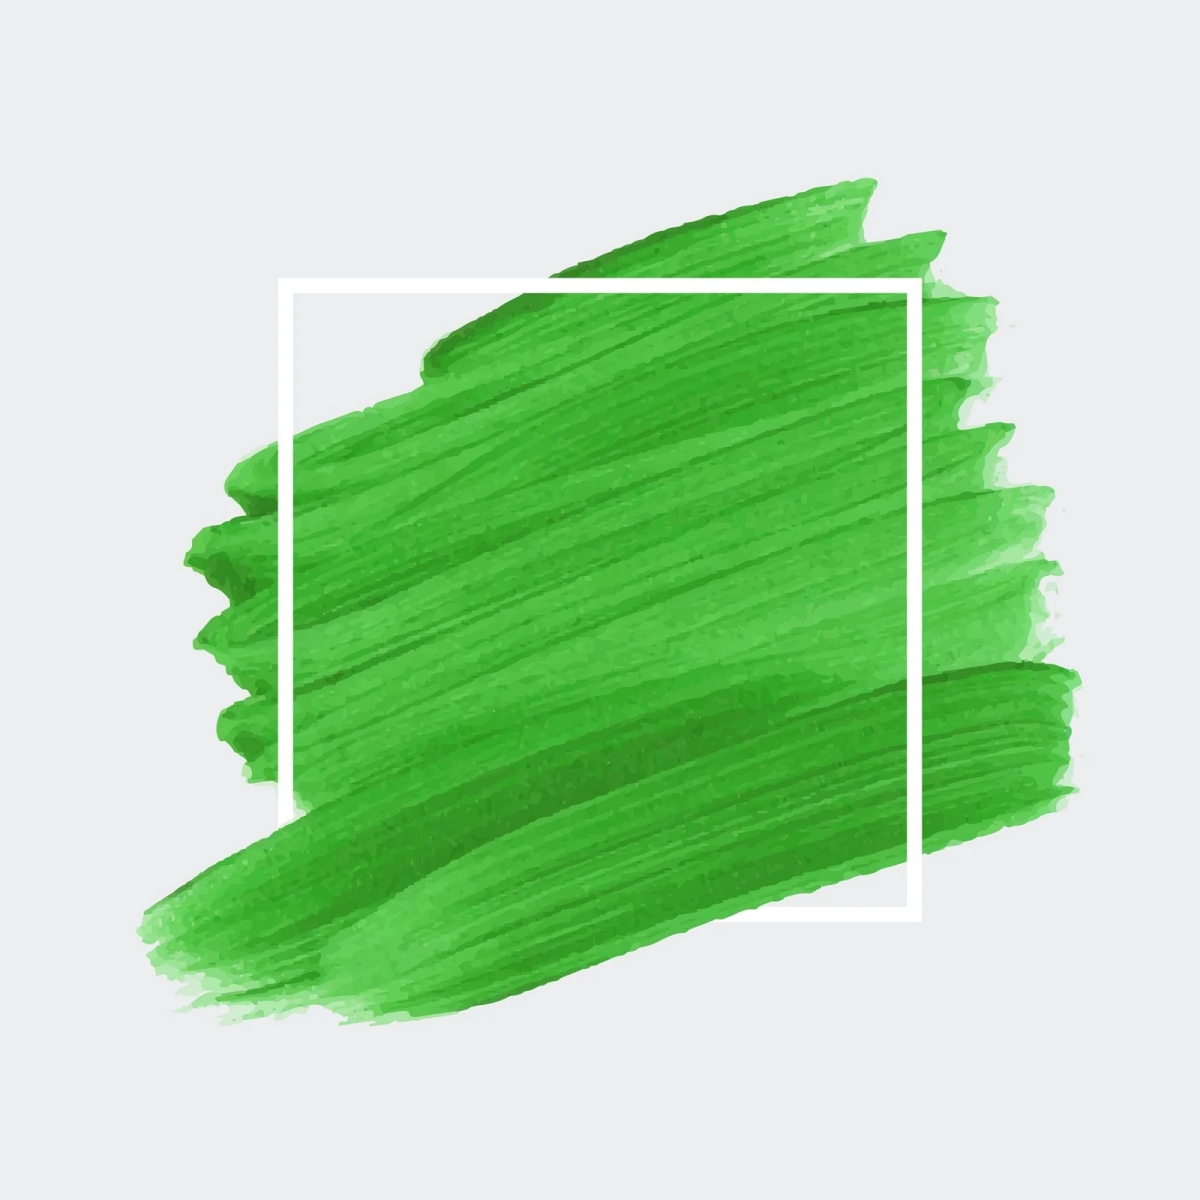
Galerie d’inspiration
But where do you even start looking for these complex greens?
Forget the paint tubes for a moment and go outside. Don’t just look at a
In color theory, mixing a color with its direct complement neutralizes it. But mixing it with too many other colors creates mud.
That dreaded
Student Grade: A line like Winsor & Newton’s Winton Oil Colour is an excellent, affordable starting point. Their Phthalo Green is intense, but be aware that student-grade paints have a lower pigment-to-binder ratio, which can sometimes make subtle mixes less vibrant.
Professional Grade: Upgrading to a brand like Gamblin Artist’s Oil Colors is a game-changer. A tube of their Viridian has a much higher pigment load, meaning a tiny dab goes a long way and mixes are cleaner and more predictable.
The choice often comes down to budget versus control, but professional paints give you more power to create nuanced, lifelike greens.


