Your Grout Is Gross. Here’s How the Pros Actually Fix It.
I’ve spent a long, long time on my knees working with tile. Kitchens, bathrooms, you name it. And after all that time, I can tell you something most people never consider: the success of a beautiful tile job has almost nothing to do with the tile itself. It’s all in the grout.
In this article
Seriously. Grout isn’t just the filler between your tiles; it’s what locks the whole system together and keeps water out. When the grout is clean, the whole room just pops. But when it’s dingy and stained? It makes even the most expensive tile look cheap and grimy.
I’ve seen it all. People accidentally ruining beautiful natural stone with the wrong chemicals, or using a wire brush that just tears up the grout lines. But the most common issue, by far, is grout that was never sealed in the first place. It just acts like a tiny sponge for every single splash and spill. So, let’s talk about how to clean it the right way. This isn’t about some magic spray; it’s about understanding what you’re dealing with and using a pro-level process.
First, What Are You Even Cleaning?
Before you even think about grabbing a brush, you have to know what kind of grout you have. Using the wrong approach can cause permanent damage. Honestly, in almost every home I’ve ever been in, it’s one of these two types.
Cement Grout: The Old Standby
This is what you almost certainly have. It’s basically a fine-grained concrete made of cement, color pigments, and aggregates. Its defining feature? It’s porous. If you looked at it under a microscope, it would look like a hard sponge, full of tiny holes. That’s exactly why it stains so easily—dirt doesn’t just sit on top, it soaks right in.
- Sanded Grout: If your grout lines are wider than an eighth of an inch, you probably have sanded grout. The sand adds strength and prevents cracking. It feels gritty to the touch and is super common for floor tiles.
- Unsanded Grout: For tight joints (1/8 inch or less), designers use unsanded grout. It’s much smoother and packs well into narrow gaps, which is why you often see it on shower walls with smaller tiles.
Even modern cement grouts with fancy polymer additives aren’t stain-proof. They absolutely must be sealed to have a fighting chance.

Epoxy Grout: The Tough Stuff
On the other hand, epoxy grout is a whole different beast. It’s a two-part resin system that cures into a non-porous, plastic-like material. I usually recommend it for places that take a real beating, like mudrooms or commercial kitchens, because it’s incredibly resistant to stains and chemicals. It’s also way more expensive and a real pain to install. If your grout feels like smooth plastic and never seems to stain, you’ve probably got epoxy. Cleaning it is a breeze—usually just a damp cloth will do. For the rest of this guide, we’re focusing on cement grout, because that’s what most of us are struggling with.
Your Pre-Cleaning Checklist
The first lesson I teach any apprentice is to TEST FIRST. Always. A five-minute test in a hidden spot can save you from a thousand-dollar mistake. But before you test, you need a few things.
Quick Tip: Here’s your basic shopping list. You can get all this at a big box store like Home Depot or Lowe’s.
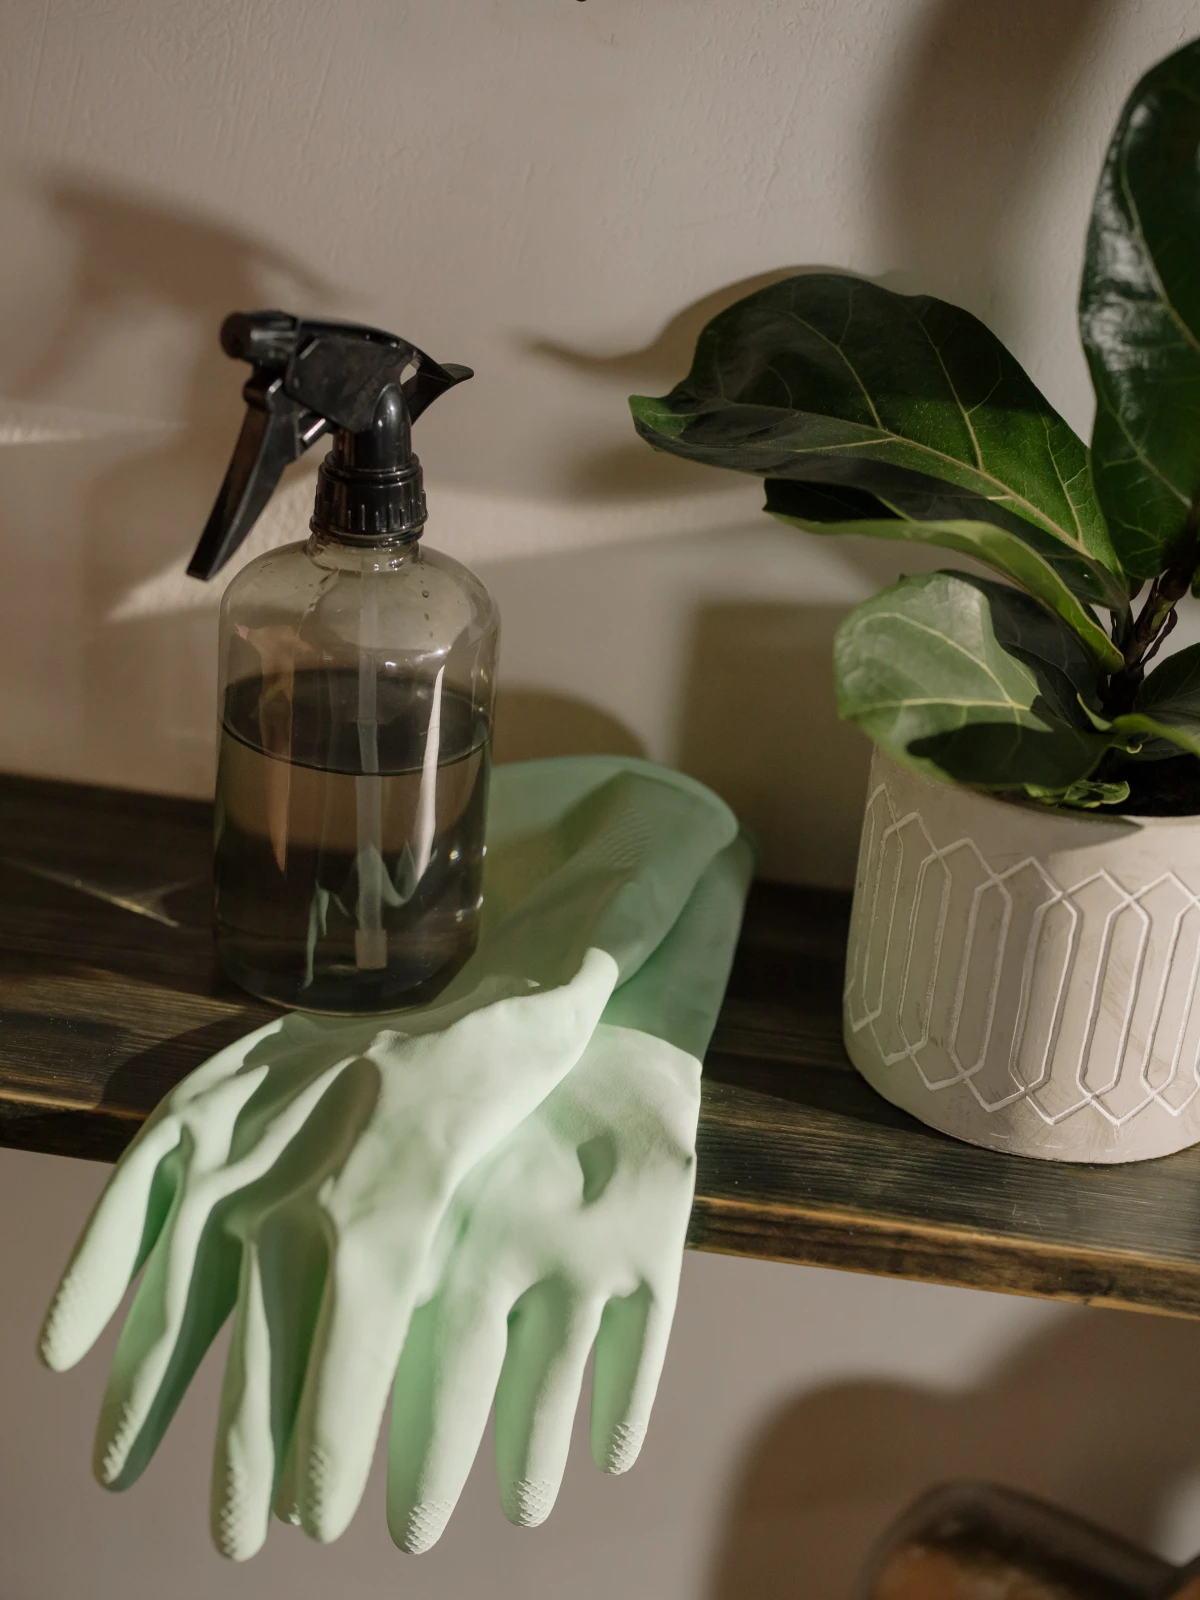
- Nitrile Gloves and Safety Glasses (about $10 for both)
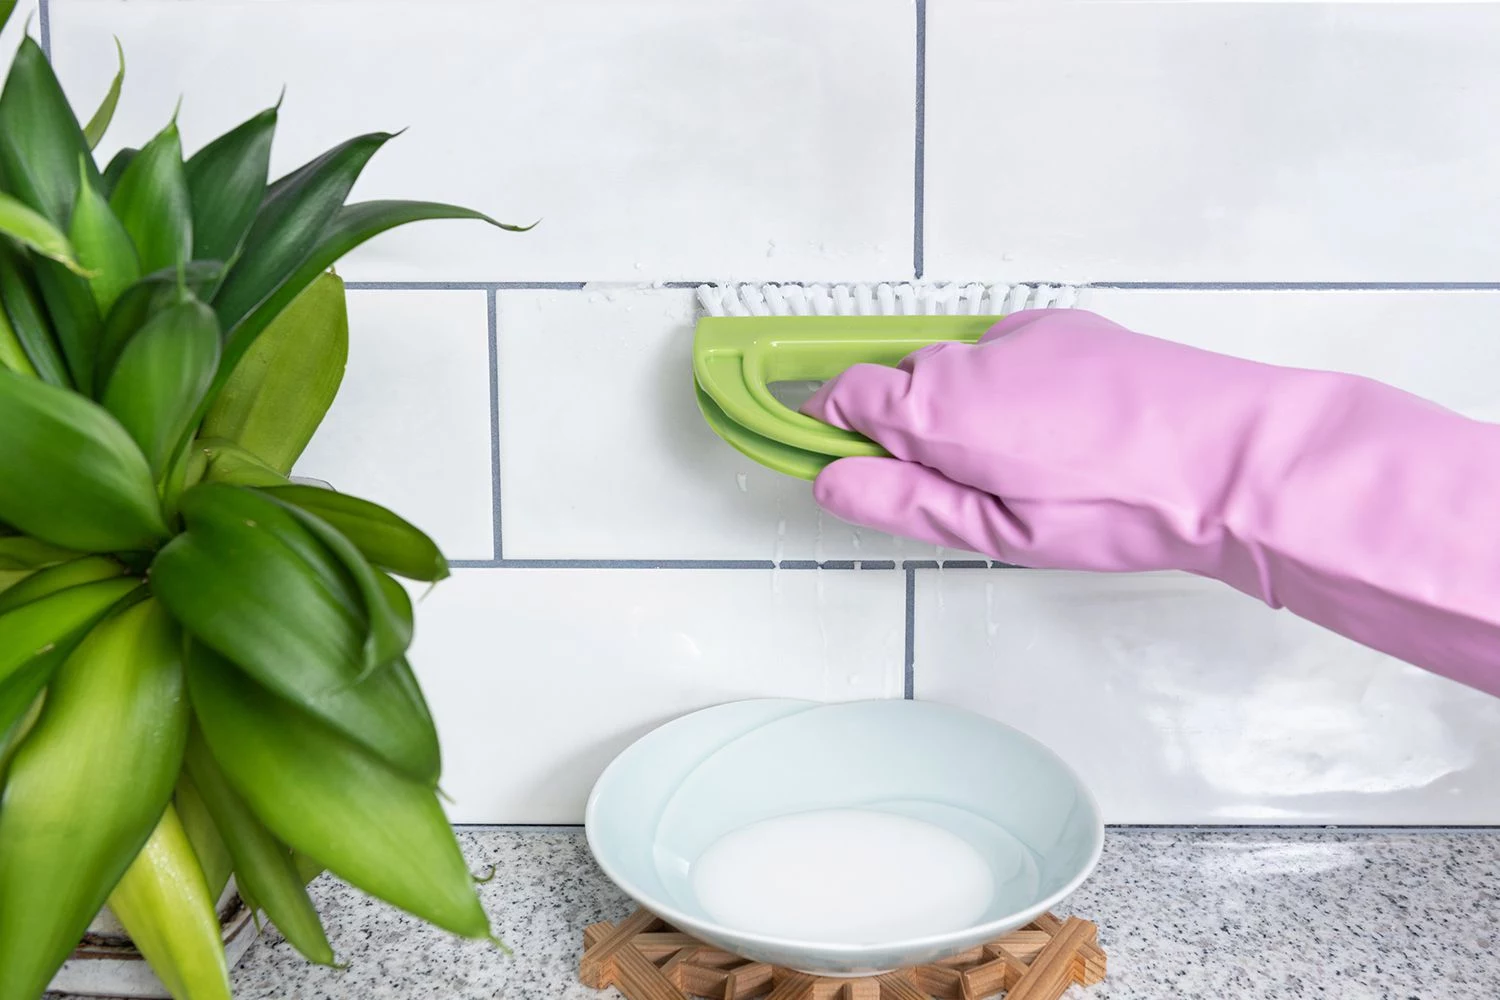
- A good Nylon Grout Brush with stiff bristles (around $8)
- A quality pH-Neutral Cleaner Concentrate ($15-$25 a bottle, which will last a long time)
- And trust me on this one: a good pair of Kneepads (around $20). Your body will thank you later.
Step 1: Know Your Tile
This is probably the most important question: what is your tile made of? Is it a tough man-made material or a sensitive natural stone?
- Ceramic & Porcelain: These are the champs. They have a hard, glazed surface that can handle most cleaners without a problem. You have more options here.
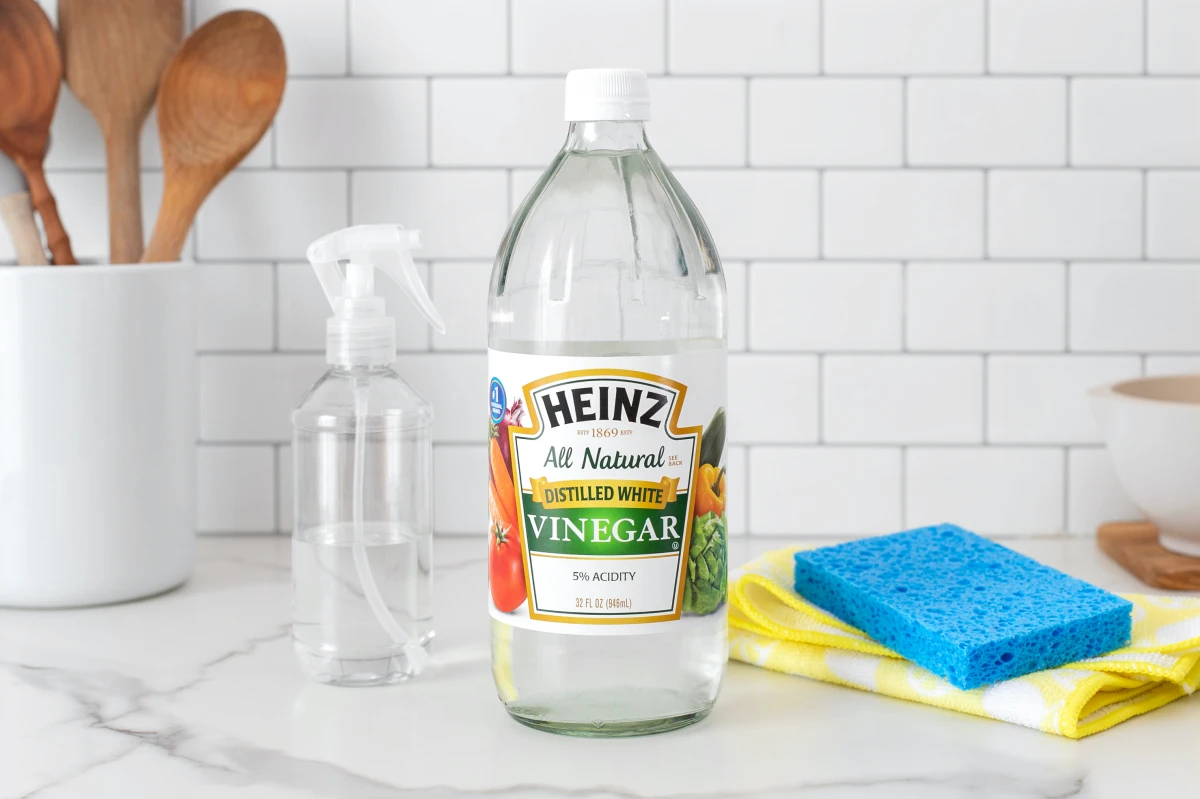
- Natural Stone (Marble, Travertine, Limestone): Red alert! These materials are chemically sensitive. They react very badly to acids—and yes, that includes plain old vinegar. An acid cleaner will etch the surface, creating a dull, rough spot that can only be fixed by a professional. If you have natural stone, you must avoid acids completely.
Step 2: Check for Sealer
Is your grout even sealed? Here’s a super simple way to find out. Put a few drops of clean water on a grout line in a dry, low-traffic area. Now, watch it for a minute. If the water beads up on top, your sealer is doing its job. If the water immediately darkens the grout and soaks in… well, you don’t have a working sealer. This tells you that the grout is vulnerable and will absorb whatever cleaner you use, so you need to be extra careful.
Step 3: Do a Patch Test
Find a spot nobody will ever see—behind the toilet, under the stove, in a closet. Test your cleaning solution there. Let it sit, give it a scrub, rinse it off, and let it dry completely. Make sure there’s no discoloration or damage before you even think about doing the whole floor.
The Pro’s Tiered Approach to Cleaning Grout
I always start with the gentlest method and only escalate if needed. This protects the grout and tile from unnecessary abuse. Forget all those random household concoctions you see online; follow a process.
Tier 1: Basic Maintenance (For Light Dirt)
For routine cleaning, a pH-neutral cleaner is your best friend. It’s designed to lift surface dirt without stripping your sealer or hurting your tile. I often use a brand like Aqua Mix or Miracle Sealants, which you can find at most hardware stores for about $20. Just mix it with warm water according to the directions, apply it to the grout lines, and let it sit for 5-10 minutes. That dwell time is crucial! Then scrub with your nylon brush, rinse with clean water, and dry the area. Easy.
Tier 2: Tackling Grease and Grime (For Kitchens & Tough Spots)
If the neutral cleaner didn’t cut it, you’re probably dealing with organic stuff like kitchen grease or soap scum. For this, you need an alkaline cleaner. The cheapest and easiest one is a simple paste of baking soda and water. Slather it on the grout lines, let it sit for at least 15 minutes, then give it a good scrub. The mild alkaline properties break down the grease, and the fine grit provides a gentle scrubbing action. Rinse it really well afterward.
Tier 3: The Heavy Hitters (For Deep Stains)
Still have stubborn stains? Okay, time to bring out the bigger guns. These are powerful, so use them with care.
- Oxygenated Bleach: This is a much safer, more effective alternative to chlorine bleach. A product like OxiClean uses a powder that, when mixed with hot water, releases hydrogen peroxide. It’s fantastic for organic stains like mold, mildew, or coffee. Make a paste, apply it, let it bubble for 20-30 minutes, then scrub and rinse. It cleans deep without damaging the grout’s color.
- High-Pressure Steam: This is my absolute favorite chemical-free method. A good home steam cleaner, which might run you $150-$300, heats water to a very high temperature. The hot, pressurized steam blasts dirt out of the grout’s pores and kills mold spores on contact. By the way, you can often rent a professional unit from a tool rental shop for a day if you don’t want to buy one. You just work the steamer along the grout lines and wipe up the dirty water with a microfiber towel as you go. It’s a bit of work, but the results are incredible.
A Serious Warning About Vinegar and Bleach
I know they’re popular online, but please, just don’t use them. Vinegar is an acid that will slowly eat away at cement grout, weakening it over time—and it will permanently damage natural stone tile. Chlorine bleach doesn’t really clean; it just bleaches the stain, and it can strip the color right out of your grout, leaving it patchy. Plus, the fumes are awful, and mixing it with other cleaners can be dangerous. There are just so many better, safer options.
The Final, Crucial Step: Sealing Your Grout
Cleaning your grout and not sealing it is like washing your car and then leaving it in a dust storm. All your hard work will be undone in weeks. Sealing is the single most important thing you can do.
You want a good quality penetrating sealer. This soaks into the grout’s pores and creates an invisible shield against water and oil. It’s a game-changer. Just make sure the grout is 100% dry (wait at least 24 hours after cleaning) before you start. Use a small artist’s brush or an applicator bottle to carefully apply it just to the grout lines. Wipe any excess off the tile face within 5-15 minutes, or it can leave a haze. A good bottle of sealer will cost around $20-$40 and is worth every penny.
Heads up! What if I mess up? If you let the sealer dry on the tile and it leaves a haze, don’t panic. Gently try to buff it off with a clean cloth. If that doesn’t work, you can try scraping it with a plastic razor blade. For stubborn haze, they do sell ‘Sealer Haze Remover’ products, but be sure to test it in a hidden spot first!
When Cleaning Just Isn’t Enough
Sometimes, the grout is just too far gone. If stains are permanent or the grout is physically failing, you have a couple of restoration options.
One of the best tricks in the book is a grout colorant. It’s basically an epoxy paint that you apply over your old grout. It completely covers up stains and acts as a powerful sealer at the same time. I once had a client who was ready to re-tile their entire kitchen. Instead, a weekend of careful work with a $60 bottle of grout colorant made the floor look brand new, saving them thousands. It’s a fantastic option.
If your grout is cracked and crumbling, however, it needs to be re-grouted. That’s a structural issue. It involves grinding out the old grout and applying new grout. It’s a very dusty, labor-intensive job that can easily go wrong and damage your tiles. To be frank, if you’re facing widespread grout failure, it might be time to call a pro. Hiring a tile setter to re-grout can run anywhere from $5 to $20 per square foot, depending on the job. Knowing that can help you decide if the DIY dust and effort are worth the savings.
Ultimately, taking care of your grout is all about maintenance, knowledge, and knowing when to call for backup. Good luck!
Inspirational Gallery with Photos
Can you dramatically change your room’s look without replacing a single tile?
Absolutely. The secret is in the color. A grout colorant or stain, like those offered by Mapei in their Grout Refresh line, allows you to completely recolor your existing grout lines. You can go from a dingy beige to a crisp charcoal grey in an afternoon. It not only covers stubborn stains but also acts as a sealer, providing a fresh, uniform finish that redefines the entire space. It’s one of the most impactful DIY upgrades for a minimal budget.
Did you know that up to 95% of tile installation failures are related to the grout and substrate, not the tile itself?
This statistic from the National Tile Contractors Association highlights a crucial point: grout is not just a cosmetic filler. It’s a structural component that provides stability and, when sealed, a critical water barrier. Neglecting grout health can lead to loose tiles, water seeping into walls, and expensive underlying damage. Proper cleaning and sealing is your first line of defense.
- Eliminates the need for harsh chemicals.
- Kills 99.9% of mold and bacteria on contact.
- Lifts deep-set grime with minimal scrubbing.
The secret? High-temperature steam. A quality steam cleaner, like a Dupray ONE, uses superheated dry steam to penetrate the pores of cement grout, dissolving dirt and disinfecting simultaneously. The focused jet from a detail nozzle does the hard work, leaving you to simply wipe away the residue.
Cement Grout: The traditional choice, it’s porous and needs regular sealing to resist stains and moisture. It offers a classic, slightly matte finish and a wide range of color options.
Epoxy Grout: A high-performance alternative made from resins and a filler powder, like Laticrete’s SpectraLOCK PRO. It’s non-porous, making it virtually stain-proof and highly resistant to chemicals and cracking. It doesn’t require sealing.
While more expensive and less forgiving to install, epoxy is the ultimate solution for high-traffic, high-moisture areas like shower floors and kitchen backsplashes.
The trend of using contrasting grout is more than just a style choice; it’s a design tool. Using a dark grout, like charcoal or black, with classic white subway tiles creates a bold, graphic pattern that emphasizes the shape of each tile. Conversely, matching the grout color closely to the tile (e.g., a light grey grout with light grey tiles) creates a seamless, monolithic look that can make a small space feel larger and more serene.
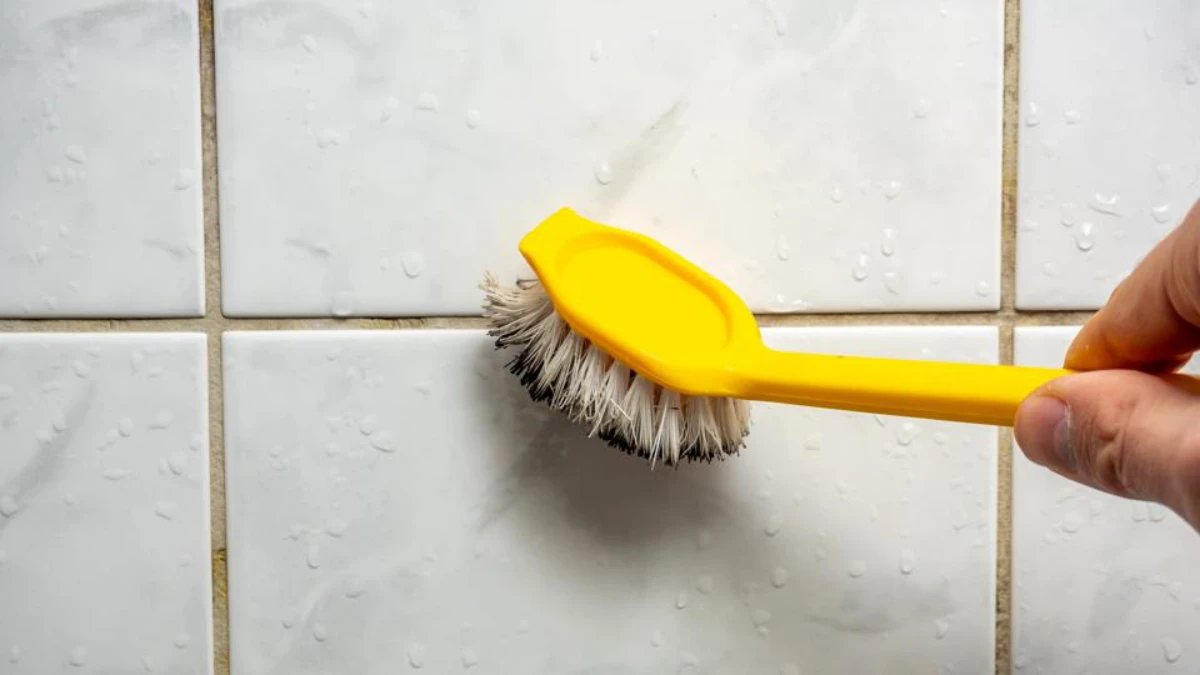
A common mistake to avoid: Never use a wire brush on your grout. While it might seem like the most effective tool for stubborn stains, the metal bristles are too abrasive. They will scratch and gouge the grout, creating tiny crevices where more dirt and mildew can hide. Worse, you can easily chip or scratch the edges of your tiles. Always opt for a stiff nylon bristle brush instead.
Before you begin any deep cleaning, perform a simple water test to check if your grout is sealed. Drip a few drops of water onto a grout line in a dry area. If the water beads up on the surface, your sealer is still working. If it darkens the grout and soaks in within a minute or two, it’s porous and urgently needs to be cleaned and resealed with a quality penetrating sealer like Aqua Mix Sealer’s Choice Gold.
A single pinhole-sized gap in a grout line can allow up to a gallon of water to seep into a wall cavity over the course of a few months.
For a quick cosmetic fix on otherwise stable grout, a grout pen is your best friend. It’s perfect for refreshing small areas where stains just won’t budge.
- First, clean the grout line thoroughly and let it dry completely.
- Shake the pen well to mix the paint.
- Press the nib down on a piece of cardboard to start the paint flow.
- Carefully trace the grout line, wiping any excess off the tile face immediately with a damp cloth.
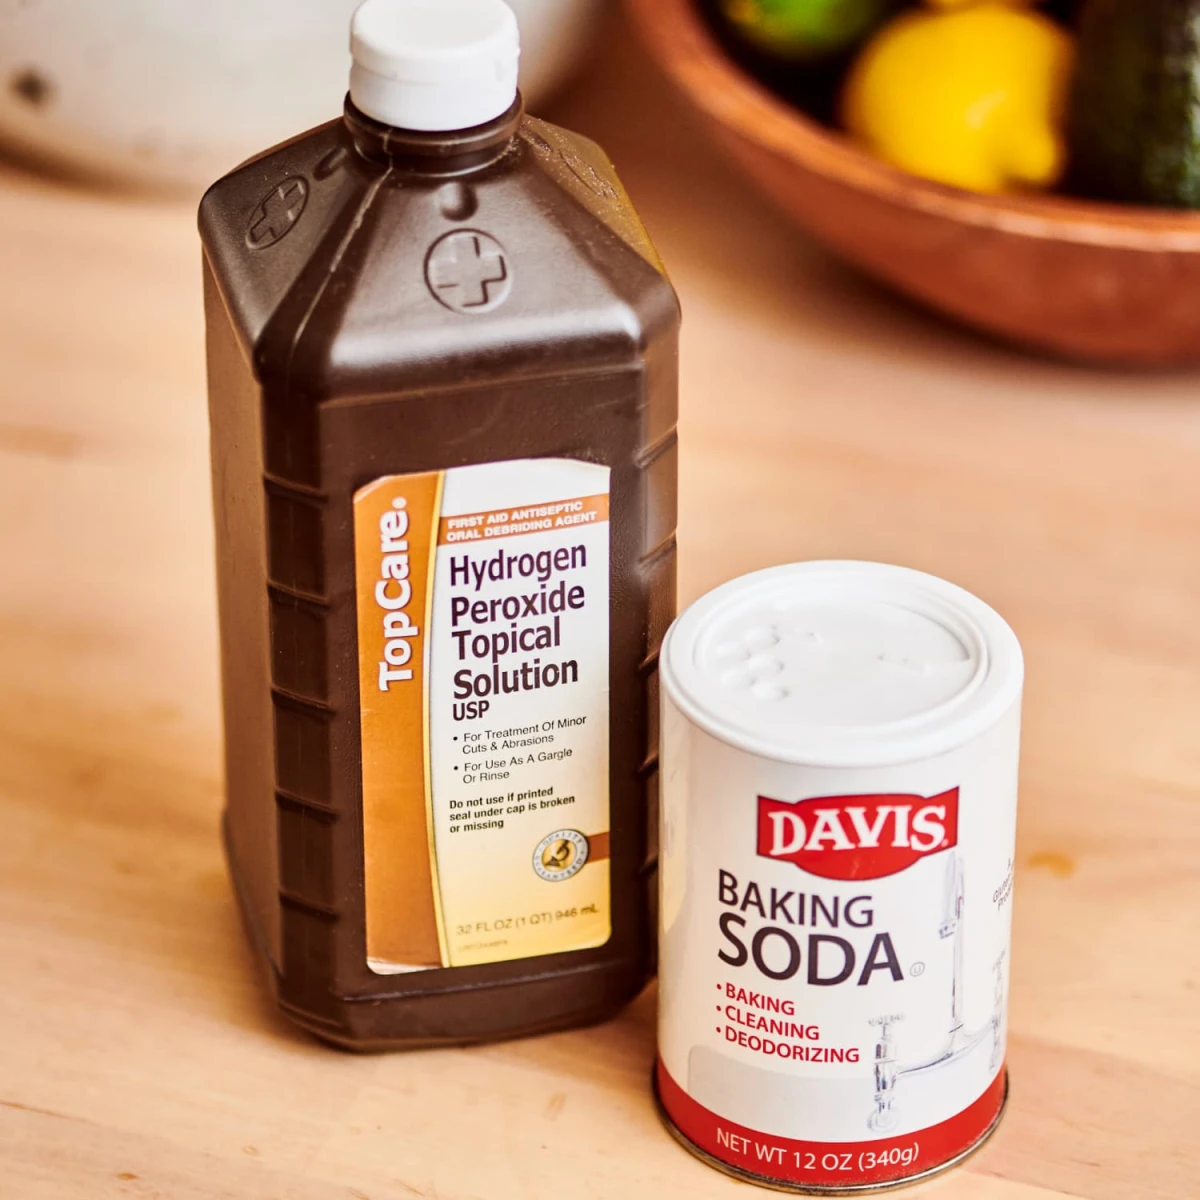
For an eco-friendly and surprisingly effective deep clean, create a paste using baking soda and hydrogen peroxide. Apply it to the grout lines, let it bubble and sit for 10-15 minutes, then scrub with a stiff nylon brush. The gentle abrasive action of the baking soda combined with the oxidizing power of the peroxide lifts stains without the harsh fumes of chlorine bleach.


