The No-Nonsense Guide to Perfect Cast Iron Every Time
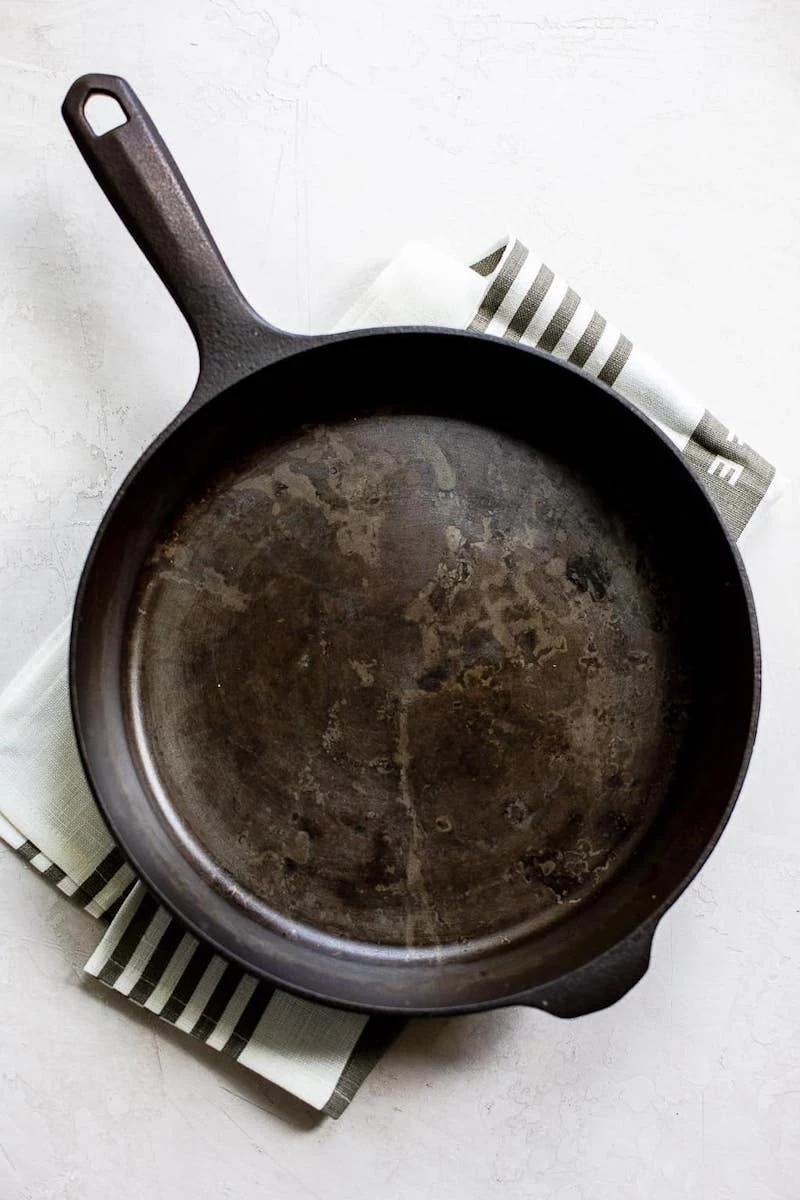
I’ve been working with cast iron for what feels like a lifetime. It all kicked off with a sad, rusted-out skillet I snagged at a flea market for maybe two bucks. It was a mess—pitted, caked in who-knows-what, and totally unloved. Anyone else would’ve just walked right on by.
In this article
But I saw the potential. After a few days of careful work, I had this beautiful, ready-to-work pan that, believe it or not, I still use all the time. That one pan sent me down a rabbit hole, and I’ve since brought hundreds of pieces back from the brink, from the common skillets you see everywhere to gorgeous, collectible vintage pans. I’ve even put them through their paces in busy professional kitchens.
I’m sharing all this because cast iron isn’t just cookware; it’s a piece of history that gets better with age. The internet is flooded with confusing advice, some of it just plain wrong. My goal is to give you a straightforward guide based on what actually works, day in and day out.
First Things First: Your Beginner’s Toolkit
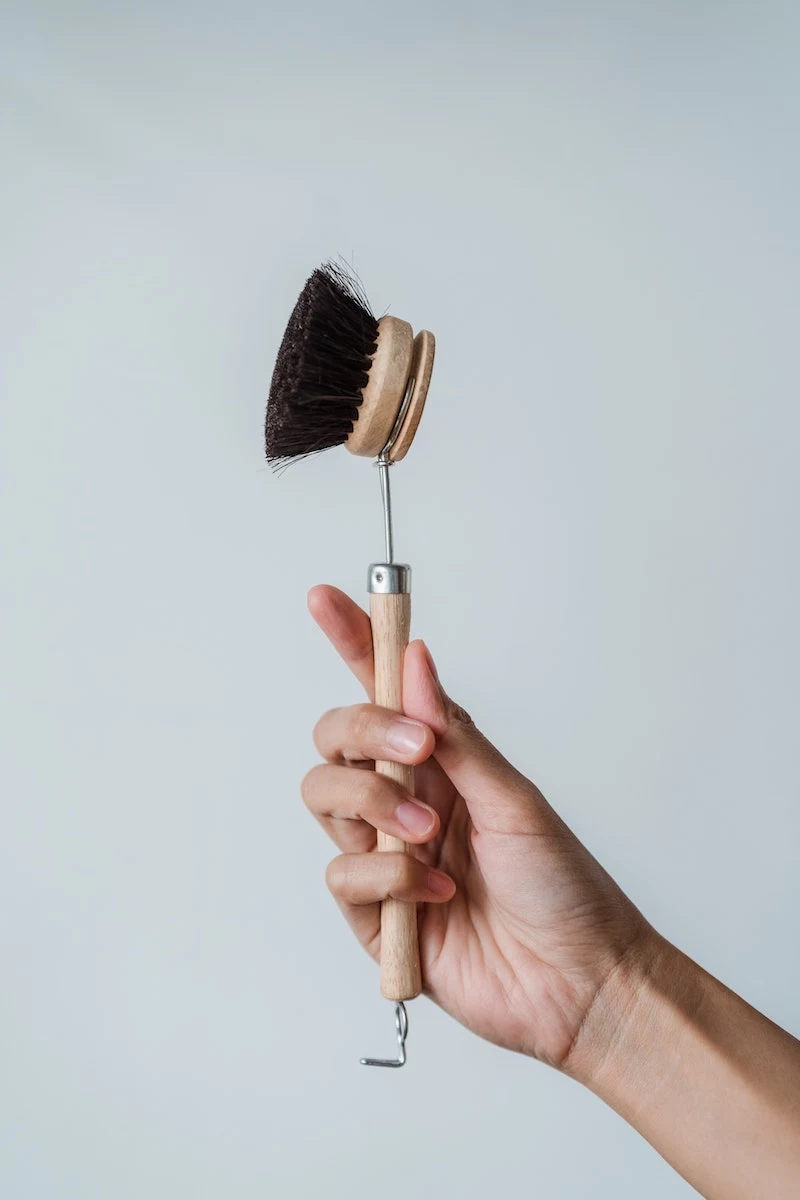
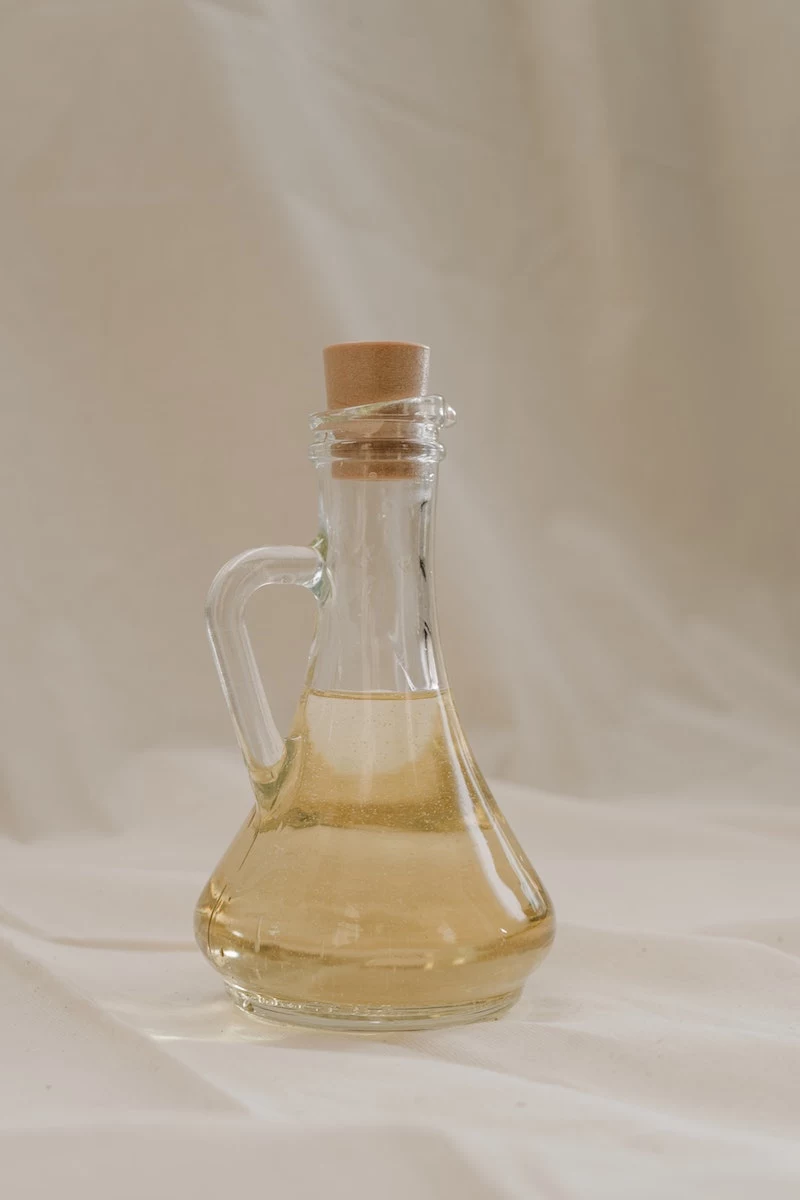
Before we dive in, let’s talk about gear. Honestly, you don’t need a bunch of fancy stuff. To get started and keep your pan in top shape, you really only need three things: a good scrubber, a spatula, and the right oil. That’s it. For a scrubber, I’d grab a chainmail scrubber (about $15 on Amazon) or a simple, stiff nylon brush. For the spatula, get a sturdy metal one. And for oil, a bottle of grapeseed oil is a fantastic, all-purpose choice for seasoning.
What’s the Deal with “Seasoning” Anyway?
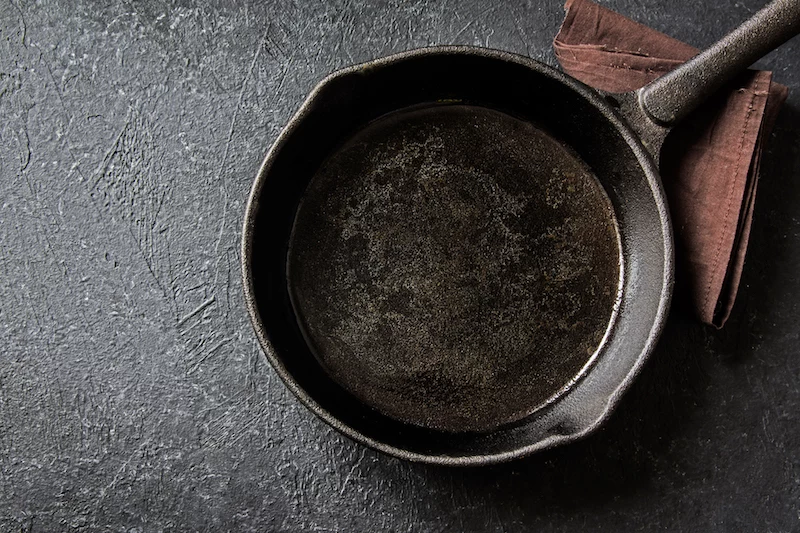
Okay, let’s get this out of the way. When you see that slick, black surface on a well-loved skillet, that’s not some factory-sprayed chemical coating. That’s “seasoning,” and it’s something you build yourself.
Basically, seasoning is just oil that has been baked onto the pan through a process called polymerization. When you heat a super thin layer of oil or fat, it transforms from a liquid into a hard, plastic-like coating that bonds directly to the iron. It’s not just greasy—it’s a whole new surface. Every time you cook with fat, you’re adding another microscopic layer. Over time, these layers build up into an incredible low-stick surface. Understanding this is the key to everything else.

Why That Heavy Pan Is Your Best Friend
Cast iron is famously heavy. It takes a bit longer to heat up than your modern aluminum pans, but once it’s hot, it stays hot. This is why it’s the absolute king for searing a steak or getting that perfect, crispy crust on cornbread. The pan doesn’t flinch when you drop cold food into it; it just keeps pumping out steady, even heat.
Heads up, though! A hot cast iron handle looks exactly the same as a cold one. I learned that lesson the hard way in a busy kitchen once, and I’ve got the scar to prove it. Always, always assume a pan on the stove is hot and grab it with a towel or an oven mitt.
Your Two-Minute Daily Cleaning Routine
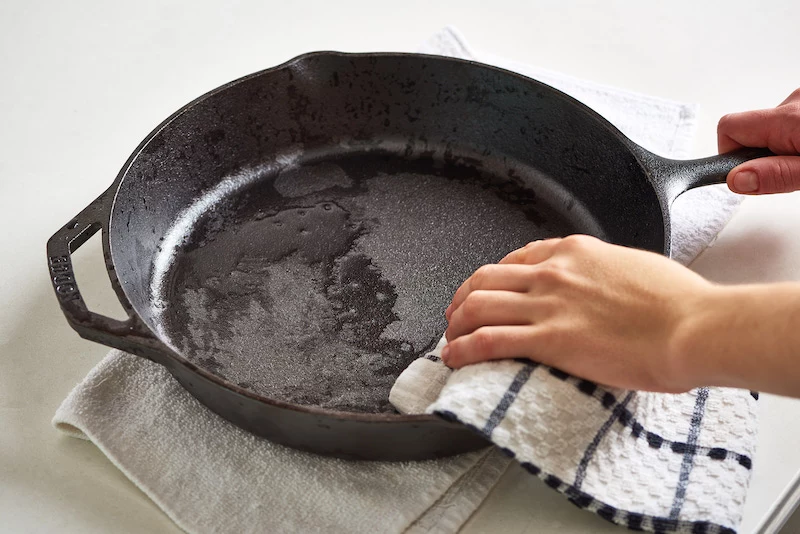
For a pan you use all the time, cleaning is a breeze. The trick is to do it right after you cook, while the pan is still warm. Food comes off easily, and you won’t give rust a chance to form.
- Scrape and Wipe: As soon as the food is out, use a flat-edged metal spatula to scrape away any stuck-on bits. Yeah, you heard me, a metal spatula. Forget what you’ve heard about babying these things. A properly seasoned pan is tough as nails, and a sharp metal edge is the best tool for the job. Then, just wipe out the excess grease with a paper towel. For things like bacon or burgers, that might be all you need to do!
- A Quick Rinse with Hot Water: If you’ve got some stubborn residue, just run the warm pan under hot water. Use a chainmail scrubber or stiff nylon brush to gently scrub away the gunk. You’re just trying to remove the leftover food, not the seasoning you’ve worked so hard to build.
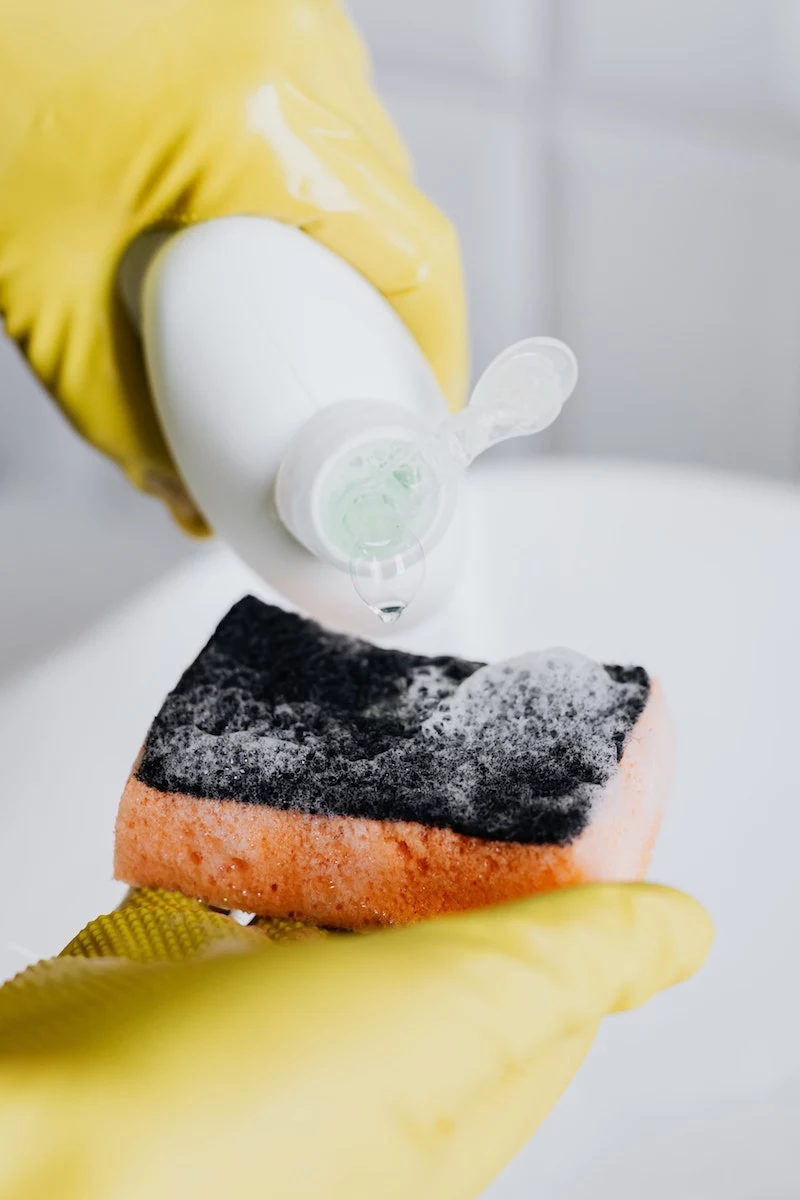
- The Great Soap Debate: You’ll hear purists gasp at the thought of soap touching cast iron. That advice is a holdover from when soap was made with lye, which would absolutely destroy your seasoning. Today’s dish soaps are just mild detergents. To be frank, a little drop of modern soap is perfectly fine for a well-seasoned pan, especially if you cooked something stinky like fish. Just use a small amount, wash quickly, and rinse it all out. If your pan is new or the seasoning feels weak, maybe stick to just water for a bit.
- Dry It on the Stove: This is the most important step. Water is the enemy. Towel drying isn’t enough because moisture hides in the iron’s pores. Just pop the pan back on the stove over low heat for a minute or two. You’ll see the last bits of moisture sizzle away. Once it’s totally dry, turn off the heat.
- The Final Touch: A Maintenance Coat of Oil: While the pan is still warm, pour in a tiny bit of oil—seriously, no bigger than a dime. Use a paper towel to rub it all over the cooking surface. Then (and this is key), take a clean paper towel and wipe it all out, as if you’re trying to remove it. You want an invisible, micro-thin layer, not a greasy mess. This protects the pan from rust and gets it ready for next time. You can use your fancy seasoning oil for this, but honestly, whatever neutral cooking oil you have on hand works just fine.
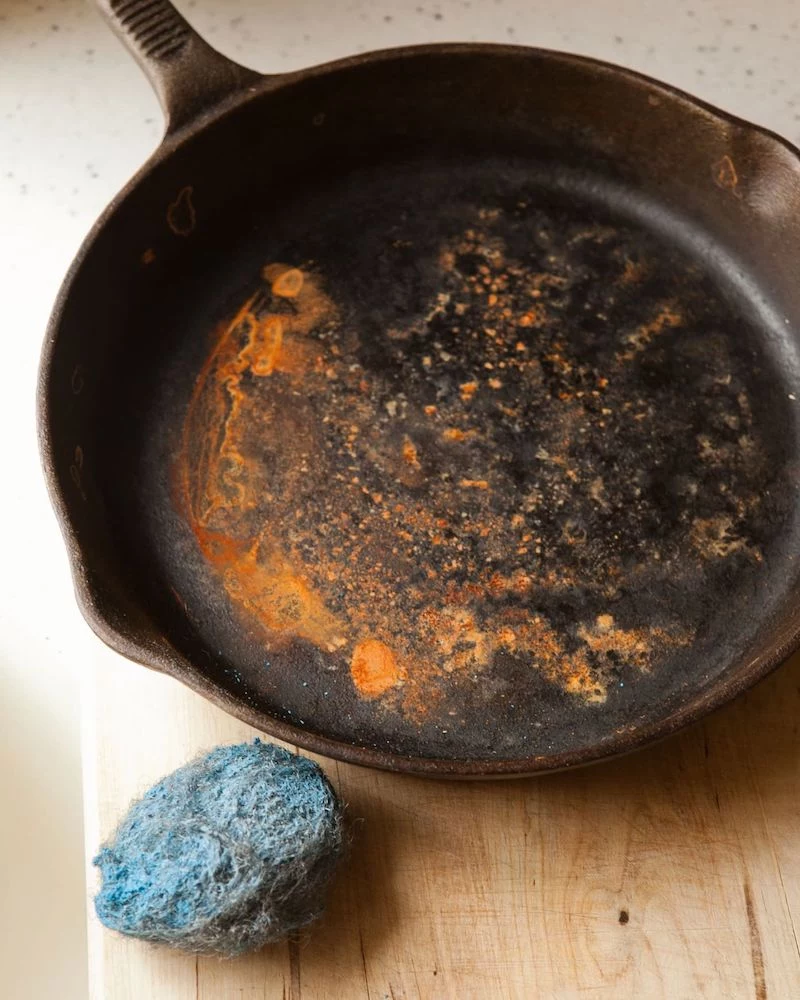
The Art of Bringing a Pan Back from the Dead
Sometimes you find a pan that looks like a total lost cause—maybe an old family piece from the basement or a flea market find caked in decades of gunk. Good news: you can almost always save it. This means stripping it down to the bare metal and starting over.
Quick tip on a restoration shopping list: You can do this on the cheap. All you really need is a can of heavy-duty yellow-cap oven cleaner (around $6), some decent rubber gloves ($8), a gallon of white vinegar ($4), and some steel wool. You can save a priceless heirloom for under $20.
Safety First! The lye in oven cleaner is no joke. Always wear heavy-duty gloves and safety goggles. Do this outside in a well-ventilated area, and keep kids and pets far away.
- For Removing Gunk (The Lye Method): The easiest way to dissolve that thick, black crust is with heavy-duty oven cleaner (the kind with lye is what you want). Take the pan outside, place it in a heavy-duty trash bag, and spray it down completely. Seal the bag up tight and let it sit for a day or two. The lye will turn that old seasoning into sludge. Wearing your safety gear, open the bag and scrub the gunk off with a plastic scraper and stainless steel scouring pad. Rinse thoroughly.
- For Removing Heavy Rust (The Vinegar Bath): If the pan is still rusty after you get the gunk off, a vinegar bath is your next step. Mix a 50/50 solution of white vinegar and water in a tub big enough to submerge the pan. Heads up: Don’t just walk away! Vinegar dissolves rust, but it will also eat away at the iron itself if you leave it too long. Check it every 30 minutes. Most rust will scrub off with steel wool after about an hour. Once the rust is gone, wash the pan with soap and water to neutralize the acid and dry it immediately.
- The Pro Method (Electrolysis): If you’re really serious about restoring valuable antique pieces, electrolysis is the gold standard. It uses a small electrical current to remove rust and gunk without any harsh chemicals, preserving the pan’s original surface. The setup is a bit more involved, requiring a battery charger and some washing soda, but it’s worth researching if you plan on doing a lot of restorations.
By the way, some people will tell you to just throw the pan in your oven’s self-cleaning cycle. I’m telling you now: please don’t. The intense heat can permanently warp the pan, making it wobble on your stovetop, or even make the iron brittle enough to crack. It’s not worth the risk.
Starting from Scratch: How to Season a Bare Pan
Once your pan is stripped down to its raw, grey metal, it’s time to build that seasoning back up. Doing this right is the foundation for a lifetime of good cooking.
Choosing the Right Oil
You’ve got options here, but some are definitely better than others. Grapeseed oil is my go-to recommendation for beginners; it’s affordable, has a high smoke point, and creates a durable, forgiving finish. Canola oil and even solid vegetable shortening also work great. You might hear about flaxseed oil, which creates a very hard seasoning, but from my experience, it can be a bit brittle and prone to flaking if you don’t get it perfect. Stick with grapeseed to start.
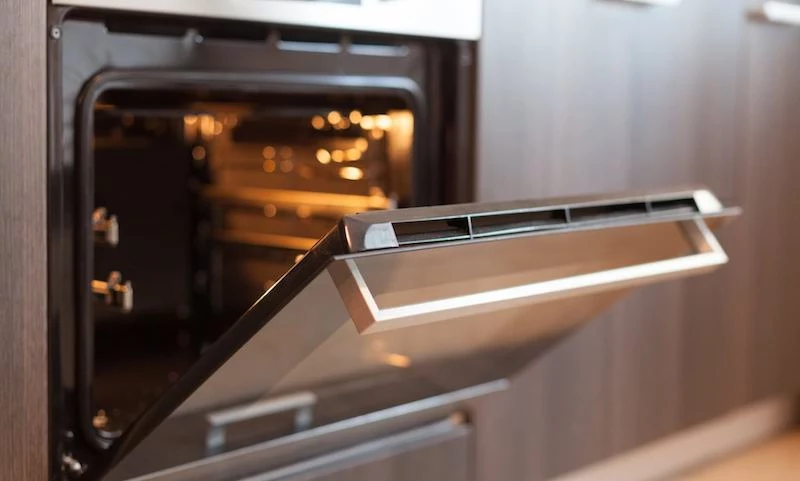
The Step-by-Step Oven Method
Patience is your friend here. First, heat your clean, bare pan in the oven to about 200°F (95°C) for 15 minutes to open up the pores of the iron. Carefully take it out and apply a small amount of grapeseed oil. Rub it over every single surface—inside, outside, the handle, everywhere. Now for the most important part: take a clean cloth and wipe it ALL off. Seriously. You want it to look like there’s nothing left on the pan. You’re just leaving an impossibly thin film.
Next, place the pan upside down on the middle rack of your oven and pop a sheet of foil on the rack below to catch any drips. Crank the heat up to 450-500°F (230-260°C), which is above the oil’s smoke point. Let it bake for one full hour. It’s going to get smoky, so turn on your vent fan. After the hour is up, turn off the oven and just let the pan cool down inside on its own.
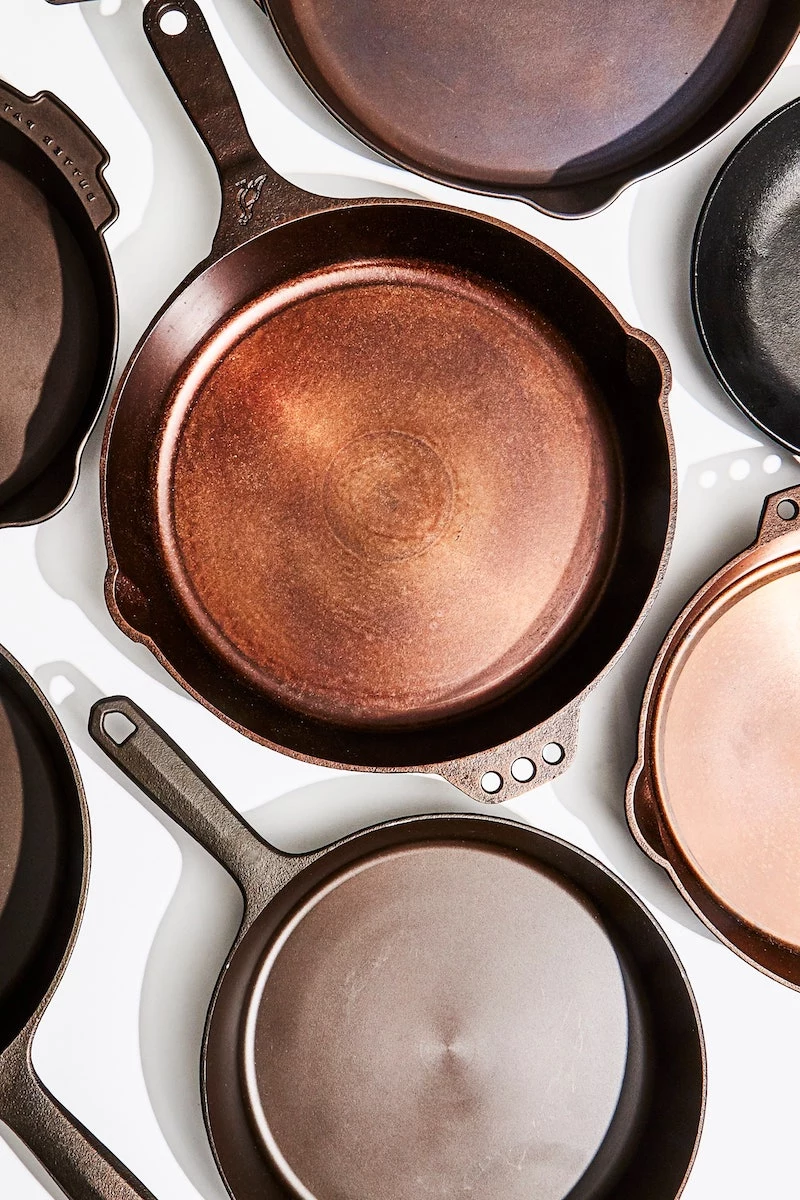
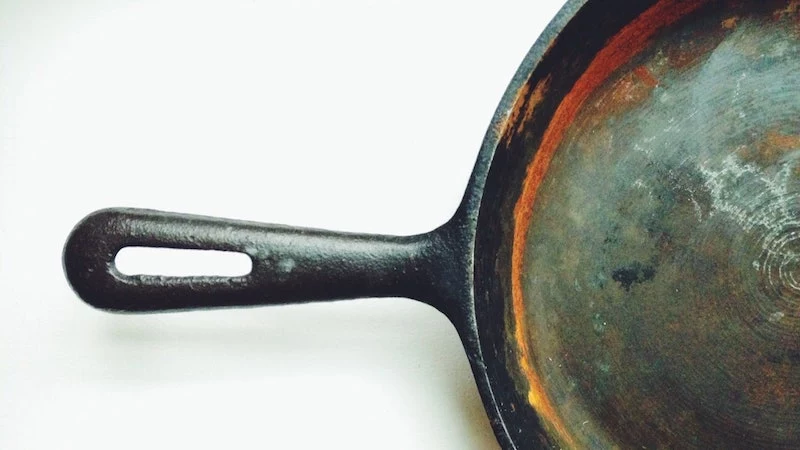
One layer is good, but it’s not enough. For a truly bulletproof seasoning, you need to repeat this entire process—apply oil, wipe it off, bake for an hour—at least three to five times. You’ll see it go from dull grey to a beautiful bronze, and finally to a deep, semi-glossy black.
Quick Cast Iron Fixes & FAQs
Even with the best care, things can go sideways. Don’t panic. These pans are tough.
- “Help! My pan is sticky after I seasoned it!” This is the #1 most common issue. It just means you used a little too much oil. No big deal! The fix is easy: just pop the pan back in the oven, upside down, at 450°F for another hour to fully bake on (polymerize) that sticky, excess oil.
- “Why are there black flakes in my food?” Don’t worry, it’s not poison. Those are just little bits of your seasoning flaking off, usually from a layer that didn’t fully bond. It’s a sign that you might need to give the pan a good scrub with a chainmail scrubber and some hot water to smooth things out before your next use.
- “Why is my food still sticking?” This usually comes down to three things. Either the pan wasn’t pre-heated enough before you added the food, you didn’t use enough cooking fat, or the seasoning is still new and needs more layers built up through cooking. The best way to build seasoning is just to cook fatty foods—think bacon, cornbread, and sautéed veggies.

Living with Your Cast Iron
The best way to maintain your pan is simply to use it. Frying, searing, and sautéing all help build and maintain that perfect surface. Just be a little careful with very acidic things like tomato sauce or wine reductions when your seasoning is new. Once you have a thick, slick surface, a quick tomato sauce is fine—just clean the pan promptly.
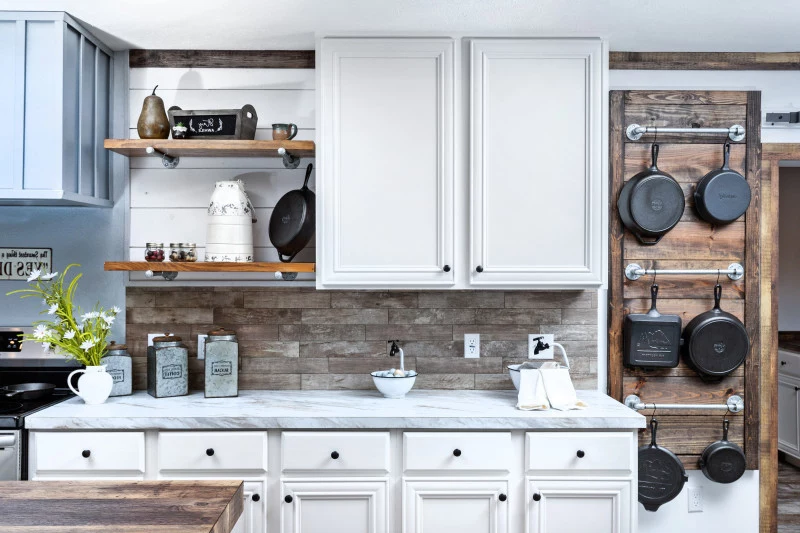
When it comes to storage, keep it in a dry place. If you stack your pans, stick a paper towel between them to prevent scratches and trap any moisture. And never, ever store food in the pan. It’s bad for the seasoning and will make your leftovers taste metallic.
Ultimately, cast iron isn’t difficult. It just asks for a little bit of consistency. Follow these steps, and you’ll have a kitchen workhorse that will serve you well for decades—and one you can proudly pass on someday.
Inspirational Gallery

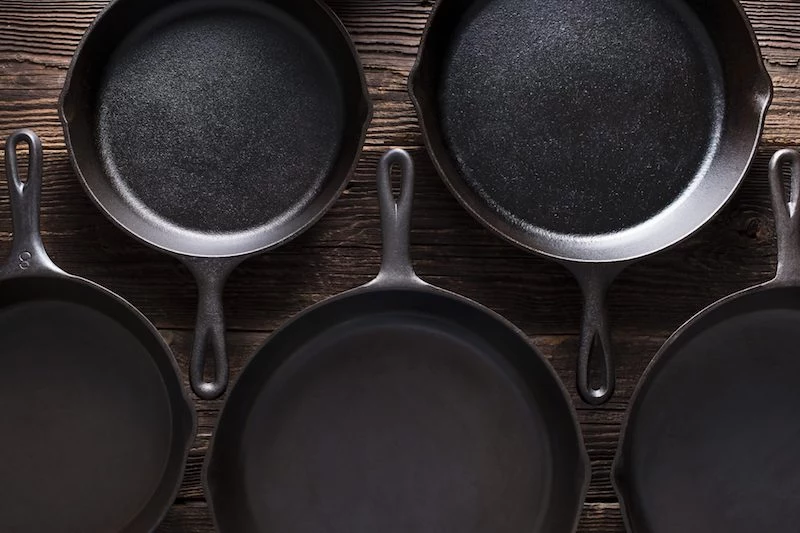
While modern skillets from brands like Lodge are fantastic workhorses, keep an eye out for vintage cast iron at flea markets. Pieces from makers like Griswold or Wagner, made before the 1960s, often have a noticeably smoother, lighter-weight finish due to different manufacturing techniques. They are true culinary treasures that, once restored, provide an unparalleled cooking surface.
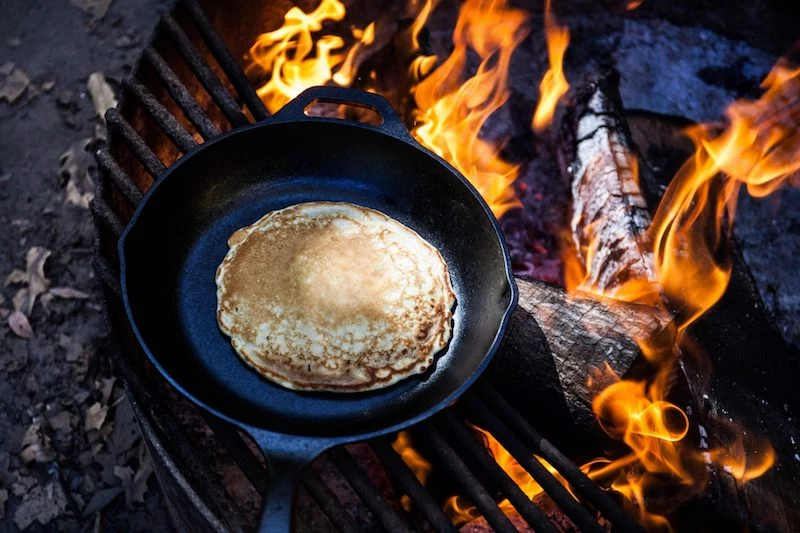
- A perfectly even, golden-brown crust on cornbread.
- Unmatched heat retention for a deep sear on steak.
- The ability to go straight from stovetop to oven.
The secret to these results? A well-seasoned cast iron skillet. It essentially becomes a personal, high-performance cooking surface that improves every time you use it.
The single biggest mistake is impatience with heat. Always preheat your cast iron slowly. Start on low for 5-10 minutes to let the iron heat through evenly before you turn it up for cooking. This prevents hot spots, stops food from sticking, and gives you that perfect, edge-to-edge sear.
Cast iron cookware has been used for over two thousand years, with the earliest known examples dating back to Han Dynasty China in the 2nd century B.C.
Tackling stubborn, stuck-on food is simpler than you think. Here’s the professional kitchen trick:
- Pour about an inch of water into the still-warm pan.
- Place it back on the stove and bring to a simmer.
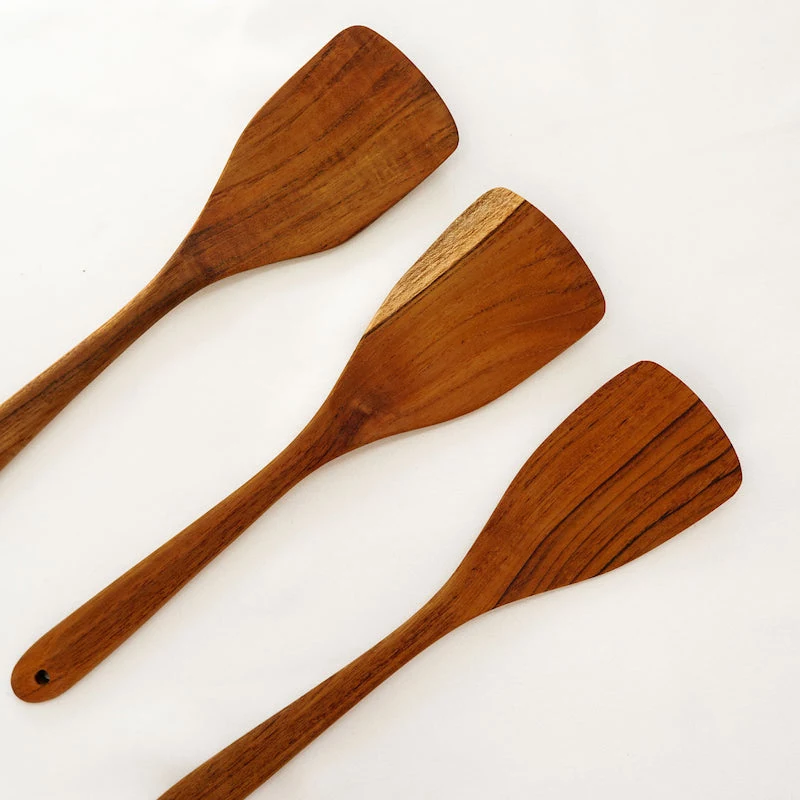
- As it simmers, use a flat-edged wooden or metal spatula to gently scrape the bottom. The burnt bits will lift right off.
- Pour out the water, give a final wipe, and place it back on low heat to dry completely before re-oiling.

So, can I really, truly use soap on my pan?
Absolutely. The old ‘no soap’ rule is a holdover from when soaps contained harsh lye that could strip seasoning. Modern dish detergents, like Dawn, are much milder. A small amount is perfectly fine for cleaning, especially after cooking something aromatic like fish or garlic. The key is to rinse thoroughly, dry the pan completely on a burner, and then wipe on a fresh, thin coat of oil.
Chainmail Scrubber: Ideal for tough, caked-on food without harming your seasoning. A product like The Ringer is incredibly effective. Best for heavy-duty cleaning.
Coarse Salt Scrub: A classic method. Use a paper towel and a bit of oil to scrub with coarse salt. It acts as a gentle abrasive to remove residue and lightly smooths the seasoning.
Both work wonders, but chainmail is faster for the really tough jobs.
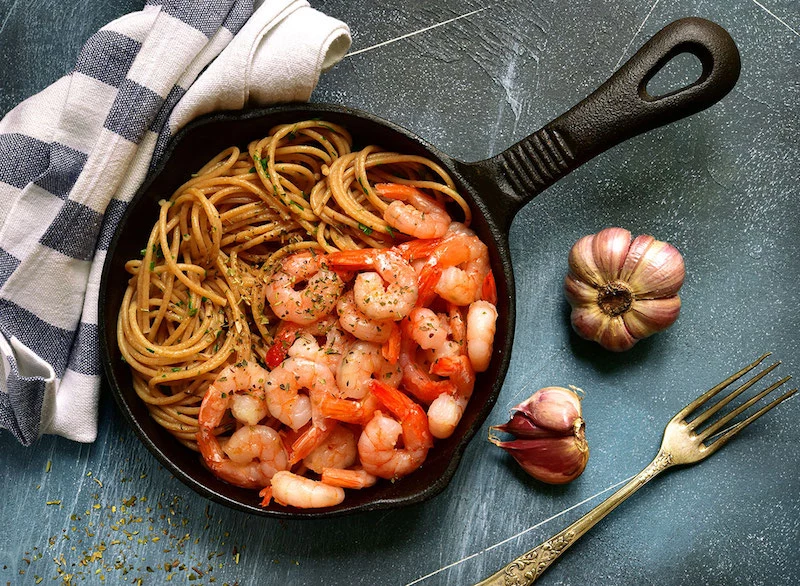
Cooking in cast iron can naturally increase the iron content of food by up to 16%, especially when cooking acidic ingredients like tomato sauce.
This is a natural chemical reaction and a nice little nutritional perk. While you shouldn’t simmer a bolognese for hours in a newly seasoned pan (it can weaken the seasoning), a well-established skillet can handle it for shorter cook times without any issue.
The pan’s sound tells a story. That immediate, aggressive sizzle when a steak hits the hot surface is the sound of the Maillard reaction in progress—the chemical process that creates hundreds of delicious flavor compounds. It’s a raw, satisfying experience that a modern non-stick pan just can’t replicate.
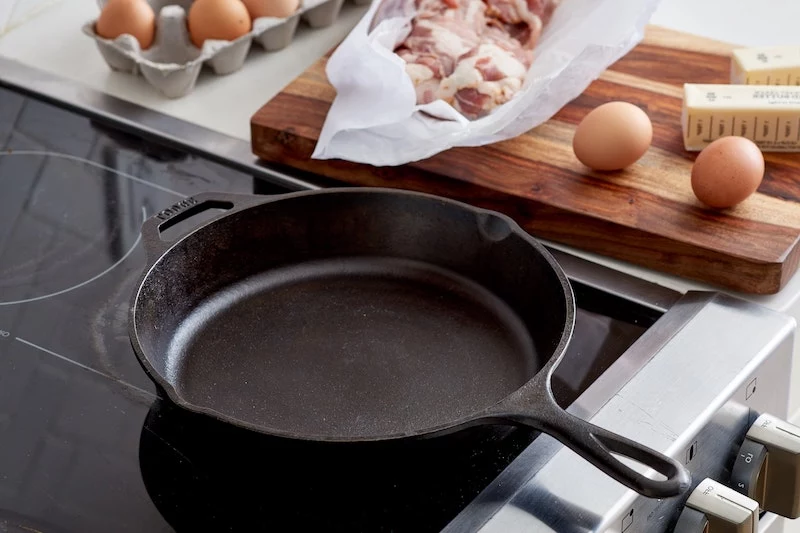
Fast-track your new pan’s seasoning by focusing on these initial meals:
- Shallow-frying potatoes or chicken.
- Sautéing a large batch of onions and peppers.
- Frying bacon (the classic seasoning secret for a reason).
- Baking a rich, buttery cornbread.
Don’t fear metal spatulas. In fact, you should embrace them. Unlike chemically-coated non-stick pans, a sturdy metal spatula (especially one with a flat, sharp edge) helps to smooth and maintain your seasoning over time by scraping away any weak bits and burnishing the surface. It’s a tool for both cooking and pan maintenance.
In an age of disposable kitchen gadgets, a cast iron pan is a profound statement of sustainability. It’s a ‘buy it for life’ tool that is often passed down through generations. Restoring a rusted pan isn’t just a hobby; it’s an act of recycling that saves a piece of functional history from the landfill.
Help! I have a sticky, gummy spot on my pan. What went wrong?
That’s a classic sign of too much oil. Remember, seasoning is built from incredibly thin, polymerized layers. A thick coat of oil won’t cure properly, turning into a sticky resin instead. The fix is easy: scrub the spot off with coarse salt or even fine steel wool, then reapply a *microscopic* layer of oil and heat the pan until it smokes slightly.
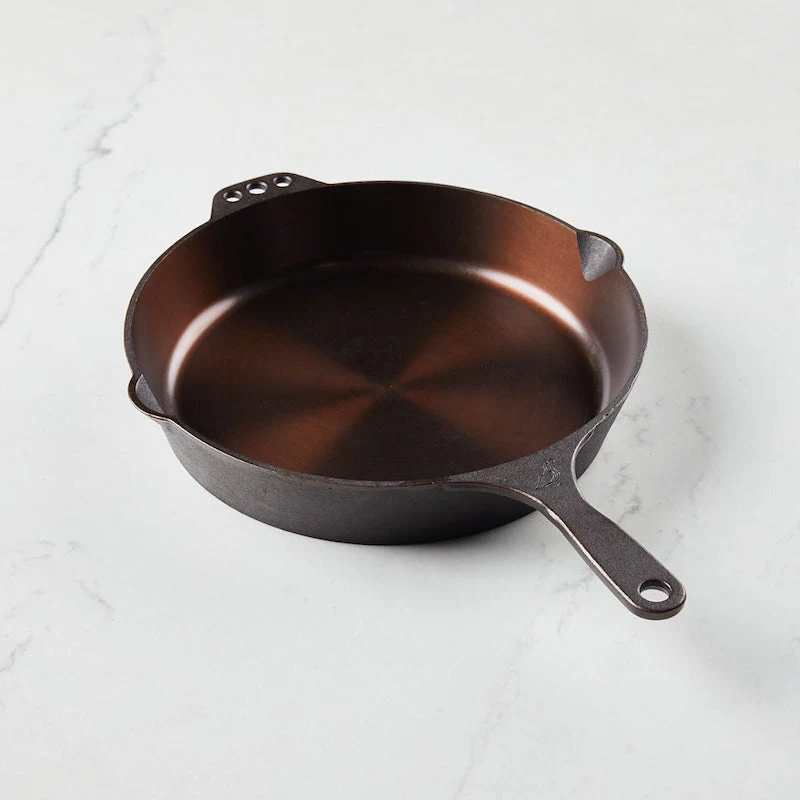
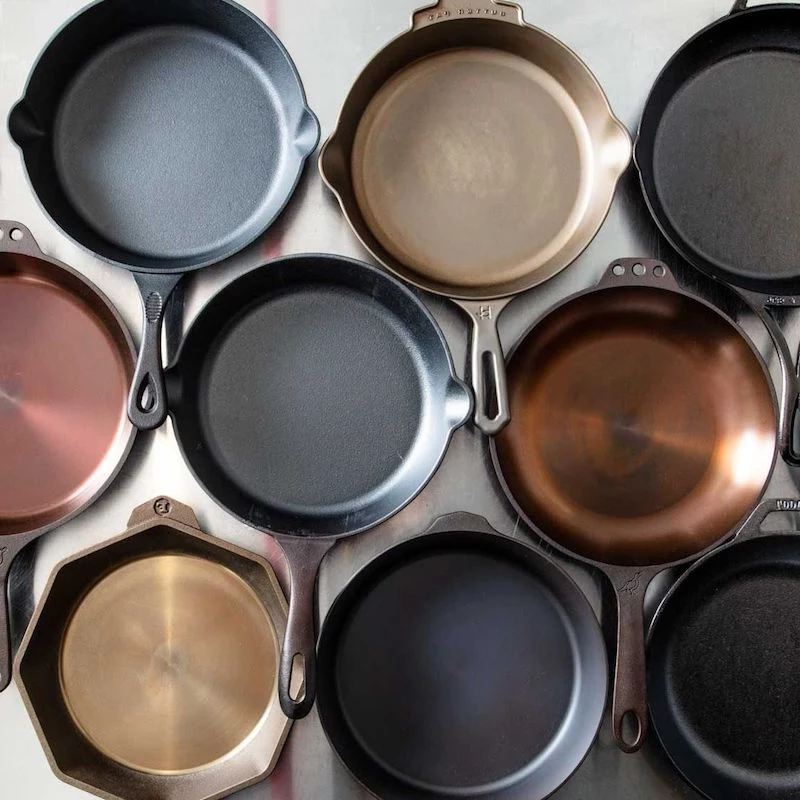
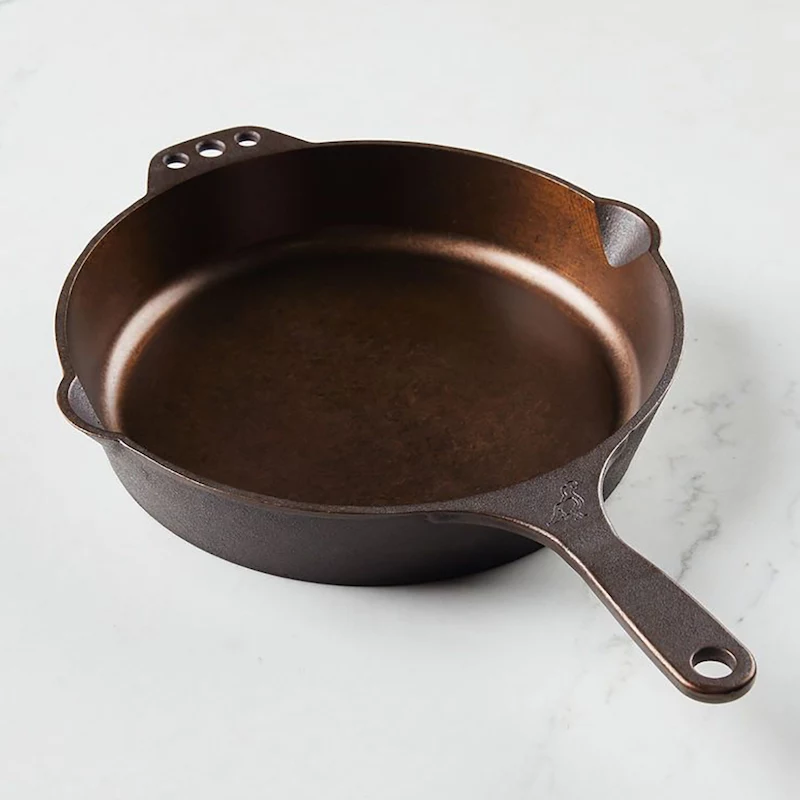
Lodge Classic: The American-made workhorse. Incredibly affordable, durable, and will last generations. Its initial pebbly texture from sand-casting smooths out beautifully with use.
Field Company or Smithey: The artisan choice. These premium pans are machined or hand-forged to have a satin-smooth cooking surface from day one, reminiscent of vintage skillets. They’re an investment in both performance and aesthetics.
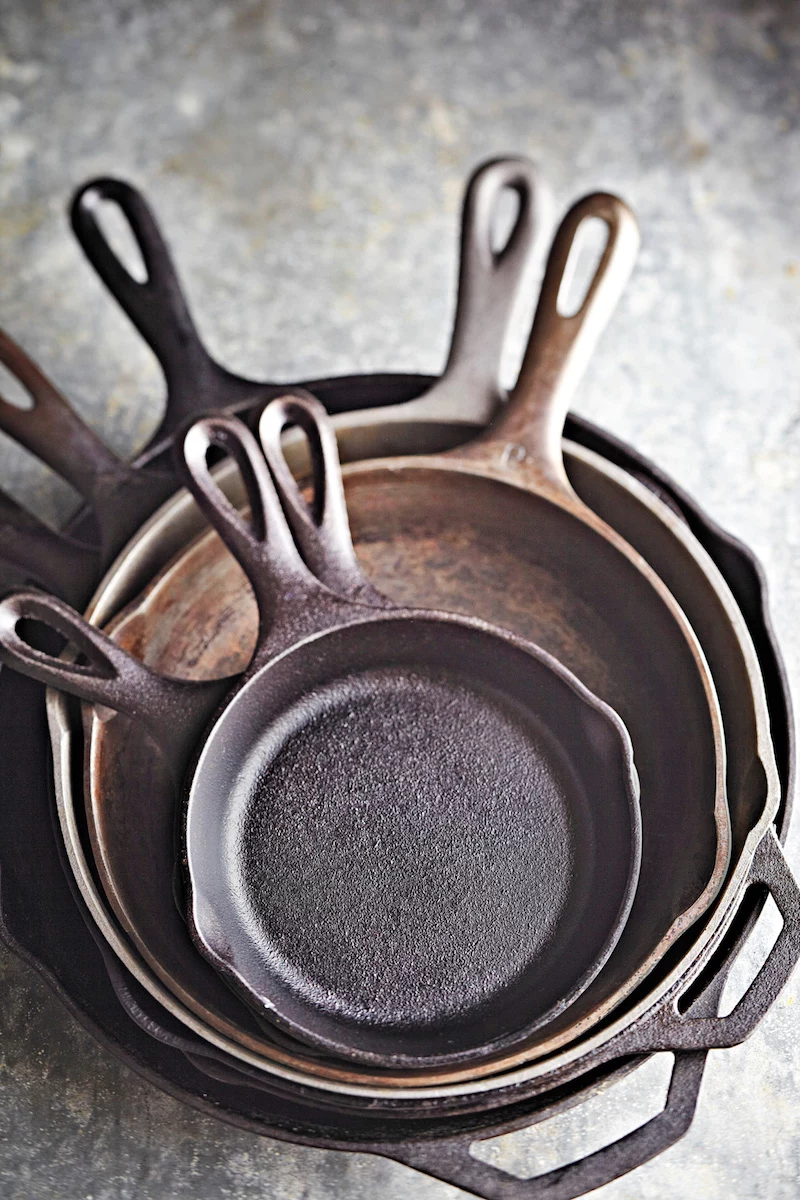
To store your cast iron safely and maintain its condition, always ensure it’s bone-dry. If you must stack your pans, place a single layer of paper towel inside each one. This prevents the seasoning from getting scratched and, more importantly, wicks away any residual humidity that could lead to rust spots.
Wondering about enameled cast iron from brands like Le Creuset or Staub? The vitreous enamel coating means you don’t need to season it, and it excels at simmering acidic stews or braises. However, it can’t take the same ripping-hot temperatures for searing as raw cast iron, and the enamel can chip if dropped or scraped with metal utensils.


