Streaming Sticks Explained: Why Your Phone-to-TV Setup Might Be Awful (and How to Fix It)
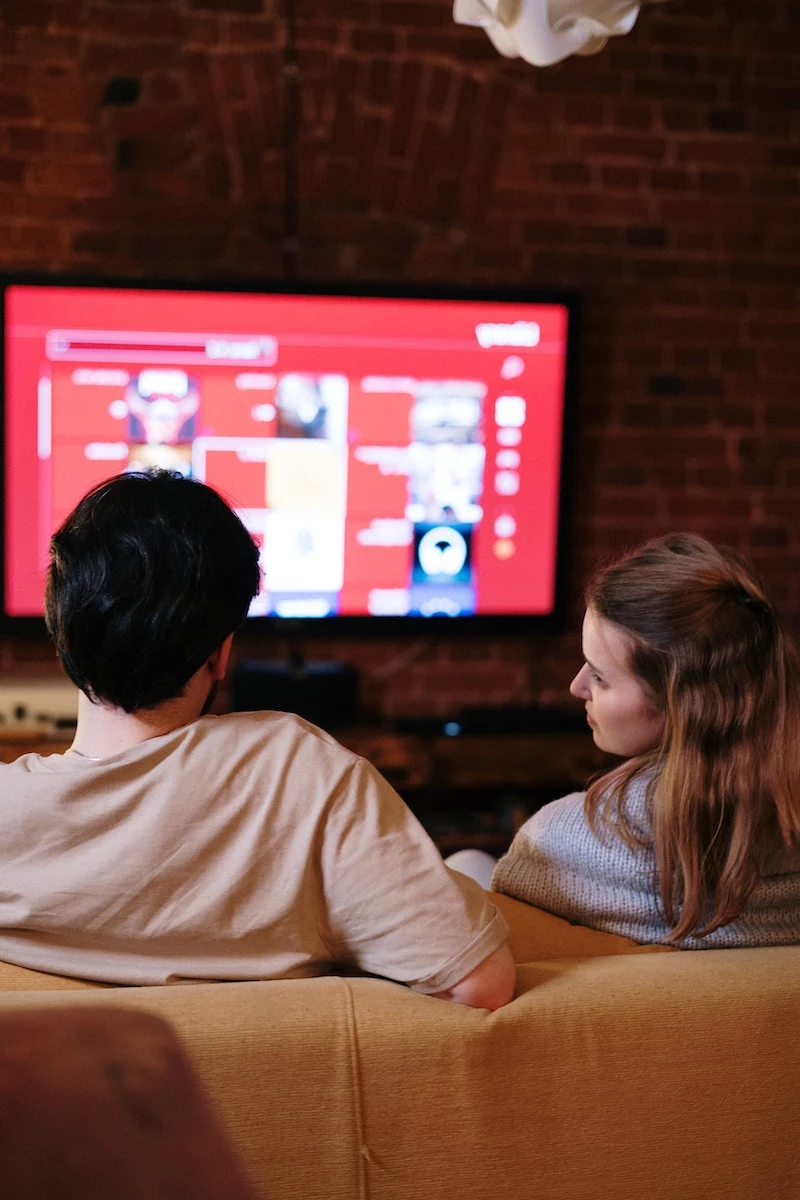
I’ve spent a huge chunk of my career in people’s living rooms, untangling wires and making their tech work. It used to be all about running physical cables, but now, the biggest challenge is wireless. Everyone wants to get that video from their tiny phone screen onto their giant TV. Sounds easy, right? But how you do it makes all the difference between a movie night and a frustration-fest.
In this article
You’ve probably seen ads online for miracle gadgets, often called things like “TV Buddy,” promising to do this for cheap. Then you have the big names you see at Best Buy, like Chromecast. They all plug into your TV’s HDMI port, but what’s going on inside is completely different. Honestly, it comes down to two very different technologies: screen mirroring and true casting. Understanding the difference is the key to not wasting your money.
So, let’s break it down based on years of installs, troubleshooting, and explaining this stuff to clients who just want to watch their shows without any headaches.
The Lowdown on Screen Mirroring
Screen mirroring is exactly what it sounds like. It takes whatever is on your phone’s screen and duplicates it—or mirrors it—onto your TV in real-time. You swipe on your phone, the TV image swipes. A text message pops up on your phone? Yep, it pops up on the big screen for everyone to see.
Think of it as a wireless HDMI cable. It’s a direct, one-to-one copy.
How It Actually Works (and Why It Struggles)
Most of these devices use a tech called Miracast, which creates a direct Wi-Fi link between your phone and the little stick. It doesn’t even need your home Wi-Fi router to function. But here’s the catch: your phone is doing ALL the work. It has to render the video, capture its own screen, compress that video on the fly, and then broadcast it. That is a massive strain on your phone’s processor and battery.

I learned this the hard way with a client who bought a generic mirroring dongle to watch movies. He was furious because the film kept freezing. The problem was his email app, which was set to sync every five minutes. Each sync caused the phone’s processor to hiccup, which was enough to stutter the video feed. A total nightmare for movie night.
When is Mirroring Actually a Good Idea?
Despite its flaws for watching Netflix, mirroring is perfect for certain things. It’s the go-to when an app doesn’t have a “cast” button built-in. Here’s where it shines:
- Sharing Photos: Swiping through a vacation gallery with family is a breeze.
- Quick Presentations: Mirroring a tablet in an office to show a website or proposal is way easier than messing with cables.
- App Demos: Showing someone how to use a specific app is simple when you can put it on a big screen.
Good to know: Want to try it? On most Android phones, swipe down from the top to find your quick settings panel and look for an icon called “Screen Cast,” “Smart View,” or something similar. For iPhone users, it’s called “Screen Mirroring” in the Control Center, but it only works with an Apple TV or other AirPlay-compatible devices.
The Magic of True Casting
Now, casting is a whole different beast. It’s smarter, more efficient, and what devices like the Google Chromecast are famous for. When you “cast” something, your phone isn’t sending the video at all. It’s just a fancy remote control.
How It Works (and Why It’s So Much Better for Video)
When you’re in an app like YouTube or Netflix and you tap that little rectangle-with-Wi-Fi-waves icon, your phone just sends a single instruction to the streaming stick. That instruction is basically, “Hey, go to this internet address and play the video you find there.”
The streaming stick then uses its own connection to your home Wi-Fi to grab the video directly from the internet. Your phone is completely out of the picture. All the heavy lifting—downloading, decompressing, and displaying the video—is done by the stick itself.
I set one of these up for an older couple who just wanted to watch videos of their grandkids on YouTube. Within minutes, they were tapping the cast icon on their tablet, and the video popped onto the TV in perfect HD. The best part? They could set the tablet down, turn off its screen, or even browse Facebook, and the video on the TV just kept playing. That’s the magic of it.

Mirroring vs. Casting: The Head-to-Head Breakdown
So, to put it all in one place, here’s the real difference when you’re on the couch:
With Screen Mirroring, your phone is completely tied up. You can’t use it for anything else, and its battery will drain like crazy. The quality can also be choppy because it depends on your phone’s power. It’s best for quick, active tasks like presentations or showing photos.
But with True Casting, your phone is totally free. Once the video starts, you can take calls or even leave the house, and it keeps playing. Your phone’s battery is barely touched. The quality is way more stable and can easily hit 4K, since the stick is pulling the video directly from the source. It’s built for passive entertainment like movies and TV shows.
Okay, So What Should I Actually Buy?
This is where people get confused between the tech and the products. “Casting” is the technology, but you’ll see it in devices from a few major brands. Roku and Amazon Fire Stick are also essentially casting devices—they just have their own interfaces and remotes, whereas a basic Chromecast relies more on your phone.
Here’s my go-to shopping list for anyone who asks. You can find these at places like Target, Best Buy, or online.
- For Most People (Easiest All-Around): The Roku Streaming Stick 4K is a superstar. It has a super simple remote and an interface that’s easy for anyone to use. It usually runs about $40-$50.
- For Google/Android Users: The Chromecast with Google TV (4K) is fantastic. It blends the classic casting we’ve talked about with a full TV interface and a remote. It’s a great value at around $50.
- For Amazon Prime & Alexa Fans: The Amazon Fire TV Stick 4K Max is the obvious choice. It integrates perfectly with Prime Video and Alexa. Expect to pay around $55, but it often goes on sale.
The Pro’s Guide to a Flawless Setup
A great device can still perform badly if it’s set up poorly. A few minutes of extra effort here will save you hours of headaches.
First, your Wi-Fi is everything. For streaming, always try to connect your stick to your router’s 5GHz network band if you have one. It’s faster and less crowded than the 2.4GHz band. And please, don’t hide your router in a closet in the basement. Wi-Fi signals hate walls and metal. A central, elevated spot is best.
Heads up! Not sure what your internet speed is? You need about 25 Mbps for smooth 4K streaming. Just open a browser on your phone and go to a site like Speedtest.net. It’s free and takes 30 seconds.
Next, let’s talk power. Your TV has a USB port right next to the HDMI, and it’s tempting to plug your stick in there for power. Don’t do it! From my experience, those ports often don’t supply enough consistent power, causing random reboots and crashes. Always use the power adapter that came in the box and plug it into a proper wall outlet.
One last lesser-known trick: check your TV’s settings for something called HDMI-CEC. TV brands give it silly marketing names (like Anynet+, SimpLink, or BRAVIA Sync), but it’s a game-changer. You’ll usually find it buried in the ‘System,’ ‘Connection,’ or ‘General’ settings menu. When it’s on, casting a video can automatically turn on your TV and switch to the right input. It makes the whole thing feel seamless.
A Serious Warning About Those Cheap, Unbranded Sticks
This is where I get serious. Be extremely careful with those cheap, no-name streaming sticks you see in aggressive online ads. They might cost $20-$30, but you get what you pay for.
For just $10 or $20 more, you can get a real, supported device from Roku, Google, or Amazon. That extra cash buys you things that actually matter:
- Security and Software Updates: The big brands constantly patch security holes. A generic stick from an unknown company is a black box—you have no idea if it’s secure or what data it might be collecting. It will almost certainly never get an update.
- Reliability: I’ve seen countless cheap sticks fail from overheating because they use shoddy components.
- It Actually Works: When Netflix updates its app, Roku and Google update their firmware to keep pace. That no-name stick? It might just stop working one day, and you’ll have no one to call.
To be frank, it’s an unacceptable security risk to connect an untrusted device to your home network. It’s just not worth the few bucks you save.
The Bottom Line: Use the Right Tool for the Job
At the end of the day, the choice is simple. Are you mainly doing presentations or sharing photos from an app with no cast button? A mirroring device might work for you, as long as you know its limits.
But for everyone else—the 99% of people who just want to watch movies, TV shows, and YouTube on their television—a true casting device from a reputable brand is the only way to go. The experience is better in every way that matters: quality, convenience, and peace of mind. And that’s what good tech should be all about.
Inspirational Gallery
Fire TV Stick Lite: A budget-friendly gateway into Amazon’s ecosystem. Its interface heavily promotes Prime Video and other Amazon services, which is great for subscribers but can feel cluttered to others. Includes a voice remote, but it lacks TV volume controls.
Roku Express: Praised for its simple, grid-based interface that treats all apps (Netflix, Disney+, YouTube) equally. It’s incredibly easy to navigate. A great choice if you value simplicity and a neutral platform over deep integration with one specific service.
Both are excellent entry-level choices, so your decision may simply come down to which interface philosophy you prefer.
More than half of all global video streaming is now viewed on a 4K-capable screen.
This shift is why investing in a 4K-capable stick, like a Chromecast with Google TV or a Roku Streaming Stick 4K, is smart even if your current TV is only 1080p. These more powerful models have faster processors, meaning menus are snappier and apps load quicker, providing a better experience today and future-proofing you for your next TV upgrade.
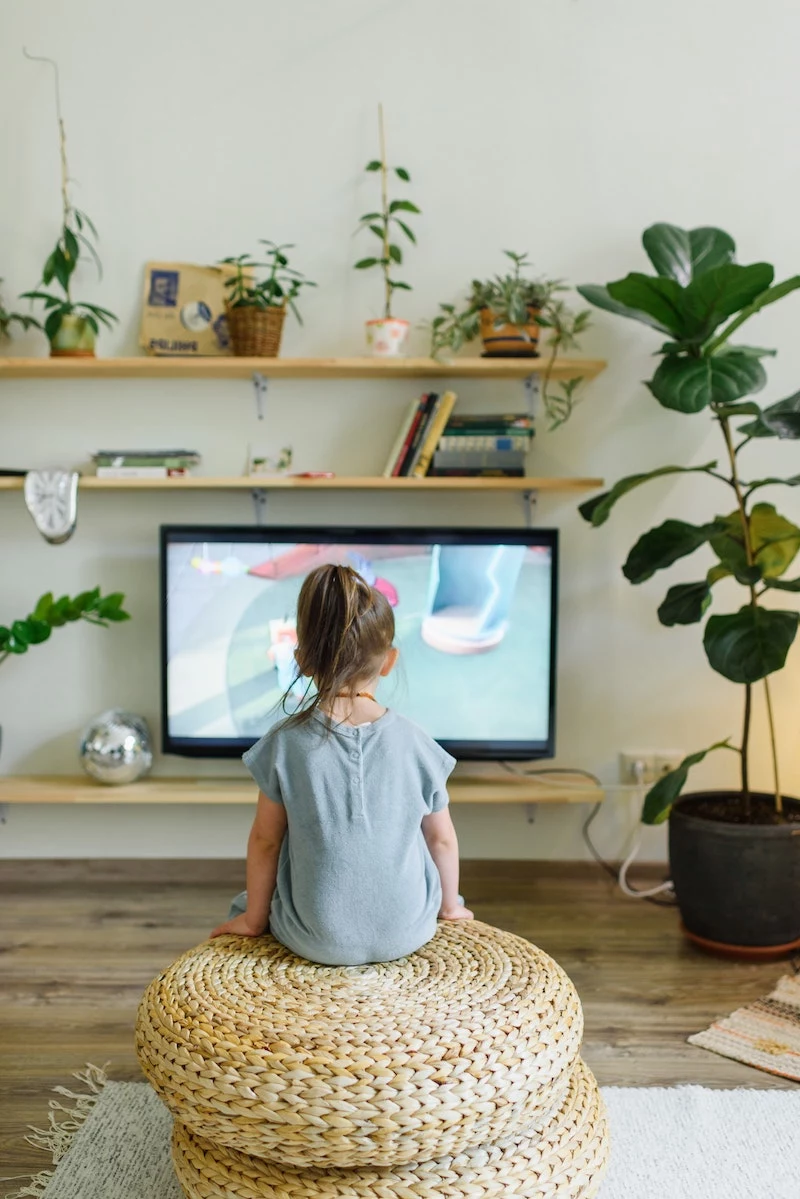
My TV is already ‘smart’, so why would I need an external stick?
It’s a common question, but the answer often comes down to speed and longevity. The processors built into many budget and mid-range smart TVs are slow, leading to frustratingly laggy menus. Furthermore, TV manufacturers often stop updating their built-in apps after just a few years. An external stick from Google, Amazon, Roku, or Apple is almost always faster and will receive software updates and new apps for much longer, extending the useful life of your TV for as little as $30.
Don’t just focus on the picture; the sound is half the experience. A modern streaming device like an Apple TV 4K or Fire TV Stick 4K Max can process immersive audio formats like Dolby Atmos. When connected to a compatible soundbar or AV receiver, this technology creates a three-dimensional soundscape where effects feel like they’re happening all around you, not just coming from the screen.
Important: That handy USB port on your TV might seem like the perfect power source for your new streaming stick, but it’s often a trap. Most TV USB ports are underpowered and can’t provide the stable electricity the stick needs, leading to random reboots or crashes. Always use the dedicated power adapter and cable that came in the box for maximum stability.
- A perfectly stable 4K HDR stream, with zero buffering during peak hours.
- Faster menu navigation and app loading times.
- Elimination of wireless interference from neighbors’ networks.
The secret? An Ethernet adapter. For around $15, a simple adapter for your Chromecast or Fire TV Stick lets you use a wired internet connection, bypassing unpredictable Wi-Fi for the ultimate performance upgrade.
A great streaming experience is 50% the content you can watch and 50% how easily you can find it. The user interface is everything.
For a clean installation, hide the tech. Most streaming sticks are small enough to be tucked away. Use a short, flexible HDMI extender (often included with Amazon Fire TV Sticks) to angle the device so it sits completely behind the television’s frame. This prevents the stick from protruding awkwardly from the side and keeps your setup looking sleek and wire-free.
Beyond resolution, the real magic of modern streaming lies in video codecs. These are the compression technologies that make high-quality video fit through your internet connection. Two to know are:
- HEVC (H.265): The current standard for 4K streaming on services like Netflix.
- AV1: A newer, more efficient, and royalty-free codec used heavily by YouTube and gaining traction everywhere. A stick that supports AV1 is better prepared for the future of streaming.
- Move your Wi-Fi router to a more central, open location in your home, away from walls or other electronics.
- If your router supports it, connect your streaming stick to the 5GHz Wi-Fi band instead of the 2.4GHz band. It’s faster and less prone to interference.
- Manually update your streaming stick’s software. These updates often include improved Wi-Fi drivers and performance tweaks.


