Forget the Trends: A No-Nonsense Guide to Building Real, Lasting Strength
I’ve been in the fitness world for a long time, and I’ve seen it all. From shake weights to those weird vibrating platforms, every year brings a new gadget promising a magic shortcut. But here’s the honest truth: fancy machines and trendy online workouts don’t build a body that’s truly strong and capable.
In this article
What does? A deep-down understanding of how your body is meant to move.
If you’re just starting, the sheer amount of conflicting advice out there can feel overwhelming. It’s easy to get stuck, worried you’ll waste your time or, even worse, get hurt. So let’s cut through the noise. This isn’t about getting a six-pack in six weeks. It’s about building practical, everyday strength that serves you for life, whether you’re hoisting a heavy bag of dog food or just getting up off the floor with ease.
First Things First: You Can’t Just Jump In
Before you even think about lifting a weight, we need to have a little chat about preparation. One of the most common mistakes I see is people diving straight into the main workout. Your body just isn’t ready for that. A proper warm-up isn’t optional; it’s the absolute best way to prevent injuries and get more out of your workout.
And no, I’m not talking about holding a hamstring stretch for five minutes. Before you train, your body craves dynamic movement to get the blood flowing and wake up your nervous system. A solid 5-10 minute warm-up is all it takes.
Here’s a simple routine to get you started:
- Leg Swings: Hold onto something for balance. Swing one leg forward and back 10 times, then side to side 10 times. Repeat on the other leg.
- Arm Circles: Do 10 small circles forward, then 10 large ones. Repeat going backward.
- Cat-Cow: Get on your hands and knees. Inhale as you drop your belly and look up, then exhale as you round your spine and tuck your chin. Do this 8-10 times. It feels amazing for your back.
- Bodyweight Squats: Just a few! Do 10 reps to prime the movement pattern.
- Glute Bridges: Lie on your back with your knees bent. Drive your hips up and squeeze your glutes. Do 10-12 reps to wake up your backside.
The goal is to feel a little warmer and looser. You’re ready when your heart rate is up slightly, but you’re not out of breath.

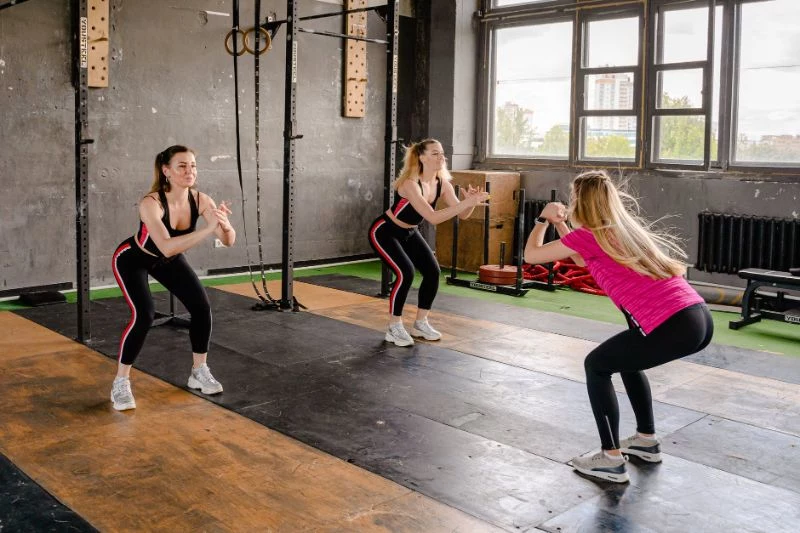
The Squat: Your Foundation for Lower Body Power
If you could only do one exercise forever, the squat would be a top contender. It’s about as fundamental as it gets, building serious strength in your quads, glutes, and hamstrings while demanding a tight, stable core. You squat every single day when you sit down and stand up, so learning to do it well is a life skill.
How to Do a Perfect Bodyweight Squat
Mastering this before adding weight is non-negotiable. It builds the foundation that keeps you safe down the road.
- The Stance: Stand with your feet about shoulder-width apart, toes pointing forward or slightly out—whatever feels most comfortable for your hips. Try to feel the floor with your whole foot.
- The Start: Kick things off by sending your hips back, like you’re aiming for a chair that’s a bit too far behind you. Keep your chest up!
- The Descent: Lower yourself until your thighs are at least parallel to the floor. Deeper is great if you have the mobility. Your knees should track in line with your feet, so don’t let them cave inward. Inhale on the way down.
- The Ascent: Drive through your entire foot to stand back up, exhaling as you push. Give your glutes a good squeeze at the top to finish the rep.

Solving Common Squat Problems
- Knees Caving In: This is a classic sign of sleepy glutes. A quick fix is to think about “spreading the floor apart” with your feet as you squat. Doing some clamshells or banded side steps in your warm-up also helps a ton.
- Leaning Too Far Forward: Often caused by tight hips or a core that isn’t quite turned on. The best teaching tool for this is the Goblet Squat. Holding a light dumbbell or kettlebell at your chest acts as a counterbalance, making it much easier to stay upright.
- Heels Lifting Up: This usually screams tight ankles. While you work on ankle mobility, you can place your heels on a pair of small weight plates (like 2.5 lbs) or even a thin book. It’s a temporary cheat that allows for better depth.
The Lunge: Building Balance and Single-Leg Strength
So much of life happens on one leg at a time—walking, running, climbing stairs. The lunge trains your body for that reality. It’s fantastic for building single-leg (unilateral) strength and ironing out any muscle imbalances between your left and right side.
How to Do a Reverse Lunge
By the way, I always teach the reverse lunge first. It’s generally easier on the knees and feels more stable for beginners.
- Get Set: Stand tall with your feet together, core braced.
- Step Back: Take a big step backward with one foot, landing on the ball of that foot.
- Drop Down: Lower your hips straight down until both knees are bent at about a 90-degree angle. Your front knee should be right over your ankle, and your back knee should hover just above the floor. Don’t let it crash down!
- Drive Up: Push through the heel of your front foot to return to the starting position.
- Repeat: Finish all your reps on one side before switching. This keeps the muscle working longer, which is great for growth.
If you feel wobbly, don’t worry! That’s totally normal. It’s just your stabilizer muscles learning their job. The fix is simple: slow down. You can also lightly hold onto a wall or a chair for support until your balance improves.

The Push-Up: The Ultimate Test of Upper Body Strength
The push-up is one of the best upper-body exercises on the planet. A perfect push-up is basically a moving plank; it tells me more about a person’s total-body strength than almost any other movement. It works your chest, shoulders, and triceps, but only if your core is strong enough to hold the line.
Why Incline Push-Ups Beat Knee Push-Ups
Okay, hot take: I’m not a fan of doing push-ups on your knees. It can teach you a bad habit by taking your core and hips out of the equation. You end up doing a sort of “worm” movement, which doesn’t translate well to a real push-up.
A much better way to build strength is to use an incline. Think about it: an incline push-up against a counter or bench forces you to keep a rigid, straight line from your head to your heels. It’s the exact same movement pattern as a floor push-up, just with less gravity to fight. As you get stronger, you simply find a lower surface (from the wall, to a counter, to a bench, and finally the floor), progressively making it harder while keeping your form perfect. It’s the right way to get there.
Your challenge this week: Find your starting incline! Can you do 8 perfect reps on the kitchen counter? Awesome. Next time, try a sturdy coffee table. Find the height where 8-10 reps is tough but doable. That’s your starting point!
The Row: The Antidote to Modern Life
We spend our days hunched forward—over computers, phones, and steering wheels. This makes the muscles on the front of our body tight and the muscles on our back weak and sleepy. The row is the cure. It’s a pulling motion that builds a strong back, fixes posture, and promotes healthy shoulders.
A good rule of thumb in fitness is to have a pulling exercise for every pushing exercise you do. It’s all about balance.
How to Do a Dumbbell Row
This is a fantastic place to start. All you need is a bench (or sturdy chair) and one dumbbell.
- The Setup: Place your left knee and left hand on the bench, keeping your back flat and parallel to the floor. Your right foot is on the floor for support. Hold a dumbbell in your right hand with your arm hanging straight down.
- The Pull: Start by pulling your shoulder blade back toward your spine. Then, lead with your elbow, driving it up toward the ceiling. Bring the dumbbell to the side of your rib cage.
- The Squeeze: At the top, give your back muscles a good, hard squeeze for a second. Think about pulling with your back, not just your arm.
- The Return: Lower the weight slowly and with control. Don’t just let it drop.
Heads up! A common mistake is yanking the weight with your bicep. To fix this, imagine a string is attached to your elbow, pulling it straight up to the sky. If you have to swing your body to lift the weight, it’s too heavy. Drop the weight and focus on form.
Putting It All Together: Your First Plan
Okay, so you’ve got the moves down. Now what? You need a simple plan and the right tools.
What You’ll Actually Need
You don’t need a full gym membership. To be frank, you can get started for less than the cost of a couple of pizzas.
- A Dumbbell or Kettlebell: A single, medium-weight dumbbell (10-20 lbs for women, 20-35 lbs for men) can get you started and will cost you about $20-$60 at places like Target, Walmart, or online.
- Resistance Bands: A set of loop resistance bands is a fantastic, budget-friendly option for around $20. They’re great for the warm-up exercises and can even be used for rows.
Sample Beginner Full-Body Routine (2-3 Days a Week)
Do this on non-consecutive days (like Monday, Wednesday, Friday) to give your body time to recover. The whole thing, including warm-up and cool-down, should take about 45 minutes.
- Warm-up: 5-10 minutes (use the routine from above).
- Goblet Squats: 3 sets of 8-12 reps.
- Incline Push-Ups: 3 sets of as many good-form reps as you can.
- Dumbbell Rows: 3 sets of 8-12 reps per side.
- Reverse Lunges: 3 sets of 10-15 reps per side.
- Plank: 3 sets, holding for 30-60 seconds.
Good to know: Rest for 60-90 seconds between each set. For weight, choose one where the last couple of reps in a set are challenging but you can still maintain perfect form. If it feels easy, it’s time to go up in weight. If your form breaks down, go lighter.
Don’t Forget the Cool-Down
Remember how we said static stretching wasn’t great for a warm-up? Well, now is its time to shine. A 5-minute cool-down helps your body begin the recovery process. Gently hold a few stretches for about 30 seconds each. A simple chest stretch in a doorway or a quad stretch for your legs is perfect.
And that’s it. Building a strong body is a marathon, not a sprint. It takes patience and consistency. But by focusing on these foundational movements and really listening to your body, you’re building something that will support you for the rest of your life. Now go get started!
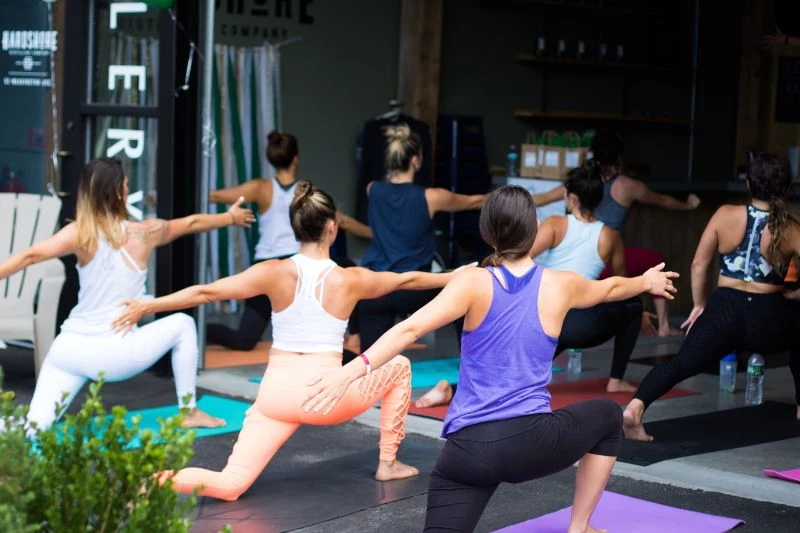
Inspirational Gallery
You don’t get stronger in the gym; you get stronger while you recover. The workout is the stimulus, but the growth happens afterward. Prioritizing recovery is non-negotiable for real, lasting gains.
- Sleep: Aim for 7-9 hours. This is when your body releases growth hormone and repairs muscle tissue.
- Protein: Consume adequate protein throughout the day to provide the building blocks for muscle repair.
- Hydration: Your muscles are about 75% water. Dehydration can tank your performance and recovery.
What shoes should I wear for lifting?
Leave your spongy running shoes by the door. For lifting, you need a stable base to generate force from the ground up. Cushioned soles create instability, which can compromise your form and power. The best options are often the simplest: flat, hard-soled shoes like classic Converse Chuck Taylors or minimalist training shoes from brands like Vivobarefoot or Xero Shoes. They allow for better ground feel and a more solid connection during squats and deadlifts.
The one secret principle: Your body will only get stronger if you consistently ask it to do more than it’s used to. This is called progressive overload. It doesn’t always mean adding more weight. You can also progress by doing one more rep than last time, reducing your rest periods, or improving your form with the same weight. The key is to challenge yourself just a little bit more each week. Track your workouts to ensure you’re moving forward.
- A stronger, more resilient back.
- Better posture, both sitting and standing.
- More power in almost every athletic movement.
The key? Mastering the hip hinge. This fundamental movement—pushing your hips back while keeping your spine neutral—is the foundation of exercises like the deadlift and the kettlebell swing. It teaches you to lift with your powerful glutes and hamstrings instead of your vulnerable lower back.
Did you know that after age 30, inactive adults can lose between 3-5% of their muscle mass per decade?
This age-related muscle loss, known as sarcopenia, is a primary driver of frailty and loss of independence later in life. The single most effective antidote is resistance training. Building and maintaining muscle isn’t just about looking good; it’s a direct investment in your long-term health, mobility, and quality of life.
Kettlebell: Its offset center of mass makes it ideal for dynamic, full-body movements like swings, cleans, and snatches. It’s a champion for building explosive power and cardiovascular conditioning simultaneously.
Dumbbell: The perfectly balanced weight is king for targeted muscle building and traditional strength exercises like presses, rows, and lunges. It allows for isolating specific muscles and ensuring symmetrical development.
For a well-rounded routine, using both can give you the best of both worlds.
One of the most overlooked aspects of functional strength is your grip. You can only lift what you can hold. If your hands give out before your back or legs, you’re leaving strength on the table. Instead of always relying on lifting straps, incorporate direct grip work. Simple farmer’s walks (walking while holding heavy dumbbells or kettlebells) or dead hangs (hanging from a pull-up bar for time) are incredibly effective and will improve your performance on nearly every other lift.


