Wallpaper or Paint? An Honest Guide From Someone Who’s Seen It All
I’ve spent more years than I can count with the scent of wallpaper paste as a constant companion. In all that time, I’ve seen home trends come and go, but the one question that never, ever changes is this: “Should I use wallpaper or paint?”
In this article
- First Things First: Wallpaper Is Not a Miracle Cure for Bad Walls
- Not All Wallpaper Is Created Equal
- How to Figure Out How Much Paper to Buy
- Your First Wallpapering Toolkit (Under $100)
- The Nitty-Gritty on Cost and Longevity
- A Quick Word on ‘Booking’ Paper
- DIY vs. Calling a Pro: An Honest Gut Check
- Fixing Common Goofs
- Inspirational Gallery with Photos
It’s a totally fair question. Paint is the devil you know—it feels easy, familiar. Wallpaper, on the other hand, can feel like a huge, scary commitment. Most people think it’s just a choice between a solid color and a pattern, but honestly, it’s so much more than that. We’re talking about the difference between a simple coating and a structural layer. They perform in completely different ways on your wall.
I’m not here to sell you on one over the other. My goal is to give you the straight scoop, the kind of knowledge that comes from thousands of hours on job sites, so you can decide what’s truly right for your walls, your wallet, and your home.
First Things First: Wallpaper Is Not a Miracle Cure for Bad Walls
Let’s get the biggest myth out of the way right now. So many people think wallpaper is a magic wand for covering up bumpy, cracked, or uneven walls. It’s not. In fact, it’s the exact opposite.
Unless you’re using a super thick, textured material (think commercial-grade vinyl), that beautiful paper will highlight every single lump, ding, and crack underneath. A thin paper under the glare of a window is even less forgiving than a flat coat of paint. I’ve seen countless DIY projects go sideways right here because someone bought gorgeous, expensive paper but skipped the prep. A year later, the seams are lifting, bubbles are popping up, and it’s a total waste of money and effort.
Proper wall prep isn’t optional; it’s the foundation of the entire job. Here’s the non-negotiable process we follow every single time:
1. Clean and Assess: First, we wash the walls down with a sugar soap solution or a TSP substitute. You’ve got to get rid of any grease or grime that could stop the primer from grabbing hold. While I’m cleaning, I run my hands over every square inch—my fingertips can feel tiny imperfections my eyes might miss.
2. Make It Smooth: Every nail hole, dent, or hairline crack gets filled with a quality spackling compound. Pro tip: Apply it in a few thin layers instead of one thick glob. Thick filler shrinks and cracks as it dries. Once it’s fully cured, we sand it perfectly smooth with a fine-grit sandpaper, usually around 180 or 220-grit. The goal is a surface that feels like glass. For walls with a lot of damage, you might even need a professional to come in and apply a fresh skim coat of plaster first.
3. The Magic of Primer: This is the step that separates the pros from the amateurs. You absolutely cannot apply wallpaper paste to bare drywall or a previously painted wall without priming first. And not just any primer—you need a wallpaper-specific primer, often called ‘sizing’. My go-to is Zinsser Gardz. It does two critical things. First, it seals the wall and creates a surface with even porosity, so the paste doesn’t just get sucked into the wall. This gives you precious ‘slip time’ to position the paper perfectly. Second, it creates a barrier that makes removal a dream down the road. I’ve been called in to fix walls that were destroyed during removal because they were never sized properly. It’s a costly mistake you only want to make once.
Not All Wallpaper Is Created Equal
The word ‘wallpaper’ is a catch-all for a ton of different materials. Picking the right type for your room is just as important as picking a pattern you love. Here’s a quick rundown to help you compare:
-
Non-Woven Wallpaper: This is probably the most popular type today, and for good reason. It’s a blend of synthetic and natural fibers that doesn’t expand or shrink when it gets wet. This is a game-changer. With these, you apply the paste directly to the wall, which is way faster, cleaner, and more forgiving for beginners. They’re also breathable and peel off in a full sheet when you’re ready for a change.
– DIY Friendliness: High
– Durability: Good
– Best For: Bedrooms, living rooms, and beginner projects.
– Price: Generally $40 – $150 per roll. -
Vinyl Wallpaper: When you need toughness, you need vinyl. It’s basically a layer of vinyl laminated to a backing, creating a scrubbable, water-resistant surface. It’s my top pick for high-traffic areas like hallways, kitchens, and kids’ rooms. The only real downside is that it isn’t breathable. Never hang this on a wall with any moisture issues, because it’ll trap it and can lead to mold.
– DIY Friendliness: Medium (it’s a bit heavier to work with)
– Durability: Excellent
– Best For: Kitchens, bathrooms (with good ventilation!), hallways.
– Price: $50 – $200+ per roll. -
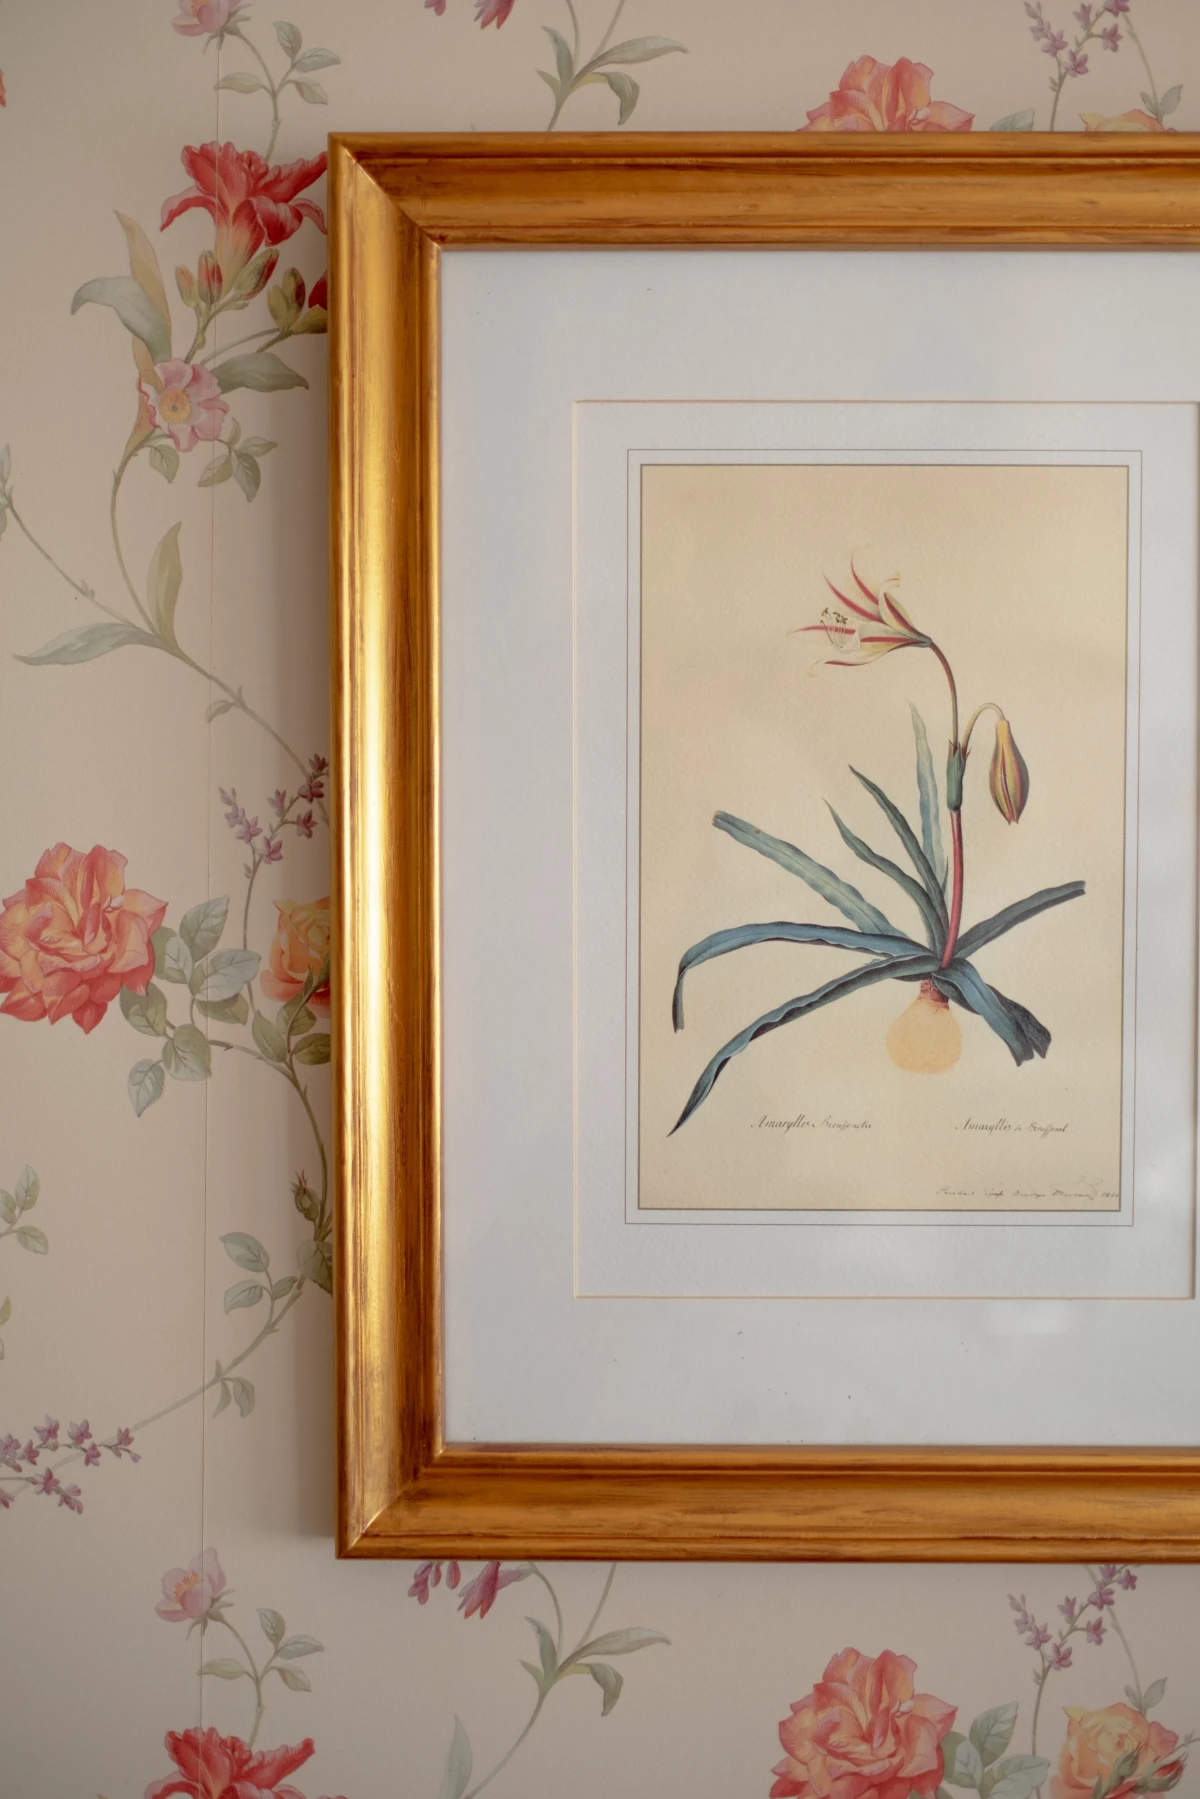
Traditional Paper: This is the classic, beautiful stuff. It’s also the most delicate. It can tear when wet and stains easily. Installation requires more skill, involving a process called ‘booking’. I’ll explain that in a bit. It’s gorgeous, but it demands respect and a gentle touch.
– DIY Friendliness: Low
– Durability: Fair (not scrubbable)
– Best For: Low-traffic areas like formal dining rooms or master bedrooms.
– Price: Varies widely, $75 – $300+ per roll. -
Textile & Grasscloth: These are the luxury options—made from natural materials like silk, jute, or sisal. They add incredible texture and warmth, but they are high-maintenance. They can’t be washed, and even a drop of water can leave a permanent stain. Because they are a natural product, the seams will always be visible, creating a beautiful ‘paneled’ effect. I always make sure my clients understand this is a feature, not a flaw. A heads-up: Installation is definitely not a DIY job.
– DIY Friendliness: Very Low (Pro only!)
– Durability: Poor (in terms of cleaning and moisture)
– Best For: Offices, dens, and accent walls where they won’t be touched.
– Price: The highest, often $150 – $500+ per roll.
How to Figure Out How Much Paper to Buy
Okay, this is probably the most important question for anyone tackling this themselves. Ordering one roll short is a complete disaster, because the color can vary slightly between batches (called ‘dye lots’).
Think of dye lots like a batch of cookies—even with the exact same recipe, each tray can come out a tiny bit different. It’s the same with wallpaper color. Always buy from the same dye lot, and always buy more than you think you need!
Here’s the basic math:
1. Measure Your Walls: Get the height and width of each wall you plan to cover. Multiply the height by the width for each wall to get its square footage, then add the totals together.
2. Check the Roll: Look at the label on the wallpaper roll. It will tell you the total square footage it covers (e.g., 56 sq. ft.).
3. Do the Division: Divide your total wall square footage by the square footage per roll. This tells you roughly how many rolls you need.
4. Account for Pattern Repeat and Waste: This is key! If your paper has a pattern, you’ll waste material lining it up. The larger the pattern repeat, the more waste you’ll have. As a rule of thumb, add 15-20% to your total square footage before you divide. It’s always better to have an extra roll you can return than to be one short.
Your First Wallpapering Toolkit (Under $100)
You don’t need a truck full of gear, but having the right tools is non-negotiable. Here’s a solid starter kit you can get at any big box store like Home Depot or Lowe’s.
- Laser Level ($30-$50): Forget chalk lines. A laser gives you a perfect vertical (plumb) line to start your first sheet. You never, ever start in a corner.
- Wallpaper Paste ($15-$25): Get the right kind for your paper. A clear, all-purpose adhesive like Roman PRO-880 is great for most non-woven papers.
- Paste Roller & Tray ($10): A small roller with a short nap is perfect for applying a thin, even coat of paste to the wall.
- Wallpaper Brush or Smoother ($10): A long-bristled brush is best for gently smoothing the paper and pushing out air. A plastic smoother is okay for tough vinyl but can damage other types.
- Snap-Off Utility Knife ($10): A sharp blade is everything. I snap off a segment after every few cuts to ensure a clean, tear-free trim.
- Seam Roller ($5): Use this little guy carefully to press down seams, but skip it on embossed or delicate papers where it can leave a mark.
The Nitty-Gritty on Cost and Longevity
So, what’s this all going to cost? This is where the paint vs. paper debate gets really interesting.
Paint: The upfront cost is definitely lower. A gallon of good paint runs about $50-$80. A professional paint job for a standard 12×12 room might be in the $500 – $800 range. But, you’ll likely need to repaint or touch it up every 5-7 years as it gets scuffed and tired-looking.
Wallpaper: The material cost is higher, period. And professional installation costs more, too, because it’s a specialized skill. For that same 12×12 room, a pro wallpapering job could easily run $1,000 – $2,500, depending on the paper’s complexity and price.
But here’s the kicker—the long-term value. A high-quality, well-hung wallpaper can look perfect for 15 years or more. Over 20 years, you might repaint a room three times, with all the cost and disruption that entails. You’d only wallpaper it once. Suddenly, that initial investment starts to look a lot smarter.
A Quick Word on ‘Booking’ Paper
If you’re brave enough to try a traditional paper, you’ll need to know how to ‘book’ it. This process lets the paper absorb the paste and expand before it hits the wall.
It’s simple, really. After you apply paste to the back of the cut strip, you just gently fold each end in toward the middle, pasted-side to pasted-side, without creasing the folds. Let it rest like that for the time recommended by the manufacturer, usually 5-10 minutes. This prevents the paper from bubbling or shrinking on the wall later.
DIY vs. Calling a Pro: An Honest Gut Check
Can you hang wallpaper yourself? For sure. A single accent wall with a non-woven paper is a fantastic weekend project.
But you need to be honest with yourself. I was once called to fix a job where a homeowner had tried to hang a stunning, $400-per-roll grasscloth in a small, steamy bathroom with no fan. The moisture, the delicate material… it was a complete disaster. The cost to strip the mess and re-hang it properly was far more than it would have been to just hire me from the start.
If you’ve bought expensive paper, are working in a stairwell, or have an older home with wonky plaster walls, please, call a professional. The peace of mind is worth every penny.
Fixing Common Goofs
Even for us pros, things can happen. Here’s how to handle them:
- Bubbles: If you see a small bubble (no bigger than a quarter) after the paste has dried, don’t panic. You can use a hypodermic syringe to inject a tiny drop of thin adhesive right into the bubble, then gently smooth it down.
- Lifting Seams: Usually means not enough paste at the edges. Gently lift the seam, use a tiny artist’s brush to apply some seam adhesive, and roll it back down.
- Pattern Mismatch: This is the one that hurts. It means the first strip wasn’t perfectly straight or the paper got stretched. The only real fix is to take the strip down and hang a new one. It’s a painful lesson in why that first laser line is so important.
At the end of the day, wallpaper asks for more from you—more prep, more patience, and a bigger initial investment. But in return, it gives a room a depth of character, texture, and durability that paint just can’t touch. When it’s done right, it’s not just decorating; it’s a craft that truly transforms a space.
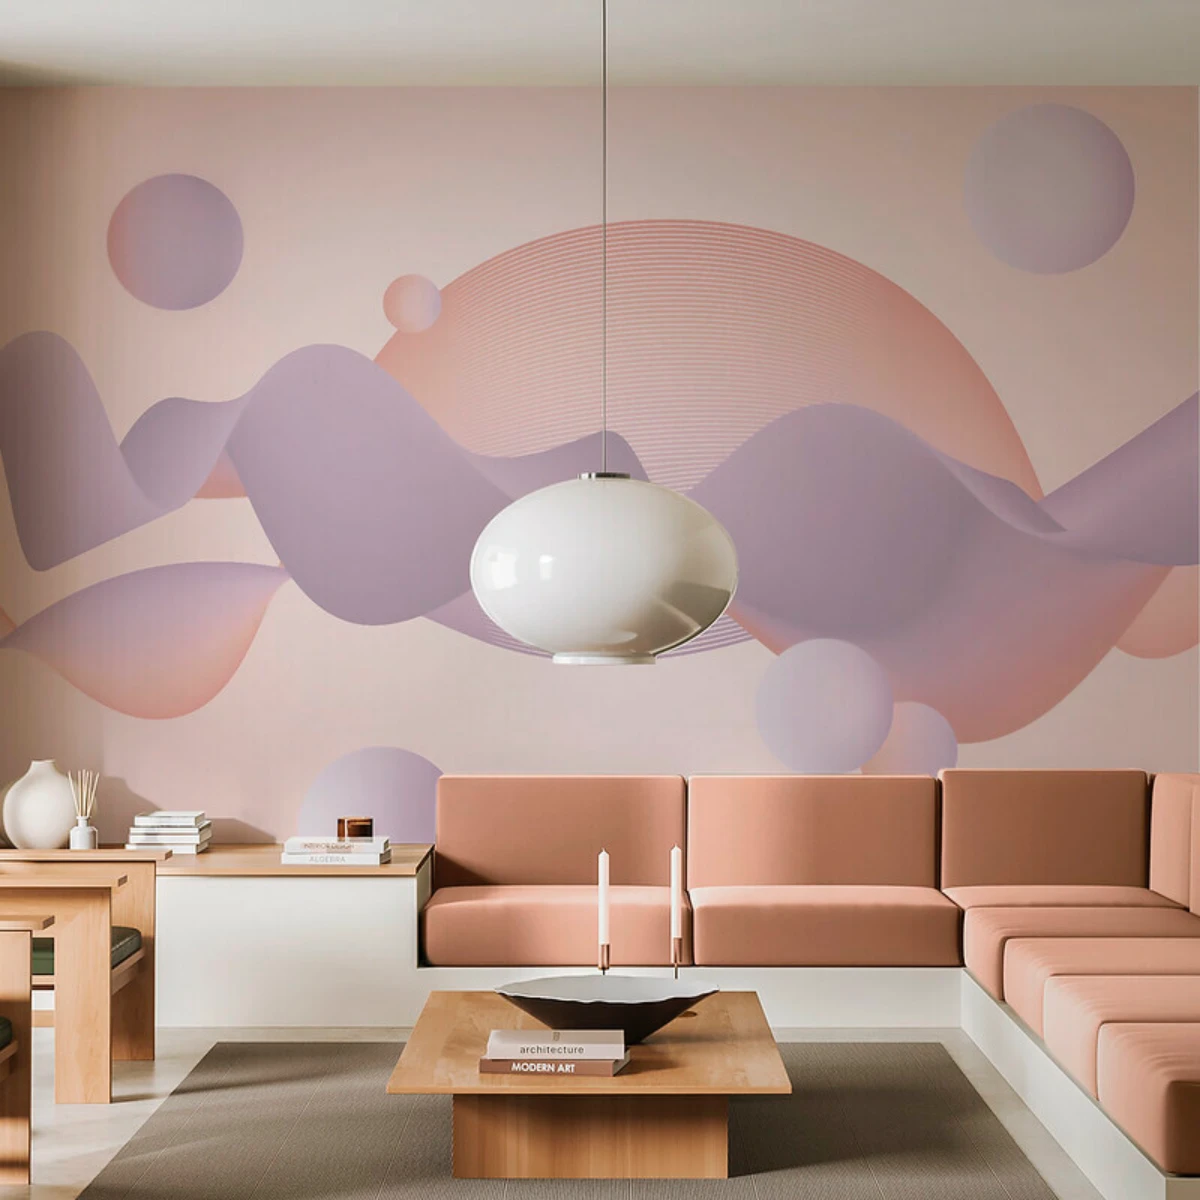
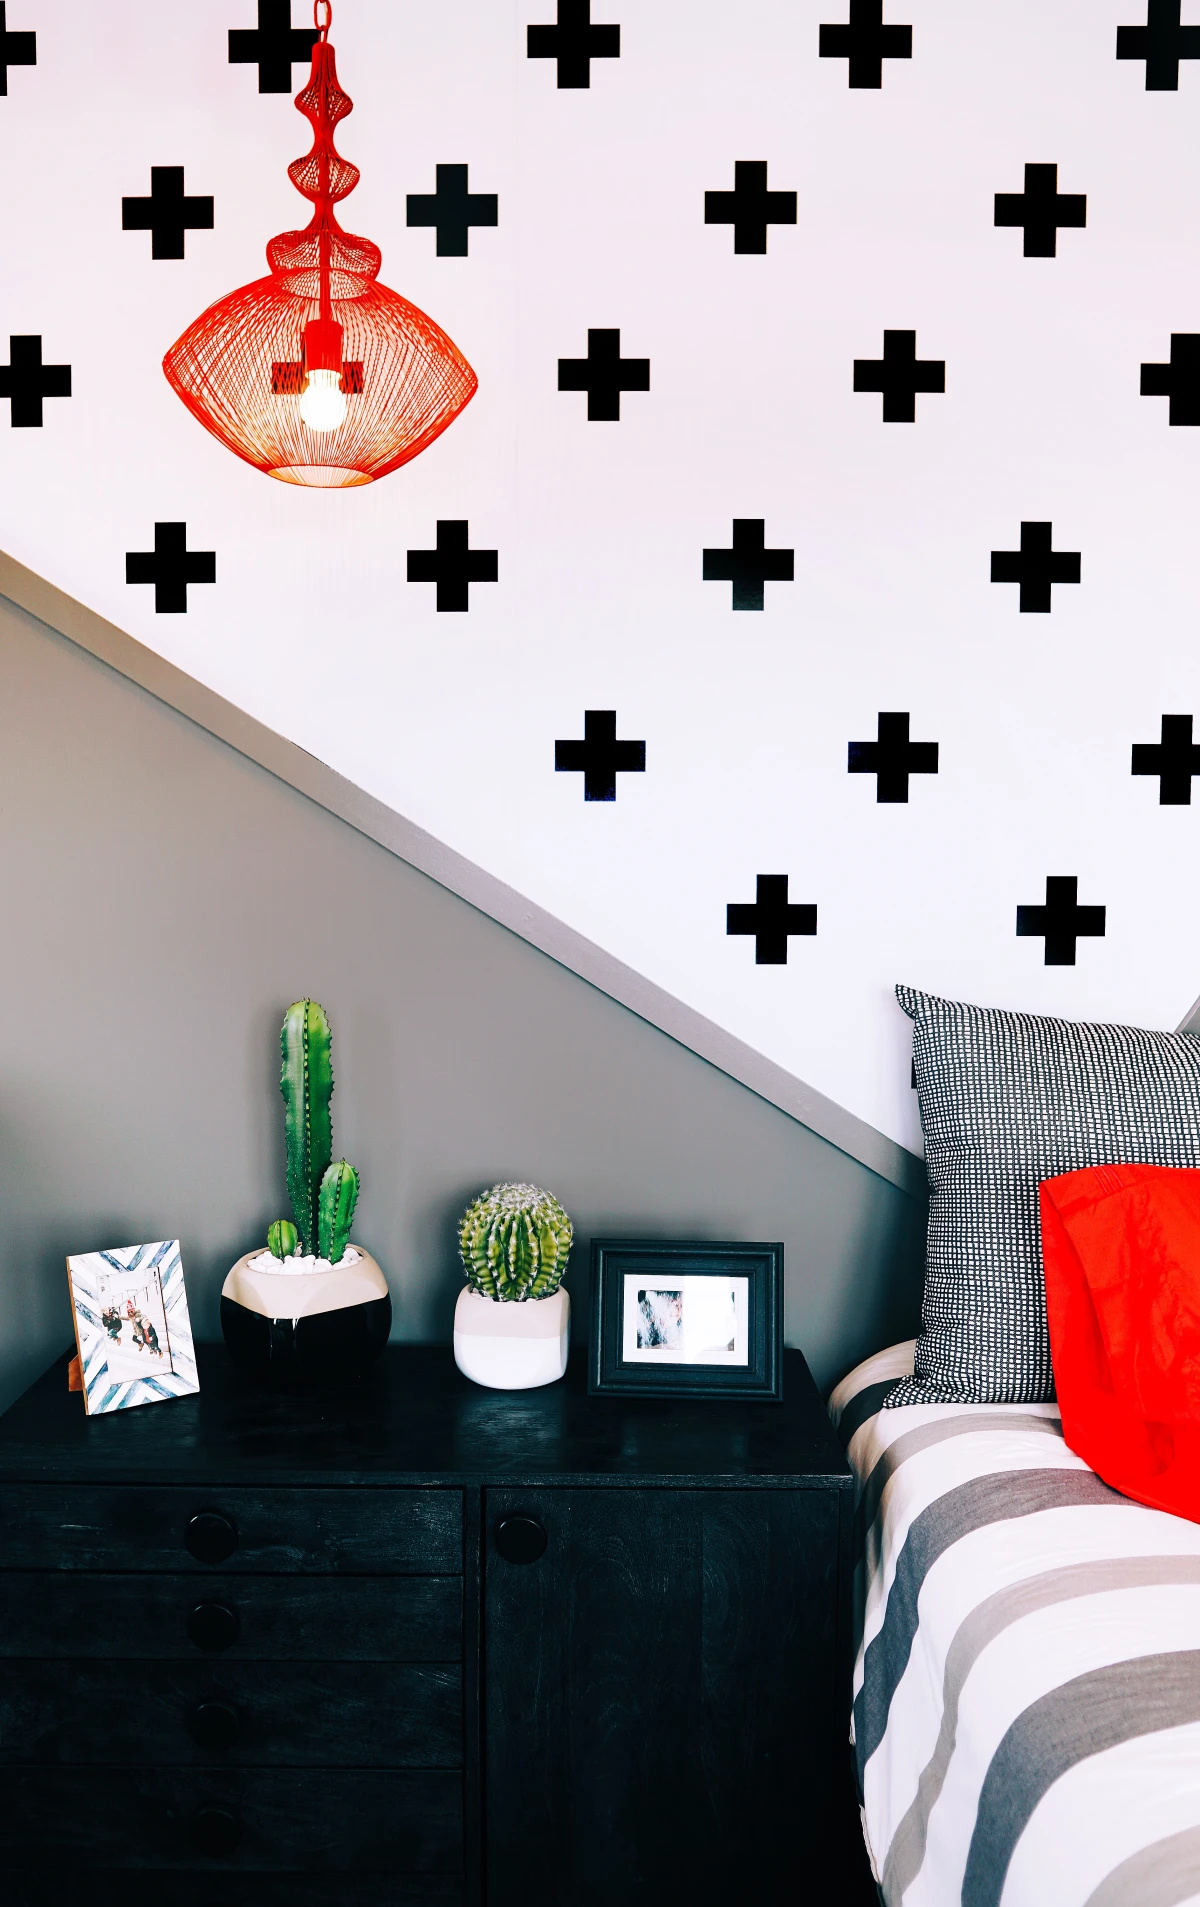
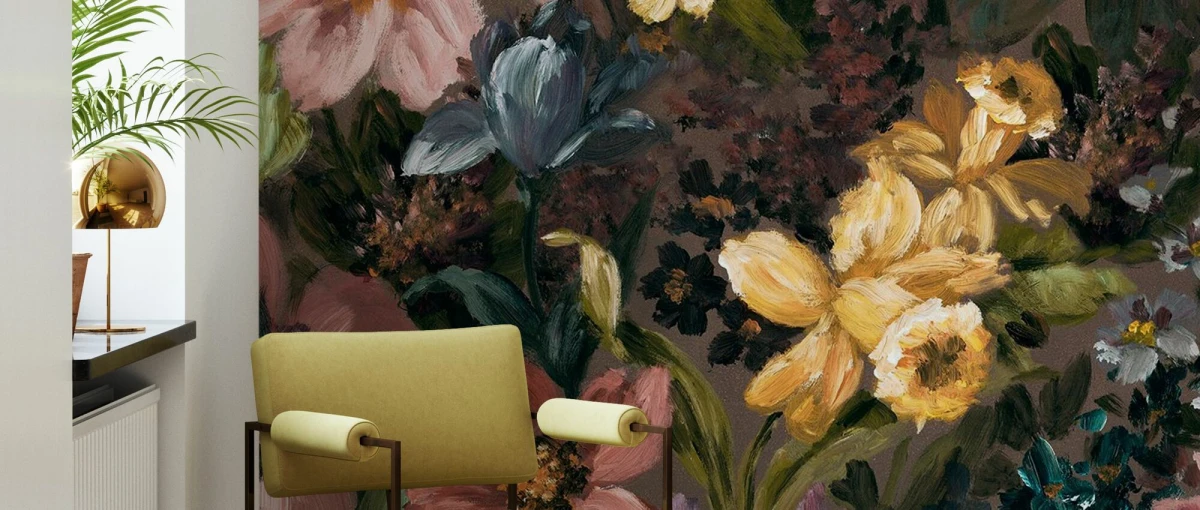
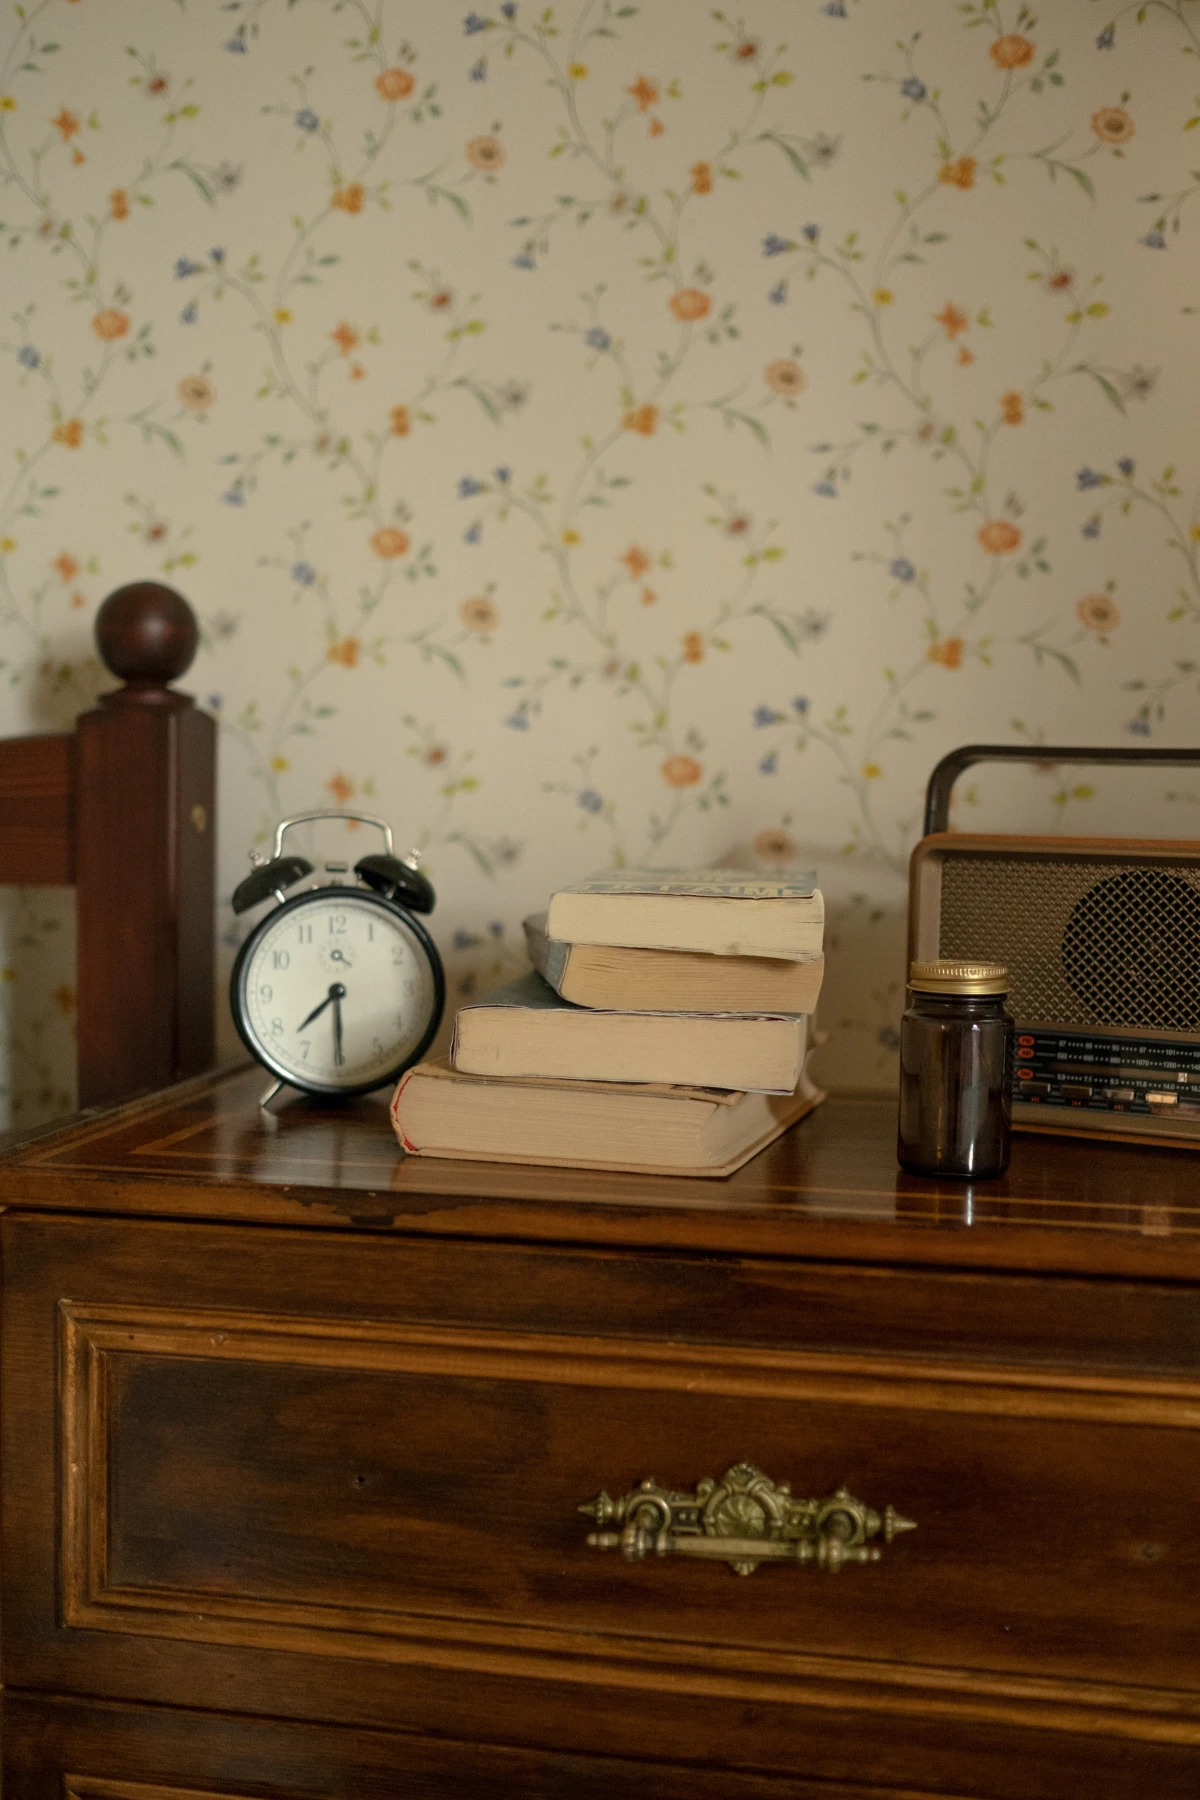
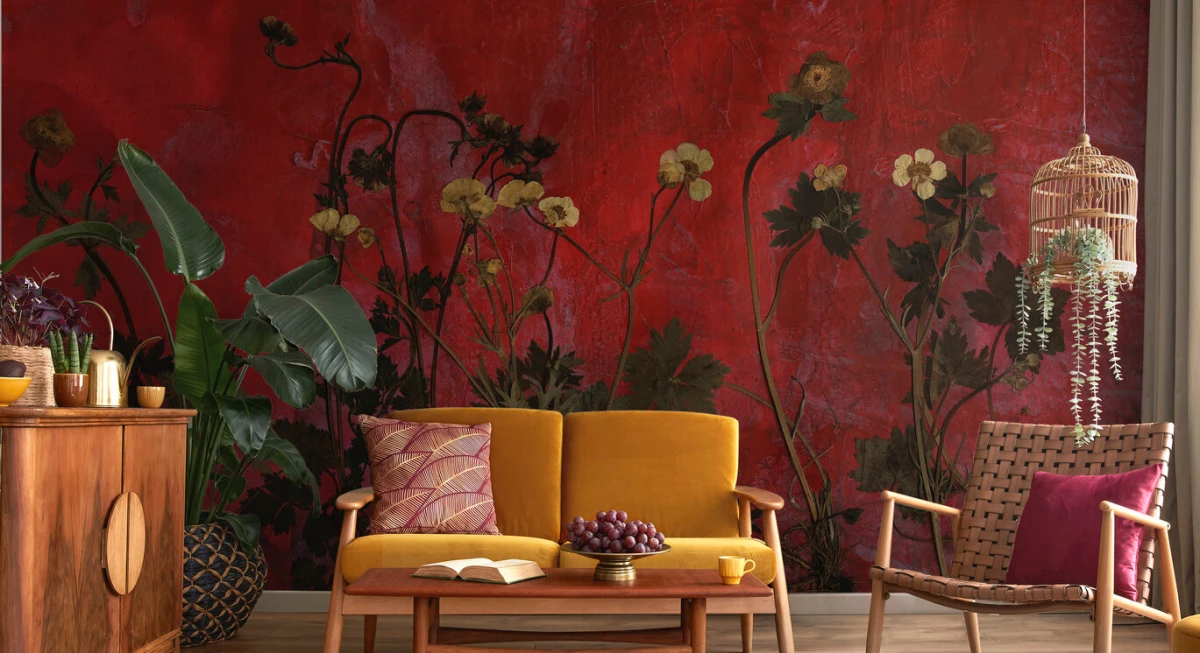
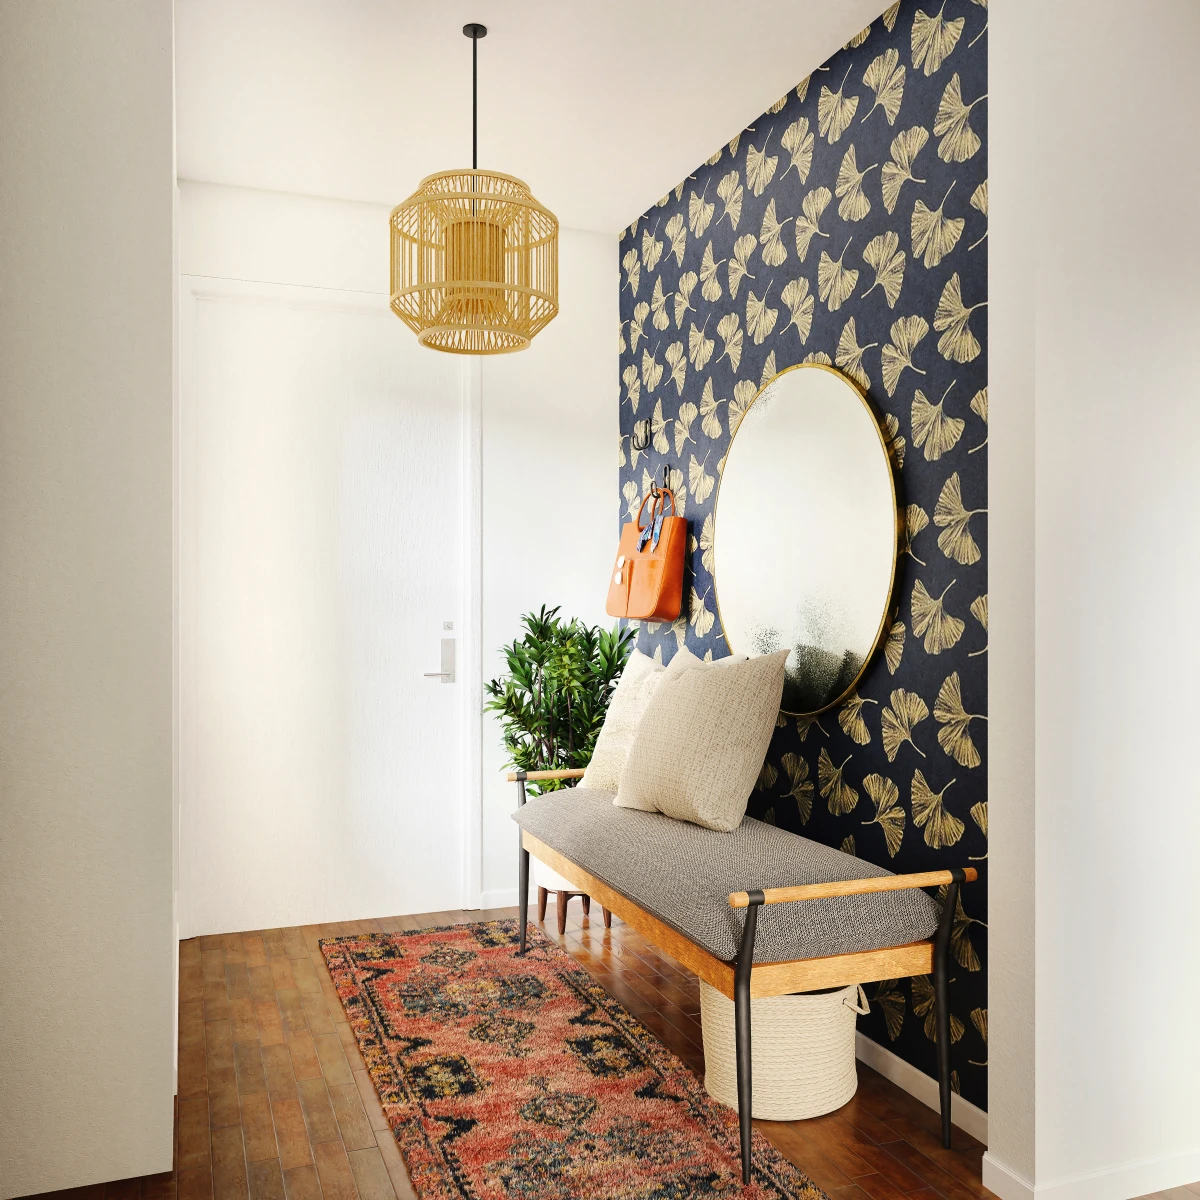
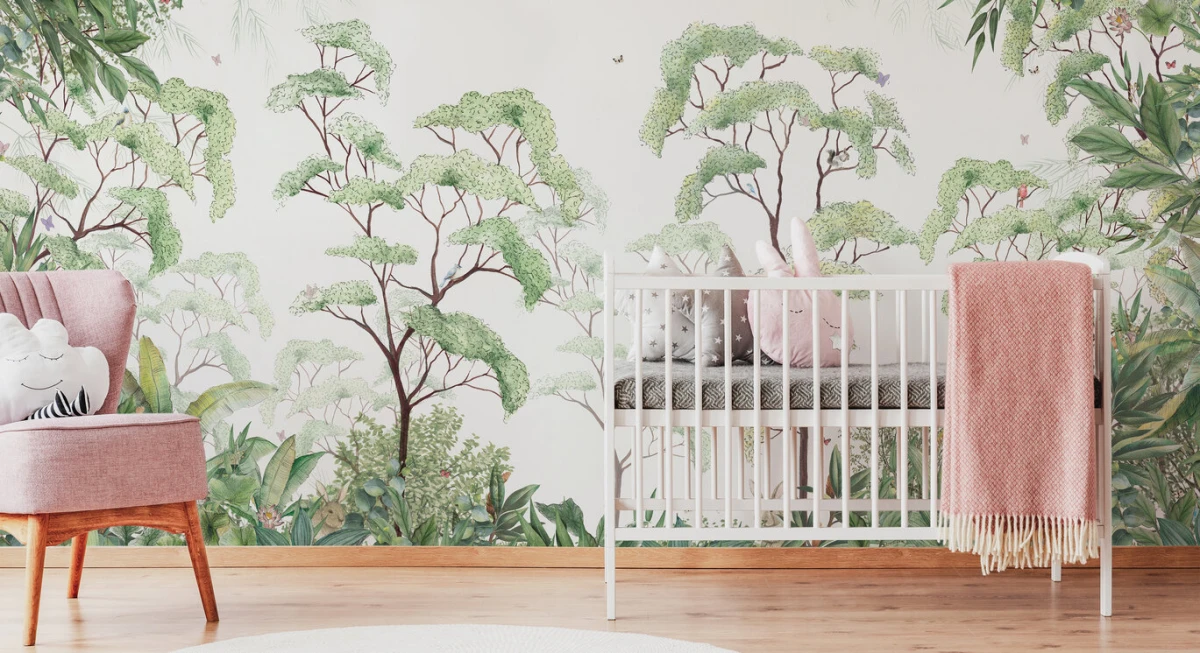
Inspirational Gallery with Photos
Can I use both paint and wallpaper in the same room without it looking chaotic?
Absolutely! This is a classic designer trick. The key is balance. Use a bold, patterned wallpaper from a brand like Cole & Son on a single accent wall behind a sofa or bed. Then, pull a subtle color from the wallpaper’s design and use it to paint the other three walls. A brand like Benjamin Moore can color-match almost anything, ensuring a perfectly cohesive look that gives you the
During the 18th century in England, wallpaper was classified as a luxury item and taxed heavily, leading some thrifty homeowners to purchase untaxed plain paper and have patterns stenciled on after it was hung.
Don’t forget the pattern repeat: When ordering wallpaper, this number is crucial. It tells you how far down the wall the pattern goes before it starts again. A large repeat (over 24 inches) on a high-end design from a brand like Schumacher means you’ll need significantly more paper to ensure all the strips line up perfectly. Always use an online wallpaper calculator and buy at least 10% extra from the same batch!
Peel-and-Stick Wallpaper: Ideal for renters or low-commitment projects. It’s essentially a large, high-quality sticker from brands like Chasing Paper or Tempaper, offering stylish, removable options.
Traditional Paste-the-Wall: A more permanent solution offering a wider range of textures (like grasscloth or vinyl). It provides a more seamless, high-end finish but requires more skill to install.
For a quick change, peel-and-stick is king. For a forever home and a luxurious feel, traditional methods still win.
- It feels almost velvety to the touch.
- It resists scuffs and fingerprints far better than cheaper alternatives.
- It provides a deep, rich color that doesn’t fade over time.
The secret? Investing in a premium paint with a higher percentage of solids and quality pigments, like those from Farrow & Ball or Little Greene. The upfront cost is higher, but the longevity and luxurious finish often make it more economical in the long run.
Don’t overlook the fifth wall! Applying wallpaper to the ceiling is a bold, unexpected design choice that can make a room feel cozier or infinitely grander. In a small powder room, a dark, starry pattern can create a jewel-box effect. In a bedroom with high ceilings, a subtle metallic or silk-effect paper from a brand like Phillip Jeffries adds a layer of shimmer and sophistication that draws the eye upward.
Modern interior paints can contain as little as zero Volatile Organic Compounds (VOCs).
What does this mean for your home? VOCs are chemicals that evaporate into the air, causing that strong
Have wallpaper remnants? Don’t throw them out! Give small objects a high-design makeover.
- Line the back of a boring bookshelf or a glass-front cabinet for a pop of pattern.
- Cover plain storage boxes to create a decorative, matching set.
- Use Mod Podge to apply a beautiful pattern to a simple serving tray.
- Cut pieces to size to use as unique drawer liners that add a hidden touch of luxury.
The trend for murals is transforming the concept of an accent wall from a simple pattern into a full-scale work of art. Unlike traditional repeating patterns, these are large, non-repeating images that can span an entire wall, creating an immersive experience that paint alone simply cannot replicate. Think lush, oversized jungle leaves from MuralsWallpaper or abstract, large-scale watercolor washes that feel like a custom-commissioned painting.


