Your Ultimate Guide to the Perfect Shave (Without the Razor Burn)
As someone who’s spent years in the skincare world, I’ve seen it all. People come in with angry red bumps, painful ingrown hairs, and constant irritation, convinced their skin is just hopelessly “sensitive.” But honestly, nine times out of ten, the problem isn’t the skin—it’s the shave. Shaving is so much more than just dragging a blade across your face or legs. It’s a skill, a craft even, that’s all about working with your skin, not against it.
In this article
I once had a client who was convinced he was doomed to a life of razor burn. He’d tried everything. Turns out, the fix was simple: he switched from a cheap aerosol foam to a decent shave cream. That’s it. His problems vanished almost overnight. The goal is to remove hair while keeping your skin’s protective barrier happy. So let’s ditch the frantic, five-second shave over the sink and learn how to do it right. This is the foundation for a close, comfortable shave, every single time.
First, A Little Skin Science (The Quick Version)
To get a great shave, you have to know what you’re dealing with. Your skin isn’t a flat, simple surface; it’s a living organ. The top layer has its own little shield made of dead skin cells and natural oils. When you shave, you’re not just cutting hair, you’re also scraping away at this protective layer. If you’re too aggressive, you strip it bare, which is what leads to that awful burning feeling and dryness.
And the hair itself? It’s surprisingly tough when it’s dry. Think about trying to cut a dry piece of spaghetti—it just snaps. But soak that same spaghetti in warm water, and it becomes soft and easy to cut. Your hair works the exact same way. The single most important thing you can do is hydrate your hair with warm water for a few minutes. This simple step makes the hair swell up and soften, reducing the force needed to cut it by a huge margin. Less force means less pulling, less friction, and way less irritation.
By the way, that’s also the key to avoiding ingrown hairs. An ingrown happens when a sharpened hair curls back and pokes into the skin, or when dead skin clogs the opening of the hair follicle. Your body freaks out, treats it like a splinter, and sends in the troops—creating that red, angry bump. Understanding this is half the battle won.
The Prep Work: Where the Magic Really Happens
A great shave is 90% preparation. Rushing this part is the #1 mistake people make. The pros treat prep like a sacred ritual, and you should too.
Step 1: The Initial Takedown
If you’re dealing with hair that’s longer than a grain of rice (about a quarter-inch), don’t even think about touching it with a razor yet. You’ll clog the blade instantly, which leads to pulling on the hair and pressing way too hard. Grab an electric trimmer or clippers first—you can find a decent one for between $20 and $50. Gently glide it over the area to get the length down. The goal isn’t closeness, just bulk removal. This makes everything that follows so much smoother.

Step 2: Get Clean and Hydrated
The best time to shave is during or right after a warm shower. Let the steam and water work on your skin for at least 3-5 minutes. And please, don’t use scorching hot water; it just strips your skin of its natural oils. Warm is perfect.
While your skin is soft and wet, wash the area with a gentle, pH-balanced cleanser. Harsh bar soaps are a no-go, as they can mess with your skin’s protective barrier. Think about grabbing something like CeraVe or Cetaphil—they’re affordable, effective, and won’t strip your skin. A clean surface is non-negotiable, as shaving can create tiny micro-cuts, and you don’t want bacteria getting in there.
Quick Win: If you’re in a rush, do this one thing: After applying your shave cream, let it sit on your skin for a full 60 seconds before the blade touches it. That extra minute of hydration makes a massive difference.
Step 3: Gentle Exfoliation
Exfoliating clears away dead skin cells that can get in the razor’s way and clog up follicles. But be smart about it. Before you apply your shave cream, use a soft brush, a washcloth in a circular motion, or a scrub with fine particles (like jojoba beads, not jagged salt). You’re just trying to smooth the path for the blade, not sandblast your skin.
Heads up! Never exfoliate right after a shave. Your skin is already freshly exfoliated and sensitive. Doing it again is just asking for trouble. A better move is to use a chemical exfoliant with salicylic acid (BHA) or glycolic acid (AHA) on your off-days to keep those follicles clear long-term.
Your Toolkit: Choosing the Right Gear
Your razor and shave cream are your most important tools. The right ones make the difference between a smooth glide and a painful mess.
Razors: Why More Blades Aren’t Always Better
Razor marketing is wild, right? Five, six, seven blades! The idea is that the first blade lifts the hair and the next ones cut it closer. For some people, this works fine. But for many, especially if you’re prone to ingrowns, it’s just too much. Each one of those blades is another scrape against your skin.
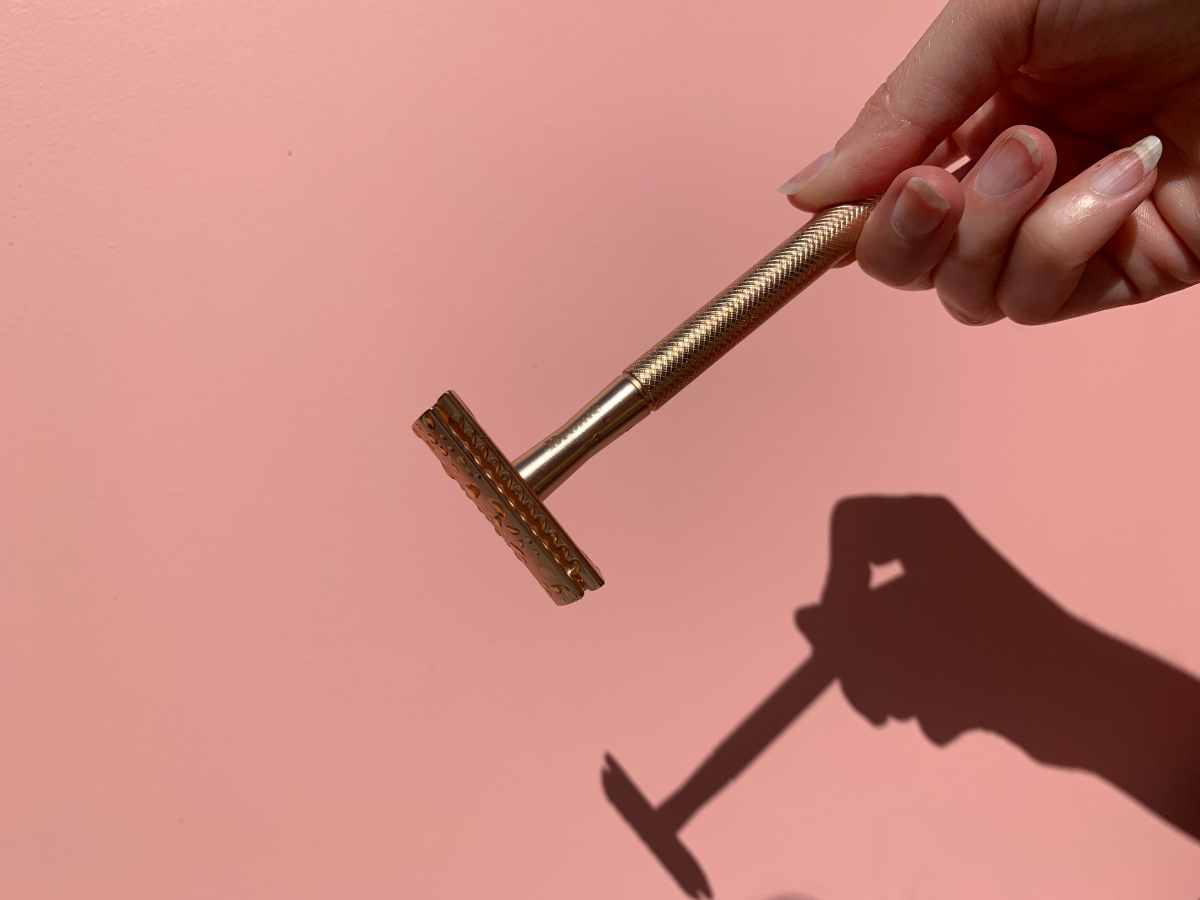
That “lift and cut” action can also cut the hair below the skin’s surface. When the skin settles back, the sharpened hair can get trapped, creating a classic ingrown. This is why many skin experts are guiding people back to a simpler tool: the double-edge (DE) safety razor. It uses a single, super-sharp blade that cuts hair cleanly at the surface without pulling. There’s a bit of a learning curve to get the angle right (think about a snowplow—you want it to glide, not dig in), but the results are incredible.
Let’s talk cost, because this is a big one. A modern cartridge razor handle might be cheap, but the refills can set you back $3 to $5 each. A quality safety razor might cost you $30 to $50 upfront, but the replacement blades? We’re talking 10 to 20 cents apiece. The long-term savings are enormous.
No matter what you choose, make sure the blade is sharp. The second you feel any tugging or discomfort, it’s time for a new one. For cartridges, that’s usually 5-7 shaves. For a DE blade, it’s more like 3-5.
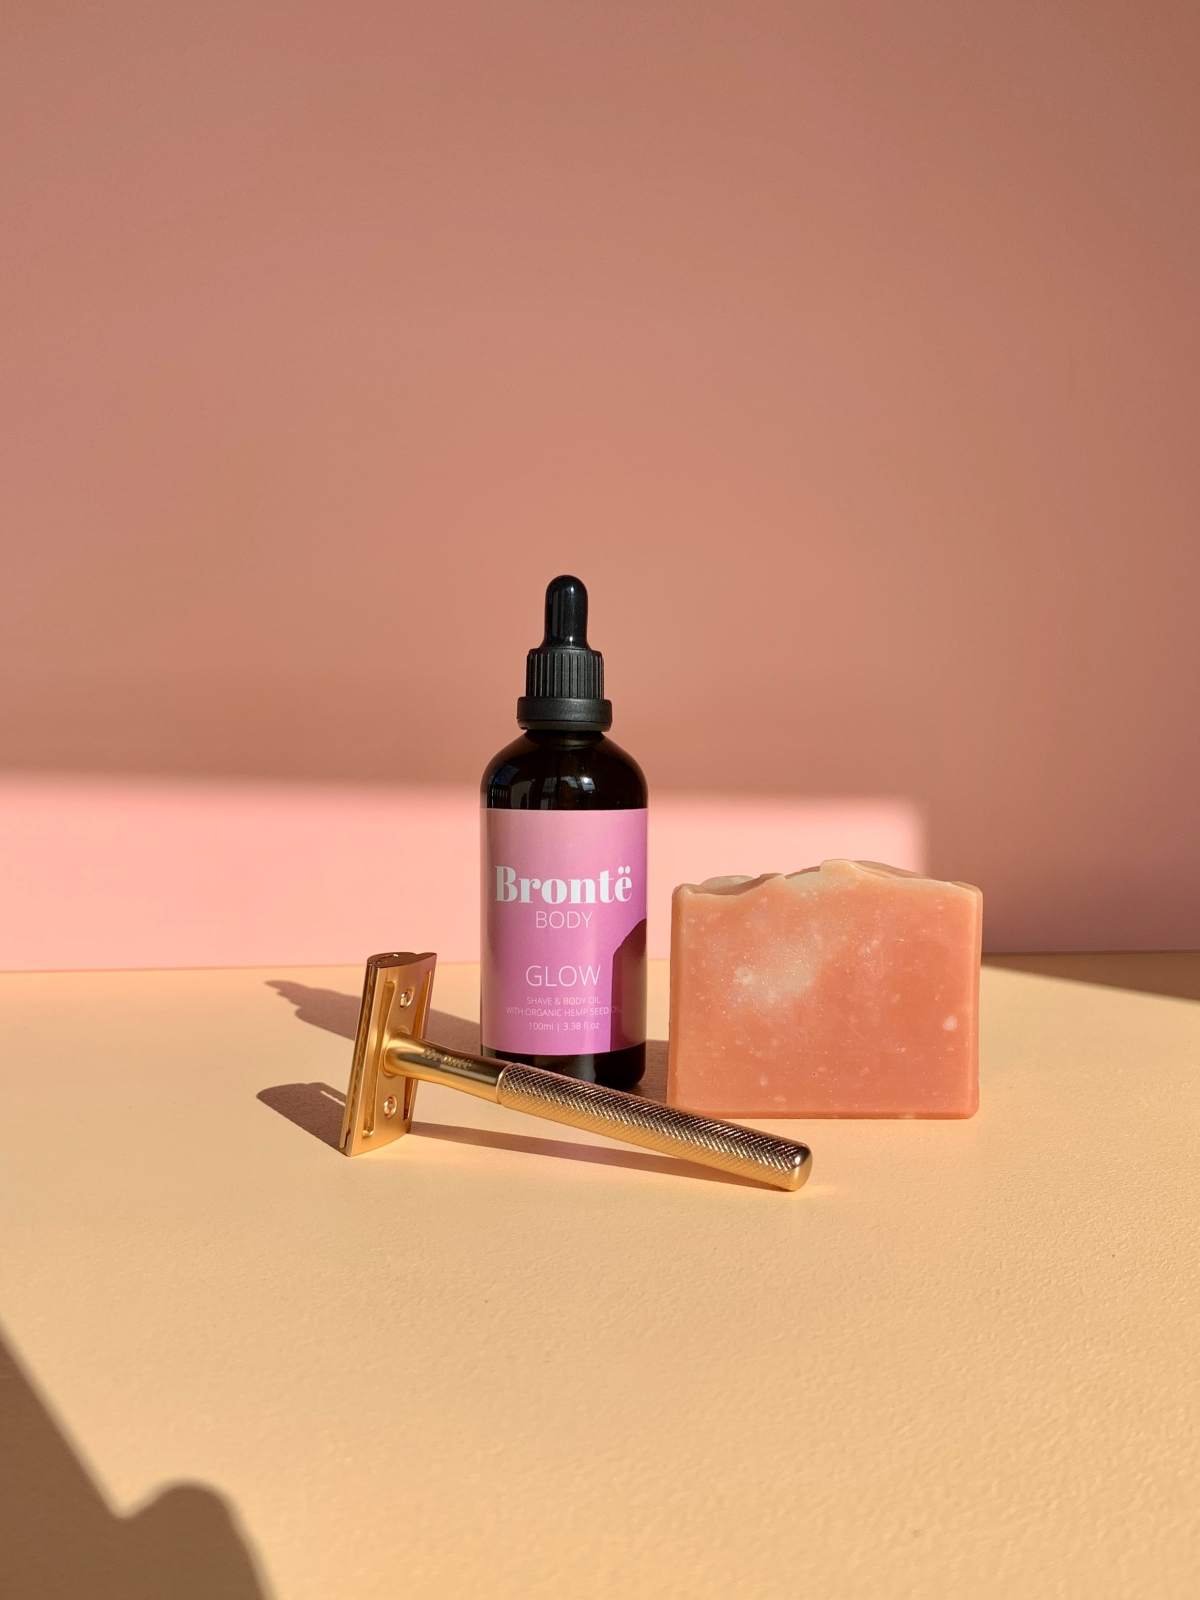
Shave Creams, Gels, and Soaps
Your shave lubricant has two jobs: create glide and protect the skin. Don’t cheap out here.
- Aerosol Foams/Gels: Super convenient, but often packed with drying alcohols and propellants. The lather looks big, but it’s mostly air, offering very little real protection. If you have sensitive skin, it’s best to steer clear.
- Brushless Shave Creams: This is a fantastic, user-friendly option. You just apply it with your fingers. Look for high-quality ones rich in glycerin and soothing ingredients. Cremo is a great brand you can find at most drugstores, and it offers amazing performance for its price.
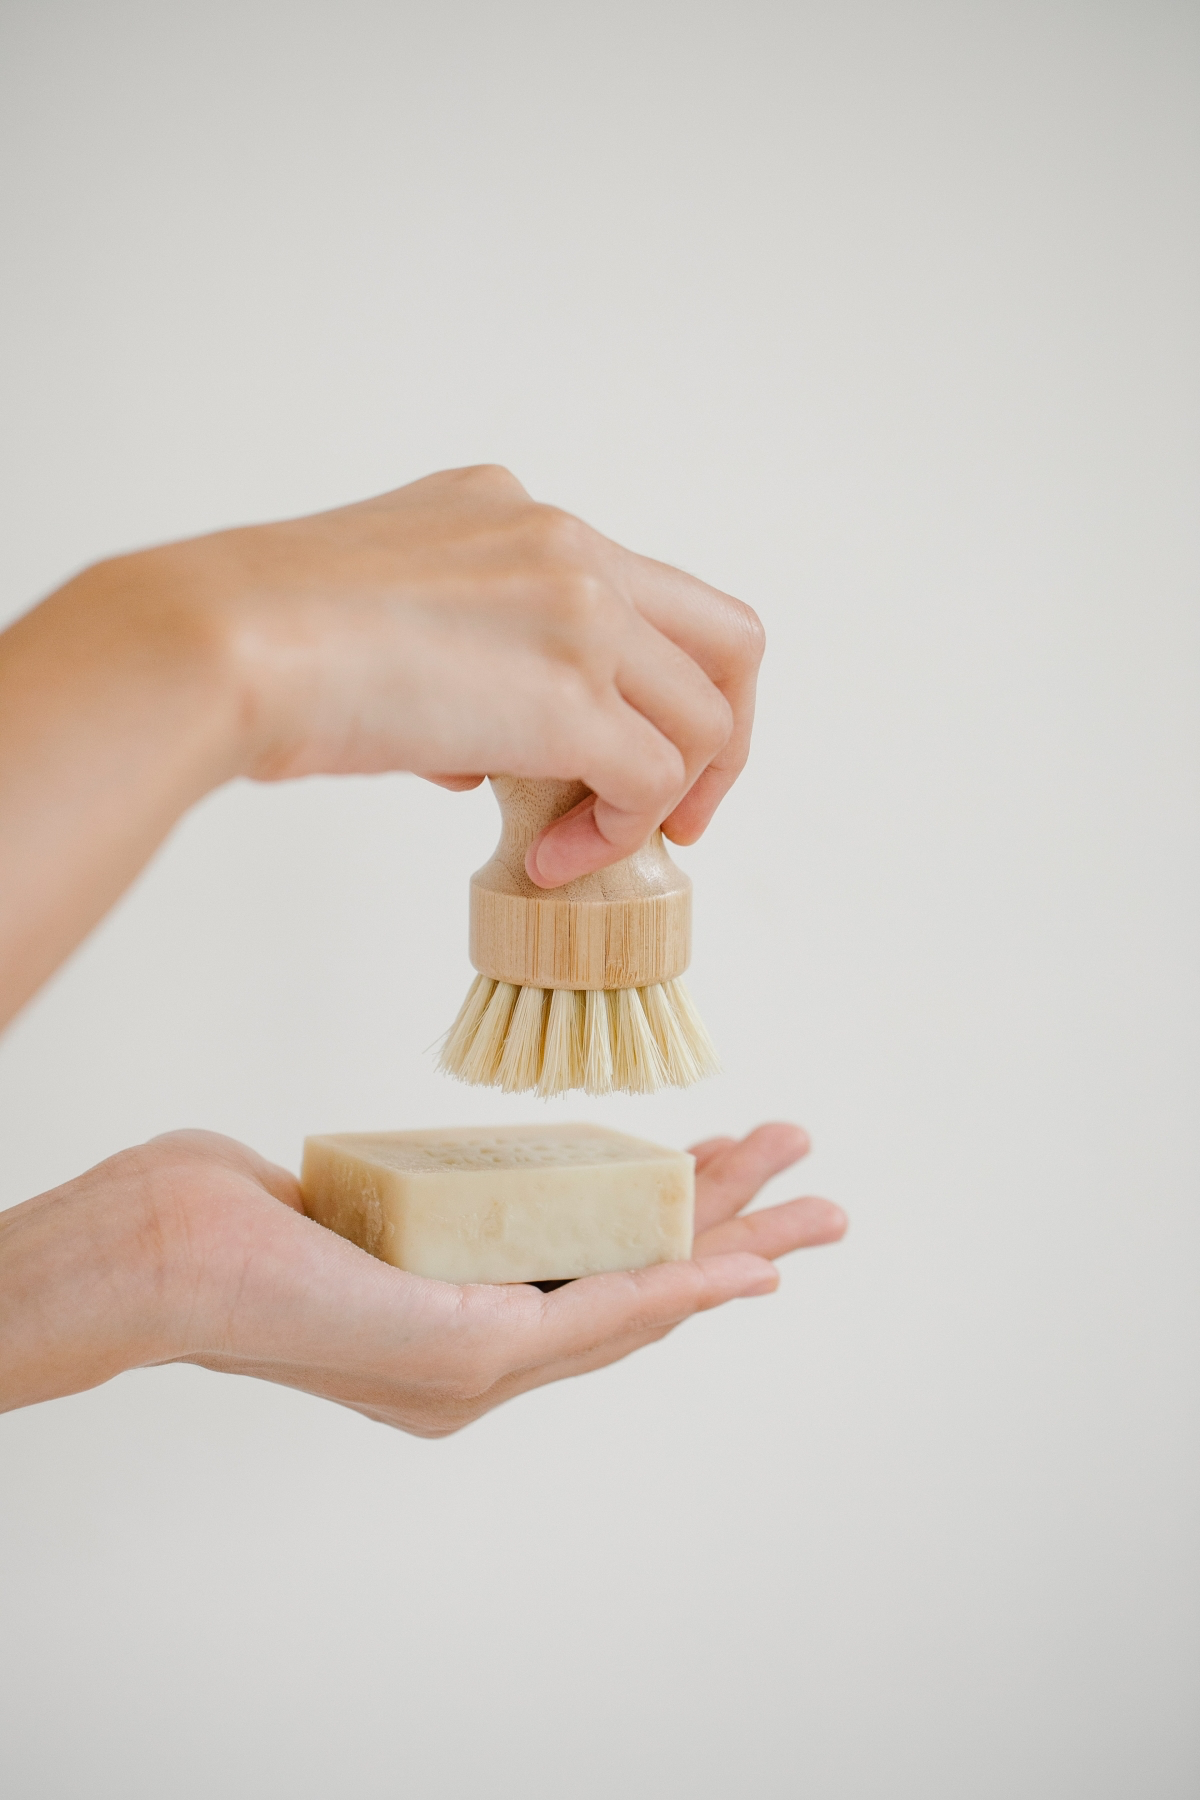
- Traditional Shaving Soaps: This is the gold standard for a reason. You use a shaving brush to whip the soap into a thick, dense lather that provides an unbelievable cushion. The brush also helps lift the hairs and gently exfoliates. It takes more time, but the quality of the shave is on another level.
What kind of brush should you get? A boar brush is a great starting point, usually under $15, but it needs some breaking in. A synthetic brush is a fantastic all-rounder—soft, easy to clean, and affordable. If you feel like treating yourself, a badger brush is the classic luxury option, known for its incredible softness.

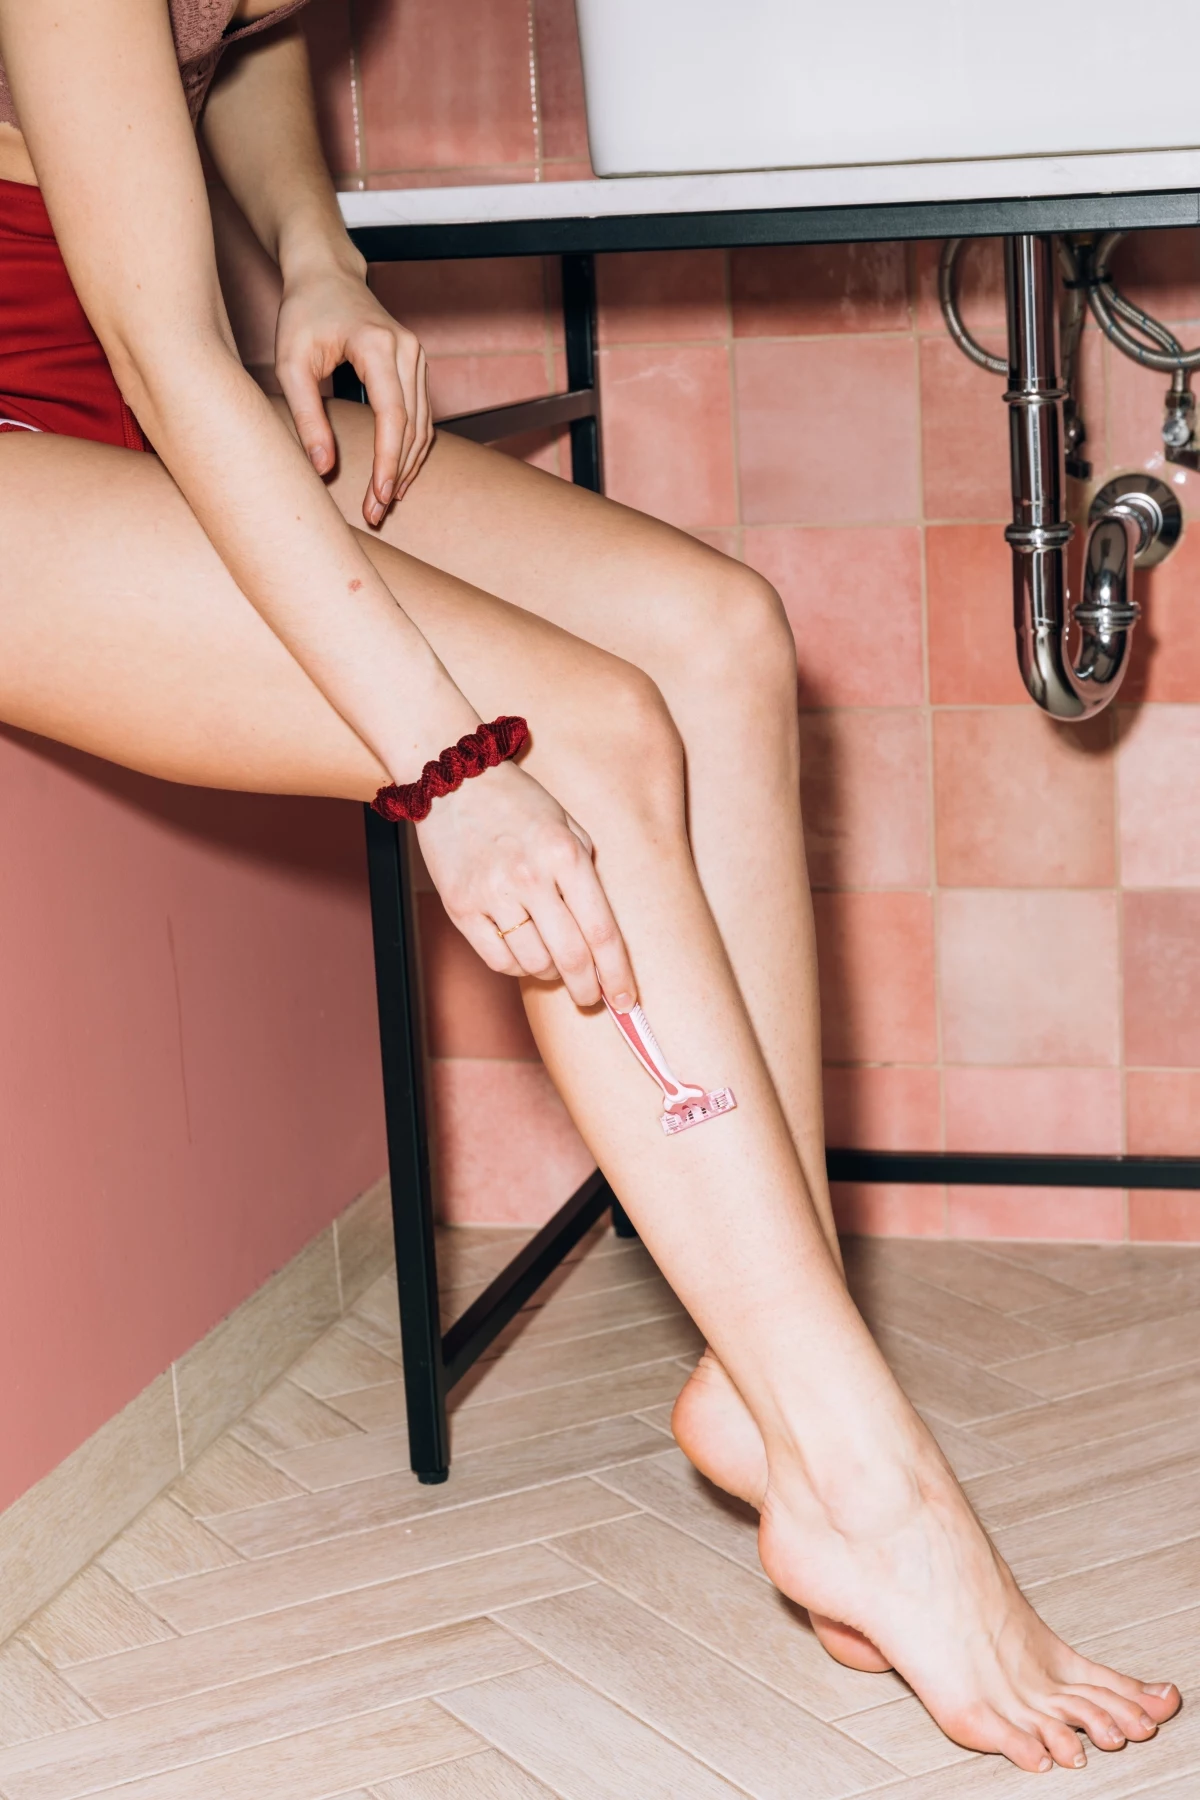
The Main Event: How to Actually Shave
Okay, your skin is prepped, your tools are ready. It’s time.
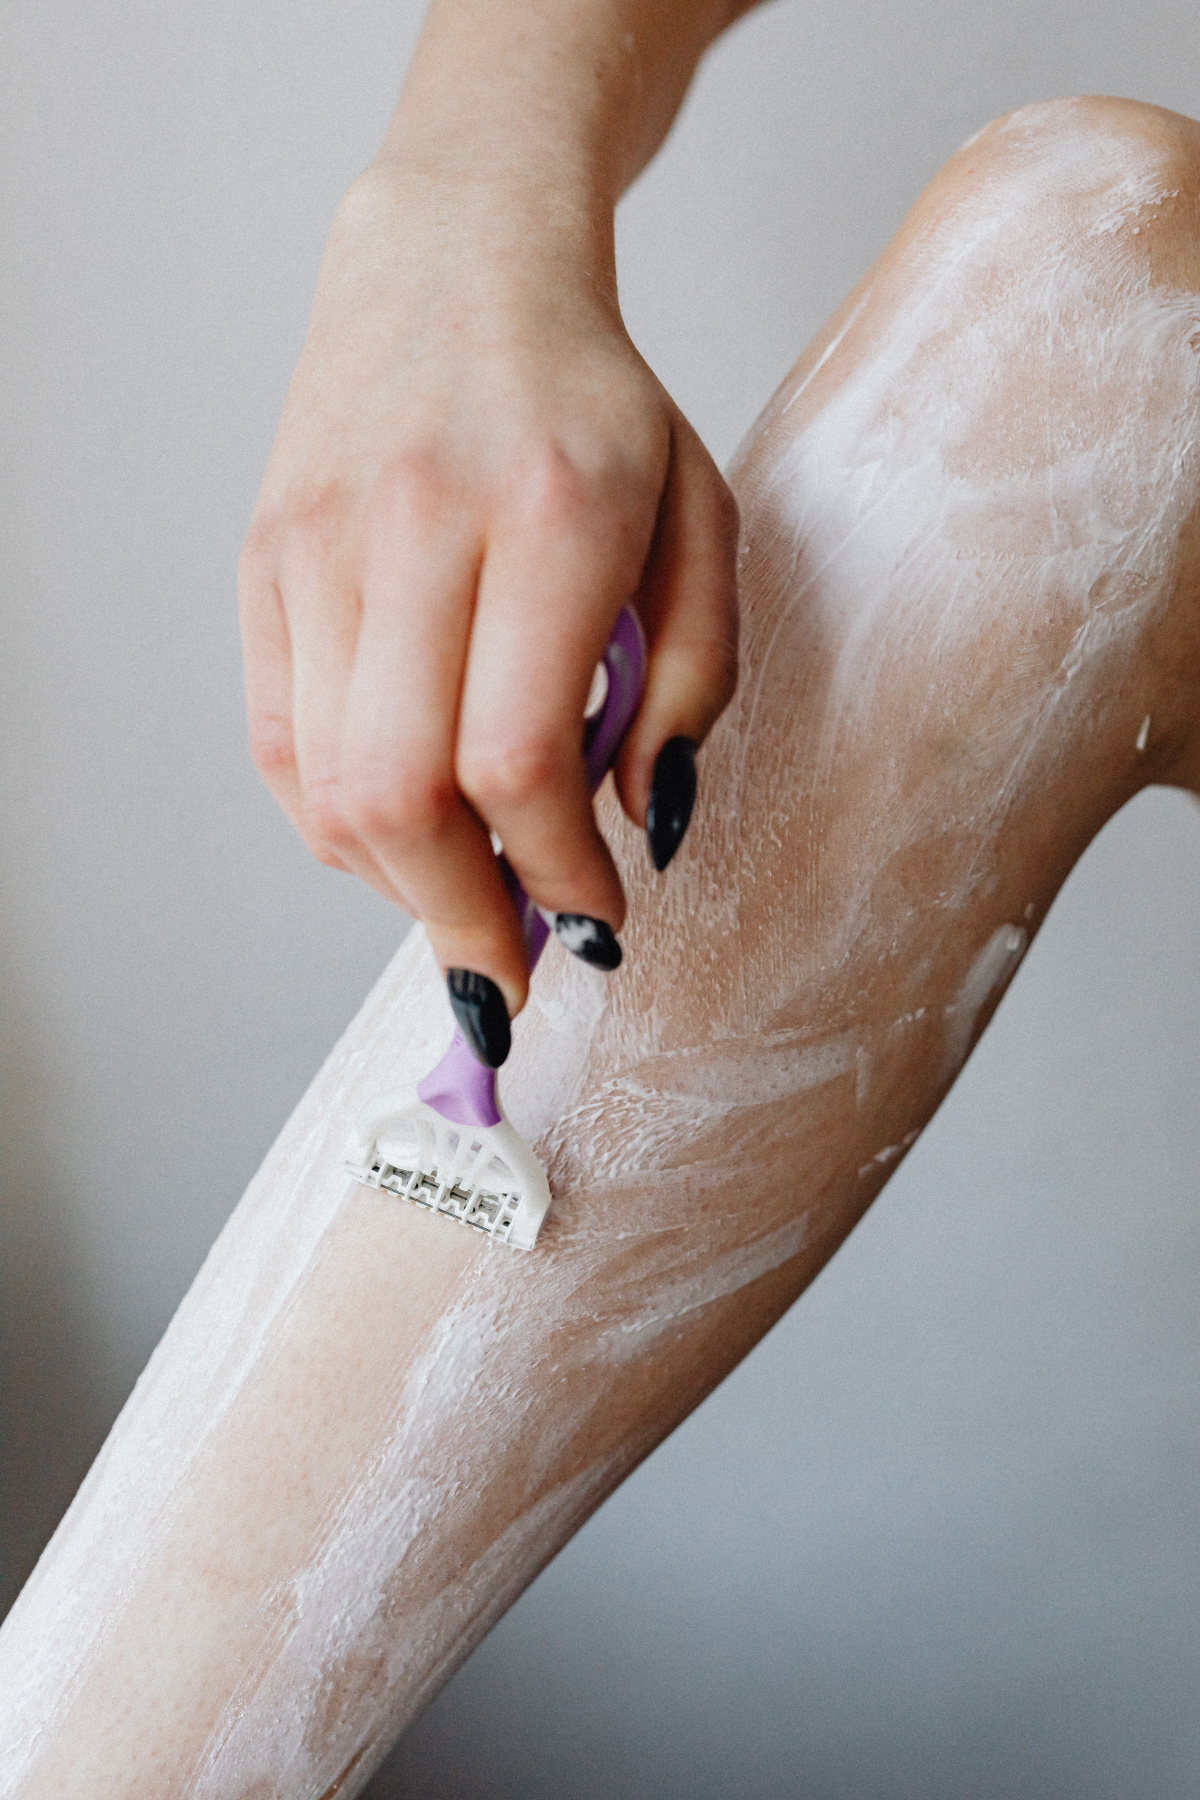
- Lather Up. Apply a thin, even layer of your cream or soap to your wet skin. You want a slick film, not a thick paste that will clog the blade.
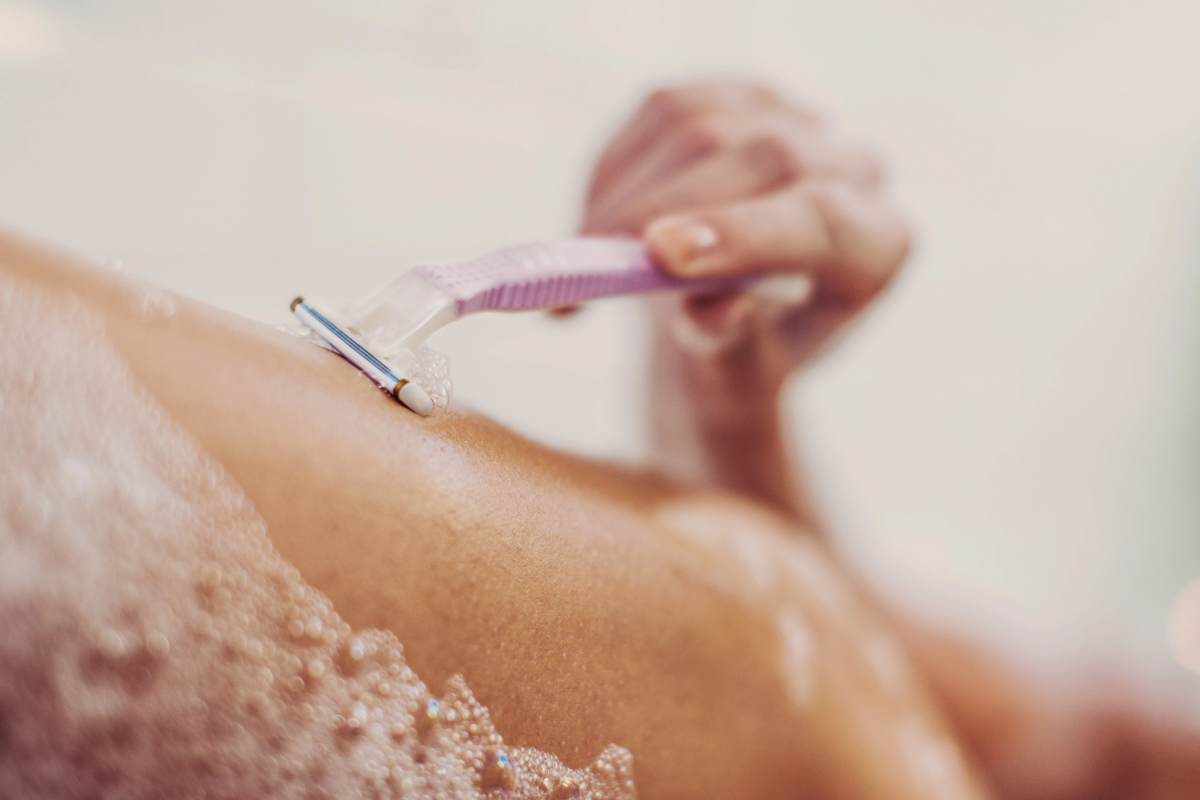
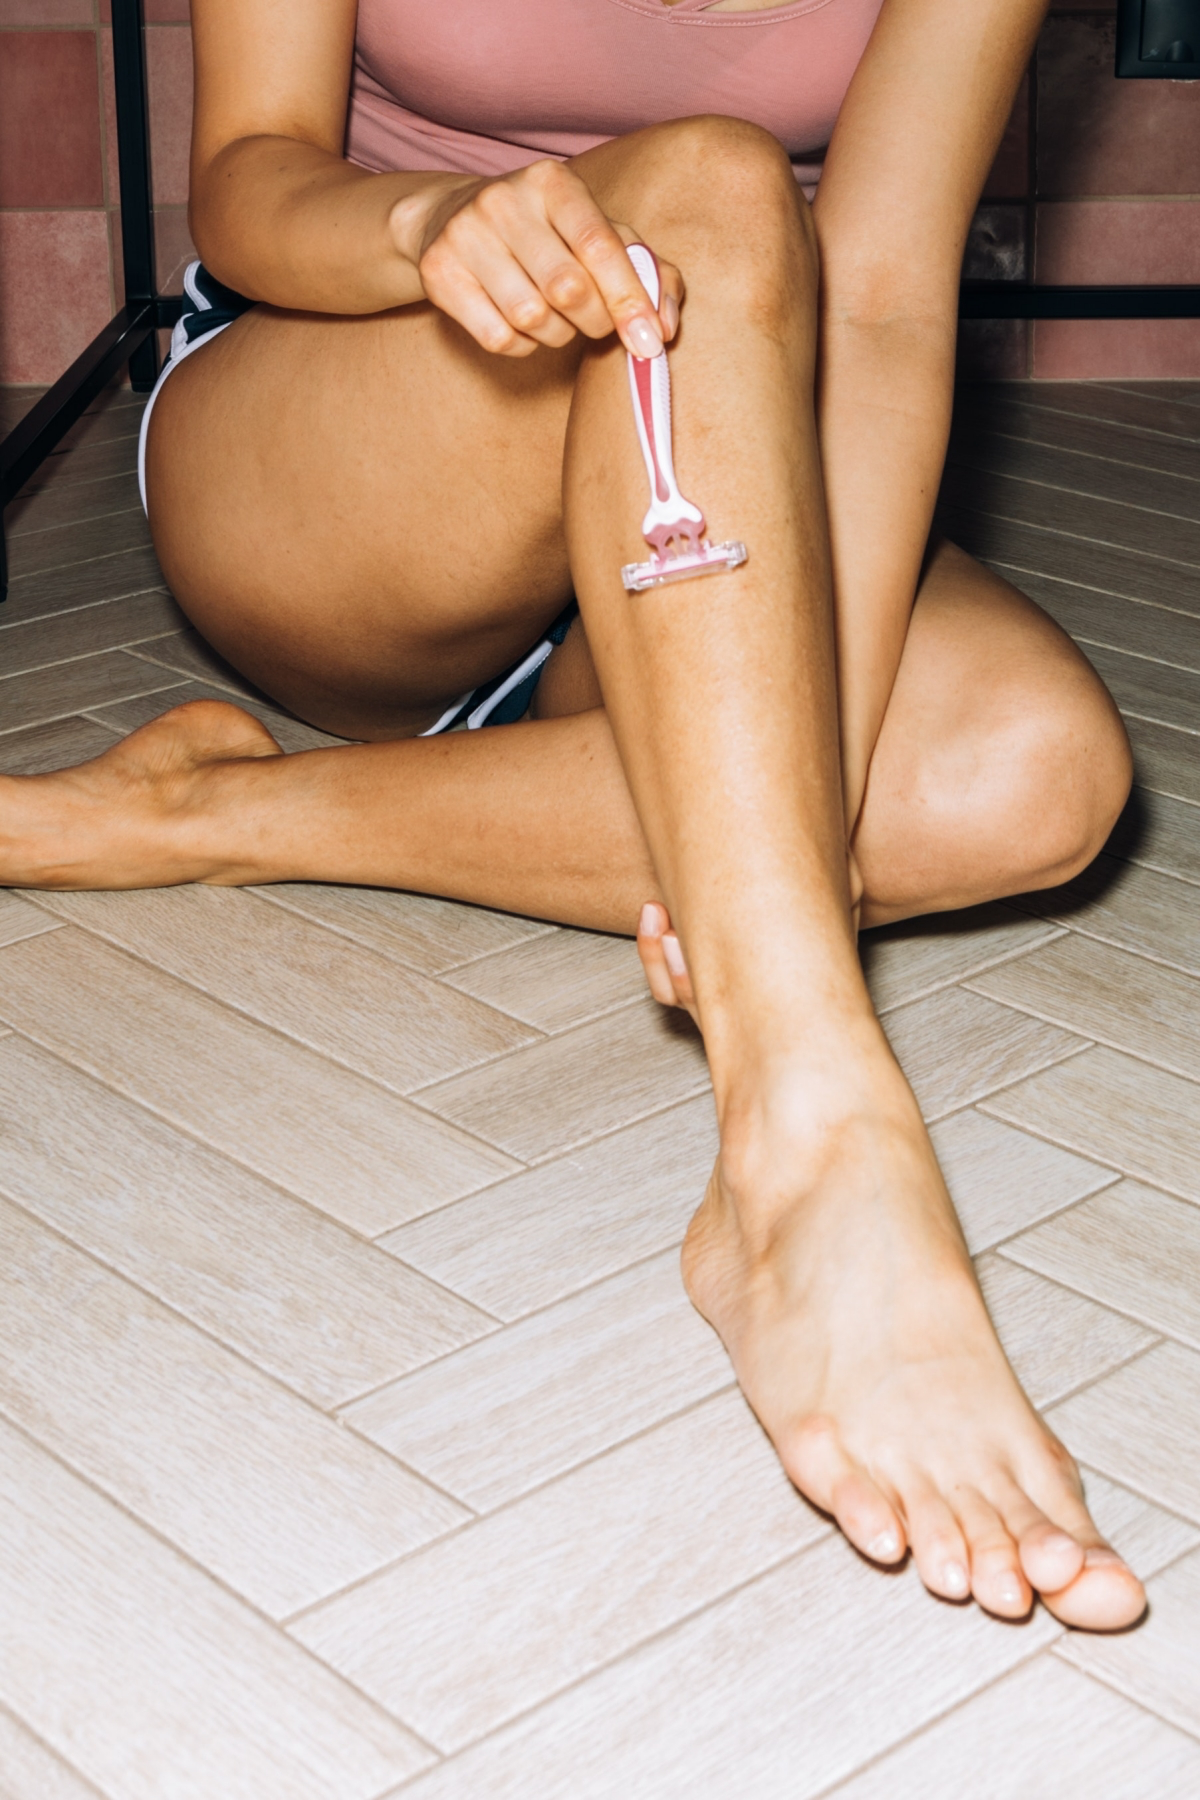
- First Pass: With the Grain (WTG). You need to figure out which way your hair grows. Here’s a simple trick: run your hand over your dry skin. The direction that feels smooth is “with the grain.” The direction that feels rough and scratchy is “against the grain.” Got it? Good. Now, gently pull the skin taut with your free hand and, using very little pressure, glide the razor in the direction of hair growth.
- Rinse and Re-Lather. Splash the area with warm water. If you want a closer shave and your skin isn’t freaking out, apply another thin layer of lather.
- Second Pass (Optional): Across the Grain (XTG). For a closer result, your next pass should be perpendicular to the direction of hair growth. This gets you smoother without the high risk of irritation.
- Third Pass (Advanced!): Against the Grain (ATG). This pass gives you that baby-smooth finish, but it also has the highest risk of nicks and ingrowns. Only do this if your skin can handle it, and use absolutely ZERO pressure. Let the weight of the razor do the work. Honestly, for many people, skipping this step is the secret to happy skin.
Remember to use short, light strokes and rinse your blade in hot water every one or two strokes. A clean blade is a happy blade.
After the Shave: The Cool Down
You’re not done yet! What you do after the blade leaves your skin is crucial.
- Cool Rinse. Rinse the area thoroughly with cool water. It feels amazing and helps soothe the skin.
- Pat Dry. Gently pat your skin dry with a clean, soft towel. Don’t rub!
- Post-Shave Rescue. This is the time to replenish moisture and calm things down. Use an alcohol-free balm or lotion with soothing stuff like aloe vera, niacinamide, or chamomile.
- Moisturize. After your balm has soaked in, apply your regular body moisturizer to lock everything in and help your skin barrier repair itself.
Troubleshooting: When Things Go Wrong
Even with the best technique, stuff happens. Here’s a quick field guide.
- Razor Burn: Redness and stinging means you were too aggressive. Apply a cold compress, then a soothing balm. Don’t shave again until it’s completely healed.
- Nicks and Cuts: Apply firm pressure with a clean tissue. For bleeders that won’t quit, get an alum block. It’s an old-school barber’s secret that you can find online for under $10. It stings for a second but stops bleeding instantly. It’s basically magic.
- Ingrown Hairs: Don’t dig at them! Apply a warm compress a few times a day to soften the skin. Gently exfoliating the area can also help the hair pop out. If it gets really painful or looks infected, it’s time to see a dermatologist.

Your Starter Kit & The Golden Rule
Feeling overwhelmed by the options? Here’s a simple shopping list to get you started.
- The Budget-Friendly Kit (Under $40): A beginner-friendly safety razor (like a King C. Gillette, often found at Target), a 100-pack of Astra or Derby blades (around $10 online), and a tube of Cremo Shave Cream.
- The Mid-Range Upgrade (Around $75): A more substantial safety razor from a dedicated brand, a synthetic shaving brush, and a tub of high-quality shaving soap from a maker like Stirling or Proraso.
- The “Buy It for Life” Kit ($100+): A precision-machined stainless steel or adjustable safety razor, a quality badger hair brush, and a premium shaving soap or cream.
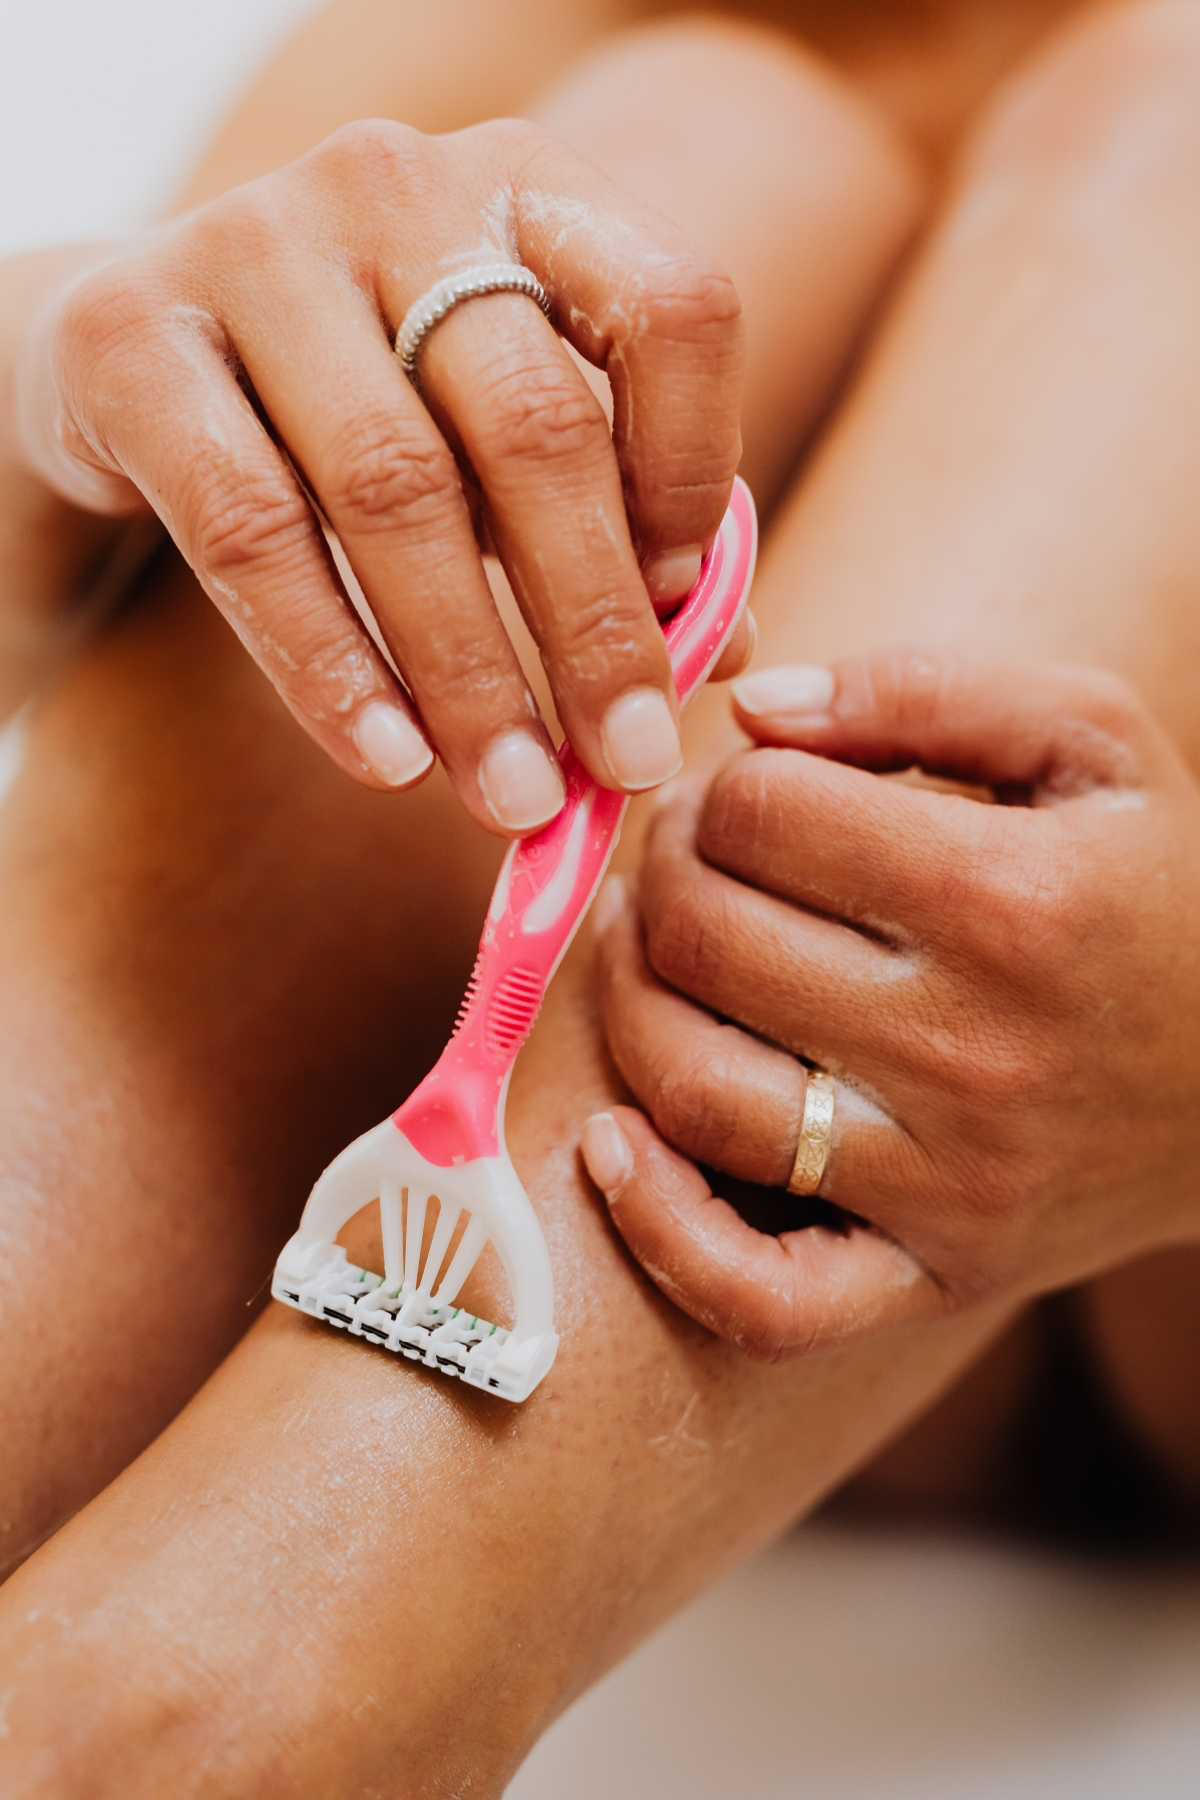
And now for the most important rule of all: Never, ever share a razor. Seriously. It’s a direct route for transferring bacteria and nasty infections. A razor is a personal tool. Rinse it well with hot water after use, let it dry completely (outside the humid shower!), and treat it with respect.

Mastering the art of shaving is really just about paying attention to your body. Be patient, take your time, and treat your skin kindly. You’ll be amazed at the difference it makes.
Galerie d’inspiration
Is there a difference between shaving cream, gel, and foam?
Absolutely, and it’s all about hydration and protection. Aerosol foams are mostly air and often contain alcohol, which can dry out your skin before the blade even touches it. Gels tend to be richer and offer more lubrication, but the real star for sensitive skin is shaving cream. A quality cream, like those from Proraso or Taylor of Old Bond Street, creates a dense, stable lather that acts as a protective cushion, softening the hair and allowing the razor to glide effortlessly rather than scrape.
A single razor blade can show significant signs of dulling after just 3 to 5 uses, leading to more pulling and skin irritation.
This means that clinging to an old cartridge for weeks is one of the biggest—and most common—shaving mistakes. The cost of a fresh blade is far less than the cost of dealing with weeks of razor burn. Don’t be frugal with your blades; your skin will thank you.

The essential post-shave cool-down: Your skin is vulnerable after shaving, so the first few minutes are crucial. Immediately rinse the area with cool water to close the pores and calm the skin. Gently pat it dry with a clean towel—never rub. Finish with an alcohol-free balm or moisturizer containing soothing ingredients like niacinamide or aloe vera to restore the skin’s barrier. The Jack Black Post Shave Cooling Gel is a great option for this.

Cartridge Razor: Think Gillette Fusion5 or Schick Hydro. These are convenient, fast, and feature pivoting heads that follow your body’s contours. However, the multiple blades can sometimes increase irritation by passing over the same patch of skin multiple times in one stroke.
Safety Razor: A classic single-blade razor, like a Merkur 34C. It requires more technique and a lighter touch, but offers a closer shave with significantly less irritation, as only one blade touches the skin. The blades are also incredibly cheap, making it a sustainable and budget-friendly choice in the long run.

- Prevents the most common type of ingrown hair.
- Drastically reduces redness and razor bumps.
- Ensures the blade cuts the hair cleanly instead of tugging it.
The secret? Shaving
Consider gentle exfoliation the day *before* you shave, not right before. Using a mild chemical exfoliant with salicylic acid, like the CeraVe SA Cleanser, or a soft physical scrub helps to lift away the dead skin cells that can clog your razor and lead to ingrown hairs. This pre-emptive strike clears the way for a smoother, closer shave with less resistance and irritation.


