The Real-Deal Guide to Making Bath Bombs That Don’t Flop
I’ve gotta be honest—my first attempt at making bath bombs was a complete and utter disaster. I got a little too excited with the water, poured it in too fast, and the whole bowl erupted into a sticky, fizzing volcano. It was a mess, but it was also the best lesson I ever learned. It taught me that making a truly great bath bomb isn’t just about following a recipe; it’s about understanding the ‘why’ behind each step. It’s a craft that’s one part kitchen science and one part pure artistry.
In this article
So many guides out there just throw a list of ingredients at you and call it a day. But if you don’t know why you’re doing something, how can you fix it when things go wrong? This guide is different. I want to walk you through the stuff that took me years of trial and error to figure out, from the science of the fizz to the techniques that create a solid, beautiful bomb that’s safe for your skin.
First Things First: What Makes a Bath Bomb Fizz?
Before you even think about measuring ingredients, let’s talk about the magic. At its core, a bath bomb is just a simple acid-base reaction that’s waiting for water to kick it off. Getting a grip on this simple fact is the key to troubleshooting pretty much any issue you’ll run into down the line.
The fizzing show is all thanks to two star players: sodium bicarbonate (yep, just plain old baking soda) and citric acid. Baking soda is your base, and citric acid is your… well, acid. As long as they stay perfectly dry, they can hang out together in the same bowl forever. But the second they hit your bathwater, they react, creating a salt called sodium citrate and a whole lot of carbon dioxide gas. Those glorious bubbles are the fizz!
Your main job as the maker is to keep these two apart, moisture-wise, until bath time. This is why a recipe that works great in a dry climate might be a fizzy failure in a humid one. It’s all about moisture control.
The Key Ingredients and Why They Matter
A good bath bomb is more than just fizz. Every ingredient has a job to do, and knowing what that job is lets you get creative and make smart substitutions.
-
Sodium Bicarbonate (Baking Soda): This is the backbone of your bomb, usually making up about half of the recipe. It’s the base in the reaction. For the best texture, use a fresh, finely ground baking soda. I always, always sift mine to get rid of clumps before I even start. You can get a huge bag for just a few bucks at any grocery store.
-
Citric Acid: This is the acid partner, creating the fizz. You can sometimes find it in the canning aisle, but honestly, the stuff you buy from a cosmetic or soap-making supplier online (like Bramble Berry or Nurture Soap) is much finer and more consistent. A good rule of thumb is a 2:1 ratio of baking soda to citric acid. Expect to pay around $8-$12 for a pound, which will last you for several batches.
-
Epsom Salt (Magnesium Sulfate): Added for that spa-like feel, Epsom salt is believed to help soothe sore muscles. It also adds hardness and bulk to your bomb. You can swap it for other salts like fine-ground Dead Sea salt, but Epsom dissolves really cleanly and is super affordable.
-
Cornstarch: Don’t underestimate this one! Cornstarch is a binder that helps hold the bomb together. More importantly, it slows down the fizzing reaction, turning a quick, violent fizz into a longer, more satisfying foam in the tub. If you have a corn allergy, arrowroot powder or kaolin clay are fantastic substitutes. By the way, kaolin clay is my personal favorite because it makes the bathwater feel incredibly silky.
-
Carrier Oil: This is for moisturizing your skin and also helps bind the dry ingredients. I’m a big fan of fractionated coconut oil because it stays liquid and doesn’t go bad quickly. Sweet almond or grapeseed oils are great, too. A quick tip: Avoid heavy oils like olive oil. They can make the bomb feel greasy and sometimes weigh it down so much it won’t float.
-
Binding Liquid: To get that perfect ‘damp sand’ texture, you need a tiny bit of liquid. And whatever you do, don’t use plain water! You’ll set off the reaction prematurely. The pro choice is a fine-mist spray bottle filled with either 99% isopropyl alcohol (which evaporates super fast) or witch hazel. Witch hazel has a little water in it, so you have to be extra careful and use it sparingly.
A Solid Starter Recipe to Get You Going
Alright, let’s put that theory into practice. This recipe is a great starting point and makes about 3 medium-sized, round bath bombs.
My Go-To Beginner’s Batch (measure by weight for best results!):
- Baking Soda: 225g (about 1 cup)
- Citric Acid: 115g (about 1/2 cup)
- Epsom Salt: 50g (about 1/4 cup)
- Cornstarch: 25g (about 2 tablespoons)
- Fractionated Coconut Oil: 15g (about 1 tablespoon)
- Your Favorite Essential Oil: 2g (around 40-50 drops)
Heads up on safety! When using essential oils, stick to a 1-2% usage rate to avoid skin irritation. That means for every 100g of product, use only 1-2g of essential oil. And please, only use essential oils that are rated as skin-safe.
The Craft: From Powder to Perfect Bomb
Technique is everything. Rushing these steps is the number one reason for crumbly, weak, or warty bombs. So, take your time and follow the process.
1. Get Your Workspace Ready
First, set up your station. Lay down some newspaper to make cleanup easier. Grab your tools: a big glass or stainless steel bowl, a whisk, a digital kitchen scale (seriously, this is a game-changer for consistency), a small bowl for your liquids, your molds, and your spray bottle of binder.
Oh, and please wear gloves to protect your hands and a simple dust mask. You don’t want to be breathing in all those fine powders.
2. Mix, Mix, Mix
Sift all your dry ingredients (baking soda, citric acid, salt, cornstarch) into the big bowl. Don’t skip the sifting! It’s the only way to guarantee a smooth, uniform bomb. Now, whisk them together for a solid two minutes. You want the mixture to be perfectly blended with no streaks.
3. Wet Ingredients and Color
In your small bowl, mix your carrier oil and your essential oils. If you’re adding color, now is the time! For beginners, I recommend using micas. They won’t stain your tub. Add about 1/2 teaspoon of mica to your oils and mix well.
Now for a pro secret: add about 1/2 teaspoon of Polysorbate 80 to your oil mixture. This is an emulsifier that helps the oils and color mix with the bathwater instead of floating on top and leaving a nasty ring around the tub. You can find it at the same places you buy citric acid. Trust me, it’s worth it.
4. The Critical Combination
This is where my first batch went wrong, so pay close attention! Very, very slowly drizzle the oil mixture into your dry ingredients while whisking constantly. You’re aiming to coat the powder, not make it wet. Once the oil is in, the mixture should feel like slightly damp sand.
Now, grab your spray bottle of witch hazel or alcohol. Give the mixture one or two quick spritzes and immediately mix it in with your hands. Keep doing this—one or two spritzes at a time—until the mixture holds its shape when you squeeze a handful. It should feel like perfect sand for building a sandcastle. This is the texture you’re looking for!
5. Molding and Drying
Now you have to work fast. Overfill both halves of your bath bomb mold, creating a little mound on each side. Press the two halves together firmly and directly—don’t twist! Carefully remove one side of the mold, then the other. Place the naked bomb on a tray lined with parchment paper.
Let them dry for at least 24 hours, or even 48 if you live somewhere humid. They need to be completely, rock-hard dry before you think about packaging or using them. Patience is key!
What Went Wrong? A Troubleshooting Guide
Don’t worry, even the pros have off days. Here’s how to diagnose and fix the most common bath bomb fails.
-
Problem: My bombs are cracking as they dry.
Solution: Your mixture was too dry. You probably needed just one or two more spritzes of your binder. On your next batch, make sure the mix can hold its shape firmly before you mold. -
Problem: My bombs expanded and look like warty blobs!
Solution: This is a classic! It means your mix got too wet, either from too much binder or high humidity in the air. The reaction started before it was supposed to. Work faster, use less liquid, and maybe wait for a less humid day. -
Problem: They’re crumbly and fall apart after drying.
Solution: This could be two things. Either the mixture was too dry (see cracking, above), or you didn’t pack the mold tightly enough. Really press those halves together with some force! -
Problem: It just sank and barely fizzed.
Solution: This is a bummer. It usually means your ingredients were old (especially the baking soda) or moisture got to the mix at some point and killed the fizz. Always use fresh ingredients for the best pop.
And there you have it. The whole process, from start to finish. It might take a batch or two to get the feel for it, but once you nail that ‘damp sand’ consistency, you’ll be making amazing, professional-quality bath bombs in no time. Happy crafting!
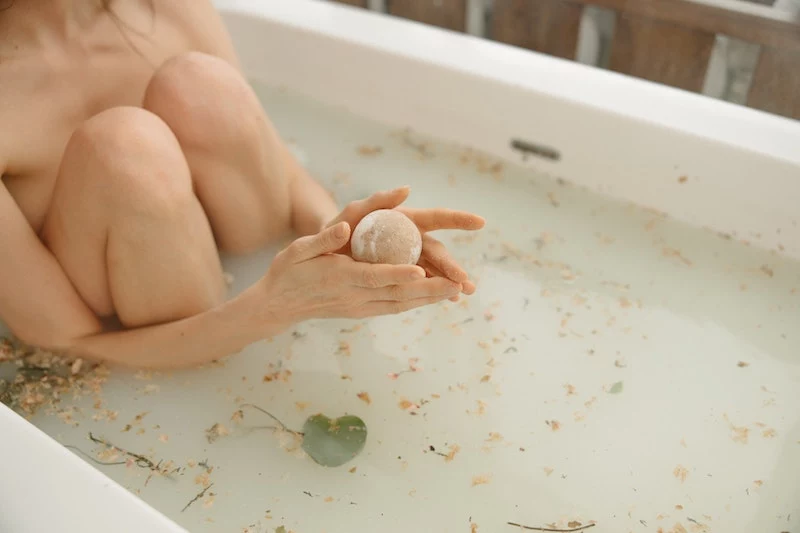
Inspirational Gallery
Help! Why did my beautiful bath bombs crack after a day of drying?
This is a classic heartbreak for beginners, and it almost always means your mixture was too dry. When the bomb hardens, the bonds are too brittle and just pull apart. The fix is to add a tiny bit more liquid binder during mixing—think half a teaspoon of witch hazel or a lightweight oil like sweet almond oil. Also, avoid drying them too quickly, like in direct sunlight or near a heating vent, which can cause them to crack as they shrink.
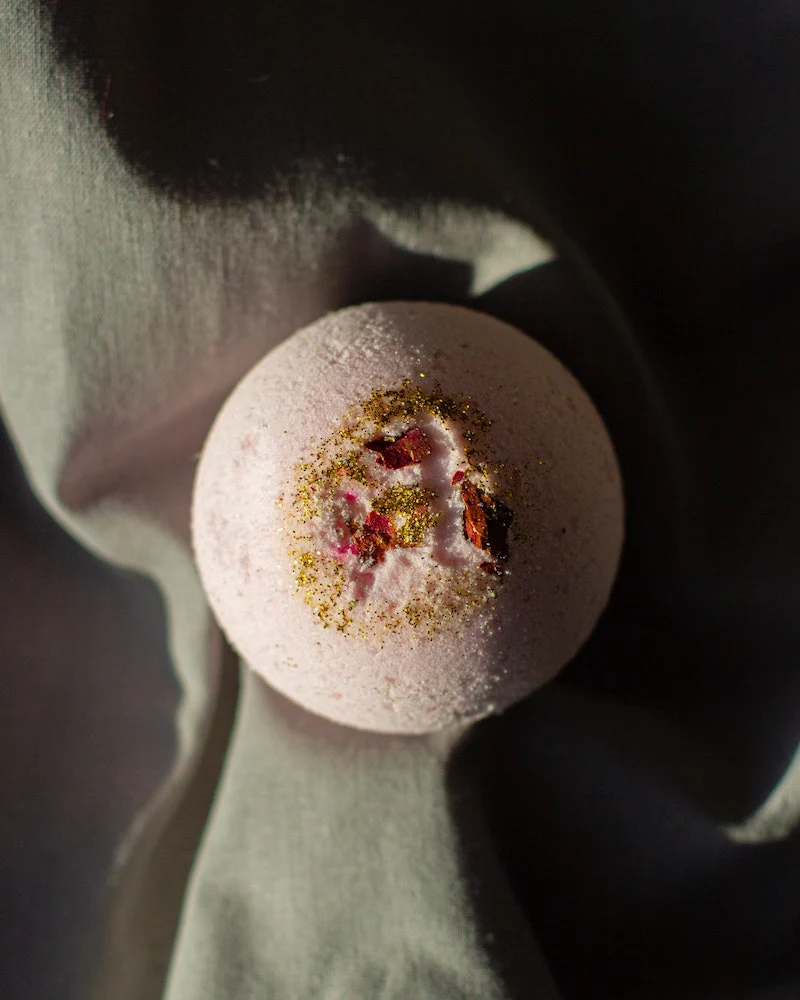
The bath bomb was invented in 1989 by Mo Constantine, co-founder of the cosmetics company Lush. She was looking for a way to create a luxurious bath experience without harsh foaming agents, using simple, skin-friendly ingredients.
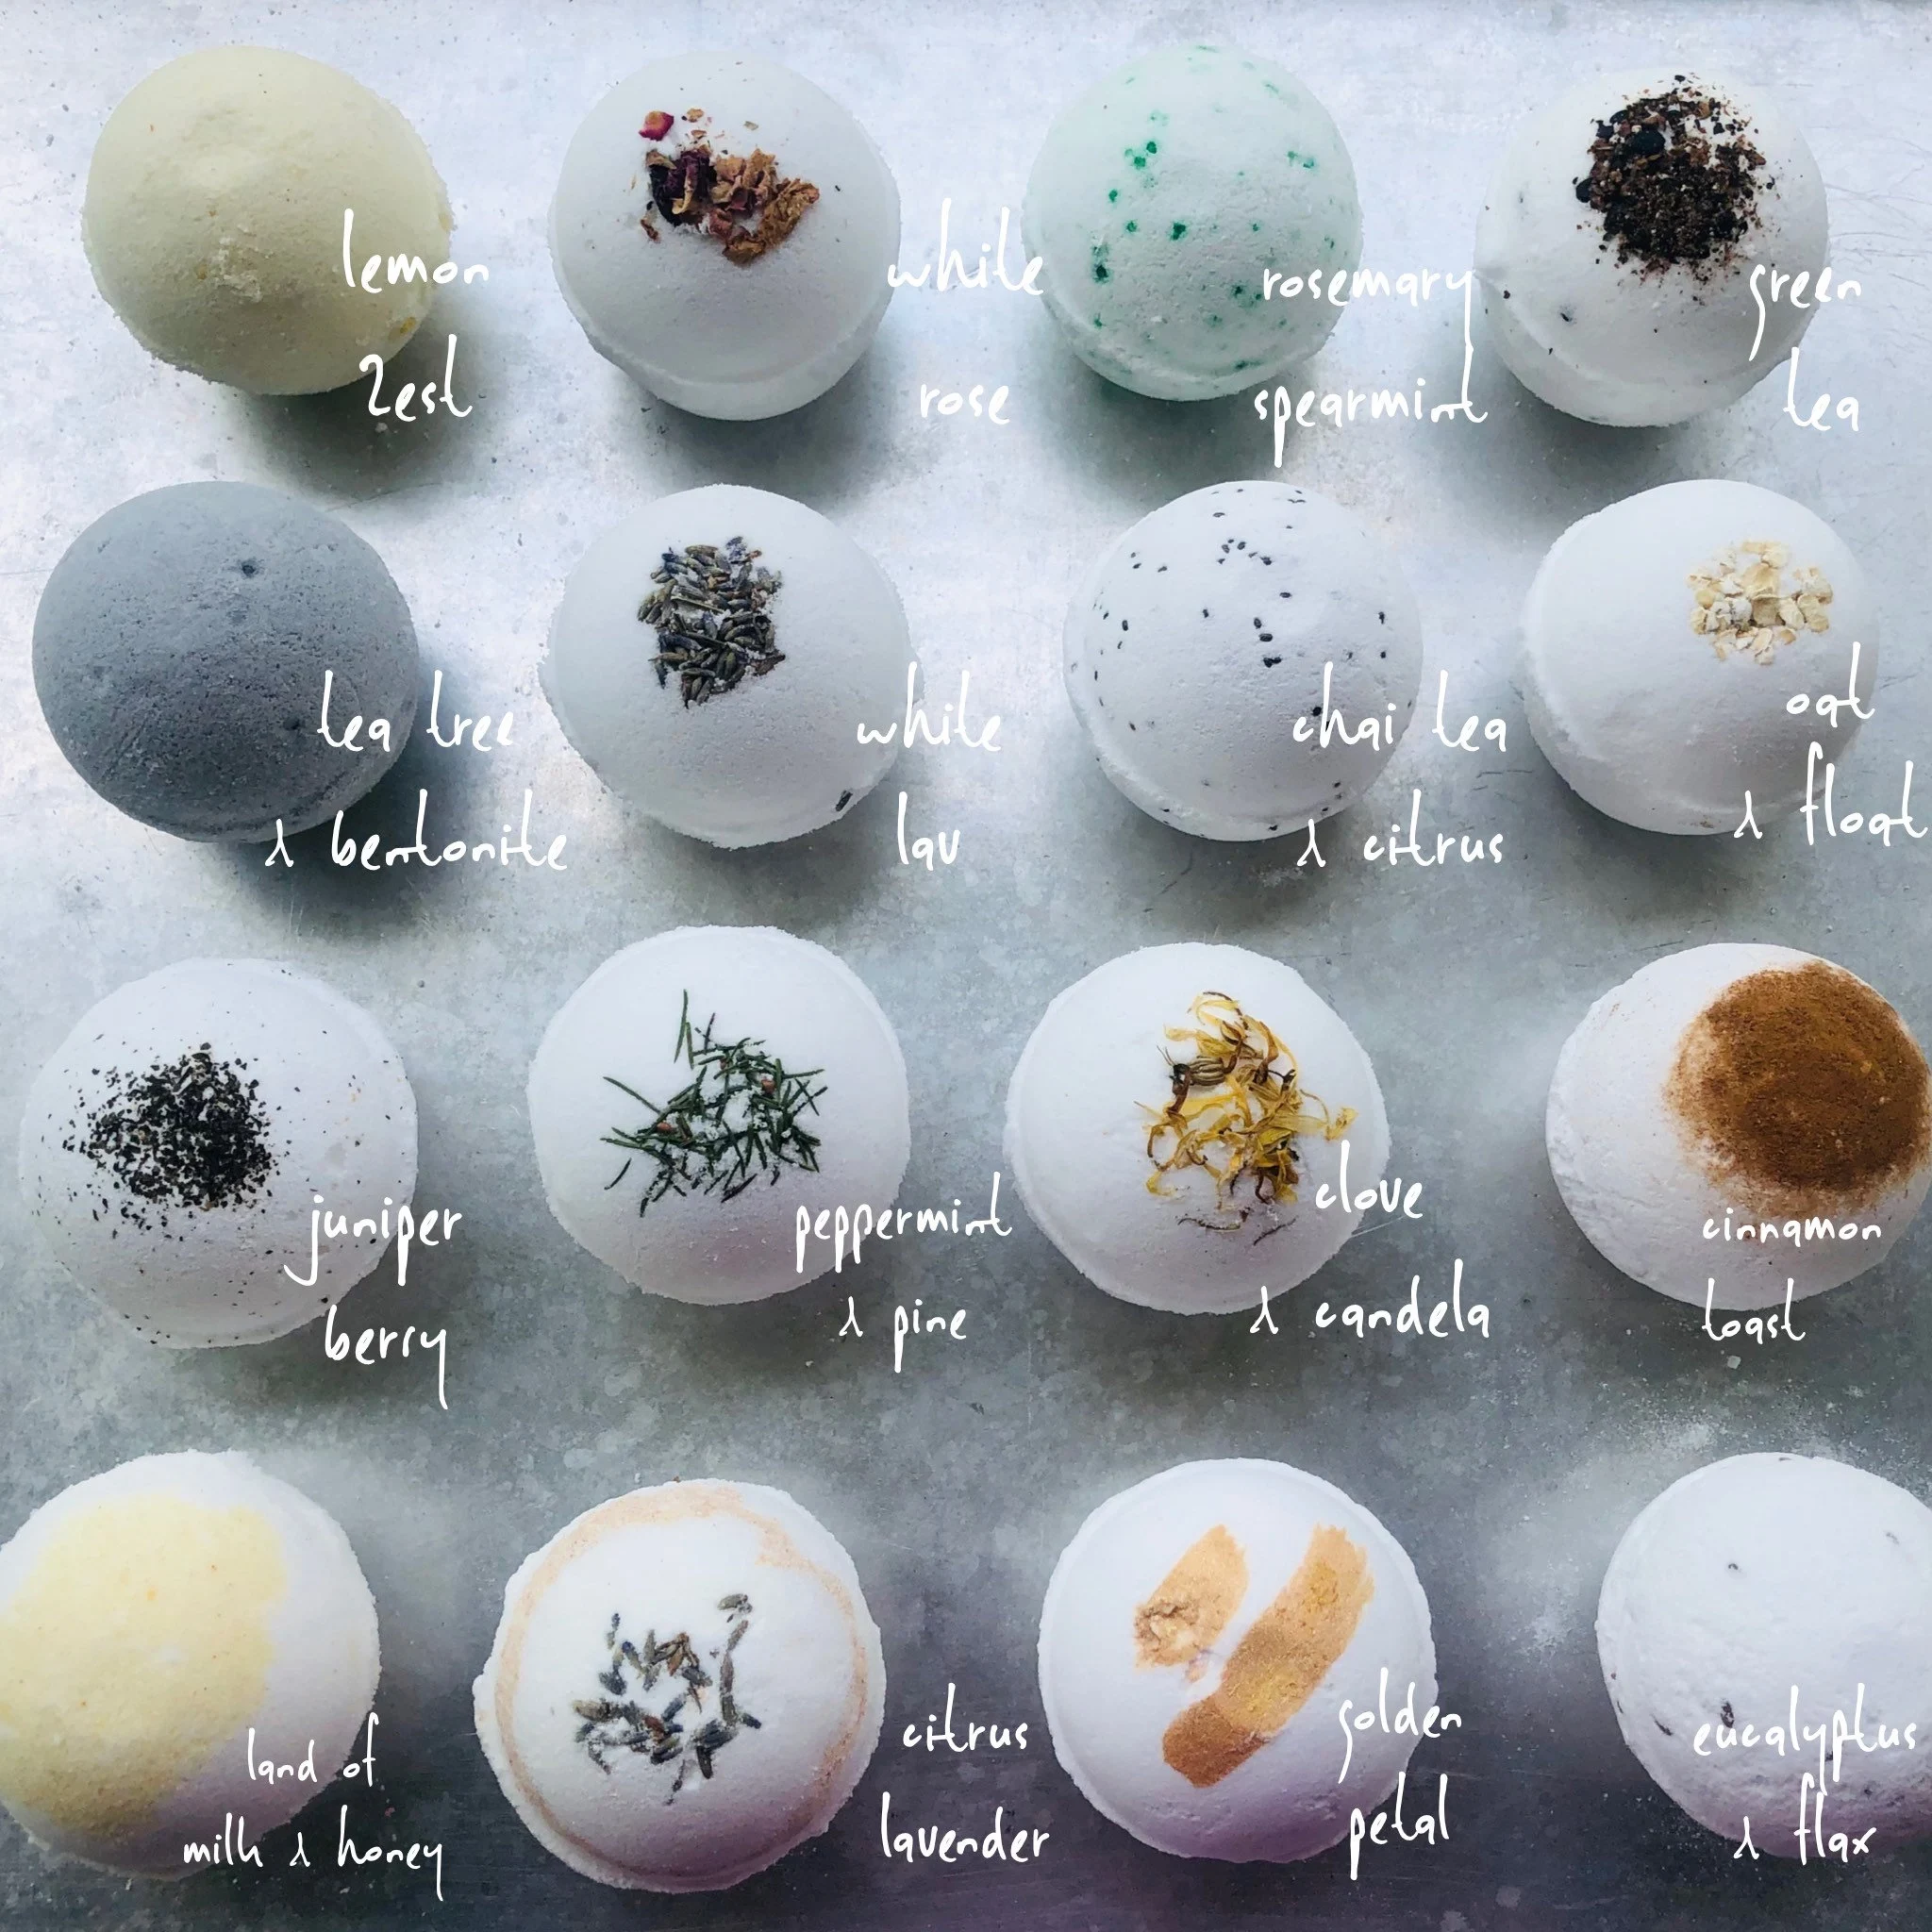
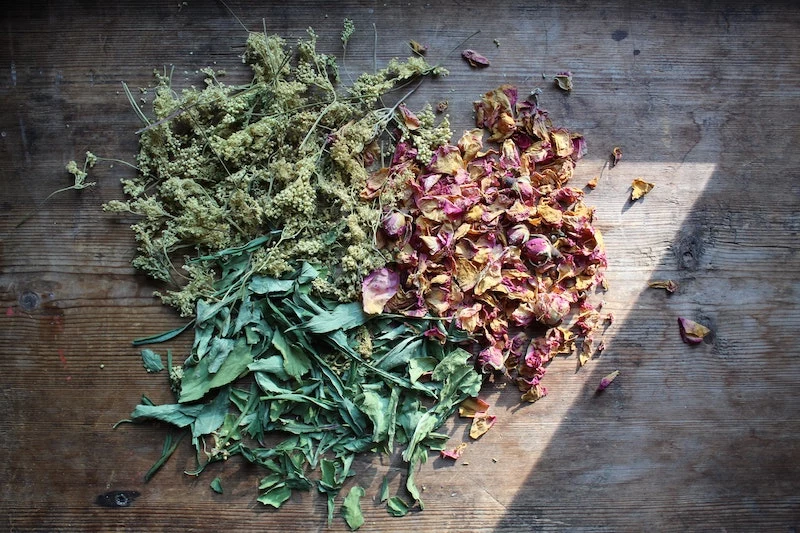
Achieving those vibrant, Lush-worthy colors without staining your tub is an art. The key is using the right kind of colorant.
- Micas: These fine powders, like those from a supplier like Bramble Berry, add gorgeous color and a pearly shimmer.
- Water-Soluble Dyes: Perfect for intense, uniform color that disperses beautifully in water.
- Polysorbate 80: This isn’t a color, but an emulsifier. Add a small amount to your recipe to help the micas and oils mix with the bath water instead of clinging to the side of the tub.
Important point: Control your humidity. If your bath bombs are feeling damp, getting little bumps, or expanding slightly out of the mold, your environment is likely too humid. The baking soda is prematurely absorbing moisture from the air. Try making them on a dry day, run a dehumidifier in the room, or add a tablespoon of kaolin clay to your dry ingredients to help absorb ambient moisture.
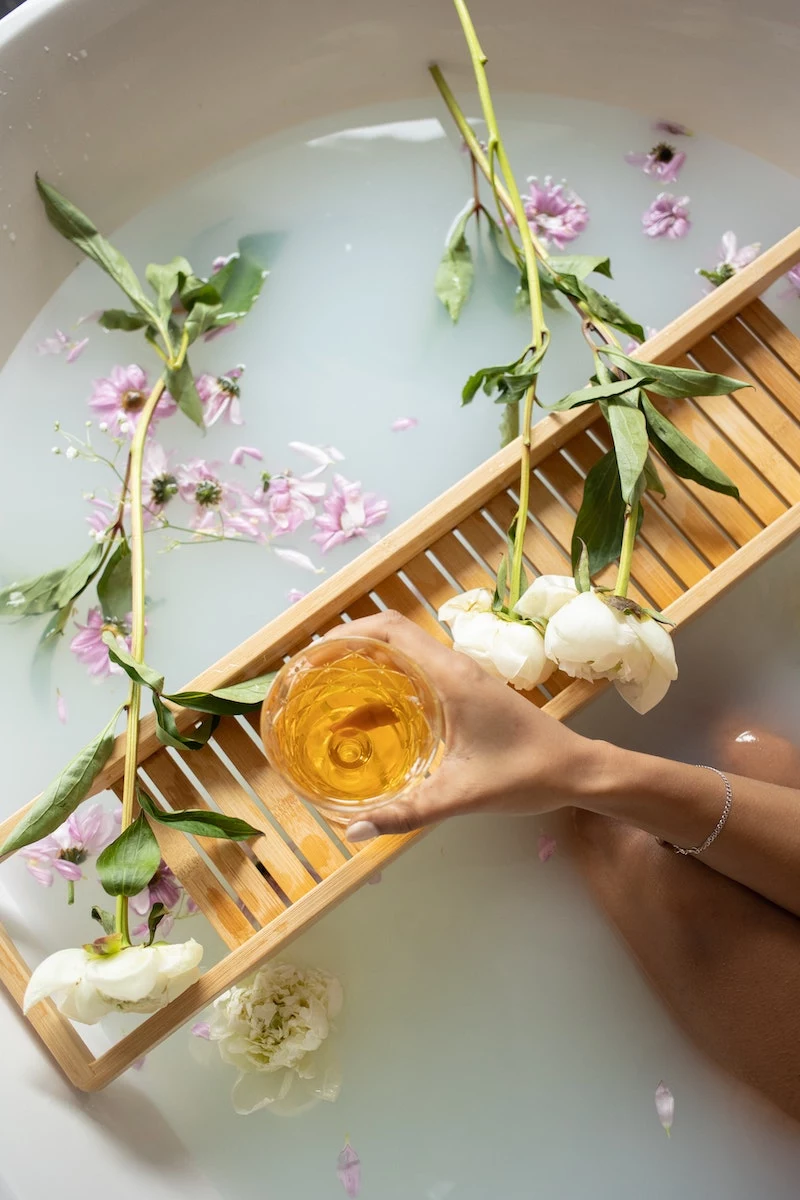
- A deep, muscle-soothing relaxation.
- An invigorating and clarifying mental boost.
- A sensual and romantic floral escape.
The secret? A well-chosen essential oil blend. For sore muscles, try a combination of eucalyptus, peppermint, and rosemary. For a morning bath to sharpen your senses, blend grapefruit and bergamot. For romance, nothing beats the classic pairing of ylang-ylang and sandalwood.
Once your bath bombs are fully cured and rock-hard (usually after 24-48 hours), storage is key to preserving their fizz. Oxygen and moisture are the enemy. The best solution is to wrap them individually and tightly in plastic shrink-wrap bags, using a heat gun to seal them. For a more aesthetic, short-term display, an airtight glass apothecary jar works beautifully on a dry shelf—never in a steamy bathroom!
Classic Round Molds: These two-part stainless steel or plastic spheres are the go-to for that iconic bath bomb shape. They are durable and create a satisfyingly smooth surface.
Silicone Molds: Don’t limit yourself! Silicone candy, chocolate, or baking molds in fun shapes like hearts, stars, or even mini donuts make for incredibly creative and giftable bath bombs. They are flexible, making unmolding a breeze.
For beginners, the classic round mold is perfect for mastering the technique. Once you’re confident, unleash your creativity with silicone!
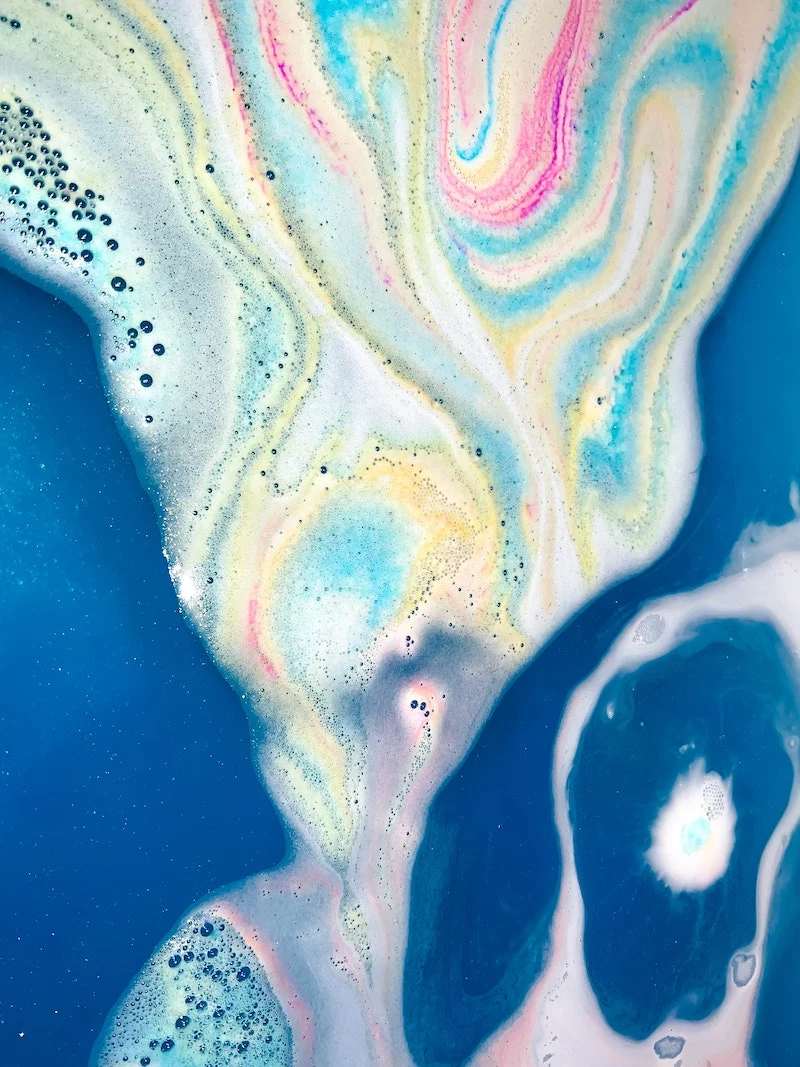
A study in the journal *Flavour and Fragrance* confirmed that certain scents, like lavender, measurably decrease heart rate and blood pressure, promoting a state of relaxation.
This is the science behind the spa-like experience. When you add lavender essential oil to your bath bomb, you’re not just adding a pleasant smell; you are incorporating a therapeutic element. The steam from the bath helps disperse these aromatic molecules, making your handmade creation a true tool for wellness and stress relief.


