The Real Deal on Natural Tattoo Aftercare (From Someone Who’s Seen It All)
After years in the studio, I can tell you one thing for sure: the questions I get most often aren’t about the tattoo process itself. They come right after the needle stops buzzing. Everyone wants to know about aftercare, and lately, the big topic is natural products. People are looking to ditch the classic petroleum-based stuff, and honestly, I get it. But jumping into the world of butters and oils isn’t as simple as grabbing something that smells nice. You’ve got to understand what your skin is actually doing.
In this article
- First, What’s Happening to Your Skin?
- The First 72 Hours: Focus on Cleaning, Not Greasing
- Choosing and Using Your Natural Moisturizer
- Your Quick Natural Aftercare Shopping List
- The Big Secret for a Tattoo That Lasts a Lifetime: Sunscreen!
- Know the Difference: Normal Healing vs. Real Trouble
- Galerie d’inspiration
Think of it this way: a fresh tattoo is basically a beautiful, artistic wound. My part of the job is done, but now it’s your turn. How you handle the next few weeks is what protects your investment for life. The wrong choice can suffocate the skin, clog your pores, or worse, lead to an infection that ruins the art. So let’s go through it just like I would with a client in my chair, focusing on what works, why it works, and the common mistakes to avoid.
First, What’s Happening to Your Skin?
Before you even think about buying a product, you need a quick crash course in wound healing. A tattoo forces your body to react, and it happens in a few predictable stages.
First, for about one to three days, you’re in the inflammatory phase. Your skin is going to be red, a little swollen, and warm to the touch. It might even weep a bit of clear plasma, blood, and excess ink. This is totally normal—it’s your body’s cleanup crew rushing in to protect the area.
Next up, usually from day four to around the two-week mark, is the rebuilding phase. This is when things start to get tight, dry, and super itchy as the top layer of skin flakes and peels. The goal here is to keep the area lightly moisturized to prevent thick, gnarly scabs from forming, which can pull the ink right out. But the skin has to breathe, so a heavy, greasy layer is your enemy.
Finally, there’s the maturation phase, which can last for months. The tattoo looks healed on top, but the deeper layers are still getting sorted out. Keeping it moisturized now helps the skin regain its strength and elasticity, making your tattoo look crisp and vibrant. A heavy butter that would have been a disaster in week one is perfect for this stage.
The First 72 Hours: Focus on Cleaning, Not Greasing
I tell every single client this: for the first few days, your main job is to keep that tattoo impeccably clean. Your artist will have covered it, usually with either classic plastic wrap or a modern adhesive film, sometimes called ‘second skin’. Just follow their specific instructions, as they know what’s best for the work they did.
If you’ve got the ‘second skin’ on, you’re in easy mode. You’ll likely leave it on for three to five days. It’s breathable and creates a sterile barrier. When it’s time to take it off, do it in a warm shower to loosen the adhesive, and peel it back slowly and parallel to your skin—don’t just rip it off like a bandage.
If you went the traditional route with plastic wrap, you’ll take it off after a few hours. After that, your routine is simple but non-negotiable:
- Wash your hands! Seriously, this is where most infections start.
- Gently wash the tattoo with lukewarm water and a mild, fragrance-free antibacterial soap. A lot of my clients just use liquid Dial Gold (around $3-$5) or unscented Dr. Bronner’s Baby Mild. Use only your clean fingertips—no washcloths or loofahs.
- Rinse it completely so no soap residue is left to irritate the skin.
- Pat it dry with a clean, disposable paper towel. Your regular bath towel is a no-go; it can hold bacteria and leave lint behind.
- Let it air dry for a good 10-15 minutes. Let it breathe!
For the first day or two, especially if the tattoo is still weeping, I often tell clients to just stick to washing and drying 2-3 times a day. Don’t even add moisturizer yet. You want the wound to close up. Once it starts feeling tight and dry, that’s your cue to start moisturizing.
Choosing and Using Your Natural Moisturizer
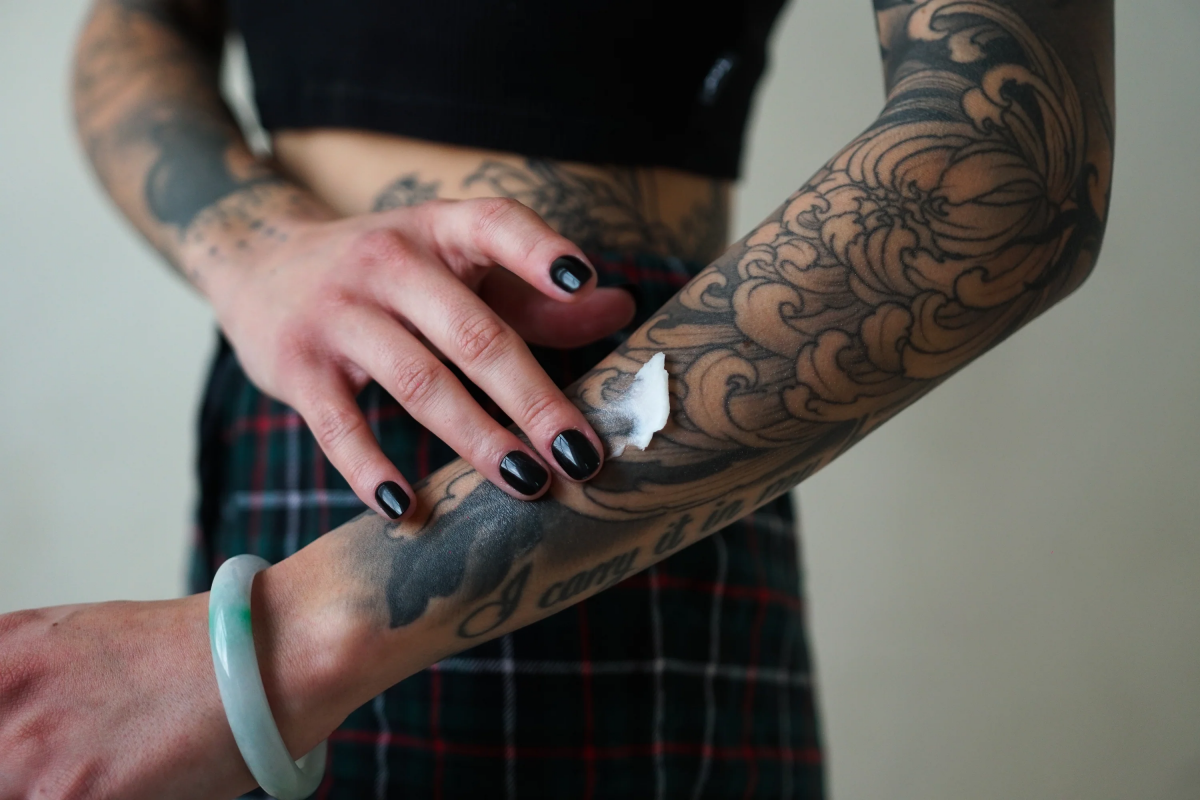
Okay, so your tattoo is starting to feel tight and flaky. It’s time. The golden rule is to apply a very, very thin layer. Your tattoo should have a subtle satin sheen, not a greasy, high-gloss shine. Over-application is the #1 mistake I see. It traps bacteria and can lead to an ugly, bubbly rash.
Oh, and if you do accidentally go too heavy? Don’t panic. Just gently blot the excess with a clean paper towel. Next time, use half as much.
Here are some of the go-to natural options and what you really need to know about them.
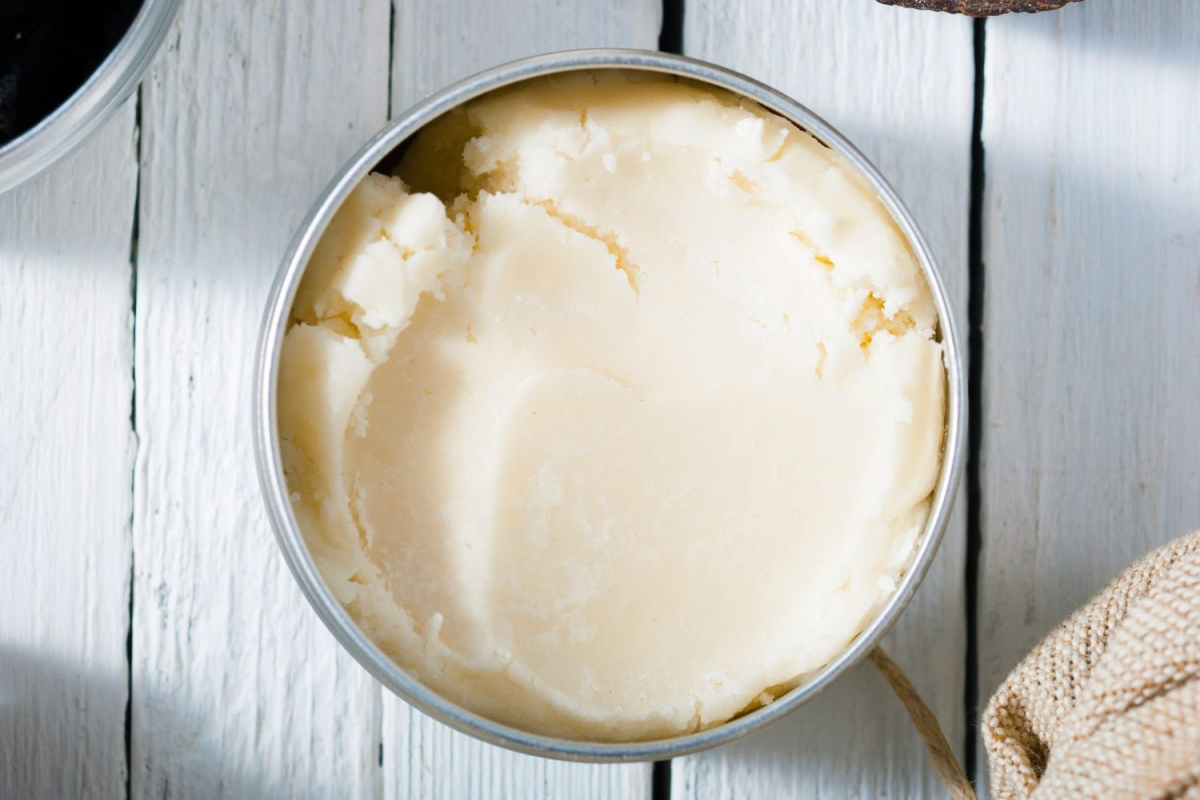
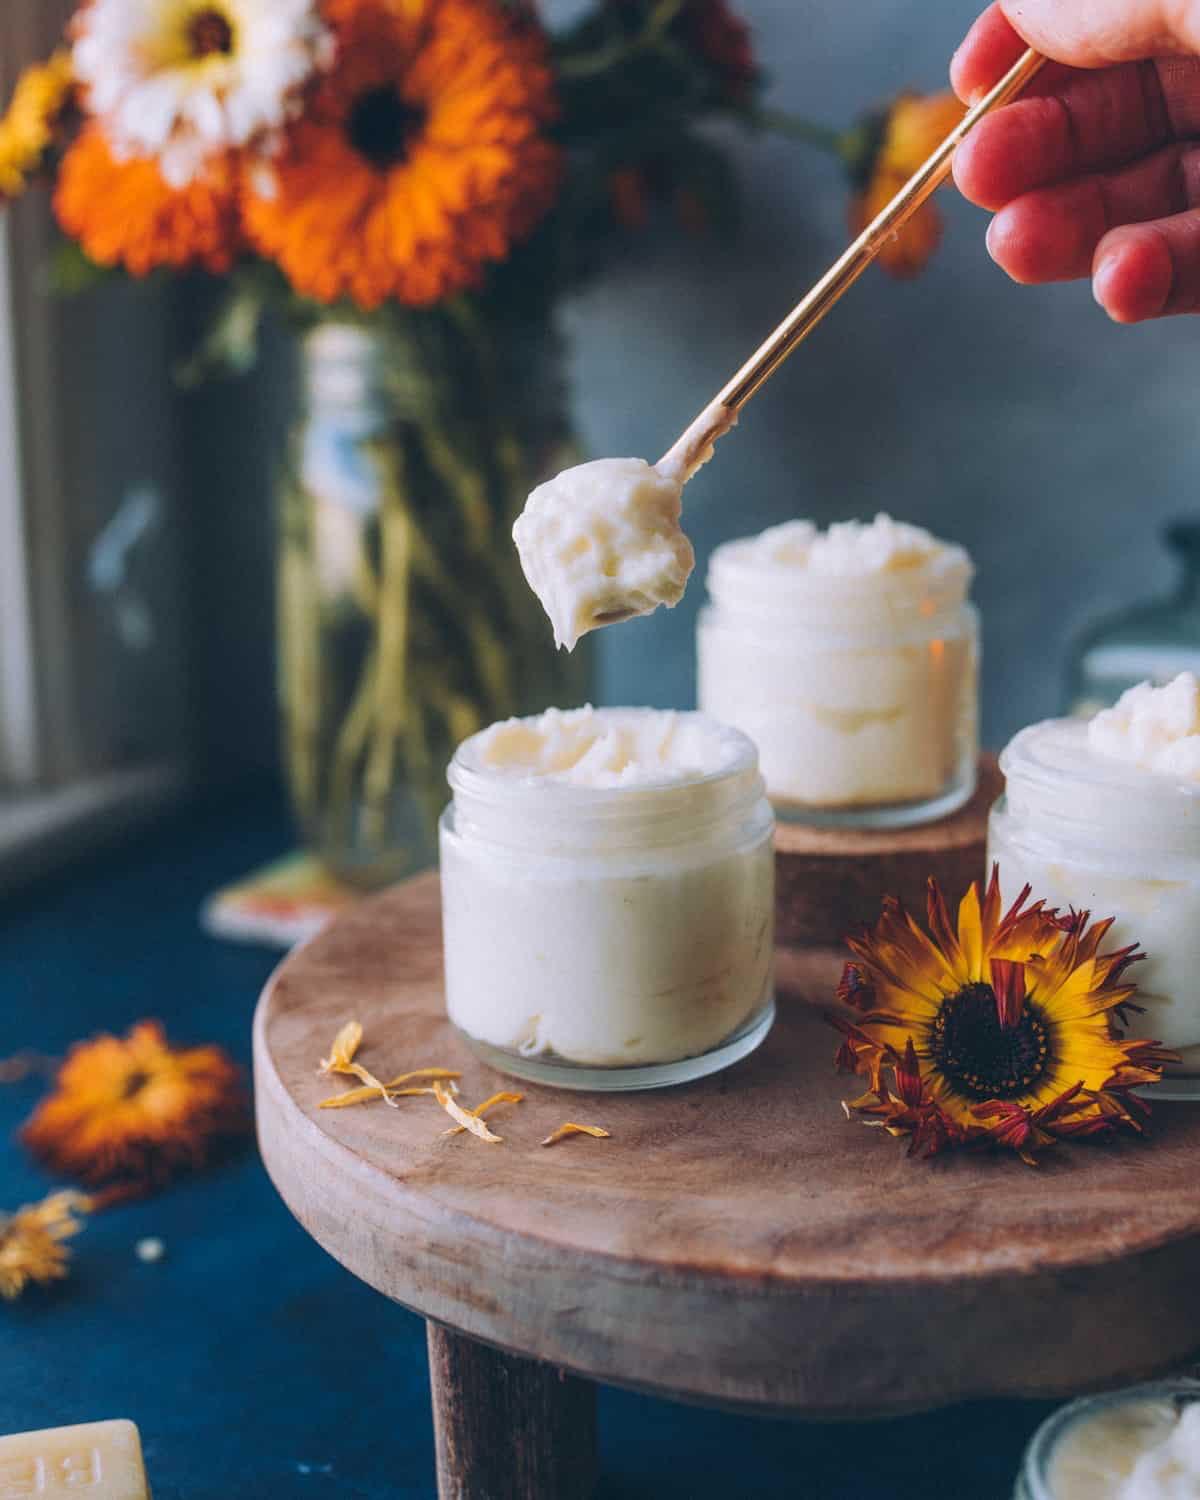
- Shea Butter: This is a personal favorite to recommend. You want the good stuff: raw, unrefined, Grade A shea butter. It has a nutty scent and an ivory color. The processed white stuff has had most of its healing properties stripped away. Shea is fantastic for the itchy, peeling stage because it’s deeply moisturizing but still lets the skin breathe. A 4-ounce tub costs about $10-$15 at health food stores or online and will last you forever. Just warm a tiny pea-sized amount between your palms until it’s an oil and gently pat it on.
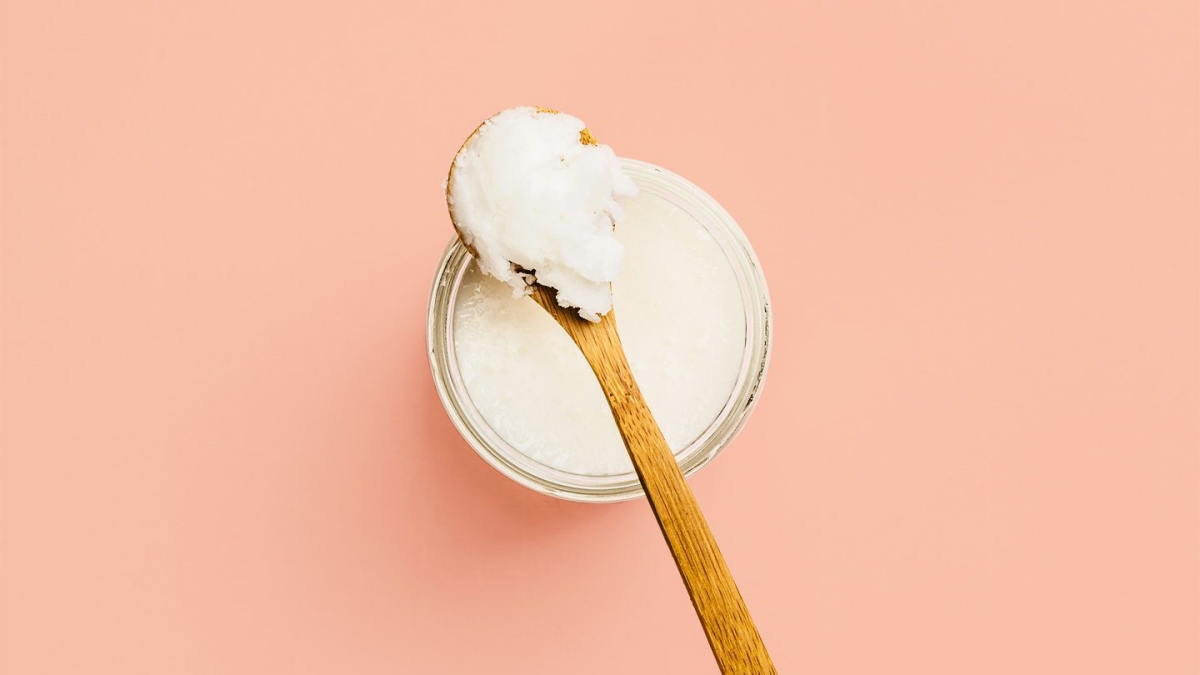
- Fractionated Coconut Oil: Regular coconut oil can be a problem. For some people, it’s notorious for clogging pores, which can cause little pimples to pop up around your new ink—not fun. If you love coconut oil, look for fractionated coconut oil. It stays liquid, absorbs way faster, and is much less likely to cause breakouts. It’s a lighter choice, perfect for skin that’s already a bit oily.
- Calendula Salve: This is an amazing choice, especially if your tattoo is extra red and angry. Calendula is a flower known for its awesome anti-inflammatory properties. You’re not buying the oil itself, but a product where calendula has been infused into a carrier oil. When you’re shopping, look for a super simple ingredient list: calendula-infused olive or jojoba oil, maybe some beeswax, and that’s about it. If you see a long list with ‘parfum’ or a bunch of different essential oils, skip it. Those can be major irritants.
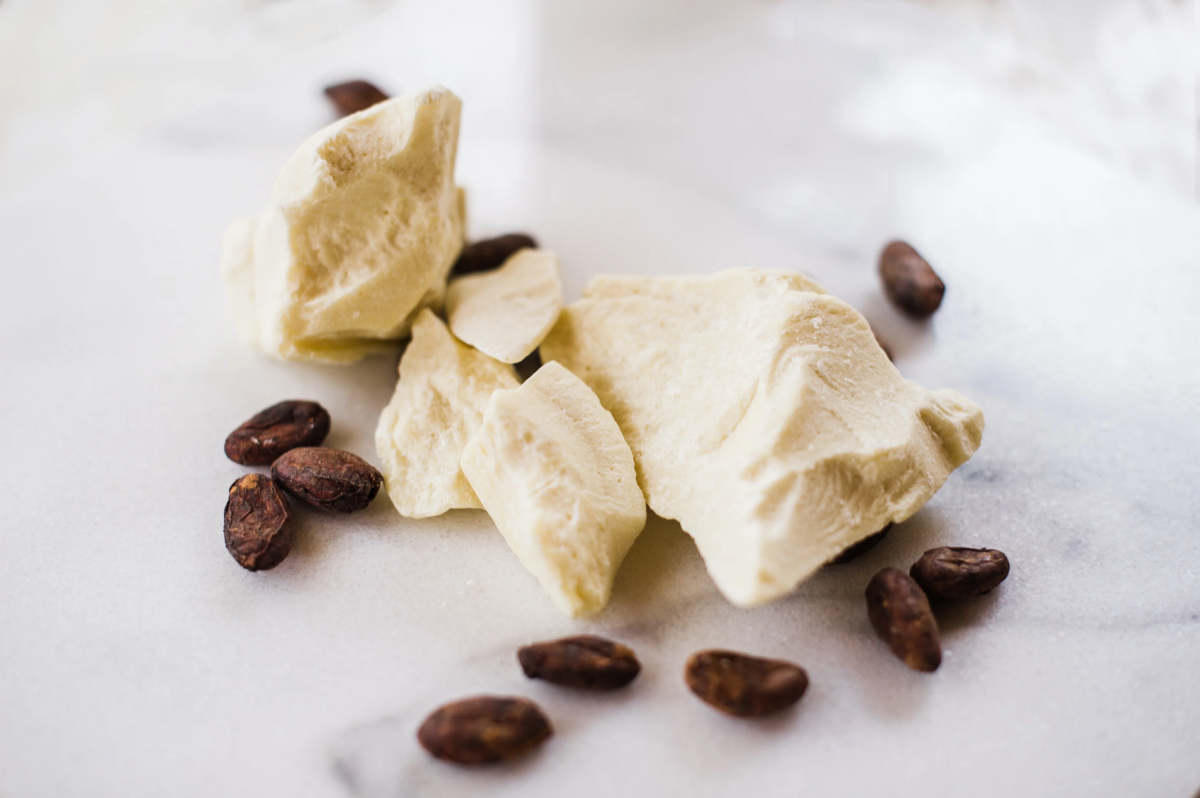
- Cocoa Butter: I’d save this one for later. Cocoa butter is super rich and thick, which is great for healed skin but a little too heavy for a fresh tattoo. It can be too occlusive, meaning it doesn’t let the skin breathe enough. Once your tattoo is fully done peeling (after 2-3 weeks), it’s fantastic for long-term moisturizing to keep the skin healthy and the colors bright.
Your Quick Natural Aftercare Shopping List
To make it easy, here’s what you’ll likely need:
- Fragrance-free antibacterial soap ($3-$7)
- A roll of paper towels ($2)
- Your choice of natural moisturizer (around $8-$20, depending on what you pick)
The Big Secret for a Tattoo That Lasts a Lifetime: Sunscreen!
This is so important it needs its own section. The sun is the number one enemy of a vibrant tattoo. But you absolutely CANNOT put sunscreen on a new, healing tattoo. It’s an open wound, and sunscreen is full of chemicals you don’t want in there.
Wait until the tattoo is fully healed—no more scabbing, peeling, or shininess. We’re talking at least 3-4 weeks. Once it’s just a regular part of your skin, make sunscreen a daily habit. A mineral-based sunscreen with zinc oxide is often a great choice as it sits on top of the skin and is less likely to cause irritation than chemical sunscreens. A high SPF is your best friend. This single step will do more to keep your tattoo from fading over the years than anything else.
Know the Difference: Normal Healing vs. Real Trouble
Look, I’m a tattoo artist, not a doctor. My job is to tell you when you need to see one. Knowing what’s normal and what’s a red flag is crucial.
Totally Normal Healing Signs:
- Redness, minor swelling, and warmth for the first few days.
- A bit of weeping ink and plasma for 24-48 hours.
- Tightness, followed by peeling and flaking (like a sunburn).
- Itching! Itching is a good sign, but don’t you dare scratch it. A light, open-handed slap on the area can help.
Warning Signs of a Possible Infection:
- Redness that gets worse after day three or starts spreading out.
- Pain, heat, or excessive swelling that continues past the first few days.
- Yellow or green pus, or a foul smell coming from the tattoo.
- Red streaks extending from the tattoo toward the center of your body.
- Fever or generally feeling sick and unwell.
If you see any of those warning signs, call your artist to let them know, but then your very next call needs to be to a doctor. Don’t wait or try to fix it with a different cream. An infection is a medical issue that needs a medical professional.

At the end of the day, healing a tattoo is a partnership. I put my all into the art, and you put your care into the healing. Using natural products can be a fantastic way to do it right. Just keep it clean, keep it lightly moisturized, and, for the love of good ink, keep it out of the sun. Do that, and you’ll have a piece of art that looks amazing for life.
Galerie d’inspiration
Is all-natural always better?
Not necessarily. While a shift away from petroleum is positive, some natural ingredients can be surprisingly problematic for a fresh tattoo. For instance, many people reach for essential oils like tea tree or lavender for their antiseptic qualities, but these can be intensely irritating on an open wound, causing redness and even allergic reactions. The same goes for raw, unfiltered honey or certain floral extracts. The key is to choose products formulated specifically for aftercare, like those from brands such as Mad Rabbit or Hustle Butter, which use purified, non-irritating natural ingredients in balanced formulas.


