The Real Deal on Sea Moss: Your Guide to Making Perfect Gel at Home
So, you’re curious about sea moss. I get it. Over the last decade, I’ve seen this stuff go from a little-known ingredient in hardcore health circles to something you see all over social media. My goal here isn’t to sell you on a trend. It’s to give you the real, hands-on knowledge you need to do it right, from picking the good stuff to making a clean, potent gel in your own kitchen.
In this article
Honestly, there’s a lot of noise out there. We’re going to cut through it and focus on what actually matters: what sea moss is, how to spot quality, and how to use it safely. This is the practical, no-fluff info that really makes a difference.
More Than Just Seaweed: A Quick Look Under the Hood
Before you start making gel, it helps to know what you’re working with. Sea moss isn’t a plant; it’s a type of red algae. This matters because its unique biology is what gives it that gel-like power. The most common types are known as Chondrus crispus and Gracilaria.
Both are packed with a substance called carrageenan. Now, you’ve probably heard some not-so-great things about carrageenan because it’s used as a thickener in processed foods. Here’s the deal: the controversy is mostly about a chemically degraded form that isn’t found in whole foods. The carrageenan in natural sea moss acts like a soluble fiber, which is what creates that soothing, gelatinous texture. In your gut, it can be calming and help keep things moving regularly.
But let’s be real, most people are here for the minerals. You’ll hear the claim that it has 92 of the 102 minerals our bodies need. While that’s a heck of a marketing line, the truth is a bit more nuanced. The mineral content totally depends on the water where it grew. Still, it’s consistently a great source of some key players:
- Iodine: This is the big one. It’s crucial for your thyroid, which runs your metabolism. It’s also the mineral that requires the most respect, but more on that later.
- Potassium: A vital electrolyte for fluid balance and nerve function.
- Calcium & Magnesium: The dream team for bones, muscles, and your nervous system.
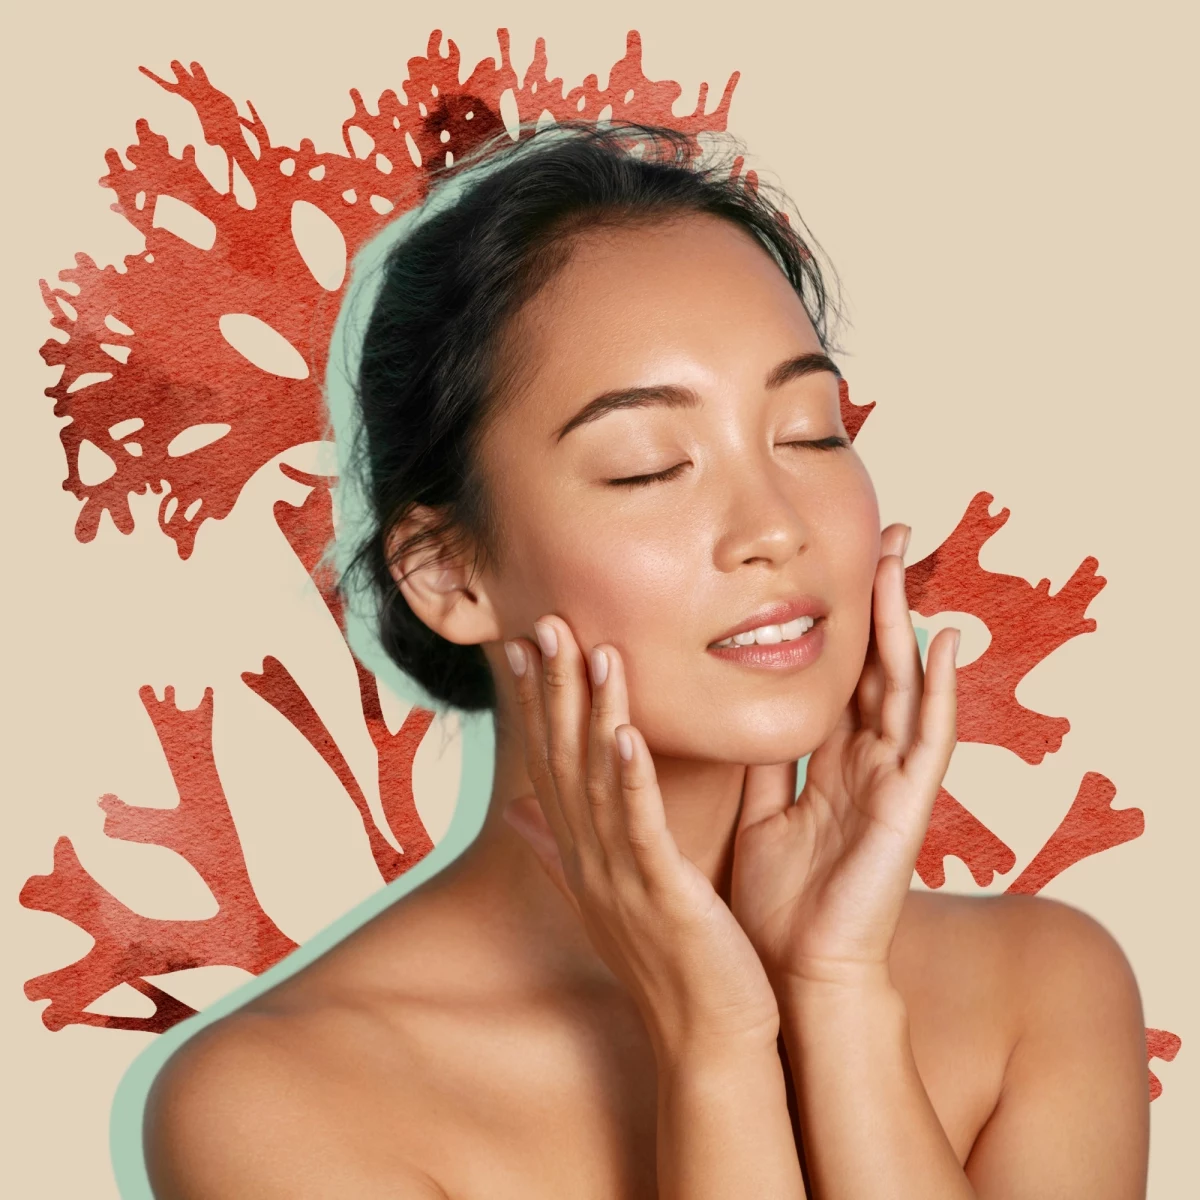
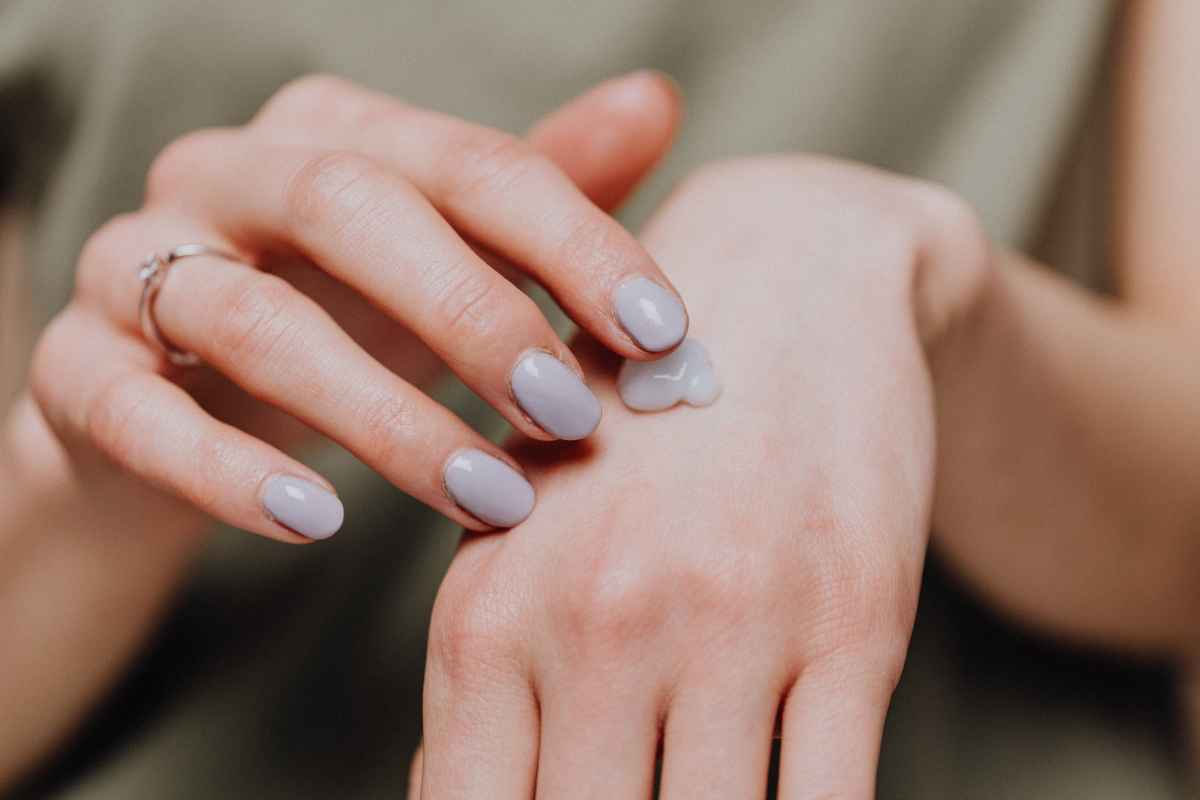
- Sulfur: Sometimes called the “beauty mineral,” it’s a building block for healthy hair, skin, and nails. This is why people love using sea moss gel as a face mask.
How to Choose Your Moss (and Not Get Ripped Off)
Not all sea moss is created equal. The type you buy will totally change the taste, texture, and even the price. Knowing the difference is key to getting what you want.
You’ll generally find two main categories. The first is the classic True Irish Moss, which grows in the cold, rocky waters of the North Atlantic. It has these pretty, fan-like fronds and a deep reddish-purple color that dries to a yellowish-brown. The gel it makes is super firm and it has a much stronger, more distinct ocean flavor. Because it’s harder to harvest, this kind is often pricier and a bit harder to find.
The other, more common type is Warm Water Moss. This is what you’ll typically find from places like the Caribbean. It looks more like thin, stringy noodles and comes in a beautiful golden or light purple color. This moss makes a much lighter gel with a super mild taste, which is why it’s perfect for tossing into smoothies—it won’t overpower the other flavors. This is the kind most people start with.
Heads Up! Wildcrafted vs. Pool-Grown
This is probably the most important thing to know before you buy. It’s a huge deal for quality and safety.
Wildcrafted moss is harvested right from the ocean, where it grows naturally on rocks. Real wildcrafted moss isn’t perfect; you’ll see different colors and thicknesses, and you might even find a tiny shell or a bit of sand stuck to it. That’s a good sign! It will have a fine, dusty coating of natural sea salt. When you open the bag, it should smell clean and briny, like a fresh ocean breeze—not a fishy, low-tide smell.
Pool-grown moss, on the other hand, is farmed in man-made pools to meet demand. It looks very uniform and often has coarse, chunky salt crystals caked on it for preservation. That’s a major red flag. This stuff just doesn’t have the same nutrient profile as moss grown in the wild ocean.
So, where do you buy it? Look for online suppliers that are transparent about their sourcing. A good sign is a website that proudly displays a “Lab Tested” or “Certificate of Analysis” link, proving their product is checked for heavy metals. A good bag of wildcrafted moss (about 2-4 ounces) will usually run you between $15 and $25.
How to Make a Perfect Batch of Sea Moss Gel
Okay, let’s get to the fun part. Making the gel is simple, but the little details matter. Rushing the steps can leave you with a gritty or funky-tasting product.
Quick time check: This process takes about 20 minutes of actual work, but you need to plan for a 12 to 24-hour soak time. Don’t start this an hour before you need it!
Here’s a quick shopping list to make it feel more achievable:
- Wildcrafted Dried Sea Moss (1 oz): $15 – $25 for a bag that’ll last a while.
- Gallon of Spring or Filtered Water: around $2.
- Airtight Glass Jar (like a Mason jar): $3.

Step 1: Inspect Your Moss
When your package arrives, open it up and give it a good look and sniff. It should smell clean and salty. If it has a chemical smell or feels weirdly wet, send it back. I once found a perfectly preserved miniature crab claw in a batch—that’s how you know it’s the real deal!
Step 2: Clean It Well
This part is non-negotiable. Put about 1 ounce of dried moss (it’ll make around 32 ounces of gel) into a big bowl and rinse it under cool water. Use your hands to gently rub the fronds together to knock off any sand or salt. Rinse it two or three times until the water runs mostly clear.
Step 3: The Long Soak
Put your clean moss in a large glass bowl (not plastic!) and cover it completely with filtered or spring water. Never use straight tap water if you can help it, as the moss will absorb the chlorine and other stuff in it. A quick tip: if tap is your only option, boil it for 10 minutes and let it cool completely before using. You can also add a squeeze of key lime to the soak—the acidity helps neutralize any lingering ocean taste. Cover it and let it soak on the counter for at least 12 hours, but no more than 24. It’ll puff up to 2-3 times its size and turn soft and almost translucent.
Step 4: The Final Blend
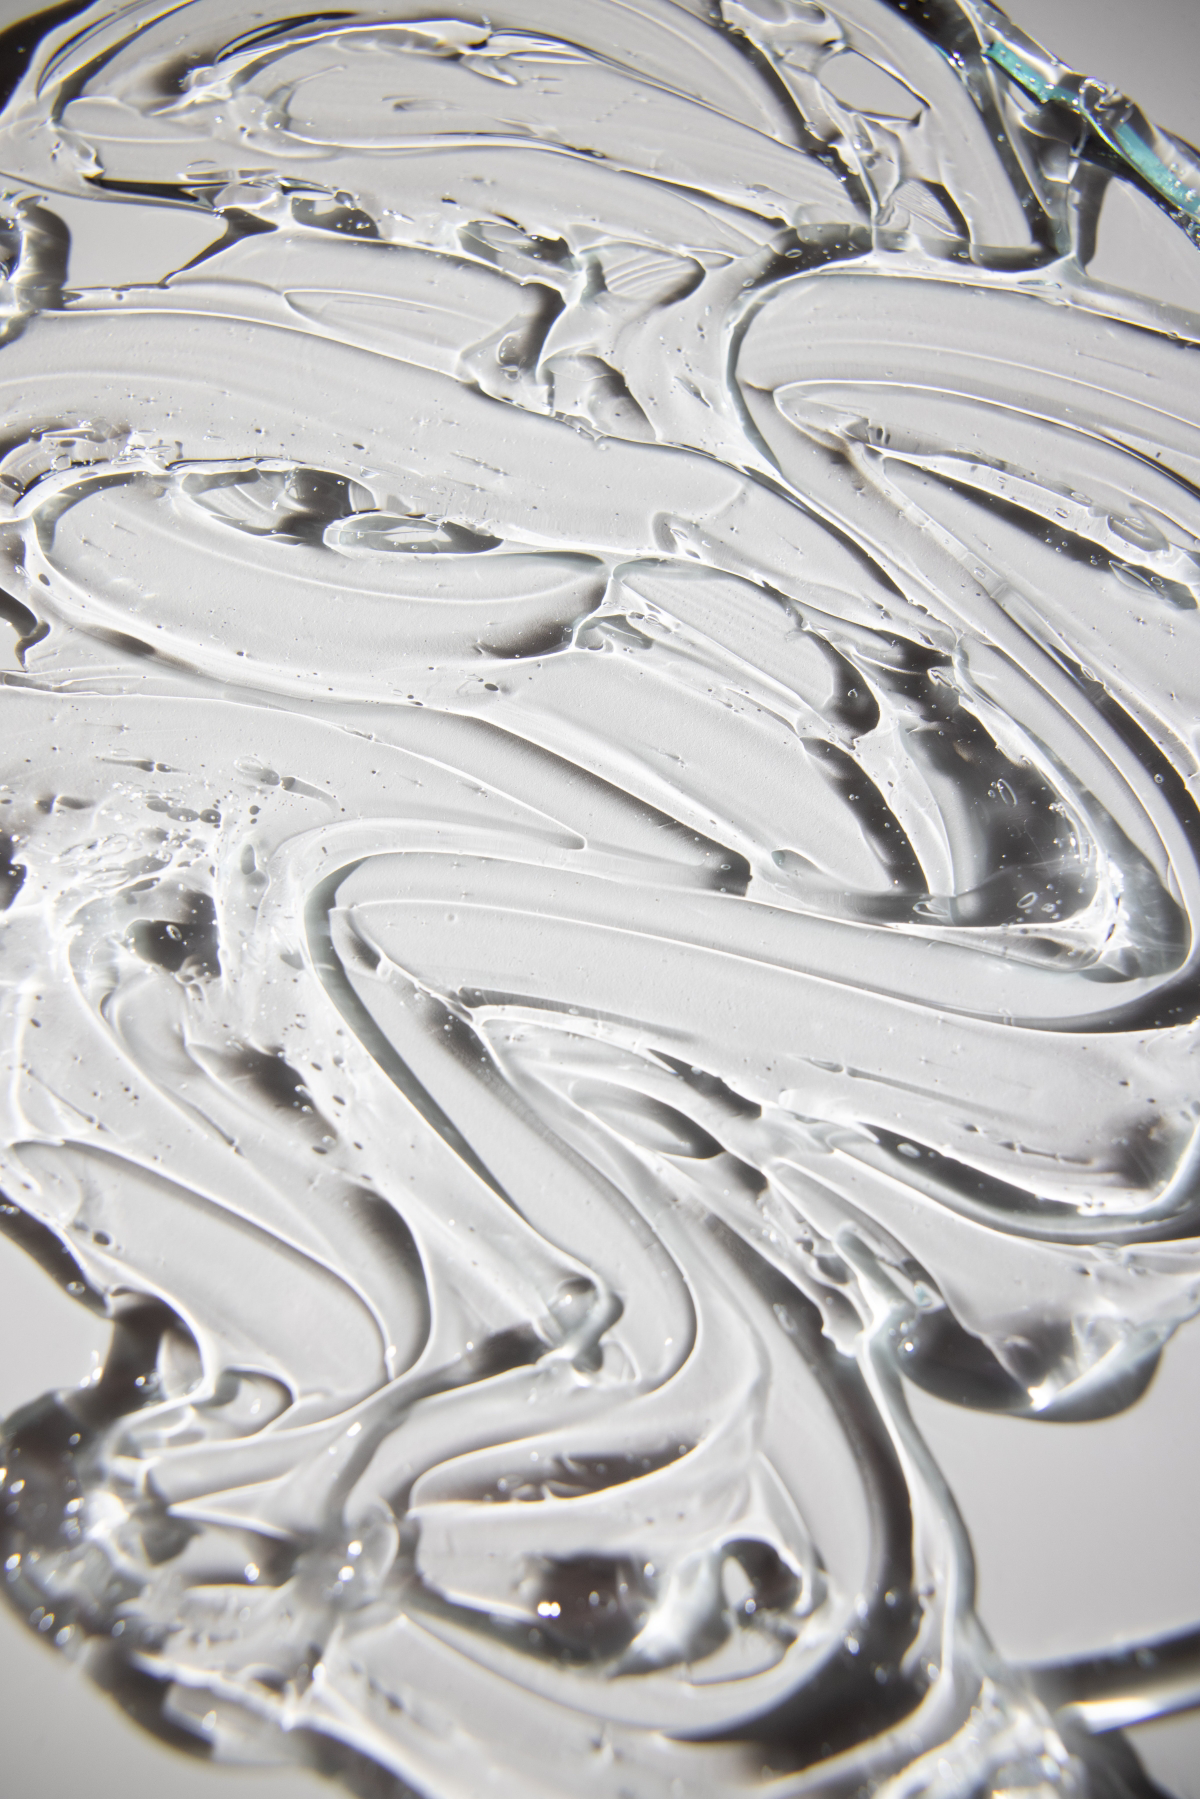
Alright, your moss is rehydrated! Toss out the soaking water (I prefer a cleaner taste, and that water holds the stuff you rinsed off) and give the moss one last quick rinse. Put the soaked moss in your blender with fresh, filtered water. A good ratio to start with is 1 cup of soaked moss to 1.5 cups of water. Use less water for a thicker gel, more for a thinner one.
Now, blend on high for 1-3 minutes. If you’re working with a standard blender instead of a fancy high-speed one, you might need to let it run a bit longer. If the gel still seems a little gritty, no sweat! Just pour it through a fine-mesh sieve or a cheesecloth to get it perfectly smooth.
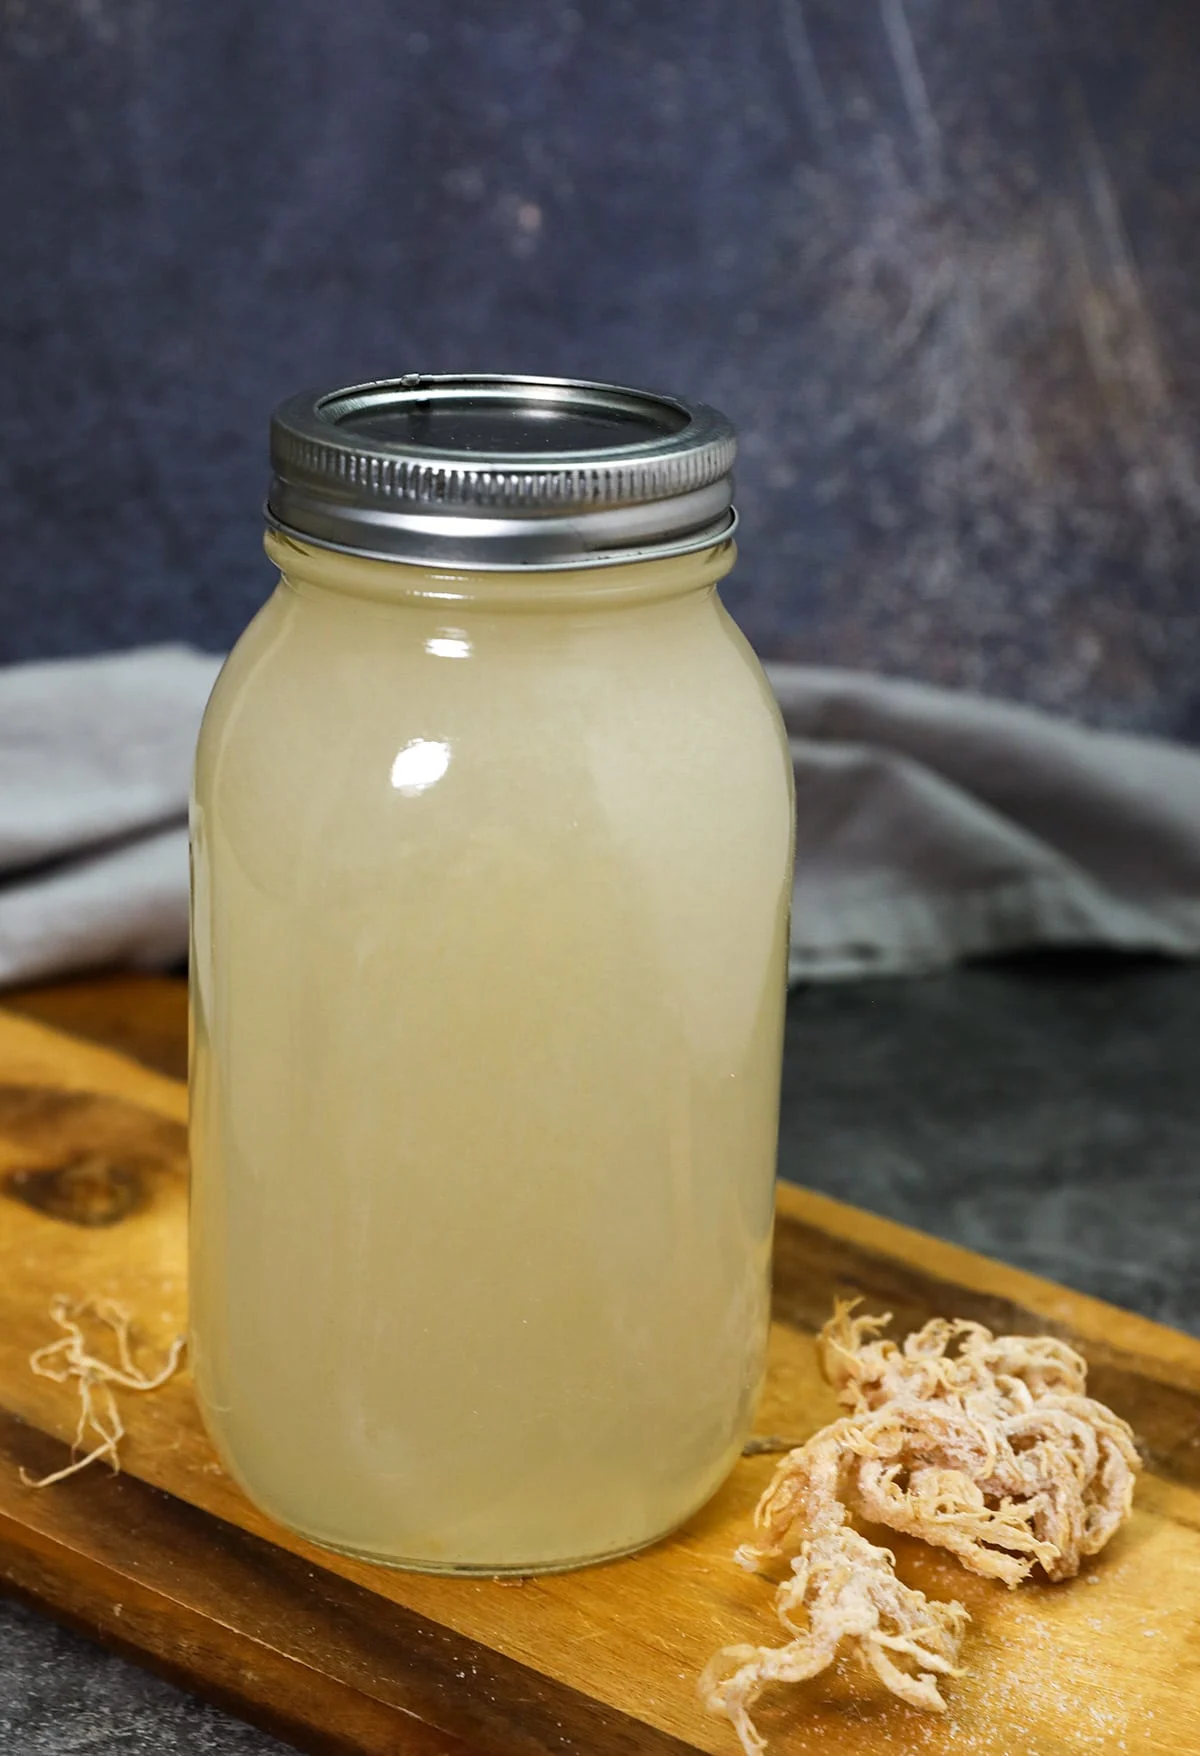
Step 5: Storing Your Liquid Gold
Pour the gel into a clean, airtight glass jar. It will look a bit liquidy, but don’t worry. It will thicken up dramatically in the fridge as it cools. It’ll last up to 3 weeks in the fridge. For longer storage, pour the gel into ice cube trays and freeze it. A standard ice cube is about one tablespoon, making it a perfect pre-portioned daily dose!

Common Problems & Quick Fixes
- “My gel smells funky!” It should smell neutral or a tiny bit like the sea, but not sour or rotten. If it smells bad, toss it. It probably means you soaked it for too long. I’ll be the first to admit I’ve forgotten a batch on the counter for over 24 hours… let’s just say the smell was NOT ‘clean ocean breeze.’ Straight into the compost it went.
- “My gel is too thin!” Don’t panic! It thickens a LOT after a few hours in the fridge. If it’s still thin the next day, you just used a bit too much water. It’s still totally usable and perfect for blending into smoothies. Just use less water next time.
- “My gel is gritty!” This usually means you either need to blend longer or your blender isn’t quite powerful enough. Try blending for another minute. If that doesn’t work, straining it is an easy fix.

How to Use Your Homemade Gel
The standard dose is 1 to 2 tablespoons a day. If you’re new to it, start with just a teaspoon to see how your body feels. It’s pretty much tasteless, so it’s easy to add to:
- Smoothies & Drinks: The most popular way! It adds a creamy boost.
- Soups & Sauces: Use it as a nutrient-dense thickener instead of cornstarch.
- Oatmeal & Yogurt: Just stir it right in.
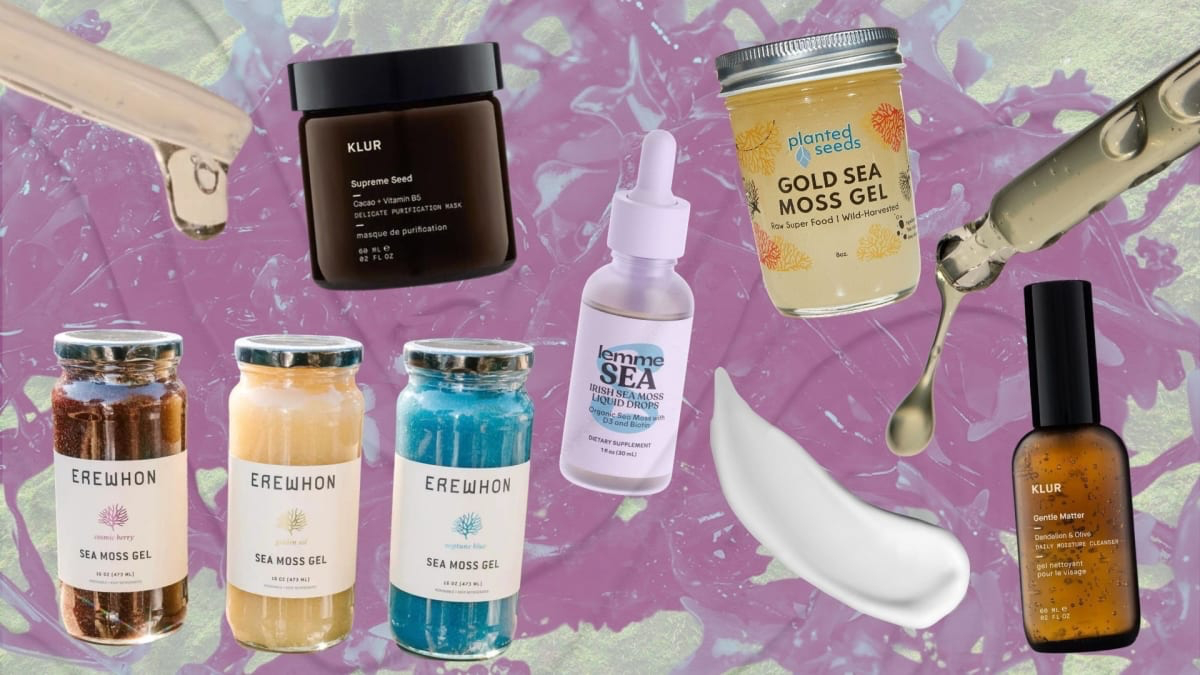
By the way, if you were to buy pre-made gel, you could expect to pay anywhere from $25 to $40 for a 16oz jar. Making it yourself saves a ton of money!
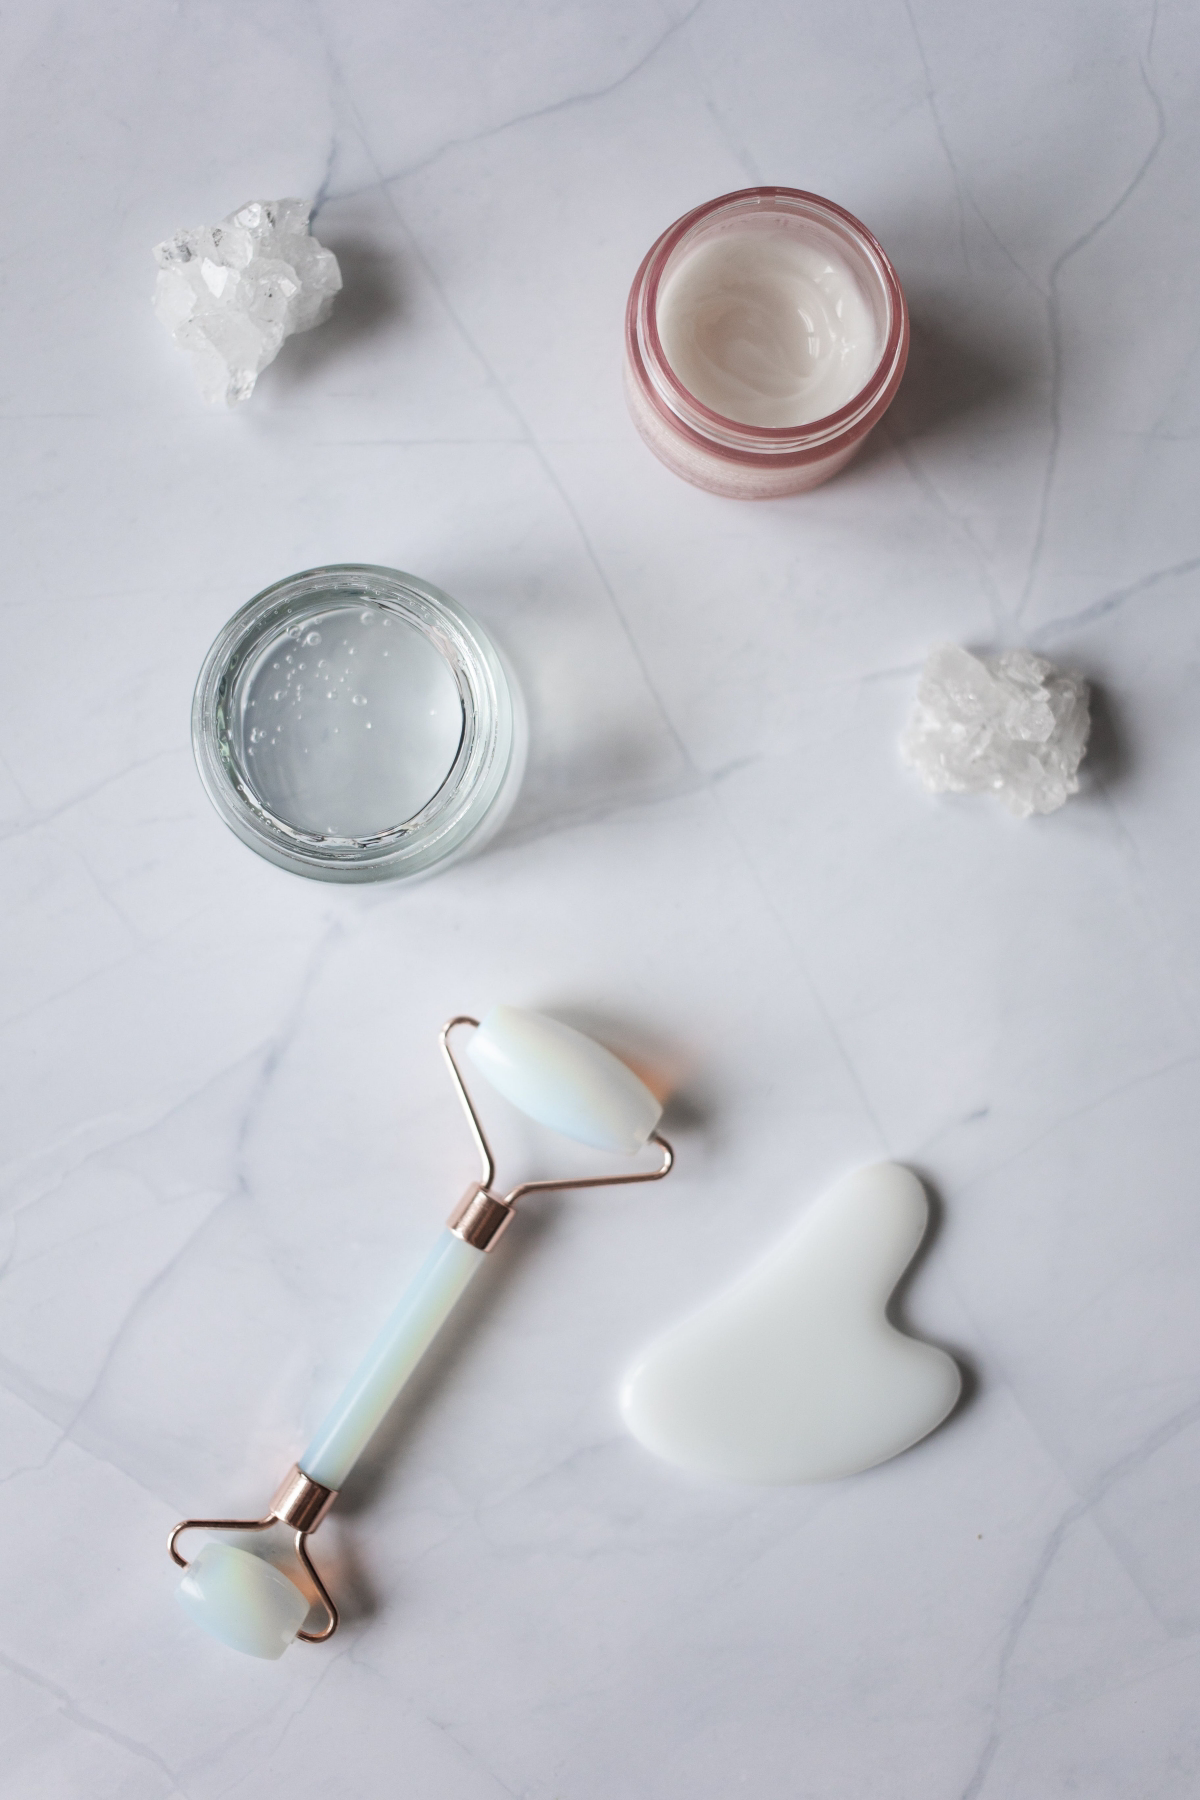
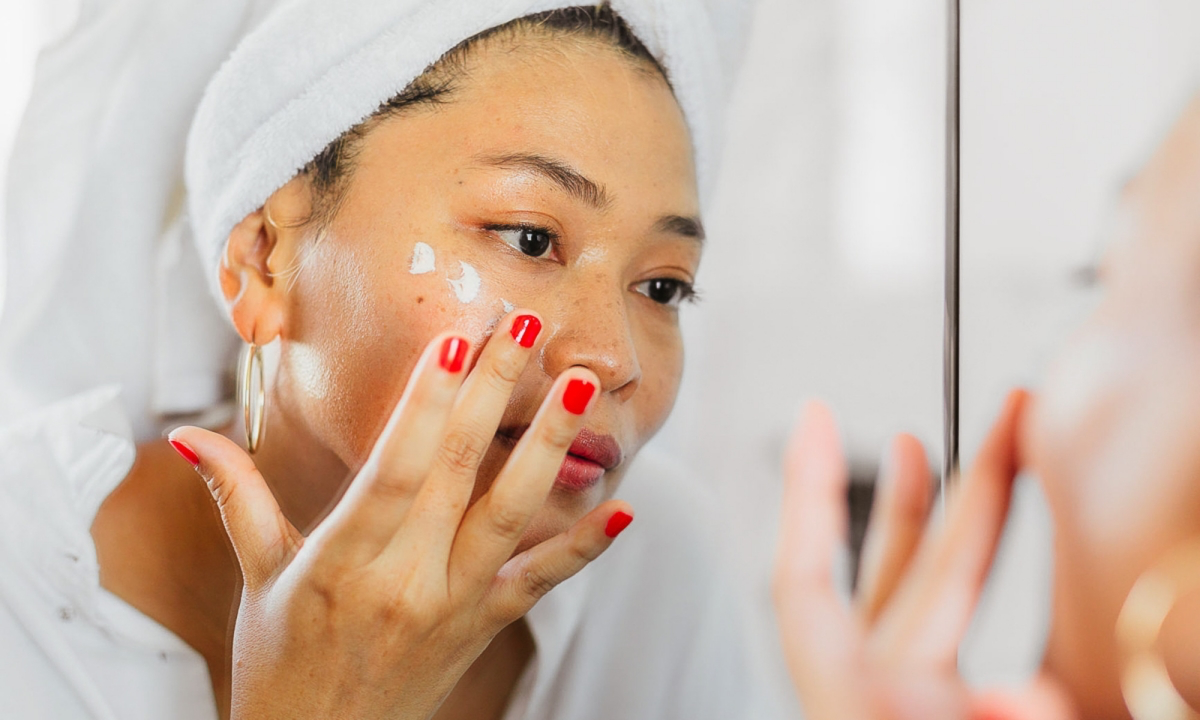
You can also use it on your skin. Just apply a thin layer of the gel to your clean face, let it dry for 15-20 minutes (you’ll feel it tighten!), and then rinse it off. It’s incredibly hydrating.
Okay, Let’s Have a Serious Talk About Safety
This is the part you really need to pay attention to. Sea moss is powerful, and it needs to be used responsibly.
The biggest concern is iodine. Your thyroid needs it, but too much can cause serious problems or worsen existing conditions like Hashimoto’s. If you have ANY known thyroid issue or take thyroid medication, you absolutely must talk to your doctor before trying sea moss. Don’t self-prescribe.
The other major issue is heavy metal contamination. Our oceans aren’t perfectly clean. This is why sourcing from a reputable company that provides third-party lab tests is non-negotiable. Don’t risk your health on a cheap, untested bag of moss.
Finally, if you have severe seafood allergies, be cautious. And because it can have a mild blood-thinning effect, talk to your doctor if you’re on medications like Warfarin. For most people, starting slow and listening to your body is the way to go. Sea moss can be a fantastic tool, but safety always, always comes first.
Galerie d’inspiration

Wildcrafted Sea Moss: Look for thin, tangled strands with a strong, salty ocean smell. It should have varying colors (from gold to deep purple) and a fine layer of dried sea salt, not thick, uniform table salt crystals. This is the real deal, harvested from its natural ocean habitat.
Pool-Grown Sea Moss: This variety often looks thicker and more uniform, feeling slightly rubbery or pasta-like. It will lack a strong ocean scent and may have a chemical or chlorine-like smell. It’s typically coated in an excessive amount of coarse salt to prevent spoilage.
For authenticity, always choose the wildcrafted option for a richer mineral profile.
The recommended daily intake of iodine for most adults is 150 micrograms (mcg).
This is where mindful consumption of sea moss is crucial. While it’s a fantastic source of this thyroid-supporting mineral, its iodine content can vary dramatically depending on where it was grown—some batches can contain over 400 mcg per serving. Overconsumption can lead to thyroid issues, the very thing many users are trying to support. The key takeaway? Start with a small daily amount (no more than one to two tablespoons of gel) and listen to your body. If you have a pre-existing thyroid condition, consult with your doctor before adding it to your routine. It’s about balance, not excess.
Plain sea moss gel can have a distinct oceanic taste that isn’t for everyone. Elevate your daily dose by blending in powerful, flavorful ingredients after the gel is made. This not only improves the taste but can also add extra health benefits.
- Spicy Ginger & Turmeric: Add a teaspoon of fresh grated ginger and a pinch of black pepper-activated turmeric for an anti-inflammatory kick.
- Sweet & Immune-Boosting: Blend in a tablespoon of elderberry syrup (like the popular Sambucol brand) and the zest of one lime for a vitamin C-rich treat.
- Warm & Comforting: A dash of Ceylon cinnamon, a drop of vanilla extract, and a teaspoon of maple syrup transforms it into a dessert-like spoonful.


