My Go-To Holiday Appetizer Plan (That Actually Lets You Enjoy the Party)
I’ve been planning holiday parties for what feels like forever, and let me tell you, I’ve made all the mistakes. I still have a vivid memory from one of my first big gigs – the frantic energy, running between the oven and the stovetop, trying to time everything perfectly. That was the year I completely forgot a tray of stuffed mushrooms in the oven until a guest gently asked, “Is something… smoky?”
In this article
Oh yeah. We learn from these moments.
The biggest lesson I’ve learned is that a fantastic holiday party isn’t about a dozen complicated dishes. It’s about a few excellent ones, planned smart, so you can actually hang out with your guests. A great appetizer menu should feel warm and generous, and for a vegetarian spread, the goal is to make it so satisfying that nobody even thinks about what’s missing. Honestly, it’s all about balance.
The Perfect Appetizer Mix
Think of your menu like a well-curated playlist. You need a mix of tempos and moods. You want something hot and creamy, something fresh and crisp, something savory, and maybe something a little sweet and tangy. This way, there’s a perfect bite for every single person. The best part? You can pull off this entire impressive spread for around $75-$90, depending on where you shop and what you already have in your pantry.
So, here’s our game plan for this menu:
- Hot & Rich: A warm, comforting Baked Spinach and Artichoke Dip. This is a total crowd-pleaser and, good news, you can prep it a day ahead.
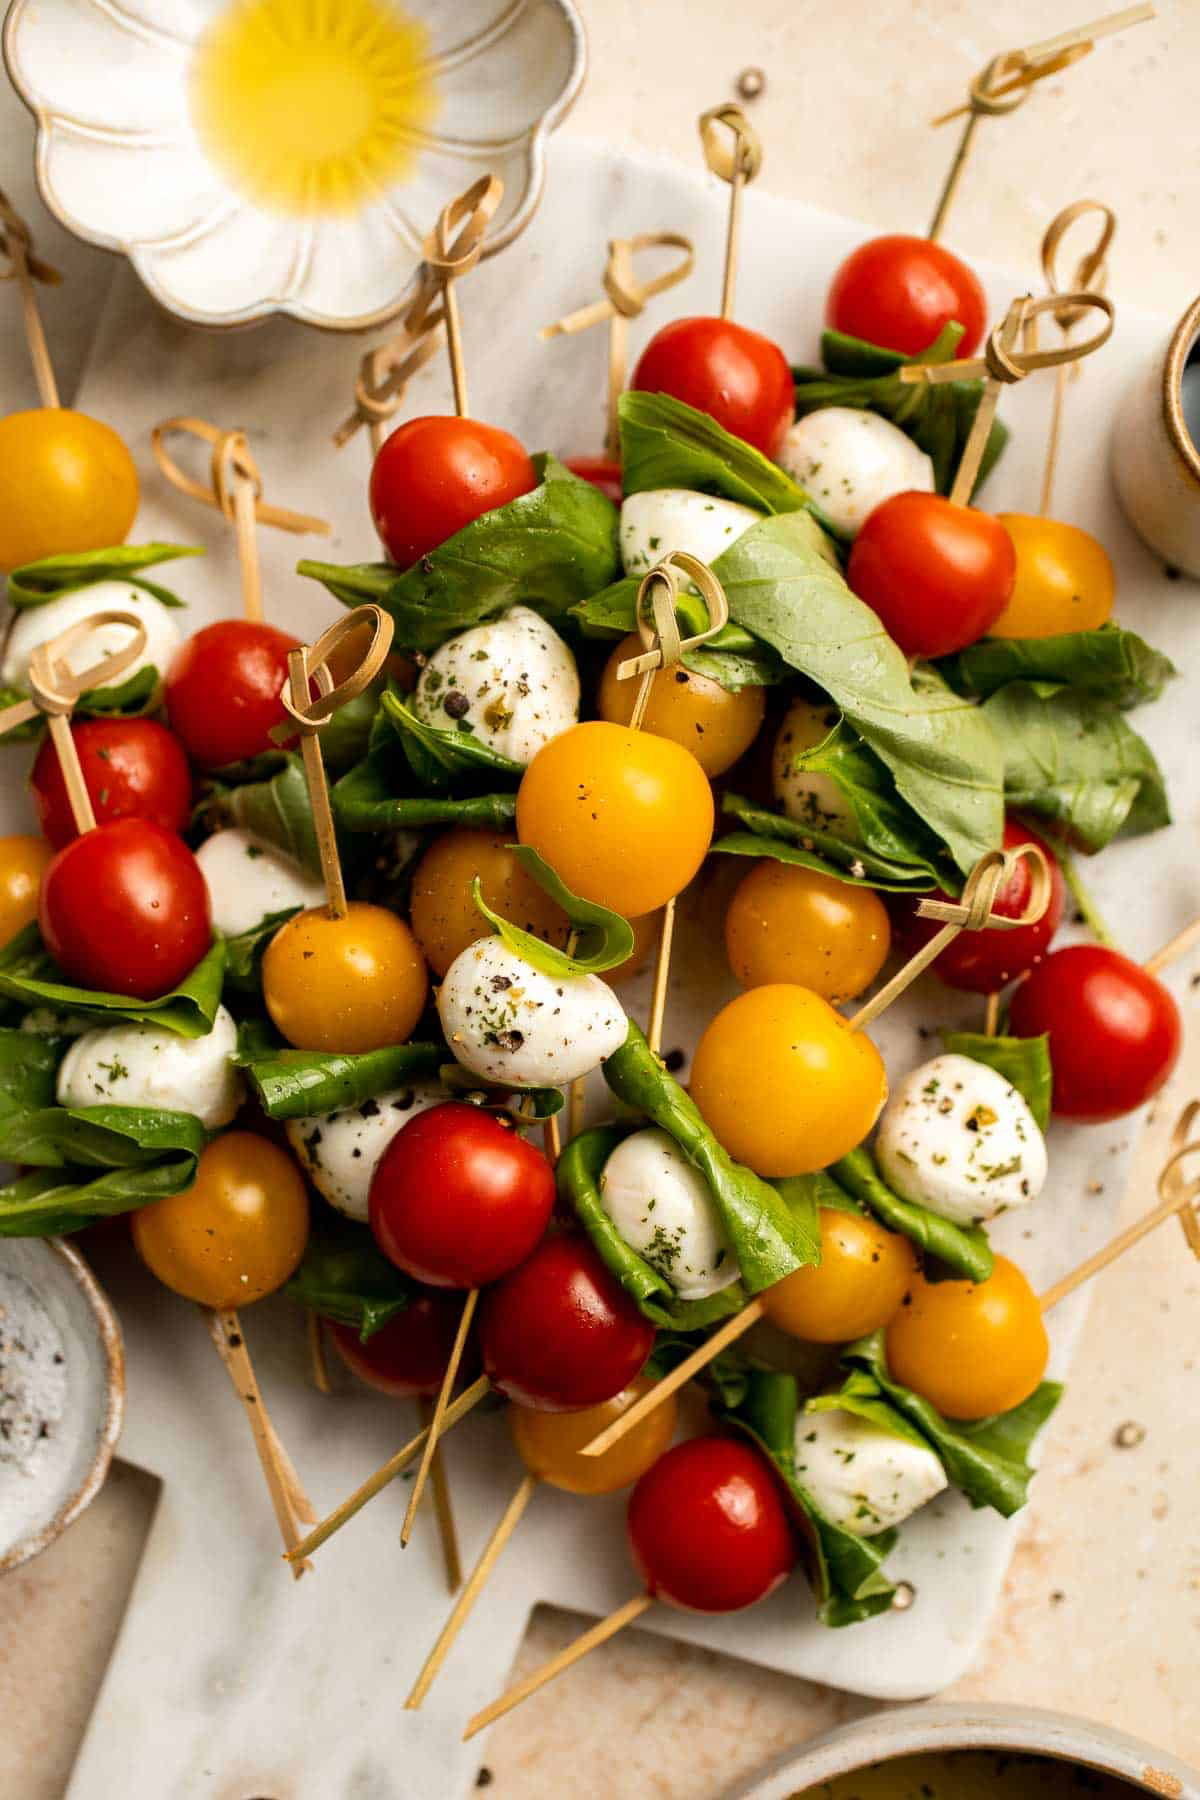
- Fresh & Cold: To cut through the richness, we’ve got some elegant Caprese Skewers. These are our no-cook heroes and a last-minute assembly job.
- Crispy & Savory: Everyone loves a good crunch. Our Sweet Potato Croquettes deliver that, and they feel way fancier than they are to make.
- Earthy & Meaty: For that deep, umami flavor, Classic Stuffed Mushrooms are the ticket. They’re a timeless starter for a reason.
- Sweet & Tangy: To round everything out, some beautiful Cranberry Brie Puffs. They look stunning and hit that perfect sweet-and-savory note.
Your Secret Weapon: The Game-Day Prep Plan
The single most important tool for any host is a timeline. In the restaurant world, we live by a system of ‘mise en place,’ which just means ‘everything in its place.’ It’s about doing as much as you can before the chaos begins. Here’s a practical schedule you can adapt, assuming your party is on a Saturday evening.

Three Days Before (Wednesday)
Read through your recipes one last time and write a detailed shopping list. I like to organize my list by store section (produce, dairy, etc.) so I’m not running back and forth. Also, double-check your gear. Do you have a mini-muffin tin? Enough skewers? Checking now prevents that “Oh no!” moment later.
Two Days Before (Thursday)
Go shopping! Getting it done today gives you a buffer day in case the store is out of fresh basil and you need to hit up another one. Trust me, it happens. While you’re at it, you can make the hummus and the balsamic glaze. Dips like these actually taste better after a day or two in the fridge, and the glaze will keep for weeks.
One Day Before (Friday)
This is your big prep day. Wash and chop all your veggies—onions, garlic, herbs—and store them in labeled, airtight containers. You can mix the entire Spinach and Artichoke Dip base today; just put it in its baking dish, cover it tightly, and pop it in the fridge. You can also make the mushroom stuffing and the sweet potato croquette mixture. A quick tip for the mushrooms: wipe the caps clean with a damp paper towel (don’t rinse them!) and store them in a paper bag in the fridge. A plastic bag traps moisture and makes them slimy.

Party Day (Saturday)
- Morning: Set the table and lay out your serving platters with their serving spoons and forks. This little step is a game-changer when things get busy.
- 3 Hours Before: Pull the hummus and the pre-made spinach dip out of the fridge to take the chill off.
- 2 Hours Before: Go ahead and stuff the mushroom caps. Now is also a good time to bread the croquettes if you’re frying them.
- 1 Hour Before: Preheat that oven! Arrange the mushrooms and brie bites on their baking sheets.
- 30 Minutes Before: Time to bake the Stuffed Mushrooms and the Spinach Dip. They usually cook at similar temperatures, which is convenient.
- 15 Minutes Before: Pop the Cranberry Brie Puffs in the oven—they’re quick. While they bake, you can fry the croquettes and assemble the Caprese skewers.
And just like that, as your first guests arrive, your work is done. Grab a plate and join the fun.

The Recipes: Tips, Tricks, and Why They Work
These recipes are more than just ingredient lists; they’re collections of techniques I’ve refined over the years. I’ll explain the ‘why’ behind the steps, so you can cook like a pro.
1. Classic Stuffed Cremini Mushrooms
Stuffed mushrooms are a staple, but they can easily turn out watery or bland. The secret is using the right mushroom. I always go for creminis (sometimes called baby bellas). They have less water and a deeper, earthier flavor than standard white button mushrooms, so they hold their shape and don’t get soggy. A pound of creminis will usually cost you about $4-$5.
- Ingredients: 1 pound cremini mushrooms (about 16-20), 4 tbsp olive oil, 1 small shallot (finely chopped), 2 cloves garlic (minced), 1 cup panko breadcrumbs, 1/2 cup grated Parmesan cheese, 2 tbsp fresh parsley (chopped), salt, and black pepper.
- The Technique: Preheat your oven to 400°F. Wipe the mushrooms clean, pop off the stems, and use a small spoon (a 1/4 teaspoon measure is perfect for this) to gently scrape out the dark gills. This gives you more room for filling and removes extra moisture. Sauté the finely chopped stems with the shallot and garlic, then mix with panko, Parmesan, and parsley. Fill ’em up and bake for 15-20 minutes until golden.
- Servings: Makes about 16-20 mushrooms, perfect for 8-10 guests as part of a spread.
Troubleshooting: If you’re really worried about watery mushrooms, pre-bake the empty caps for 5-7 minutes, pour off any liquid that’s released, and then fill and bake them.

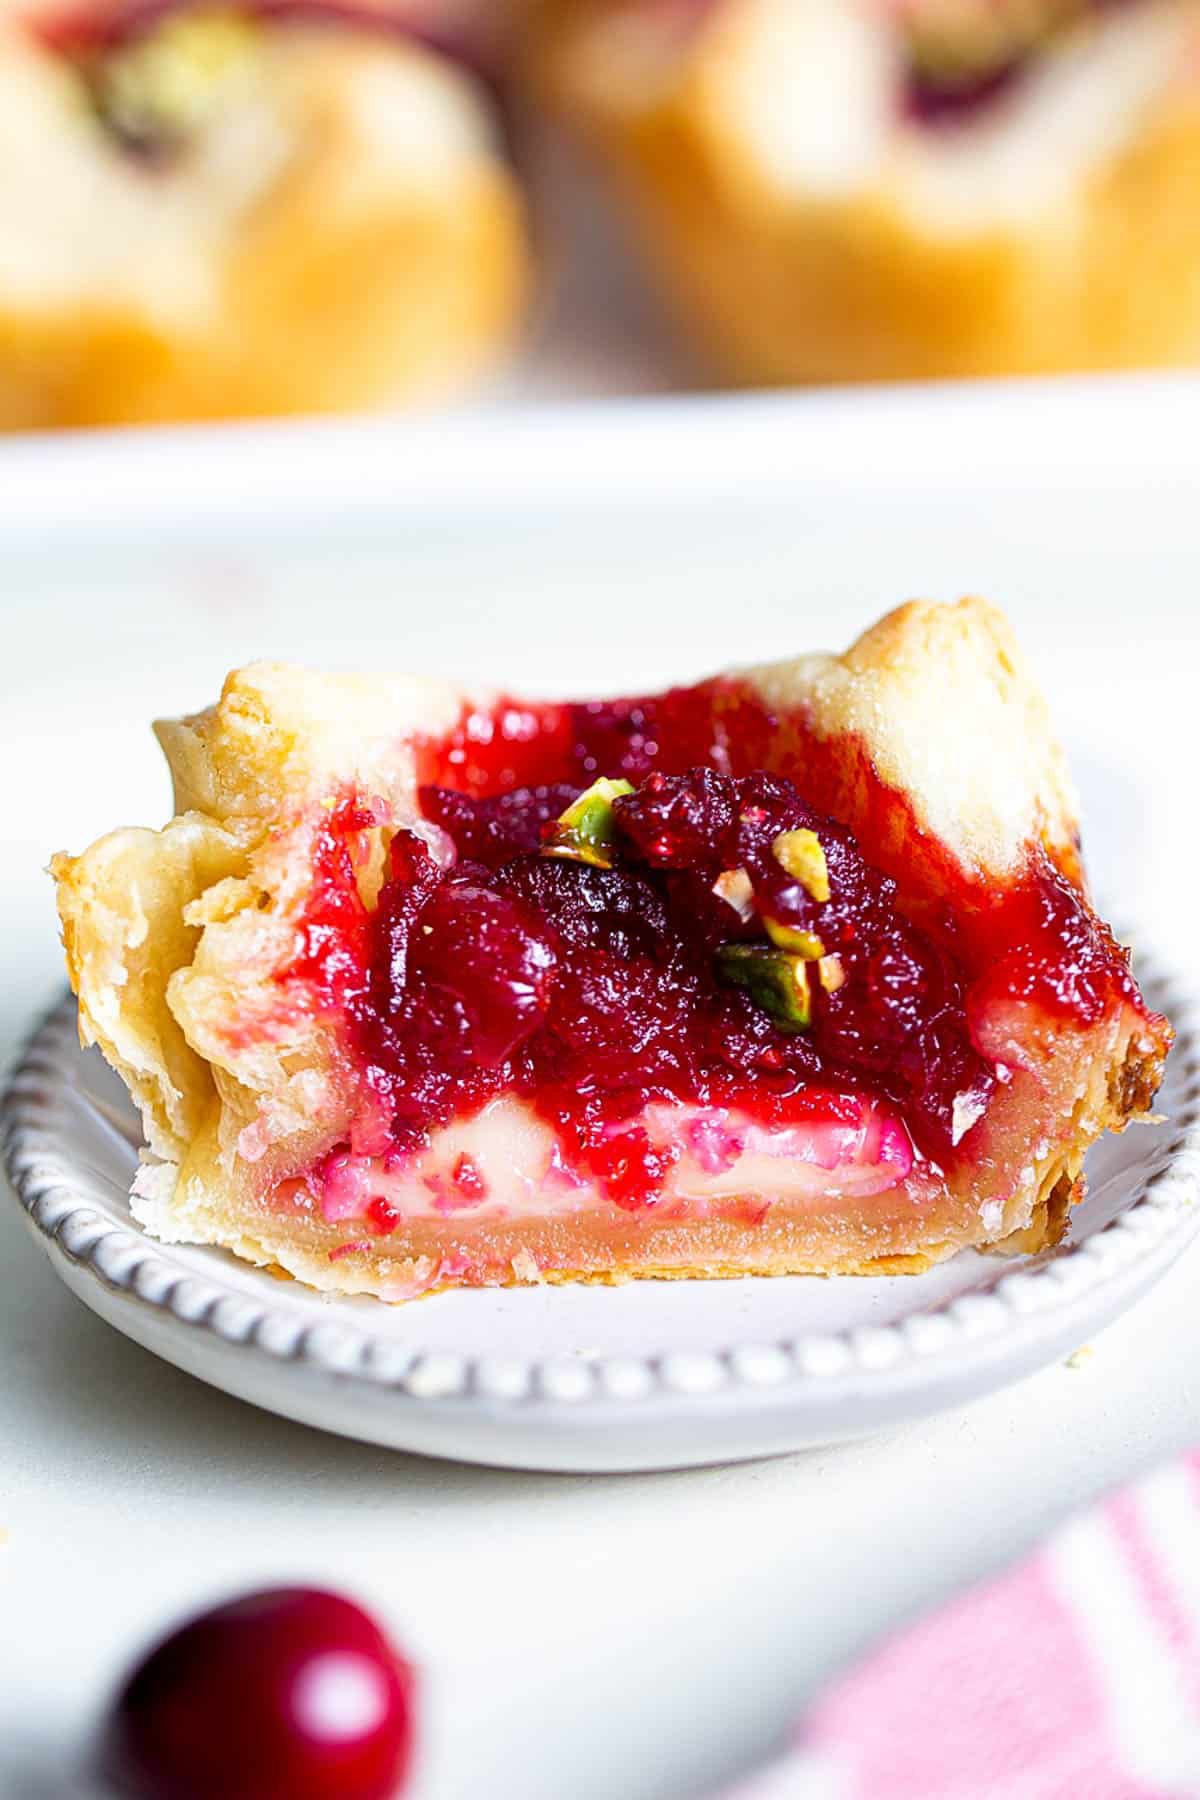
2. Baked Cranberry & Brie Puffs
These look incredibly elegant but are so simple. The key is to keep your puff pastry cold. If it gets warm and sticky while you’re working, just pop the whole muffin tin in the freezer for 10 minutes before baking. It’ll puff up beautifully.
- Ingredients: 1 sheet frozen puff pastry (thawed), 1/2 cup whole-berry cranberry sauce, 4 oz wheel of Brie, 1/4 cup chopped pecans or walnuts (optional), fresh rosemary for garnish.
- The Technique: Preheat to 400°F. Cut your thawed puff pastry into 24 squares and press them into a lightly greased mini-muffin tin. Spoon in a little cranberry sauce, add a cube of Brie, top with nuts, and bake for 12-15 minutes.
- Servings: Makes 24 bite-sized puffs.
Heads up! No mini-muffin tin? No sweat. You can use pre-made phyllo cups (usually in the freezer aisle near the pastry) or just assemble the puffs on a parchment-lined baking sheet. They might spread a bit more, but they’ll taste just as good.
Safety Warning: Molten cheese and hot cranberry sauce are like culinary lava. Let these cool in the tin for 5-10 minutes before moving them. It gives the cheese a chance to set up and saves your guests (and you!) from a nasty burn.
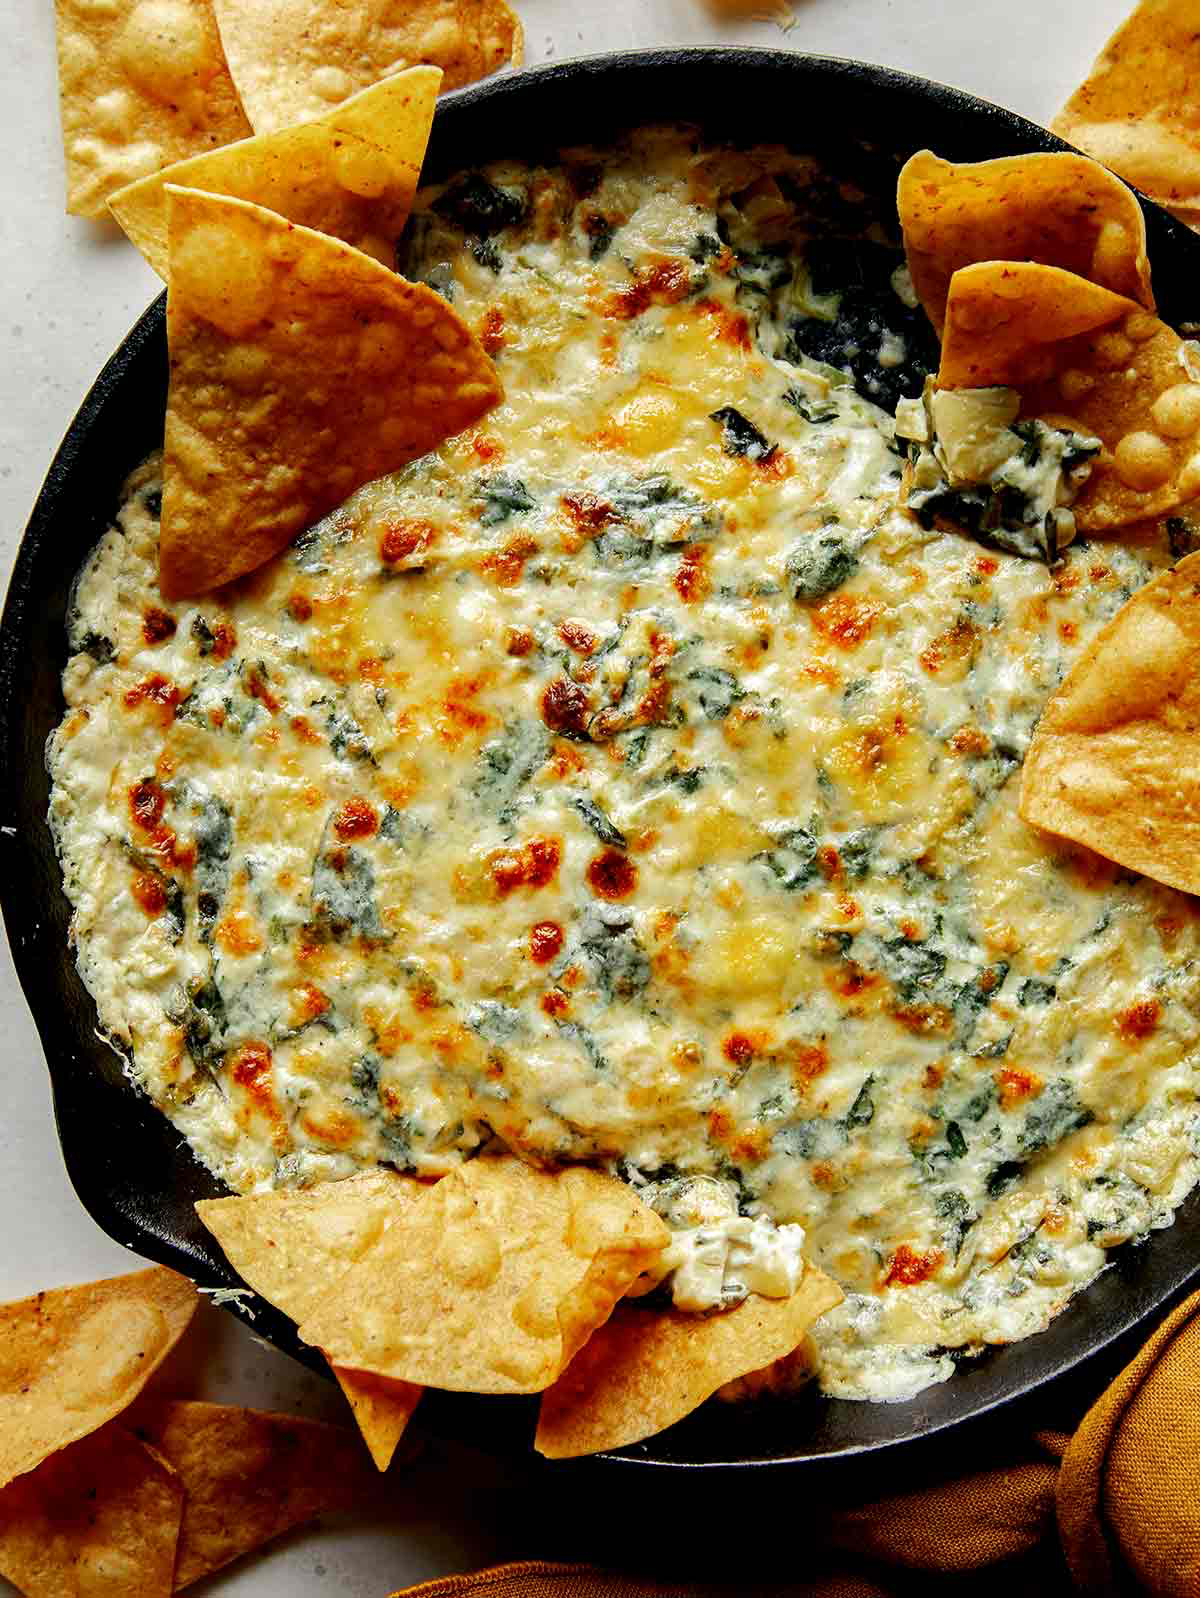
3. Creamy Baked Spinach and Artichoke Dip
A good baked dip is a thing of beauty. The secret here is a blend of three cheeses: cream cheese for the rich base, low-moisture mozzarella for that epic cheese pull, and Parmesan for a salty, nutty depth.
- Ingredients: 1 (10-ounce) package frozen chopped spinach, 1 (14-ounce) can artichoke hearts (drained), 8 oz cream cheese (softened), 1 cup shredded low-moisture mozzarella, 1/2 cup grated Parmesan, 2 cloves garlic (minced), 1/4 tsp red pepper flakes, salt, and pepper.
- The Technique: Thaw the spinach, then squeeze out ALL the water. Seriously, wring it out in a clean kitchen towel. This is the #1 key to a thick, not watery, dip. Mix everything in a bowl, spread into a 1-quart baking dish, and bake at 375°F for 20-25 minutes until bubbly.
- Servings: Makes about 3 cups of dip, easily serving 10-12 people.
What to serve it with: Put this out with a big bowl of tortilla chips, toasted pita bread, sturdy crackers like Triscuits, or an array of fresh veggies like celery sticks, bell pepper strips, and cucumber rounds.
Good to know: To make this dip vegan, you can easily find dairy-free cream cheese, mozzarella, and parmesan substitutes at most grocery stores these days. The results are surprisingly delicious!
4. Elevated Caprese Skewers
This is your fresh, no-cook hero. Since it’s so simple, the quality of your ingredients is everything. In winter, look for cherry tomatoes sold on the vine and fresh mozzarella balls (bocconcini) packed in water. They’ll have the best flavor.
- Ingredients: 1 pint cherry tomatoes, 8 oz fresh mozzarella balls, a big bunch of fresh basil, good quality olive oil, flaky sea salt, black pepper, and balsamic glaze.
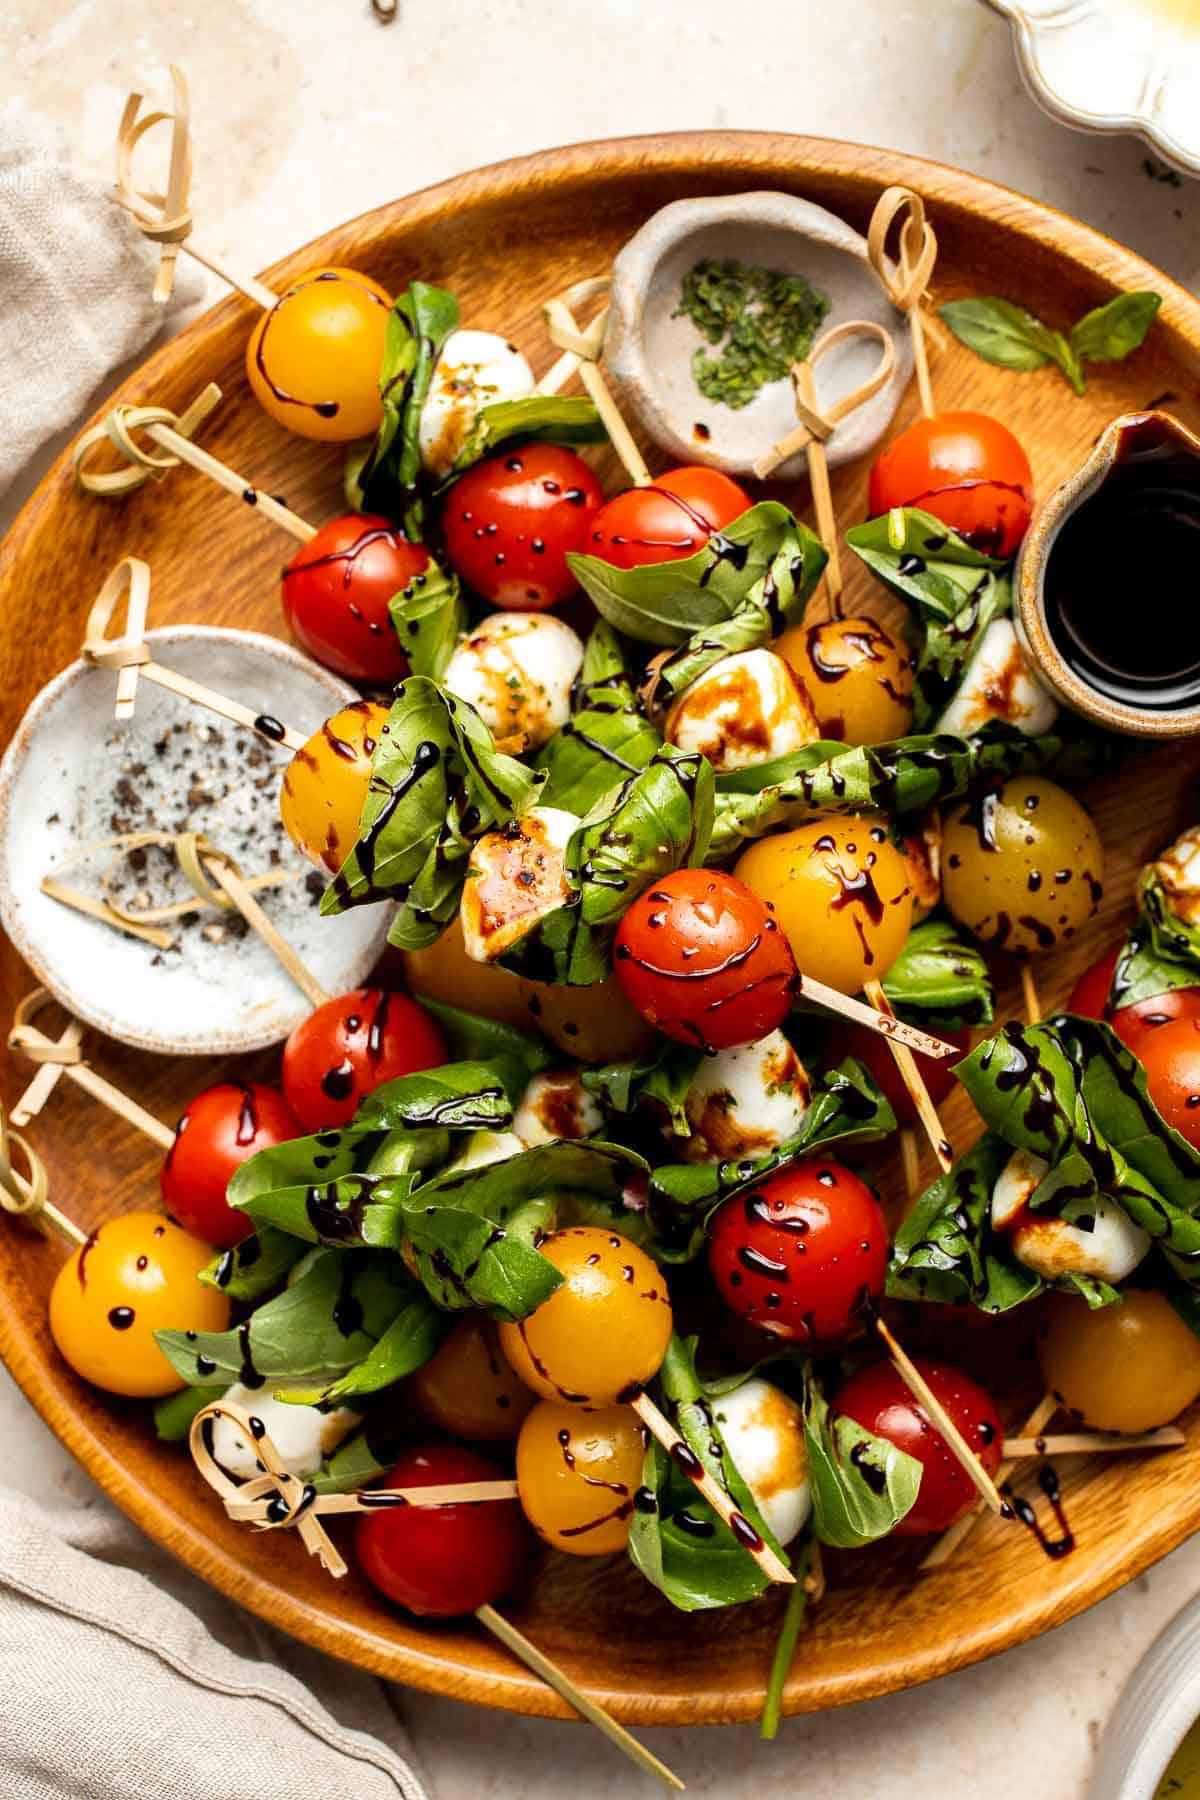
- The Technique: Making your own glaze is cheaper and tastes way better. Just simmer 1 cup of balsamic vinegar in a small pot until it reduces and coats a spoon (about 10-15 minutes). It will thicken as it cools. By the way, 1 cup of vinegar will yield about 1/4 cup of glaze, which is plenty. Thread the ingredients onto skewers, arrange on a platter, and drizzle with oil, salt, pepper, and the glaze right before serving.
- Servings: Makes about 20-24 skewers.
In a total time crunch? Just make these. They take 15 minutes, require zero cooking, and always look fantastic.
5. Crispy Sweet Potato Croquettes
Frying can seem intimidating, but you can get perfect, non-greasy results. The secret is baking (not boiling) the potatoes to keep them dry, and making sure your oil is hot enough. A good kitchen thermometer (around $15 online or at Target) is essential here.
- Ingredients: 2 large sweet potatoes, 1/2 cup panko, 1/4 cup Parmesan, 1 tsp smoked paprika, salt, pepper. For breading: 1/2 cup flour, 2 eggs, 2 cups panko. And oil for frying.
- The Technique: Bake the potatoes at 400°F until tender (45-60 min). Mash the flesh and mix with panko, cheese, and spices. Once cool, shape into logs. Then, do the three-step breading: coat in flour, dip in beaten egg, and press firmly into panko. Fry in 365°F oil for 2-3 minutes until golden brown.
- Servings: Makes about 20-24 croquettes.
Hate deep-frying? Me too, sometimes. For an easier, less stressful version, you can bake these! Arrange the breaded croquettes on a baking sheet, give them a generous spray with cooking oil, and bake at 400°F for 20-25 minutes, flipping halfway through. They won’t be quite as shatteringly crisp as the fried ones, but they’re still delicious and way less messy. An air fryer also works wonders here!

For a gluten-free version: Just swap the panko for gluten-free breadcrumbs and use a good all-purpose GF flour blend for dredging.
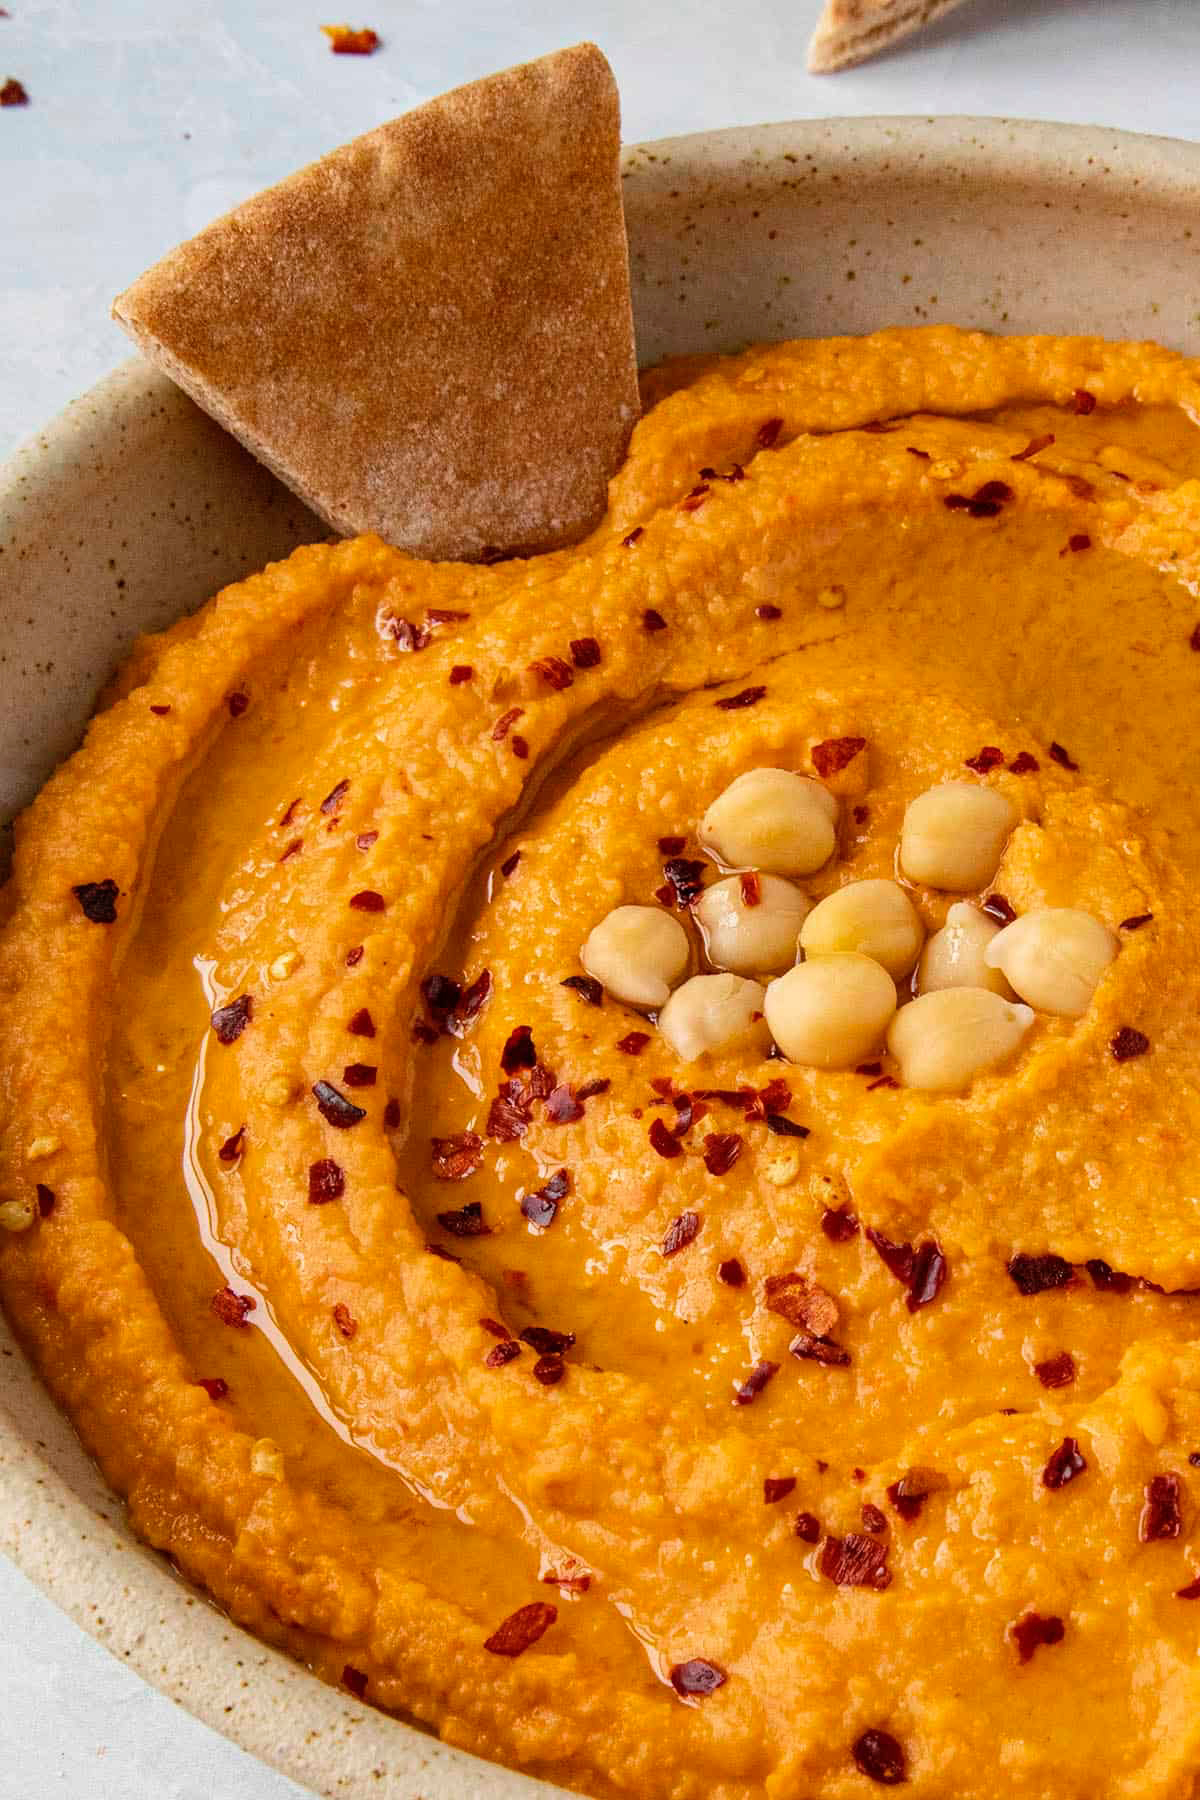
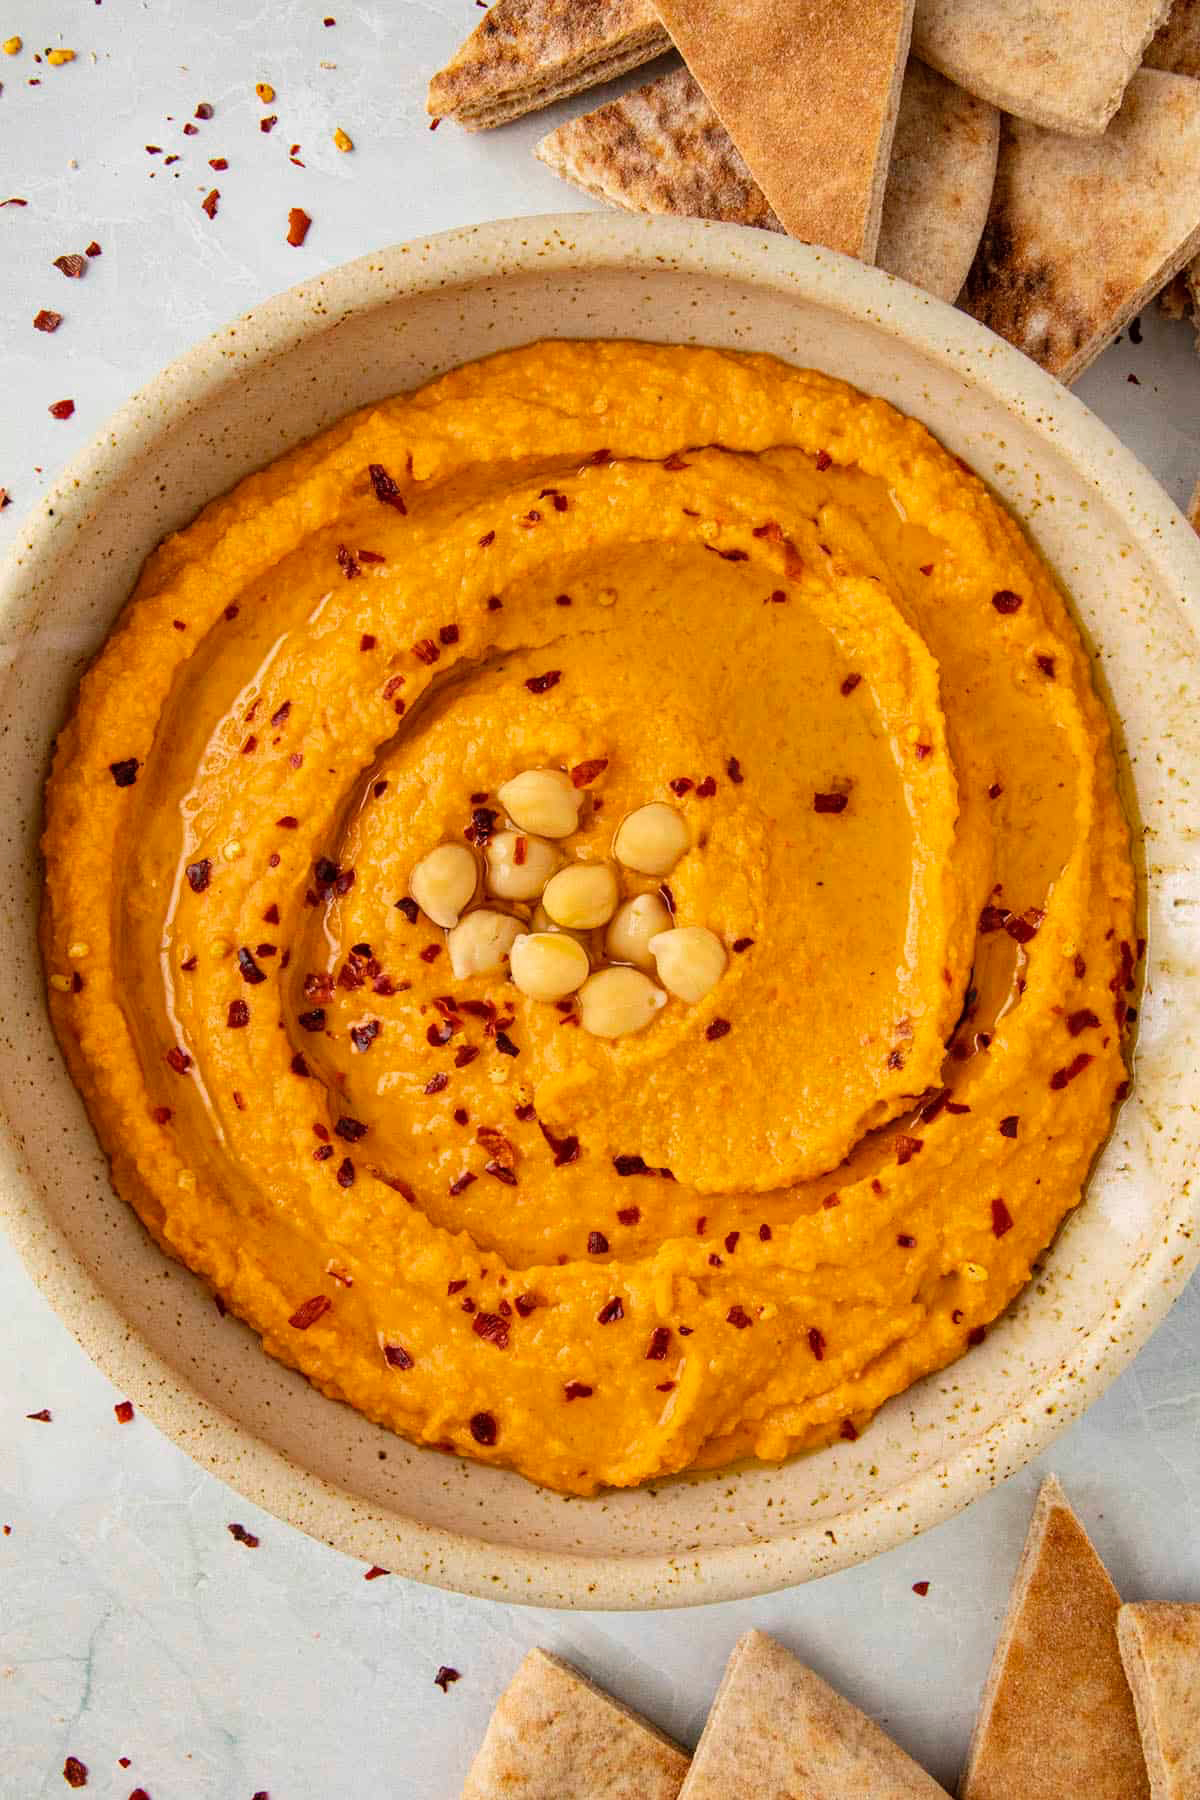
6. Silky Roasted Red Pepper Hummus
Homemade hummus is a different universe from the stuff in plastic tubs. The trick to getting it incredibly smooth is whipping the tahini with lemon juice first, and—if you have the patience—peeling the chickpeas.
- Ingredients: 1 (15-ounce) can chickpeas, 1 large red bell pepper, 1/4 cup high-quality tahini, 1 lemon, 1 garlic clove, 2 tbsp olive oil, 1/2 tsp cumin, salt.
- The Technique: Roast the pepper until the skin is blackened (under the broiler or on a gas burner), then let it steam in a covered bowl to make peeling a breeze. For the hummus, blend the tahini and lemon juice for a minute until fluffy. Then add everything else and blend for 3-5 minutes until it’s perfectly smooth.
- Servings: Makes about 2 cups.
Lesser-known trick: Popping each chickpea out of its thin skin before blending is the pro move for the silkiest hummus imaginable. But let’s be real, sometimes you don’t have 10 extra minutes. If you skip it, your hummus will still be a million times better than store-bought. You can also use jarred roasted red peppers to save a step!
At the end of the day, remember that cooking is a craft. These recipes are my trusted roadmaps, but feel free to adjust things to your own taste. If something goes wrong, it’s okay. I once dropped an entire tray of freshly fried croquettes on the floor two minutes before a party started. We all had a good laugh, and I just put out some extra dip. The food is just the delicious excuse to bring everyone you care about together.
Galerie d’inspiration
Wondering what to pour that won’t overshadow your carefully crafted appetizers?
Instead of a heavy wine, consider a festive, non-alcoholic sparkling cranberry and rosemary punch. The tartness of the cranberry cuts through the richness of the brie and spinach dip, while the herbal note of rosemary beautifully complements the earthy mushrooms and sweet potato. Simply simmer a few sprigs of fresh rosemary and a cup of cranberries in simple syrup, let it cool, strain, and top with a quality sparkling cider, like Martinelli’s, and a splash of soda water just before guests arrive. It’s elegant, refreshing, and inclusive for all.

An estimated 200 million pounds of turkey are thrown out over the Thanksgiving holiday alone, part of a larger pattern of holiday food waste.
Don’t let your beautiful vegetarian creations meet a similar fate! Plan for ‘creative leftovers.’ That delicious Baked Spinach and Artichoke Dip can be thinned with a little milk and tossed with pasta for a quick lunch the next day. Leftover Sweet Potato Croquettes? Crumble them over a green bean casserole for a crunchy, savory topping. Even a few Caprese Skewers can be de-threaded and tossed into a simple green salad for an instant upgrade. Smart hosting extends beyond the party itself.
The secret to a spread that looks as good as it tastes lies in varying heights and textures. Don’t just lay everything flat. Use a small cake stand or an inverted bowl to elevate your Cranberry Brie Puffs. Serve the Caprese Skewers upright in a glass. Contrast a rustic wooden board, perfect for the croquettes, with a sleek, dark slate platter from a brand like Crate & Barrel for the colorful skewers. A final scattering of fresh pomegranate seeds or parsley adds a pop of color and makes the entire setup feel abundant and professionally styled.
The Challenge: Keeping that glorious, creamy dip warm and inviting for hours.
Option A – The Slow Cooker: A mini 1.5-quart slow cooker, like the Crock-Pot Little Dipper, is your best friend. Prepare the dip as instructed, transfer it to the slow cooker, and keep it on the ‘warm’ setting. It ensures perfect temperature without any risk of scorching.
Option B – The Cast-Iron Skillet: Bake and serve directly in a small 8-inch cast-iron skillet from a brand like Lodge. Its incredible heat retention will keep the dip warm for a surprisingly long time on the buffet table, and it offers a wonderfully rustic presentation.


