Forget Store-Bought: The Real Secrets to Insanely Creamy Hummus
I’ve spent a lot of time in professional kitchens, and I can still picture the first time I made hummus that was actually, truly great. It wasn’t in some fancy class; it was during a chaotic lunch rush when we completely ran out. The head chef didn’t just hand me a recipe—he showed me a process. And the result was this velvety, complex, and incredibly smooth dip that made the grainy stuff I used to whip up at home feel like a sad joke. That’s when it clicked: great hummus isn’t about the ingredients list. It’s about technique. It’s a craft.
In this article
So many of us just see it as a simple dip, something you grab in a plastic tub from the grocery store. But for chefs, especially those with a deep respect for Levantine cuisine, getting it right is a huge point of pride. This guide is my attempt to pass on the little secrets and big principles I’ve picked up over the years. We’re going to dive into what makes hummus work, the pro-level methods, and how you can use that perfect base to create your own signature flavors.
Why Your Hummus Is Gritty (And How to Fix It Forever)
To get that ridiculously smooth texture, you have to understand your key players. The magic isn’t in some secret ingredient; it’s in controlling a few simple things that make all the difference.
The Great Chickpea Debate: Dried vs. Canned
Your choice of chickpea (or garbanzo bean, same thing) is the first major fork in the road. For years, I was a die-hard purist about using only dried chickpeas. In a restaurant, it’s a no-brainer—it’s way cheaper and gives you total control.
Going the traditional route with dried chickpeas: This is the gold standard for a reason. You’ll want to soak them overnight in a big bowl of cold water. Then, you cook them until they’re fall-apart tender. But here’s the real pro move: add about a teaspoon of baking soda to the cooking water for every pound of dried beans. The baking soda helps break down the pectin in the skins, which is the main culprit behind gritty hummus. You’ll know they’re ready when you can effortlessly squish one between your fingers. After soaking overnight, they’ll need to simmer for about 60-90 minutes on the stove, or you can speed things up and get it done in just 25 minutes in a pressure cooker.
By the way, to get the 1.5 cups of cooked chickpeas needed for a standard batch, you’ll want to start with about 3/4 cup of dried chickpeas. A big bag of dried beans will only set you back about $3 and will make a ton of hummus, which is a steal compared to buying canned beans for $1.50 a pop.
But what if you’re using canned chickpeas? Look, I get it. We don’t all have time to soak beans. Canned can work beautifully, but you have to give them a little help. Just draining and blending is a recipe for graininess because of those pesky skins. You’ve got two solid options:
- Peel ’em. Yes, one by one. It’s tedious, I won’t lie. It takes about 15 minutes to peel a can’s worth. Put on a podcast and just zone out. The result is worth it.
- The simmer shortcut. This is my favorite trick for canned beans. Drain and rinse the chickpeas, then toss them in a pot with a half-teaspoon of baking soda. Cover with water and let them simmer for about 20 minutes. The chickpeas will get incredibly soft, and you’ll even see some skins float to the top. This little step dramatically improves the final texture.
The Tahini Emulsion: This Is the REAL Secret
Tahini—a paste of ground sesame seeds—is the soul of hummus. It brings that rich, nutty flavor and a ton of the creaminess. But not all tahini is created equal. A good one should be runny, pourable, and nutty, not bitter and thick like cement at the bottom of the jar. If you open it and it’s a separated, hard block, it’s probably old or low-quality.
Good to know: Brands like Soom or Seed + Mill are fantastic but can be a bit pricey. A really solid, more affordable choice you can find in many grocery stores or online is Ziyad. The key is that it’s pourable right out of the jar. Expect to pay between $8 and $12 for a good jar that will last you a while.
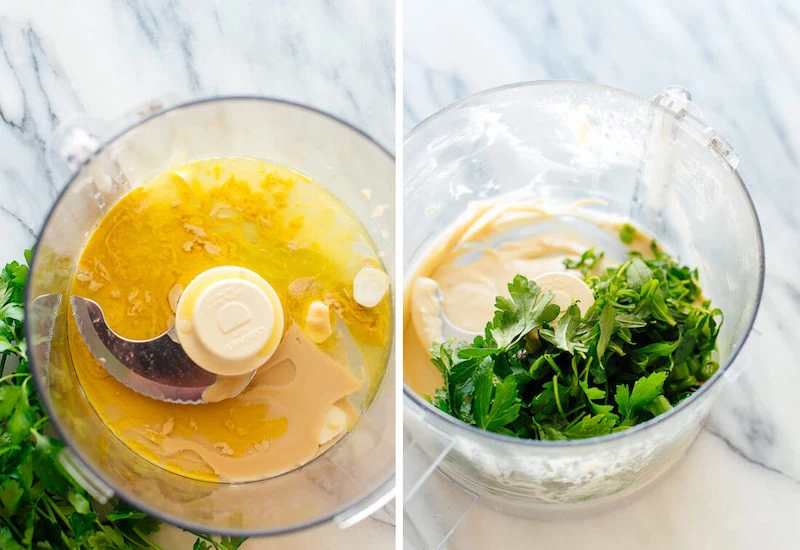
Now, for the game-changer. If you only do ONE thing from this guide, do this: Before you even think about adding the chickpeas, you have to whip the tahini and lemon juice together. In the food processor, they’ll seize up and get super thick at first. Don’t panic! That’s normal. Let it run for a solid two minutes, scraping the bowl down halfway through. This step aerates the base and builds the light, creamy body of the hummus before anything else gets added.
The Ice Water Trick
You’ll see a lot of recipes call for water, but the pros often use ice-cold water. There’s a bit of food science behind this. The cold temperature makes the fats in the tahini behave differently, leading to a fluffier, whiter, and more voluminous dip. You can literally see it happen—as you stream in the ice water, the hummus lightens in color and gets beautifully whipped. It’s a small thing that makes a huge visual and textural difference.
The Pro’s Method: A Step-by-Step Guide to Perfection
In a commercial kitchen, it’s all about a repeatable process. The right tool for the job is a powerful food processor; something with at least a 700-watt motor is ideal. A blender can sometimes overdo it and make the hummus gummy. If your food processor isn’t the strongest, no worries. Just give the motor a rest for a minute if it starts to feel hot. You can still get amazing results; it just might take an extra few minutes of blending and scraping.

The Foundation Recipe: Classic Hummus
Master this, and you can create anything. This recipe makes a standard batch, perfect for a small get-together.
- Cooked Chickpeas: 1.5 cups (cooked from dry or from a can that you simmered with baking soda)
- High-Quality Tahini: 1/2 cup
- Fresh Lemon Juice: 1/4 cup (from 1-2 lemons, please use fresh!)
- Garlic: 1-2 cloves, peeled
- Kosher Salt: 3/4 teaspoon (you can always add more)
- Ice Water: 4-6 tablespoons
- Ground Cumin: 1/2 teaspoon (optional, but very traditional)
The Step-by-Step Process:
- Tame the Garlic. If you love a sharp garlic bite, throw the cloves in raw. For a milder, less aggressive flavor, let the peeled cloves sit in the lemon juice for about 10 minutes before you start. It works wonders.
- Whip the Base. Combine the tahini and lemon juice in your food processor. Run it for a full minute, scrape down the bowl, and then run it for another full minute. The mixture should be thick, pale, and almost fluffy. I’m not kidding, do not skip this step!
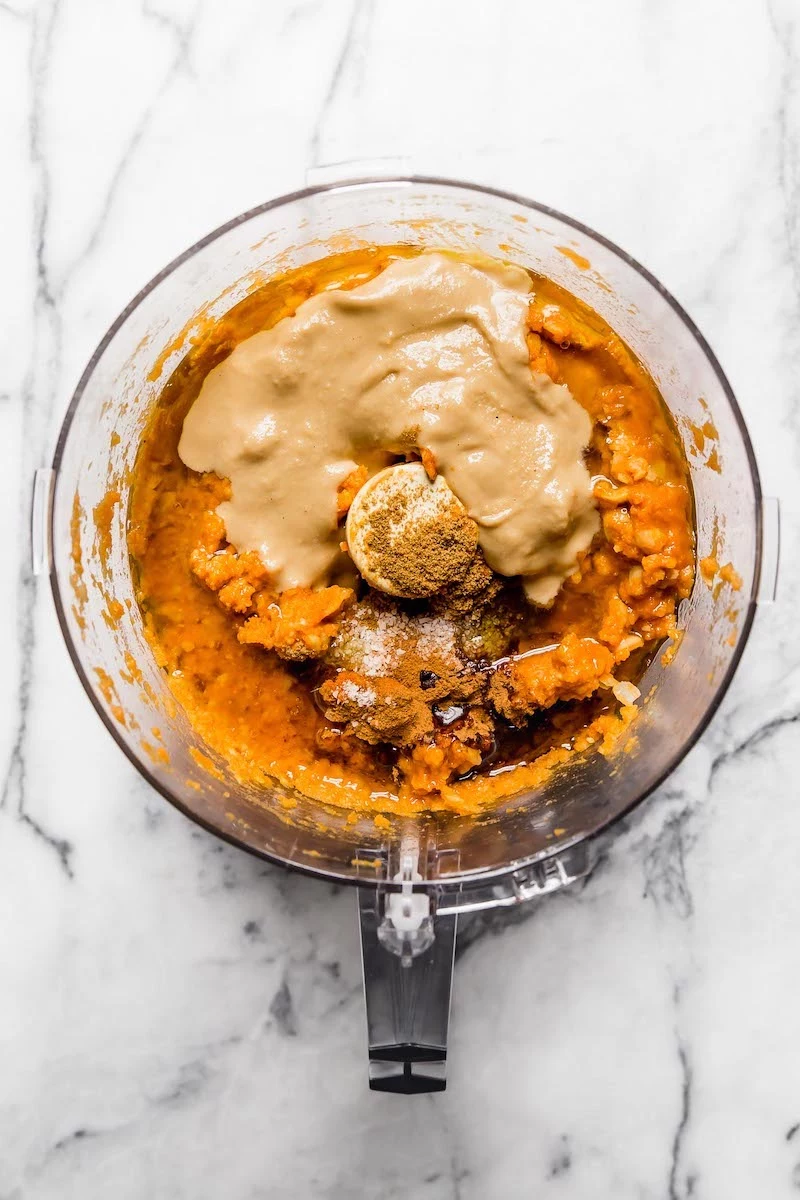
- Add the Flavor. Add the salt, cumin, and your prepped garlic to the whipped tahini. Blitz it for 30 seconds to get everything well combined.
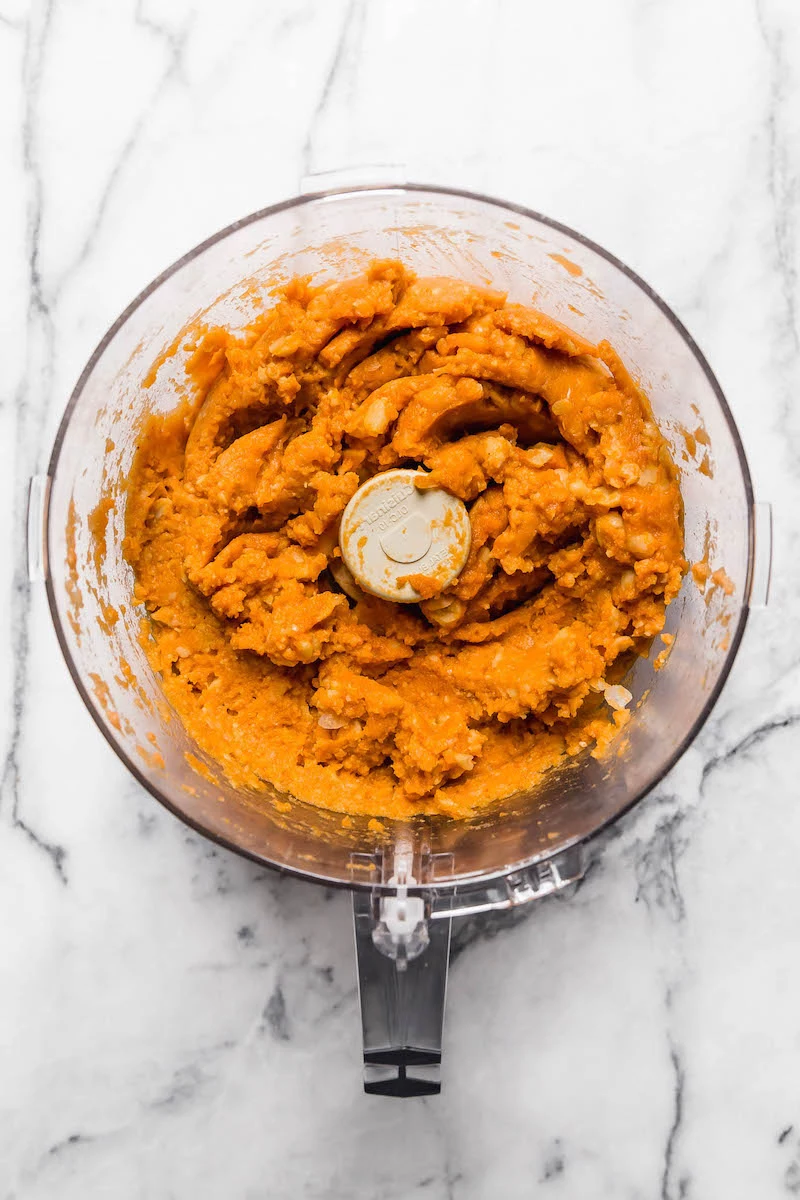
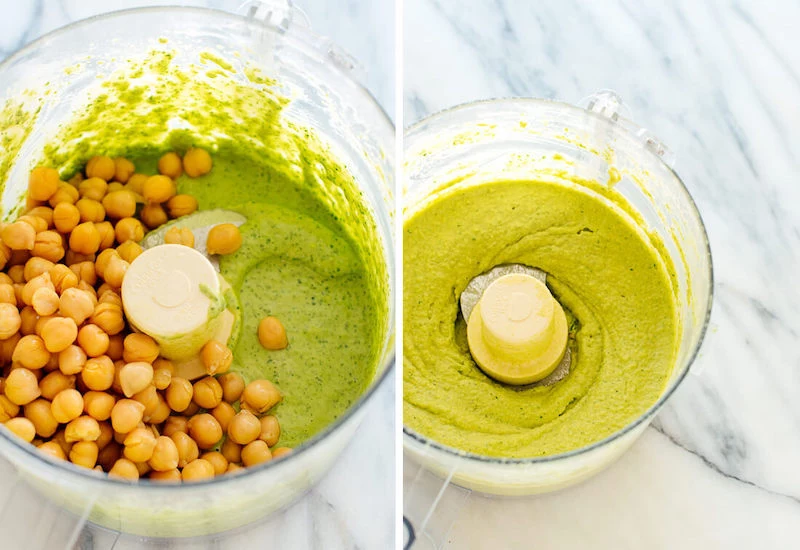
- Add the Chickpeas. Now it’s time for the star of the show. Add your super-soft, drained chickpeas. Turn on the processor and let it run for a solid 3-4 minutes. Yes, it seems like a long time, but this is what it takes to get it silky smooth. Scrape the bowl down a couple of times. The mixture will be super thick, almost like a paste.
- Loosen with Ice Water. With the processor still running, slowly stream in the ice water, one tablespoon at a time. Watch the magic happen as it transforms into a creamy, dreamy dip. Stop when it’s at the consistency you love.
- Taste and Troubleshoot. Transfer the hummus to a bowl and give it a taste. This is where you become the chef. Is it bland? Add a bit more salt first, then a squeeze of lemon if it needs more brightness. Too thick? A tiny splash more ice water. A little bitter? This can happen from certain tahinis or a feisty garlic clove. A tiny pinch of sugar or a small drizzle of maple syrup can balance it out beautifully. Remember, the flavors will meld and get even better after about 30 minutes in the fridge.
Playing with Your Food: A Guide to Flavor Variations
Once you’ve nailed the classic hummus, the fun really begins. The key is to add new flavors in a way that complements the creamy base, not overpowers it. Here are a few popular ideas and how to do them right.
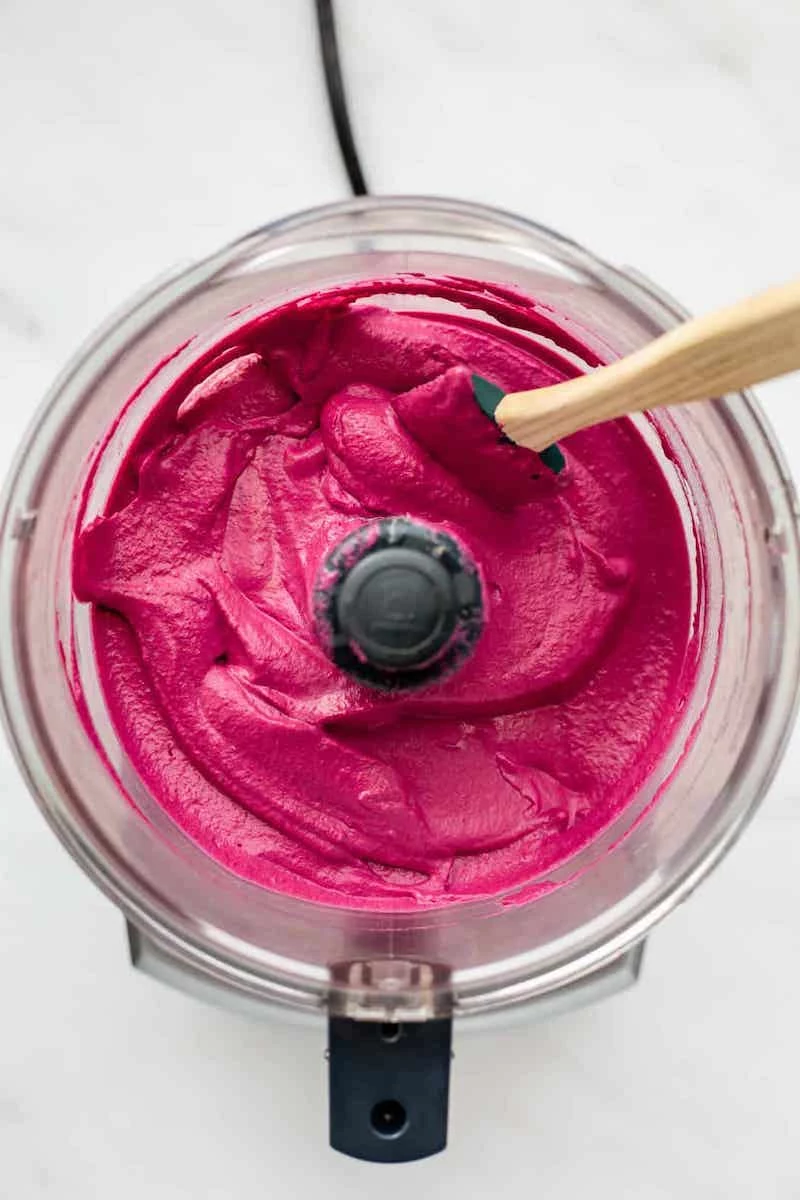
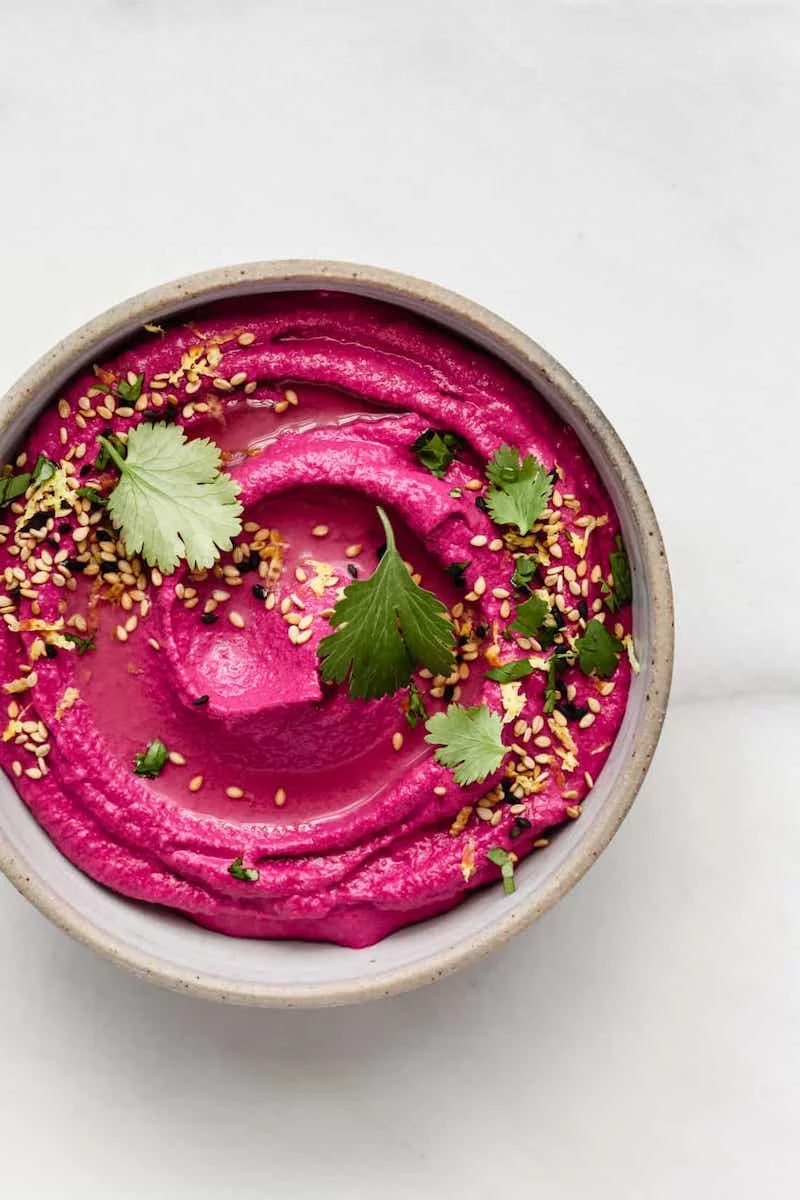
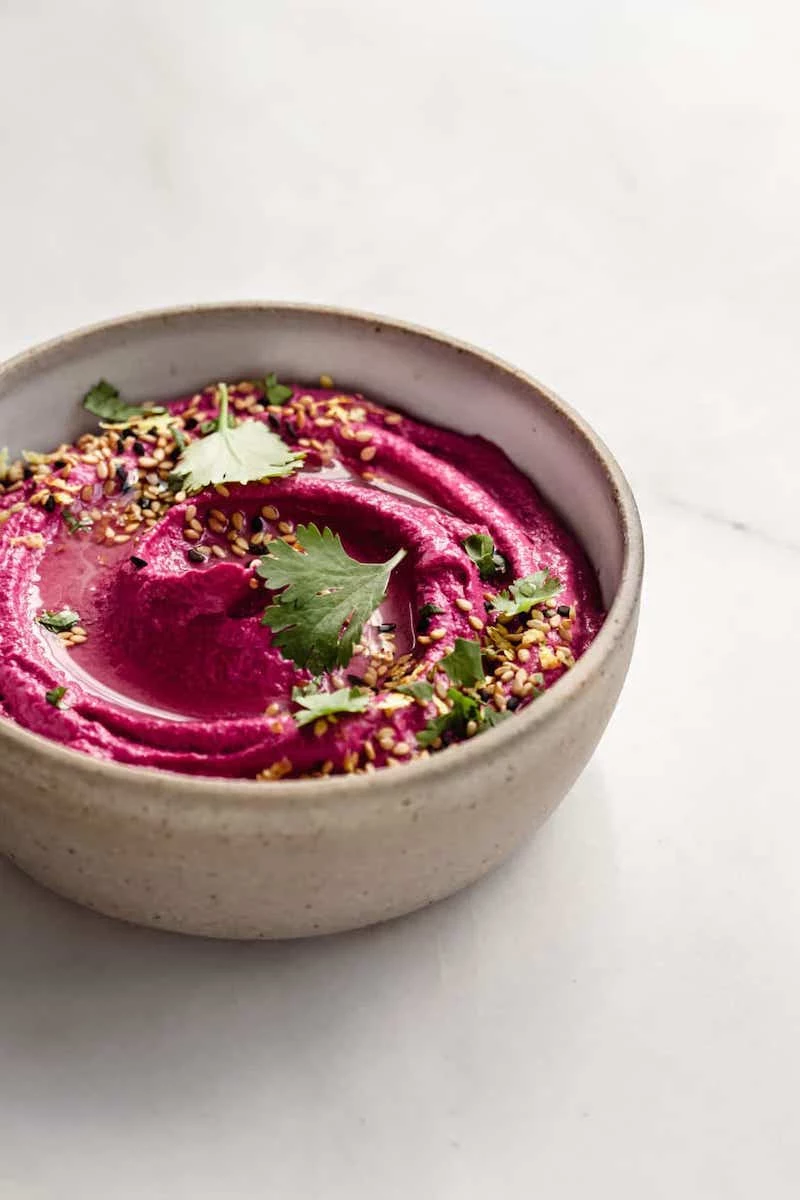
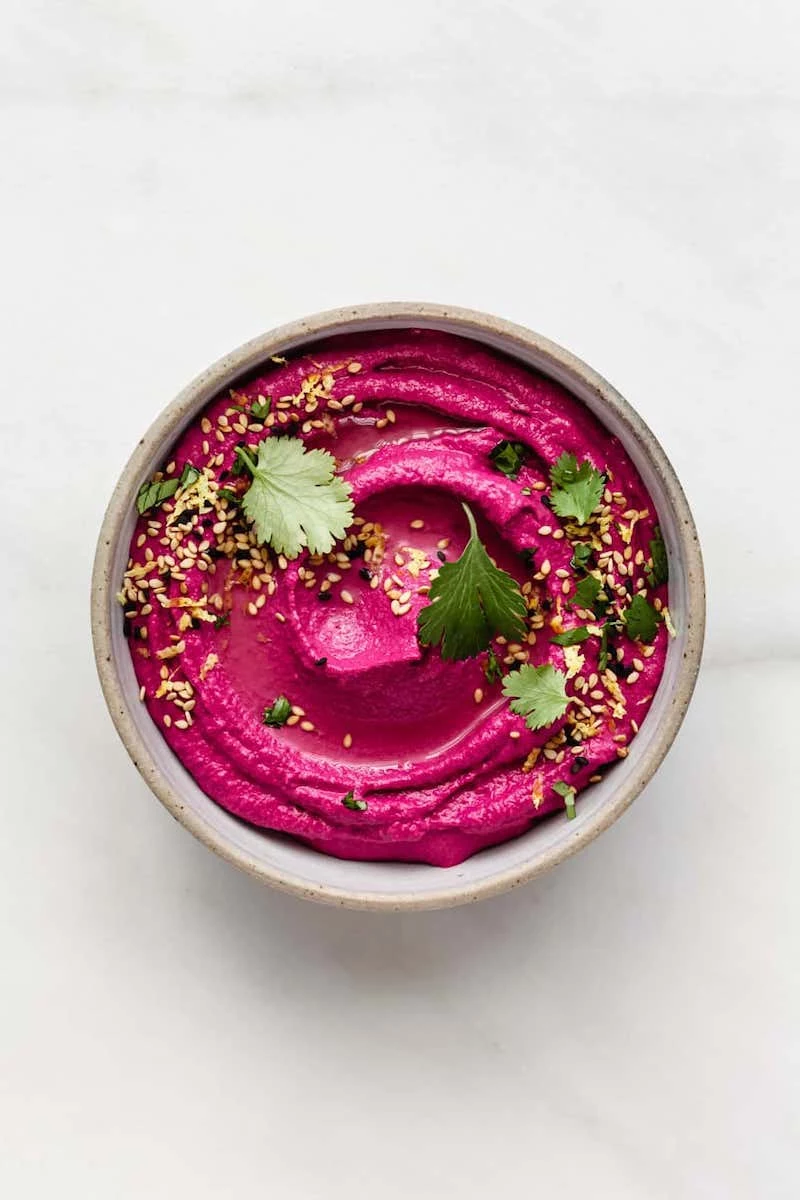
- Roasted Beet Hummus: This one is a showstopper. The trick is to roast the beets, don’t boil them. Boiling adds too much water and makes for a bland, loose dip. Just wrap a medium beet in foil and roast it at 400°F (200°C) for about an hour until it’s tender. Once it cools, the skin slides right off. Add about a cup of chopped roasted beet along with the chickpeas. You’ll need less ice water at the end.
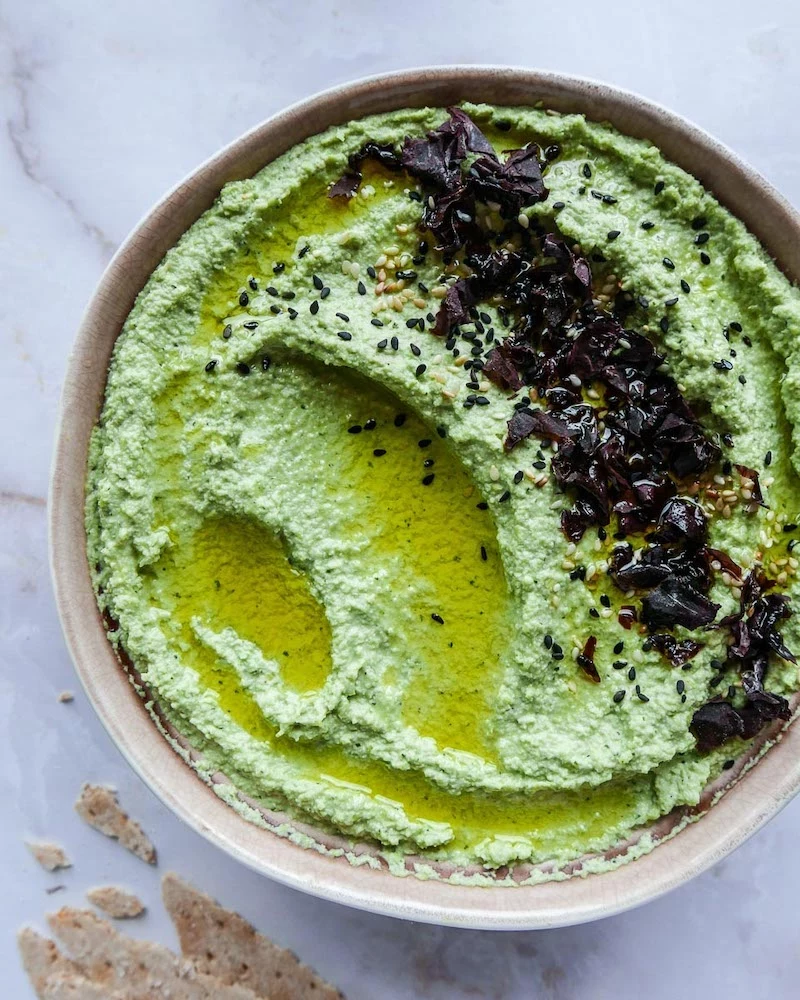
- Fresh Herb Hummus: For a vibrant, green dip, add a big handful of soft herbs like parsley and cilantro at the very end. Once your hummus is totally done, toss in the herbs and blend for just 15-20 seconds. Any longer and the color will get muddy. For a ridiculously bright green, you can blanch the herbs in boiling water for 10 seconds and then shock them in an ice bath before adding. A little extra, but the color is amazing.
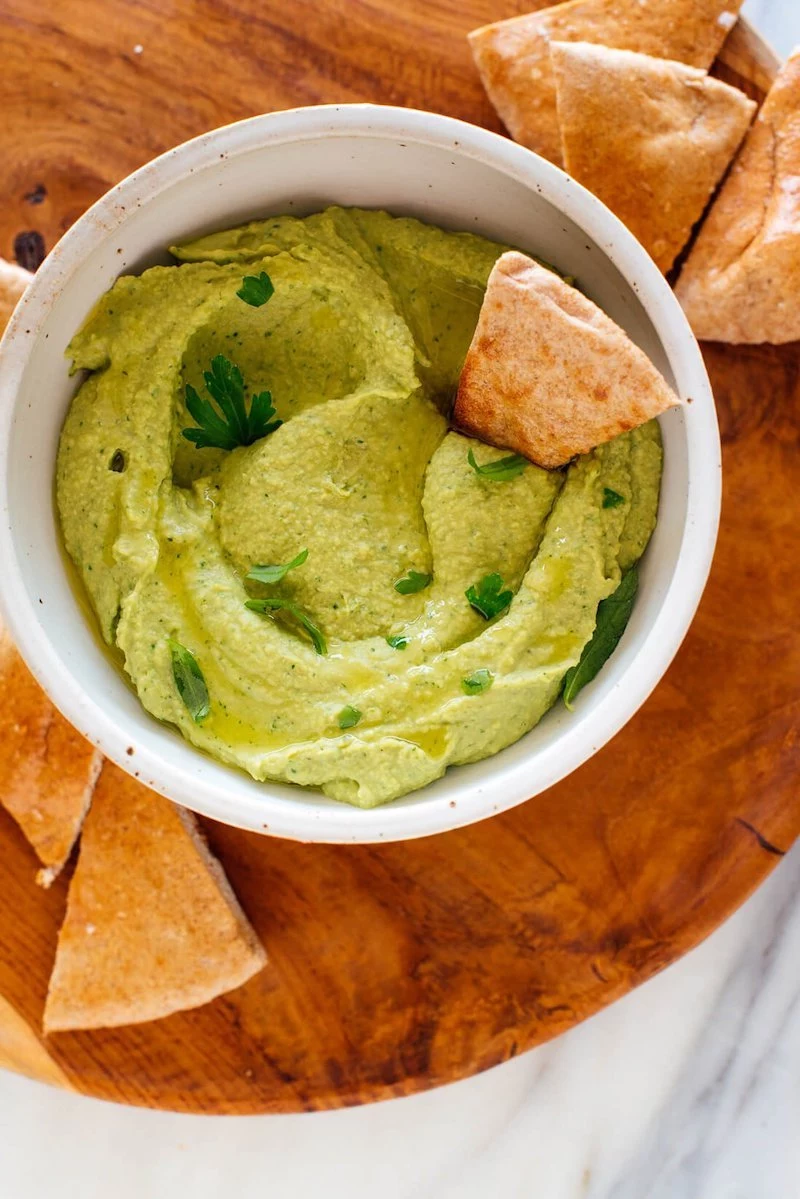
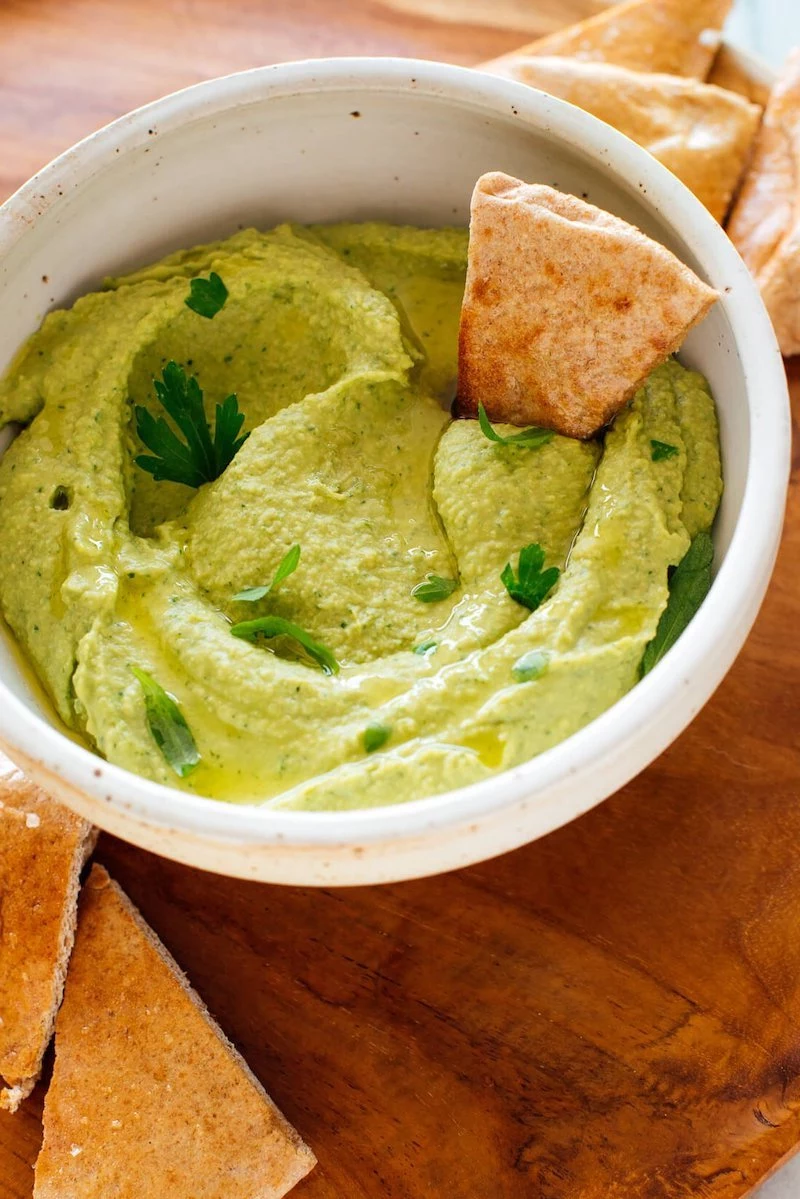
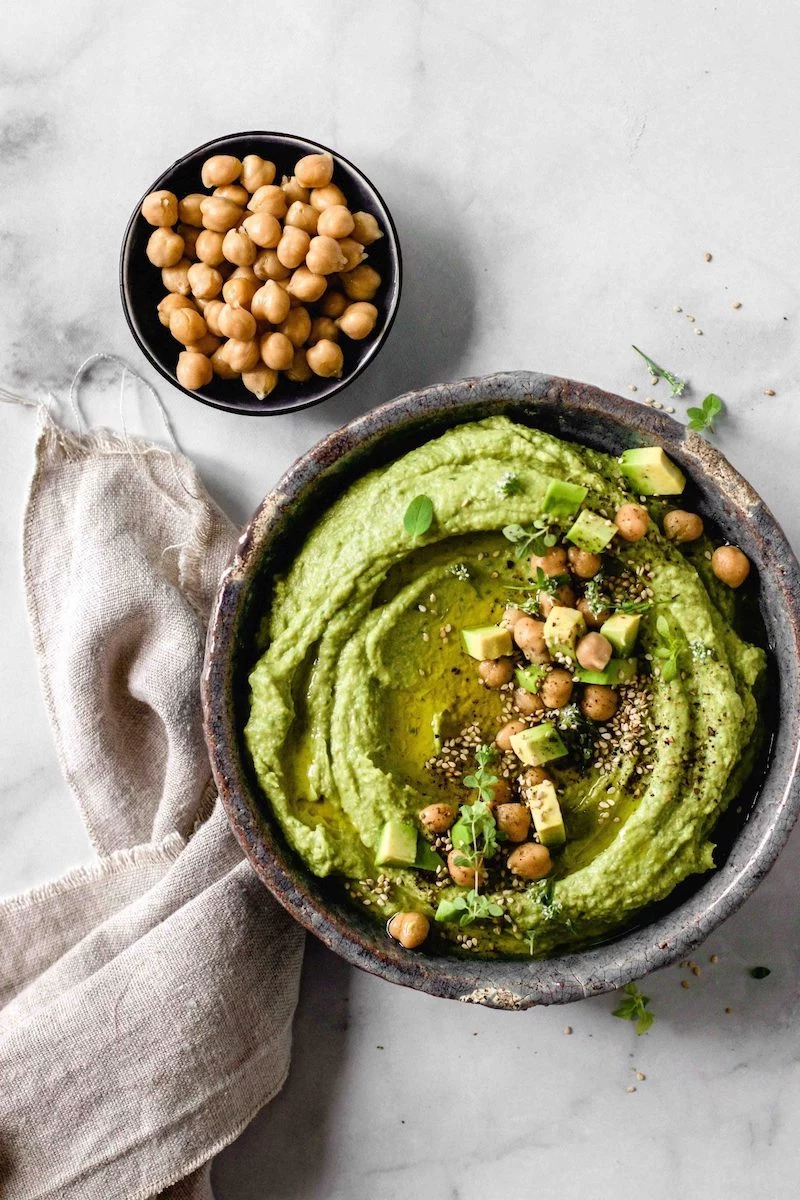
- Avocado & Spinach Hummus: A modern, creamy mashup. To be frank, this is a ‘make and serve immediately’ deal. Prepare your classic hummus base, but maybe use lime juice instead of lemon. At the very end, add one ripe avocado and a handful of spinach and blend for 30 seconds. Serve it within an hour, or it will start to brown. Pressing plastic wrap directly onto the surface helps, but it’s best enjoyed fresh.
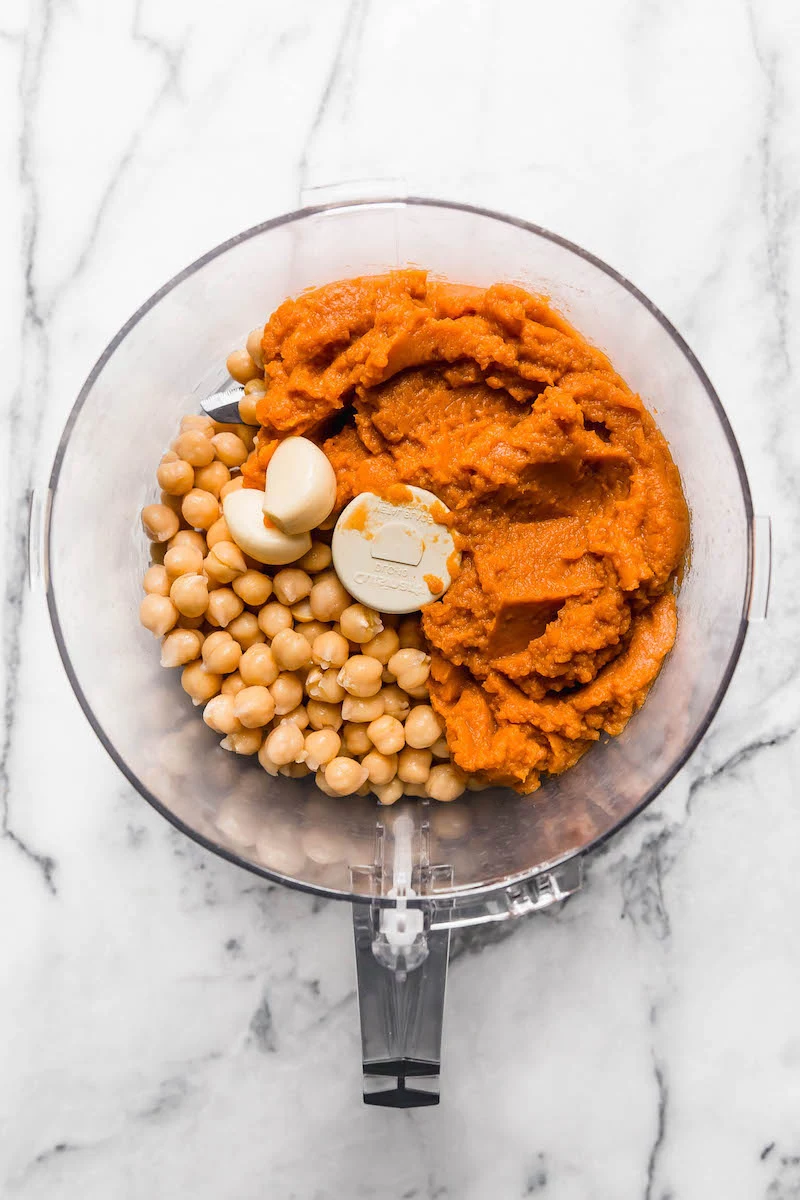
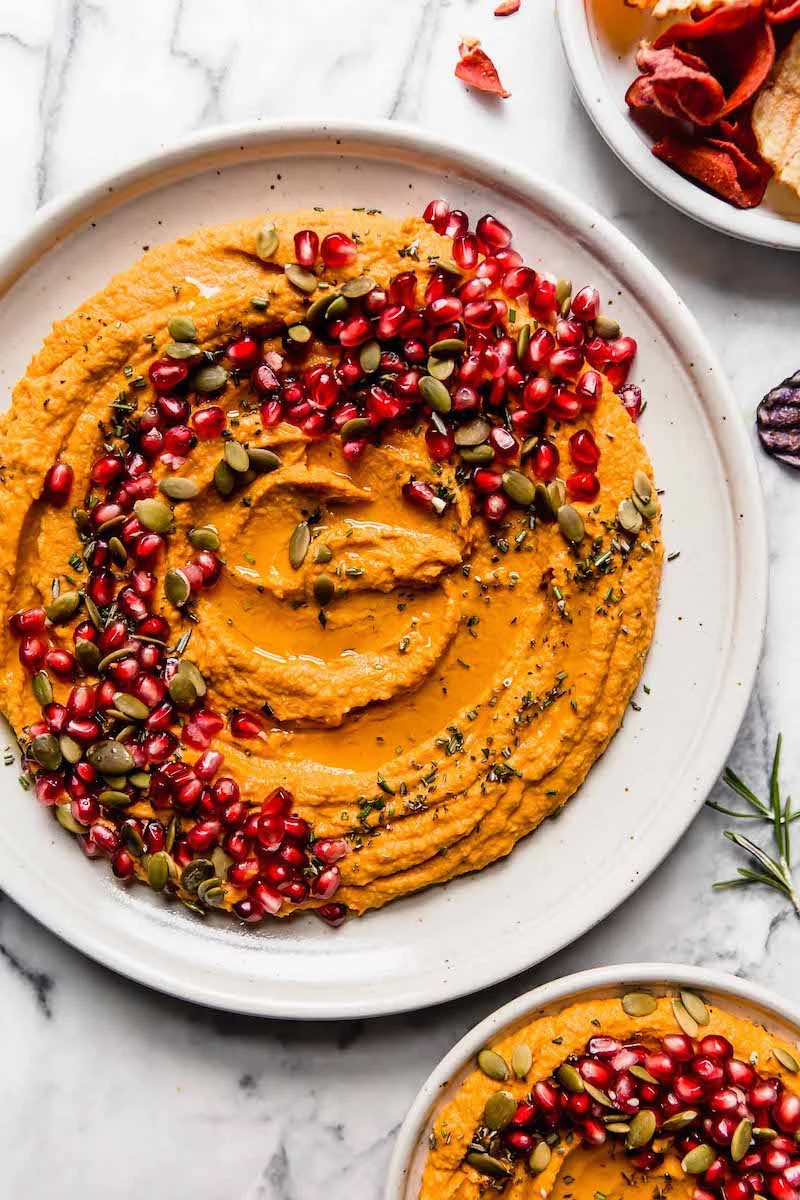
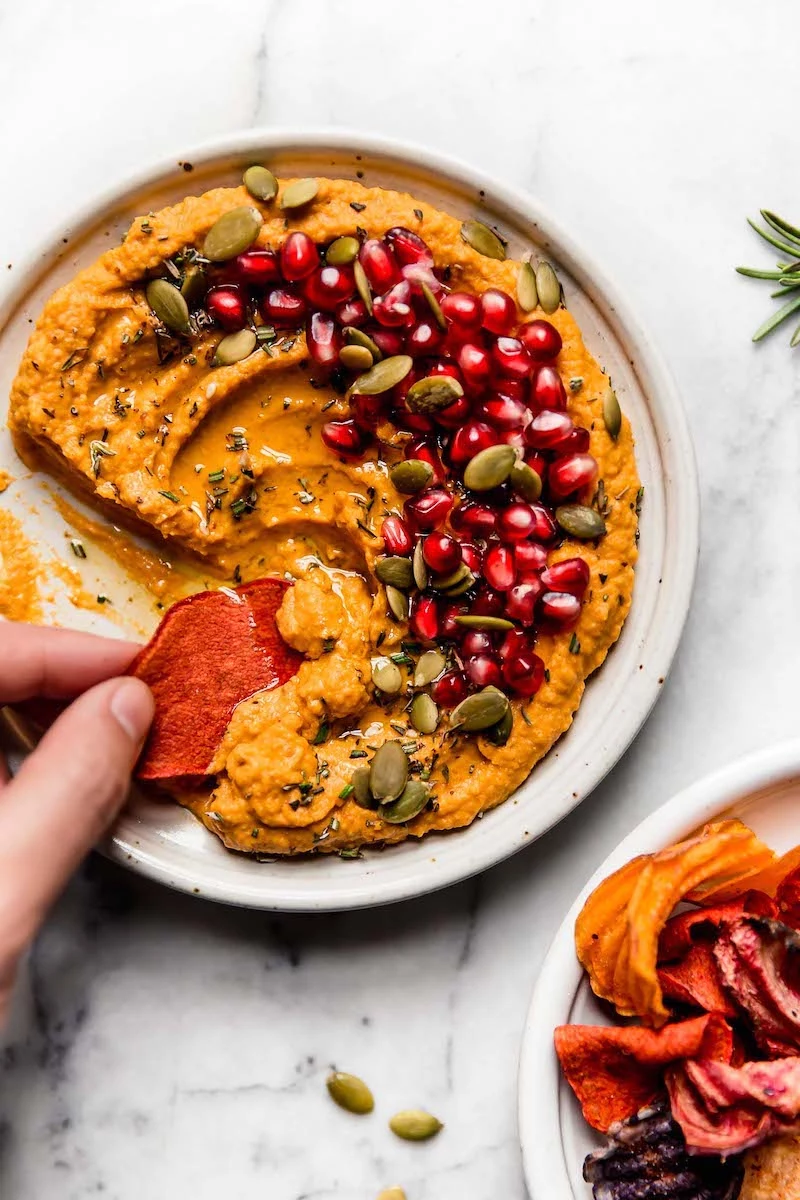
- Spiced Pumpkin Hummus: A fall favorite! Use canned pumpkin puree (NOT pie filling). For a better texture, strain the puree in a fine-mesh sieve for 30 minutes to drain excess water. Use about 3/4 cup of drained pumpkin. Add it with the chickpeas, and spice it up with a bit of cinnamon and a tiny pinch of nutmeg along with the cumin. The goal is a warm, savory dip, not a dessert.
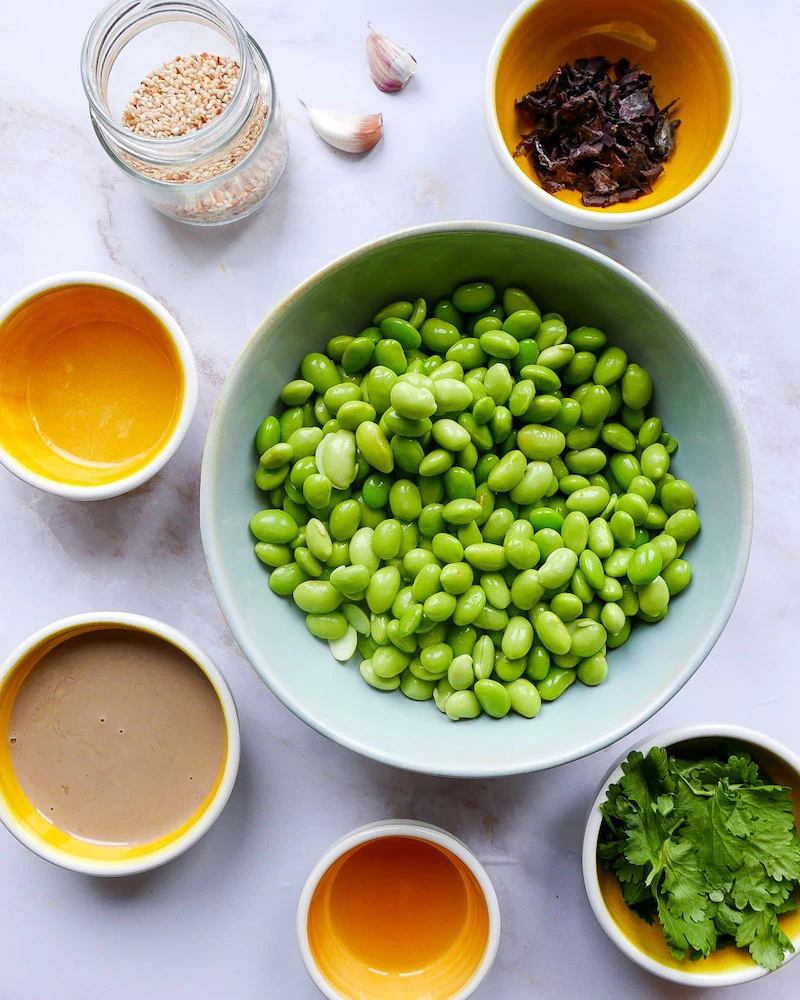
- Edamame Dip (aka ‘Edamame Hummus’): This isn’t technically hummus because there are no chickpeas, but it’s made with the same technique and it’s delicious. Boil frozen, shelled edamame until tender, then pop them out of their thin inner skins (again, tedious but worth it). Use about 2 cups of these peeled edamame instead of chickpeas, swap lemon for lime juice, and consider a drizzle of toasted sesame oil for a deeper nutty flavor.
A Quick Word on Storage and Serving
Homemade hummus doesn’t have the preservatives of the store-bought stuff, so you’ve got to store it right. Pop it in an airtight container in the fridge, and it’ll be at its best for 3-4 days. After that, the flavor starts to fade.
Heads up on the garlic: Always, always refrigerate your hummus promptly. Raw garlic stored in an oxygen-free environment (like under a layer of oil) at room temperature can be a safety risk, and it’s just good practice to keep things chilled.
Oh yeah, and you can absolutely freeze hummus! It’s a great way to save a big batch. The texture might be a little grainy when it thaws, but you can bring it back to life. Just let it thaw in the fridge, then give it a vigorous stir with a fork. Whipping in a fresh drizzle of olive oil or a squeeze of lemon juice really helps bring the emulsion back together.
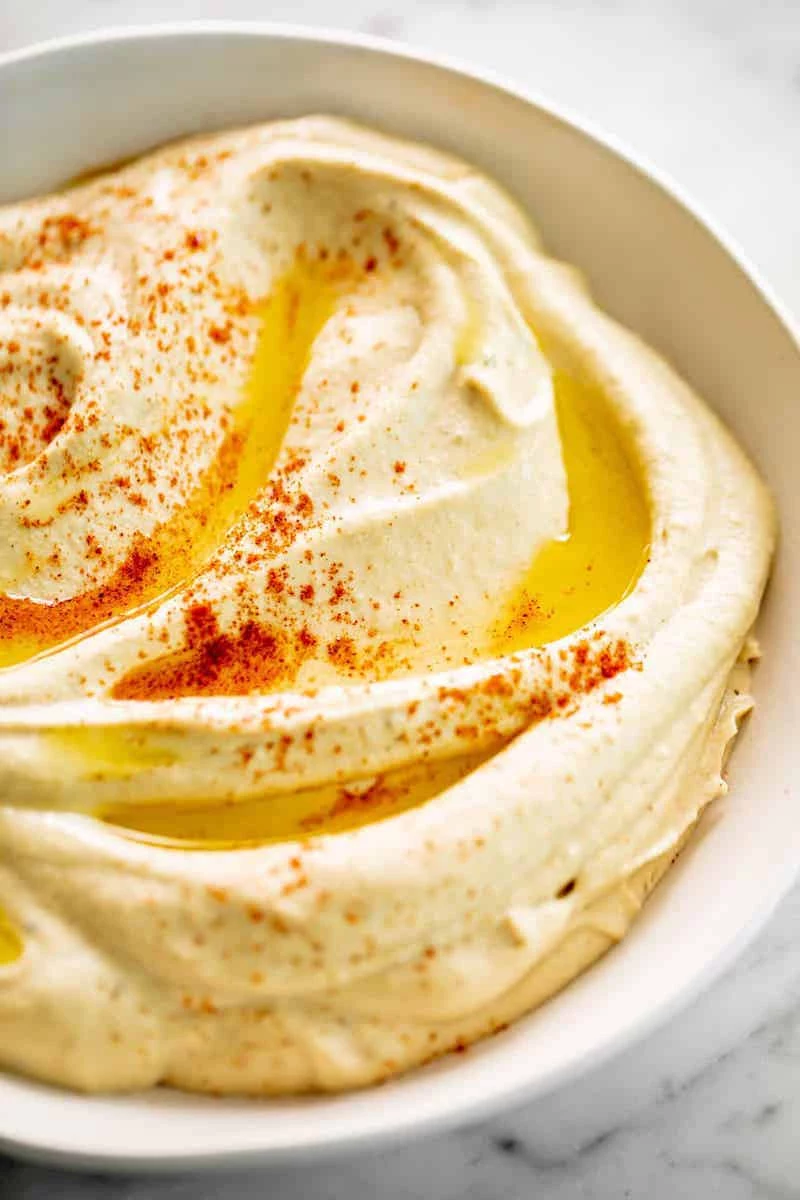
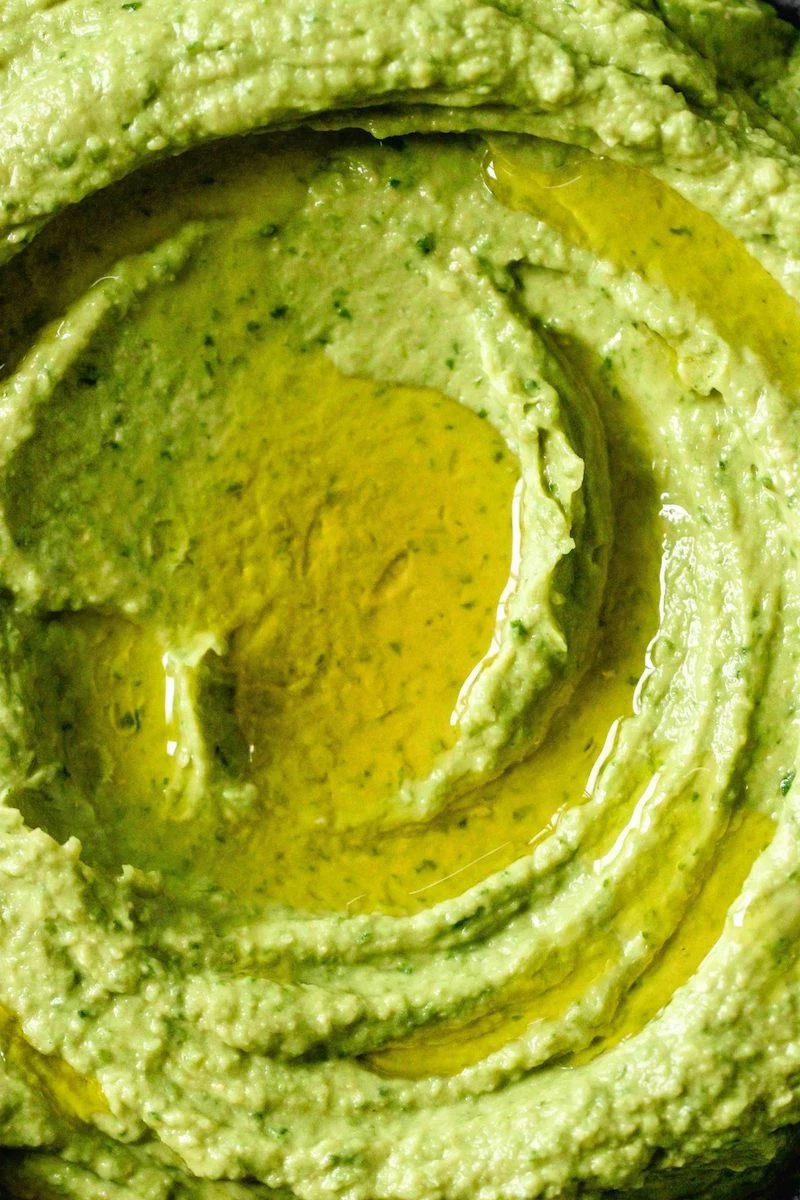
The Art of the Swoosh
Finally, let’s make it look as good as it tastes. Spoon your finished hummus into a shallow bowl. Then, take the back of your spoon and press it into the center, making a circle to create a beautiful, deep swoosh. This isn’t just for looks—it creates the perfect little river for a generous pool of high-quality extra virgin olive oil. Finish it off with a sprinkle of paprika or sumac for color and a little tang, a scatter of fresh parsley, and maybe a few whole chickpeas right in the middle. Now that’s hummus.
Inspirational Gallery
The single most important upgrade for your flavor: Use freshly squeezed lemon juice. Always. The bottled stuff has a metallic, dull taste from preservatives that can completely flatten the vibrant notes of your hummus.
Is your garlic too aggressive?
Raw garlic can have a harsh, spicy bite that overwhelms the other flavors. To tame it, try this chef’s trick: Mince the garlic and let it sit in the fresh lemon juice for 10-15 minutes before adding it to the blender. The acid
- Creates an impossibly light, airy texture.
- Helps emulsify the tahini and oil for maximum creaminess.
The secret? The
In the Middle East, hummus is often judged as much by the quality of the olive oil drizzled on top as by the dip itself.
This isn’t the place for your everyday cooking oil. The
The final flourish is what makes your hummus truly yours. A sprinkle of paprika is classic, but for a more authentic and complex flavor, try sumac for its tangy, lemony notes, or za’atar for a savory, herbal kick. Toasted pine nuts, fresh parsley, or a handful of whole, tender chickpeas add texture and a professional look.

High-Speed Blender (like a Vitamix): The undisputed king for creaminess. Its power pulverizes the chickpeas into a truly velvety, almost whipped texture that a food processor can’t match.
Food Processor (like a Cuisinart): A fantastic and more common tool. It produces a wonderful, smooth hummus, but it may retain a slightly more rustic, dense texture. For best results, let it run for a full 4-5 minutes.
The choice depends on your texture goals, but both can yield delicious results.
Don’t pour that chickpea liquid down the drain! Whether from a can or your pot of home-cooked beans, that starchy liquid—known as aquafaba—is liquid gold. Instead of plain water, use a few tablespoons of aquafaba to thin your hummus to the perfect consistency. It adds flavor and contributes to an even creamier result.
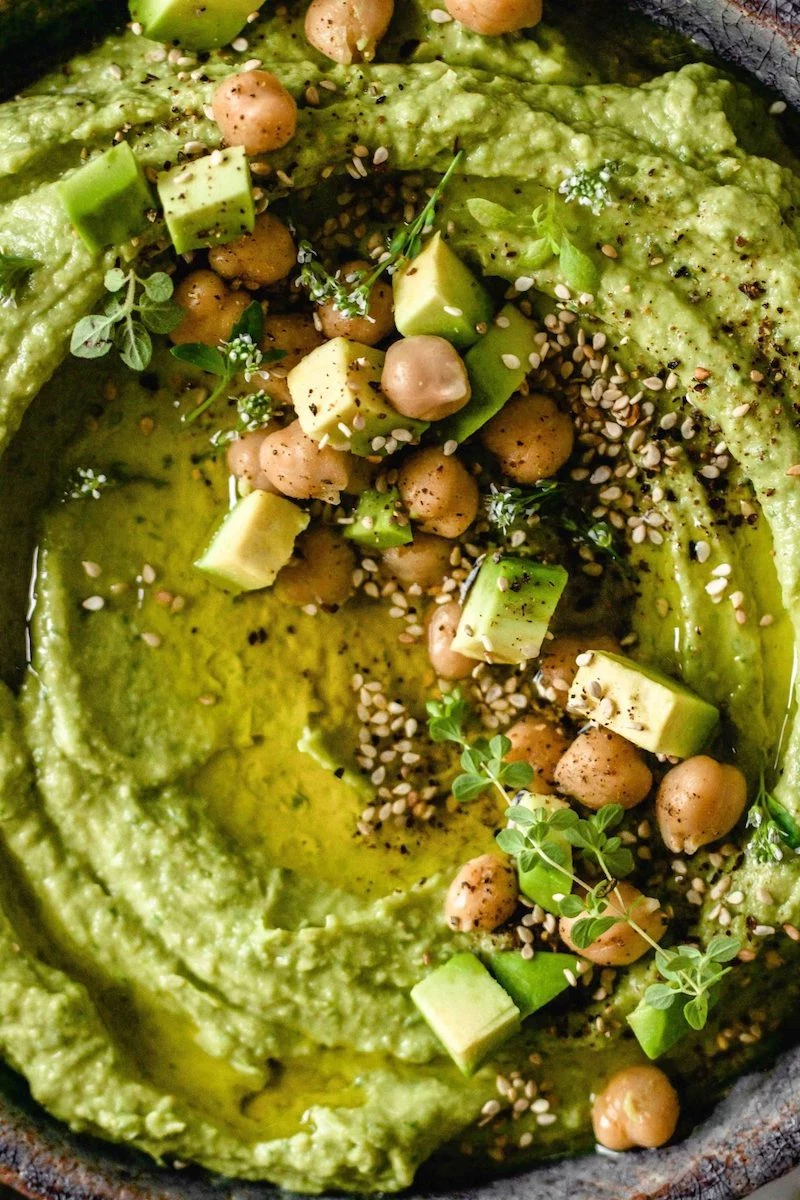
Once you’ve mastered the classic base, the possibilities are endless, as the vibrant colors in our gallery show. Think beyond the tub!
- Roasted Beetroot: Add one or two small, cooked and peeled beets for an earthy sweetness and stunning fuchsia color.
- Green Goddess: Blend in a large handful of fresh spinach, parsley, and chives for a fresh, vibrant dip.
- Spicy Chipotle: Incorporate one or two chipotle peppers in adobo sauce for a smoky, fiery kick.
A frequent pitfall is under-seasoning. Because tahini and chickpeas are so earthy and rich, they can absorb a surprising amount of salt before the flavors truly pop. Season, blend, and taste. Then, add a little more salt and taste again. You’re looking for the moment when the flavors go from flat to bright and vivid.
For the best tahini, look beyond the supermarket aisle. Seek out stone-ground brands from the Levant, where tahini is a staple. Brands like Al Arz or Soom are renowned for their silky texture and deep, nutty flavor, free from the bitterness that can plague lower-quality products. The only ingredient should be 100% sesame seeds.
In many parts of the world, hummus is served slightly warm or at room temperature, never icy cold from the fridge. This small change makes a huge difference, allowing the nutty flavor of the tahini and the fruity notes of the olive oil to shine. Try letting it sit out for 20-30 minutes before serving to experience it at its most flavorful.
Presentation elevates a simple dip into a centerpiece. The iconic


