The Real Reason Your Fruit Pizza Gets Soggy (And How to Fix It for Good)
I’ve spent years in professional kitchens and catering, and I’ve seen dessert fads come and go. But the one thing people always ask for, especially for parties, is a fruit pizza. It’s a total showstopper, feels fresh, and isn’t as heavy as a big slice of cake. But oh, have I seen them go wrong.
In this article
- First, Your Shopping List
- The Foundation: It All Starts with the Crust
- The Moisture Barrier: A Flawless Cream Cheese Spread
- Pro Tip: Stabilizing Your Spread
- The Toppings: Prepping Fruit Like a Pro
- The Finishing Touch: A Bakery-Style Glaze
- Quick Troubleshooting: Common Fruit Pizza Mistakes
- Let’s Talk Safety and Storage
- Final Thoughts
- Inspirational Gallery
I’ll never forget one of my first big catering jobs. I had prepped these beautiful cookie crusts, only to watch them turn to mush and fall apart right before serving time. A total nightmare. But it was a powerful lesson in how moisture and timing are everything. A truly great fruit pizza isn’t about some secret, fancy recipe; it’s about understanding the structure from the ground up.
A lot of recipes you find online just treat it like an assembly project. They completely skip the key techniques that separate a crisp, delicious dessert from a soggy, sad puddle. So we’re going to go beyond just a list of ingredients and get into the why behind each step—the methods I’ve personally fine-tuned over the years. By the end of this, you’ll know how to build a fruit pizza that slices cleanly, stays crisp for hours, and tastes perfectly balanced.
Heads up: Plan for about 2.5 hours from start to finish. A good chunk of that, about an hour, is just hands-off cooling and chilling time, so don’t worry!
First, Your Shopping List
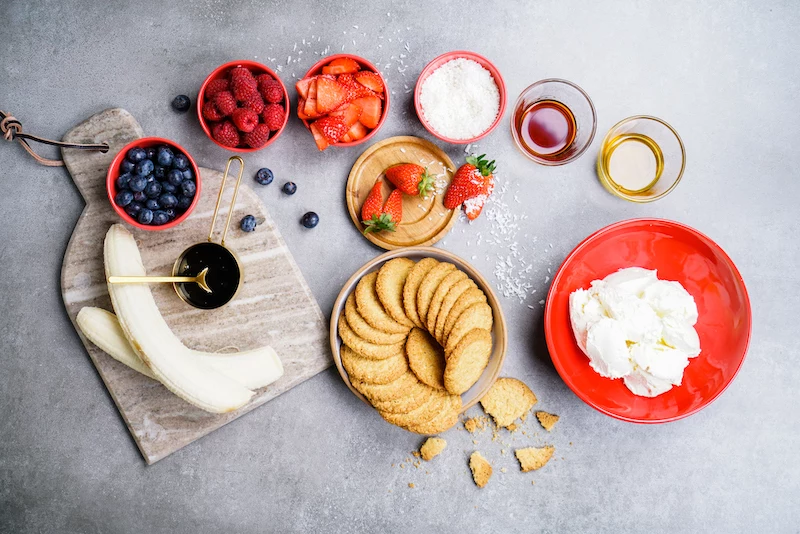
Before we dive in, let’s get organized. Nothing’s worse than starting a recipe and realizing you’re missing something. Here’s a quick list you can pull up at the store:
- For the Crust: You’ll need about 2 cups of crumbs. Grab a box of digestive biscuits or graham crackers from the cookie aisle. You’ll also need one stick (1/2 cup) of unsalted butter.
- For the Creamy Spread: The star here is one 8-ounce block of full-fat cream cheese—make sure it’s the block kind, not the tub! Also grab some powdered sugar (also called confectioners’ sugar), a lemon for zesting, and some good quality vanilla extract.
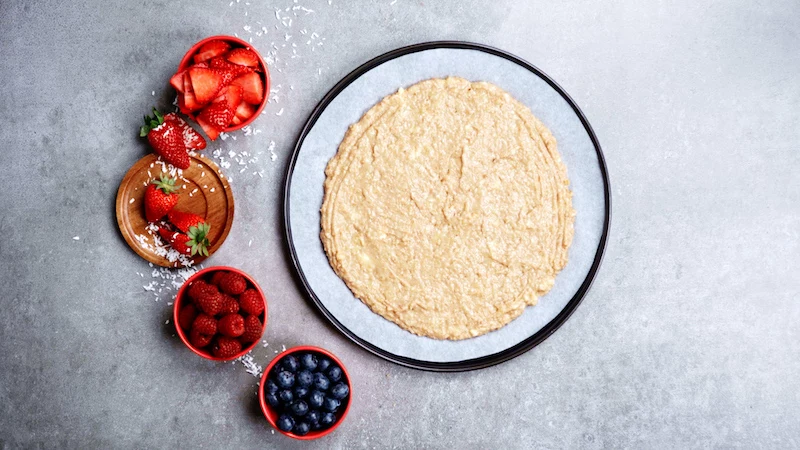
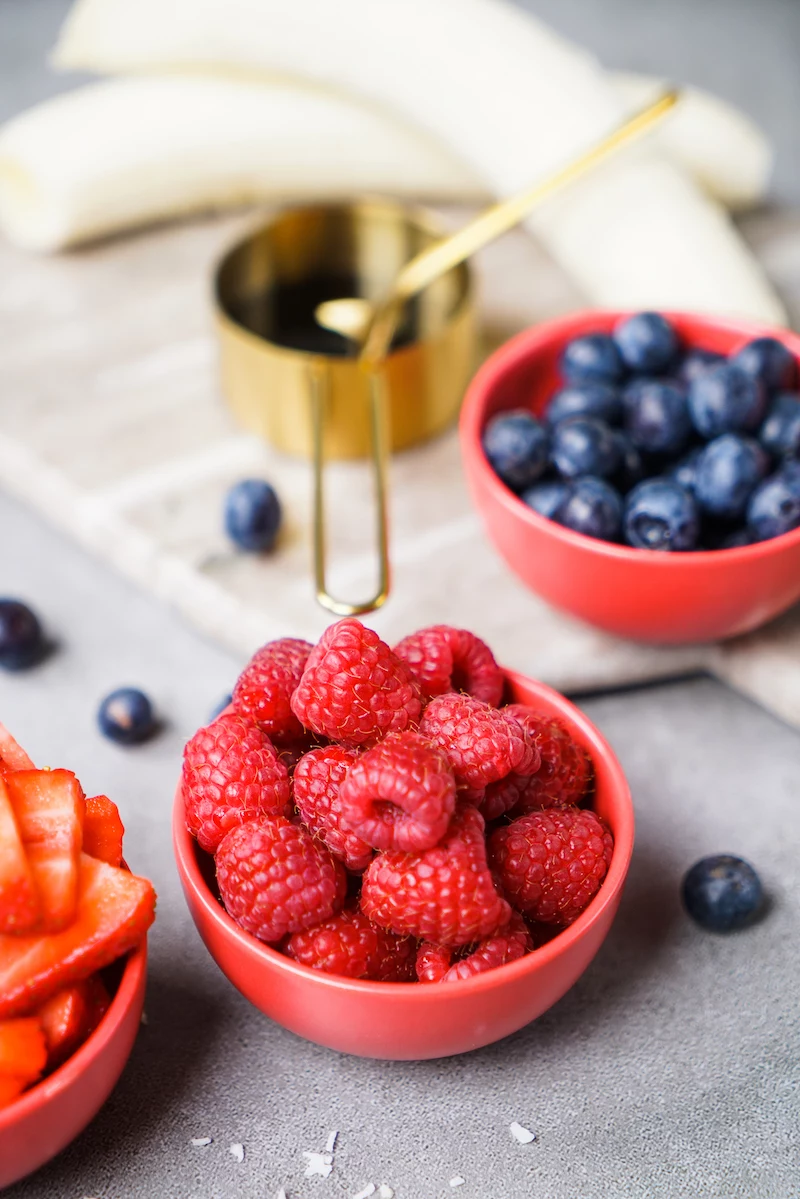
- For the Fruit Topping: This is the fun part! Get a mix of fresh, firm fruit. Berries (strawberries, blueberries), kiwi, mandarin oranges, and seedless grapes are all fantastic choices. Avoid frozen fruit at all costs!
- For the Pro-Level Glaze (Optional but Recommended!): Pick up a small jar of smooth apricot preserves or apple jelly. This is our secret weapon for that bakery-style shine.
The Foundation: It All Starts with the Crust
The number one reason a fruit pizza fails is a soggy crust. It’s simple science, really. The moisture from the cream spread and the fruit naturally wants to seep into the dry, cookie-like crust. Our whole mission is to build a crust that says, “Nope, not today!”
So, what are your options? There are three main players here.
First is the classic Sugar Cookie Crust. It’s basically one giant, soft-in-the-middle, crisp-on-the-edges cookie. It’s a total crowd-pleaser, but you have to be careful not to overmix the dough, or it can get tough. You absolutely must bake it fully and let it cool completely to get it sturdy enough to hold up.
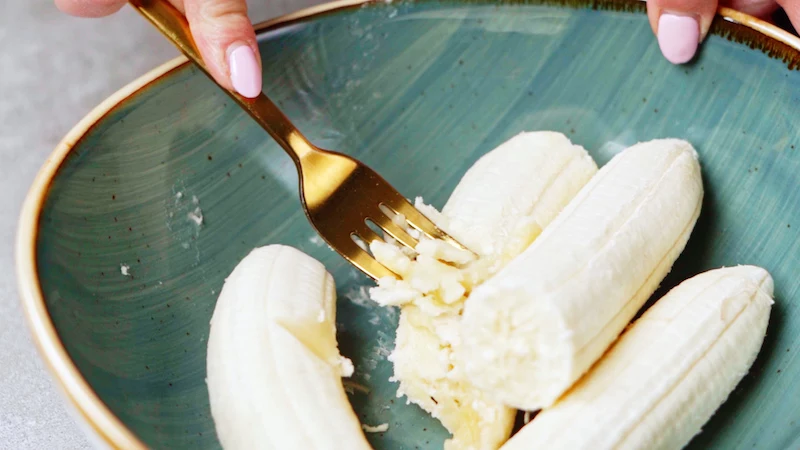
Next up is the Pressed Crumb Crust. This is super versatile and, honestly, my go-to for a quick but reliable base. You just mix cookie crumbs with melted butter and press it into a pan. The key here is the butter—it coats the crumbs and creates a natural water-resistant barrier. Some folks suggest using things like mashed banana as a binder, but please don’t. It just adds more moisture and starts the sogginess from the get-go.
And then there’s my personal favorite for catered events: the Shortbread Crust. Shortbread is amazing because it has a ton of butter and very little moisture to begin with, making it naturally resistant to getting soft. It’s dense, buttery, slices like a dream, and holds its shape perfectly. It’s a little more work, but the results are unbelievably good.
Let’s Make a Perfect Pressed Crumb Crust
We’ll focus on the pressed crumb crust since it’s foolproof and you don’t even need a mixer. For this, you’ll want a 10-inch tart pan with a removable bottom or a springform pan. That removable bottom is key for getting it out cleanly.
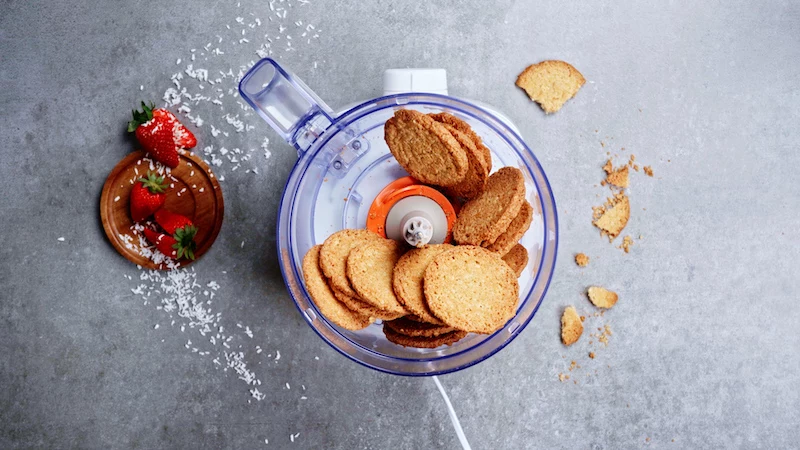
1. Get Your Crumbs Right: Start with about 2 cups (around 250g) of digestive biscuits or graham crackers. A food processor makes this easy, blitzing them into a fine, sandy texture. No food processor? No problem. Throw the cookies in a heavy-duty Ziploc bag, seal it, and go to town with a rolling pin. You want the texture of coarse sand, with no big chunks left behind.
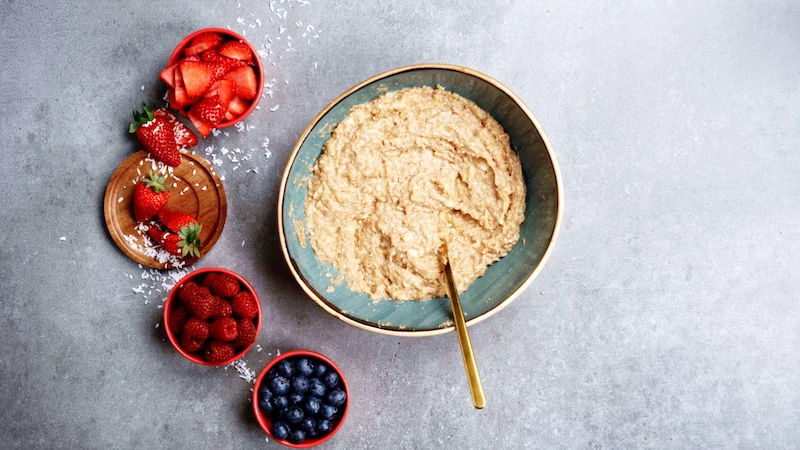
2. Mix in the Butter: Melt a stick (115g) of unsalted butter. Pour it over the crumbs with a pinch of salt and mix until every single crumb is coated. The final texture should feel like wet sand and hold together when you squeeze it in your hand. This ratio is crucial—too little butter and it’s crumbly, too much and it’s greasy.
3. Press It In: This is where technique matters. Dump the buttery crumbs into your pan. Use your fingers to gently push the crumbs up the sides first, creating a nice wall. Then, grab a flat-bottomed measuring cup or glass and use it to firmly press the crumbs down on the bottom and against the sides. A tightly compacted crust is a strong crust!
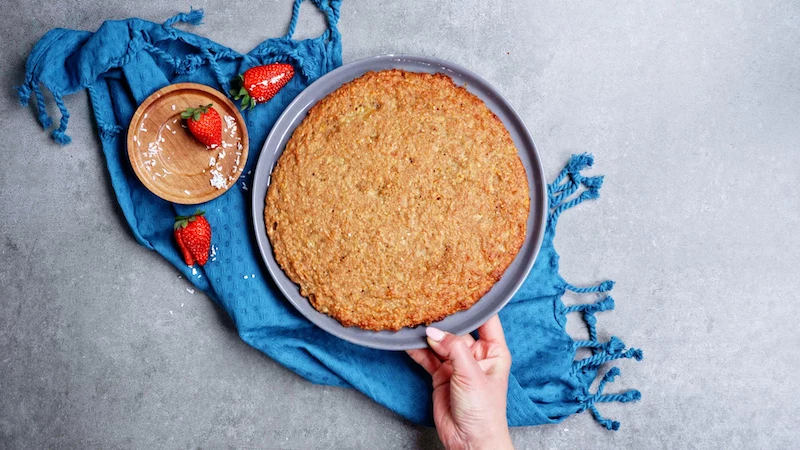
4. Bake and Cool (Don’t Skip This!): For the most durable, water-resistant crust, you have to bake it. A quick 10-12 minutes in a 350°F (175°C) oven is all it takes. It’ll get slightly browned and your kitchen will smell incredible. This mini-bake drives out moisture and creates a seal. Once it’s out, let it cool completely on a wire rack. Putting it on a flat counter can trap steam and soften the bottom. Don’t even think about putting the spread on until it’s at room temperature, which takes at least 30-45 minutes.
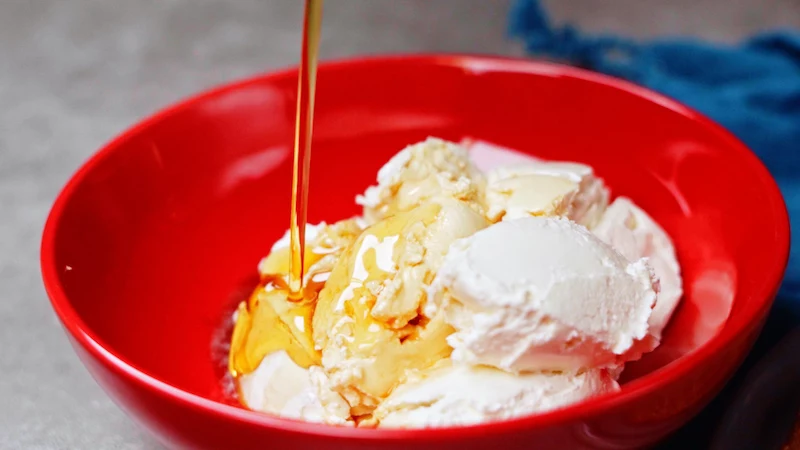
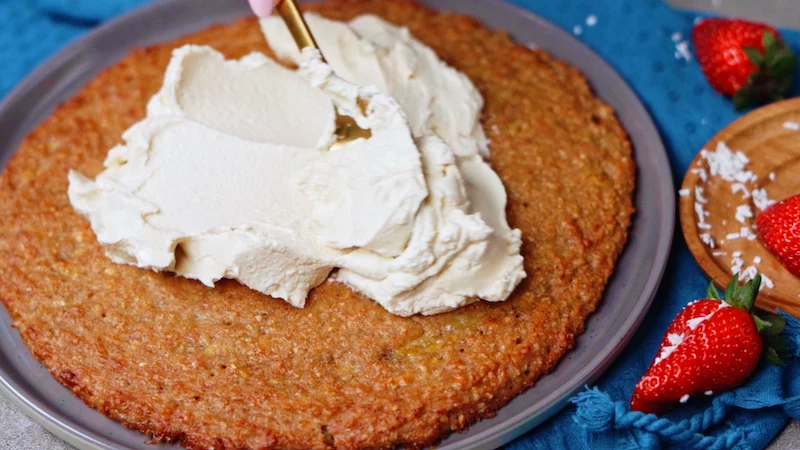
The Moisture Barrier: A Flawless Cream Cheese Spread
The creamy layer does two jobs: it’s the delicious “sauce,” and it’s a secondary defense against sogginess. The fat in the spread is your best friend because fat repels water. This is why full-fat is the only way to go.
For the best results, start with an 8-ounce block of full-fat cream cheese. Seriously, avoid the whipped stuff in a tub; it’s loaded with extra water and air, which makes it unstable.
Here’s how to get it perfectly smooth:
- Temperature is everything. Your cream cheese MUST be at room temperature. If it’s cold, you’ll get lumps. I just leave it on the counter for an hour before I start.
- Use powdered sugar. Granulated sugar will feel gritty. Powdered sugar dissolves instantly. For one 8-ounce block, start with 1/2 cup of powdered sugar and a teaspoon of vanilla. For a brighter flavor, I love adding the zest of half a lemon.
- Mix it right. If you have an electric mixer, beat the soft cream cheese first, then add the sugar and flavorings. If you don’t have a mixer, you can absolutely do this by hand! Just put the softened cream cheese in a bowl and use a sturdy whisk or spatula to beat it against the side of the bowl until it’s smooth. Then, whisk in the sugar and vanilla. It just takes a little more elbow grease.
A Quick Note on Alternatives: You might see recipes using mascarpone or Greek yogurt. Mascarpone is a fantastic (though pricier) option—it’s an Italian cream cheese that’s even richer and has more fat, making it an excellent moisture barrier. Expect to pay around $3-$4 for an 8-ounce block of cream cheese, but closer to $7-$8 for the same amount of mascarpone.
Greek yogurt, on the other hand, is a trade-off. While tasty, it has way more water and less fat. A yogurt-based spread will start making the crust soggy almost immediately. If you go this route, you have to assemble and serve the pizza within the hour. It cannot be made ahead.
Pro Tip: Stabilizing Your Spread
For parties where the pizza might sit out for a bit, I sometimes stabilize the spread by folding in 1/2 cup of homemade whipped cream. This lightens the texture and the extra fat adds even more stability.
Never made whipped cream? It’s easy. Just pour cold heavy cream into a chilled bowl and beat it with a mixer (or a whisk and some serious arm power) until it forms “stiff peaks.” That just means when you lift the beaters out, the cream stands up in a peak that holds its shape without flopping over. Gently fold that into your finished cream cheese mixture.
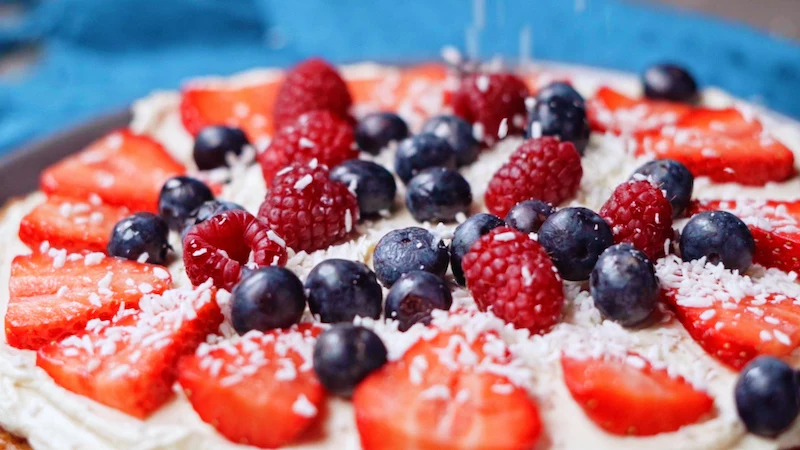
The Toppings: Prepping Fruit Like a Pro
The fruit is the star, but bad prep can ruin everything. The enemy, once again, is water.
Choose fresh, firm fruit. Overripe fruit is mushy and releases too much liquid. And a hard no on frozen fruit—as it thaws, it will turn your beautiful dessert into a watery mess.
Here’s the non-negotiable step: wash and thoroughly dry your fruit. I mean it. For berries, I gently roll them onto a paper-towel-lined tray and let them air dry for 15 minutes. Any leftover water on the fruit will immediately start breaking down the cream spread.
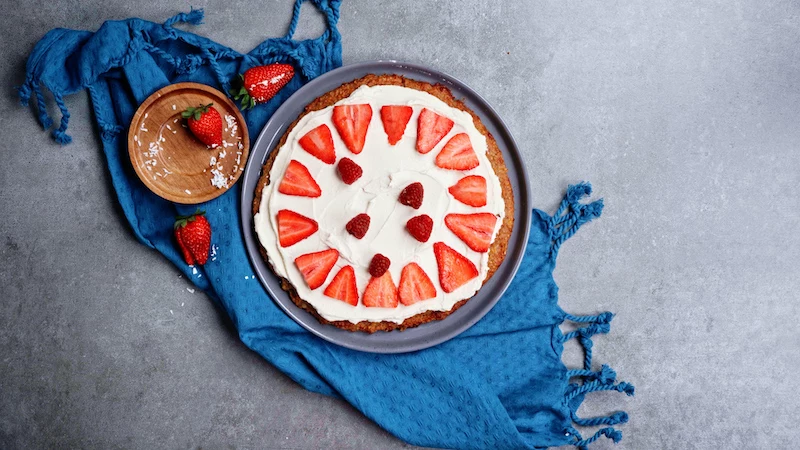
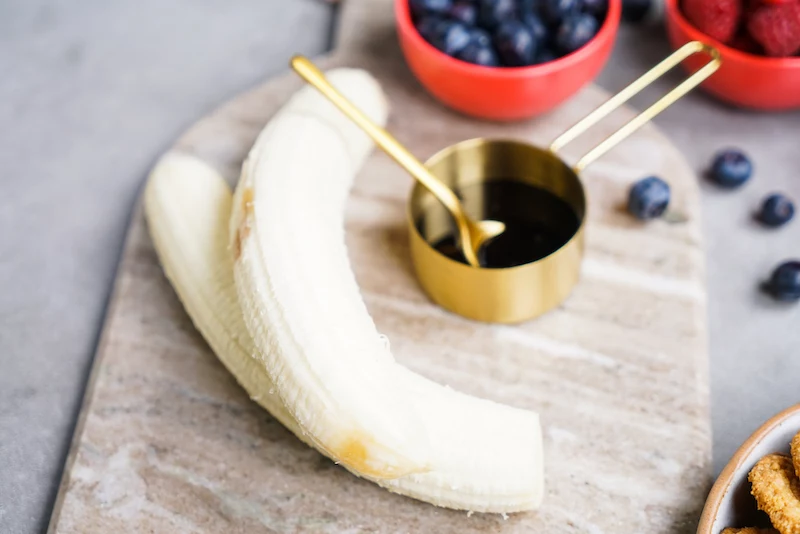
For fruits that brown, like apples, bananas, or pears, toss them in a tiny bit of lemon juice. The acid slows down the browning. And when arranging, work from the outside in. A nice ring of sliced strawberries makes a great border. Don’t just dump the fruit on; place each piece with care and gently press it into the cream to help it stick.
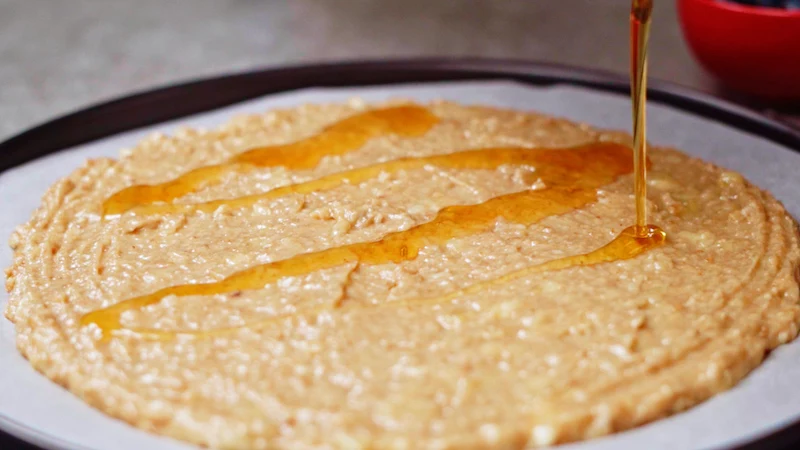
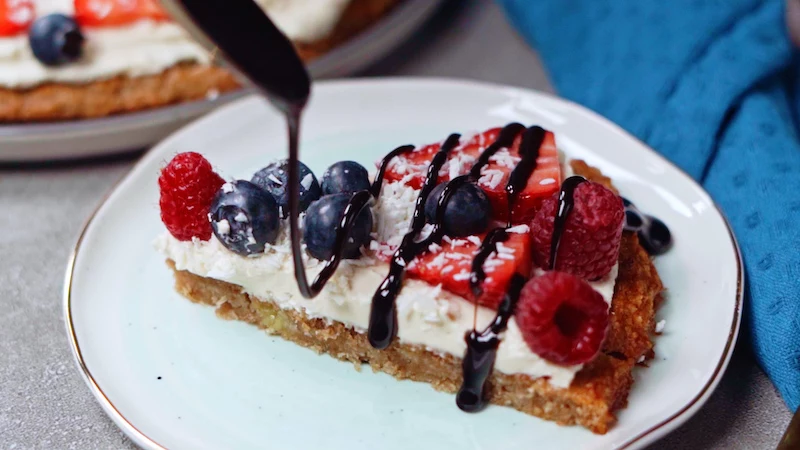
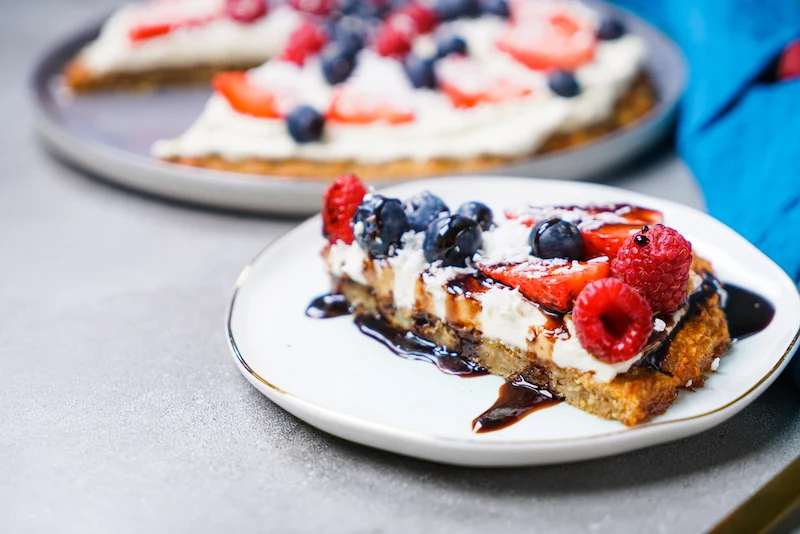
The Finishing Touch: A Bakery-Style Glaze
Here’s the step most home cooks skip, but every professional uses: a glaze. It adds a gorgeous shine, seals the fruit to keep it from drying out, and helps hold everything in place.
It’s so simple. Just warm up 1/2 cup of smooth apricot preserves with a tablespoon or two of water in a small saucepan until it’s melted and pourable. For a perfectly clear look, you can strain it through a fine-mesh sieve. Not a fan of apricot? No problem. Apple jelly warmed with a splash of water works just as well for a neutral, clear shine.
Let the glaze cool for a minute so it’s warm, not hot, and then gently brush it over the fruit with a soft pastry brush. Be delicate!
Quick Troubleshooting: Common Fruit Pizza Mistakes
We all make them! Here are a few common pitfalls and how to sidestep them.
- Mistake
1: The crust is too crumbly.
This means you didn’t use enough butter or didn’t press the crust down firmly enough. The mixture should feel like wet sand before you press it into the pan. - Mistake
2: The cream cheese is lumpy.
Your cream cheese was too cold when you mixed it. Let it sit on the counter for a full hour next time. To fix it in the moment, you can sometimes smooth it out by continuing to beat it as it warms up. - Mistake #3: The fruit is sliding off. This usually means the fruit was too wet when you put it on, or you didn’t gently press the pieces into the cream cheese spread to help them adhere.
Let’s Talk Safety and Storage
Okay, a quick but important chat about food safety. Because of the cream cheese spread, this is a perishable dessert. It shouldn’t sit out at room temperature for more than two hours. After that, it needs to head back into the fridge. This is super important if you’re bringing it to a potluck or party!
Want to make it ahead? You can! Here’s the game plan:
- The Crust: Bake and cool the crust up to 2 days ahead. Store it in an airtight container at room temperature (not the fridge).
- The Spread: Mix the cream cheese spread and store it in an airtight container in the fridge for up to 3 days.
- Assembly: For the best texture, assemble everything no more than 4-6 hours before serving. This gives the flavors time to meld without the crust getting soft.
By the way, here’s a quick win: If you’re short on time, just make the professional cream cheese spread. It’s an incredible dip for a platter of fresh fruit. It takes minutes to whip up and is a total game-changer for a simple party snack.
Final Thoughts
Making a truly fantastic fruit pizza is a craft, but it’s one you can absolutely master. It’s all about controlling moisture, building that solid base, and prepping your ingredients with a bit of care. Once you nail these foundational techniques, you can get creative with all sorts of crusts, spreads, and seasonal fruits.
When you bring out a fruit pizza that’s crisp, beautiful, and delicious, it really shows you put in the effort. And now, you know all the secrets to make it happen every single time.
Inspirational Gallery
The Cream Cheese Debate: Classic Tang vs. Italian Luxury
Philadelphia Cream Cheese: This is the go-to for a reason. Its distinct tangy flavor cuts through the sweetness of the fruit and glaze, while its firm, dense texture provides a stable barrier against a soggy crust. It’s reliable and familiar.
Mascarpone Cheese: For a more decadent, dessert-forward experience, try mascarpone. It’s smoother, richer, and naturally sweeter than cream cheese. The result is a more luscious, tiramisu-like layer, though it can be slightly softer, so chilling is key.
Did you know? The cell walls of fruit begin to break down the moment they’re cut, releasing water and enzymes. This process, called enzymatic browning, is what makes sliced apples turn brown, but it also makes wetter fruits like berries ‘weep’.
This is why the optional apricot glaze isn’t just for shine. It acts as a sealant, slowing down this process and creating a barrier that keeps the fruit looking fresh and its juices from immediately soaking into the cream layer. It’s a simple step with a huge impact on longevity.
Can I use a different type of crust?
Of course! While a graham cracker or digestive biscuit crust is classic, don’t be afraid to experiment. For a richer, more chocolatey base, try using crushed Oreo cookies (scrape out the filling first) mixed with melted butter. For a nutty, gluten-free option, a crust made from finely ground almonds, a little sugar, and melted butter is fantastic and adds a sophisticated flavor that pairs beautifully with berries.
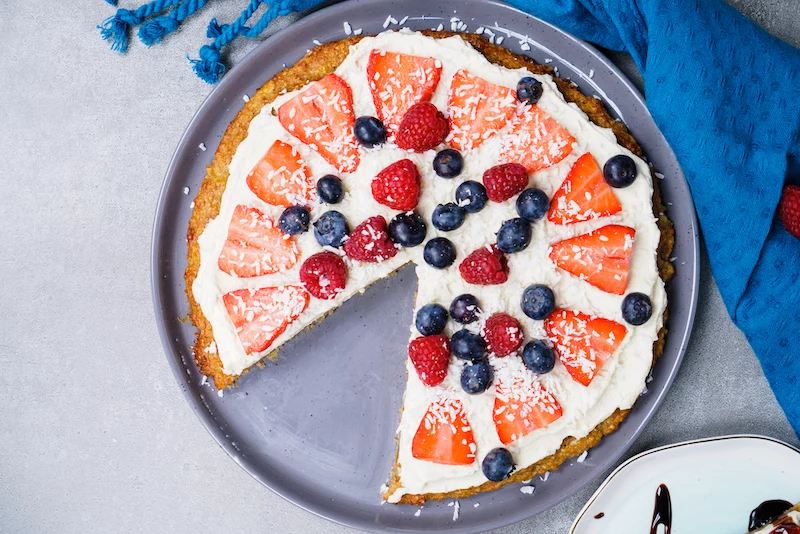
For a truly professional finish, think about how you arrange the fruit. A haphazard pile tastes fine, but a deliberate design elevates it.
- Start from the outside edge and create concentric circles with your fruit slices, working your way inward.
- Alternate colors for maximum visual pop: a ring of green kiwi, then a ring of dark blueberries, followed by bright red strawberries.
- Place the most beautiful berry or a sprig of fresh mint right in the center as your focal point.
One common mistake: Over-sweetening the cream cheese layer. Remember, you’ll be adding sweet fruit and a sweet glaze on top. The cream cheese layer should provide a slightly tangy, creamy contrast, not another wave of sugar. Stick to the recipe’s recommended amount of powdered sugar, and be sure to add the lemon zest—its acidity is crucial for balancing the final dessert.


