My Fail-Proof Guide to Genuinely Savory Zucchini Bread
I’m going to be honest with you. The first time I ever tried to make savory zucchini bread, it was a total disaster. I followed the recipe to the letter, but what came out of the oven was a dense, gummy brick that could’ve probably been used as a doorstop. That failure taught me something crucial: baking isn’t about just following a list; it’s about understanding why you’re doing what you’re doing. This guide is everything I learned on that journey.
In this article
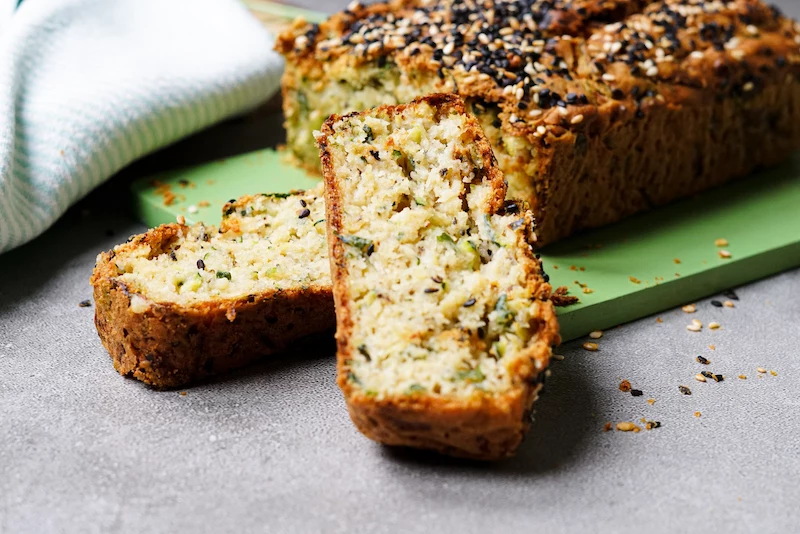
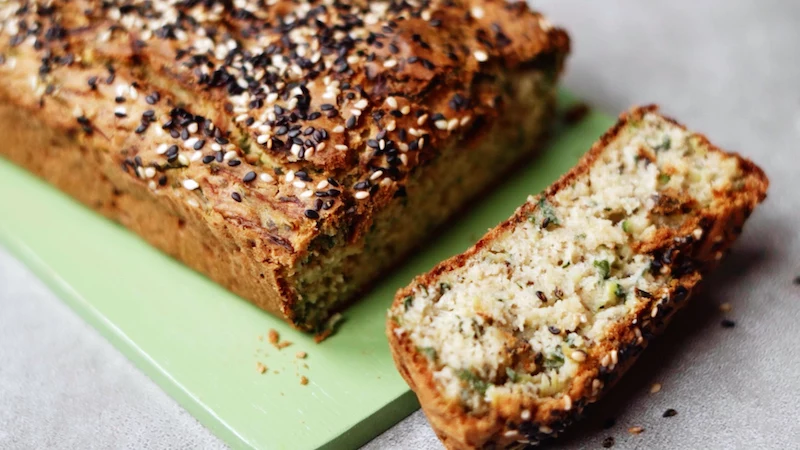
This isn’t one of those sweet cakes that just happens to have zucchini in it. Nope. This is a genuinely savory, moist, and incredibly versatile loaf. It’s perfect alongside a bowl of soup, as the foundation for an amazing sandwich, or just toasted with a generous smear of good butter. We’re going to walk through every single step, and I’ll break down the simple science that makes it all work. Heads up: This isn’t a quick 30-minute recipe. From start to finish, including prep, baking, and the all-important cooling time, you should plan for about 2.5 hours. It’s absolutely worth it.

The Baker’s Secrets: It’s All About a Little Science
Great baking feels like magic, but it’s really just a bit of kitchen chemistry. Once you get a handle on a few key ideas, you can make just about any recipe work for you. For this bread, success boils down to managing moisture, gluten, and what makes it rise.
Taming the Zucchini: Moisture is the Enemy (and the Hero)
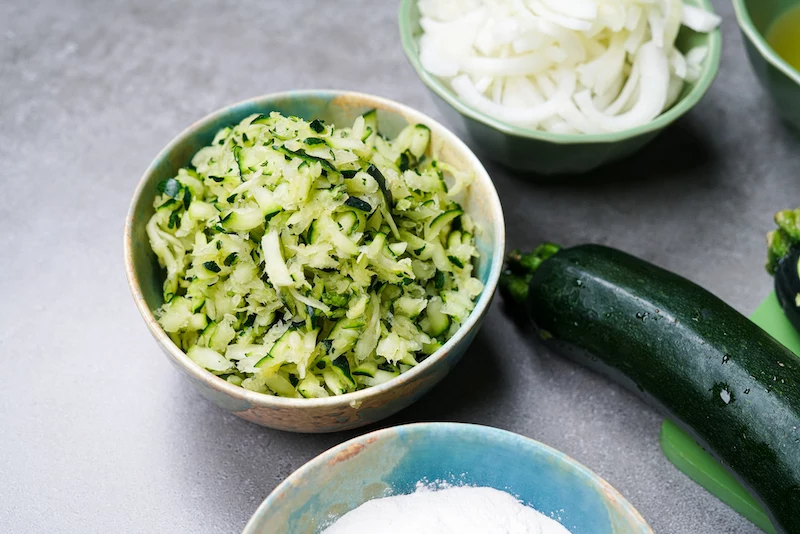
Here’s the thing about zucchini: it’s mostly water. Like, 95% water. If you just grate it and toss it into your batter, all that liquid will flood out during baking, turning your beautiful bread into a soggy mess. The goal isn’t to make it bone dry, but to control the moisture so it gives you tenderness, not gumminess.
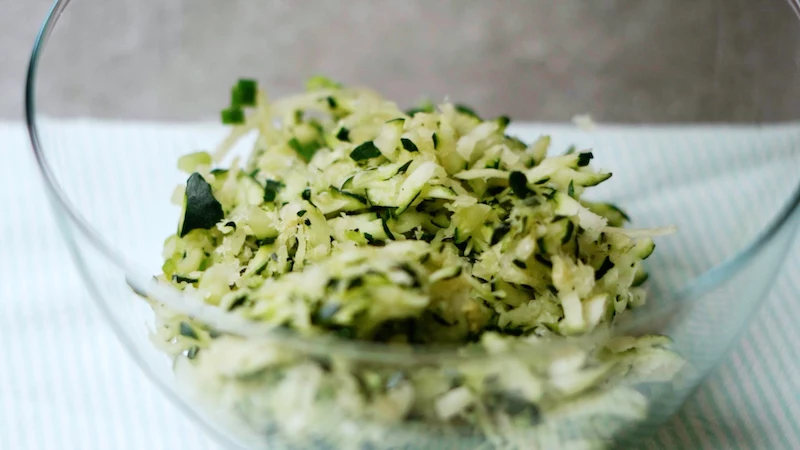
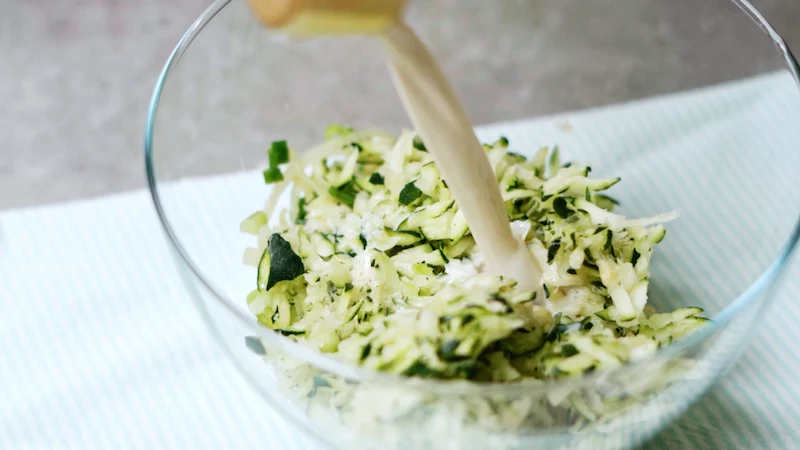
The pro method is simple. First, you toss the grated zucchini with a bit of salt. The salt works to pull water out of the zucchini’s cells. Let it sit for about 15 minutes, and you’ll see a puddle forming. Then comes the most important part: the squeeze. Pile the zucchini into a clean tea towel and wring it out like there’s no tomorrow. You’ll be shocked at how much liquid comes out—often more than half a cup!
By the way, what if you don’t have a cheesecloth or a spare tea towel? No problem. A clean, lint-free t-shirt or even a nut milk bag works perfectly in a pinch. Just don’t use paper towels—disaster awaits! Oh, and don’t you dare throw that green liquid away! It’s full of nutrients. I pour it into an ice cube tray and save the cubes for my next soup stock or smoothie. No waste!
Choosing Your Flour: The Gluten Factor
Flour gives your bread its structure, and the protein in flour creates gluten. The right amount of gluten is key.
- All-Purpose Flour: This is your go-to. It has just the right amount of protein to give the bread structure without making it tough. Perfect for a tender, moist crumb.
- Bread Flour: Steer clear of this one for this recipe. It’s too high in protein and will make your loaf chewy and rubbery. Great for yeast breads, not for this.
- Whole Wheat Flour: Want a nuttier flavor and more fiber? You can swap out up to half of the all-purpose flour for whole wheat. Just know that it absorbs more liquid, so you might need to add an extra splash of milk or oil to get the batter consistency right.
- A Note on Gluten-Free (GF): You can’t just sub in any single GF flour. You’ll need a high-quality ‘cup-for-cup’ or ‘1-to-1’ blend that already contains a binder like xanthan gum. The binder is what mimics gluten’s structure. Without it, you’ll have a crumbly mess. For beginners, I’d point you toward Bob’s Red Mill 1-to-1 Gluten-Free Baking Flour or King Arthur’s Measure for Measure. I’ve had great results with both, but be aware GF batters can be thicker and sometimes need an extra 5-10 minutes in the oven.
Getting a Good Rise: The Power of Baking Powder
This is a ‘quick bread,’ meaning it uses baking powder, not yeast. Most baking powder you buy is double-acting. It gives you a little lift when it hits the wet ingredients, and then a much bigger rise when it gets hot in the oven. The one thing to remember? It has to be fresh. To test it, drop a half-teaspoon into a little hot water. If it fizzes up enthusiastically, you’re good to go. If not, toss it. Old baking powder is the number one cause of a sad, flat loaf.
Setting Up for Success: Tools and Ingredients
Having the right gear makes any job easier, and baking is no exception. You don’t need a bunch of fancy equipment, but a few key items will make a world of difference.
Your Equipment Checklist
- Loaf Pan: A standard 9×5 inch pan is what you need. A light-colored metal pan is best because it heats evenly. If you’re using a glass or dark metal pan, they get hotter, so I’d recommend dropping your oven temp by 25°F (about 15°C) to keep the crust from burning.
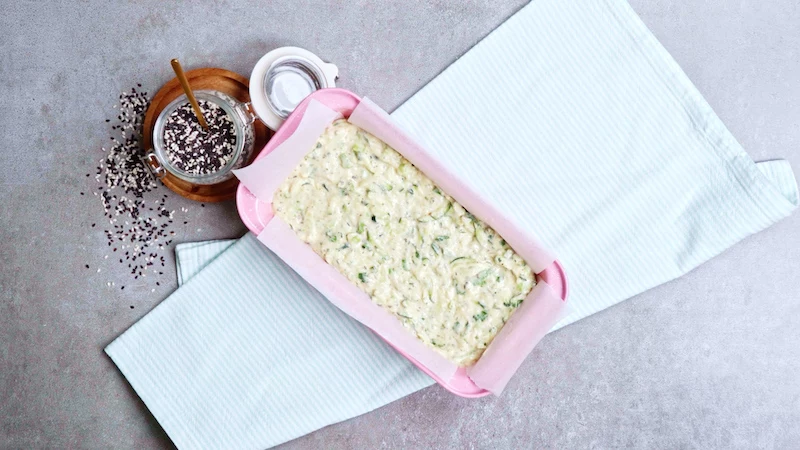
- Parchment Paper: This is a non-negotiable trick. Cut a strip of parchment to create a ‘sling’ that lines the bottom and comes up the two long sides. It lets you lift the loaf out perfectly every time. No more stuck bread!
- The Right Tools for the Job: You’ll want two mixing bowls (one for dry, one for wet), a whisk to combine your dry ingredients evenly, and that trusty tea towel for squeezing the life out of your zucchini.
A Closer Look at the Ingredients
Good ingredients make good food. Here’s what to look for:
- Zucchini: You’ll need about 1 pound (or 450g) of zucchini before you grate and squeeze, which usually comes out to two medium-sized ones. Look for firm ones with smooth skin.
- The Flavor Base: One medium yellow onion and a couple of cloves of fresh garlic. When a recipe says ‘finely chopped’ onion, think smaller than a pea. This helps it melt into the bread, giving you flavor in every bite instead of big, distracting chunks. And please, use fresh garlic! The stuff in a jar just doesn’t compare.
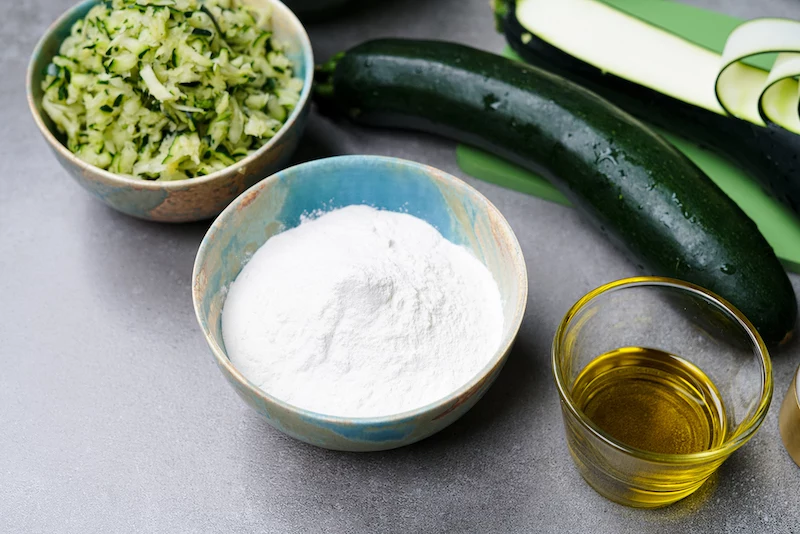
- The Fat: A light olive oil works great, but you could also use a neutral oil like canola or even melted unsalted butter for a richer flavor.
- The Liquid: Using room-temperature milk and eggs helps everything mix together more smoothly. Quick tip: If you forgot to take your eggs out of the fridge, just pop ’em in a bowl of warm (not hot!) water for 5-10 minutes. You’re welcome!
Let’s Bake: The Step-by-Step Method
Alright, this is where it all comes together. Follow the process, trust your senses, and you’ll be golden.
What You’ll Need:
- 2 medium zucchini (about 1 lb or 450g), coarsely grated
- 1 tsp salt for the zucchini, plus 1 tsp for the batter
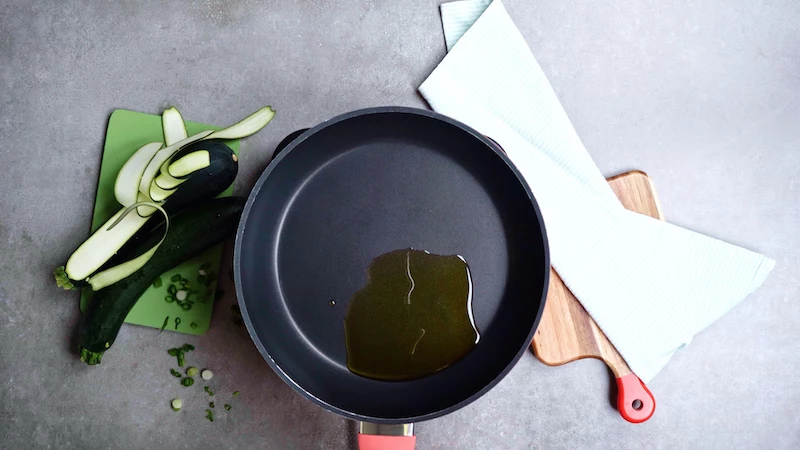
- 2 tbsp olive oil
- 1 medium yellow onion, finely chopped
- 2 cloves garlic, minced
- 4-5 green onions, thinly sliced
- 2 large eggs, lightly beaten
- 1/4 cup (60 ml) milk
- 1/4 cup (60 ml) olive oil
- 1 1/2 cups (180g) all-purpose flour
- 2 tsp baking powder
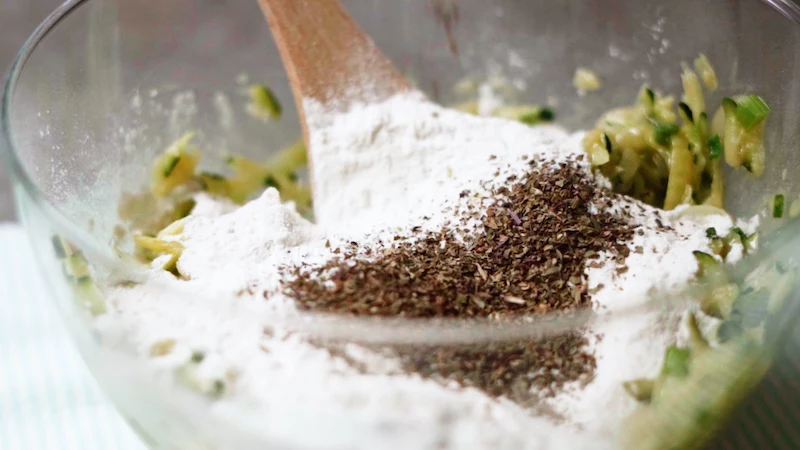
- 1 tsp dried oregano
- 1/2 tsp black pepper
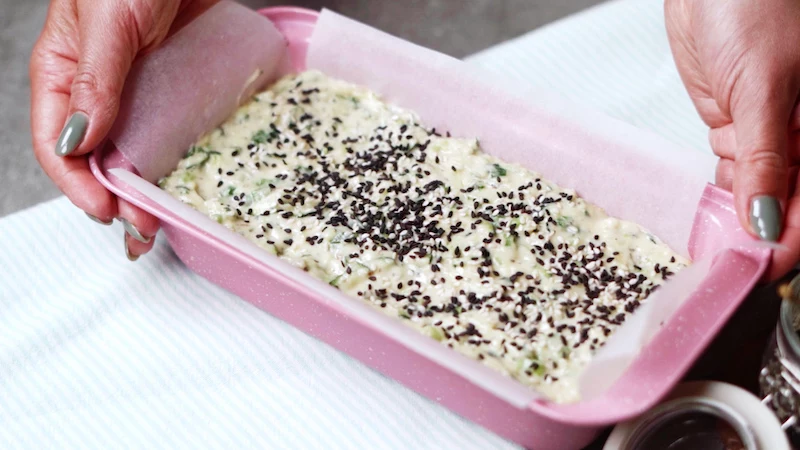
- Optional Topping: Sesame seeds, pumpkin seeds, or flaky sea salt
The Instructions:
1. Get Ready: Get your oven rack in the center and preheat to 350°F (175°C). Make that parchment sling for your 9×5 inch loaf pan and give the short ends a light spray or grease.
2. The Squeeze: In a bowl, toss your grated zucchini with 1 teaspoon of salt and let it sit for 15 minutes. While that’s working, you can get started on the next step. Once ready, dump the zucchini onto your clean tea towel, gather the ends, and squeeze over the sink. Be firm! You want it to feel damp, not sopping wet.
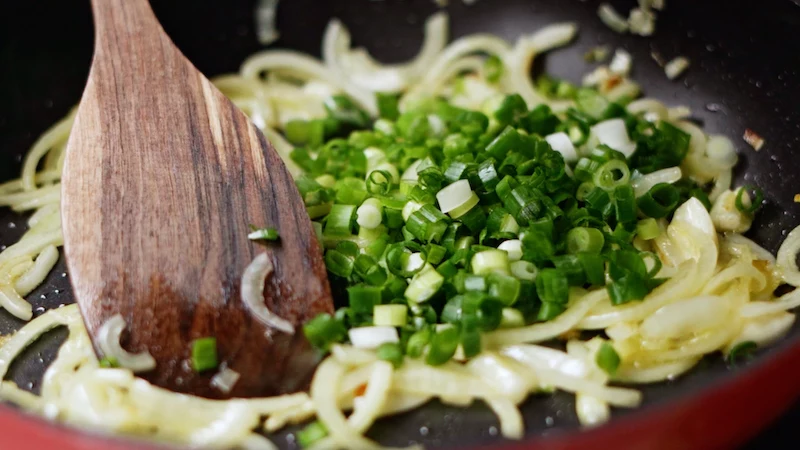
3. Build Flavor: Heat 2 tablespoons of oil in a skillet over medium-low heat. Add the onion and a pinch of salt. Cook for 5-7 minutes, stirring here and there, until they’re soft and sweet, but not brown. Browning them will make them bitter. Add the garlic and cook for just another minute until you can smell it. Take it off the heat, stir in the green onions, and set it aside to cool a bit.
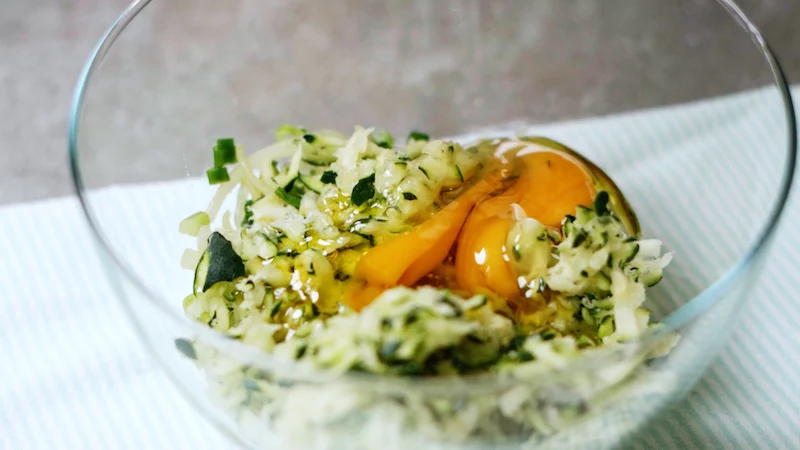
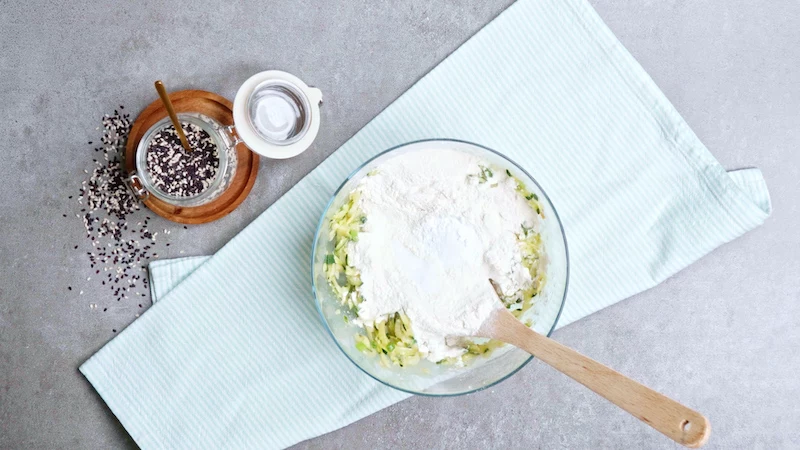
4. Mix Dry & Wet (Separately!): In a big bowl, whisk together the flour, baking powder, salt, oregano, and pepper. In another medium bowl, whisk the eggs, milk, and the 1/4 cup of oil.
5. Combine Gently: Pour the cooled onion mix and the squeezed zucchini into your wet ingredients bowl. Give it a stir. Now, pour all of that into the big bowl with the dry ingredients. Here’s the other critical part: using a spatula, gently fold everything together until it’s just combined. A few streaks of flour are okay! If you over-mix, you’ll get tough bread. Less is more, I promise.
6. Bake It: Scrape the batter into your pan and spread it out evenly. Sprinkle on your toppings if you’re using them. Bake for 50-60 minutes.
7. Is It Done Yet? Ovens can be quirky, so start checking at the 50-minute mark. Insert a toothpick or a wooden skewer into the center. If it comes out with a few moist crumbs, it’s done. If it’s wet, it needs more time. The top should also be golden and spring back when you gently press it. For a foolproof result, an instant-read thermometer should read between 200-205°F (93-96°C).
8. The Hardest Part—Patience: Let the bread cool in the pan for 10 minutes, then use your parchment sling to lift it onto a wire rack to cool completely. Don’t slice it while it’s hot! It’s still setting up inside, and cutting it early will make the texture gummy.
What If… Troubleshooting Common Issues
Okay, so what if it didn’t turn out perfect? Don’t panic. Let’s play detective.
- Problem: It’s dense and gummy inside.
Likely Cause: Almost always a moisture issue. You either didn’t squeeze the zucchini enough, or you over-mixed the batter.
The Fix: Next time, really wring out that zucchini. And when you mix the wet and dry, stop as soon as you don’t see big patches of flour. - Problem: The top caved in and looks sad.
Likely Cause: This is usually from under-baking or opening the oven door too early, which makes the structure collapse. Could also be dead baking powder.
The Fix: Trust your doneness tests, especially that internal temperature check. And try not to peek for the first 40 minutes of baking! - Problem: It’s dry and crumbly.
Likely Cause: You probably over-baked it. It can also happen if you accidentally packed too much flour into your measuring cup.
The Fix: Start checking for doneness a little earlier. If you’re not weighing your flour (180g is the goal), be sure to spoon it into the measuring cup and level it off instead of scooping from the bag.
Make It Your Own: Fun Variations
Once you nail the basic recipe, it becomes a fantastic canvas. This is where you can get creative.
- Add Some Cheese: About a half-cup of shredded cheese makes this bread incredible. Sharp cheddar is a classic, but crumbled feta with a tablespoon of fresh dill is amazing.
- Play with Herbs: Swap the oregano for fresh chives, a bit of dried rosemary, or even a pinch of smoked paprika for a little warmth.
- Can I make these as muffins? A common question, and the answer is yes! Absolutely. Pour the batter into a lined muffin tin, bake at the same 350°F (175°C) for about 20-25 minutes, and use the same toothpick test to check for doneness. They make a great grab-and-go snack.
Storing Your Delicious Creation
Once it’s completely cool, you can store the loaf in a sealed container or bag at room temperature for up to 3 days. To be frank, I think it tastes even better on day two. Don’t put it in the fridge, though—the cold temperature will make it go stale faster.
This bread also freezes like a dream. Wrap the loaf or individual slices tightly in plastic wrap and then a layer of foil. It’ll keep for up to 3 months. You can thaw it at room temperature or just pop a frozen slice right into the toaster.
Inspiration:
The Cheese Choice: It’s All About the Melt and Flavor
The type of cheese you choose can completely transform your loaf. It’s not just about taste, but also about how it behaves when baked.
For a nutty, sophisticated flavor: Go for a good quality Gruyère AOP. It melts beautifully into the crumb without releasing too much oil, adding a subtle, savory depth that complements herbs like thyme or rosemary.
For a bold, tangy kick: A sharp, aged cheddar, like a Cabot Clothbound or a Tillamook Extra Sharp, is your best bet. It provides a more pronounced cheesy flavor and a beautiful golden color. Just be sure to grate it yourself from a block; pre-shredded cheeses contain anti-caking agents that can affect the texture.
Did you know that zucchini is technically a fruit? Botanically speaking, it develops from the flower of the plant and contains seeds.
This little bit of trivia explains why it pairs so surprisingly well with a wide range of flavors, from sharp cheeses to sweet notes in other recipes. Its mild, slightly sweet undertone makes it a versatile canvas in the kitchen, bridging the gap between the vegetable and fruit worlds.
Wondering what to do with all that liquid squeezed from the zucchini?
Don’t pour it down the drain! That water is packed with nutrients and a subtle, earthy flavor. You can add it to your next soup or stew as a replacement for some of the broth. It’s also fantastic for cooking grains like quinoa or rice, infusing them with extra vitamins and a hint of savory flavor. It’s a simple, zero-waste trick that adds a little something extra to another meal.
- Sun-dried tomatoes and feta for a Mediterranean twist.
- Caramelized onions and fresh thyme for a French-inspired loaf.
- Toasted walnuts and a pinch of cayenne for a bit of crunch and heat.
- Smoked paprika and finely diced chorizo for a rich, smoky flavor.
The beauty of a great base recipe is its adaptability. Think of your savory zucchini bread as a blank canvas for your favorite flavors.


