Your Morning Coffee Smoothie Doesn’t Have to Be Lame. Here’s How the Pros Do It.
I spent a good chunk of my life behind a bustling cafe counter. Those early morning shifts were a wild mix of hissing steam wands, the constant roar of the coffee grinder, and a line of people needing caffeine and breakfast, like, yesterday. We quickly figured out that the coffee smoothie wasn’t just some fad; it was a lifesaver for people in a rush. After making literally thousands of these over the years, I’ve seen it all—from the perfectly creamy creations to the separated, bitter disasters.
In this article
- First Thing’s First: The Coffee Is Everything
- The Great Coffee Debate: Which Is Right for You?
- Building That Creamy, Dreamy Texture
- The Finishing Touches: Flavor, Binders, and Boosts
- How to Blend Like You Know What You’re Doing
- A Rock-Solid Recipe to Get You Started
- Troubleshooting: What to Do When It Goes Wrong
- A Few Final Pro Tips
- Inspiration:
So, this isn’t just another recipe dump. This is the playbook. I’m sharing the methods we perfected through endless trial and error, based on what actually works in a high-volume setting. We’re going to dig into the ‘why’ behind it all—why some blends are silky smooth and others are just sad and gritty. You’ll learn to build a fantastic coffee smoothie from the ground up, understanding how every single ingredient plays its part. This is the stuff I’d teach new trainees to make sure every single drink was perfect.
First Thing’s First: The Coffee Is Everything
Let’s be real: the biggest mistake everyone makes is using leftover coffee. If you start with stale, burnt, or old coffee from this morning’s pot, your smoothie is doomed from the start. It’s going to be bitter, and no amount of banana or sugar can fully hide that. The coffee is the star of the show, not an afterthought.
We need a coffee base that’s both strong and smooth. Here are the three best ways to get there.
The Flavor Punch: Chilled Espresso
For that authentic, intense coffee-shop flavor, nothing beats a shot of espresso. In the cafe, this was our go-to. A double shot creates a complex, rich foundation. But—and this is a big but—you can’t just pour a hot shot of espresso over your frozen ingredients. That sudden heat shock melts everything, creating a watery mess and a slightly burnt taste.
Here’s the pro move, what we called the “flash chill”:
- Pull your double shot (about 2 ounces) into a small metal or ceramic cup that you’ve already chilled in the freezer for a few minutes.
- Immediately place that small cup into a bigger bowl filled with ice and a little water (this is an ice bath).
- Stir the espresso for about 30 seconds. It cools down incredibly fast, locking in all the good flavor before it has a chance to turn bitter.
The Smoothest Operator: Cold Brew Concentrate
This is my personal favorite for home smoothies. It’s practically foolproof. Cold brew uses time instead of heat, steeping coarse grounds in cold water for 12-24 hours. The result? A naturally sweet, ultra-smooth concentrate with way less acid and bitterness. It’s a total game-changer.
Quick tip on making a concentrate perfect for smoothies:
- The Ratio: For a potent concentrate, a 1:4 ratio by weight is the gold standard (e.g., 100 grams of coffee to 400 grams of water). Don’t have a scale? No worries. A good starting point is about 1 cup of whole beans (or about 1.5 cups of coarse grounds) to 4 cups of cold water. It’s forgiving!
- The Grind: Go coarse, like breadcrumbs. I learned the hard way that a fine grind creates a muddy, silty mess that’s impossible to strain properly.
- The Steep: Just mix the grounds and water in a jar, stir so everything’s wet, cover it, and let it sit on your counter for about 18 hours. Honestly, 12 hours is good, but that 18-hour mark is where it develops this amazing, deep chocolatey flavor.
- The Strain: Pour it slowly through a fine-mesh sieve lined with cheesecloth. Let gravity do the work. Don’t squeeze the grounds, or you’ll push bitter flavors into your beautiful concentrate.
This stuff is strong, so you’ll only need about a half-cup (4 ounces) per smoothie. It keeps in the fridge for up to two weeks, which makes your morning routine so much faster.
The Practical Workhorse: Strong Drip Coffee
Look, not everyone owns an espresso machine or has the patience for cold brew. You can absolutely use your regular drip coffee maker. The secret is to brew it strong—about 25-50% stronger than you normally would. So, if you usually use two scoops for a mug, use three. The most important step is to cool it down immediately using that ice bath method we talked about for espresso. Letting it sit on the machine’s hot plate is a one-way ticket to Bitterville.
The Great Coffee Debate: Which Is Right for You?
So, how do you choose? It really comes down to your priorities. If you crave that bold, punchy flavor you get at a cafe and you already have an espresso setup, flash-chilled espresso is your winner. It’s fast and intense, but it requires the most expensive equipment.
If you’re all about a silky-smooth, low-acid, and incredibly forgiving flavor, cold brew concentrate is your best friend. It takes the most time to prepare (18 hours of waiting!), but the actual work is minimal, and the result is pretty much foolproof. Plus, you can make a big batch for the week.
And if you just want a great coffee smoothie without buying new gear or planning a day in advance, a batch of strong drip coffee is the way to go. It’s the most budget-friendly and practical option, as long as you remember to cool it down right away.
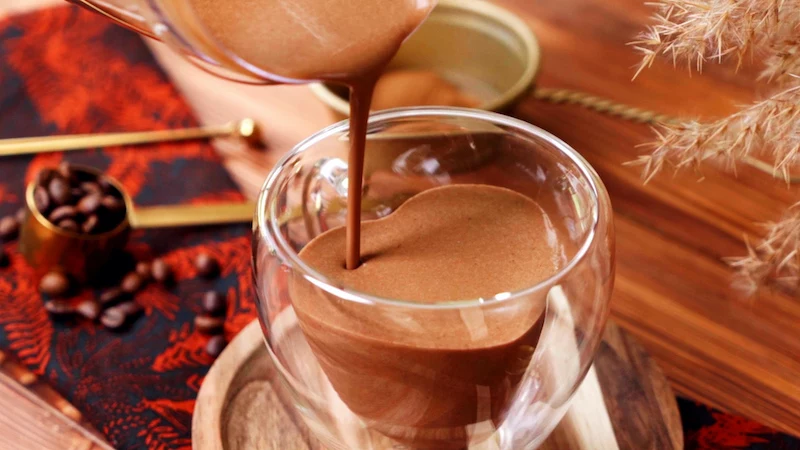
Building That Creamy, Dreamy Texture
The texture is what separates a homemade-tasting smoothie from a professional one. You want it thick, velvety, and totally uniform. The secret isn’t just ice; in fact, using too much ice just leads to a watery drink as it melts.
The real key is using a frozen base.
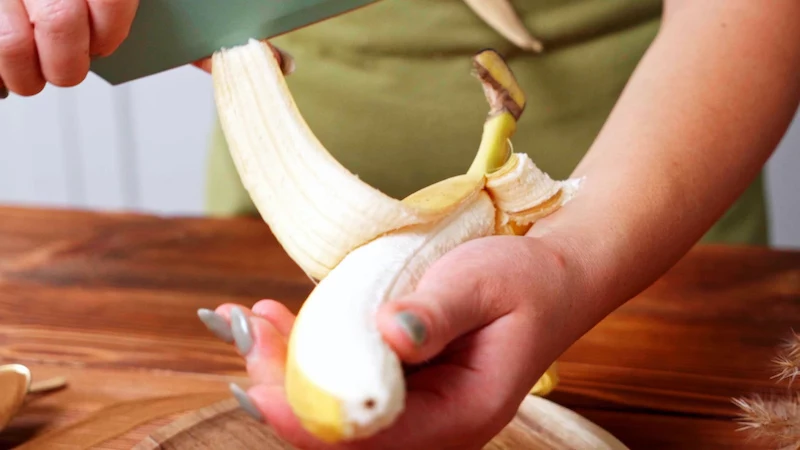
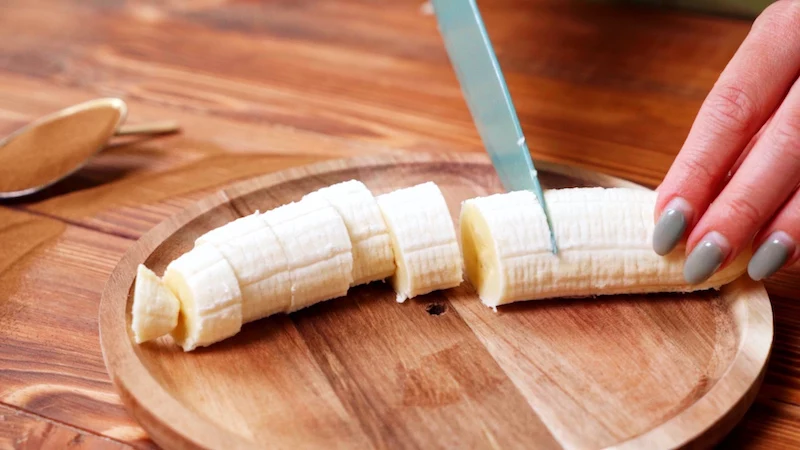
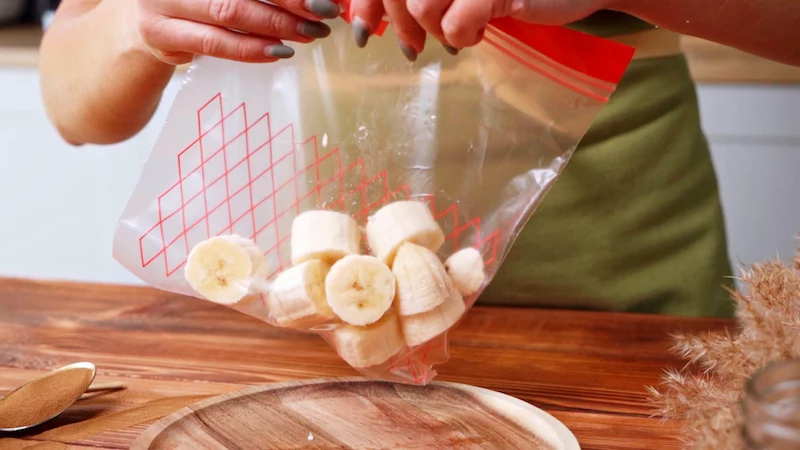
- The Classic: Frozen Banana. There’s a reason it’s a staple. The pectin in bananas creates an unbelievably creamy texture. Pro tip: Use bananas that are ripe with a few brown spots. Peel them, slice them, and freeze them on a baking sheet before bagging them. This stops them from clumping into a giant, blender-killing rock.
- The Low-Sugar Secret Weapon: Frozen Cauliflower. Okay, stay with me here. This sounds bizarre, but I swear it works. We used this trick for health-conscious customers all the time. Just steam or boil some cauliflower florets until tender, let them cool, and freeze them. You cannot taste it, I promise! It just adds incredible, sugar-free creaminess. A half-cup of frozen cauliflower can easily replace a small banana. I dare you to try it and tell me you can taste it in the comments.
- The Decadent Choice: Frozen Avocado. For a ridiculously rich, almost mousse-like texture, throw in a quarter of a frozen avocado. The healthy fats make the smoothie incredibly velvety.
For your liquid, whole dairy milk gives the richest result, but for a plant-based option, I think oat milk is the clear winner. A good barista-style oat milk (like Oatly’s full-fat version) is designed to be creamy and pairs perfectly with coffee. Almond milk works, but it can be a bit thin. A good rule of thumb is to start with a 1:1 ratio of frozen stuff to liquid, like one cup of frozen banana to one cup of milk. You can always thin it out, but it’s tough to fix a watery smoothie.
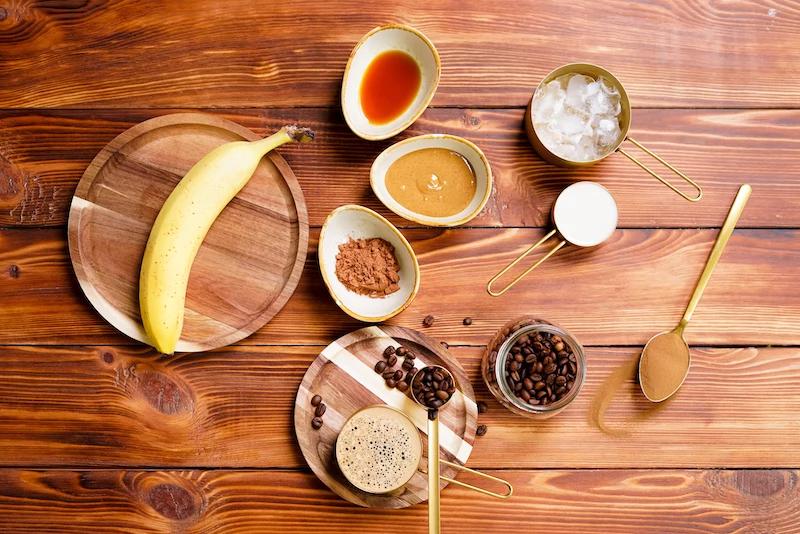
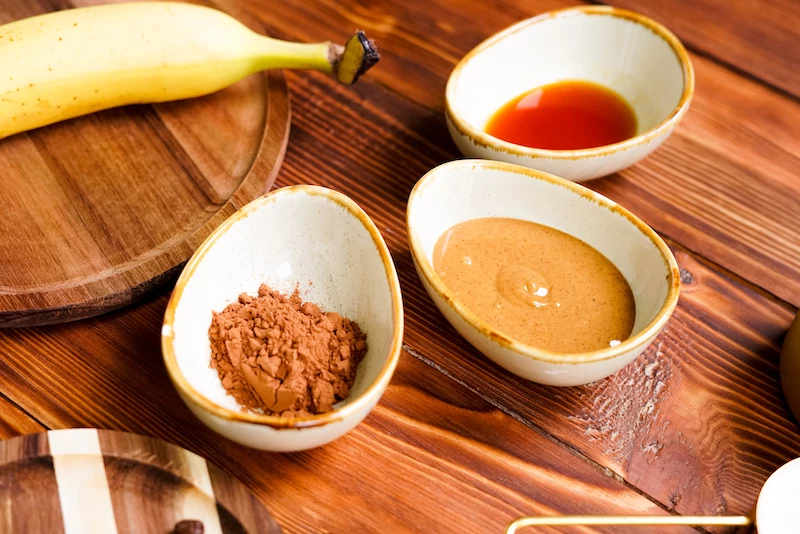
The Finishing Touches: Flavor, Binders, and Boosts
Now for the fun part. These ingredients add flavor, nutrition, and, most importantly, act as binders to keep your smoothie from separating.
- Fats and Binders: Think of these as the glue. A tablespoon of a nut butter like almond or cashew adds healthy fat that makes the texture velvety. Chia or flax seeds are also amazing; when they’re blended, they form a gel that thickens and stabilizes the whole drink. You’ll need a decent blender to get them totally smooth, though.
- Sweeteners: Skip the gritty granulated sugar. A pitted Medjool date adds a lovely caramel flavor and fiber. Soaking it in warm water for 10 minutes first helps it blend. Pure maple syrup is another great choice that pairs beautifully with coffee.
- Spices and Powders: This is where you can get creative. A tablespoon of unsweetened cocoa powder turns it into a mocha. A pinch of cinnamon or cardamom adds warmth. And a quarter-teaspoon of real vanilla extract makes everything taste better. For protein, a scoop of powder can be great, but add it while the blender is already running on low to help it dissolve without clumping.
How to Blend Like You Know What You’re Doing
The order you load your blender actually matters. A lot. If you do it wrong, you can get an air pocket around the blades, and they’ll just spin uselessly. I’ve seen it happen a hundred times.
Here’s the foolproof loading sequence:
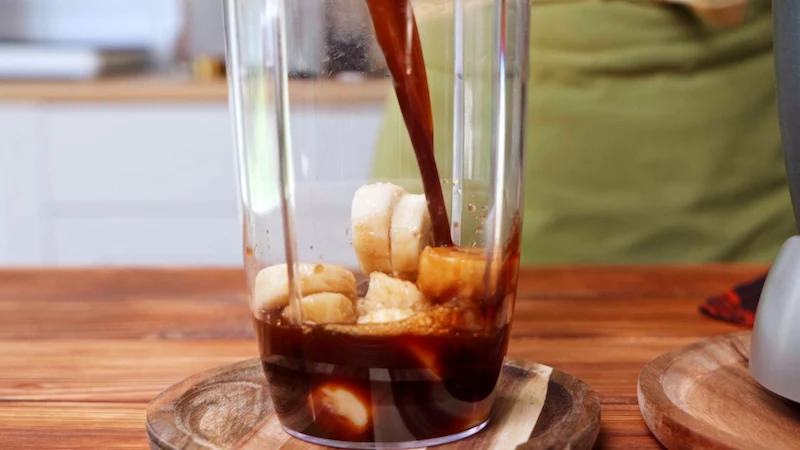
- Liquids First: Pour your chilled coffee and milk in. This gives the blades something to grab onto right away.
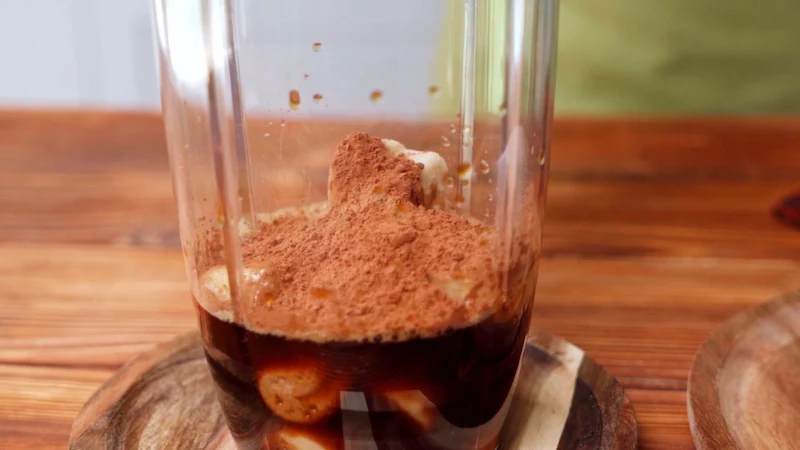
- Powders & Soft Stuff Second: Add your nut butters, spices, cocoa powder, dates, and any protein powder.
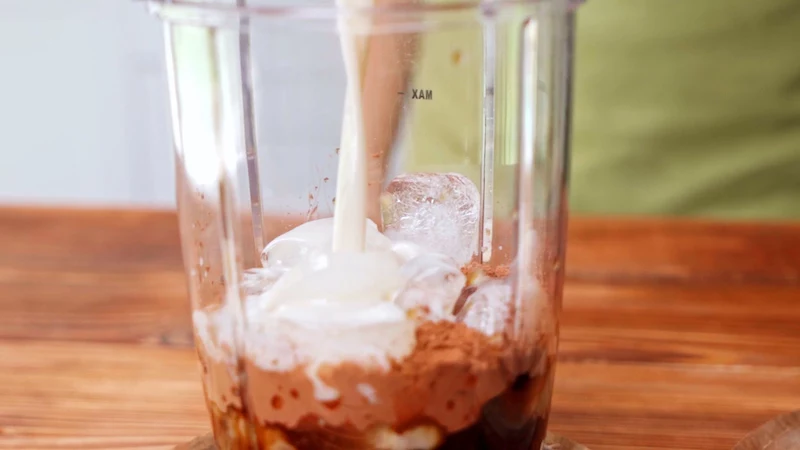
- Frozen Ingredients Last: Dump your frozen banana, avocado, or cauliflower on top. Their weight helps push everything down into the liquid vortex.
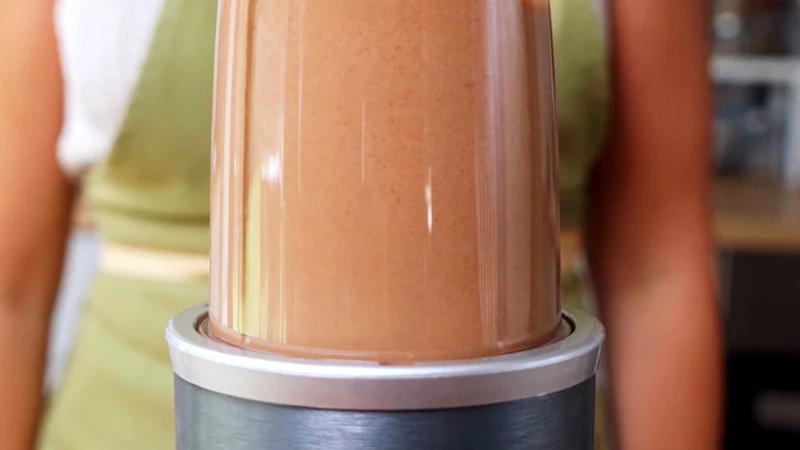
Start the blender on low for 10-15 seconds to break things up, then crank it to high and let it rip for a good 45 to 60 seconds. You need that high speed to really emulsify everything and pulverize any seeds or fibers. Even a decent mid-range blender like a Ninja can do a great job with this method, but a high-powered one like a Vitamix will give you the absolute smoothest result.
A Rock-Solid Recipe to Get You Started
This is a balanced, can’t-mess-it-up recipe. Once you nail this, you can start experimenting with all the other tricks we’ve talked about.
You’ll Need:
- 1/2 cup (120 ml) cold brew concentrate OR 2 shots of flash-chilled espresso
- 1/2 cup (120 ml) whole milk or unsweetened barista-style oat milk
- 1 medium ripe banana, sliced and frozen
- 1 tablespoon smooth almond butter
- 1 pitted Medjool date (optional, but recommended!)
- 1/4 teaspoon pure vanilla extract
Instructions:
- Pour the coffee and milk into the blender.
- Add the almond butter, date, and vanilla.
- Top with the frozen banana slices.
- Blend on low for 10 seconds, then on high for at least 45 seconds until perfectly creamy.
- Pour into a glass and enjoy right away!
A Few Fun Variations…
- The Rich Mocha: Add 1 tablespoon of unsweetened cocoa powder.
- The Spiced Morning: Add a pinch of cinnamon and cardamom, and use maple syrup instead of a date.
- The Green Power-Up: Use half a frozen banana and a quarter of a frozen avocado, then add a big handful of fresh spinach. You won’t taste the spinach at all.
Troubleshooting: What to Do When It Goes Wrong
Even the pros mess up. Here are some common fixes:
- Problem: It’s gritty. You probably under-blended or used granulated sugar. Blend on high for a full minute! If you used seeds, your blender might not be powerful enough, so blending longer is key.
- Problem: It separated after a minute. You forgot the binder! You need a fat like nut butter, avocado, or chia/flax seeds to hold it all together.
- Problem: It tastes bitter. Your coffee was the culprit. Make sure it’s fresh and cooled down properly. Cold brew is the safest bet to avoid bitterness.
- Problem: My blender is struggling and smells hot. Stop! Your mixture is too thick. Add a splash more liquid to get things moving. For less powerful blenders, it also helps to pulse it a few times before letting it run continuously. Give that motor a break!
A Few Final Pro Tips
A quick word on safety. I’ll never forget the time a new barista didn’t lock the blender lid down. He hit the power button and painted the entire ceiling brown with a mocha smoothie. It was both hilarious and a nightmare to clean. Always, ALWAYS make sure that lid is on tight.
Now, the big question: can you make these ahead of time? Honestly, no. They’re best fresh. But what you can do is prep smoothie packs. This is the ultimate morning hack. In a small freezer bag, combine your frozen banana slices, a tablespoon of almond butter, your date, and any seeds or powders. Make five of these on a Sunday night. In the morning, all you have to do is dump the contents of one bag into the blender, add your coffee and milk, and blend. It takes 90 seconds, tops.
By the way, is this even worth it financially? Let’s do some quick math. A fancy coffee smoothie from a cafe can easily run you $7-$9. A homemade one, even with good quality ingredients, usually costs between $2 and $3. If you have one every workday, you’re saving over $100 a month. It adds up!
If you take away just one thing today, let it be this: stop using old, leftover coffee from the pot. Just brewing a fresh, strong cup and chilling it properly will make the single biggest improvement. That one change will take your smoothie from ‘meh’ to ‘amazing,’ guaranteed.
Inspiration:
High-Speed Blender (like Vitamix or Blendtec): This is the café-quality secret weapon. The powerful motor pulverizes everything—ice, frozen fruit, even tough add-ins like flax seeds—into a perfectly silky, uniform texture. You get zero grit and a stable emulsion that won’t separate in minutes.
Personal Blender (like NutriBullet or Ninja): Great for speed and smaller portions. While effective for soft ingredients, it can struggle to fully break down ice or fibrous greens, sometimes leaving a slightly grainier texture. For the best result here, use very finely crushed ice or smaller frozen fruit chunks.
For that truly professional, velvety mouthfeel, a high-speed model is an investment that pays off with every sip.
More than 60% of daily coffee drinkers say they use the beverage to help them feel more productive and mentally focused.
Your coffee smoothie isn’t just a caffeine delivery system; it’s a ritual. Tapping into this focus-enhancing power means building a drink that supports your brain and body. This is where functional ingredients come in. Adding a scoop of collagen for skin and joint health, or a teaspoon of maca powder for sustained energy without the jitters, transforms your morning blend from a simple treat into a performance tool.

My smoothie tastes great, but why does it feel gritty or mealy?
This almost always comes down to your thickeners and add-ins. Rolled oats, while great for fiber, need to be blended thoroughly or they’ll create a lumpy texture. The same goes for chia or flax seeds. The pro-tip is to add them early with your liquid (the coffee and milk) and let them sit for a minute to soften before blending. For ultimate smoothness, consider using a high-quality, finely milled protein powder, like a whey isolate or a fine-spun pea protein, which dissolves much more easily than coarser blends.
- Unsweetened Cacao Powder: For a rich, dark mocha flavor that’s packed with antioxidants. A brand like Navitas Organics offers a deep, non-alkalized flavor.
- A Pinch of Cinnamon or Cardamom: These warm spices complement coffee beautifully and can help balance blood sugar.
- A Spoonful of Almond or Peanut Butter: Adds creaminess, healthy fats, and a satisfying nutty undertone.
- A Half Teaspoon of Vanilla Extract: Enhances the perception of sweetness without adding sugar.


