This Simple Plum Torte Is a Baker’s Secret Weapon—Here’s How to Master It
For years, I’ve worked in professional kitchens, crafting complex desserts and teaching new bakers the ropes. But when I want to teach someone the real heart of baking, I always come back to one recipe: a simple, almost legendary plum torte. You’ve probably seen versions of it—it’s that famous one that a major food publication had to reprint for years because readers just couldn’t get enough of it.
In this article
While some see it as just a charming, old-school recipe, I see it as a perfect lesson. It’s built on a flawless foundation that teaches you everything you need to know about how simple ingredients work together. Today, I’m not just sharing the recipe; I’m going to walk you through it like you’re standing right here in my kitchen. We’ll cover the why behind each step, the common mistakes that trip people up, and the little pro-level tricks that guarantee it comes out perfectly every single time.

First Things First: The Recipe
Let’s get the blueprint down before we dive into the details. I know how annoying it is to scroll forever, so here it is. This is the classic foundation.
Ingredients You’ll Need:
- 1 cup all-purpose flour
- 1 teaspoon baking powder
- A pinch of salt (about 1/4 teaspoon)
- 1/2 cup (1 stick) unsalted butter, softened to room temperature
- 1 cup granulated sugar, divided
- 2 large eggs, at room temperature
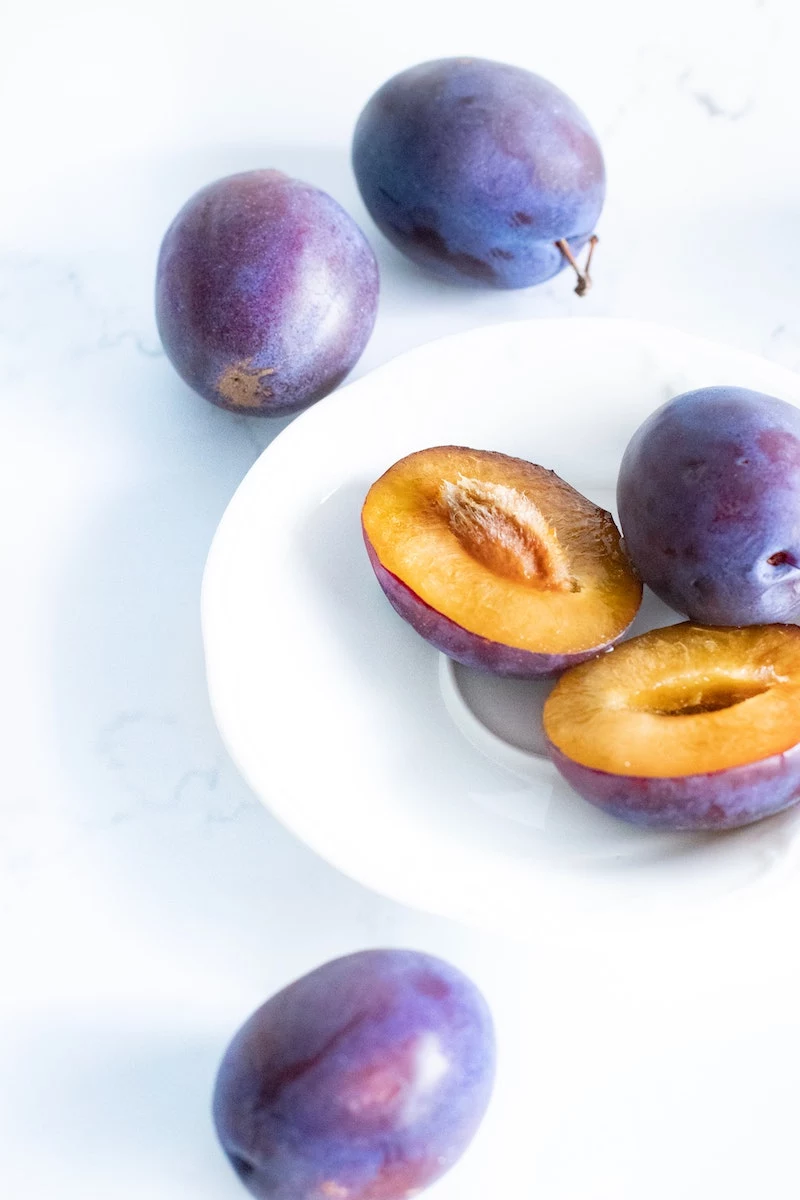
- About 12 small Italian prune plums (or roughly 1 pound of your favorite plums), halved and pitted
- 1 tablespoon lemon juice
- 1 teaspoon cinnamon, for the topping
Step-by-Step Method:
- Prep your space: Preheat your oven to 350°F (175°C). Grease and flour a 9-inch springform pan. In a small bowl, whisk together the flour, baking powder, and salt.
- Cream the butter and sugar: In a larger bowl, using a stand mixer or hand mixer, beat the softened butter and most of the sugar (set aside 2 tablespoons for the topping) until light and fluffy, about 3-5 minutes. It should turn a pale ivory color.
- Add the eggs: Add the eggs one at a time, beating well after each one until it’s fully incorporated.
- Combine: Gently mix in the dry ingredients on low speed, stopping just when the last streaks of flour disappear. Don’t overdo it!
- Assemble: Spoon the thick batter into your prepared pan and spread it evenly. Arrange the plum halves on top, skin-side up.
- Finish and Bake: Drizzle the lemon juice over the plums. Mix the remaining 2 tablespoons of sugar with the cinnamon and sprinkle it all over the top. Bake for 50-60 minutes, or until a toothpick inserted into the cakey part comes out with a few moist crumbs.
- Cool Down: Let it cool in the pan for about 20 minutes before releasing the springform sides. Serve warm or at room temperature.

The ‘Why’ Behind the Ingredients (This is the Good Stuff)
Okay, now that you have the what, let’s talk about the why. A great baker knows what each ingredient is actually doing in the bowl. This torte is a masterclass in the basics.
Flour is your structure. We’re using all-purpose here because its protein content is in the sweet spot. It creates just enough gluten to hold up the heavy, juicy plums without making the cake tough. Using something like bread flour would make it chewy, and that’s not what we want.
Butter brings the flavor and tenderness. Fat is what makes a cake feel tender and moist, but butter is also key for lift. When you cream it with sugar, you’re creating thousands of tiny air pockets. That’s why the temperature is so critical. It needs to be soft (around 65°F is perfect) but not melty. If it’s greasy, it won’t hold any air, and you’ll get a dense torte.
Heads up! The most important tip I can give you is to get your butter and eggs to room temperature. Seriously. If you do nothing else, do this. It’s 90% of the battle for achieving that perfect texture.
Sugar does more than you think. Besides sweetness, the sugar crystals help create those air pockets with the butter. It also holds onto moisture, which keeps the cake from drying out. So don’t be tempted to cut the sugar way back, or you’ll change the texture, too.
Eggs are the ultimate multitaskers. They bind everything together, add richness from the yolk, and provide structure from the protein in the whites. Cold eggs are the enemy of a smooth batter. They can make the butter seize up and curdle. I once had a student use eggs straight from the fridge, and the batter instantly looked like lumpy cottage cheese! We managed to save it by adding a tablespoon of flour, but it was a great lesson in why temperature matters so much.

Quick Tip: Forgot to take your eggs out? Pop them in a bowl of warm (not hot!) water for 10 minutes. For butter, you can cut it into small cubes, and it’ll soften in about 15-20 minutes on the counter.
Pro Techniques for a Flawless Torte
Let’s talk method. In a professional kitchen, consistency is everything. These techniques will give you that consistent, bakery-quality result at home.
No Fancy Mixer? No Problem.
While a stand mixer makes creaming butter and sugar easy, you can absolutely get it done with a hand mixer. It might take a minute or two longer, but you’re looking for the same visual cues: light, pale, and fluffy. If you’re going old-school with just a bowl and a wooden spoon, be prepared for an arm workout! The key is to keep beating until you see that distinct change in color and texture. It’s totally doable.
The Final Mix: Less is More
This is where so many people go wrong. As soon as you add the flour, you’re on the clock to avoid making the cake tough. Mix on the lowest speed or, even better, by hand with a spatula. The goal is to stop mixing the second you can’t see any more dry flour. The batter will look thick and a bit shaggy, not perfectly smooth like a pancake batter. Lumps are okay here; a tough cake is not.

Choosing and Prepping Your Pan
The recipe calls for a springform pan, which is great for easy removal. I find a 9-inch pan is the sweet spot. If you use an 8-inch, just know your torte will be thicker and taller, so it’ll probably need over an hour to bake. On the flip side, a 10-inch pan will give you a thinner torte that bakes faster, so start checking for doneness around the 45-minute mark. To guarantee no sticking, I do a three-step prep: grease the pan, line the bottom with parchment paper, then grease the parchment and flour the whole thing. It’s never failed me.
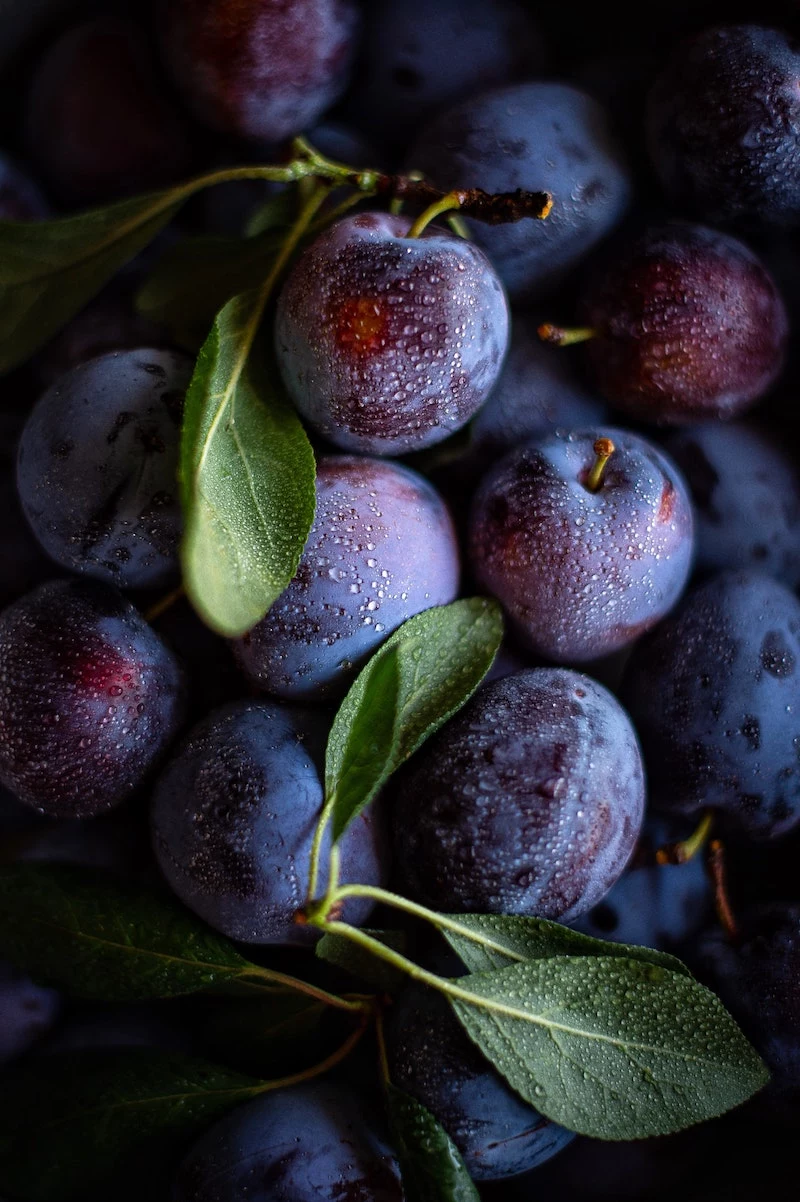
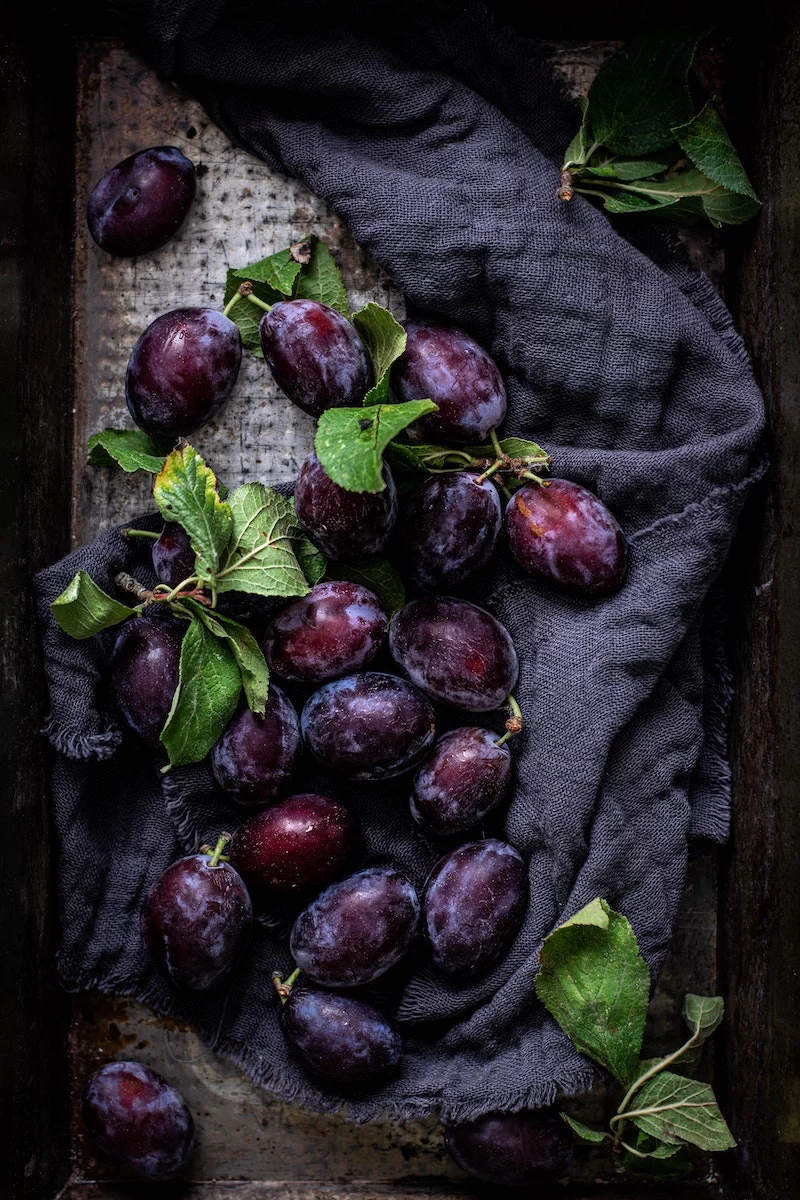
Let’s Talk Plums (and Other Fruits)
The classic choice is the Italian prune plum for a reason. They’re dense, a little tart, and hold their shape beautifully. You can usually find them at farmer’s markets and some grocery stores in late summer, often costing between $3 and $6 a pound depending on where you live.

But what if you can’t find them? No worries. You can adapt:
- Damson Plums: These are smaller and much more tart. They work wonderfully, but you might want to add a little extra sugar to the topping to balance things out.
- Standard Black or Red Plums: These are the juicy ones you see year-round. They have a lot more water, which can risk making your cake soggy. My trick? Slice them instead of just halving them, and lay the slices on a paper towel for about 10 minutes before arranging them on the batter. This wicks away some of the excess juice.
Honestly, this torte batter is a fantastic base for all kinds of fruit. Firm peaches or apricots are amazing. Thinly sliced apples or pears work beautifully. You can even use a mix of fresh berries—just gently fold half into the batter and scatter the rest on top.
Troubleshooting: What to Do When Things Go Wrong
Even with a simple recipe, kitchens are unpredictable. Here’s how to fix the most common issues.
My cake is dense and tough.
This is almost always from overmixing the flour. Next time, stop mixing when it’s still a little shaggy. Remember, a few lumps are your friends.
My plums all sank to the bottom!
Two likely culprits: your batter was too thin (maybe the butter was too soft) or your plums were just too heavy. A quick fix is to toss the plum halves in a tablespoon of flour before placing them on top. It helps them grip the batter.
I have a soggy layer under the fruit.
This means your fruit was super juicy or the torte was a little underbaked. Next time, use firmer fruit. You can also try a little-known pro trick: sprinkle a thin layer of fine, dry breadcrumbs or even semolina on the batter before adding the fruit. It absorbs the extra juice without affecting the flavor.
Storing Your Torte for Later
A little safety and storage advice. Always use dry oven mitts—a wet towel can give you a nasty steam burn in an instant. Pull the whole rack out to get your torte; don’t reach into a hot oven.
As for storage, this torte is fantastic the day it’s made, especially when it’s still a little warm. You can keep it at room temperature for up to two days. To store it, just cover it loosely—a cake dome is perfect, or you can just tent a piece of foil over it. Don’t seal it in plastic wrap, as that traps moisture and can make the top sticky. Please, whatever you do, don’t refrigerate it! The cold air will dry it out and make it stale in no time.
By the way, this torte freezes like a dream. Once it’s completely cool, wrap it tightly in a double layer of plastic wrap and then a layer of foil. It’ll be good for up to three months. Just thaw it on the counter when you’re ready for a treat.
Master this one recipe, and you’ve truly mastered the core skills of baking. Once you understand its solid foundation, you can start building on it with confidence, creating your own versions for years to come. Happy baking!


