Finally! Soft & Fluffy Whole-Wheat Cinnamon Rolls (That Actually Work)
I’ve spent more hours than I can count in professional kitchens, usually covered in flour from head to toe. And honestly, one of the top requests I always get is for healthier baked goods. People crave the comfort of a classic cinnamon roll, but they want it made with whole grains. The big problem? Most whole-wheat versions end up dense, dry, and just a little bit sad.
In this article
For years, I struggled with this exact issue. My first attempts were more like hockey pucks than the fluffy rolls of my dreams. But after countless batches and really digging into the science of flour, I finally cracked the code. It’s not about some secret, magic recipe. It’s about understanding your ingredients and using the right techniques.
So, this guide is more than just a list of steps. I want to share the know-how I’ve picked up over the years. We’ll get into why whole-wheat dough is so different and how to handle it like a pro. By the end, you’ll have the confidence to make soft, incredible whole-wheat cinnamon rolls every single time.

Heads up on timing: This isn’t a 30-minute affair. Plan on about 4 hours from start to finish, but the good news is only about 45 minutes of that is actual hands-on work. It’s the perfect lazy weekend project.
First, Let’s Talk Flour: The Heart of the Problem
Before we even think about touching an ingredient, we need to have a serious talk about flour. This is where most recipes go wrong—they just swap all-purpose for whole-wheat one-for-one and call it a day. That will never, ever work.
Here’s why: A kernel of wheat has three parts—the bran, the germ, and the endosperm. Your typical all-purpose flour only uses the starchy endosperm. Whole-wheat flour, as the name implies, uses the whole thing. The bran and germ are awesome; they bring all the fiber, nutrients, and that lovely nutty flavor. But they’re also troublemakers in the dough world. The sharp edges of the bran act like tiny little blades that slice up the gluten strands you’re trying to develop. This is what leads to dense rolls that don’t rise well.
On top of that, the bran and germ are incredibly thirsty. They soak up way more liquid than white flour, and they do it slowly. If your dough is too dry, it will literally steal moisture while it bakes, leaving you with a crumbly, disappointing roll. Understanding this is step one to victory.
Picking the Right Flour for the Job
Not all whole-wheat flour is created equal. The type you grab at the store can make a big difference. Oh, and look for a finely ground flour if you can find one—the smaller bran particles are less disruptive.
- Hard Red Wheat: This is the standard stuff you’ll find in most supermarkets. It’s got high protein and a really robust, nutty flavor. It makes a strong dough, but some people find the taste a bit assertive, maybe even a little bitter.
- White Whole-Wheat: This is my secret weapon for cinnamon rolls. It has the same high protein and nutritional benefits as red wheat, but the flavor is so much milder and sweeter. You get all the goodness of whole grains without that overpowering “healthy” taste. You can find bags of it from brands like King Arthur at most grocery stores or online for about $5 to $7.
In a pinch… Can’t find white whole-wheat? No sweat. You can absolutely make a fantastic version by doing a 50/50 blend. Just use half whole-wheat flour (the red kind is fine) and half regular all-purpose flour. You’ll get a lighter, fluffier roll that’s still a big step up from the classic.

The Baker’s Recipe & Shopping List
Baking is a science, so being precise really helps. I highly recommend using a kitchen scale for the gram measurements—it’s how pros work and it guarantees your results are consistent every single time. A decent one only costs about $15 on Amazon and will change your baking game.
For the Dough:
- Warm Milk: 300g (about 1 1/4 cups), heated to 105-115°F / 40-46°C
- Granulated Sugar: 50g (1/4 cup)
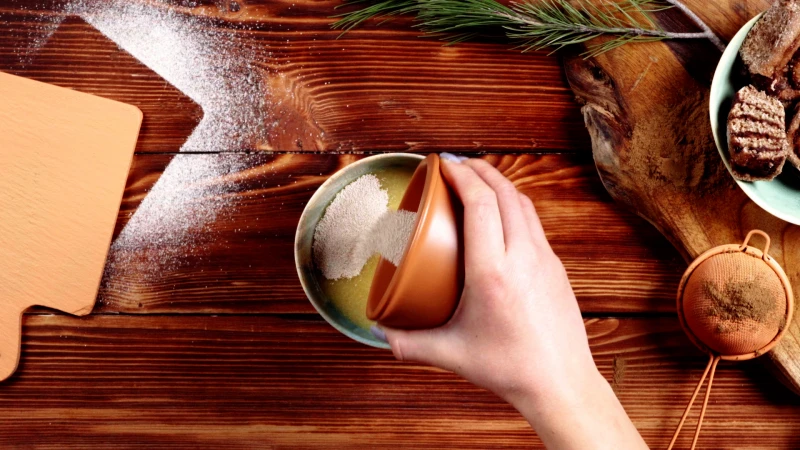
- Active Dry Yeast: 7g (2 1/4 teaspoons, or one standard packet)
- Melted Unsalted Butter: 57g (1/4 cup)
- One Large Egg: let it sit on the counter for 30 minutes to come to room temp
- White Whole-Wheat Flour: 480g (about 4 cups), plus a little more for dusting
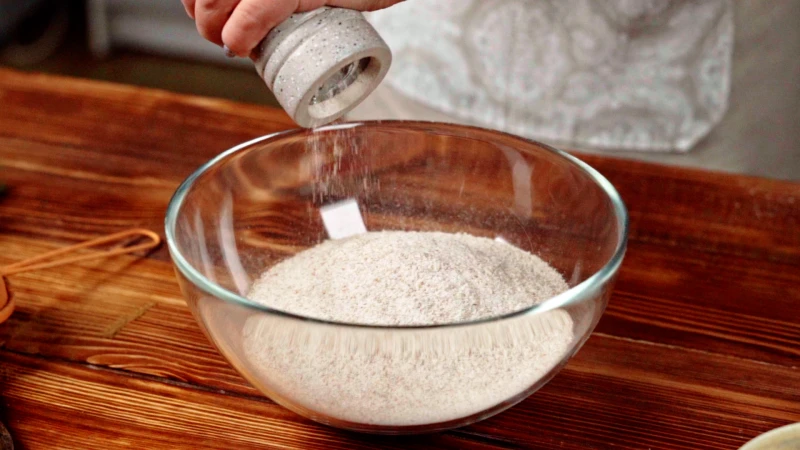
- Salt: 7g (1 1/4 teaspoons)
For the Filling:
- Softened Unsalted Butter: 85g (6 tablespoons)
- Brown Sugar: 110g (1/2 cup, packed)
- Ground Cinnamon: 15g (2 tablespoons)
For that Classic Cream Cheese Icing:
- Cream Cheese: 113g (4 ounces), softened
- Softened Unsalted Butter: 57g (1/4 cup)
- Powdered Sugar: 120g (1 cup)
- Vanilla Extract: 1 teaspoon
- Milk or Cream: 1-2 tablespoons, just to get the right consistency
The Pro Method: Let’s Make Some Dough
Alright, this is where technique makes all the difference. Follow these steps, and you’ll be in great shape.
Step 1: Wake Up the Yeast
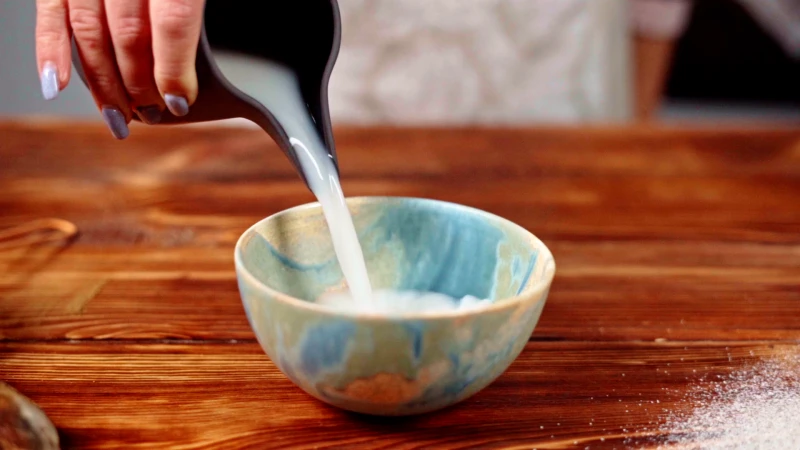
In a big bowl (or the bowl of your stand mixer), pour in the warm milk, sugar, and yeast. Give it a gentle stir and then leave it alone for 5 to 10 minutes. You’re looking for a creamy, foamy layer to form on top. If it does, your yeast is alive and ready to party. If nothing happens… I’m sorry to say your yeast is dead. You have to toss it and start over. Trust me, I once lost a 20-pound batch of brioche to dead yeast, and I’ll never make that mistake again.
Step 2: Add the Wet Stuff
Once the yeast is foamy, whisk in the melted butter and the room-temperature egg. Using a cold egg will shock the yeast and slow everything down, so don’t skip that step!
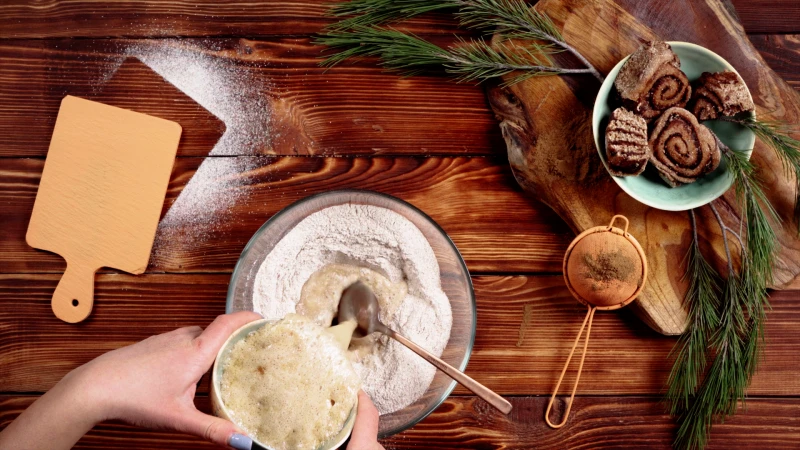
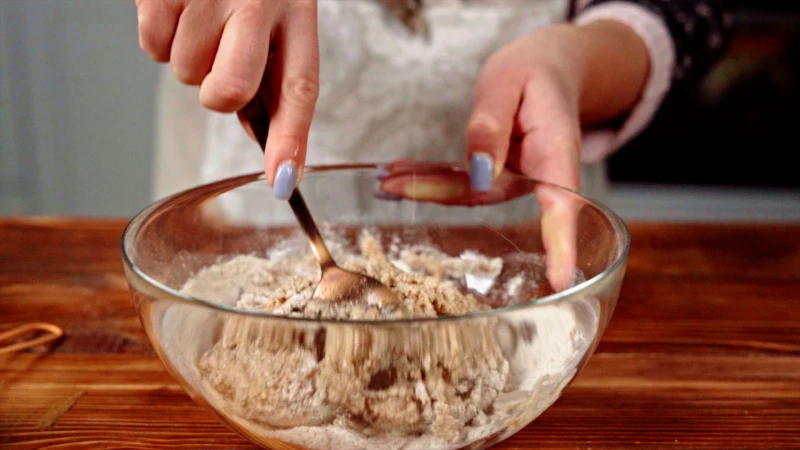
Step 3: Mix it All Together
Add the flour and salt to the bowl. If you have a stand mixer, use the dough hook on low speed until a shaggy, sticky dough comes together. If you’re doing this by hand, a wooden spoon works just fine.
Step 4: The Kneading Marathon
This is the most important part. Put on a podcast and settle in.
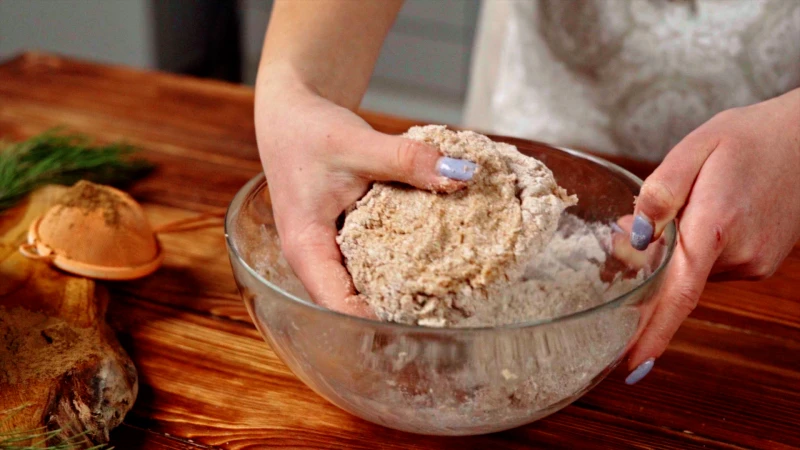
- With a Stand Mixer: Crank the speed up to medium-low (a 2 on a KitchenAid) and let it go for a solid 10-12 minutes. Whole-wheat dough takes longer. At first, it’ll be a sticky mess, but be patient. It will slowly become smoother and start to pull away from the sides of the bowl. It will still be a bit tacky, and that’s okay!
- By Hand: Flour your counter lightly and knead for 12-15 minutes. Push the dough down and away with the heel of your hand, fold it over, give it a quarter turn, and repeat. Resist the temptation to add a bunch of extra flour! A little on your hands is fine, but too much will lead to dry rolls.
How do you know when it’s done? Use the “windowpane test.” Pinch off a small piece of dough and gently stretch it between your fingers. If you can stretch it thin enough to see light through it before it tears, your gluten is perfectly developed. If it rips right away, keep kneading.
The First Rise: Where the Magic Happens
Now we let the dough rest and develop all that amazing flavor and airy structure.
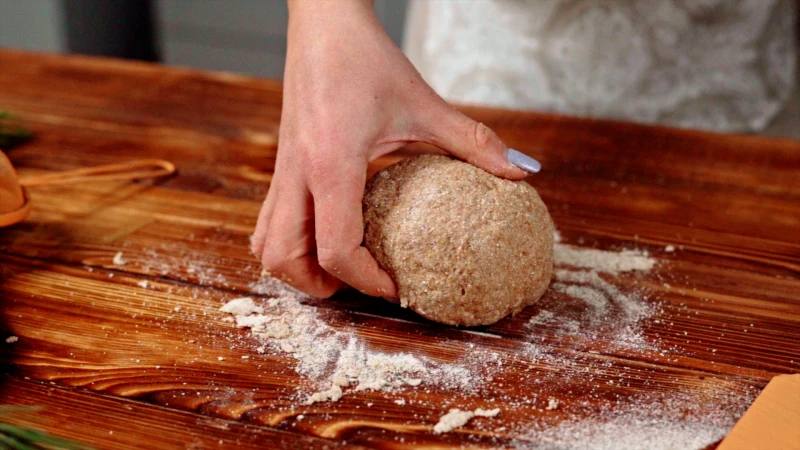
Step 1: Let it Rise
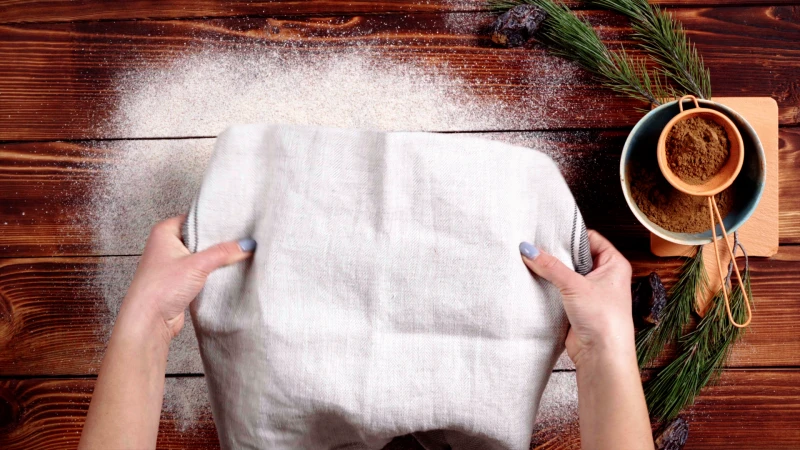
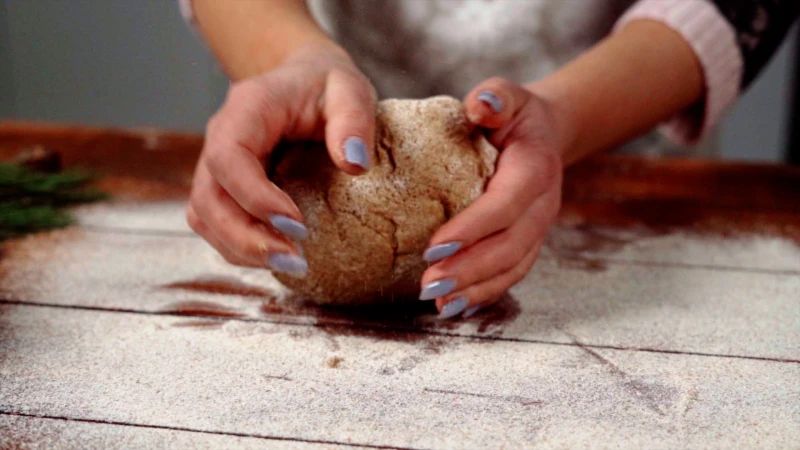
Lightly oil your bowl, form the dough into a ball, and plop it inside. Turn it over once to coat the top with oil so it doesn’t form a dry skin. Cover the bowl with plastic wrap and put it in a warm, draft-free spot (around 75°F is ideal). Let it rise for 60 to 90 minutes, or until it’s doubled in size.
Quick tip: My favorite proofing spot is the oven with just the light on (make sure the oven itself is OFF). It creates a perfect, cozy environment. If your oven light is busted, here’s another trick: boil a cup of water in the microwave for a minute, carefully remove the water, and then place your covered bowl inside the warm, steamy microwave to rise.
To check if it’s ready, gently poke it with two fingers. If the indents stay, you’re good to go. If they spring right back, it needs more time.
The Fun Part: Shaping, Filling & Rolling
Time to create those beautiful spirals. Grease a 9×13-inch pan so it’s ready for you.
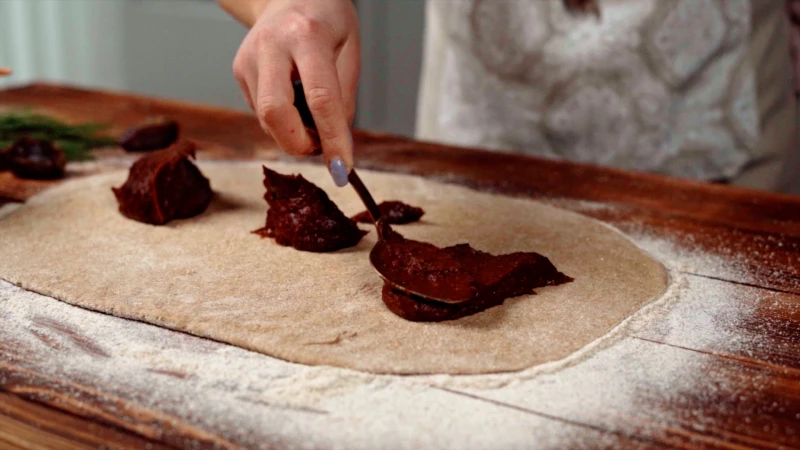
Step 1: Get the Filling Ready
In a small bowl, mix the brown sugar and cinnamon. And have your softened butter nearby. And by softened, I mean you can press a finger into it and make an indent easily, but it’s not greasy or melty. This is key! Melted butter will just leak out and create a sticky, burnt mess in your pan.
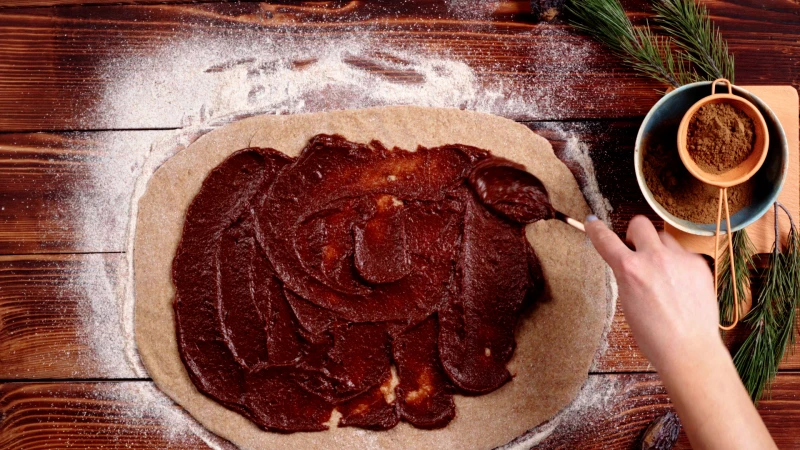
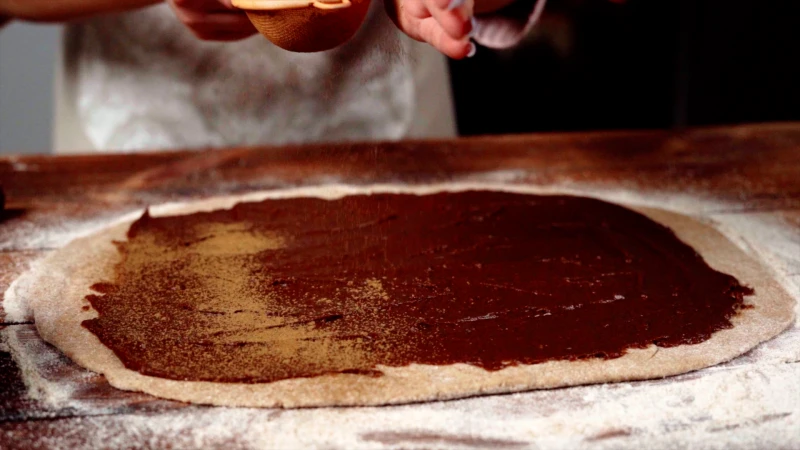
Step 2: Roll and Fill
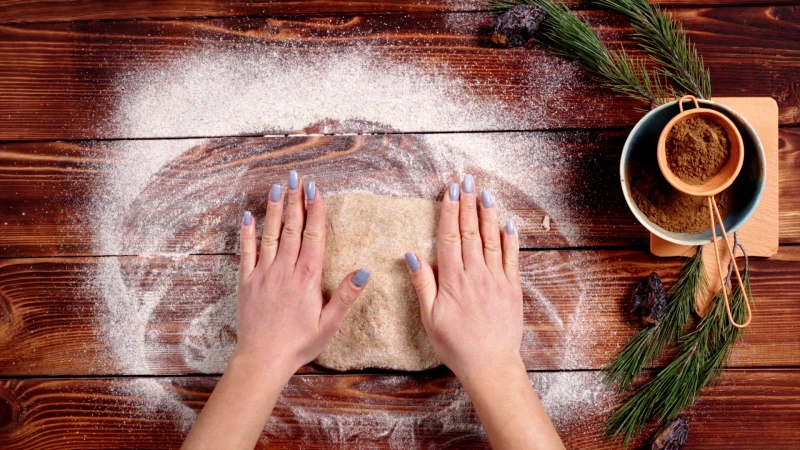
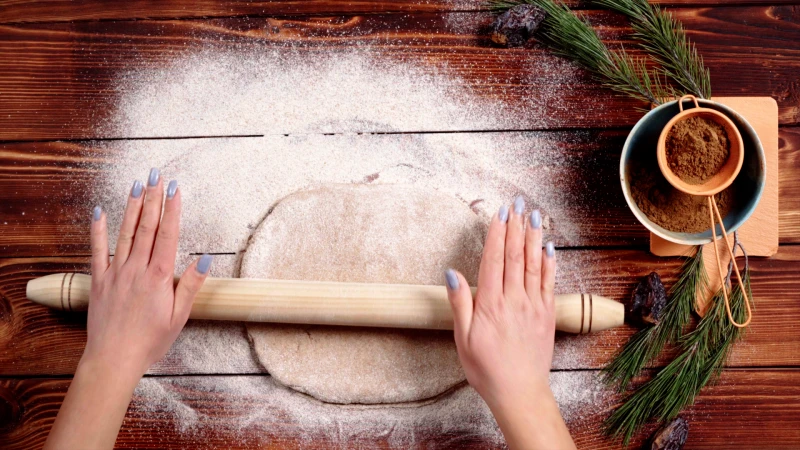
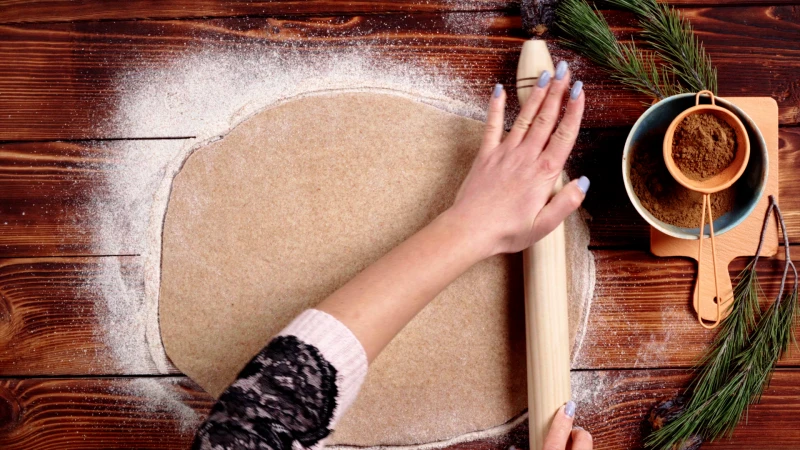
Gently punch the air out of the dough and roll it on a lightly floured surface into a big rectangle, about 12 by 18 inches. Spread that glorious softened butter all over, leaving a half-inch border on one of the long sides. Sprinkle the cinnamon-sugar mix on top and gently press it into the butter.
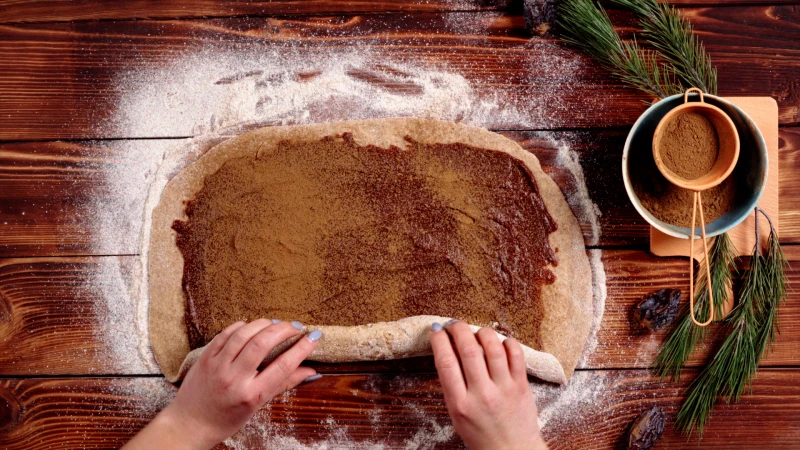
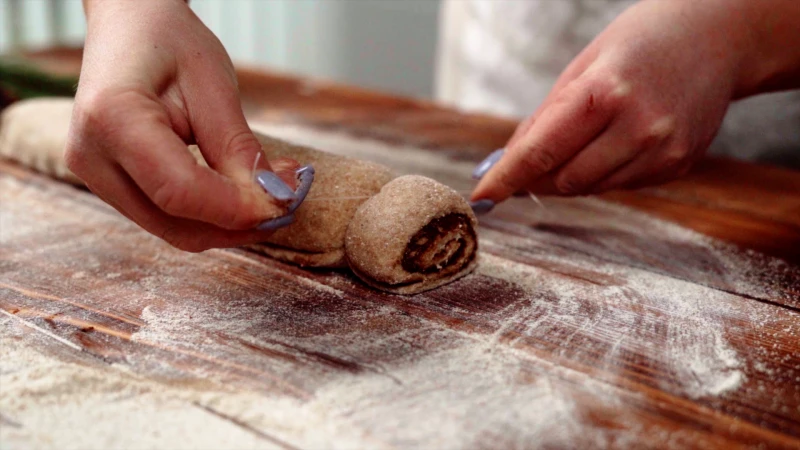
Step 3: Roll and Cut (with a Secret Weapon)
Starting from the long edge, roll the dough into a tight log. Pinch the seam you left bare firmly to seal it all up. Now, for the best part. Instead of a knife that squishes your perfect rolls, grab a piece of unflavored dental floss. Slide it under the log, bring the ends up, cross them over the top like you’re starting to tie a shoe, and pull. Boom. A perfect, clean cut every time. Cut the log into 12 even rolls.
The Final Rise and Bake
We’re almost there! Place the rolls in your prepared pan, cover them loosely, and let them rise in a warm spot for another 30 to 60 minutes. They’re ready when they look puffy and are all snuggled up and touching each other.
Preheat your oven to 350°F (175°C) and bake for 25 to 30 minutes, until they’re a deep golden brown. The absolute best way to check for doneness is with an instant-read thermometer—the center of the middle roll should be between 190°F and 200°F (88°C to 93°C). This guarantees they aren’t secretly doughy inside.
Icing, Serving, and Storing
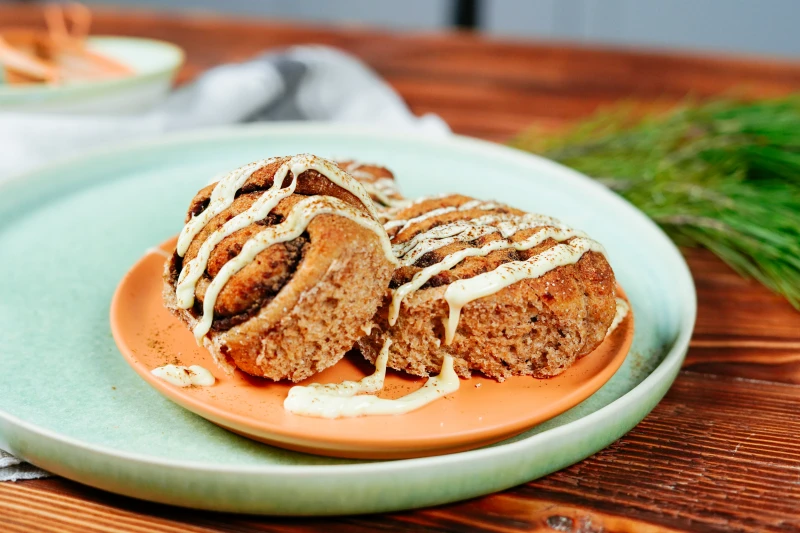
Let the rolls cool in the pan for at least 10-15 minutes. If you ice them while they’re piping hot, the icing will just melt into a puddle.
To make the icing, just beat the soft cream cheese and butter until smooth, then mix in the powdered sugar and vanilla. Add a splash of milk to get it to a nice, spreadable consistency. Slather it on the warm rolls and enjoy. They are absolutely best on the day they’re made.
Store any leftovers in an airtight container at room temperature for a day or two. A quick 20-second zap in the microwave will bring one back to its warm, gooey glory.
Common Headaches & How to Fix Them
Even the pros mess up sometimes. Here are some common problems and how to solve them.
- Problem: My rolls are dense like bricks.
Solution: This is the number one issue. It’s almost always from under-kneading, adding too much flour, or not letting them rise long enough. Go back and review the windowpane test and the poke test. Be stingy with that extra flour! - Problem: All my yummy filling leaked out!
Solution: You probably used melted butter instead of softened. Or, you didn’t pinch the seam of the log tightly enough. Really give it a good pinch to seal everything in. - Problem: My icing is a runny, soupy mess.
Solution: Ah, a classic. This means your rolls were still too hot when you iced them. Patience! Let them cool for at least 15 minutes. To fix the icing you’ve already made, just beat in more powdered sugar, a little at a time, until it thickens back up.
Baking with whole grains is a skill, but it’s so rewarding. Don’t get discouraged if the first batch isn’t perfect. I’ve been doing this for a long time and I’m still learning. That rich, nutty flavor and soft texture are totally worth the effort. Enjoy the process!
So, your mission, should you choose to accept it: Try the windowpane test on your next batch of dough! It’s one of those weirdly satisfying moments when you finally nail it.
Inspiration:

White Whole Wheat vs. Traditional Whole Wheat: Not all whole-wheat flours are the same. Traditional is made from hard red wheat, giving it a robust, nutty flavor. White whole wheat, like the popular one from King Arthur Baking, is milled from hard white wheat. It provides the same nutritional benefits but with a milder flavor and lighter color, making it a fantastic gateway for those new to whole-grain baking.
- Use unflavored dental floss or a sharp serrated knife for the cleanest cuts on your roll log.
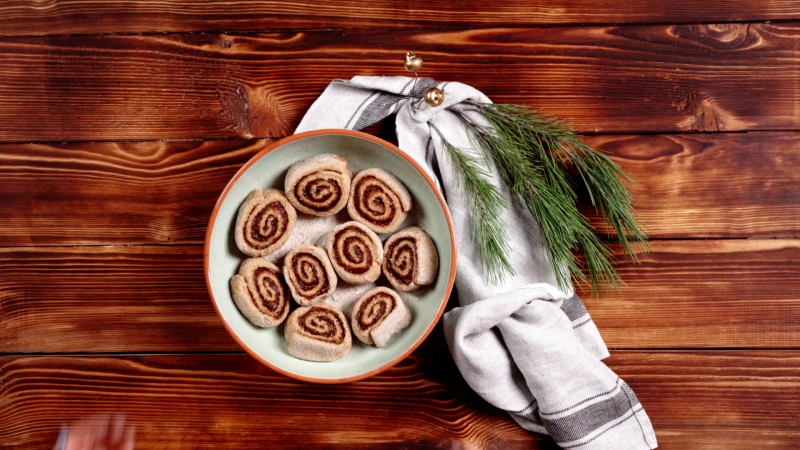
- Arrange rolls with a little space in between for a classic pull-apart effect.
- For perfectly individual, bakery-style rolls, bake them in separate jumbo muffin tins.
The secret to a picture-perfect finish? It’s all in the details of how you slice and arrange them before the final proof.
Did you know that whole-wheat flour contains natural oils in its germ? These oils can go rancid over time, giving the flour a bitter, unpleasant taste.
This is why storage is critical. Unlike all-purpose flour, which is shelf-stable for ages, whole-wheat flour is best stored in an airtight container in the refrigerator or, for long-term storage (over 3 months), in the freezer. This preserves its freshness and nutty flavor.
My dough isn’t rising well, and my kitchen is cold. What can I do?
Create a DIY proofing box! Place your covered bowl of dough in the oven (turned OFF) and put a pan of boiling water on the rack below it. Close the oven door to trap the steam and warmth. This humid, gentle heat provides the perfect environment for yeast to work its magic, even on a chilly day.
The intoxicating aroma of cinnamon baking isn’t just pleasant; it’s deeply rooted in our memories. For many, it evokes feelings of warmth, holidays, and family gatherings. Allowing that scent to fill your home is part of the joy of the process—it’s a sensory reward long before the first bite.
The Tangzhong Technique: A Game-Changer for Softness
Popular in Asian baking, this method involves cooking a small portion of the recipe’s flour and liquid into a thick paste (the tangzhong) before adding it to the rest of the dough. This pre-gelatinizes the starches, allowing them to hold onto significantly more moisture. For whole-wheat dough, this means a miraculously softer, fluffier crumb and a roll that stays fresh for days longer.
Cream Cheese Frosting: The tangy American classic. For a richer flavor, use full-fat block cream cheese, not the whipped tub variety.
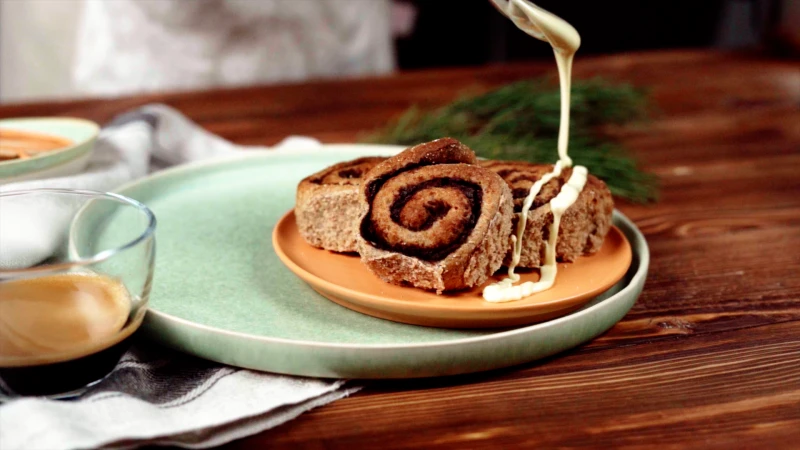
Simple Sugar Glaze: A minimalist’s dream. Just powdered sugar, a splash of milk or cream, and a dash of vanilla. Drizzle while the rolls are still warm.
For a truly professional touch, consider a brown butter glaze. The nutty, toasted notes of browned butter beautifully complement the whole-wheat flavor.
Don’t limit yourself to just cinnamon! The whole-wheat base is a perfect canvas for other flavors.
- Nordic Twist: Swap cinnamon for fragrant cardamom and add a pinch of orange zest to the filling.
- Nutty & Rich: Sprinkle finely chopped toasted pecans or walnuts over the cinnamon-sugar layer.
- Fruity Surprise: Add a thin layer of raspberry jam or finely diced apples to the filling before rolling.
One crucial tool: A digital kitchen scale. When working with thirsty whole-wheat flour, accuracy is everything. Volume measurements (cups) can vary wildly depending on how you scoop. Weighing your flour ensures you have the perfect flour-to-liquid ratio, which is the number one secret to avoiding dry, dense rolls.
The Swedish concept of *fika* is a cherished daily ritual—a moment to pause, enjoy a coffee, and eat a pastry. The quintessential *fika* treat? The *kanelbulle*, or cinnamon bun. Unlike its gooey American counterpart, the Swedish version is less sweet, often flavored with cardamom, and topped with crunchy pearl sugar instead of icing.
Can I make these vegan?
Absolutely. The nutty flavor of whole wheat pairs beautifully with plant-based ingredients. Use a high-quality plant-based milk like oat or almond milk (unsweetened works best) and a good block-style vegan butter, such as Miyoko’s Kitchen Cultured Vegan Butter, for richness. For the egg, a simple flax egg (1 tbsp ground flaxseed mixed with 3 tbsp water) works as a great binder.
- Your rolls will be softer and springier.
- They will stay fresh for an extra day or two.
- The texture will be unbelievably light.
The secret? Knead the dough until it passes the “windowpane test.” Take a small piece of dough and gently stretch it between your fingers. If you can stretch it thin enough to see light through it without it tearing, the gluten is perfectly developed.

Cassia Cinnamon: This is the bold, spicy cinnamon common in North America. Its strong flavor, from the compound cinnamaldehyde, stands up well to the baking process and the heartiness of whole wheat. Look for brands like McCormick.
Ceylon Cinnamon: Known as “true” cinnamon, it’s more delicate, floral, and complex. It’s wonderful for a nuanced flavor but can get lost in a heavily sweetened roll. Save this for sprinkling on top.
For classic cinnamon rolls, robust Cassia is usually the best choice.

An estimated 95% of home bakers in the United States rely on volume measurements (cups) rather than weight, a primary source of inconsistency in baking, according to food scientists at America’s Test Kitchen.
With whole-wheat flour, this is even more critical. A packed cup can contain up to 20% more flour than a lightly spooned cup, completely throwing off the dough’s hydration and guaranteeing a dense result.
Don’t let a day-old roll go to waste. To bring back that fresh-from-the-oven magic, wrap a roll loosely in foil and pop it into a 350°F (175°C) oven for 5-7 minutes. Alternatively, a quick 15-20 second stint in the microwave will do the trick, creating a soft, steamy, and delicious treat.


