The Only Chocolate Quinoa Crunch Bar Recipe You’ll Ever Need
I’ve spent more than my fair share of time in professional kitchens, and let me tell you, the simplest recipes are always the most revealing. Anyone can just melt some chocolate and toss in some crispy bits. But to create a truly great crunch bar—one with a deep, nutty flavor, a killer snap, and that glossy finish that looks like it came from a fancy candy shop? That takes a little know-how. It’s all about understanding the ‘why’ behind the ‘what’.
In this article
These chocolate quinoa bars became a bit of an obsession for me. The original challenge was to create a gluten-free, high-energy snack that wasn’t just fuel, but a genuine treat. Honestly, my first few dozen tries were a disaster. I’m talking burnt quinoa, seized chocolate, and bars that were either jaw-breakingly hard or sadly soggy. But every mistake taught me a lesson, and those are the lessons I’m here to share. This isn’t just a recipe; it’s the playbook for making exceptional crunch bars, every single time.
Let’s Talk Ingredients: It Starts with Quinoa
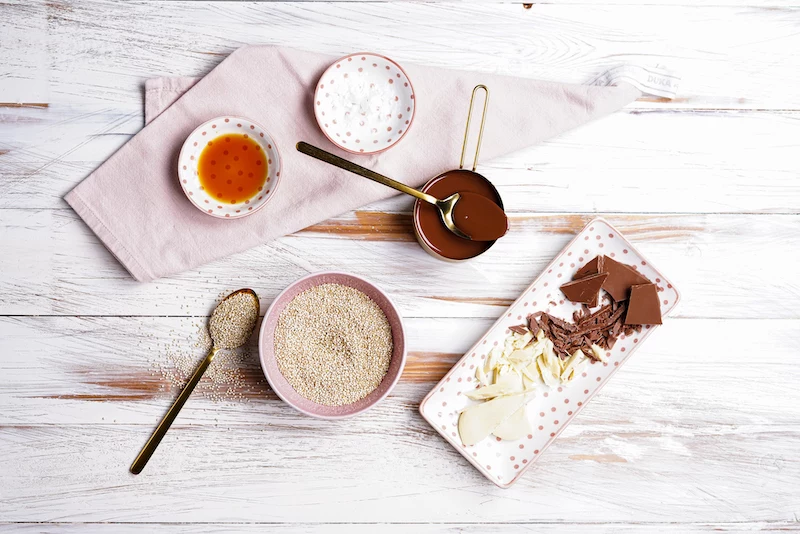
Great cooking is all about respecting your ingredients. For these bars, we’re only dealing with two main players: quinoa and chocolate. Getting them right is everything. It’s the difference between a homemade snack and a professional-level confection.
Why Quinoa is the Unsung Hero
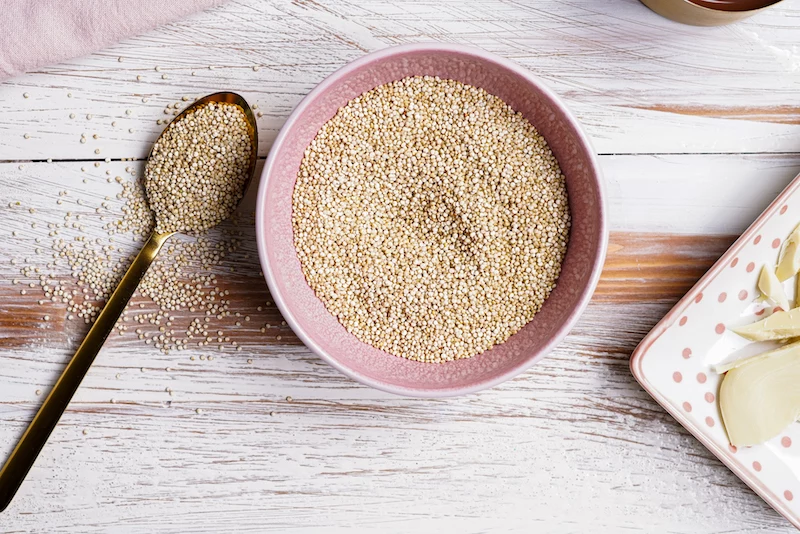
So, fun fact: quinoa isn’t technically a grain like rice or oats. It’s a seed, which is exactly why it’s so perfect here. When you toast it, it doesn’t just get crunchy; it develops this unique, light ‘pop’ that’s incredibly satisfying. It’s also naturally gluten-free and loaded with protein, which gives these bars more substance than the usual puffed rice variety.
You’ll probably see a few different kinds at the store:
- White Quinoa: This is the most common one you’ll find. It has a mild, almost neutral flavor, making it a fantastic starting point.
- Red Quinoa: A bit firmer than white, it holds its shape beautifully and brings a slightly nuttier flavor to the party. Plus, the color looks great against dark chocolate.
- Black Quinoa: This is the crunchiest of the bunch, with a more pronounced, earthy sweetness. For maximum texture, this is my go-to.
I often use a mix of white and red for a balanced bar, but feel free to use whatever you have on hand. Just know that your choice will subtly change the final result.
The Most Important Step You Can’t Skip
Okay, listen up, because this is critical. You absolutely MUST rinse your quinoa before you do anything else. Quinoa seeds have a natural coating called saponin, and it tastes bitter and soapy. It’s not pleasant. Some bags say ‘pre-rinsed,’ but I don’t trust it. Rinsing it yourself takes maybe two minutes and saves your entire batch from having a weird, bitter aftertaste.
Heads up! A regular pasta colander won’t work here; the seeds will fall right through and go straight down the drain. You need a fine-mesh sieve, which you can grab for about $10 at Target, any kitchen supply store, or online. To rinse, just dump the quinoa in the sieve and run cool water over it for a minute or two, swishing the seeds around with your hand. When the slight foaminess is gone and the water runs clear, you’re good. Afterward, spread it on a towel or baking sheet to dry completely. If it’s even a little damp, it will steam in the pan instead of toasting, and you’ll lose all that glorious crunch.
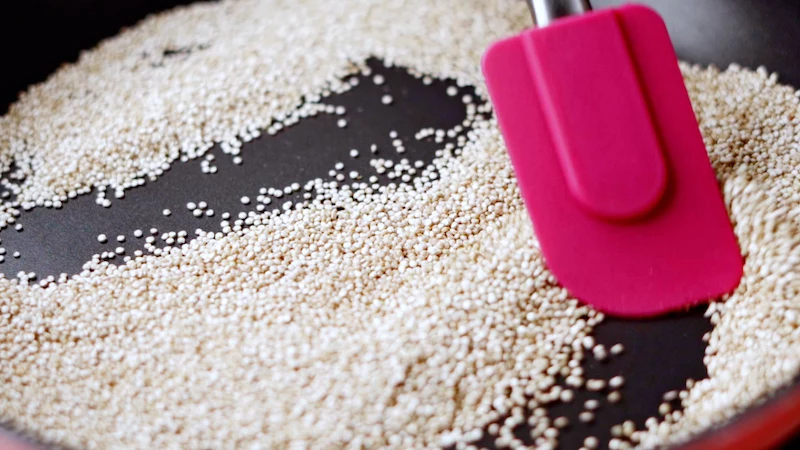
Toasting: Where the Magic Happens
Toasting the dry quinoa is what elevates these bars from ‘good’ to ‘amazing’. It’s not just about drying it out; it’s about kickstarting a delicious chemical reaction. This process is what gives things like seared steak, fresh-baked bread, and roasted coffee their complex, irresistible flavors. You’re basically browning the proteins and sugars, creating deep, nutty, and roasted notes.
You’ll know it’s working when your kitchen starts to smell incredible and you hear the quinoa making tiny popping sounds. It’s like mini popcorn. That’s the sound of success!
Choosing Your Chocolate Wisely
The chocolate in this recipe is more than just a sweet coating; it’s the glue that holds everything together and the main source of flavor. Your choice here really defines the bar.
Compound Chocolate vs. Real Chocolate: A Quick Breakdown
Let’s get real about your options. There’s no wrong choice, just different results.
For an easy, no-fuss approach, go with Compound Chocolate. This is what you’ll find sold as ‘candy melts’ or ‘almond bark’ in the baking aisle. It uses vegetable fats instead of cocoa butter, which means it melts easily and sets hard and shiny without any special techniques. It’s a fantastic choice for beginners! The downside? The flavor isn’t as rich, and it can sometimes have a slightly waxy texture. A bag will run you about $5-$8.
For a pro-level, gourmet result, you need Real Chocolate. This is the good stuff, made with cocoa butter. We’re talking about brands like Ghirardelli or Guittard, which are great options you can find in most supermarkets for around $4-$6 a bar. If you want to go all out, look for couverture chocolate, like Callebaut callets, which you can find online. Real chocolate has a superior flavor, a beautiful melt, and that signature ‘snap’. The catch? It needs to be tempered. If you just melt and cool it, you’ll get a soft, dull, and streaky bar. But don’t worry, we’ll cover that.
The Pro Technique: Tempering Chocolate Without Fear
Tempering sounds super intimidating, but it’s just a fancy word for controlling temperature. All we’re doing is encouraging the right kind of stable crystals to form in the cocoa butter. These crystals are what give professionally made chocolate its shine, firmness, and satisfying snap when you break it.
By the way, did you know? That sharp ‘snap’ you hear is literally the sound of millions of perfectly aligned crystals fracturing at once. It’s the sound of a job well done!
My Go-To Method: Seeding
This is the most reliable way to temper chocolate at home. You’ll need a digital thermometer for this—it really helps.
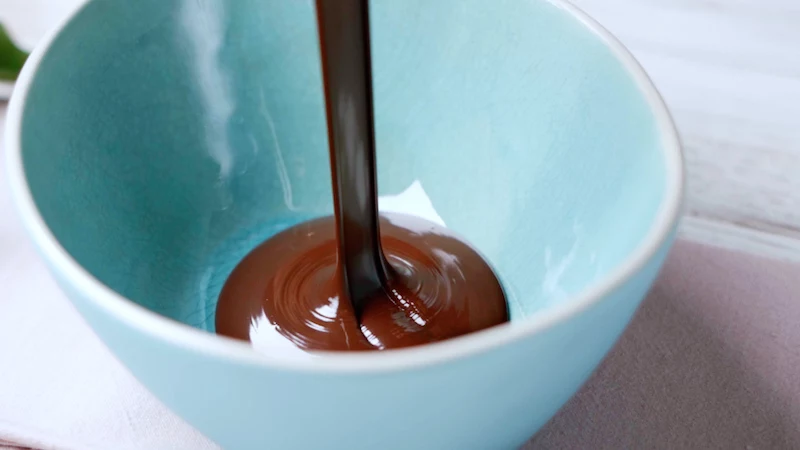
- Chop & Divide: Finely chop all your real chocolate. Set aside about a quarter of it. This is your ‘seed’ chocolate.
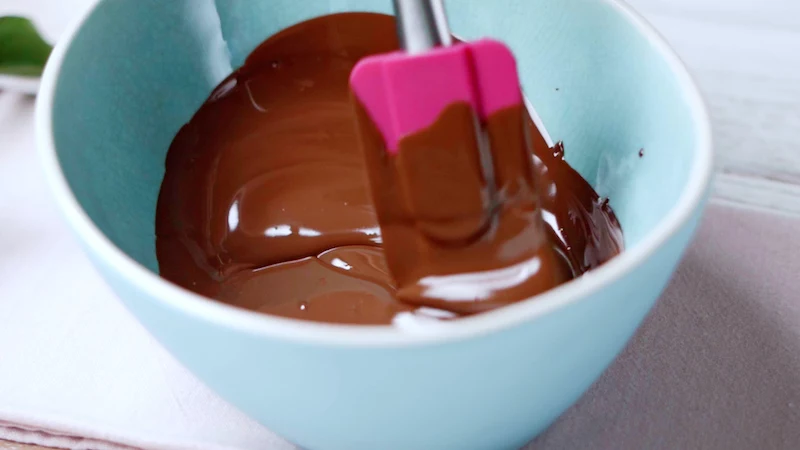
- Melt Gently: Put the larger portion of chocolate in a heatproof bowl over a pan of barely simmering water (a DIY double boiler). Crucially, don’t let the bowl touch the water. Stir until it’s completely melted and smooth. For dark chocolate, you’re aiming for about 115-120°F (46-49°C). And whatever you do, DO NOT let a single drop of water or steam get in there. It will ‘seize’ the chocolate into a grainy mess. (I once ruined a whole bowl of pricey chocolate this way. A very painful lesson.)
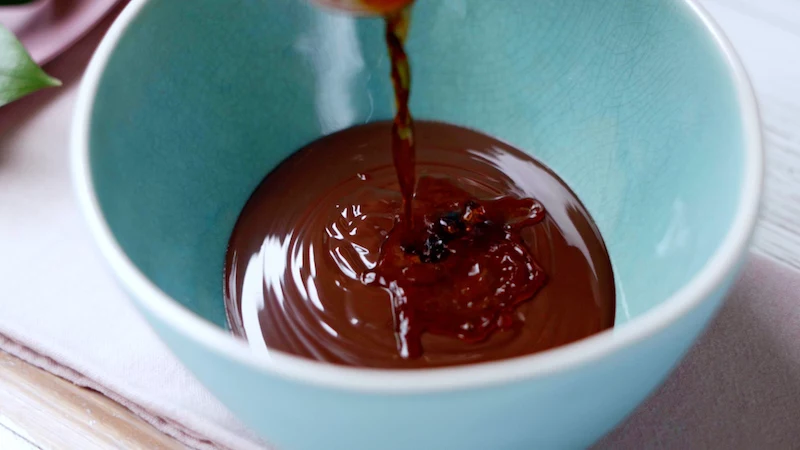
- Cool & Seed: Take the bowl off the heat and wipe the bottom dry. Now, stir in your reserved ‘seed’ chocolate. Keep stirring. The seeds will melt while simultaneously cooling the mixture and introducing those perfect, stable crystals.
- Hit the Target: Continue stirring until the chocolate cools to about 82°F (28°C).
- Re-warm to Work: The chocolate will be too thick now. Pop it back over the warm water for just a few seconds at a time, stirring constantly, to bring it up to its working temperature. For dark chocolate, that magic number is 88-90°F (31-32°C). Don’t go over, or you’ll have to start again!
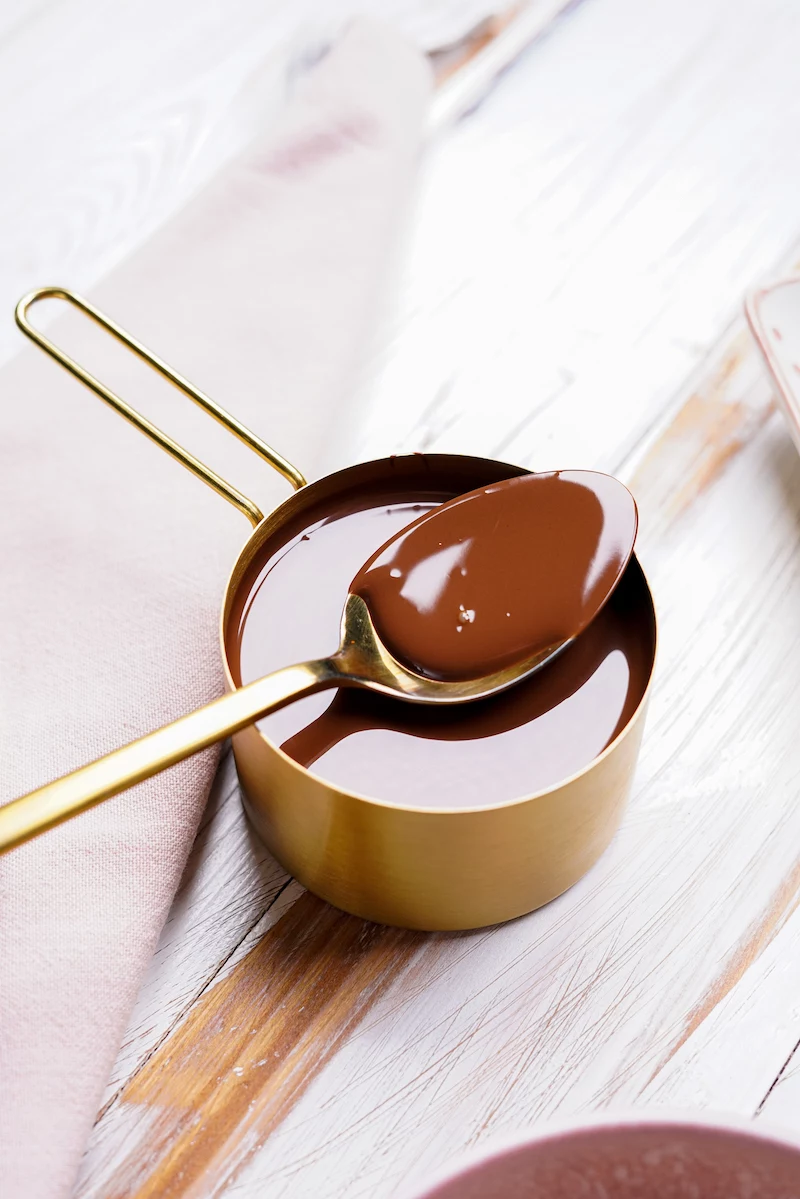
To test it, dip a spoon in the chocolate and let it sit on the counter. In about 5 minutes, it should be hard and glossy. If it is, you’re ready to go!
The Microwave Shortcut
No thermometer? No problem. Finely chop your chocolate and put about two-thirds of it in a microwave-safe bowl. Heat it on 50% power in 30-second bursts, stirring well each time. When it’s almost melted with just a few small lumps left, stop heating. Add the remaining chocolate and just stir until everything is smooth. It’s a bit of a gamble, but it’s a great trick for small batches.
The Recipe: Chocolate Quinoa Crunch Bars
Alright, let’s put it all together. Before you start, here’s what to expect:
- Time Commitment: Plan on about 30 minutes of active work. With quinoa drying and the bars setting, the total time from start to finish will be around 2 to 3 hours.
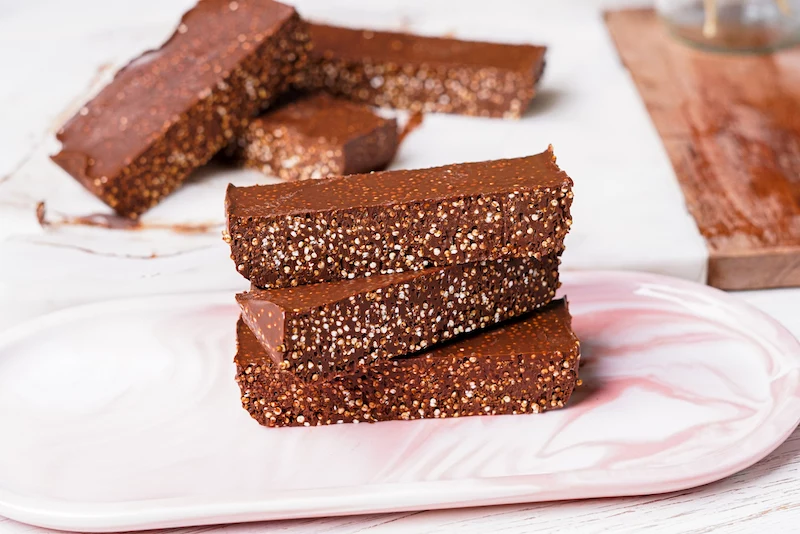
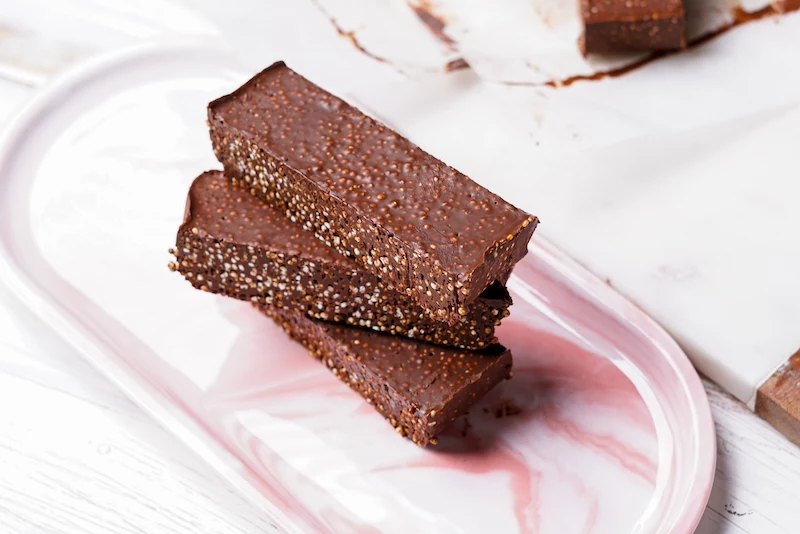
- Yield: This recipe makes a solid slab in an 8×4 inch loaf pan, which you can cut into 8 generous bars or about 12 smaller squares.
- Cost: Depending on the chocolate you choose, a batch will cost you anywhere from $8 (with compound melts) to $25 (with high-end couverture).
What You’ll Need
- A trusty fine-mesh sieve
- A heavy-bottomed, dry skillet
- Heatproof bowls and a silicone spatula
- An 8×4 inch (20×10 cm) loaf pan
- Parchment paper
- Digital food thermometer (highly recommended)
- A sharp knife
Ingredients
- 1 cup (170g) uncooked quinoa (white, red, or a mix)
- 10 oz (285g) high-quality dark chocolate (60-72%), finely chopped
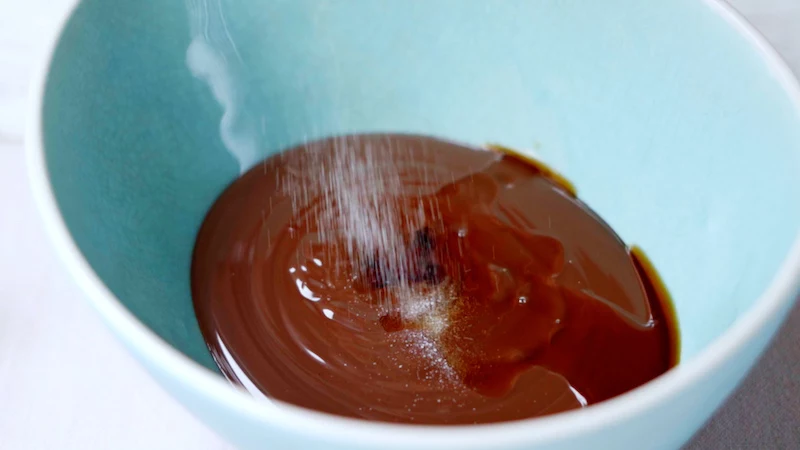
- 1/4 teaspoon fine sea salt
- Optional: 1 teaspoon vanilla extract
Step-by-Step Guide
- Prep Your Pan: Line the loaf pan with parchment paper, letting it hang over the long sides. These will be your ‘handles’ to lift the slab out later.
- Rinse and Dry Quinoa: Rinse the quinoa thoroughly in your sieve. Spread it on a baking sheet to air dry completely, which can take an hour or so. To speed it up, you can gently toast it in a 300°F (150°C) oven for 15-20 minutes until dry.
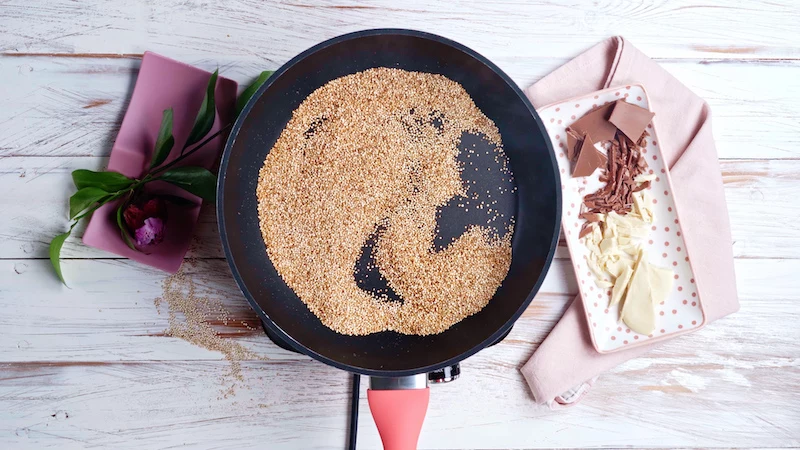
- Toast the Quinoa: In a dry skillet over medium heat, toast the quinoa, stirring constantly. After a few minutes, you’ll smell a nutty aroma and hear little pops. Once it’s a light golden brown, immediately pour it onto a cool plate to stop the cooking. Let it cool completely.
- Temper Your Chocolate: Use either the seeding or microwave method to get your chocolate ready.
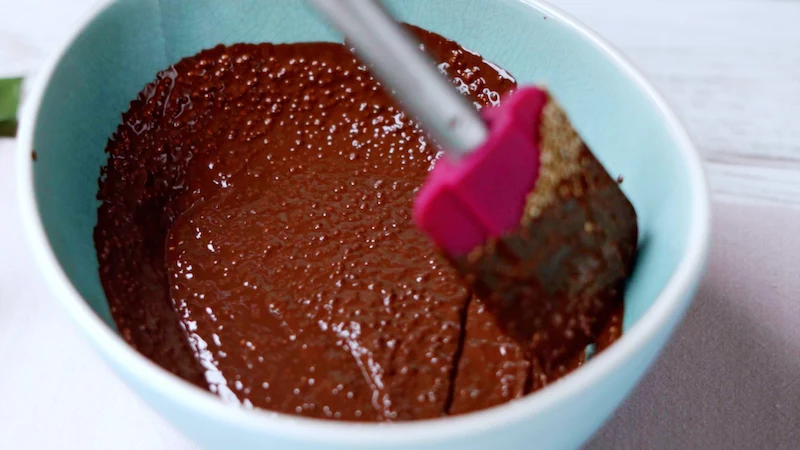
- Combine Everything: Working quickly, pour the cooled, toasted quinoa into your tempered chocolate. Add the salt and vanilla (if using) and stir until every grain is coated.
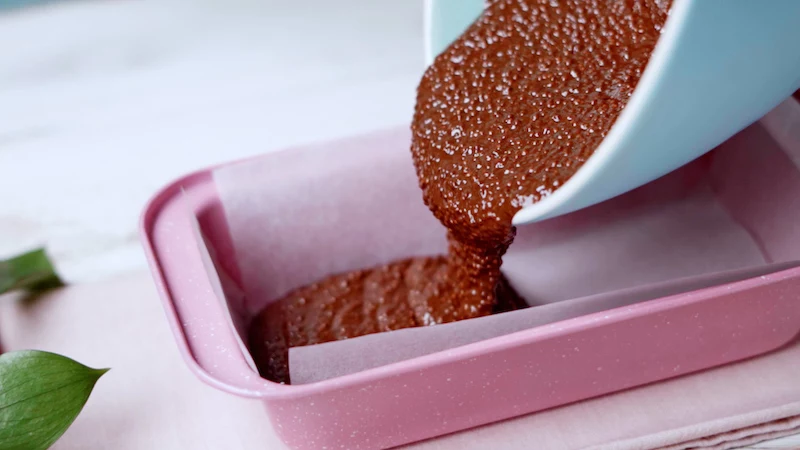
- Form the Bars: Pour the mixture into your prepared pan. Here’s a key tip: use the back of a spoon or the bottom of a measuring cup to press down FIRMLY. Compacting the mixture is the secret to bars that hold together instead of crumbling.
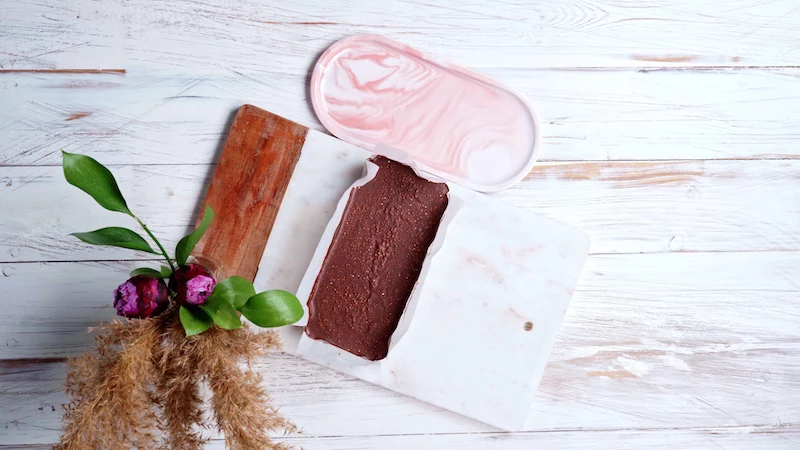
- Let It Set: If your chocolate is perfectly tempered, you can just leave it on the counter in a cool room for 2-4 hours to set. If you used compound chocolate or are unsure about your temper, pop it in the fridge for about an hour.
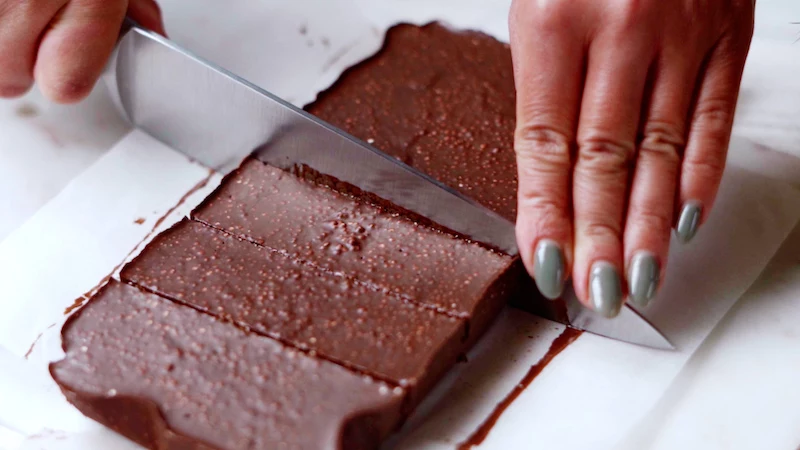
- Cut and Enjoy: Use the parchment handles to lift the firm slab out. For clean cuts, use a large, sharp knife. A good trick is to run the blade under hot water and wipe it dry before each cut. Press straight down—no sawing!
Level Up: Fun Variations to Try
Once you’ve got the basic recipe down, the sky’s the limit. Think of this as your base canvas.
- Spice it Up: Add a half teaspoon of cinnamon or cardamom for warmth, or a pinch of cayenne for a spicy kick.
- Finishing Touches: A sprinkle of flaky sea salt (like Maldon) on top before the chocolate sets is a game-changer.
- Mix-Ins: Swap out about 1/3 cup (around 55g) of the toasted quinoa for other goodies. Just make sure they’re toasted and cooled. Some ideas:
- Nuts: Toasted slivered almonds, chopped pecans, or pistachios.
- Seeds: Toasted pumpkin or sunflower seeds.
- Dried Fruit: Finely chopped dried cherries or cranberries add a nice chewy, tart element. (Just know that fruit will shorten the shelf life to about one week).
Troubleshooting: What to Do When Things Go Wrong
It happens to everyone, even the pros. Here’s how to fix the most common issues.

- Problem: My chocolate is thick and grainy! It’s seized, likely from a stray drop of water or overheating. Unfortunately, it can’t be fixed for this recipe. But don’t toss it! You can rescue it for a sauce by stirring in some hot cream.
- Problem: My bars are soft and melt at room temperature. This means the chocolate wasn’t in temper. No big deal—just store them in the fridge to keep them firm and make a note to focus on your tempering next time.
- Problem: There are white, chalky streaks on my bars. This is ‘bloom,’ and it’s purely cosmetic. It’s caused by improper tempering or storing them where the temperature fluctuates. They’re still perfectly fine to eat!
- Problem: My bars taste bitter. You didn’t rinse the quinoa enough. There’s no fix for this batch, but it’s a powerful reminder of how important that first step is.
- Problem: My bars are crumbly and fall apart. Ah, the compaction issue. This means the mixture wasn’t pressed down firmly enough in the pan. Next time, really pack it in there tight before letting it set.
Storage and Final Thoughts
Store your finished bars in an airtight container. If you used tempered chocolate, they’ll be happy in a cool pantry for about two weeks. If you used untempered chocolate, the fridge is their home. And remember, if you’re making these for anyone with allergies, double-check your chocolate label, as many brands have trace amounts of dairy, soy, or nuts.
Making these bars is a genuinely rewarding process. It teaches you a bit about patience and precision, but the payoff is a snack that’s worlds better than anything you can buy. Have fun with it!
Inspirational Gallery

The secret to that professional-looking gloss and satisfying ‘snap’?
It’s all about tempering the chocolate. This process stabilizes the cocoa butter crystals. While the full technique can be complex, a simple ‘seeding’ method works wonders at home. Gently melt two-thirds of your chopped chocolate over a double boiler. Once smooth, remove it from the heat and stir in the remaining one-third. Keep stirring until the ‘seed’ chocolate is completely melted and the mixture is uniform. This simple step is the difference between a homemade snack and a true confection.
More than just a crunch, toasted quinoa brings a surprisingly complex, nutty flavor. In fact, many pastry chefs are now using it in place of traditional nuts to create allergy-friendly desserts without sacrificing texture or taste.

While the pure quinoa-chocolate combination is sublime, these bars are a perfect canvas for your creativity. Think of adding a new dimension of flavor and texture:
- A hint of spice: A pinch of cinnamon or a tiny dash of cayenne pepper mixed into the melted chocolate creates a surprising warmth.
- A touch of salt: A sprinkle of flaky sea salt, like Maldon, on top just before the bars set, cuts through the richness and makes the chocolate flavor pop.
- Citrus zest: The finely grated zest of an orange or lime folded in at the end adds a bright, fresh aroma and a sophisticated finish.
For the purist: Use a high-quality dark chocolate (70-85% cacao), such as Valrhona Guanaja. Its intense, slightly bitter notes perfectly complement the earthy flavor of black or red quinoa.
For a creamier, richer bar: A good couverture milk chocolate (around 40% cacao), like Valrhona Jivara, will yield a sweeter, more decadent result that’s often a hit with kids.
The choice directly impacts the final taste profile, moving the bar from a powerful snack to a mellow dessert.
To keep your bars perfectly crisp, storage is key. Once fully set and cut, place them in an airtight container. The most important rule: store them in a cool, dry place like a pantry, not the refrigerator. The fridge’s humidity can soften the quinoa and cause the chocolate to ‘bloom,’ giving it a dull, whitish coating.