Forget Store-Bought: Your Ultimate Guide to Brewing Amazing Kombucha at Home
I brewed my first batch of kombucha well over a decade ago in a tiny apartment kitchen. The big glass jar sat on top of my fridge, and honestly, I checked it every day with a mix of excitement and a little bit of fear. Was it working? Was it… alive? That first brew was far from perfect—a little too vinegary for my taste—but it was fizzy, tangy, and I made it myself. And that was everything.
In this article
Since then, I’ve brewed hundreds of gallons, helped friends get started, and learned how to sidestep all the common mistakes. This guide is basically everything I wish I knew back then. Because making kombucha isn’t just about a recipe; it’s about getting to know a living culture. It takes a bit of patience and observation, but it’s so rewarding.
Let’s be real, the stuff at the store can cost you $4-$5 a bottle. We’re going to get you brewing for pennies on the dollar. So let’s dive in and learn how to make the good stuff safely and consistently right in your own kitchen.
First Things First: What Exactly is a SCOBY?
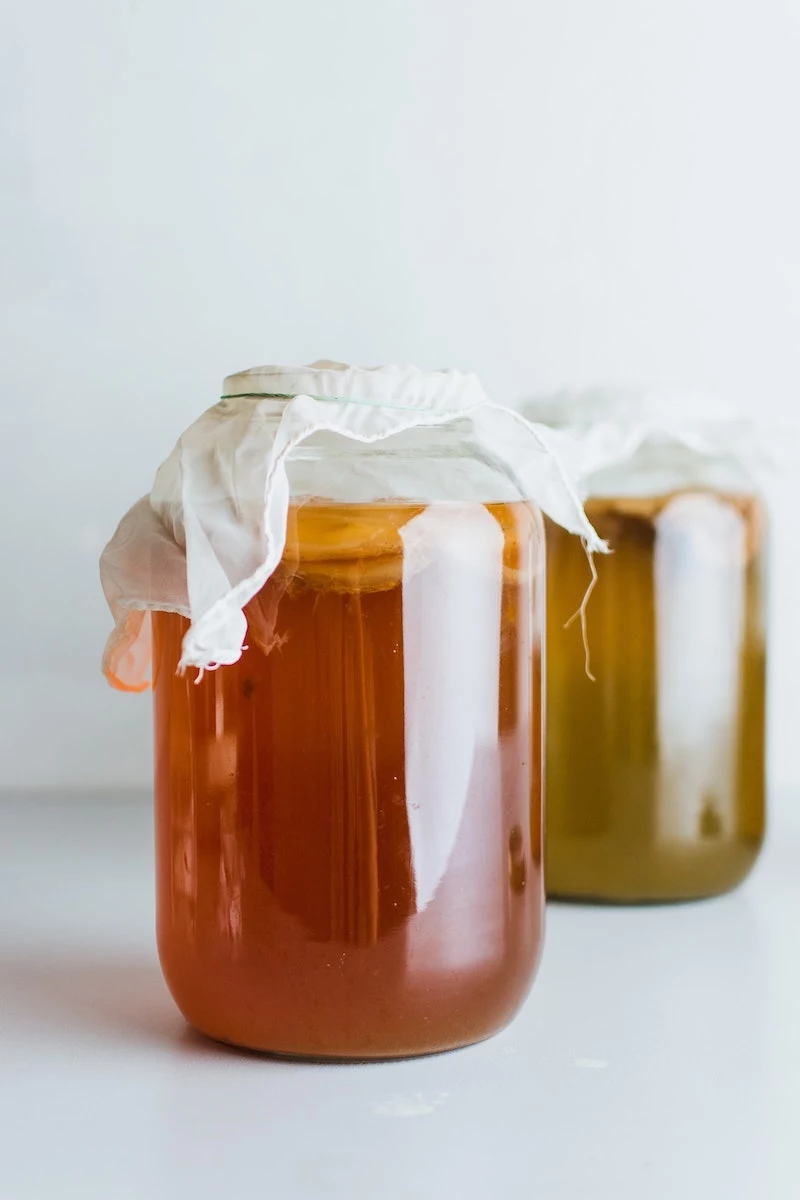
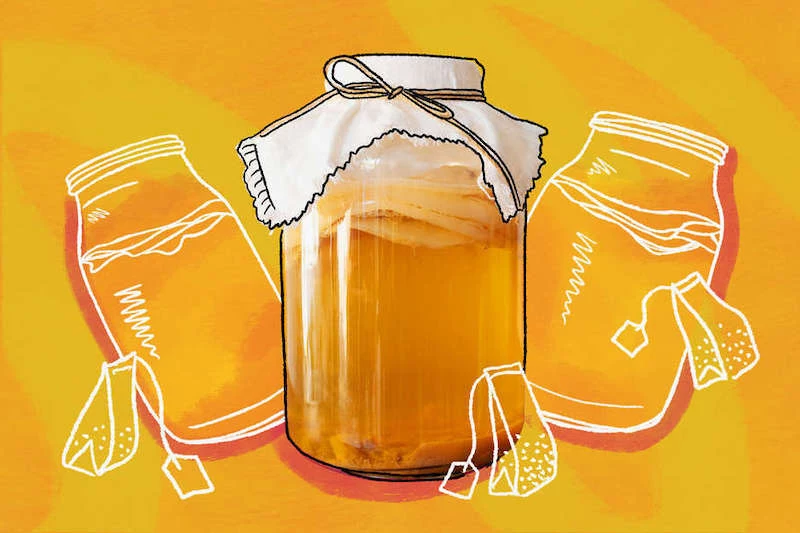
Most people see that rubbery disc floating in the jar and think, “That’s the SCOBY.” But that’s only part of the story. SCOBY stands for Symbiotic Culture of Bacteria and Yeast, and the most important part is actually the liquid it floats in—the starter tea.
The disc, which is technically called a pellicle, is just a cellulose byproduct of the fermentation. It’s like a cozy little house for all the microbes, but the real power is in the liquid culture itself.
Think of it this way: If you were starting a garden, you wouldn’t just toss a seed mat on bare concrete. You’d use rich, living soil. Your starter tea is that rich soil, and the pellicle is the mat that eventually grows on top.
The Magic Happening in the Jar
So what’s actually going on in there? It’s a pretty cool tag-team effort between two types of microbes.
First up are the yeasts. They go to town on the sugar you add to the sweet tea, turning it into a small amount of alcohol and carbon dioxide. It’s the same fundamental process that gives us beer and bread.
But then the bacteria take over. They need oxygen (which is why you use a cloth cover), and they consume the alcohol the yeast just made. In its place, they produce all those healthy organic acids, like acetic acid, which gives kombucha its signature tangy kick and protects it from bad microbes.
This is why kombucha isn’t considered alcoholic. A well-brewed batch typically has less than 0.5% alcohol, about the same as you might find in some unpasteurized fruit juices. Just a heads-up, homebrews can vary a bit more than commercial ones, which is good to keep in mind.
Your Kombucha Shopping List
Your culture is a living thing, and it can be a bit picky. Sticking to the right ingredients is key to keeping it happy and healthy, especially when you’re just starting out.
- Filtered Water: Chlorine in tap water is designed to kill microbes, which is exactly what we’re trying to grow! Use filtered or spring water. If you only have tap water, you can boil it for a solid 20 minutes and let it cool completely; this helps the chlorine evaporate off.
- Plain Black or Green Tea: The culture loves the nutrients and nitrogen in simple, plain tea. Basic English Breakfast tea bags work great. You can also use green tea or a blend of the two. The big no-no here is any tea with oils, like Earl Grey (bergamot oil) or many chai blends. Those oils can mess with your culture and harm the pellicle over time.
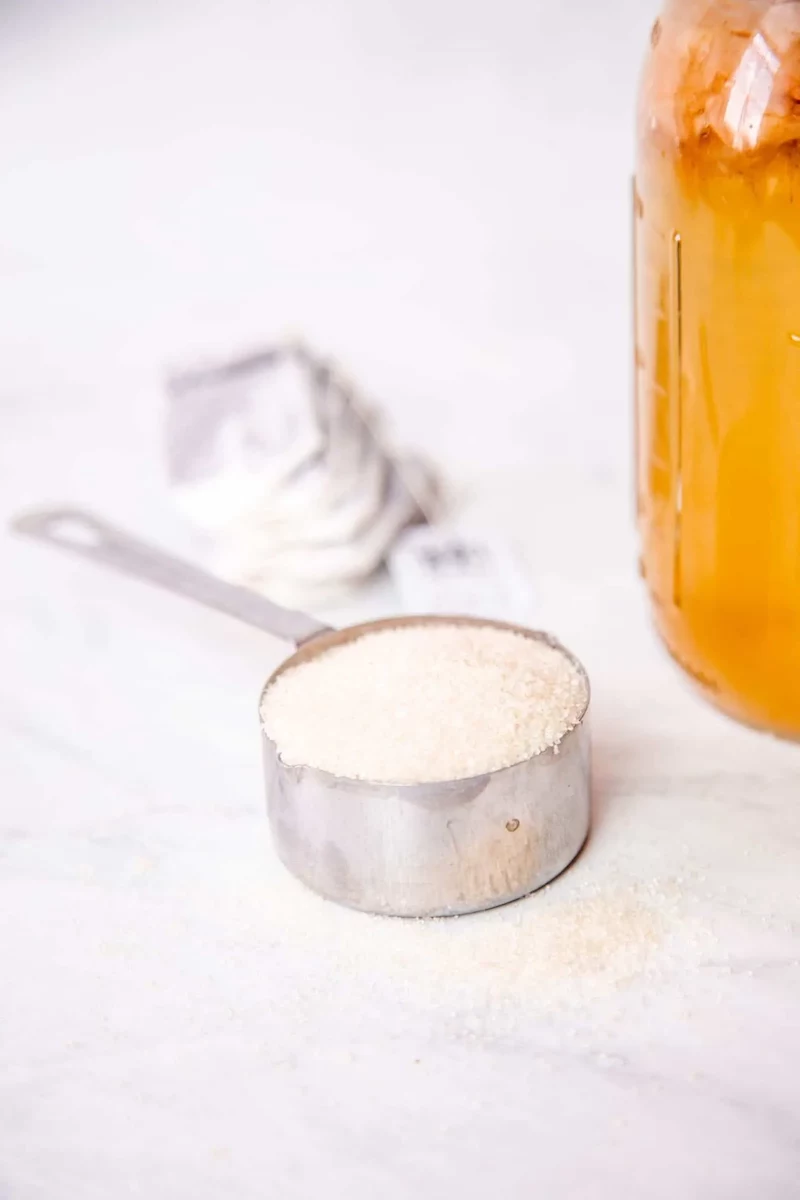
- Plain White Cane Sugar: Don’t try to get fancy here. Simple white sugar (sucrose) is the easiest food for the yeast to digest. And don’t worry about the sugar content; the culture eats most of it during fermentation. The longer it brews, the less sugar is left. Avoid raw honey (which can contain competing microbes) and definitely skip sugar substitutes like stevia or xylitol—they offer zero food for your culture.
- Strong Starter Tea: This is your secret weapon for preventing mold. Starter tea is just unflavored kombucha from a previous batch. It should be nice and acidic, preferably from a brew that’s at least 10-14 days old and tastes quite vinegary. Adding this at the beginning instantly drops the pH of your new sweet tea, creating an acidic environment where mold can’t get a foothold. You’ll need at least 1-2 cups for every gallon batch.
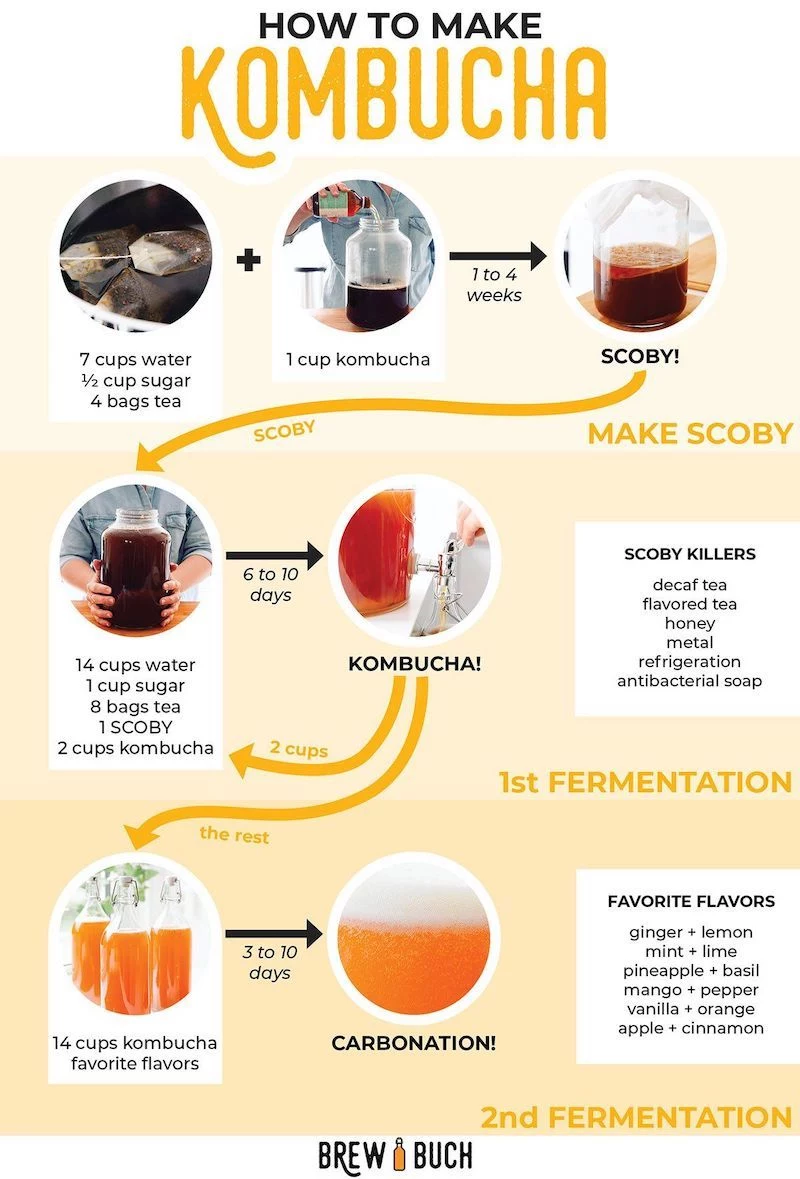
Part 1: The Main Brew (First Fermentation – F1)
This is the primary stage where you turn sweet tea into tart, tangy kombucha. We’ll worry about bubbles and flavors later.
Where to Get Your First Culture
You’ve got a few options here:
- From a Friend: This is the best way. A fellow brewer can give you a healthy pellicle plus a couple of cups of its strong starter tea. It’s already thriving in a home environment.
- Buy One Online: There are great suppliers online that ship a pellicle sealed in plenty of starter liquid. Look for dedicated fermentation supply shops or sellers on places like Etsy with tons of great reviews. A good one will cost you between $15 and $25 and should smell pleasantly sour when it arrives.
- Grow Your Own: This is a fun science experiment if you have patience. Buy a bottle of raw, unflavored, store-bought kombucha (make sure it says “live cultures” and has some floaty bits at the bottom). Pour it into a clean jar, cover it with a cloth, and wait for 2-4 weeks in a warm, dark spot. A thin, jelly-like film will form on top. Once it’s about 1/4-inch thick, you can use it and the liquid it grew in for your first full batch!
Your Simple, No-Fail Setup
You don’t need a fancy kit. The startup cost is surprisingly low.
- A 1-Gallon Glass Jar: The classic choice. You can find these at Target, Walmart, or online for about $10-$15. Avoid metal, as the acid can react with it.
- A Cloth Cover: A few layers of a clean tea towel, an old t-shirt, or even a coffee filter work perfectly. Secure it with a rubber band. Don’t use cheesecloth—the weave is too loose and lets in fruit flies.
- Basic Utensils: Wood, plastic, or stainless steel spoons are fine.
Heads up: Sanitation is everything. Before you start, wash your hands, jar, and utensils with hot water and a mild, unscented soap. Rinse VERY well to get rid of all soap residue. My pro-tip? Do a final rinse with distilled white vinegar. It sanitizes without leaving behind any harmful chemicals. This one step is the best way to prevent mold.

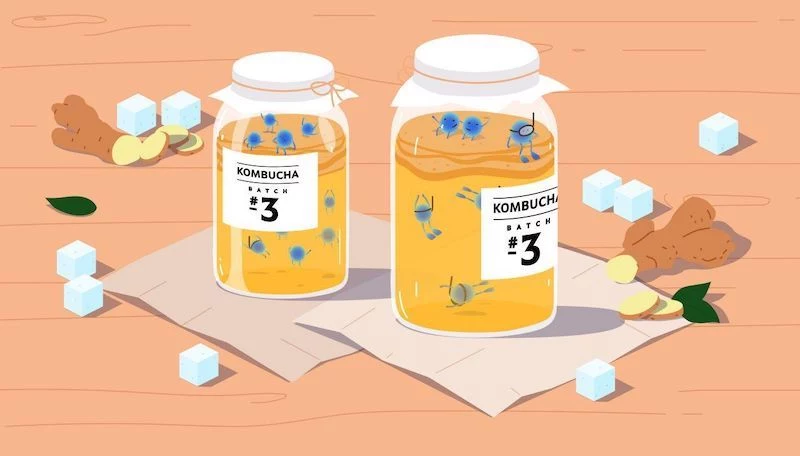
My Go-To 1-Gallon Recipe
This is the ratio I’ve relied on for years. It’s incredibly consistent.
- 14 cups of filtered water
- 1 cup of white cane sugar
- 8 black tea bags (or 2 tbsp loose-leaf)
- 2 cups of strong starter tea
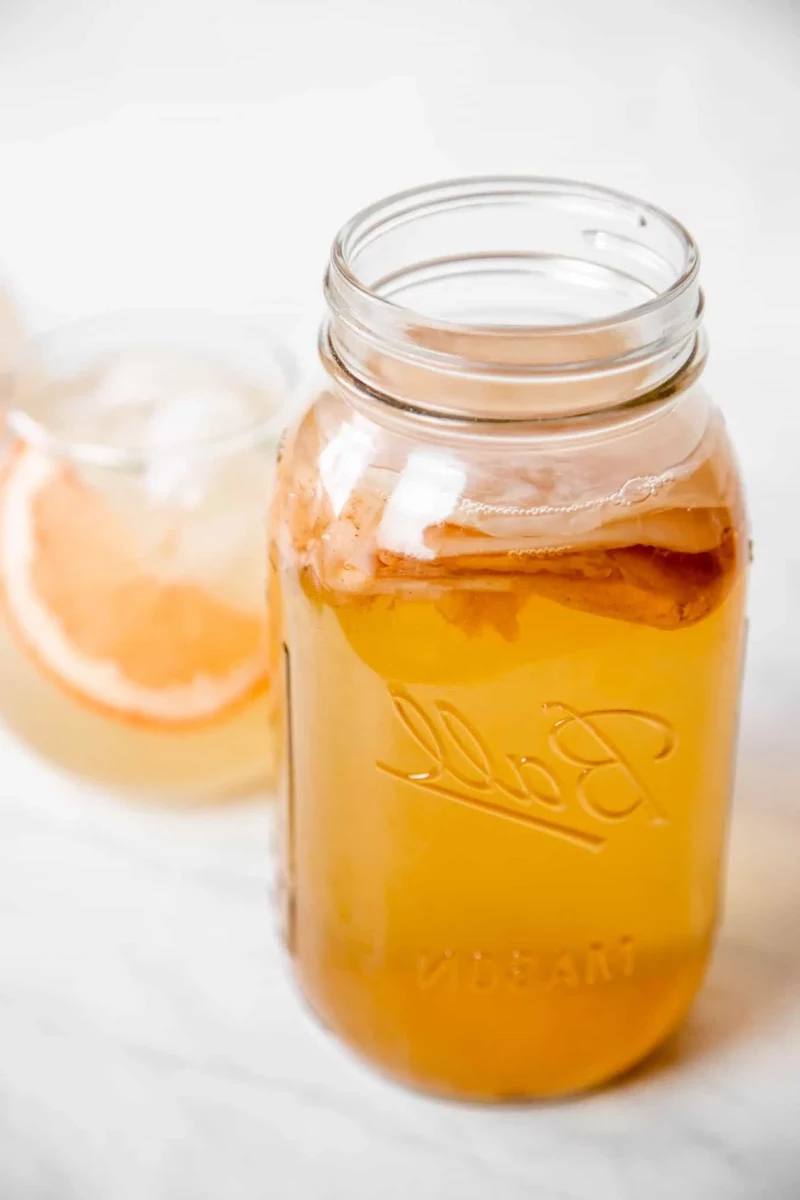
- 1 SCOBY pellicle
Step-by-Step Guide:
1. Make the Sweet Tea: Bring 6 cups of water to a boil. Remove from heat, stir in the sugar until it’s completely dissolved, then add your tea bags. Let it steep for a good 10-15 minutes to get all the nutrients out.
2. Cool It Down COMPLETELY: This is critical. Remove the tea bags and add the remaining 8 cups of cool water to help speed up the cooling process. The tea MUST be at room temperature (around 68-80°F) before you add your culture. Hot tea will kill your SCOBY. Be patient here; it can take a couple of hours.
3. Combine & Add the Culture: Pour the cooled sweet tea into your gallon jar. Add the 2 cups of starter tea. With clean hands, gently place the pellicle in the jar. Don’t worry if it sinks, floats, or hovers sideways—it’s all normal.
4. Cover and Ferment: Secure your cloth cover with a rubber band. Find a warm spot (75-85°F is ideal) with good airflow, away from direct sunlight. A pantry shelf or the top of your fridge works well. By the way, if your house runs cold, a neat trick is to place the jar in your oven with just the light on, or on a seedling heat mat (you can find these for about $15 online).
5. Wait and Taste: Let it ferment for 7 to 21 days. After day 7, you can start tasting it. Just slide a clean straw down the side of the jar, under the pellicle, and take a sip. At first, it’ll be sweet. As time goes on, it will get more tart. The perfect brew is all up to you—I usually stop mine around day 10 when it has a nice balance of sweet and tangy.

What’s Going On In My Jar? A Troubleshooting Guide
Every brewer faces a weird-looking brew eventually. Knowing what to look for will save you a lot of stress.
Is it Mold? (The #1 Question)
Let’s clear this up right now. Mold is the only thing that’s a deal-breaker, and it’s pretty distinct.
Mold is ALWAYS dry and fuzzy. It grows in circular patches on the very top surface of the liquid and can be white, green, blue, or black. It looks just like mold on old bread. If you see it, the batch is a goner. You have to throw out the liquid AND the pellicle and start over with a brand new culture after deep-cleaning your gear. The usual cause is weak or not enough starter tea, which didn’t make the brew acidic enough from the get-go.
Normal SCOBY growth, on the other hand, can look really weird. It can be bumpy, lumpy, have brown stringy bits (that’s just yeast), clear gelatinous patches, or bubbles trapped underneath. These are all signs of a healthy, active brew. It should smell pleasantly sour and a little sweet, kind of like apple cider.
What about a wrinkly white film? That’s likely Kahm yeast. It’s not fuzzy and it’s not dangerous, but it can give your kombucha an off, cheesy flavor. It forms a thin, geometric, or wrinkled film on the surface. You can skim it off, but the flavor might already be compromised. It usually means your starter was a bit weak or the room was too warm. A stronger starter tea in the next batch usually keeps it away.
Part 2: Adding Fizz and Flavor (Second Fermentation – F2)
Okay, this is the fun part! The second fermentation is where you bottle the kombucha, add flavor, and build up that lovely carbonation.
Bottle Safety is NOT Optional
I can’t stress this enough. You are creating pressure in a sealed glass bottle. Using the wrong kind of bottle can literally create a small bomb that can explode and send glass flying. I’ve seen it happen, and it’s dangerous.
ALWAYS USE: Round, swing-top (Grolsch-style) bottles designed for brewing. They have thick glass made to withstand pressure. You can get a set of six for around $20-$30 at a homebrew shop or online. They’re a great investment. Properly rated beer bottles also work if you have a bottle capper.
NEVER USE: Square bottles (like from liquor), decorative jars, or regular Mason jars. Square bottles have weak points at the corners, and Mason jars are built for canning (sucking air out), not holding pressure in.
The F2 Step-by-Step Process
1. Bottle Your Brew: Once your F1 kombucha tastes right to you, gently remove the pellicle and about 2 cups of the liquid. Set this aside in a separate jar—that’s your SCOBY and starter tea for the next batch! You can start a new F1 right away if you want.
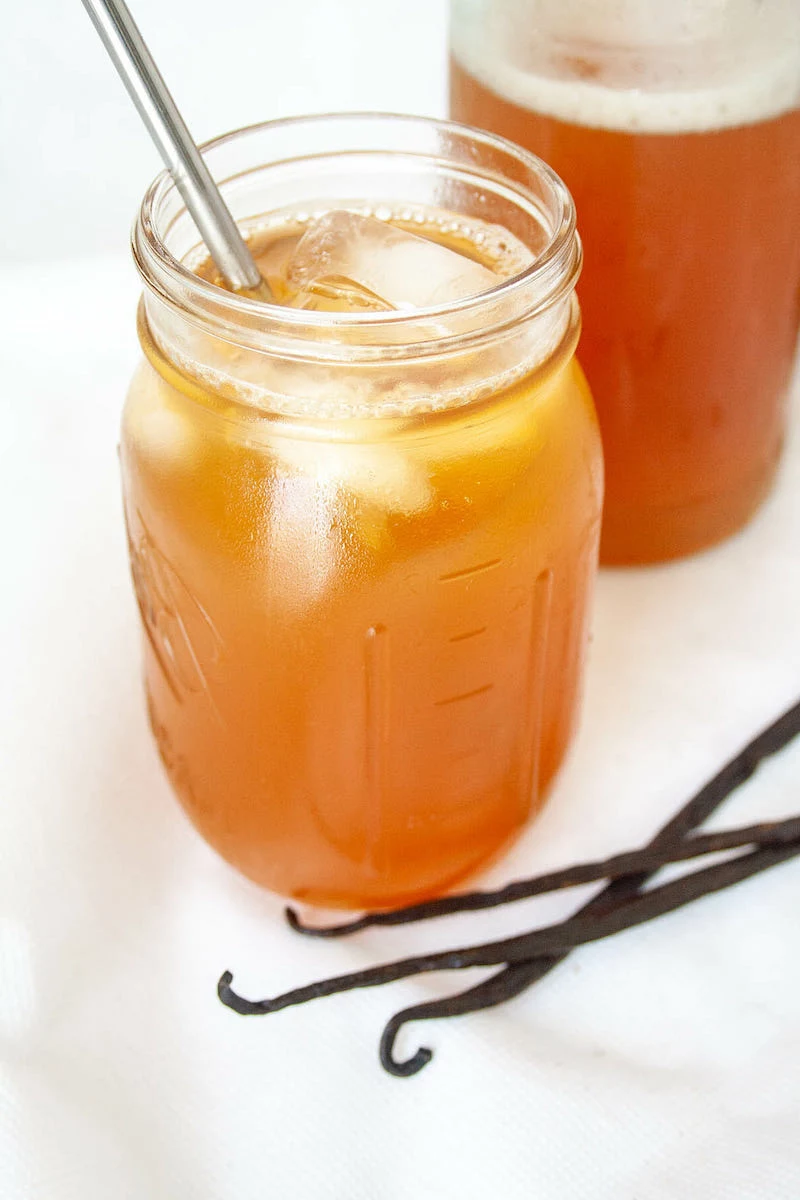
2. Add Your Flavors: Using a funnel, pour your F1 kombucha into your pressure-safe bottles, leaving 1-2 inches of empty space (headspace) at the top. This is crucial for carbonation. Now add your flavorings. A good rule of thumb is 10-20% flavoring to 80-90% kombucha. For a standard 16oz bottle, that means about 2-3 tablespoons of fruit puree or juice.
Quick Flavor Ideas:
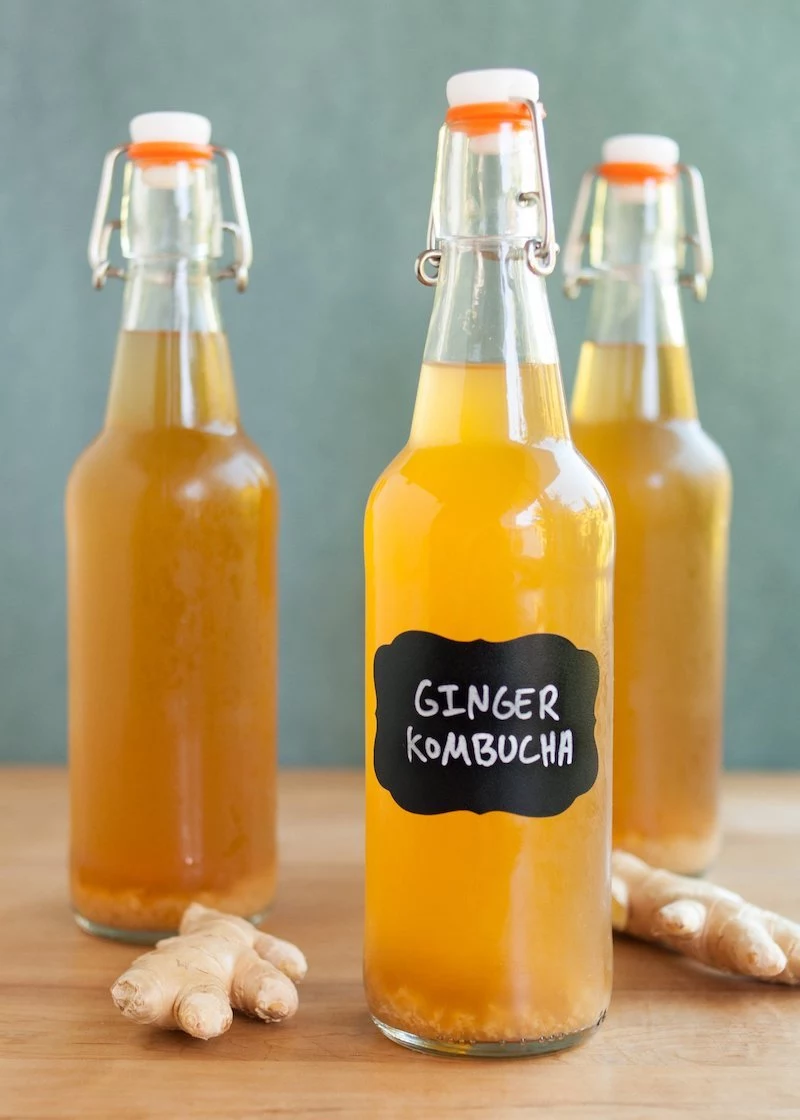
- Ginger-Lemon: A few thin slices of fresh ginger and a squeeze of lemon juice.
- Raspberry-Thyme: 2 tbsp of raspberry puree and a fresh thyme sprig.
- Pineapple-Mint: 1/4 cup of pineapple juice and a few fresh mint leaves.
3. Seal and Wait: Seal the bottles tightly and leave them at room temperature for 2 to 7 days. The yeast will eat the new sugars from your fruit, creating CO2 that gets trapped in the bottle, making it fizzy.
4. Burp and Refrigerate: Especially when you’re starting out, it’s wise to “burp” your bottles once a day after the first 24 hours. Just briefly open the top to release excess pressure and prevent explosions, then seal it again. You’ll hear a ‘psst’ sound. The louder it gets, the more carbonated it is. Once it’s as fizzy as you like, stick the bottles in the fridge. This stops the fermentation and locks in the carbonation. Your kombucha is now ready to drink!

Help! My Kombucha is Flat!
It’s the biggest letdown for a new brewer. If you’re struggling to get fizz, here are the most common culprits:
- Not Enough Sugar: The yeast needs sugar to make bubbles in F2. If your F1 was very long and tart, or if you’re only using a few slices of low-sugar fruit, there might not be enough food. Try adding 1/4 teaspoon of sugar per 16oz bottle along with your fruit to give it a boost.
- Leaky Bottles: If your swing-top seals are old or the caps aren’t on tight, the CO2 is escaping. Make sure they’re sealed well.
- It’s Too Cold: F2, just like F1, happens faster in a warmer room. If your house is chilly, it might just need more time. Give it a few extra days.
- You Didn’t Wait Long Enough: Sometimes it’s just a matter of patience. Let it sit for another day or two at room temperature before you give up and refrigerate it.
Taking a Break? Create a SCOBY Hotel
What if you want to go on vacation or just take a break from brewing? Easy—you make a SCOBY hotel. It’s just a jar where your pellicles can hang out safely.
Simply place your extra pellicles in a glass jar and cover them with a good amount of starter tea. Cover with a cloth, just like a regular brew. Every 4-6 weeks, just feed it a cup of fresh sweet tea (the same F1 recipe, just scaled down) to keep the cultures fed and happy. You can keep it going like this for months!
Oh yeah, and when your main SCOBY pellicle gets too thick (over an inch), you can just peel off a few layers from the top or bottom. Give them to friends, add them to your hotel, or chop them up and throw them in your compost bin.
Inspirational Gallery
Is this fuzzy thing on my SCOBY mold, or am I just being paranoid?
It’s the number one fear of every new brewer, but the difference is usually clear. Mold is always on the surface, looks dry, and is distinctly fuzzy, appearing in circular patches of white, green, or black. If you see it, the entire batch must be discarded. Healthy yeast, however, can form brown, stringy, or blob-like formations that hang down into the liquid or attach to the SCOBY. These might look strange, but they’re a sign of a robust and active culture. When in doubt, trust your nose: a moldy brew will smell off, not pleasantly vinegary.
With every batch, a new SCOBY layer forms. After a few months, a single brewer can find themselves with a dozen or more healthy cultures.
Suddenly you have more SCOBYs than you know what to do with! Don’t throw them out. Start a
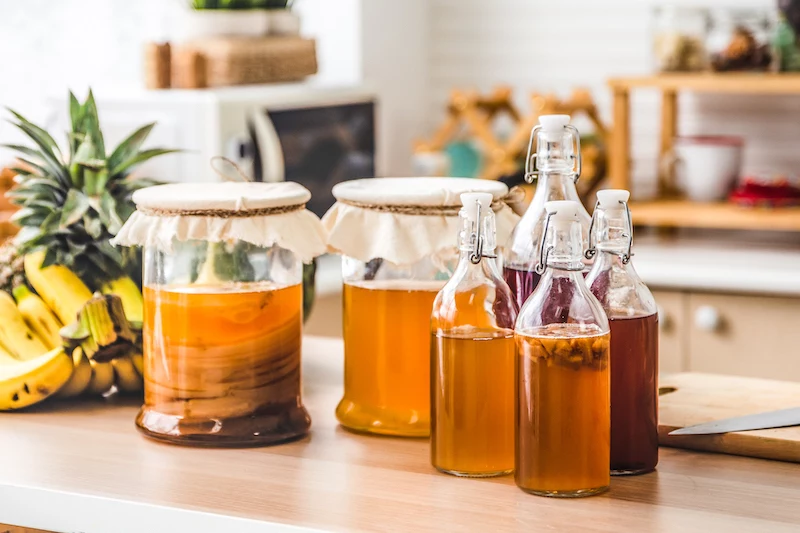
The one rule to never break: Always ferment in glass. Kombucha is acidic, and this acidity can react with metals, leaching harmful compounds into your brew. Similarly, low-grade plastic can degrade or leach chemicals. Invest in a quality, food-grade glass jar with a wide mouth—like the popular Anchor Hocking or Bormioli Rocco Fido jars—to ensure a pure, safe, and delicious result every time.

The first fermentation is science, but the second fermentation (F2) is where the real art begins. This is where you add flavor and create that signature fizz. Once you’ve bottled your plain kombucha in pressure-safe bottles (brands like Grolsch or EZ-Cap are perfect), try adding one of these pairings before sealing it for a few days:
- Ginger & Lemon: The timeless classic. A few thin slices of fresh ginger and a squeeze of lemon juice for a spicy, zesty kick.
- Raspberry & Thyme: A handful of muddled raspberries with a single sprig of fresh thyme creates a sophisticated, herbaceous flavor.
- Blueberry & Lavender: A few culinary lavender buds with a small handful of blueberries for a calming, floral-fruity essence.
- Creates a lighter, less vinegary, and more floral taste.
- Finishes fermenting faster, often in cooler temperatures.
The secret? Meet Jun, kombucha’s elegant cousin. It’s brewed with green tea and raw honey, creating a distinct culture that yields a brew often called the
Refined Cane Sugar: This is the gold standard. The simple sucrose is easily digestible for the SCOBY, leading to a healthy and balanced fermentation. Organic is great, but any plain white cane sugar works perfectly.
Honey or Agave: Avoid these for standard kombucha. They contain different types of sugars and antimicrobial properties that can weaken or even kill your SCOBY over time (honey is only suitable for Jun-specific cultures).
For a vibrant brew, keep it simple. Remember, the sugar is primarily food for the culture, not for you!


