How to Make Life-Changing Chicken Ramen (That’s Way Better Than Instant)
I’ll never forget my first bowl of real ramen. It was a complete game-changer, nothing like the salty, freeze-dried blocks I survived on in college. I found myself in this tiny, steamy shop, watching the chef move with a kind of focused calm. The broth was impossibly rich, the noodles had the perfect chew, and every single thing in that bowl felt like it was there for a reason. That’s when it clicked: incredible ramen isn’t just one thing. It’s a team effort between five key players: the broth, the seasoning (tare), the aroma oil, the noodles, and the toppings.
In this article
- First, Let’s Talk Shopping and Strategy
- Short on Time? Here’s the Quick-Win Version
- 1. The Heart of Ramen: A Crystal-Clear Broth
- 2. The Soul of Ramen: The Shoyu Tare
- 3. The Aroma: Chicken and Scallion Oil
- 4. The Body: Noodles and Toppings
- 5. The Grand Finale: Assembling Your Masterpiece
- A Final Word From My Kitchen
- Inspirational Gallery
Honestly, understanding that is the first step to leaving instant soup behind and crafting something truly special in your own kitchen.
This recipe for a chicken and shiitake ramen is the result of my own journey, full of trial and plenty of error. It’s a clean, savory style known as a ‘chintan’ broth. We’re going to build deep, layered flavor without the multi-day commitment of a rich pork tonkotsu. It’s the perfect way to learn the core techniques that apply to pretty much any bowl of ramen you’ll ever want to make. We’ll build each part separately and bring them all together at the end. That’s the secret to getting that amazing clarity and depth in every spoonful.
First, Let’s Talk Shopping and Strategy
Before we start simmering, let’s get organized. Juggling all these ingredients can be a hassle, so here’s a quick rundown of what you’ll need. I’ve also thrown in some thoughts on where you can save a few bucks and where it’s worth splurging.
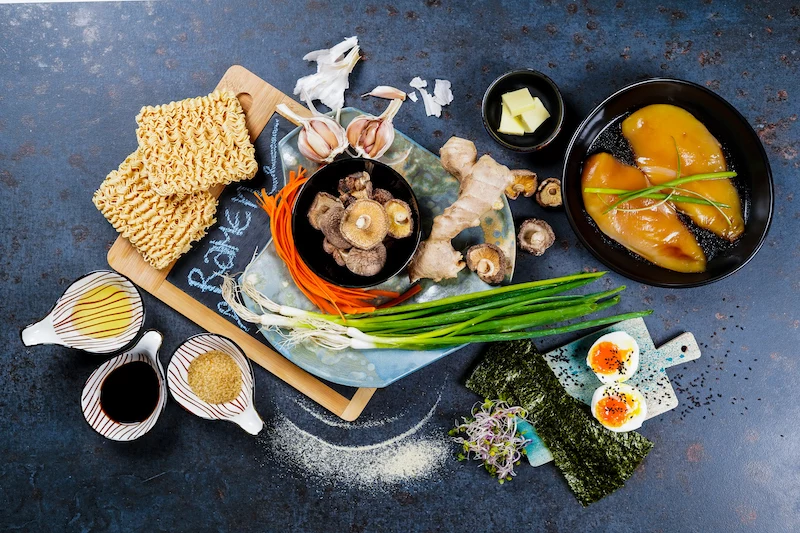
Your Shopping List:
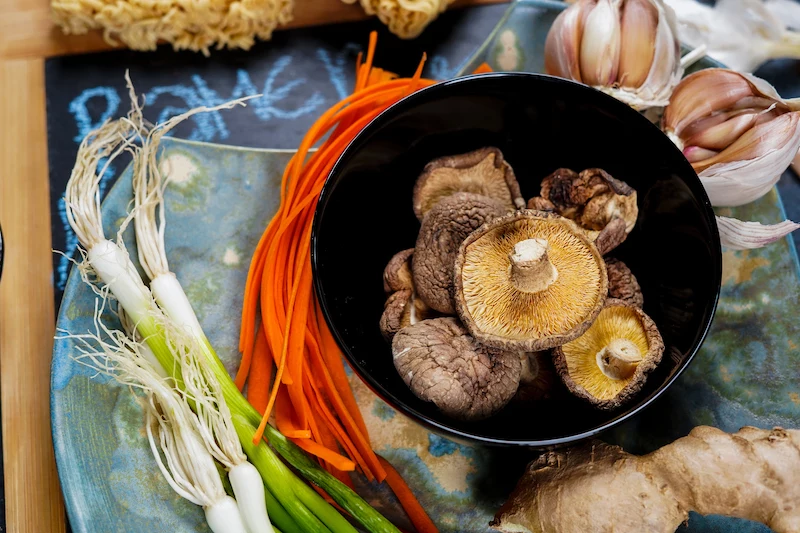
- For the Broth: A whole chicken (about 3-4 lbs), dried shiitake mushrooms, a knob of ginger, a head of garlic, and a bunch of scallions.
- For the Tare (Seasoning): Japanese soy sauce (shoyu), mirin, sake, and a small piece of kombu (dried kelp).
- For the Aroma Oil: You can use the fat from your chicken or a neutral oil like canola. You’ll also need the white parts of your scallions and more garlic.
- For the Bowl: Fresh or frozen ramen noodles, boneless skin-on chicken breast (for a crispy topping), large eggs, and any extra garnishes like toasted sesame seeds or nori.
Splurge vs. Save:
- Save: For the broth, you don’t need a fancy organic chicken. A standard supermarket bird works great! Even better and cheaper? Ask the butcher for chicken backs and wings. They’re packed with collagen for a richer broth and can cost as little as $3-$5 for a bag.
- Splurge (a little): Good Japanese soy sauce for the tare. A standard bottle of Kikkoman is a solid, reliable choice. But if you see a bottle that says ‘marudaizu’ (meaning it’s made from whole soybeans), it’s worth the extra couple of dollars for its smoother, more complex flavor.
Short on Time? Here’s the Quick-Win Version
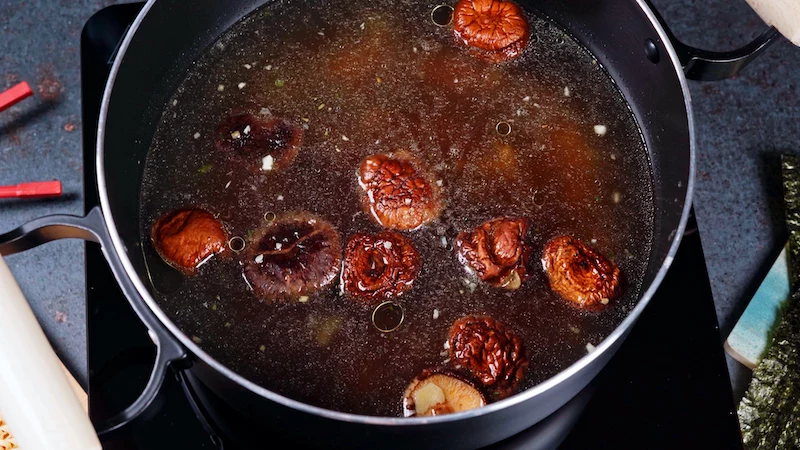
Look, I get it. A five-hour broth session isn’t always in the cards. If you need a ramen fix fast, you can absolutely ‘hack’ a store-bought broth. Grab a carton of low-sodium chicken broth (about 2 quarts). Pour it into a pot, and toss in a handful of dried shiitake mushrooms, a few smashed garlic cloves, and the green parts of a bunch of scallions. Let it simmer for about 30 minutes while you make the other components. It won’t have the same body as the from-scratch version, but it will be a thousand times better than plain broth. Now, for the full experience…
1. The Heart of Ramen: A Crystal-Clear Broth
The broth, or ‘dashi’, is the soul of your ramen. Our goal is a ‘chintan’, which just means a clear soup. This is quite different from the cloudy, almost milky ‘paitan’ broths that are made by boiling bones hard for many, many hours to emulsify the fat. A chintan is more delicate. The key is to use a gentle, patient simmer to coax out all the flavor without making things cloudy. Think of it more as a steep than a boil.
By keeping the temperature just below a full boil—somewhere around 185 to 195°F (that’s 85 to 90°C)—we let the collagen from the chicken bones melt gently into gelatin. This is what gives the broth that silky, satisfying mouthfeel. All the flavors from the meat and aromatics infuse the water slowly, leading to a much cleaner, more refined taste. You’re not just making chicken soup; you’re carefully managing an extraction.
Making a Clean Broth: The Skimming Game
In any professional kitchen, the first job often involves skimming broth. As the chicken heats up in the pot, proteins and other gunk rise to the top as a greyish foam. You have to skim this off diligently for the first hour or so. If you don’t, it will break down and dissolve back into your beautiful broth, making it taste a bit muddy. Just use a fine-mesh skimmer or a ladle and be patient. Your reward is a pristine, golden liquid.
Broth Ingredients:
- One 3-4 lb (1.5 kg) Whole Chicken: Or, as I mentioned, chicken backs and wings are fantastic, cheap alternatives. Wings are a pro-secret for adding richness.
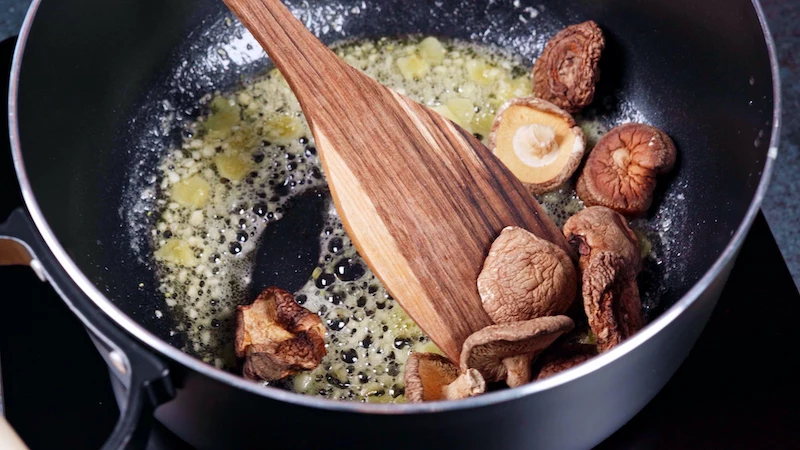
- 8-10 Dried Shiitake Mushrooms: Don’t use fresh ones here! The dried variety contains a powerful umami compound that gives the broth an essential smoky, earthy depth.
- 2-inch Piece of Ginger: Sliced. Mincing it can make the broth cloudy.
- 4-5 Whole, Smashed Garlic Cloves: Just smash them with the side of your knife to release their flavor without any harshness.
- 1 Bunch of Scallions (Green Parts Only): These add a sweet, subtle onion flavor. We’ll use the white parts later for our aroma oil.
- 4 Quarts (about 3.8 Liters) of Cold Water: Always start with cold water. It helps pull the flavors out slowly and makes the impurities easier to skim off.
The Broth-Making Process (Plan for 4-5 hours):
- Rinse & Prep: Rinse your chicken under cold water and place it in a big stockpot (at least 8 quarts). Add the dried shiitakes and cover everything with the cold water.
- The Slow Heat-Up: Bring the pot to a very gentle simmer over medium heat. Do not let it come to a rolling boil. This is the most crucial stage.
- Skim, Skim, Skim: As that foam rises, get it out of there. This takes about 30-60 minutes of paying attention. Once the foam pretty much stops forming, you can relax a bit.
- The Long, Gentle Simmer: Lower the heat as far as it will go. You want the surface to barely tremble, with just a few tiny bubbles breaking the surface. Let it go like this for 3 hours. Don’t cover the pot—that can trap weird flavors and raise the heat.
- Add Aromatics: After 3 hours, add the sliced ginger, smashed garlic, and scallion greens. We add them late so their bright flavors don’t get dull. Simmer for another 60-90 minutes.
- Strain Carefully: Turn off the heat. Use tongs to gently remove the chicken and mushrooms. Then, strain the broth through a fine-mesh sieve lined with cheesecloth into a clean container. Don’t press down on the solids in the sieve! Just let gravity do the work to keep your broth perfectly clear.
Heads up! Your broth might still look a little cloudy. Don’t panic! It could be from a bit of fat that hasn’t separated. Just let it cool completely in the fridge, and the fat will solidify on top, making it super easy to scrape off. The chicken meat can be shredded for another meal (chicken salad, anyone?), and the cooked shiitakes can be sliced for a topping. Your broth can be made up to 3 days ahead and kept in the fridge.
2. The Soul of Ramen: The Shoyu Tare
A common mistake is to salt the broth itself. Don’t do it! In traditional ramen, the broth is unsalted. All the seasoning comes from the ‘tare’, a concentrated flavor base you put in the bowl first. We’re making a classic shoyu (soy sauce) tare. It brings the salt, a deep umami punch, and a touch of sweetness to balance everything out.
Tare Ingredients:
- 1 cup (240 ml) High-Quality Japanese Soy Sauce: Again, a standard dark (koikuchi) soy sauce is a great start.
- 1/2 cup (120 ml) Mirin: A sweet Japanese rice wine for sweetness and shine.
- 1/4 cup (60 ml) Sake: Use a dry sake to add depth and another layer of umami.
- 1-inch piece of Kombu (Dried Kelp): An umami bomb. You can find this at most Asian markets or online.
- 2 tablespoons Brown Sugar: For balance and a hint of molasses.
Making the Tare (Just 15 minutes):
- Combine the soy sauce, mirin, sake, and brown sugar in a small saucepan. Heat it gently over low heat, stirring until the sugar is dissolved. Then add the kombu.
- Let it steep at a bare simmer for 10 minutes. Whatever you do, don’t let it boil. Boiling the soy sauce will make it taste harsh and bitter. We’re just trying to cook off the sharp alcohol flavor and meld everything together.
- Remove from the heat, take out the kombu, and let it cool. This stuff is liquid gold and can be stored in an airtight jar in the fridge for months. It actually gets better with time.
Good to know: For a non-alcoholic version, you can skip the sake and mirin. Replace them with about 1/3 cup of water, an extra tablespoon of brown sugar, and a teaspoon of rice vinegar to add a little acidic bite.
3. The Aroma: Chicken and Scallion Oil
That slick of flavorful fat floating on top of your ramen? That’s the aroma oil. It’s the first thing you smell, and it adds a crucial layer of richness. We’ll make a simple but amazing scallion-infused chicken fat.
For the best flavor, you can render your own chicken fat (called schmaltz). Just save the skin and fat trimmings from your chicken, chop them up, and heat them on low in a small pot with a splash of water. The fat will slowly melt out. Strain it, and you’re good to go. If that sounds like too much work, a neutral oil like canola or grapeseed is a perfectly fine substitute.
Aroma Oil Ingredients:
- 1/2 cup (120 ml) Chicken Fat or Neutral Oil
- The White and Light Green Parts of 1 Bunch of Scallions: Roughly chopped.
- 2-3 Sliced Garlic Cloves
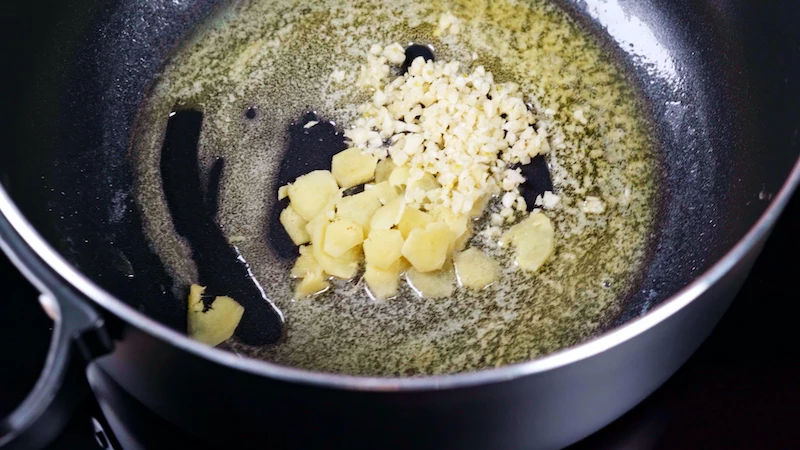
Making the Aroma Oil (10 minutes):
- Add the oil, scallions, and garlic to a small saucepan.
- Heat over low. We’re gently frying them, not deep-frying.
- Cook, stirring now and then, until they’re fragrant and just starting to turn golden brown, about 5-8 minutes. Quick tip: Watch the garlic like a hawk. It can go from golden to burnt and bitter in a matter of seconds. Pull the pan off the heat the moment you see it browning.
- Strain the oil into a jar, tossing the solids. This can also be stored in the fridge for weeks.
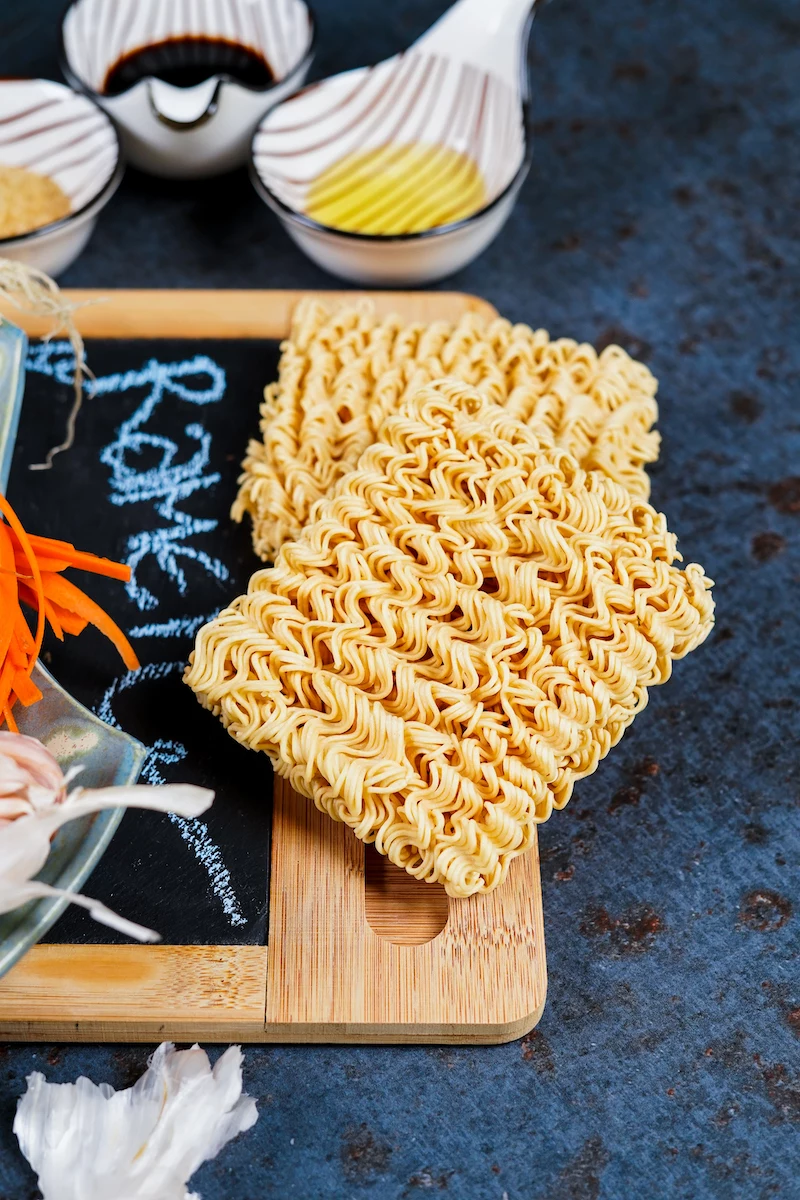
4. The Body: Noodles and Toppings
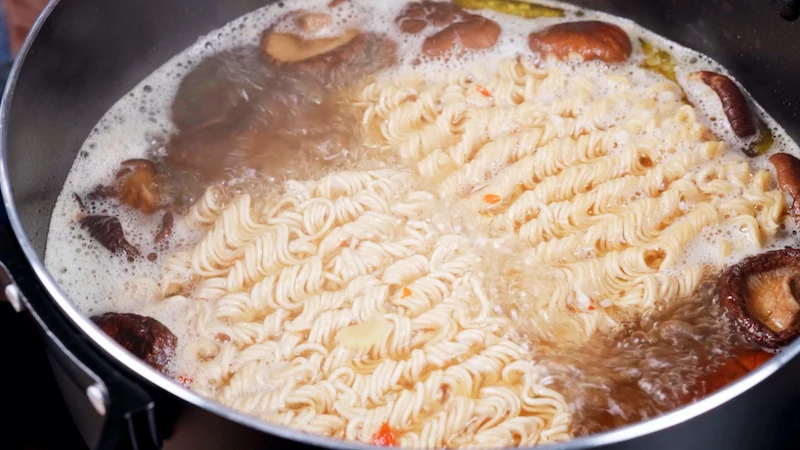
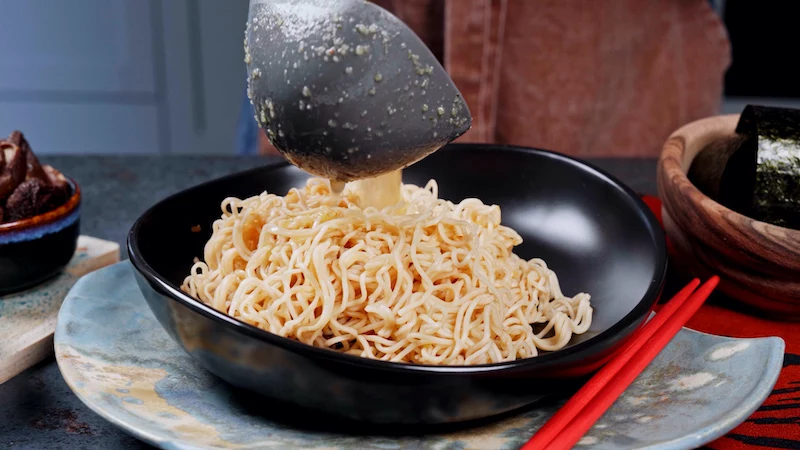
Now for the fun part. The quality of your noodles matters—a lot. Try to find fresh or frozen ramen noodles at an Asian grocery store. Sun Noodle is a great brand often used by restaurants if you can find it. Dried noodles can work in a pinch, but they often lack that signature springy chew. Please, whatever you do, avoid using the fried noodle blocks from instant packets. They’ll turn your beautiful broth greasy and get mushy fast.
The number one rule of noodle cooking: Always cook your noodles in a separate, large pot of boiling water, NEVER in your broth. Cooking them in the broth will make it starchy and cloudy, undoing all your hard work. Cook them according to the package, usually just 1-3 minutes. They’re fast! Drain them well, giving the colander a good shake to remove excess water.
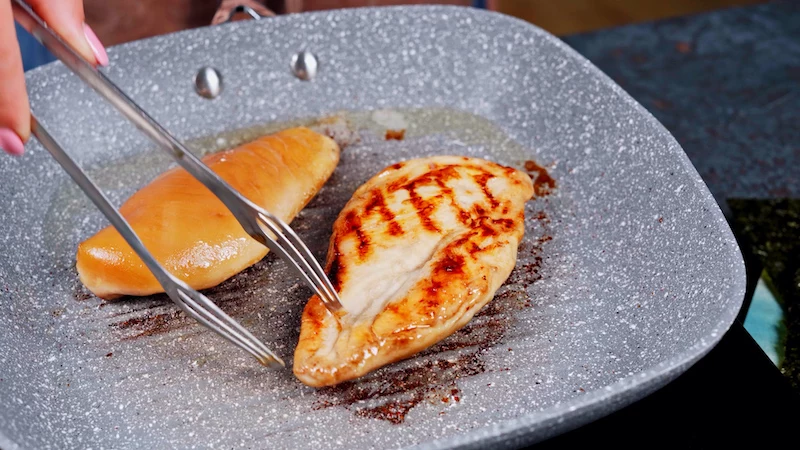
Crispy Pan-Seared Chicken:
While the broth chicken is fine, a pan-seared breast adds amazing texture. Take a boneless, skin-on chicken breast and pat the skin totally dry. Season it well with salt and pepper. Heat a tablespoon of oil in a skillet over medium-high heat. Place the chicken skin-side down and press it with a spatula for 30 seconds to get good contact. Let it cook for 5-7 minutes, until the skin is deep golden brown and crispy. Flip it, turn the heat to medium-low, and cook for another 6-8 minutes, or until a thermometer hits 160°F (71°C). Then, and this is non-negotiable, let it rest on a cutting board for 10 minutes before you even think about slicing it. This lets the juices redistribute, keeping the meat moist.
The Perfect Ramen Egg (Ajitsuke Tamago):
A jammy, marinated egg is practically a requirement. Here’s how to nail it.
- Bring water to a rolling boil. Gently lower large eggs (straight from the fridge) into the water. A lesser-known trick: Using eggs that are a week or two old makes them much easier to peel! The membrane doesn’t stick as stubbornly.
- Boil for exactly 6 minutes and 30 seconds. This is the sweet spot for a firm white and a liquid, jammy yolk. For a slightly more set, custardy yolk, go for 7 minutes.
- While they’re boiling, get an ice bath ready. As soon as the timer goes off, get those eggs into the ice water to stop the cooking cold. Let them chill for at least 15 minutes.
- Peel them carefully under cool running water. Pop the peeled eggs into a zip-top bag and pour in enough of your leftover shoyu tare to cover them.
- Let them marinate in the fridge for at least 4 hours, or even better, overnight.
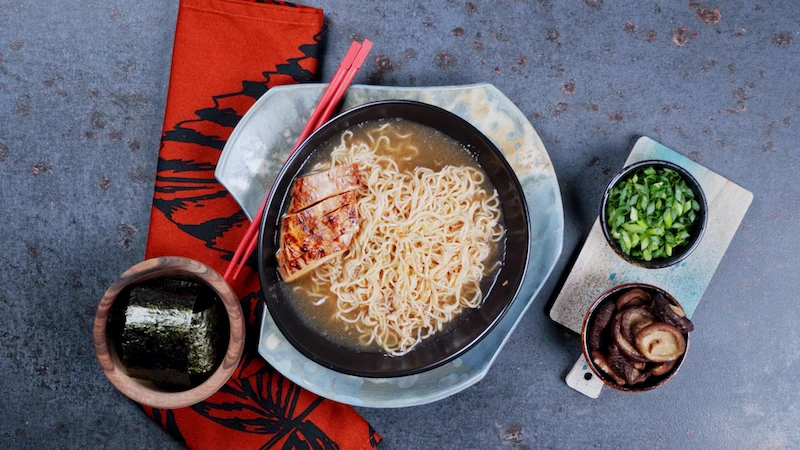
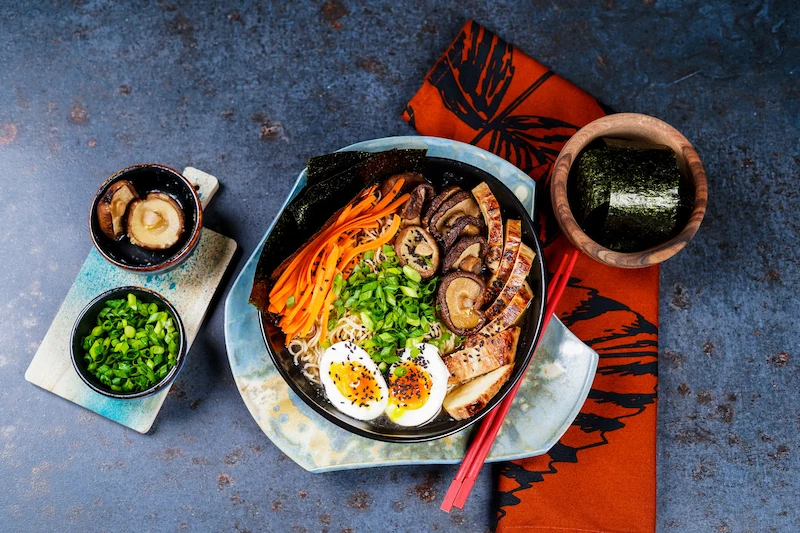
5. The Grand Finale: Assembling Your Masterpiece
This is it—the final dance. Work efficiently, because ramen waits for no one. The noodles will start to soften in the hot broth within minutes.
First, a pro move: Warm your bowls! Pour some hot water into your ramen bowls and let them sit for a minute. A cold bowl will suck the heat right out of your broth. Dump the water and give them a quick wipe.
The Assembly Line (per bowl):
- Tare and Oil First: Add 2-3 tablespoons of the shoyu tare to the bottom of your warm, empty bowl. Add about 1 tablespoon of the aroma oil.
- Add the Broth: Ladle in about 1.5 to 2 cups (350-475 ml) of steaming hot broth. Give it a quick whisk to mix it all together.
- Noodles In: Drop in your freshly cooked and drained noodles. Use chopsticks to gently lift and fold them in the broth so they don’t clump.
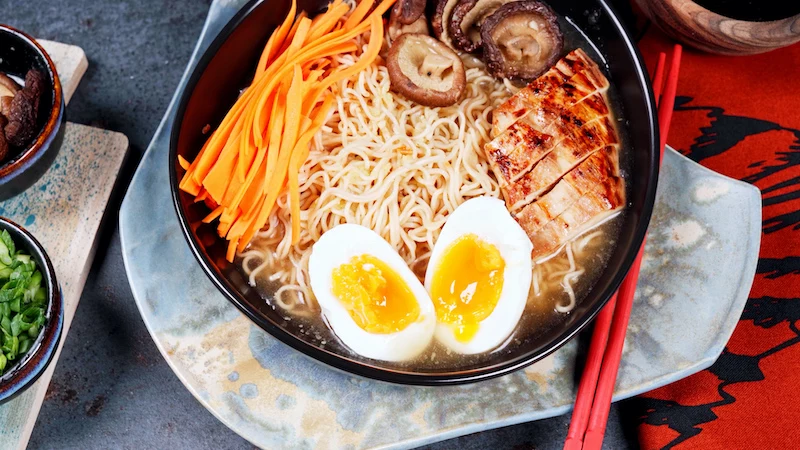
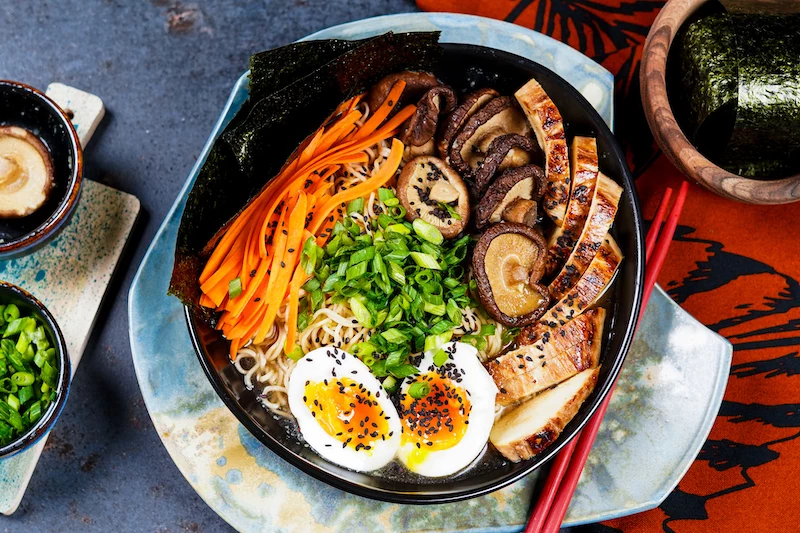
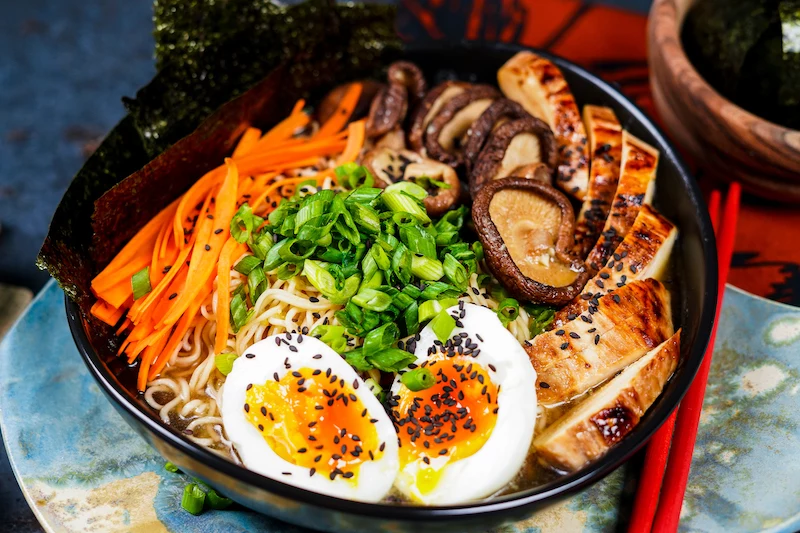
- Arrange Toppings: Now, make it pretty. Arrange 3-4 slices of your crispy chicken. Add a few slices of the reserved shiitake mushrooms. Cut your marinated egg in half and place it yolk-side up.
- Garnish: Finish with a sprinkle of thinly sliced scallion greens and a pinch of toasted sesame seeds. A small sheet of nori (roasted seaweed) tucked into the side is a classic touch.
- Serve IMMEDIATELY. Seriously. Get it to the table right now.
A Final Word From My Kitchen
Remember, this recipe is a starting point, a map from my own kitchen experiments. Your stove might run hotter, your soy sauce might be saltier. So, taste as you go! Is the tare too intense? Use a little less next time. Broth not quite there yet? Let it simmer another hour. The first bowl you make might not be perfect, but it will be yours. You built it, component by component. And honestly, the satisfaction in that is a flavor all its own. Enjoy the process.
Inspirational Gallery
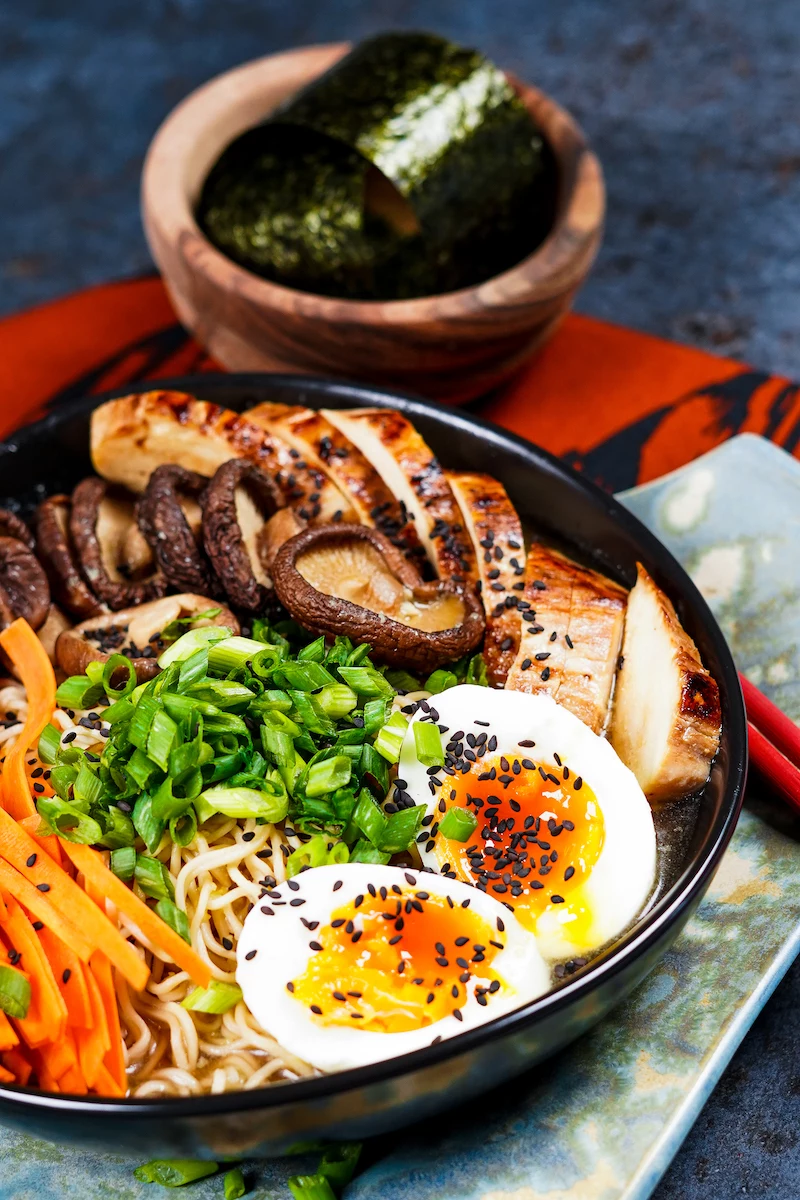
How do ramen shops get those perfectly jammy, flavorful eggs?
The secret is the “Ajitsuke Tamago,” or seasoned egg. It’s a simple but game-changing technique. Start by soft-boiling your eggs for exactly 6-7 minutes, then immediately plunge them into an ice bath to stop the cooking. Once peeled, marinate them for at least four hours (or ideally overnight) in a mixture of equal parts soy sauce, mirin, and sake. This simple bath infuses the egg with a deep, savory-sweet flavor that perfectly complements the rich broth, turning a simple topping into a star component.
The fifth taste, “umami,” was identified in 1908 by Japanese chemist Kikunae Ikeda, who isolated it from kombu seaweed.
This is the science behind your ramen’s incredible depth. The recipe’s use of kombu (which provides glutamate) and dried shiitake mushrooms (a source of guanylate) creates a phenomenon known as “umami synergy.” When combined, these ingredients don’t just add their flavors together; they multiply them, resulting in a broth that is exponentially more savory and satisfying.
Koikuchi Shoyu: This is the dark, all-purpose Japanese soy sauce you’re likely most familiar with, from brands like Kikkoman or Yamasa. It brings a robust, salty, and well-rounded flavor, giving your broth a classic deep amber color.
Usukuchi Shoyu: A lighter-colored soy sauce, it’s actually saltier than its darker counterpart but has a less overpowering flavor. Choose this if you want to preserve the clearer, golden color of your chicken broth while still getting that essential salty kick.
For the chicken chintan in this article, either works, but Usukuchi will better highlight the delicate flavors of the chicken and shiitake.
Once you’ve mastered this chicken ramen, a whole world of regional styles opens up. Think of your bowl as a passport to Japan’s diverse culinary landscape:
- Sapporo Miso Ramen: Journey to the northern island of Hokkaido for a rich, hearty bowl. Its broth is defined by nutty, fermented soybean paste (miso) and often topped with sweet corn, butter, and stir-fried bean sprouts.
- Hakata Tonkotsu: From Fukuoka in the south, this style is famous for its opaque, creamy pork bone broth (tonkotsu), which is simmered for hours to achieve its signature richness. It’s typically served with thin, straight noodles.
- Kitakata Ramen: Known for its wide, flat, and wonderfully chewy noodles, this style from Fukushima features a clean pork-and-niboshi (dried sardine) broth that’s light yet deeply flavorful.


