Finally, Holiday Cookies That Don’t Spread: A Pro Baker’s Guide
I’ve spent more time in professional kitchens than I care to admit, and during the holidays, that means one thing: cookies. Thousands and thousands of them. I’ve seen it all—from gorgeous, crisp gingerbread people to sad, shapeless sugar cookie puddles. And I can tell you, the difference between a baking triumph and a baking tragedy usually boils down to a few simple things. Baking isn’t some mystical art; it’s a craft built on science and solid technique.
In this article
So many home bakers get bummed out when their cookies are a hit-or-miss affair. This guide is here to fix that. We’re not just going through recipes. We’re digging into the why behind each step, using the exact methods the pros rely on for consistently amazing results. Once you get the fundamentals, you’ll be able to bake with total confidence and whip up holiday cookies that are spot-on every single time.
Let’s Talk Ingredients: The ‘Why’ Behind Your Cookies
Before you even think about grabbing a mixing bowl, let’s get one thing straight: your ingredients are everything. In a commercial bakery, we don’t eyeball things. We control every variable we can, and the biggest mistake I see home bakers make is in how they measure.
Flour: The Backbone of Your Cookie
Flour is what gives your cookies their structure. It has proteins that, when mixed with liquid, form gluten. A little bit of gluten is great—it gives the cookie a satisfying chew and keeps it from falling apart. But too much gluten? That’s how you get tough, hard-as-a-rock cookies.
So, here’s the most important piece of advice I can possibly give you: measure your flour by weight, not by volume. Seriously. A cup of flour can weigh anywhere from 120 grams to 150 grams depending on whether it’s packed down or fluffed up. That 30-gram difference is more than enough to completely throw off a recipe. This is why every pro kitchen uses a digital scale. They are not fancy or expensive! You can grab a great one for $15-$25 on Amazon or at Target, and it’s the best money you will ever spend on your baking.
Try this quick experiment: Scoop a cup of flour your usual way and weigh it. Now, fluff up the flour in its container, scoop another cup, and weigh that one. See the difference? That’s the inconsistency we’re trying to eliminate!
Fat (aka Butter!): The Secret to Amazing Texture
Fat, which is almost always butter in cookies, is what makes them tender, rich, and flavorful. It coats the flour particles, which gets in the way of that gluten development we just talked about. The temperature of your butter is, without a doubt, one of the most critical factors.
For most drop cookies and cut-outs, you’re looking for softened butter. The pros aim for about 65°F (18°C), but you don’t need a fancy thermometer. Here’s the real-world test: Gently press the stick of butter with your finger. It should leave a slight indent, but your finger shouldn’t sink right in or feel greasy. If it’s too soft, just pop it back in the fridge for 10 minutes. Using melted butter, on the other hand, gives you a much chewier, denser cookie because it can’t hold air—great for a brownie-style cookie, but a disaster for a classic sugar cookie. Oh, and always use unsalted butter. That way, you control the salt, not the butter manufacturer.

Sugar: It’s Way More Than Just Sweetness
Sugar does a lot more than just make things sweet. Its sharp crystals cut into the butter when you’re creaming them together, creating tiny air pockets that help the cookie rise. It’s also responsible for that beautiful caramelization and browning.
- Granulated Sugar: This is your workhorse for creating light, airy textures.
- Brown Sugar: This is just white sugar with molasses added back in. That molasses brings moisture and a bit of acid, which means you get a softer, chewier cookie. That acid also gives baking soda an extra kick.
- Powdered Sugar: Also called confectioners’ sugar, this fine powder dissolves super easily and is perfect for shortbreads or any cookie where you want a delicate, almost sandy texture.
The Lifters and Binders: Eggs & Leaveners
Eggs bind the dough together, and the yolk adds a little extra fat and flavor. Quick tip: If you forget to take your eggs out of the fridge ahead of time, don’t sweat it. Just place them in a bowl of warm (not hot!) tap water for 5-10 minutes, and they’ll be at room temperature.
Then you have your chemical leaveners, which create the gas to make cookies rise. Baking soda needs an acid to work (like brown sugar, buttermilk, or cocoa powder). Baking powder is the all-in-one solution; it already contains both the base (baking soda) and the acid, so it works on its own.
The Pro Workflow: How to Bake Like You’ve Done This a Million Times
Okay, with the science down, let’s get into the actual process. Following these steps will make your baking way more relaxed and successful.
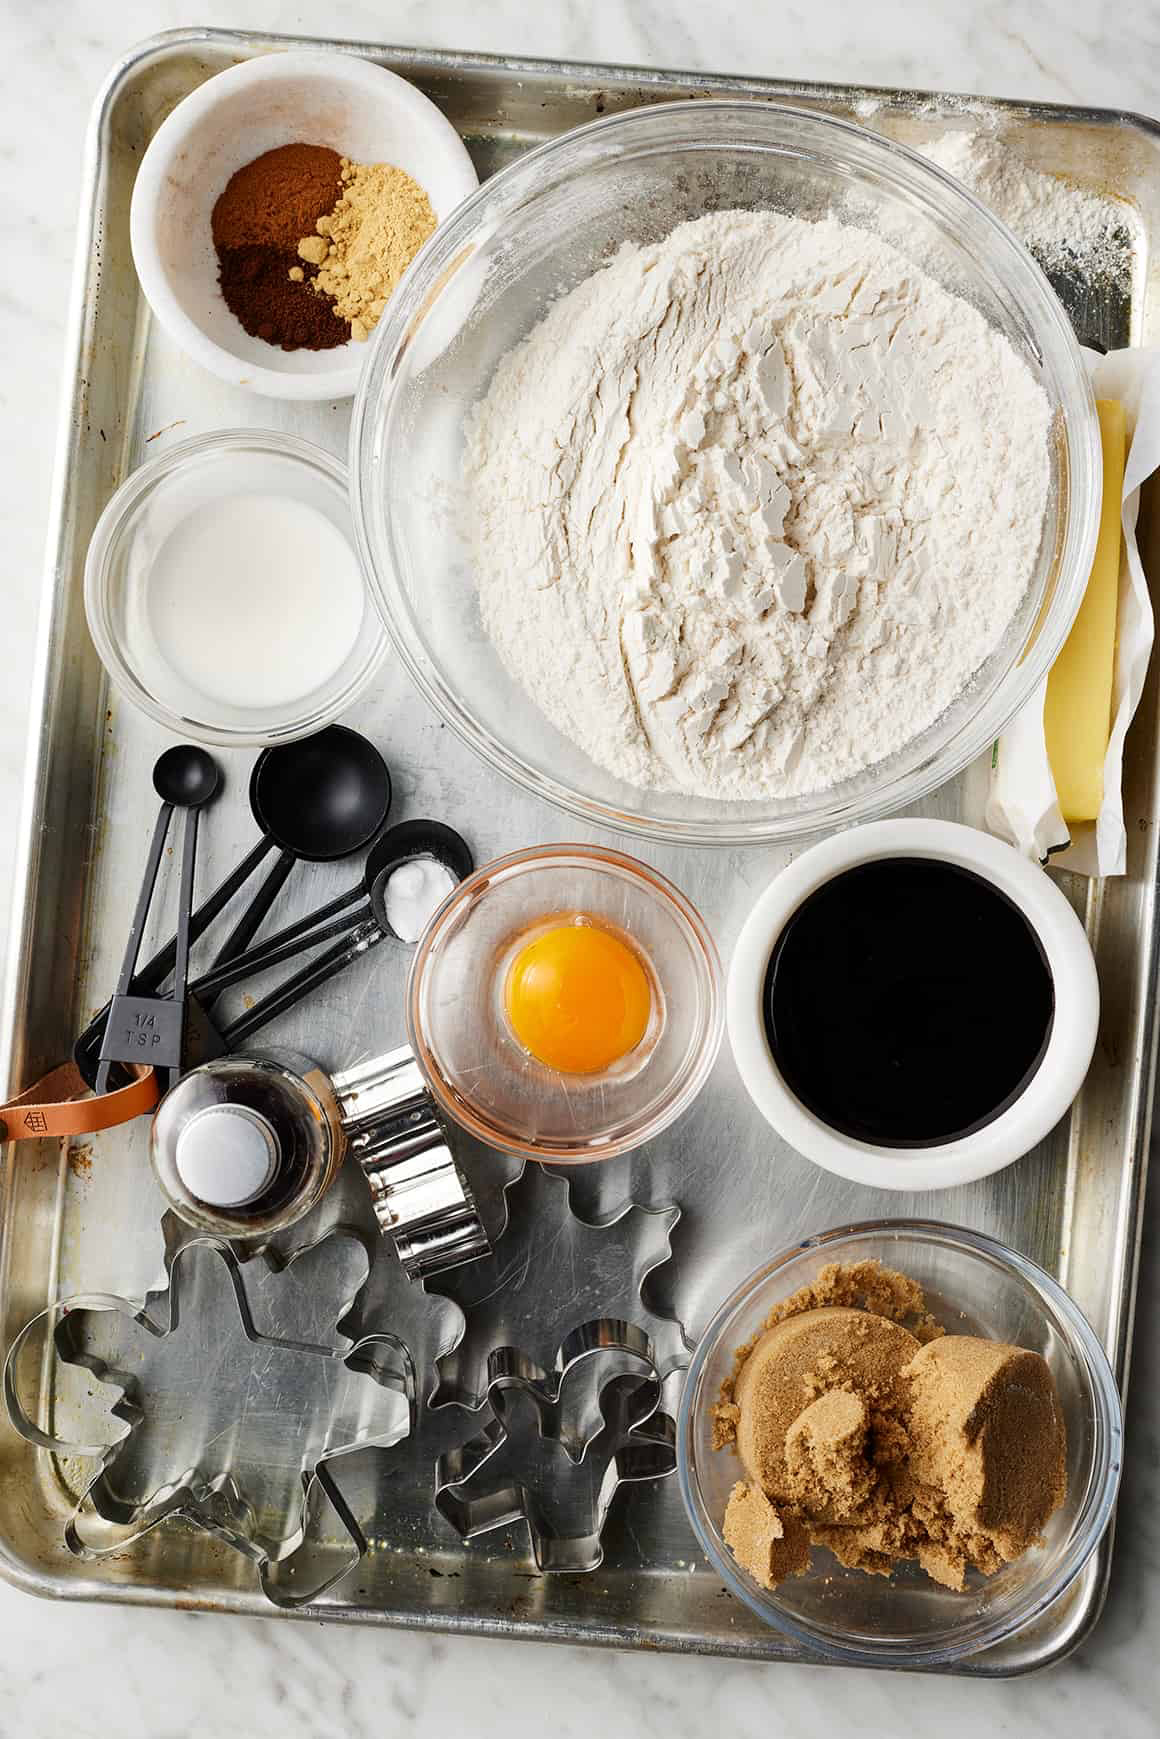
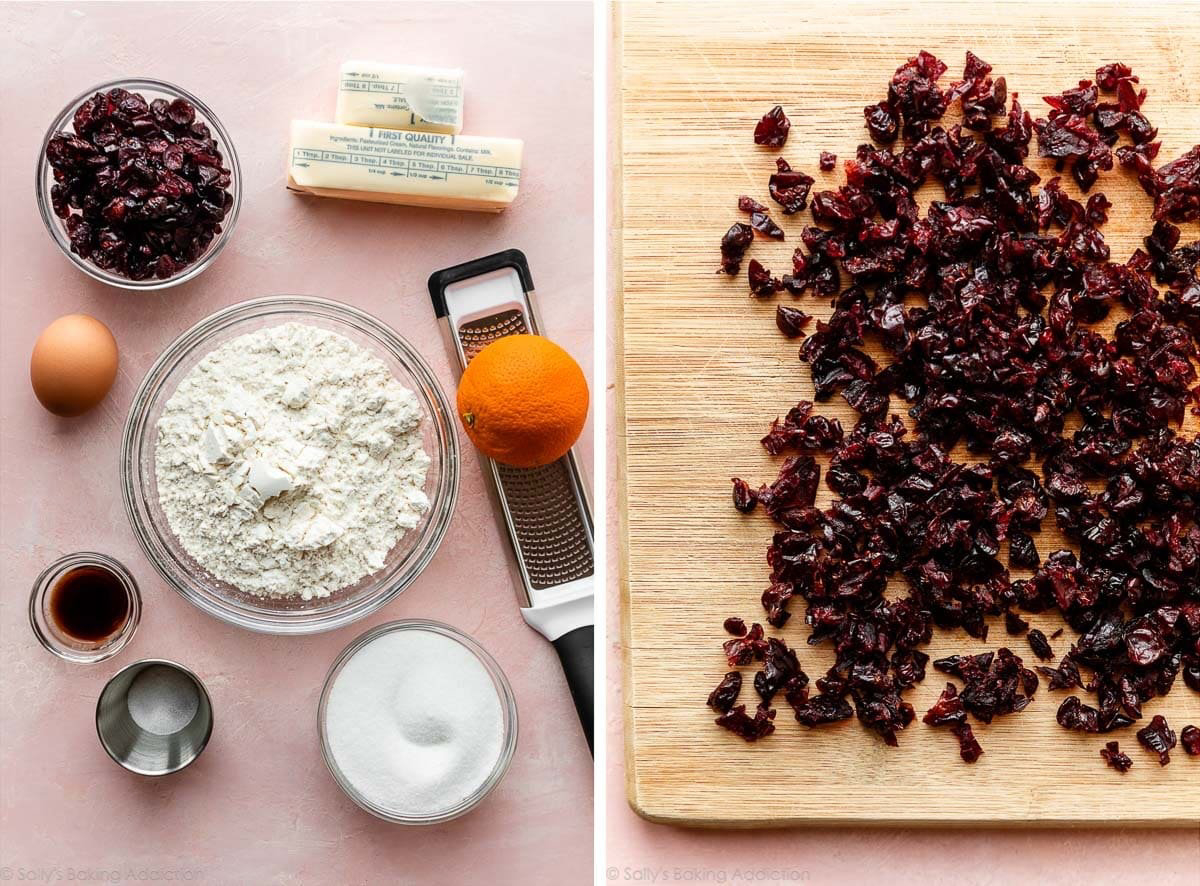
- Mise en Place (Everything in its Place): This French term is the foundation of calm, organized baking. Before you mix a single thing, measure out all your ingredients. Put your flour, sugar, and spices in little bowls. Crack your egg. Get your pans and parchment paper ready. This stops that frantic moment of panic when you’re digging for vanilla while your butter is over-mixing.
- The Creaming Method: This isn’t just about combining butter and sugar; it’s about forcing air into the fat. In a stand mixer with the paddle attachment, you’d beat the softened butter and sugar on medium for 3-5 minutes. But you absolutely do NOT need a stand mixer! A good electric hand mixer works perfectly. It might take an extra minute, but you’re looking for the same visual cue: the mixture should go from a dense, yellow paste to a light, pale, and fluffy texture.
- The Danger of Overmixing: Once that flour goes in, your motto is “less is more.” Mix on the lowest speed only until the last streaks of flour disappear. Any more than that and you’re developing too much gluten, leading to tough, bready cookies.
- The Critical Chill: I’m going to say this as clearly as I can: DO NOT SKIP CHILLING YOUR DOUGH. Chilling it for at least an hour does two magical things. First, it solidifies the butter, which melts slower in the oven and dramatically reduces how much your cookies spread. Second, it allows the flour to fully hydrate, which deepens the flavor and improves the texture. It’s a non-negotiable step.
- Baking and Cooling: Here’s a tough-love reality check: your oven’s temperature dial is probably lying to you. They can be off by 25-50 degrees! The only way to know the real temperature is with a cheap oven thermometer. You can get one for under $10 at any grocery store, and it will save you so much grief. To get an even bake, always rotate your baking sheets halfway through. And remember, cookies continue to bake on the hot pan (that’s called ‘carryover cooking’), so pull them when the edges are set but the center still looks a tad soft. Let them cool on the pan for 5 minutes before moving them to a wire rack.
Putting It All Together: Three Fail-Proof Holiday Recipes
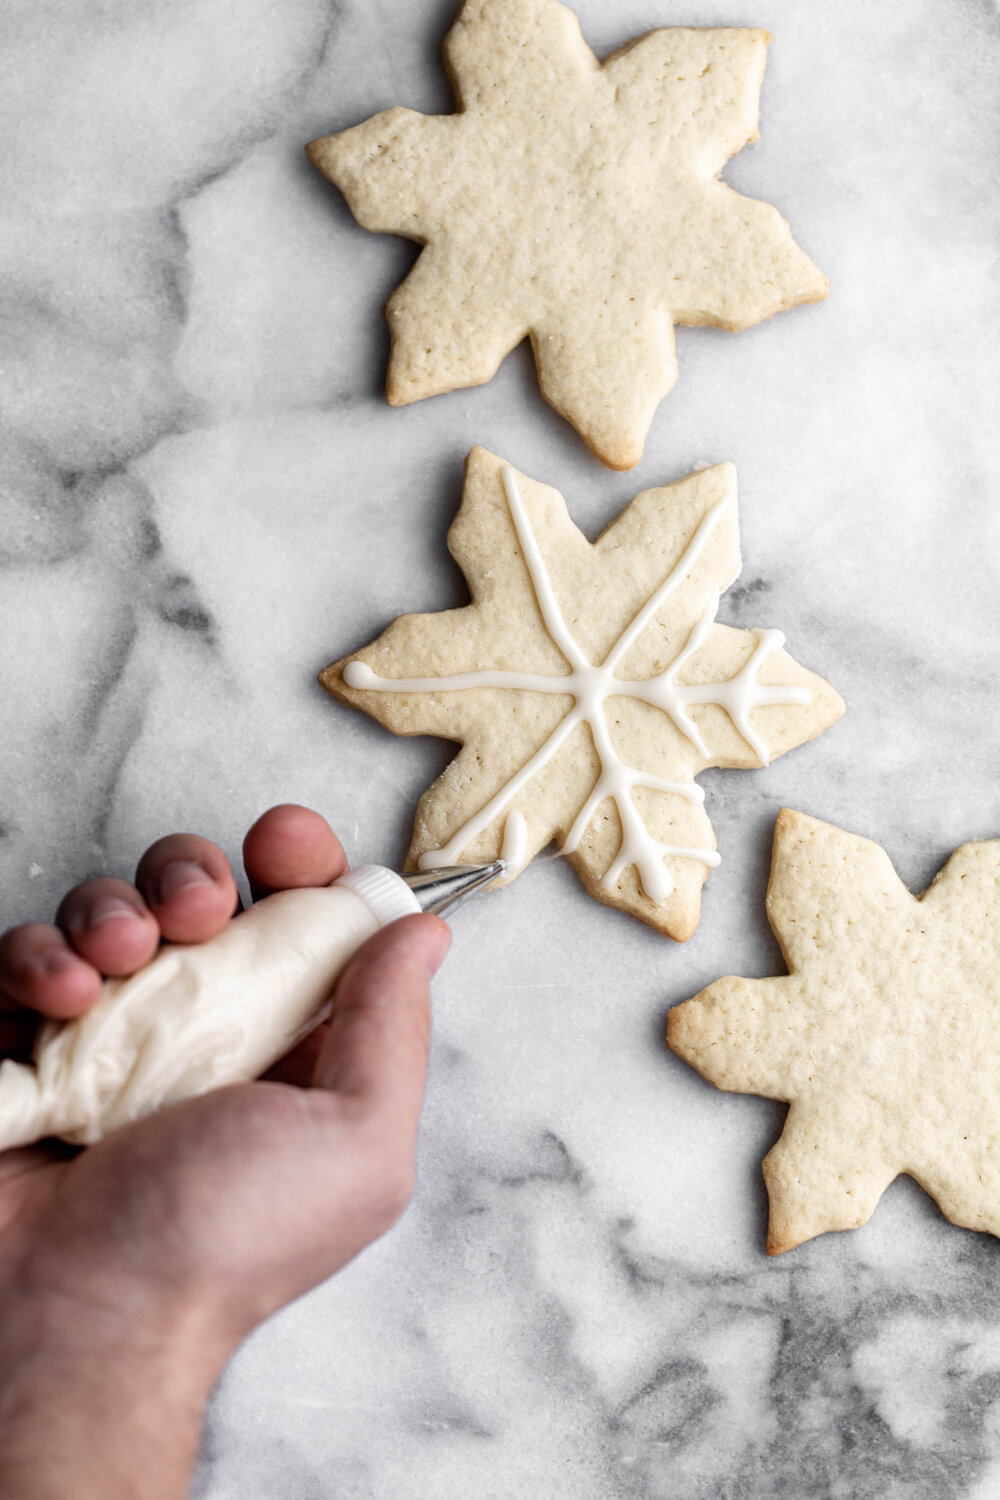
1. The No-Spread Cut-Out Sugar Cookie
This is the cookie everyone wants to make, but it’s famous for spreading into mystery blobs. The key here is all about temperature control.
Pro Insight: We roll the dough before the main chill. Trying to roll a rock-hard block of cold dough is a nightmare. Roll the soft dough between parchment, chill the flat sheet, and then cut your shapes.
- 390g All-Purpose Flour
- 4g Baking Powder
- 3g Salt
- 227g Unsalted Butter, softened
- 200g Granulated Sugar
- 1 Large Egg, room temperature
- 10ml Vanilla Extract
First, whisk your dry ingredients (flour, baking powder, salt) together. In a separate bowl, cream the butter and sugar until light and fluffy. Add the egg and vanilla and mix until just combined. Add the dry ingredients and mix on low until the dough just comes together. Divide the dough in half, and roll each half between two sheets of parchment paper to about ¼-inch thickness. (Lesser-known trick: If you don’t have a fancy rolling pin with guides, just place two ¼-inch wooden dowels from a craft store or two stacks of magazines on either side of your dough to act as rails). Place these flat dough sheets on a baking sheet and chill for at least an hour. Preheat your oven to 350°F (175°C), cut your shapes, and for perfectly sharp edges, pop the tray of cut-outs into the freezer for 10-15 minutes before baking. Bake for 10-12 minutes, until the edges are just golden.
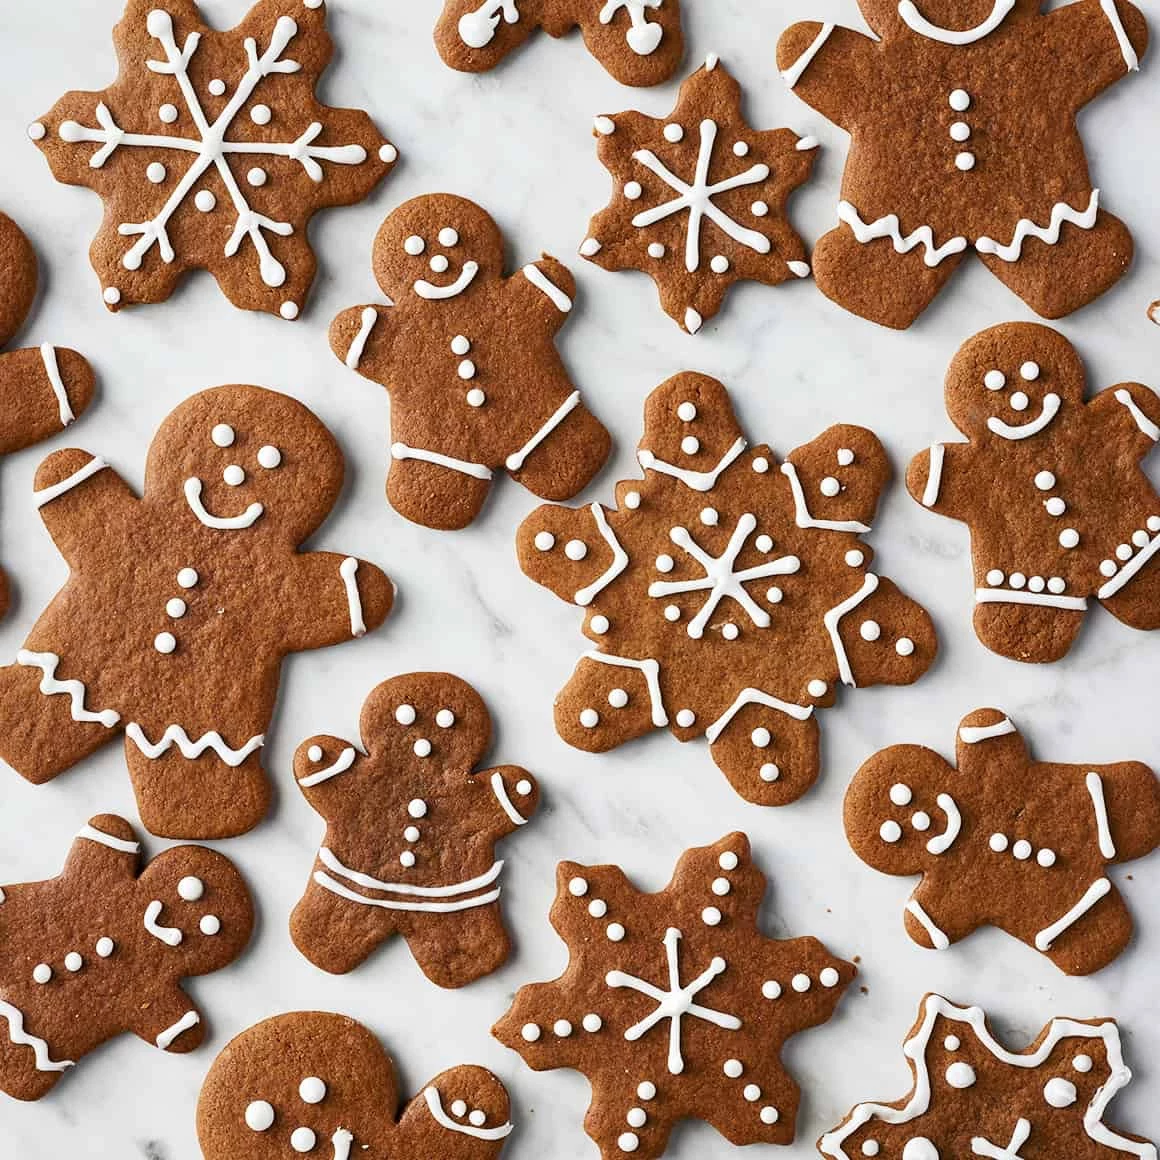
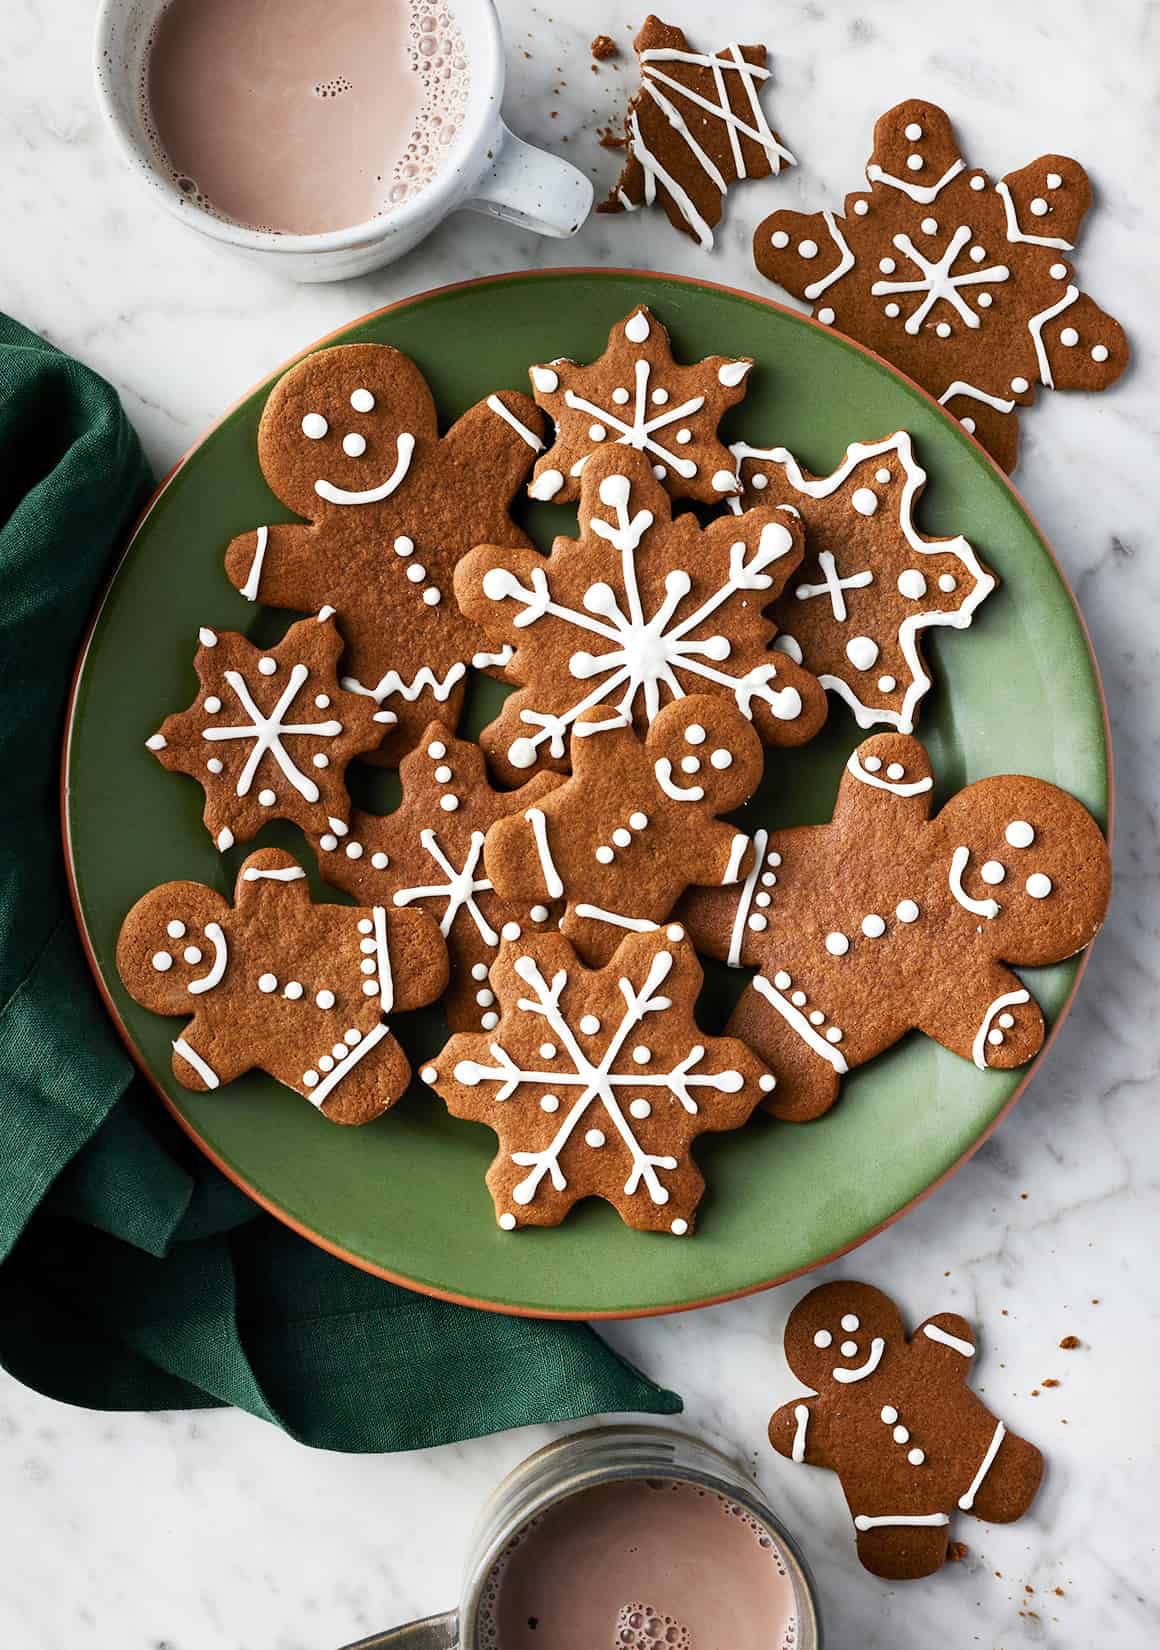
2. The Soft & Chewy Gingerbread Cookie
For gingerbread, it’s all about a deep, spicy flavor and a soft, chewy middle. Molasses is the star here—it provides flavor, moisture, and the acid that gives baking soda a huge boost.
Good to know: This recipe uses dark brown sugar for a deeper flavor. If you only have light brown sugar, it’s totally fine! Your cookies will just be a little milder and lighter in color. For a really intense, traditional flavor, you can use blackstrap molasses, but be warned—it’s much less sweet and has a stronger, more robust taste.
- 450g All-Purpose Flour
- 5g Baking Soda
- 3g Salt
- 10g Ground Ginger
- 8g Ground Cinnamon
- 2g Ground Allspice
- 1g Ground Cloves
- 170g Unsalted Butter, softened
- 100g Packed Dark Brown Sugar
- 1 Large Egg, room temperature
- 160g Unsulphured Molasses
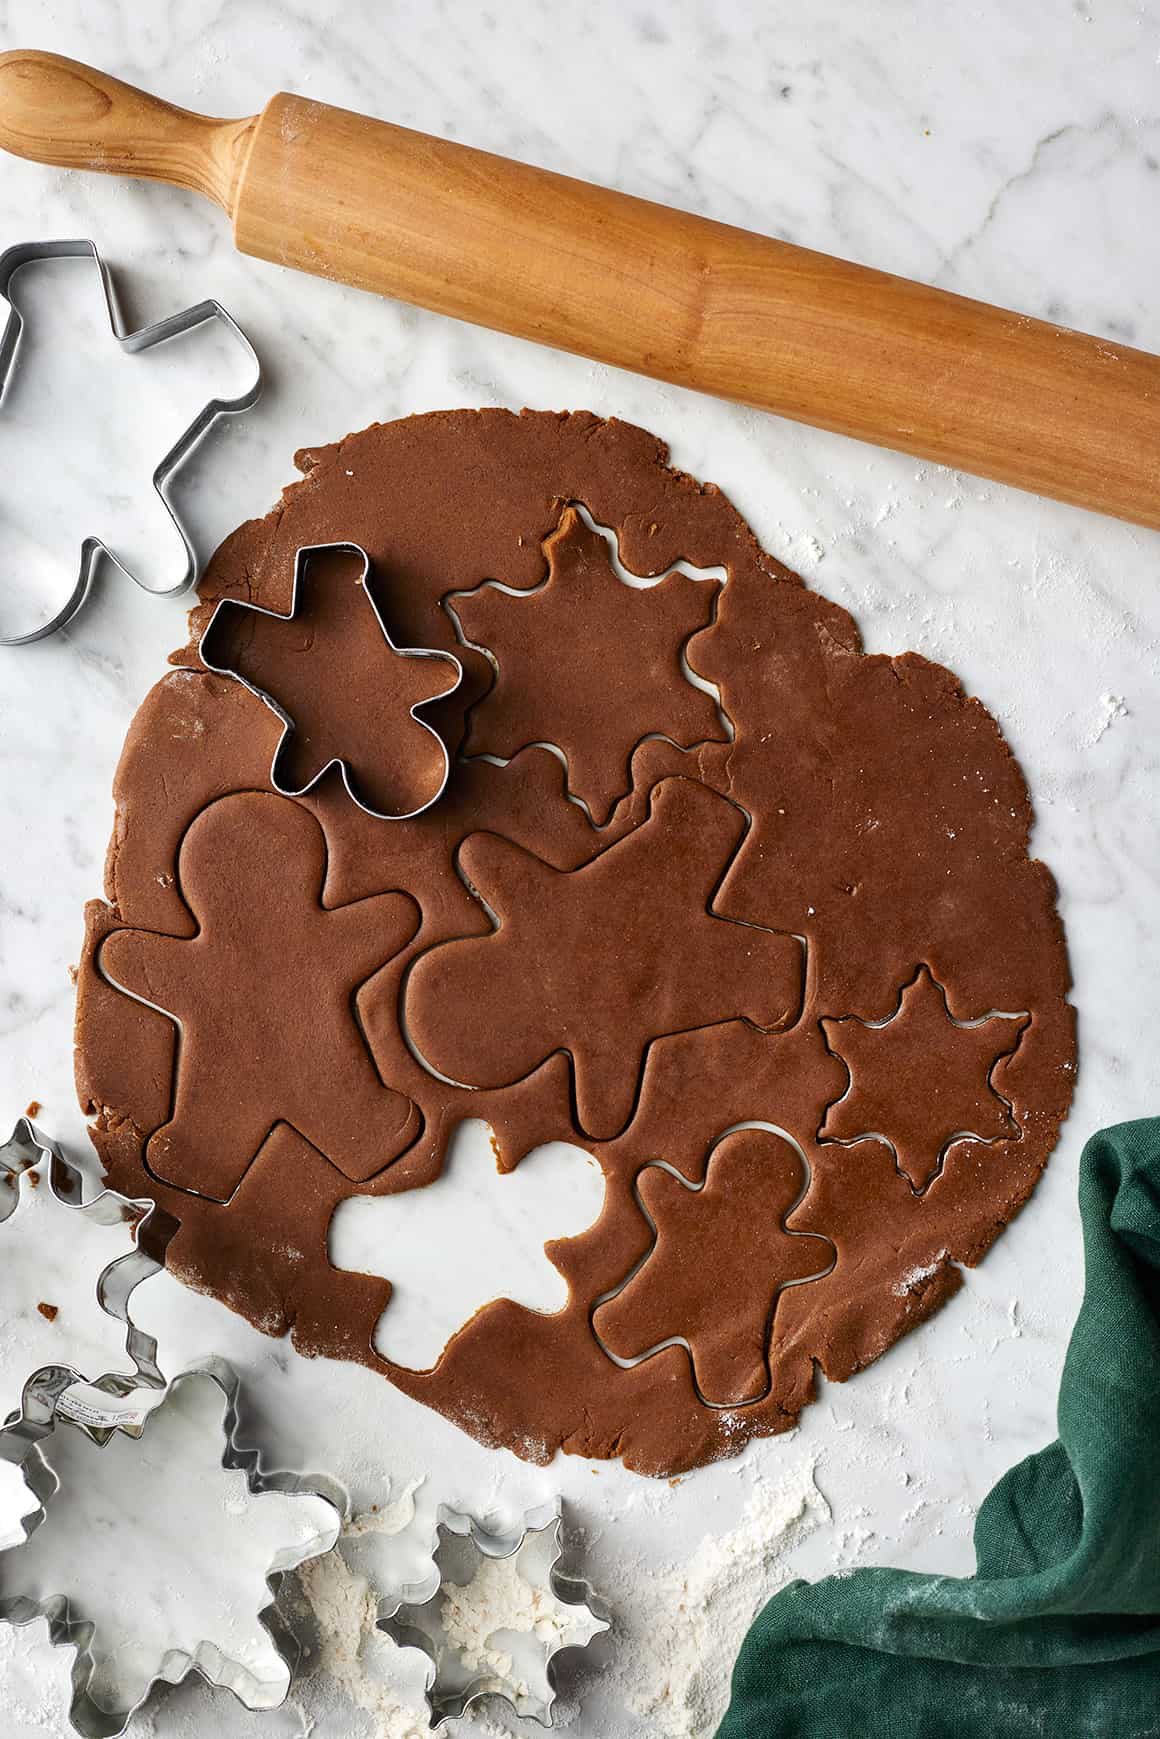
Whisk all the dry ingredients and spices together in a big bowl. In your mixer, cream the butter and brown sugar for a couple of minutes. Beat in the egg, then the molasses (it might look a little separated, that’s okay). Add the dry ingredients and mix on low until you have a soft, sticky dough. This dough absolutely must be chilled. Scrape it onto plastic wrap, form a flat disk, and chill for at least 3 hours, or even better, overnight. When you’re ready, preheat to 350°F (175°C), roll on a floured surface to ¼-inch thick, cut, and bake for 9-11 minutes. The #1 cause of hard gingerbread is overbaking, so pull them when they’re still soft and puffy in the center.
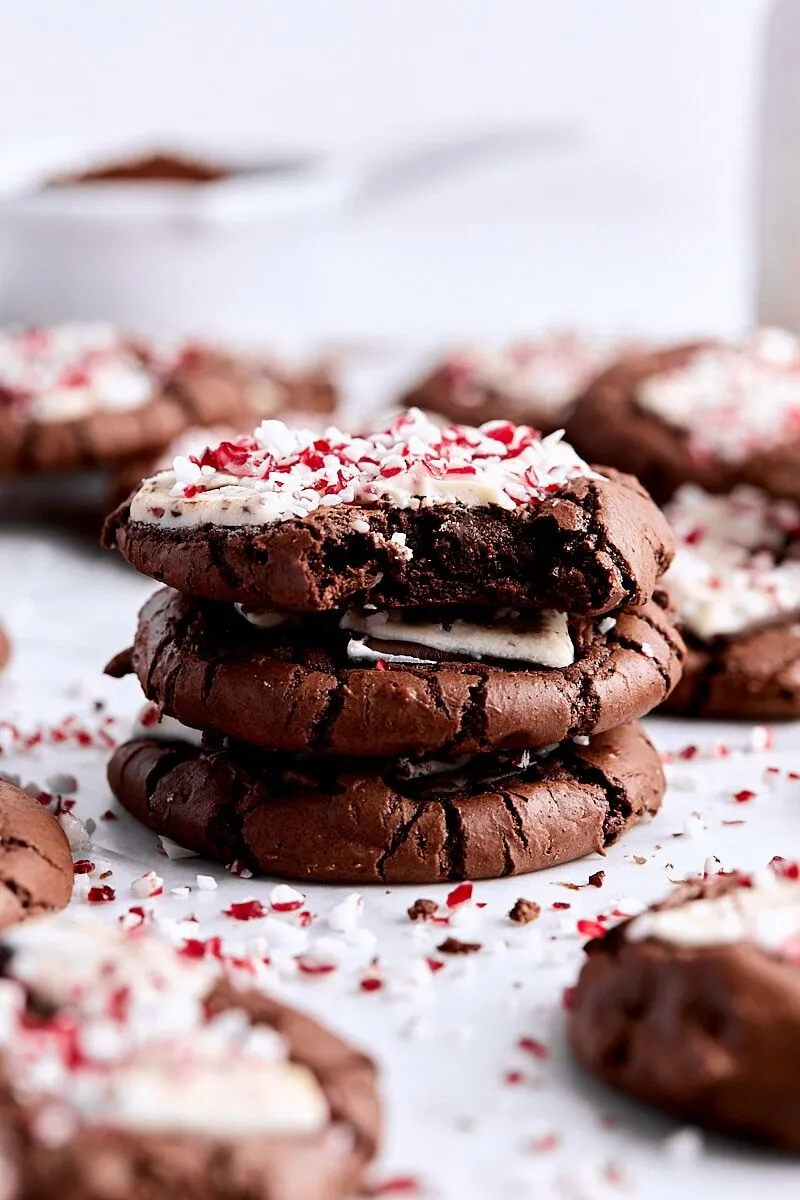
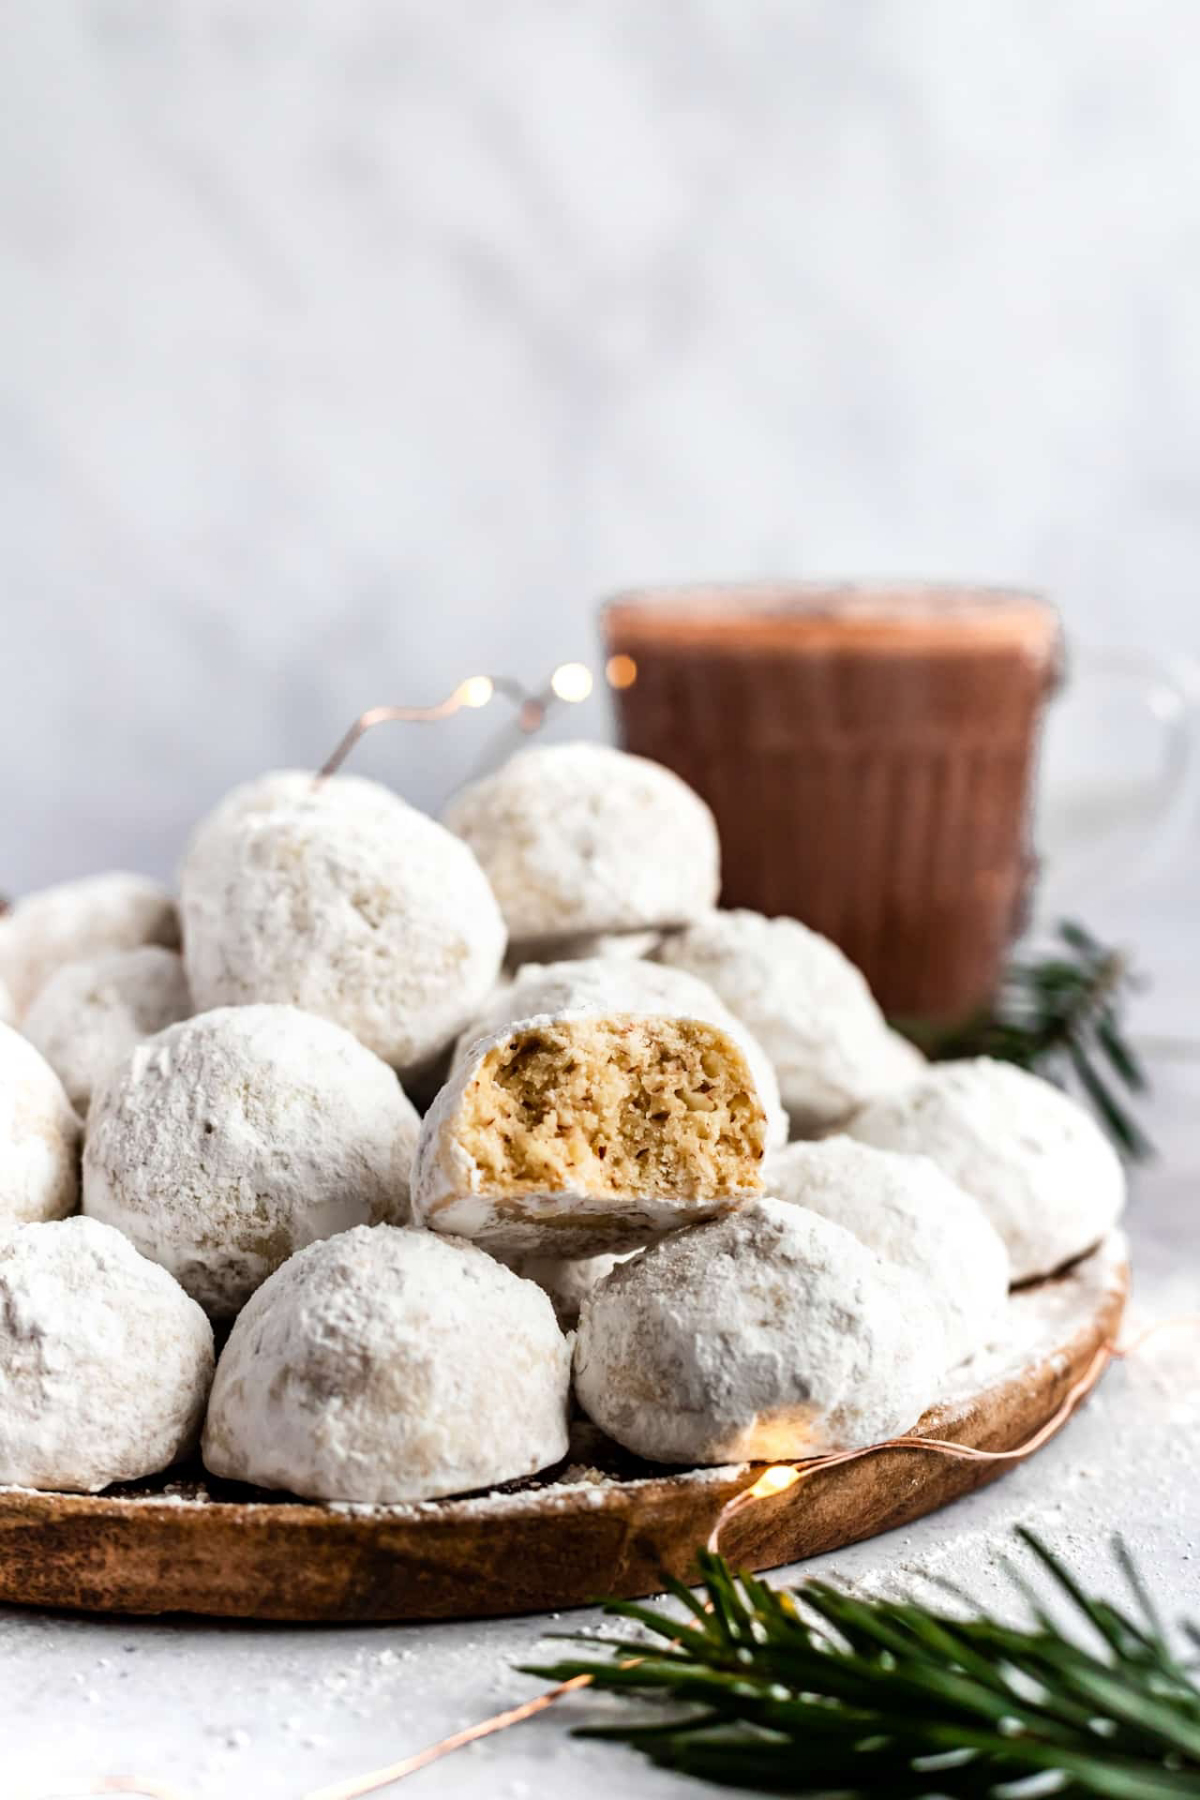
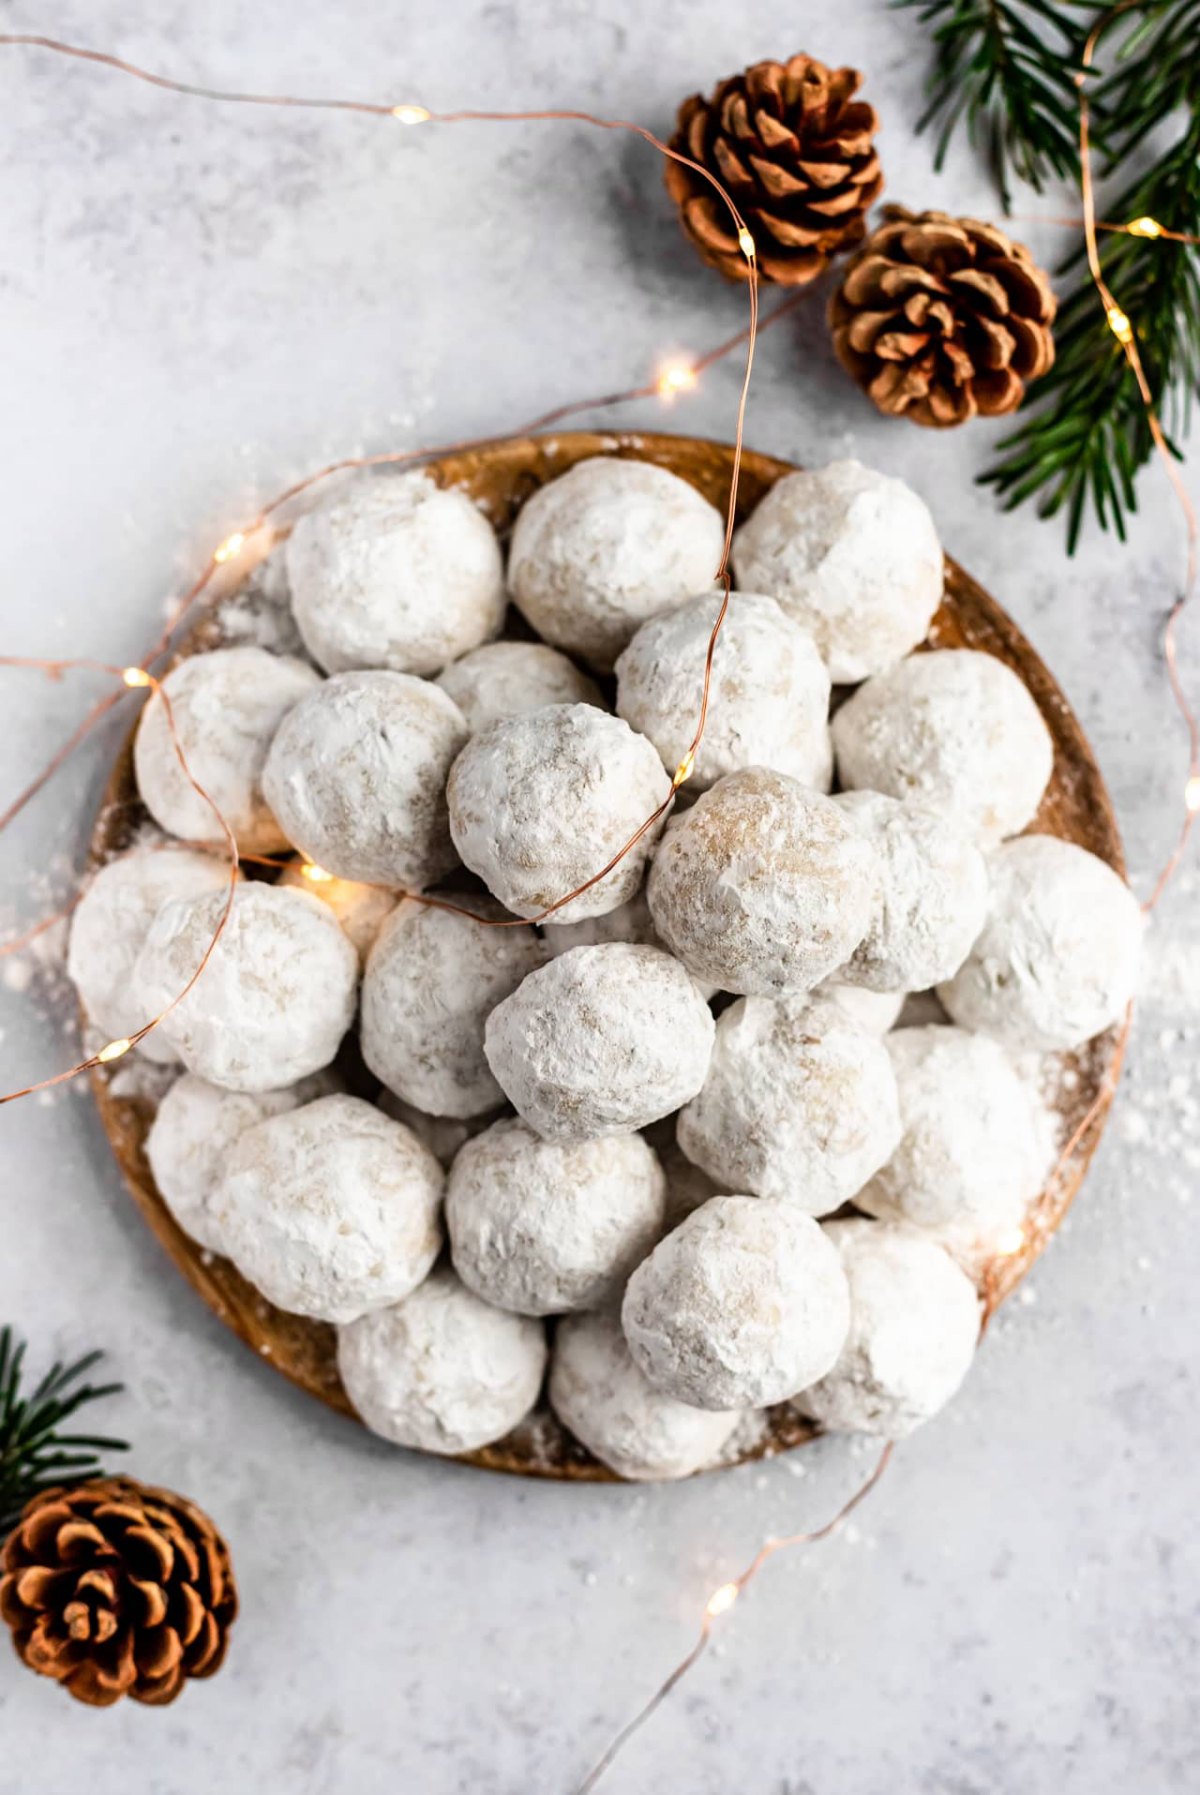
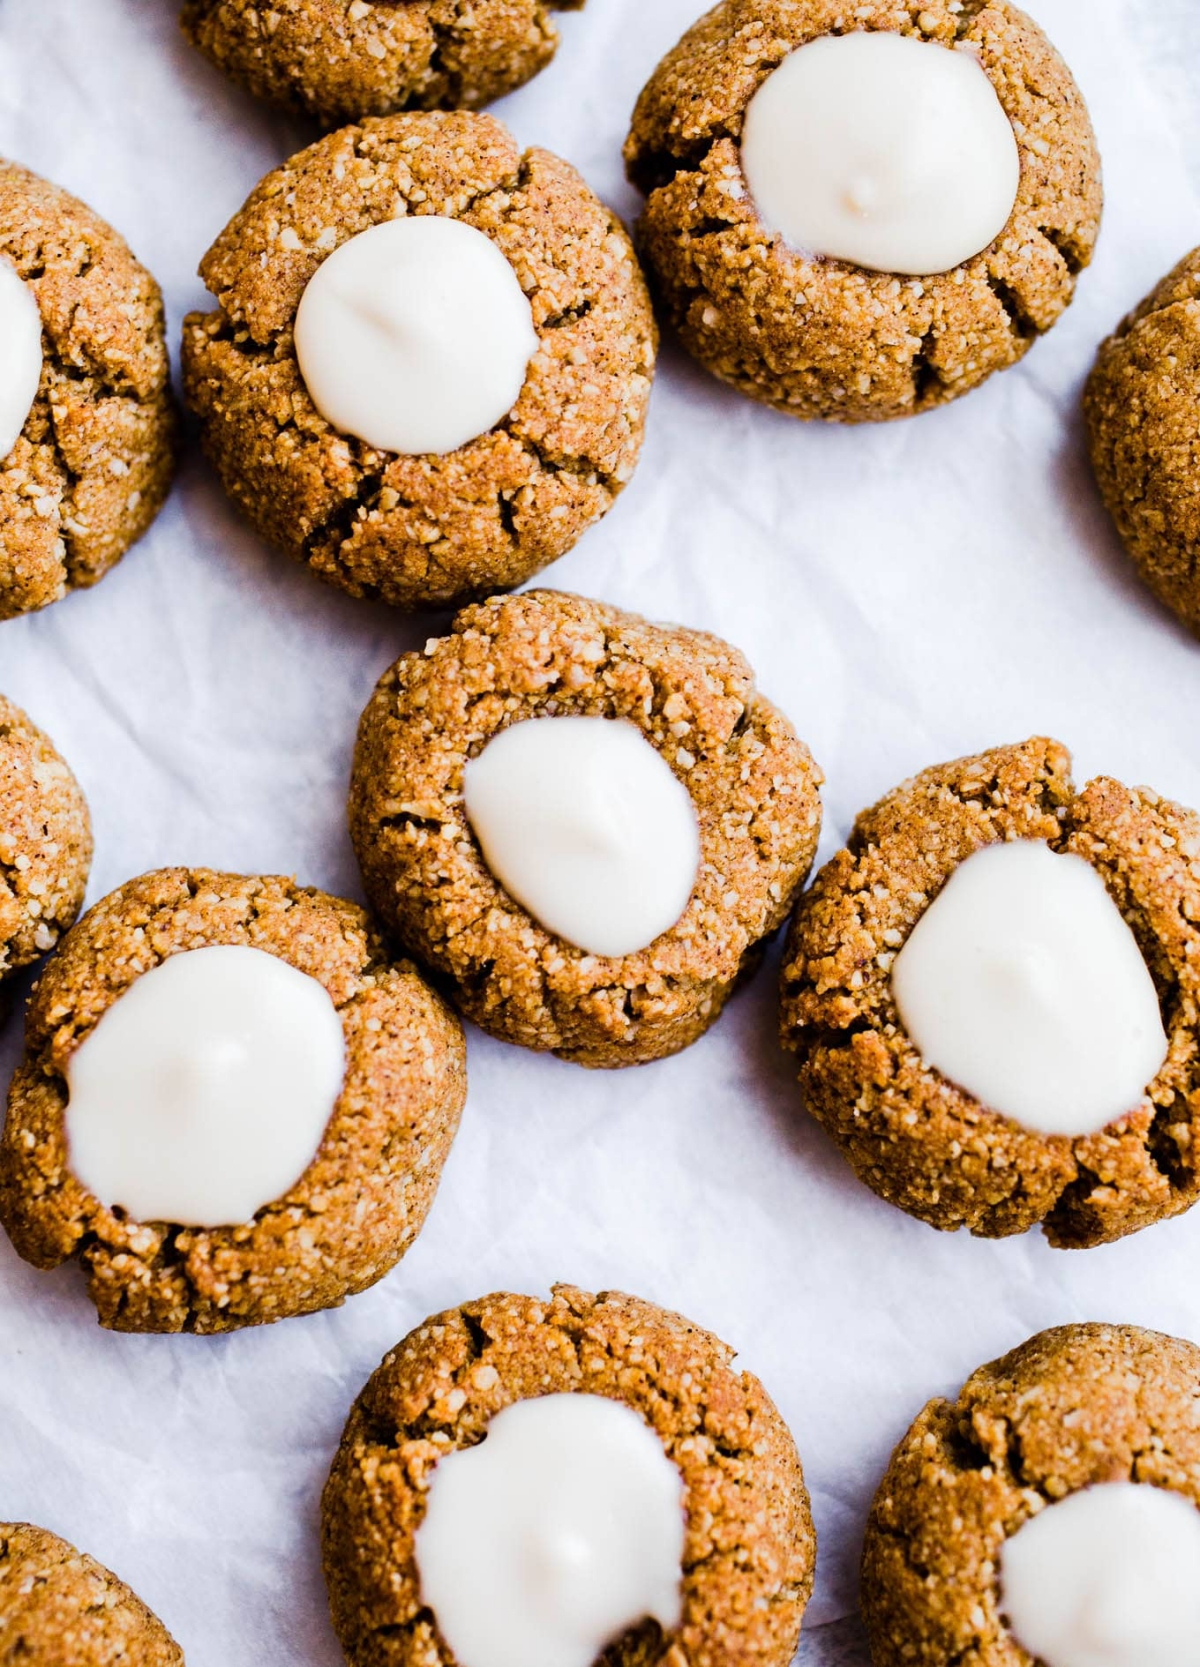
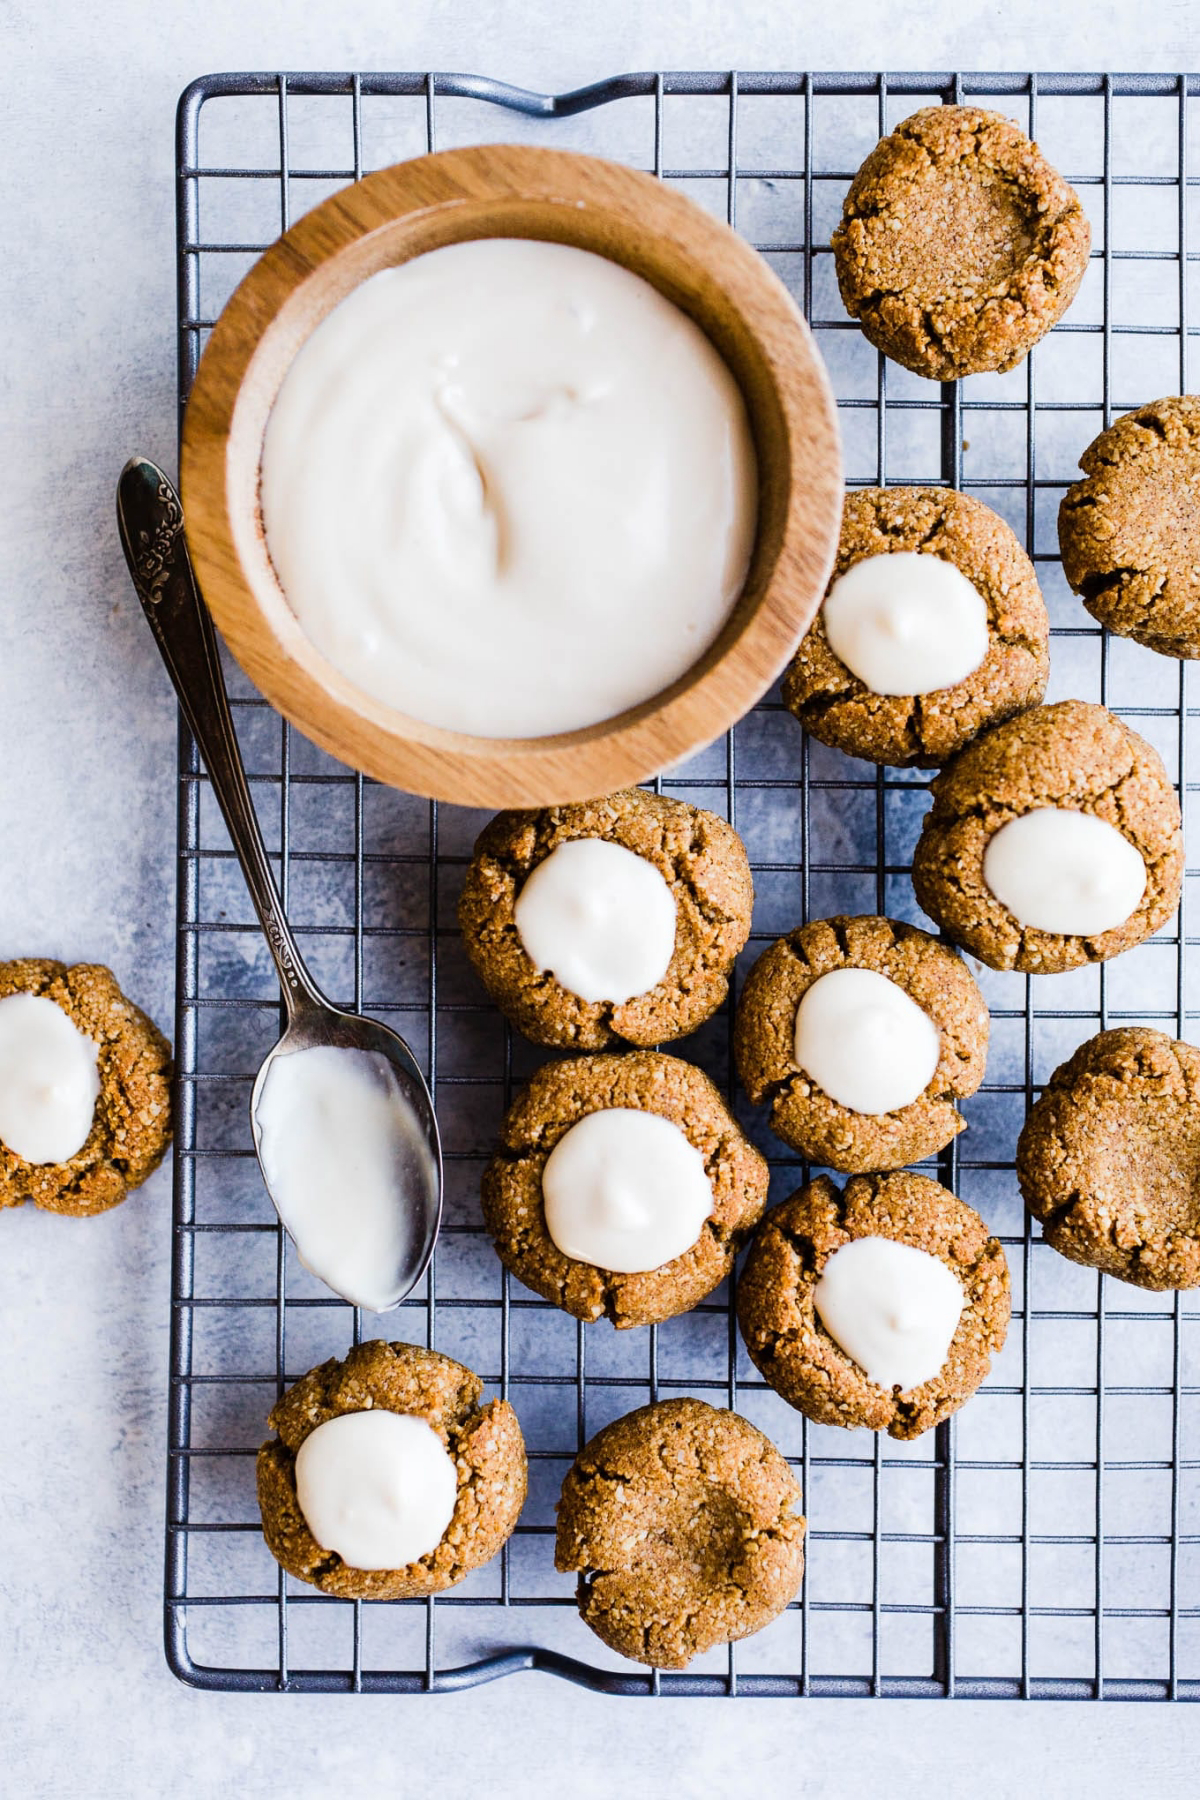
3. The Melt-in-Your-Mouth Almond Snowball
These cookies go by many names, but they’re all defined by a delicate, sandy texture that dissolves in your mouth. The secret is lots of butter and using powdered sugar right in the dough.
Heads up for allergies! If nuts are a no-go in your house, you can sub them out. A great alternative is to use finely ground toasted rolled oats—just pulse them in a food processor until they have a sandy texture. You could also use mini chocolate chips for a totally different (but still delicious) cookie!
- 227g Unsalted Butter, softened
- 60g Powdered Sugar, plus about 2 cups for rolling
- 5ml Vanilla Extract
- 2g Salt
- 270g All-Purpose Flour
- 100g Finely Chopped Pecans or Almonds, toasted
To start, toast your nuts! It makes a world of difference. Just spread them on a pan and bake at 350°F (175°C) for 5-7 minutes until fragrant. Let them cool completely. Now, preheat your oven to 350°F. Beat the butter, 60g of powdered sugar, vanilla, and salt until creamy. Gradually add the flour, then stir in your cooled, chopped nuts. Roll the dough into 1-inch balls and bake for 12-15 minutes, until the bottoms are just golden. Now for the pro-level coating: Let them cool for just 3-4 minutes, then roll the very warm cookies in powdered sugar. Let them cool completely on a wire rack, and then roll them in sugar a second time for that beautiful, thick snowy coating.
A Few Final Tips on Safety & Storage
Baking should be fun, not a trip to the emergency room. I have the burn scars to prove that a moment of carelessness around a hot oven is a bad idea. Always use thick, dry oven mitts. And please be mindful of allergens like nuts and wheat if you’re sharing your treats.
If you’re making royal icing, I strongly recommend using meringue powder instead of raw egg whites. It’s pasteurized, so there’s no risk of salmonella, and it makes a super stable icing. You can find it in the baking aisle at craft stores like Michael’s or even at Walmart for about $5-$8.
For storage, keep your crisp cookies (like the sugar cookies) and your soft cookies (like the gingerbread) in separate airtight containers. Otherwise, the moisture from the soft ones will ruin the snap of the crisp ones. And don’t forget, you can freeze unbaked cookie dough for up to 3 months. For cut-outs, I like to freeze the cut shapes on a tray before transferring them to a freezer bag. You can bake them right from frozen—just add a minute or two to the baking time.
At the end of the day, making holiday cookies is about so much more than the final product. It’s about the warmth from the oven, the smell of spices filling your home, and making something wonderful to share. By getting a handle on these basics, you can ditch the stress and just enjoy the process. Happy baking!
Galerie d’inspiration
The Great Baking Surface Debate: Parchment vs. Silicone
Parchment Paper: Your best bet for cookies that need crisp edges and bottoms. It’s disposable, provides a non-stick surface, and allows for browning. We recommend unbleached brands like If You Care.
Silicone Mats (e.g., Silpat): Excellent for even heat distribution and reusability. However, they can insulate the bottom of the cookie, sometimes preventing it from browning and resulting in a softer, slightly steamier base. For delicate, perfectly-shaped cut-outs, stick with parchment.
European-style butters, like Plugrà or Kerrygold, boast a butterfat content of at least 82%. American butter often hovers around 80%. That extra 2% means less water and more fat, resulting in flakier, richer-tasting cookies that spread less.
Why is chilling cookie dough absolutely non-negotiable for cut-outs?
It’s all about the fat. Chilling solidifies the butter in your dough. When this cold, firm fat enters a hot oven, it takes much longer to melt than room-temperature fat. This delay gives the cookie’s structure—the flour and eggs—time to set before the butter liquefies and spreads. This single step is the number one secret to sharp, defined cookie shapes. Aim for at least one hour in the fridge, or even 20-30 minutes in the freezer if you’re short on time.
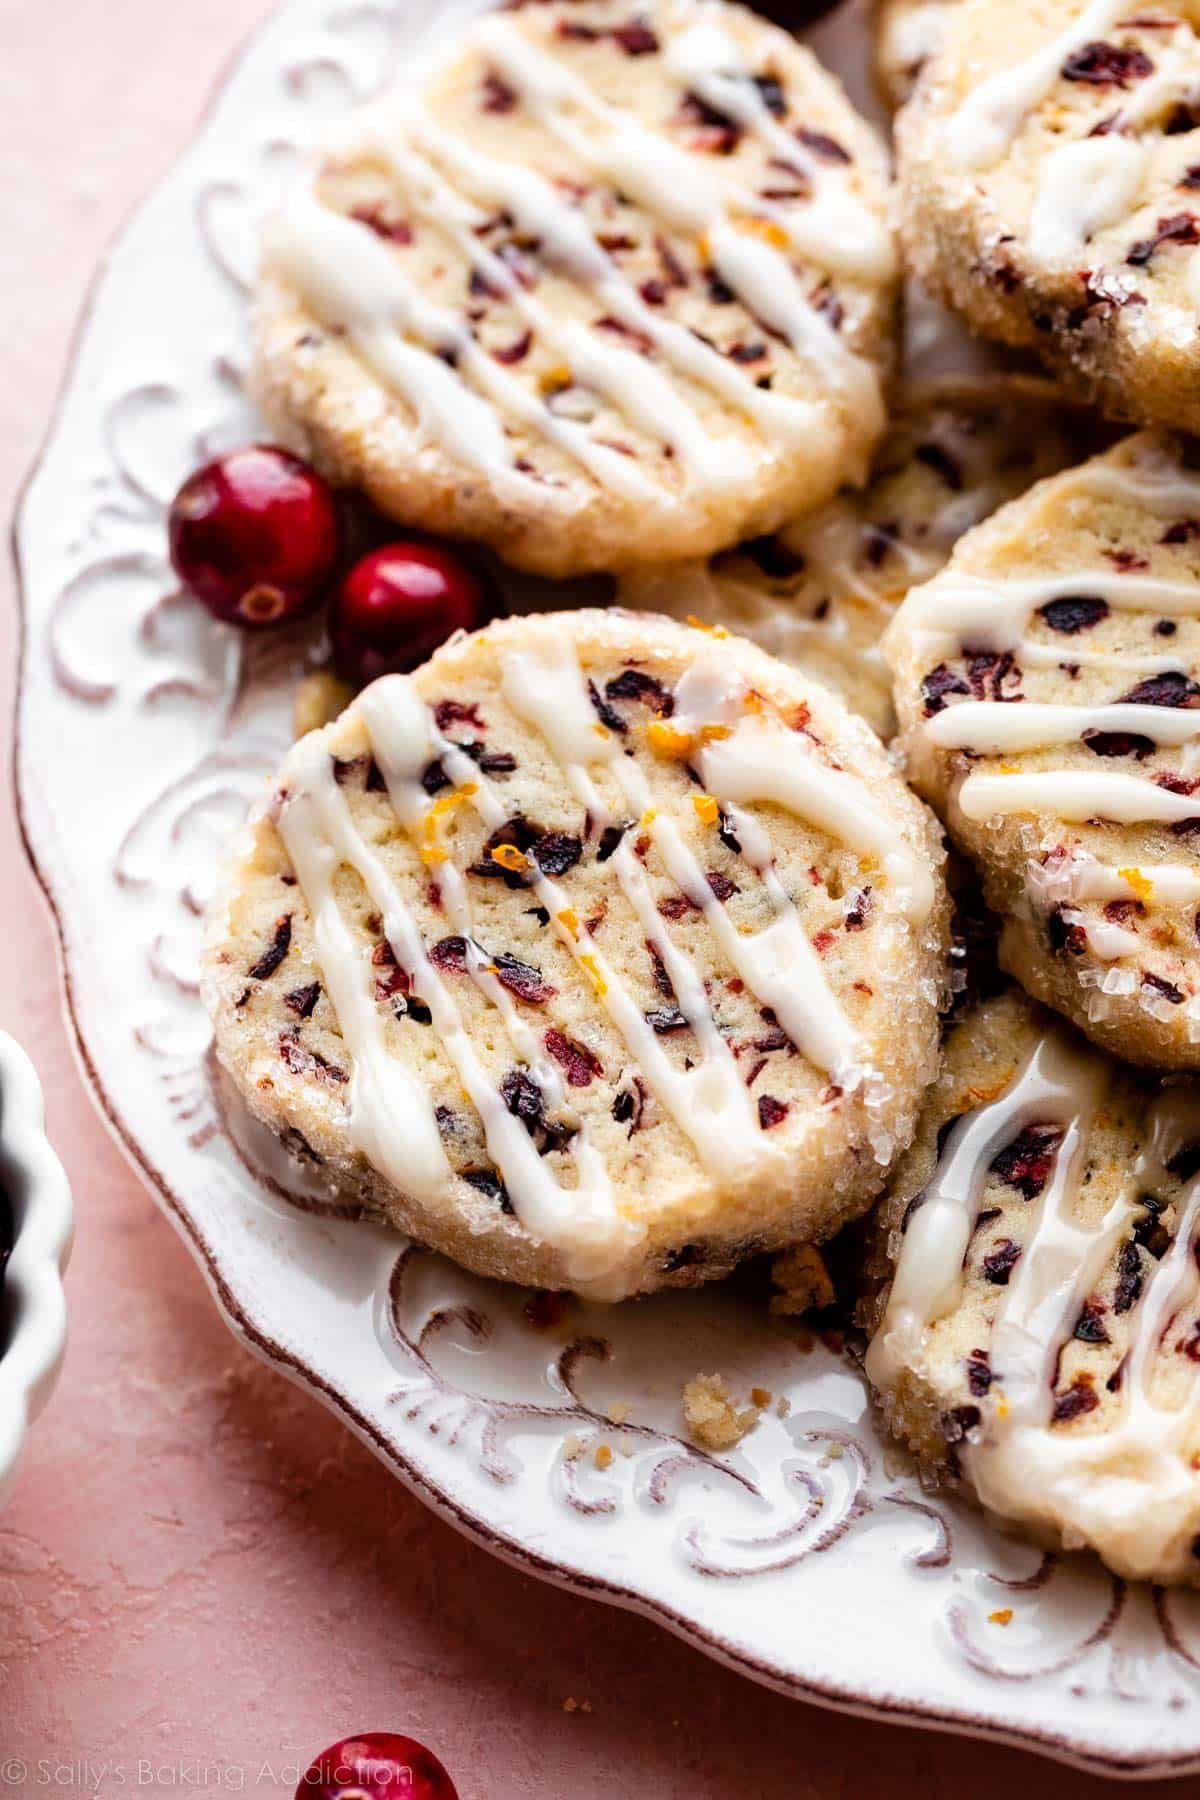
Before you even start creaming the butter and sugar, consider a simple flavor infusion. Rub the zest of an orange or lemon directly into the granulated sugar with your fingertips. This action releases the citrus oils, perfuming the sugar and ensuring that bright, fresh flavor permeates every last crumb of the finished cookie. It’s a small step that yields huge aromatic rewards.
- Crisp, clean lines that never bleed.
- A perfectly smooth surface that dries to a hard, matte finish.
- Vibrant colors that pop against the cookie.
The secret to professional-looking royal icing? It’s not raw egg whites. Pros rely on meringue powder, like the widely available version from Wilton. It creates an incredibly stable icing that’s easy to work with, dries reliably, and is completely food-safe. Just add water and confectioners’ sugar for flawless results.
Extend the life of your holiday baking bounty with these storage tricks:
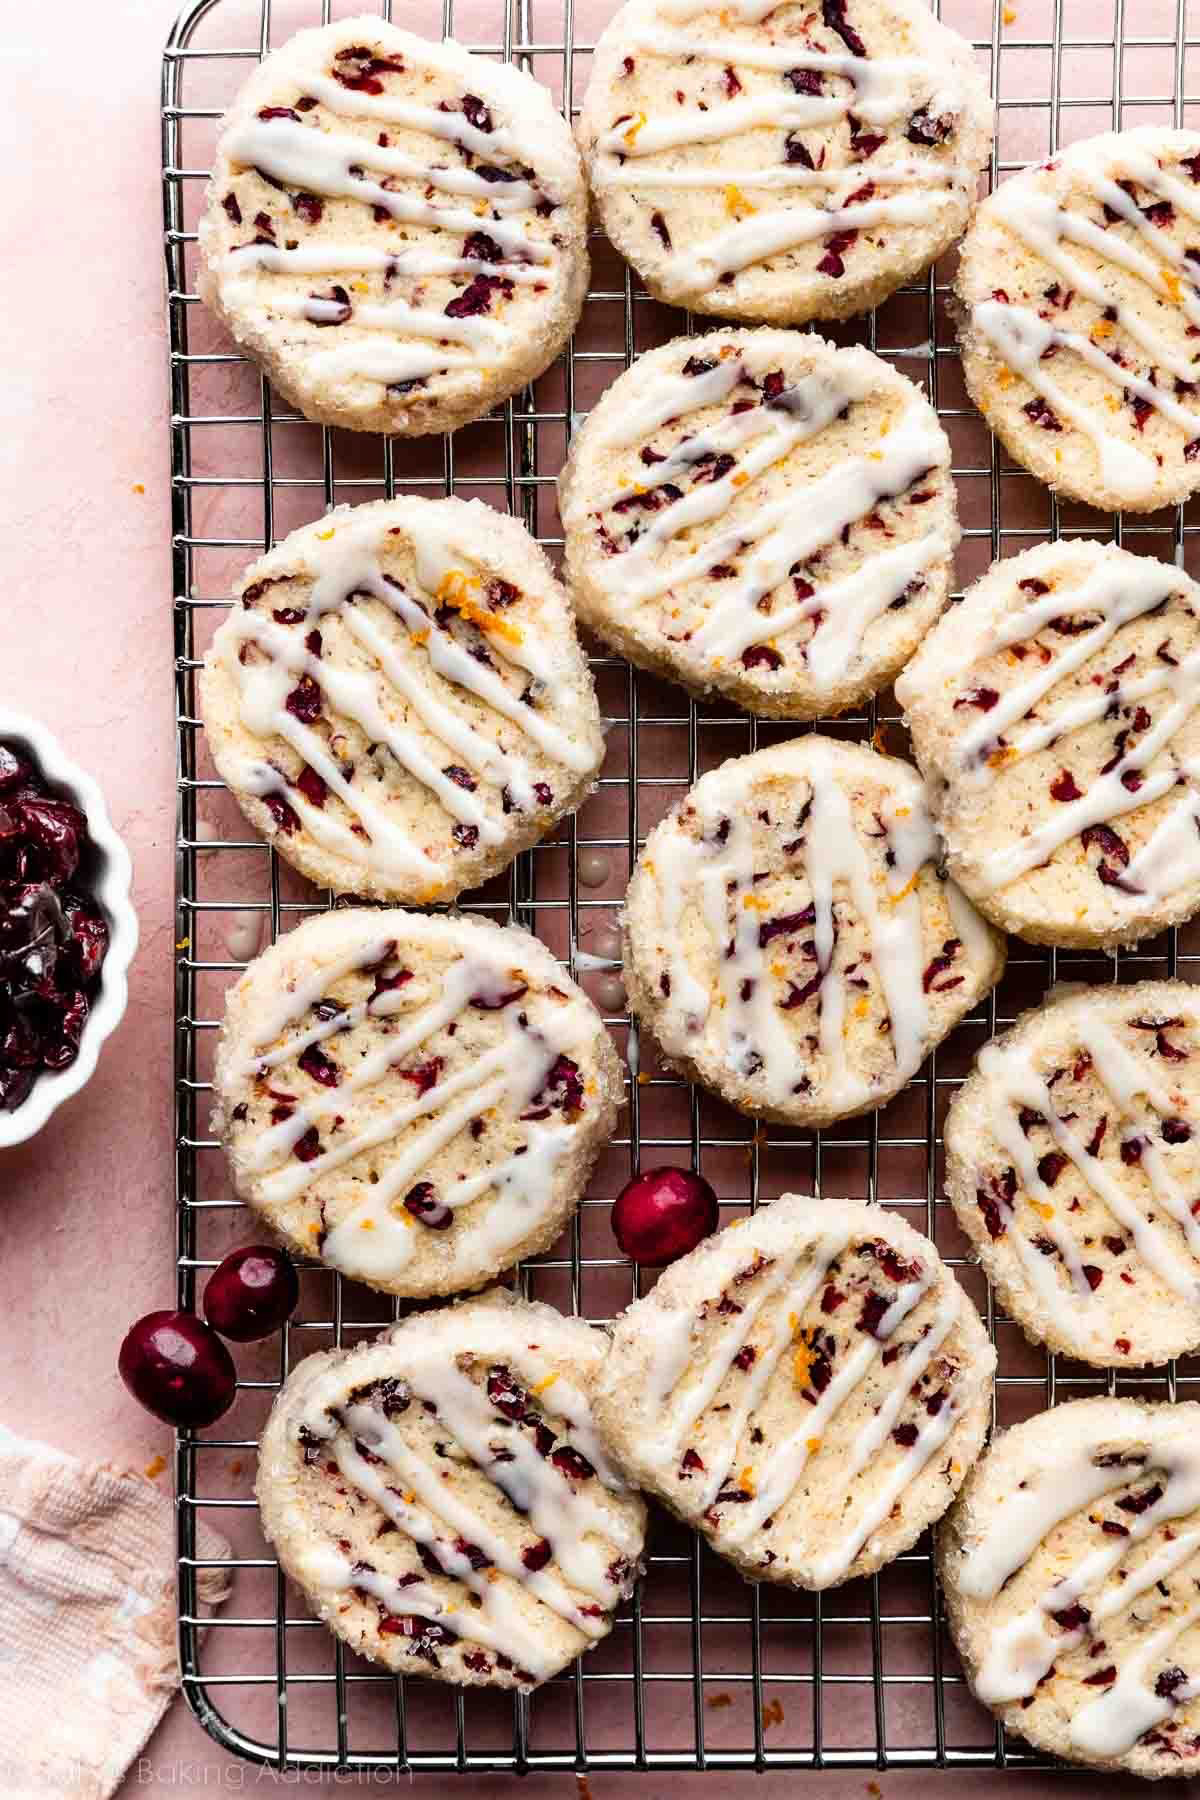
- Always let cookies cool completely on a wire rack before storing. Trapped heat creates steam, which leads to soggy cookies.
- Store soft and crisp cookies in separate, airtight containers. The moisture from soft cookies will migrate to crisp ones, ruining their texture.
- For chewy cookies like molasses or chocolate chip, adding a small piece of a plain bread slice to the container can help them retain their moisture for days.
The most overlooked tool in your kitchen: An oven thermometer. Most home ovens are notoriously inaccurate, sometimes off by as much as 25-50°F. For cookies, this is a disaster. A too-cool oven gives the dough time to spread into a puddle before it sets, while a too-hot oven will burn the edges before the center is baked. A simple, inexpensive thermometer that hangs from the rack ensures your 350°F is actually 350°F.
Ground spices can lose up to 40% of their potency in just six months.
That jar of ground ginger or nutmeg from last year’s holiday baking marathon won’t deliver the festive punch you’re hoping for. For gingerbread, speculoos, or spice cookies with real character, using freshly purchased spices from a quality purveyor like Penzey’s Spices is a game-changer. The vibrant aroma when you open the jar is your first clue to the superior flavor.

Look beyond the classic sugar cookie for inspiration. Many cultures have perfected the art of the holiday biscuit:
- German Pfeffernüsse: Literally

Don’t forget the power of pre-bake textures. For a simple but elegant finish, roll your sugar cookie cut-outs in a thin layer of sanding sugar before they hit the baking sheet. It adds a delightful crunch and a beautiful, crystalline sparkle. For thumbprint cookies, try rolling the dough balls in finely chopped toasted pecans for a nutty crust that contrasts perfectly with the sweet jam filling.
Is expensive vanilla really worth it?
In a word: yes. Especially in simple butter or sugar cookies where its flavor can truly shine. Imitation vanilla is a single chemical compound (vanillin) and can taste flat or artificial. Pure vanilla extract, like the gold-standard Nielsen-Massey, contains hundreds of aromatic compounds for a much more complex flavor. For a true splurge, use vanilla bean paste—it offers the intense flavor of an extract with the beautiful black specks from the bean seeds.