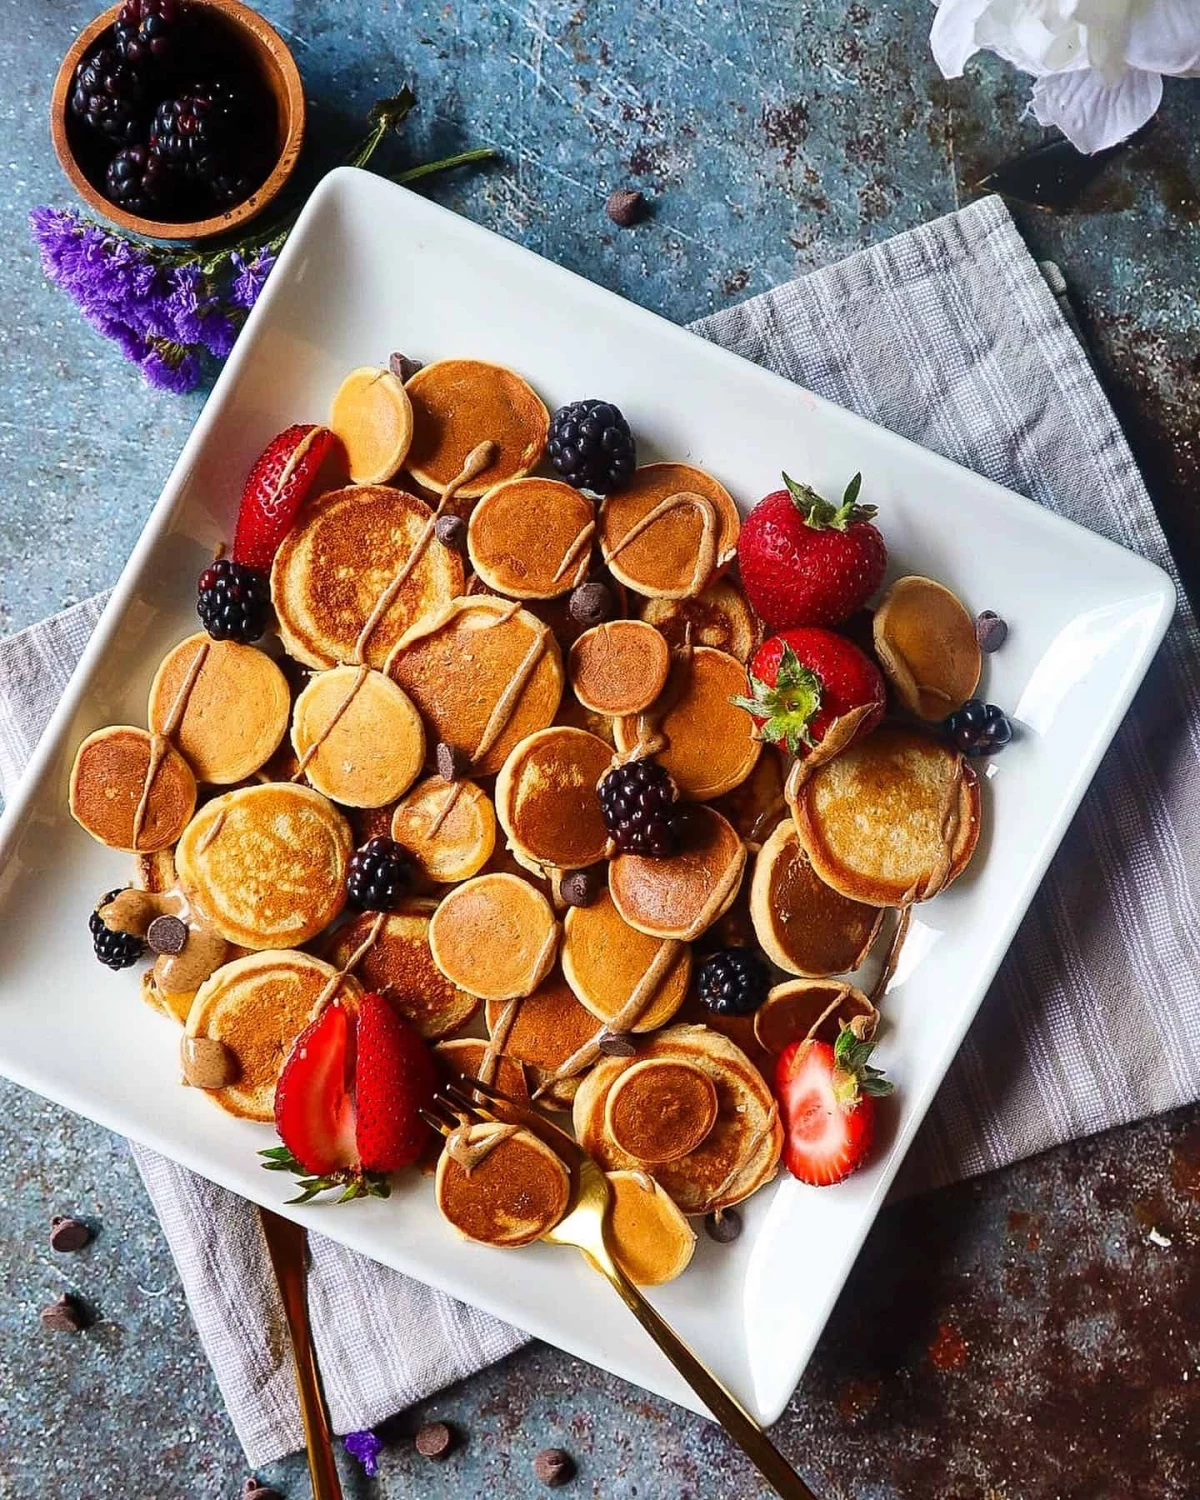
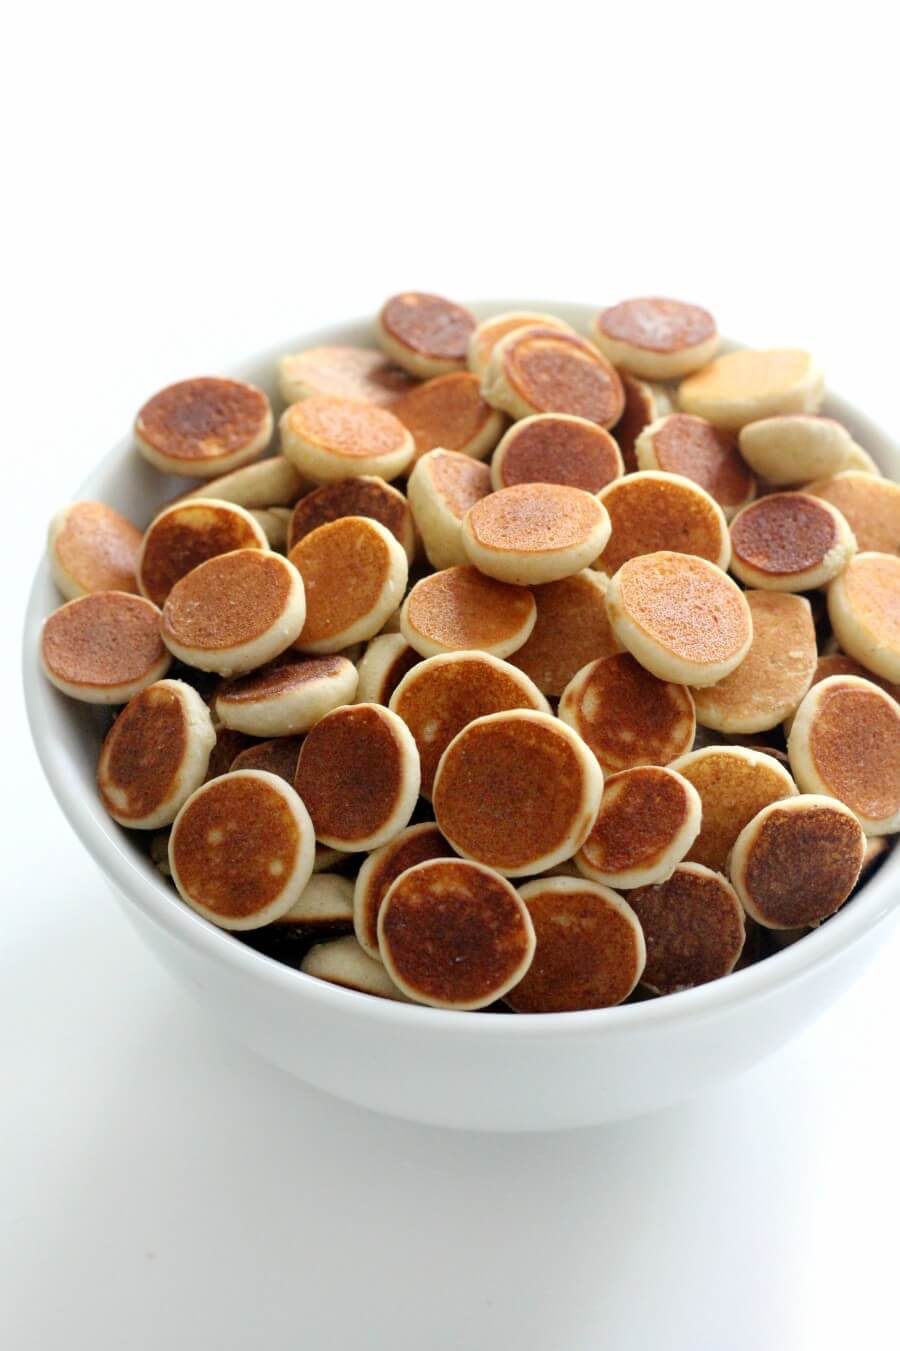
Forget the Box Mix: The Real Secret to Perfect Mini Pancakes
I’ve spent a good chunk of my life in professional kitchens, from the chaos of brunch service to the precision of high-end catering. And you know one of the first things I teach the new cooks? How to make pancakes. Not those giant, floppy ones, but the small, perfectly consistent ones we call silver dollars.
In this article
People assume they’re easy because they’re small. Honestly, the opposite is true. Their size makes every single mistake glaringly obvious. A slightly burnt edge or an oval shape sticks out like a sore thumb. Nailing them, batch after batch, is all about technique, not just a recipe.
So, this isn’t just another ingredient list. This is my playbook, the method we use to get it right every time. We’re going to dive into the ‘why’ of a good batter, talk about the right tools for the job, and master heat control. My goal here is to pass along what I’ve learned, so you can skip the trial-and-error and go straight to making amazing mini pancakes at home.
What’s Actually Happening in Your Pancake Batter?
Before you even grab a whisk, it helps to understand the chemistry in the bowl. A great pancake isn’t an accident; it’s a delicious science experiment. When you know why you’re doing something, you can fix problems on the fly. This is the foundation of all good cooking, really.
The Magic of Leavening: Getting That Fluff
Pancakes need to be light and airy, and that comes from gas bubbles created by leavening agents. Most recipes use baking powder or a team-up of baking soda and an acid.
Baking Powder: This is your all-in-one workhorse. It’s a “double-acting” leavener, meaning it works in two stages. The first reaction happens the moment it gets wet, creating a few bubbles. The second, more powerful reaction kicks in when it hits the heat of the griddle. This two-stage lift is what gives you a consistently fluffy pancake. Heads up! Baking powder loses its punch over time. To check if yours is still good, drop half a teaspoon into a little hot water. If it fizzes up like a science fair volcano, you’re good to go.
Baking Soda + Acid: Baking soda on its own is just a base. It needs an acid to work its magic. In pancakes, that acid is usually buttermilk, yogurt, or even sour cream. When they mix, they create carbon dioxide gas immediately. This is a single-action lift, which means you have to work a bit faster. Once the batter is mixed, you should plan on cooking it fairly soon, or those bubbles will escape and leave you with sad, flat pancakes.
Good to know: Don’t have buttermilk? No problem. This is a classic kitchen dilemma with an easy fix. Just pour 2 tablespoons of white vinegar or lemon juice into a measuring cup, then add enough regular milk to reach the 2-cup line. Give it a quick stir and let it sit for about 5-10 minutes. It’ll get a little clumpy and curdled—that’s what you want! It’ll work perfectly as a substitute.
Gluten: The Arch-Nemesis of Tenderness
Flour has proteins that form gluten when mixed with liquid. That’s fantastic for chewy sourdough bread, but it’s the absolute enemy of a tender pancake. This is, without a doubt, the most common mistake people make.
When you mix your wet and dry ingredients, your goal is to be as gentle as possible. Stir just until the flour disappears. A lumpy batter is a good batter. Seriously. Those little lumps are pockets of flour that will hydrate on their own while the batter rests. If you mix until it’s perfectly smooth, you’ve overworked the gluten, and you’re on the fast track to tough, rubbery pancakes. I always tell my trainees to put the whisk down way sooner than they feel they should.
Why Resting Your Batter is Non-Negotiable
In a pro kitchen, we always, always rest our pancake batter. It’s a small step that makes a huge difference. Letting it sit for 15 to 30 minutes does two crucial things. First, it gives the flour time to fully hydrate, which gets rid of any raw flour taste and makes the texture silky. Second, it lets the gluten you did create relax. A relaxed batter means a much more tender pancake. Use this downtime to preheat your griddle and get your toppings ready.
The Right Gear for the Job (Without Breaking the Bank)
Sure, you can make pancakes with any old pan. But if you want perfectly round, evenly browned mini pancakes every single time, a few specific tools will make your life so much easier.
Your Cooking Surface: Where the Magic Happens
Heat control is everything, and your cooking surface is command central. Here are the main options:
- Electric Griddle: For home cooks, this is my number one recommendation. You get a huge, flat surface and, most importantly, dead-simple temperature control. You can set it to 375°F (190°C) and it just stays there. It eliminates the biggest variable in the whole process. A good one from a brand like Presto or Black+Decker will run you about $40 to $60 at Target or online.
- Cast Iron Griddle: My personal favorite for flavor and that perfect golden-brown crust. Cast iron holds heat like a champ. The catch? It takes more skill. You have to preheat it slowly over medium-low heat for at least 5-10 minutes to prevent hot spots. Oh, and that handle gets just as hot as the pan—a lesson many of us learn the hard way. (I have a faint scar on my forearm that proves it!) Always use a dry towel or a silicone handle cover.
- Non-Stick Skillet: A quality, heavy-bottomed non-stick pan is a perfectly fine choice. It’s forgiving and easy to clean up. The only downside is that lighter pans can lose heat when you pour on the cold batter, which can lead to pale, slightly steamed pancakes instead of beautifully browned ones.
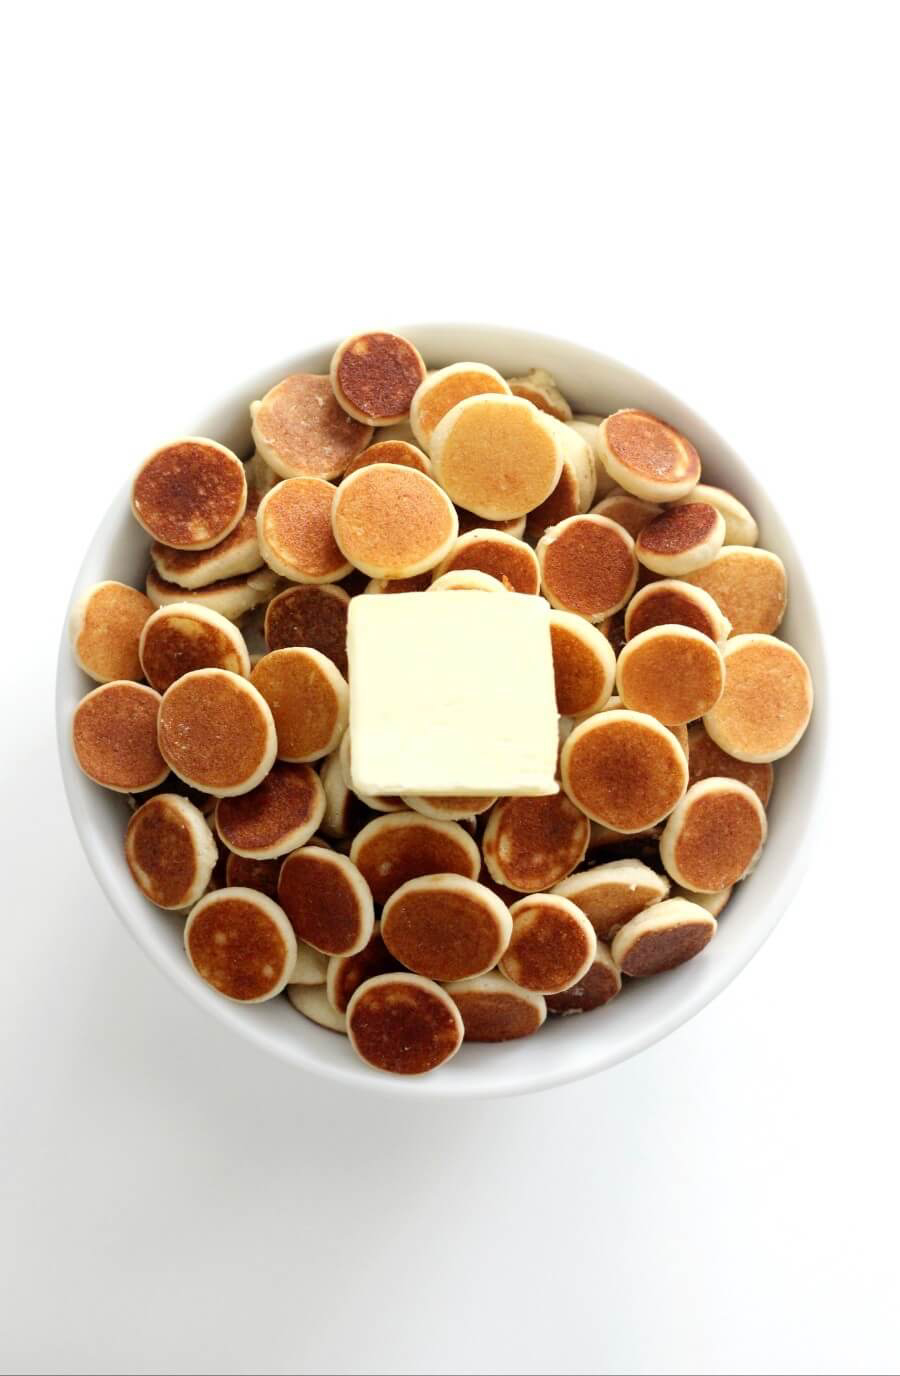
Choosing a Fat for the Griddle
The fat you use is about flavor and performance. Clarified butter, or ghee, is the professional standard because it has the rich flavor of butter but won’t burn at high temperatures. Unsalted butter tastes great but can burn, so keep the heat lower. A neutral oil like canola works fine but adds no flavor. A quick tip: I strongly recommend you avoid cooking spray, especially on non-stick pans. Over time, it can build up a sticky residue that’s impossible to get off and ruins the pan’s surface. A quick wipe with a paper towel dipped in a little oil is much better.
Tools for Perfect Portions
To get those uniform, cute-as-a-button mini pancakes, you need a way to portion out the batter consistently.
- Squeeze Bottle: This is the pro move for speed and control. You can find them at most kitchen supply stores for just a few bucks. It lets you quickly squirt out perfect little circles of batter, clean and easy.
- Small Cookie Scoop (Disher): A
40 or
50 disher, which holds about 1 to 1.5 tablespoons, is fantastic. It’s fast, and every single pancake will be the same size. You can find these online or at restaurant supply stores for $10-$15.
- Tablespoon: The humble tablespoon works just fine! It just takes a steadier hand to get perfectly round and even results.
My Go-To Buttermilk Mini Pancake Recipe
This is my tried-and-true, reliable recipe. But pay more attention to the technique than the ingredients. Using a kitchen scale for flour is always more accurate, but cup measurements will work in a pinch.
Total Time: About 45 minutes (15 mins prep, 20 mins rest, 10+ mins cook time)
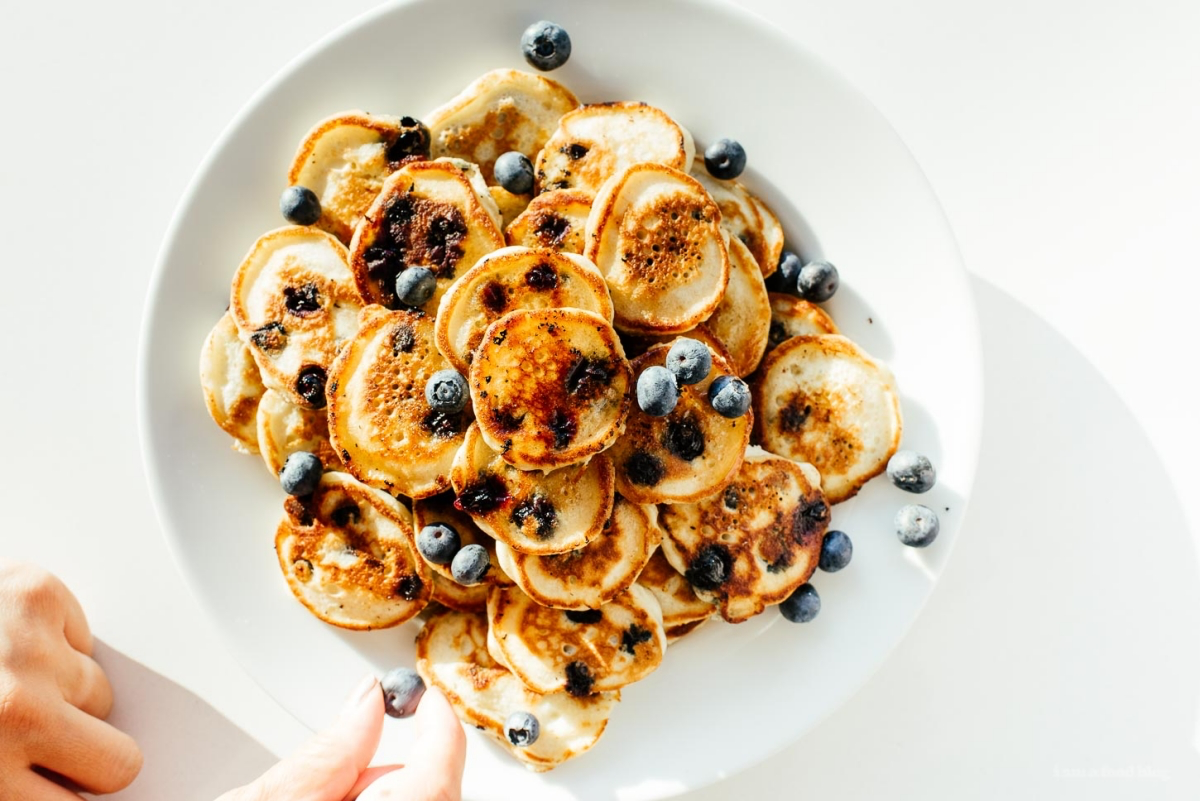
Yields: About 4 dozen (48) 2-inch pancakes
Serves: 4-6 people
Ingredients:
- 2 cups (250g) all-purpose flour
- 2 tablespoons (25g) granulated sugar
- 2 teaspoons baking powder
- 1/2 teaspoon baking soda
- 1/2 teaspoon fine sea salt
- 2 large eggs, lightly beaten
- 2 cups (480ml) buttermilk, cold
- 4 tablespoons (57g) unsalted butter, melted and slightly cooled
The Method:
- Prep Your Dry Stuff: In a big bowl, whisk together the flour, sugar, baking powder, baking soda, and salt for about 30 seconds. This might seem fussy, but it makes sure the leaveners are perfectly distributed so every pancake rises beautifully.
- Prep Your Wet Stuff: In a separate bowl, whisk the eggs just a bit, then whisk in the cold buttermilk. Now, slowly drizzle in the melted butter while you keep whisking. Drizzling it slowly keeps the butter from seizing up and clumping in the cold milk.
- Combine (Gently!): Pour the wet ingredients into the dry. Using a rubber spatula, fold them together until they are just combined. I can’t say this enough: the batter should be lumpy! Do not try to smooth it out. Step away from the bowl.
- Let It Rest: Cover the bowl and let it rest on the counter for at least 15 minutes, but 20-30 is even better. You’ll see it thicken up a bit as the flour hydrates.
- Heat the Griddle: While it’s resting, preheat your griddle to medium heat (or 375°F / 190°C). To see if it’s ready, flick a drop of water on it. The drops should dance and skitter across the surface before evaporating. If they disappear instantly, it’s too hot. If they just sit and sizzle slowly, it’s not hot enough.
- Grease and Go: Lightly grease the hot griddle. I like to use a paper towel dipped in a little clarified butter or oil to wipe on a super-thin, even layer. You shouldn’t see any puddles.
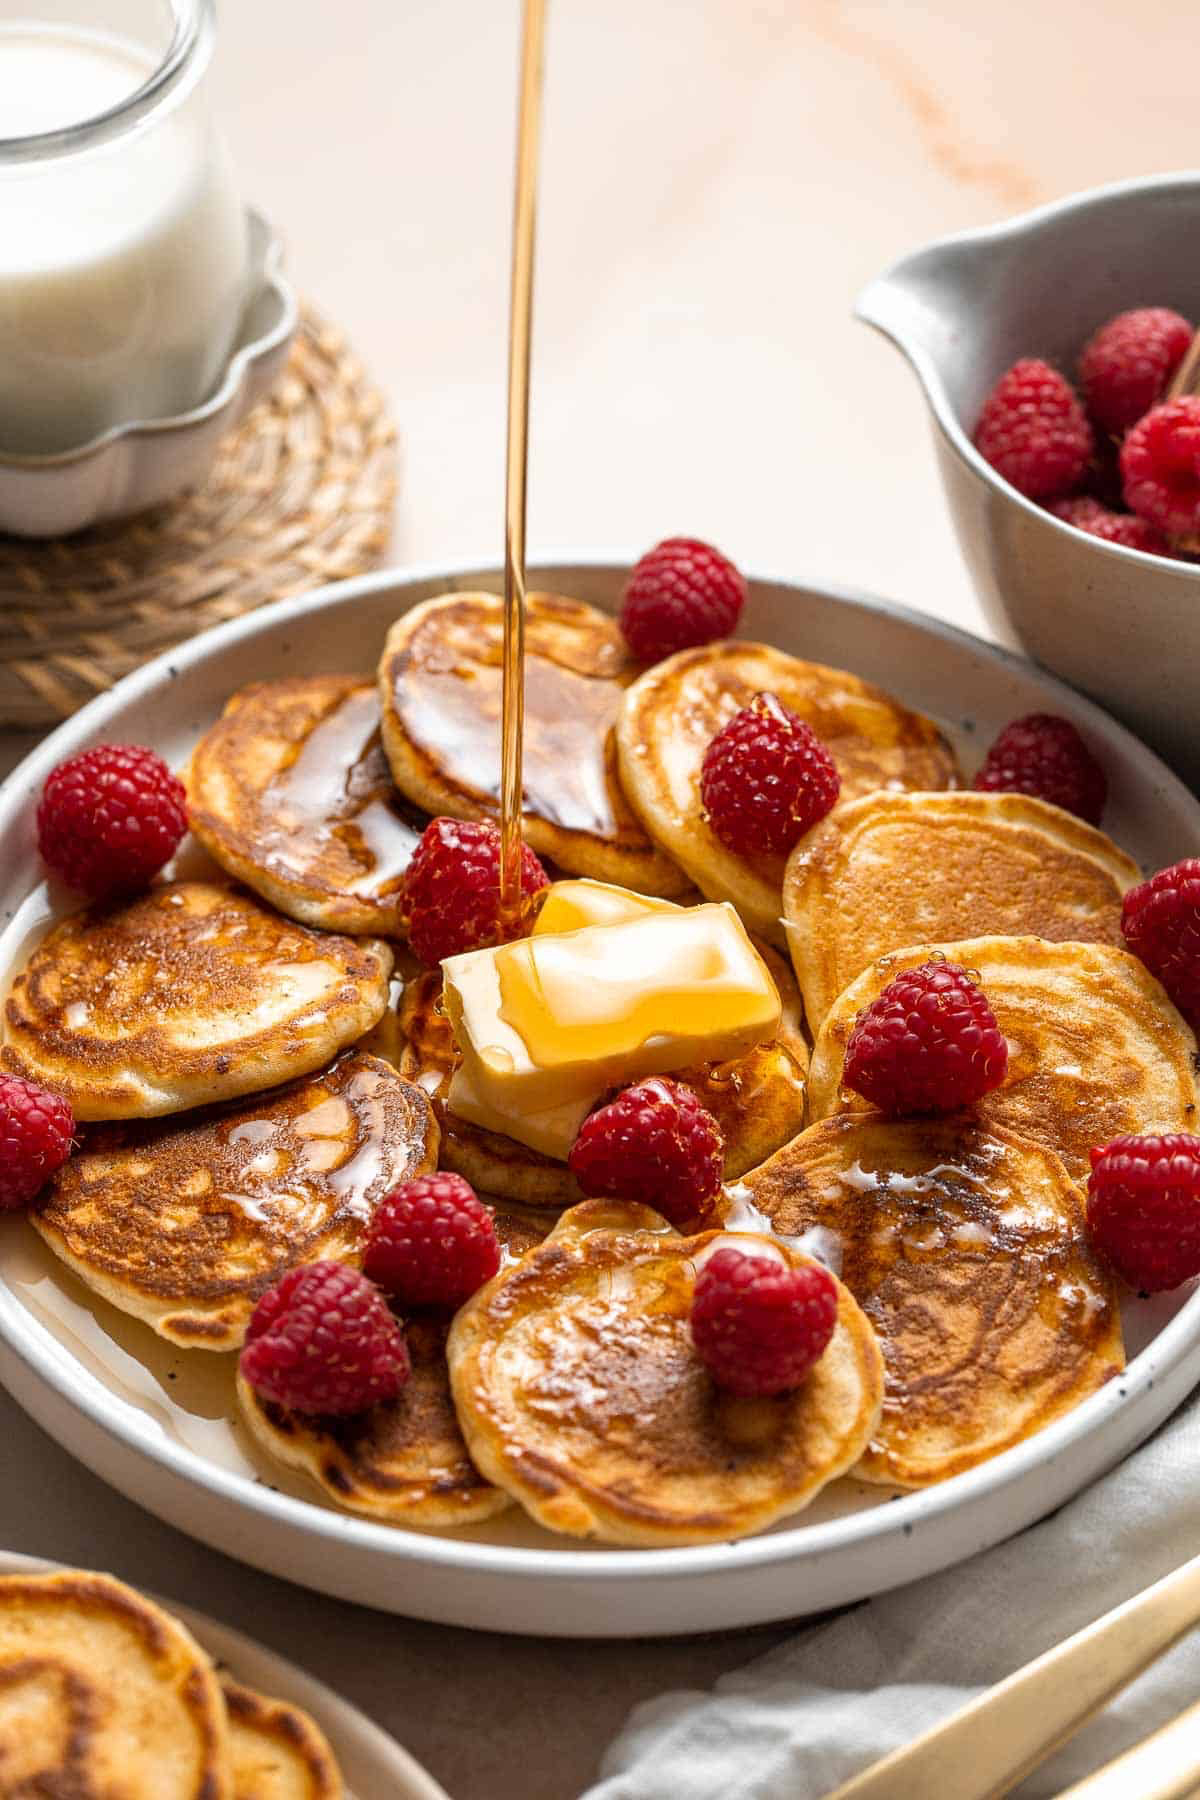
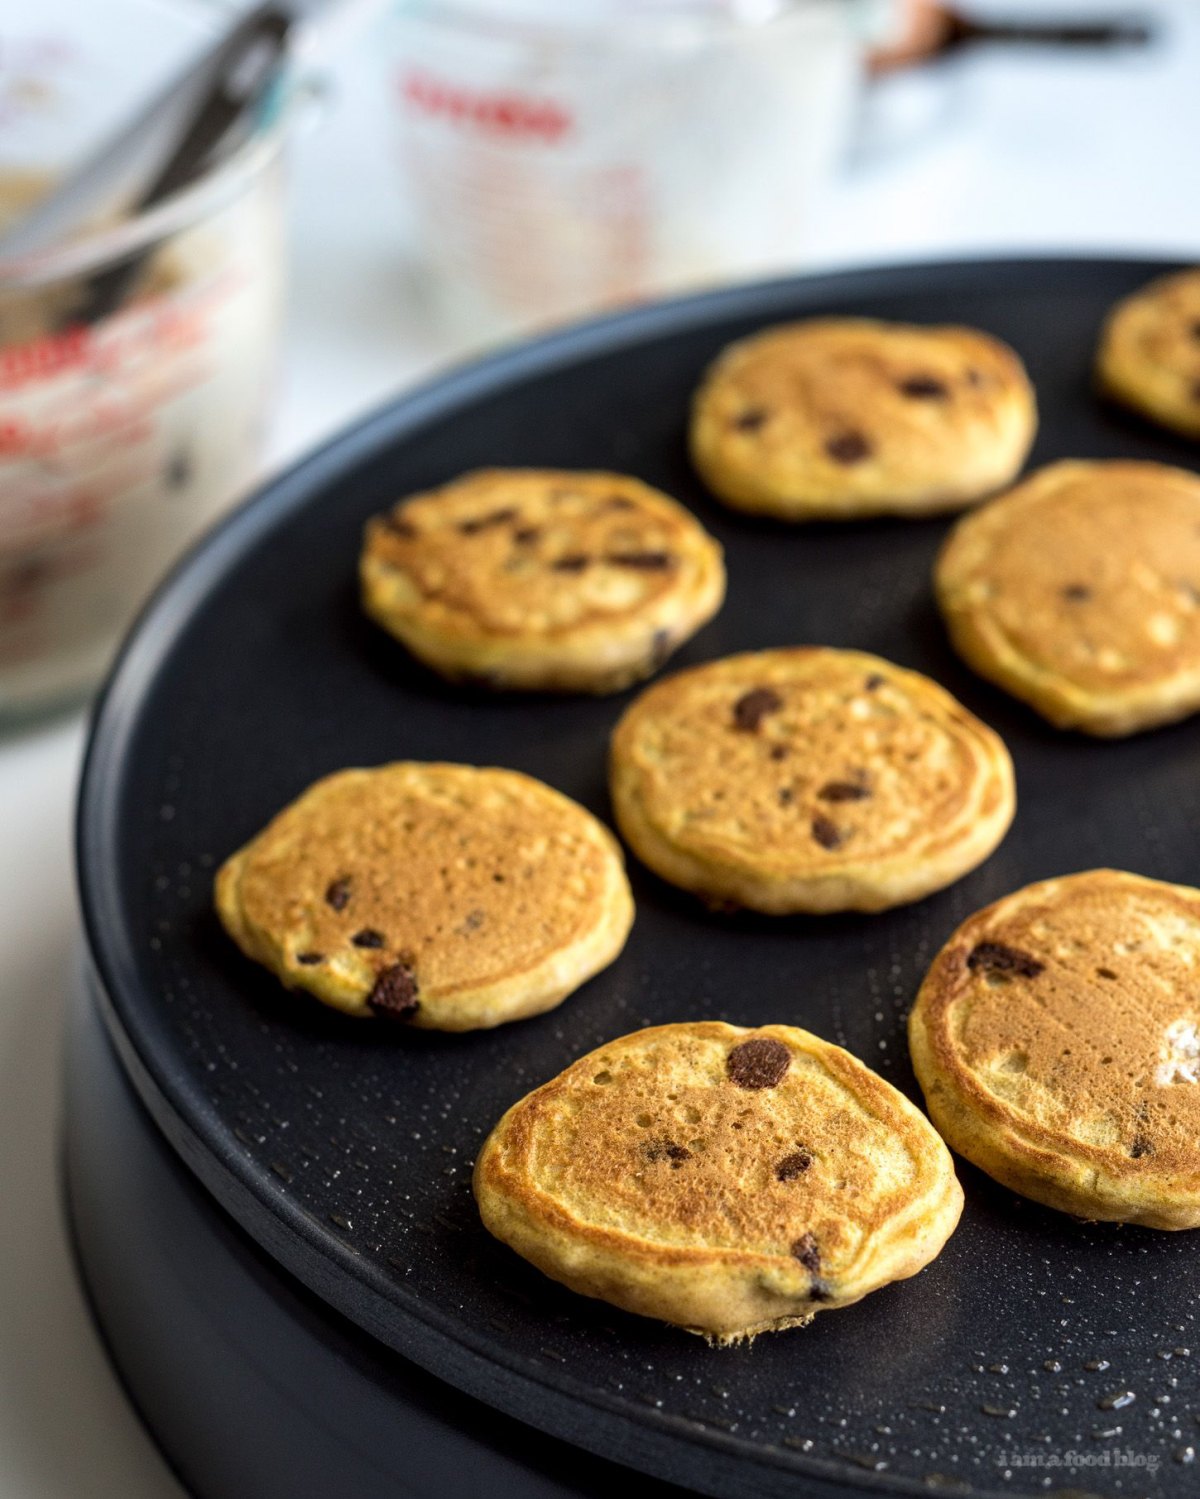
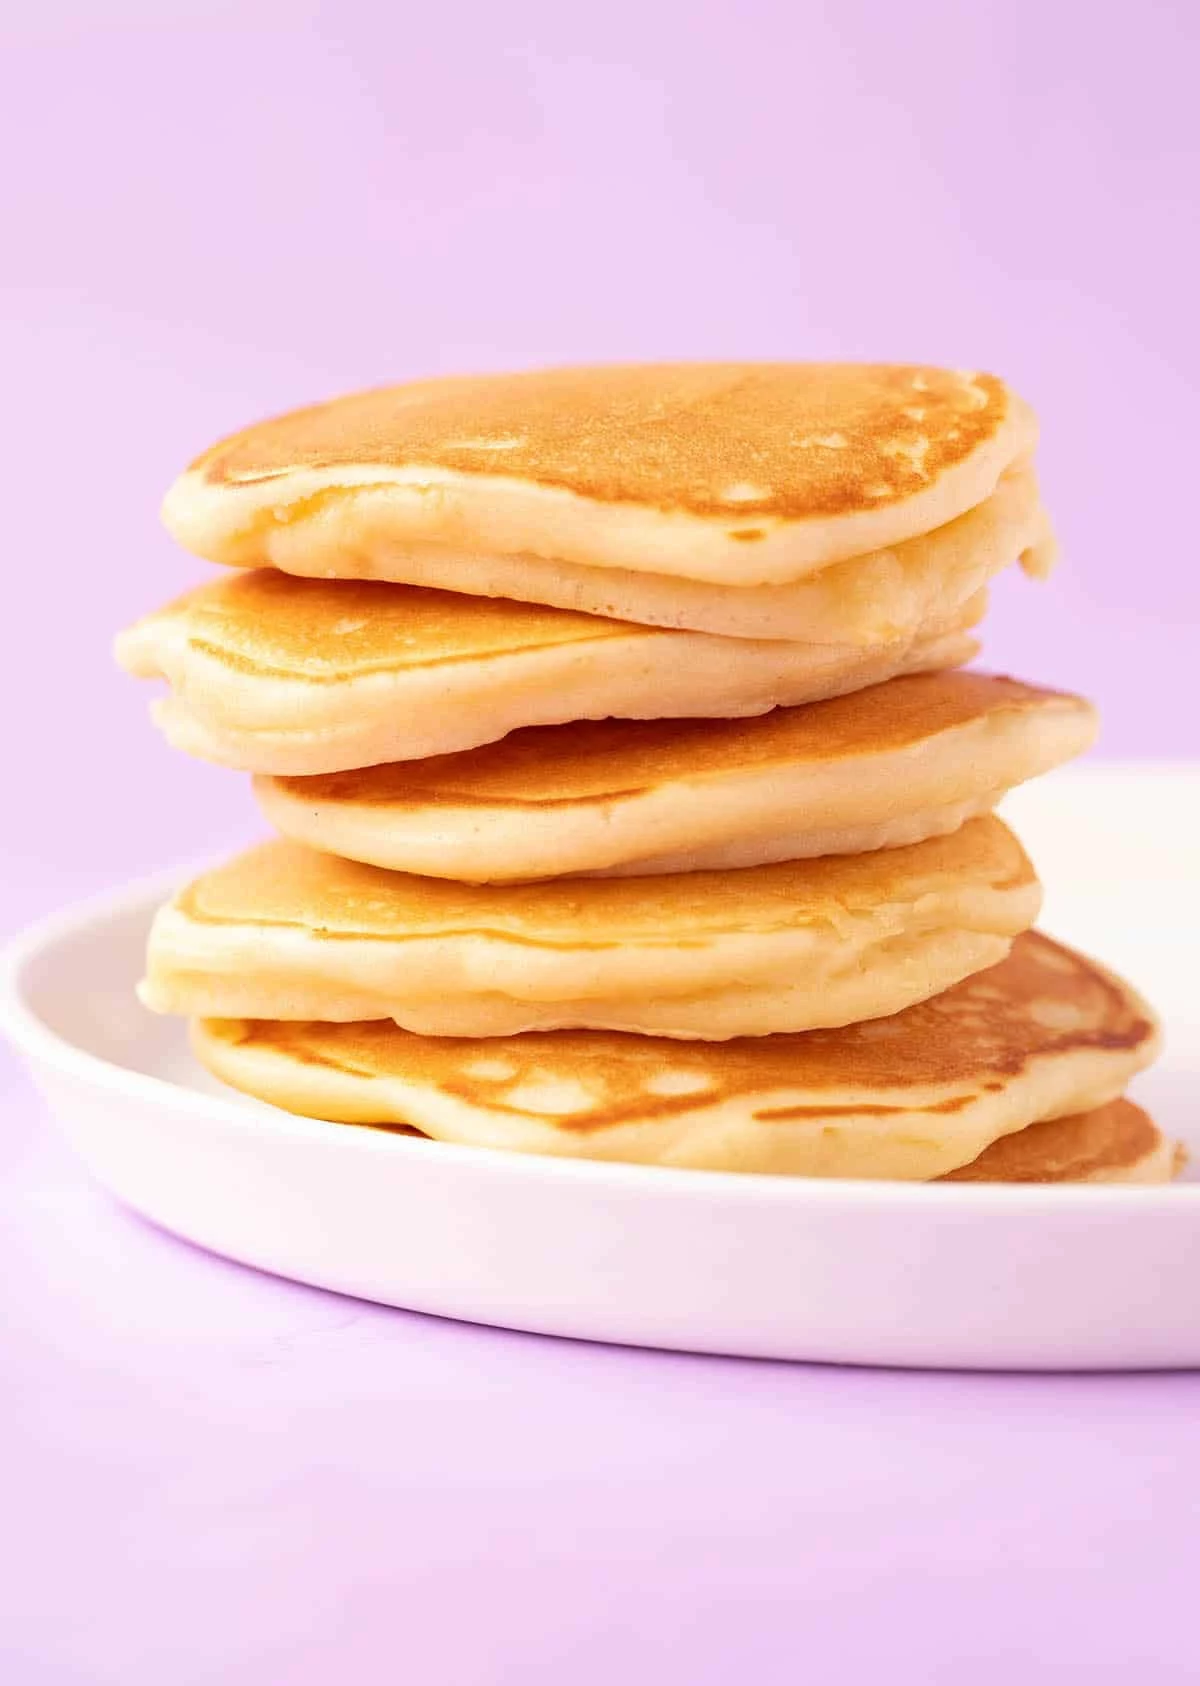
- Portion and Cook: Using your squeeze bottle or scoop, make little pancakes about 1.5 to 2 inches wide, leaving an inch of space between them. They’ll cook for about 60-90 seconds. You’ll know it’s time to flip when bubbles start to pop all over the surface and the edges look set and dry.
- The Flip: Use a thin spatula to flip them. And please, flip them only once. The second side cooks faster, usually just 45-60 seconds. Don’t press down on them with the spatula—that just squishes out all the air you worked so hard to get in there.
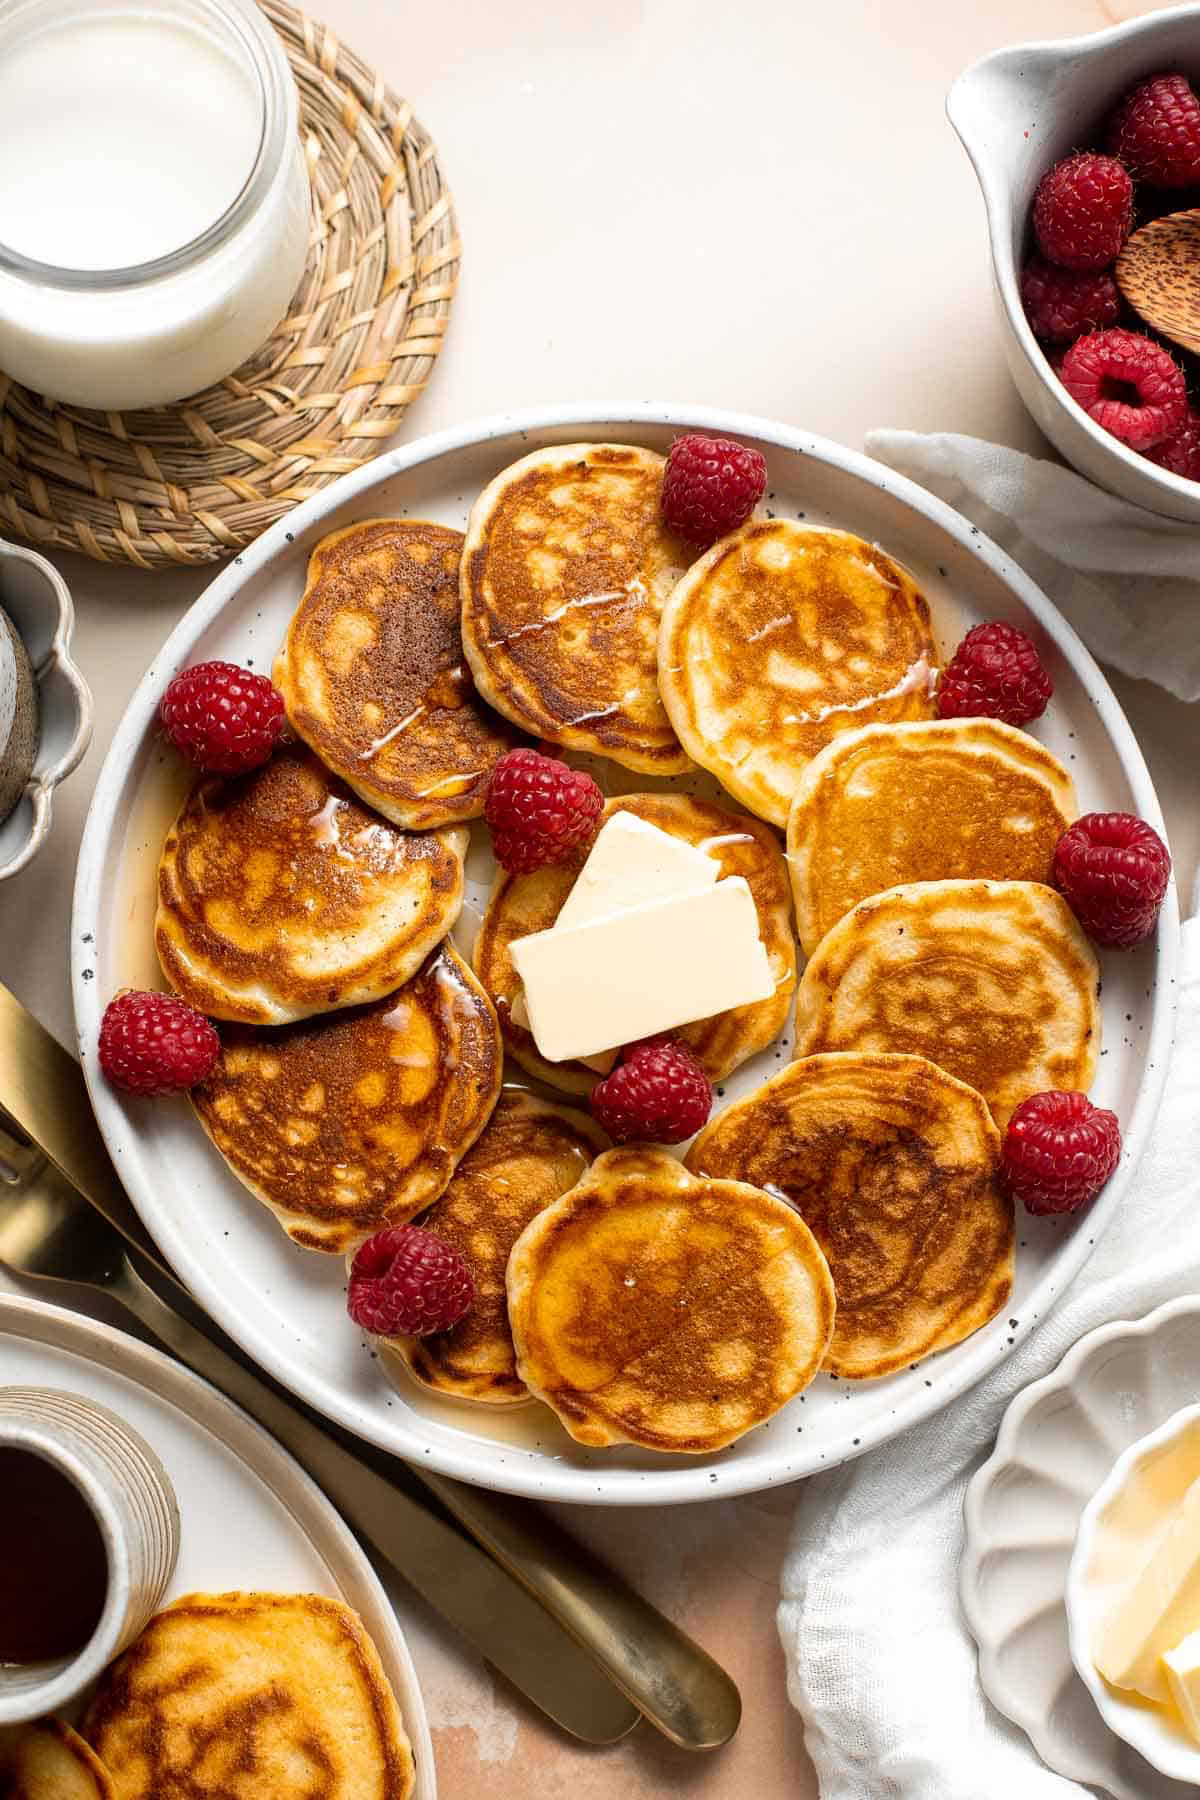
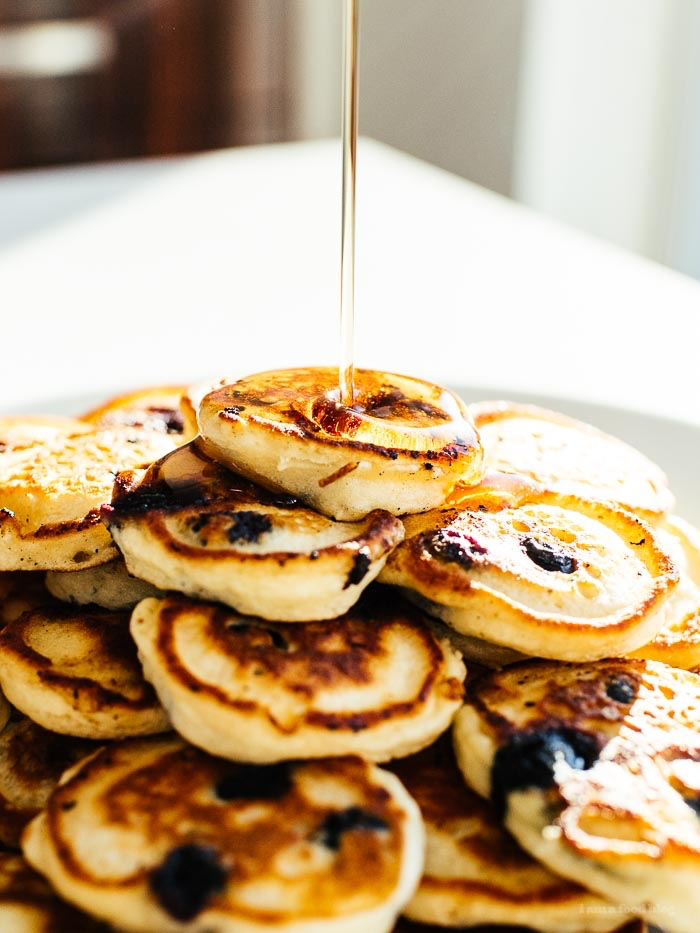
- Serve ‘Em Up: Get them on a plate and serve immediately! If you’re making a big batch, you can keep them warm in a single layer on a baking sheet in a 200°F (95°C) oven.
Fun Riffs on the Classic Recipe
Once you’ve got the basic technique down, you can start playing around. Here’s how to do it right.
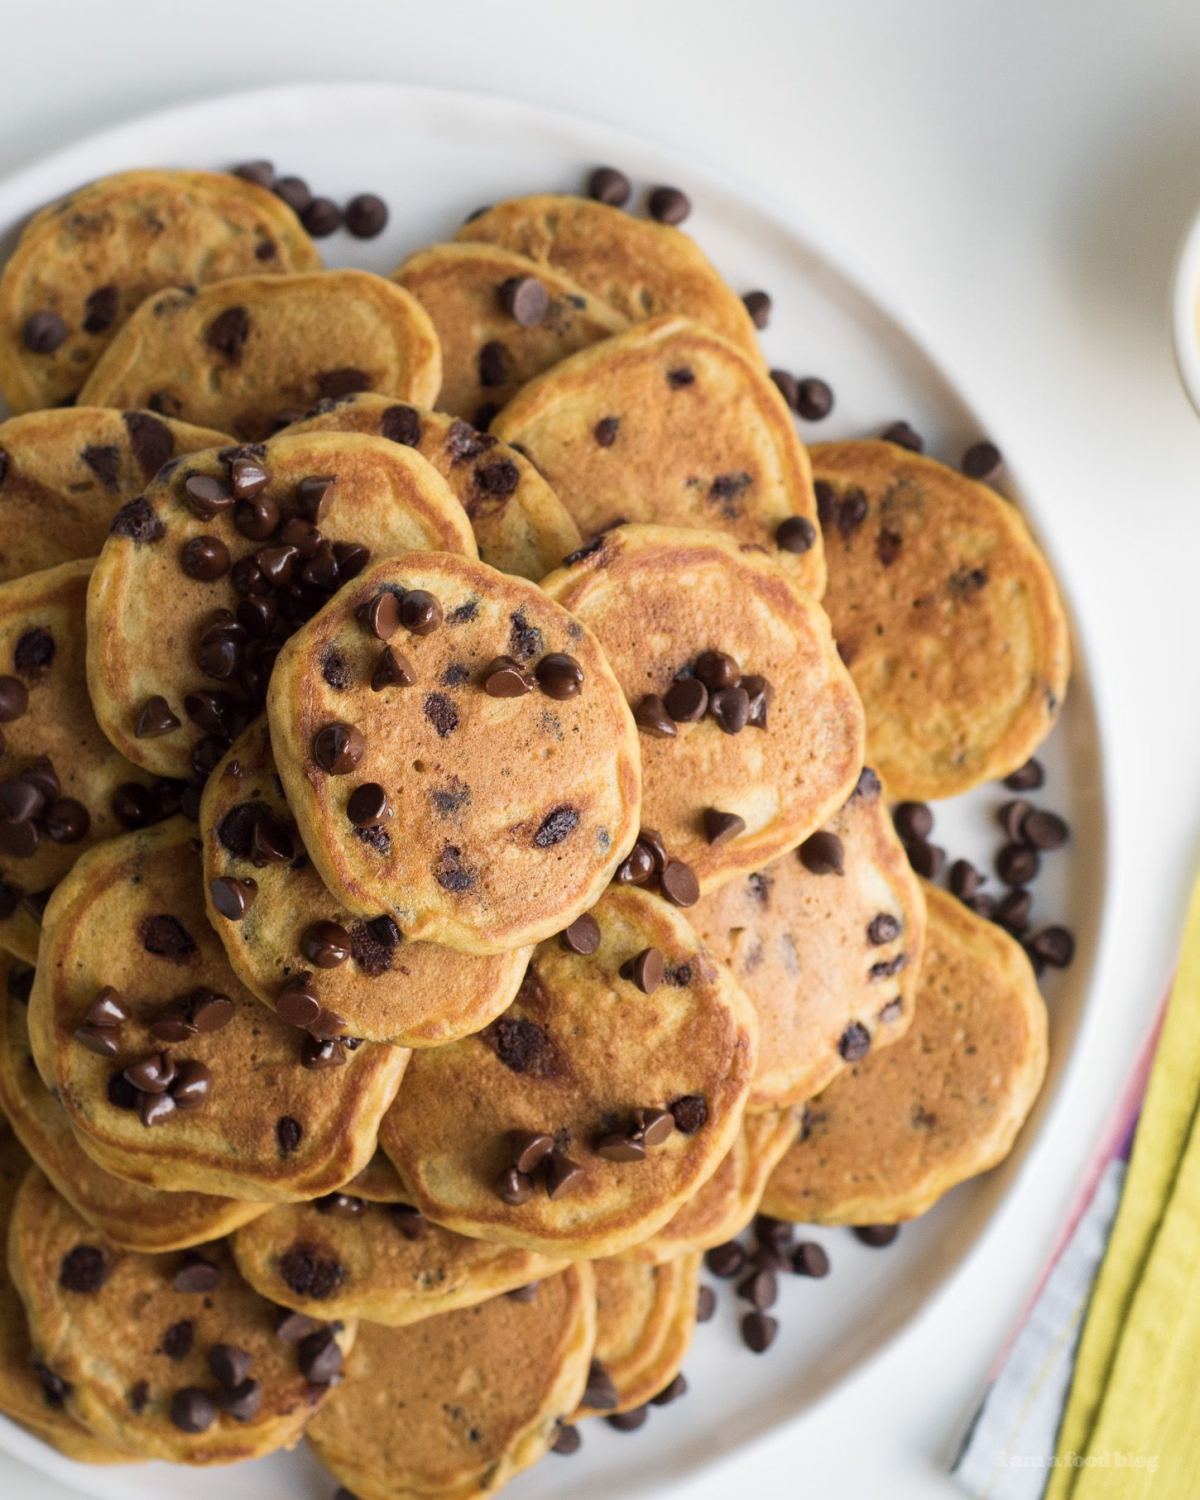
For Chocolate Chip Pancakes: The biggest mistake is mixing chips into the batter. They sink, and the ones on the bottom burn on the griddle. The pro method? Pour your plain batter onto the griddle first. Then, sprinkle a few mini chocolate chips onto the wet top of each pancake. Perfect distribution, no burning.
For Blueberry Pancakes: Fruit adds moisture, so you have to be careful. For fresh berries, use the same technique as chocolate chips—sprinkle them on top after pouring. Small wild blueberries are ideal. If you’re using frozen berries, thaw them, rinse them, and pat them completely dry with paper towels first. This prevents them from bleeding all over your batter and making it watery.
Troubleshooting: Common Pancake Problems & How to Fix Them
I’ve seen it all. Here are the most common pancake fails and their solutions.
- The Problem: My pancakes are tough and rubbery.
The Cause: You overmixed the batter. Period.
The Fix: Embrace the lumps! Mix less than you think you need to and always, always rest the batter. - The Problem: The first batch is always terrible.
The Cause: Your griddle wasn’t preheated correctly.
The Fix: Patience! Give the griddle a good 5-10 minutes to heat up evenly. I always make one single ‘test pancake’ to dial in the heat and see how the batter spreads. I call it the chef’s treat. - The Problem: They’re flat and dense.
The Cause: Your baking powder is probably old, or you let a baking-soda-based batter sit out for way too long.
The Fix: Test your leavener. And if using a baking soda + buttermilk recipe, cook it right after the rest period.
Make-Ahead Tips & Storing Leftovers
A little prep can make pancake morning so much smoother.
Can I make the batter ahead of time? Yes! Because this recipe uses double-acting baking powder, you can mix the batter the night before. Keep it covered in the fridge. It will thicken up overnight, so you’ll likely need to stir in a splash of milk to get it back to the right consistency before cooking.
How to Store & Reheat: Let any leftover pancakes cool completely. You can store them in a zip-top bag in the fridge for up to 3 days. For longer storage, freeze them in a single layer on a baking sheet before tossing them into a freezer bag. This prevents them from sticking together. The best way to reheat them is in a toaster or toaster oven until they’re warm and slightly crisp.
And my favorite time-saving hack: Make your own pancake mix. Triple or quadruple the dry ingredients (flour, sugar, baking powder, baking soda, salt) and store the mix in an airtight container. When you want pancakes, just measure out about 2.5 cups of mix and add the wet ingredients. You’re welcome.
Galerie d’inspiration
How do professional kitchens get such perfectly round mini pancakes, every single time?
The secret is often a simple plastic squeeze bottle, the kind you might see for ketchup at a diner. Instead of spooning batter, which creates inconsistent drips and “tails,” a squeeze bottle gives you complete control. Fill it with your rested batter and you can quickly pipe out uniform circles onto the griddle. For extra precision, a bottle with a slightly smaller tip, like those from OXO Good Grips, works wonders. Just don’t squeeze too hard! A gentle, steady pressure is all you need for batch after batch of flawless silver dollars.
The Cast Iron Griddle: A well-seasoned cast iron griddle, like a classic from Lodge, is the champion of even heat retention. Once it’s hot, it stays hot, delivering a consistent, beautiful golden-brown color across the entire batch. It’s the key to that perfect diner-style crust.
The Non-Stick Pan: A quality non-stick pan offers convenience and forgiveness. Pancakes release effortlessly, making the flip nearly foolproof, especially for beginners. It’s an excellent choice for quick, no-fuss mornings.
For that authentic, crispy-edged finish, master the cast iron. For speed and guaranteed success, a good non-stick is your best friend.


