I’ve been working with chocolate and flour for what feels like a lifetime. I started out in high-pressure restaurant kitchens where every second counted, and now I run a small bakery that’s all about amazing gluten-free treats. I’ve seen food trends come and go, but one thing is constant: everyone wants a truly perfect, fudgy brownie.
The game has changed, though. Getting that classic fudgy texture without any gluten is a real challenge, and now people are trying to do it in an air fryer, of all things. Honestly, making a great GF brownie is a craft. Using an air fryer adds a whole new level to it. This isn’t just about dumping ingredients in a bowl; it’s about understanding how they play together and knowing the quirks of your machine.
So, this guide isn’t just one magic recipe. It’s about sharing the techniques I’ve figured out over thousands of batches. I want to show you how to get gooey, delicious, and reliable results every single time.
Quick Look:
Total Time: About 1 hour (15 mins prep, 20 mins bake, 25+ mins to cool)
Yields: 9 to 12 brownies, depending on how you cut ’em!
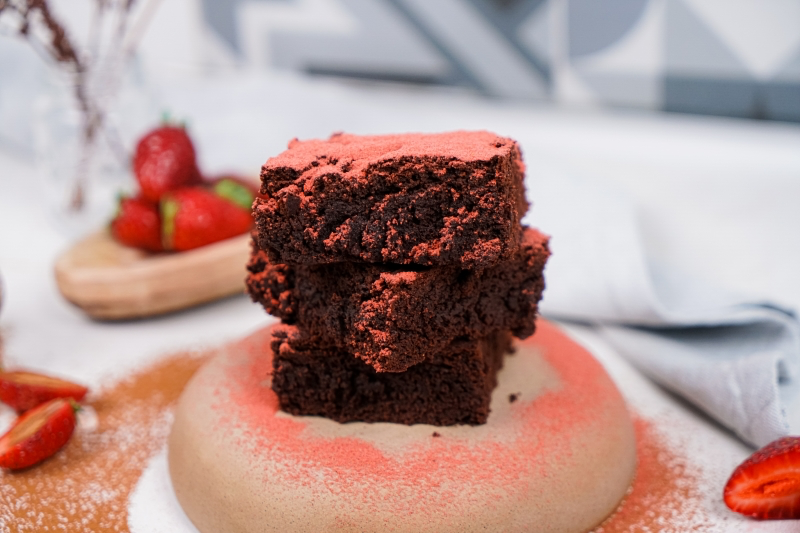
What Makes a Brownie Fudgy (and Not a Cakey Brick)
To be a great baker, you have to be a little bit of a food nerd. Knowing what’s happening in the bowl is the secret to getting things right, especially when you’re baking gluten-free and basically have to build the texture from scratch.
Gluten Who? Building Texture Without It
In a normal brownie, wheat flour creates a gluten network that gives it structure. For a fudgy brownie, though, you actually want less gluten. Too much makes it cakey. With gluten-free baking, we have the opposite issue—no gluten at all! Our job is to create that structure using other clever ingredients.
A good gluten-free flour blend is your first step. These are usually a mix of different flours and starches. For beginners, I absolutely recommend starting with a high-quality commercial blend. Look for ones labeled “1-to-1” or “Measure for Measure,” as they already have the necessary binder, xanthan gum, mixed in. Brands like Bob’s Red Mill 1-to-1 Baking Flour or King Arthur Measure for Measure are fantastic and reliable. You can find them at most grocery stores or online.
Heads up: a common mistake is trying to use a single-ingredient GF flour like just almond or coconut flour. That won’t work here; you really need a balanced blend designed for baking.
The Fudgy Trio: Fat, Sugar, and Chocolate
The texture of a brownie all comes down to the ratio of fat to flour. More fat means a fudgier result. The fat (usually butter) coats the flour and starches, keeping them from getting too thirsty and turning your brownie into a gummy mess. It’s what gives you that melt-in-your-mouth feel.
Sugar does more than just sweeten things up. It’s a moisture magnet, holding onto water to keep the brownie from drying out. Using brown sugar or coconut sugar is a pro move because they contain molasses, which adds even more moisture and a lovely, deep flavor. By the way, brown sugar will give you that classic, caramel-like brownie taste, while coconut sugar lends a richer, almost toasty flavor.
And finally, the chocolate! This is where you want to put your money. Using actual melted chocolate, not just cocoa powder, adds cocoa butter—a crucial fat for a truly decadent texture. So here’s my “splurge vs. save” tip: feel free to use a store-brand GF flour blend, but splurge on the chocolate. A good bar of dark chocolate (60-72% cacao) that costs $4-7 will make a world of difference compared to waxy baking chips.
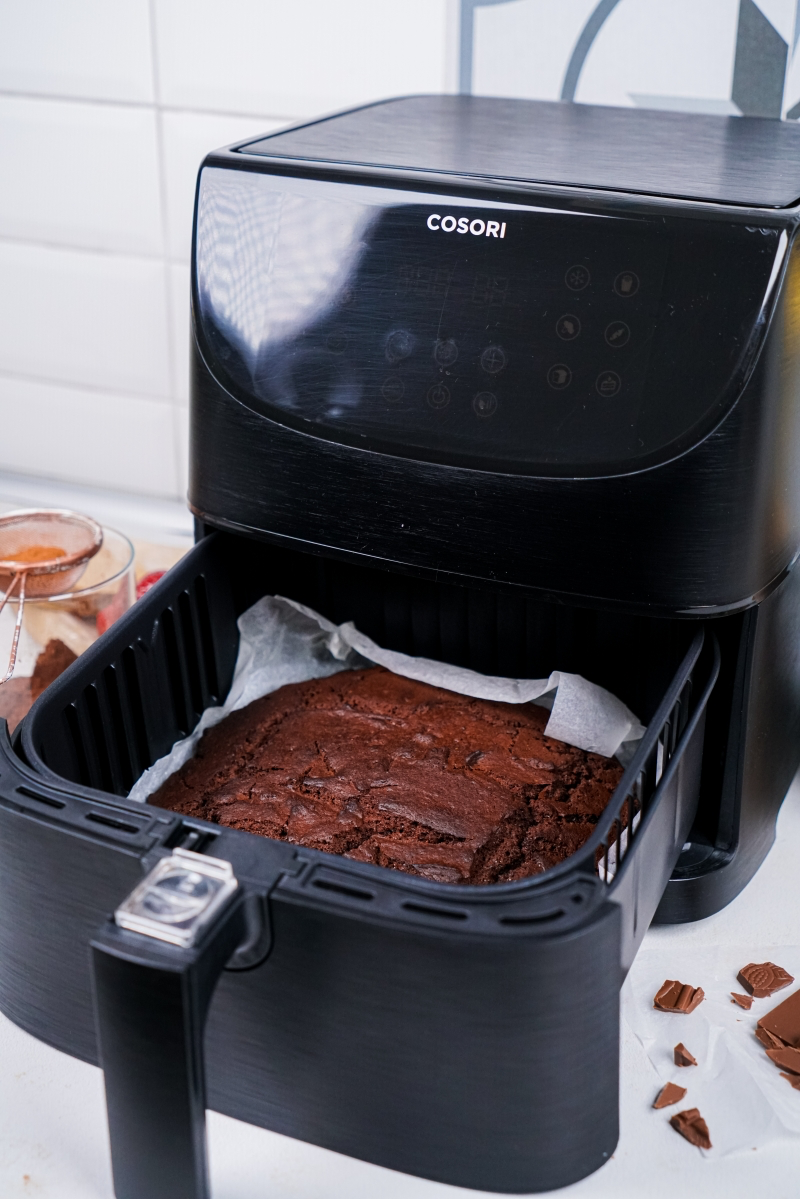
Your Air Fryer Is Basically a Tiny Convection Oven
People are always surprised when I say I use an air fryer for baking, but it’s a seriously powerful tool when you know how to handle it. An air fryer is just a small, intense convection oven. It has a heating element up top and a powerful fan that blasts hot air all around.
For baking, this has a few important consequences:
It’s Fast: The circulating heat cooks things very quickly.
Top-Heavy Browning: The top of your brownie gets hit with the most intense heat, so it will cook and brown way faster than the middle.
It Can Be Drying: That constant whirlwind of hot air can suck moisture right off the surface.
This is what causes the
1 air fryer baking fail: a burnt, crusty top with a soupy, raw center. The secret is to lower the temperature and sometimes even shield the top. Also, a quick reality check: the temperature dial on many air fryers is… optimistic at best. I highly recommend grabbing a cheap oven thermometer (they’re like $8 at any kitchen store) and putting it inside to see what temperature you’re actually getting. You might be surprised.
Good to know: If your air fryer doesn’t have a manual temperature setting and only uses presets, try the ‘Bake’ mode. Just be sure to start checking for doneness about 5 minutes earlier than the recipe suggests.
The Foolproof Method for Perfect Air Fryer Brownies
Alright, let’s get down to it. Follow the logic behind these steps, and you’ll be golden.
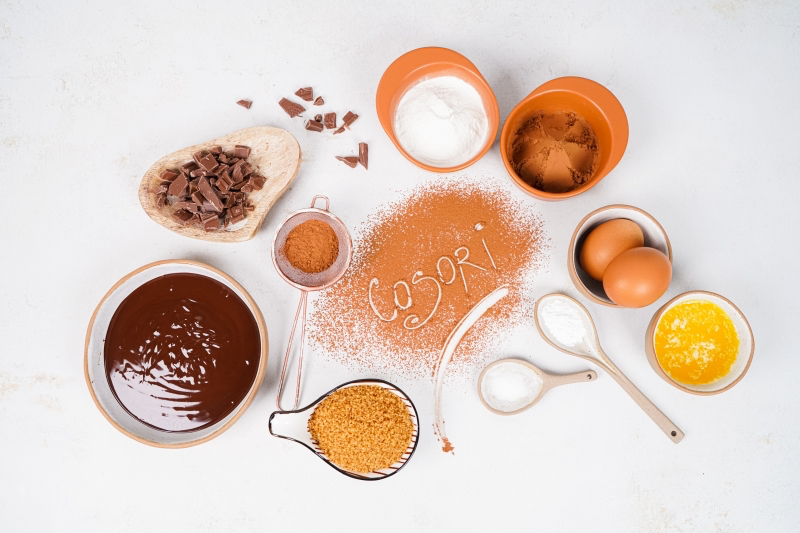
First Things First: Mise en Place
This is a fancy French term that just means ‘get your stuff together.’ Before you even think about mixing, measure out all your ingredients, melt your chocolate, and get your pan ready. It’s the single best habit to prevent mistakes.
The Ingredients List
Gluten-Free Flour Blend: 75 grams. Quick tip: The
1 thing that will make you a better GF baker is a kitchen scale. They’re about $15 on Amazon and will revolutionize your baking. Seriously. Using cups can lead to dry, sad brownies.
Unsweetened Cocoa Powder: 30 grams. I prefer Dutch-processed for its rich, dark color and smooth flavor.
Dark Chocolate: 170 grams, chopped. Stick to a 60-72% cacao bar. Baking chips have stabilizers that keep them from melting properly.
Unsalted Butter: 120 grams. (For a dairy-free version, swap this for a good quality vegan butter block, like the one from Miyoko’s Kitchen or Melt, and use a dairy-free chocolate bar).
Coconut or Brown Sugar: 90 grams.
Large Eggs: 2, at room temperature. This is NOT optional! Let me tell you, I once rushed it with cold eggs and my batter instantly seized into a lumpy, greasy mess. I had to throw the whole thing out. Don’t be like me. A quick way to warm them up is to let them sit in a bowl of warm tap water for 5-10 minutes.
Baking Powder: 1 teaspoon. Just a touch for lift.
Fine Sea Salt: 1/2 teaspoon. It makes the chocolate taste more chocolatey.
Step-by-Step, The Right Way
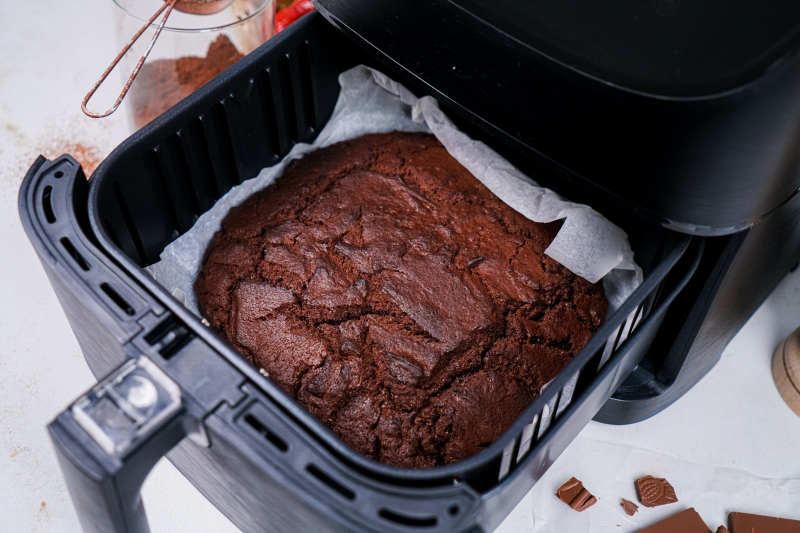
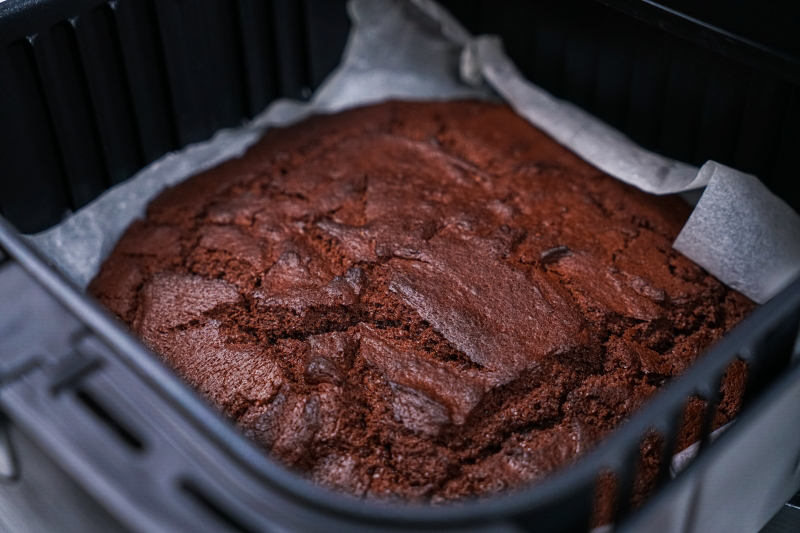
1. Prep Your Pan & Fryer: Preheat your air fryer to 160°C (325°F). Grab a small baking pan that fits inside, around 6-7 inches. Cut a strip of parchment paper and lay it inside to create a ‘sling,’ with the ends hanging over two sides. This makes lifting the brownies out later a breeze. Oh, and a crucial safety tip: NEVER preheat the air fryer with just the empty pan and parchment inside. The fan can suck the paper up into the heating element and start a fire. I’ve seen it happen!
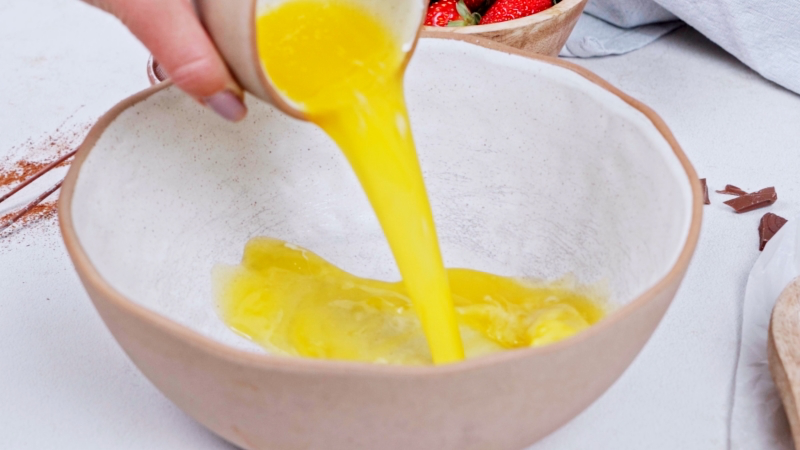
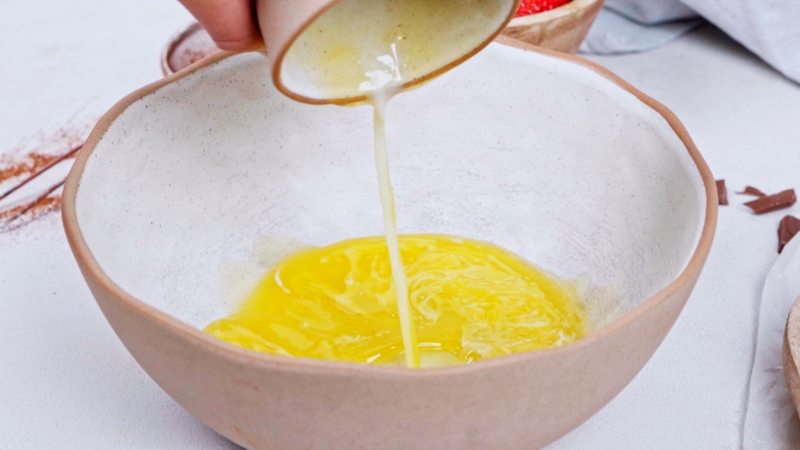
2. Melt & Cool: In a heatproof bowl, gently melt the butter and chopped chocolate together. You can do this in the microwave in 20-second bursts, or over a pot of simmering water. Let it cool until it’s just warm to the touch, not hot.
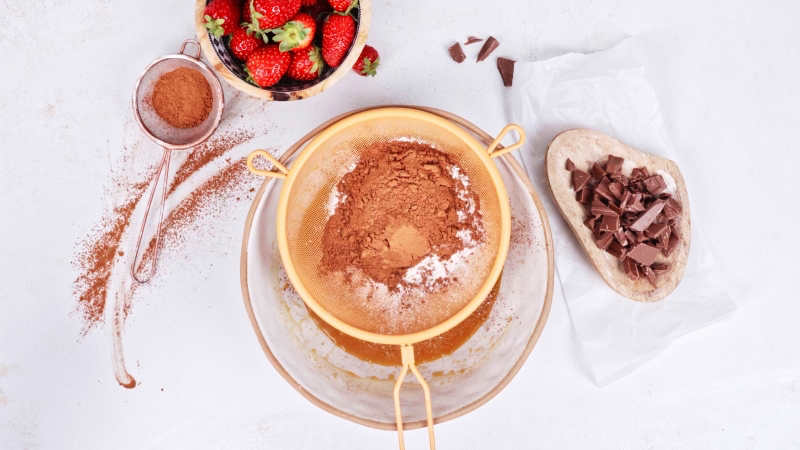
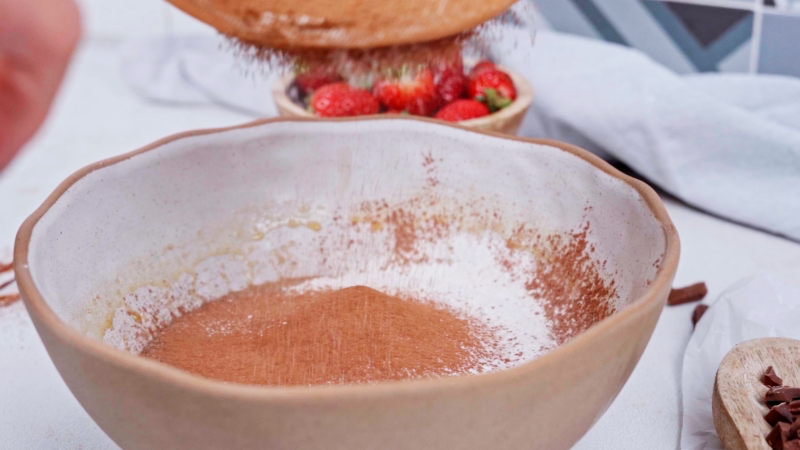
3. Bloom the Cocoa: In a large mixing bowl, whisk the warm chocolate/butter mixture with the cocoa powder. This little step is called ‘blooming,’ and it uses the warm fat to unlock a much deeper chocolate flavor. You’ll smell the difference immediately.
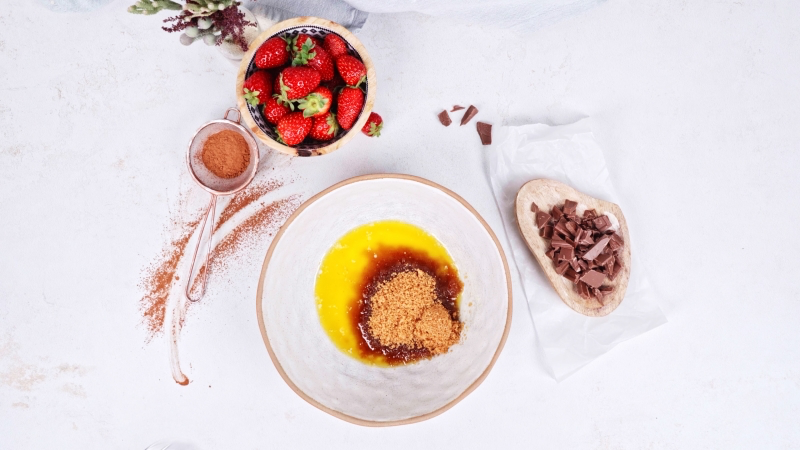
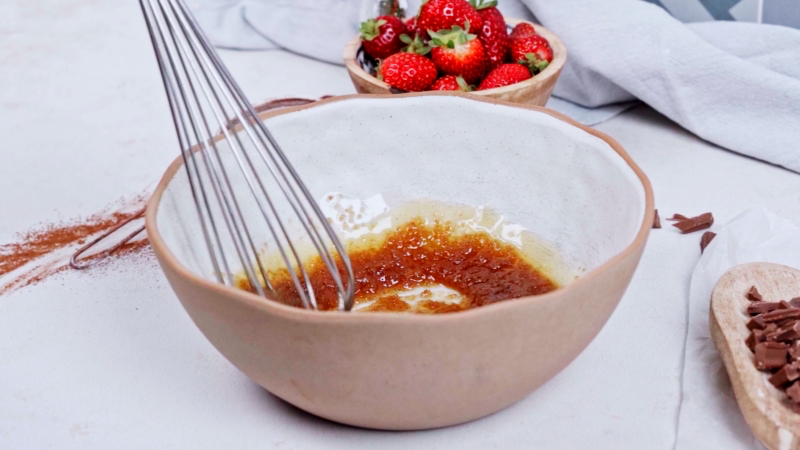
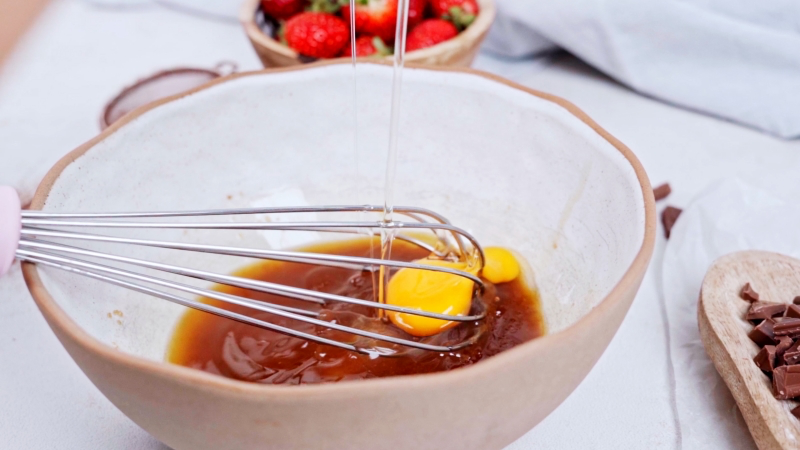
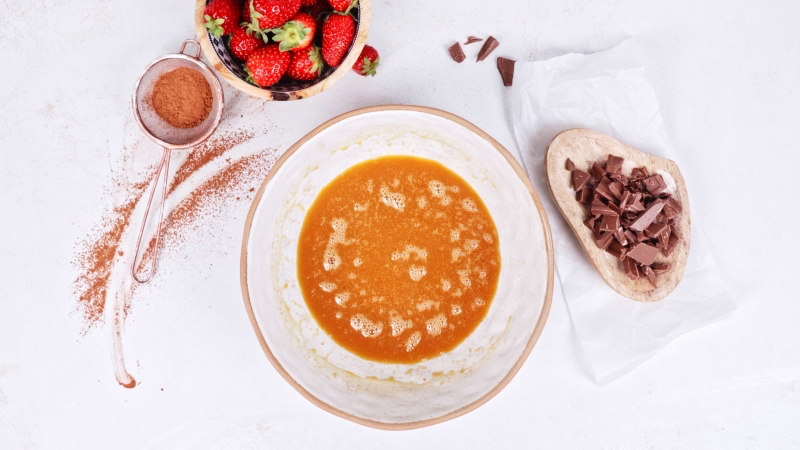
4. Mix the Wet Stuff: Whisk the sugar into the chocolate mixture. It’ll look a bit grainy. Now, add your room-temperature eggs one at a time, whisking vigorously for about a minute until the batter transforms. It should look thick, glossy, and smooth. You’re creating an emulsion, which is the secret to that perfect texture.
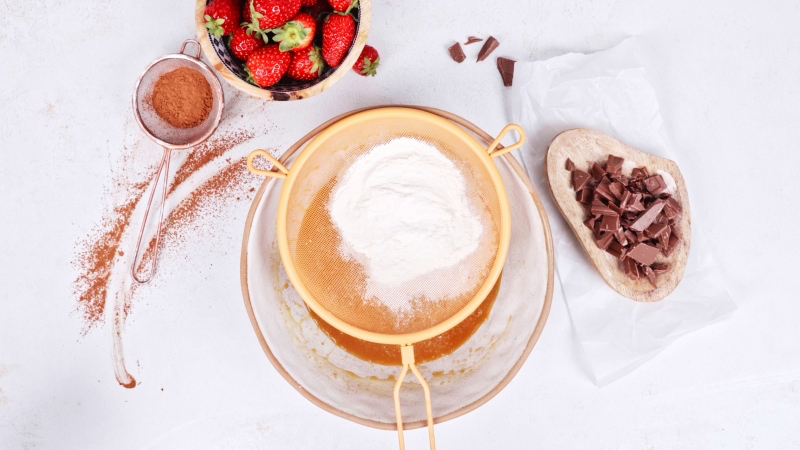
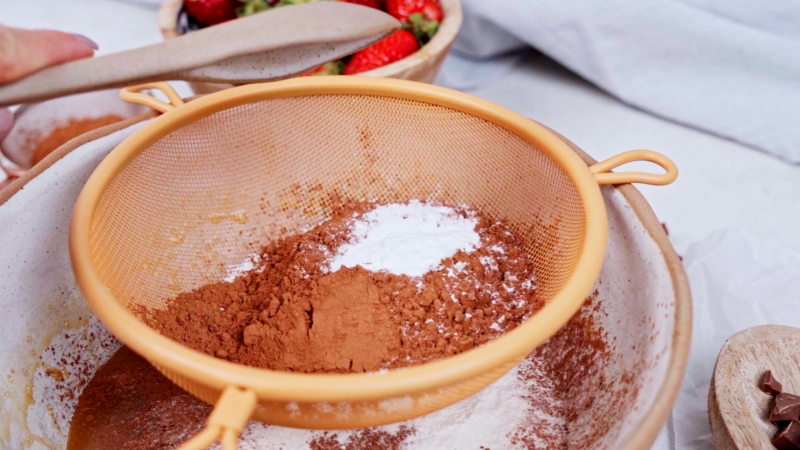
5. Combine the Dry: In a small bowl, stir your GF flour, baking powder, and salt together. Sifting is always a good idea to get rid of clumps.
6. Fold, Don’t Stir: Switch to a rubber spatula and gently fold the dry ingredients into the wet ones. Stop as soon as you don’t see any more white streaks. Overmixing here is the enemy!
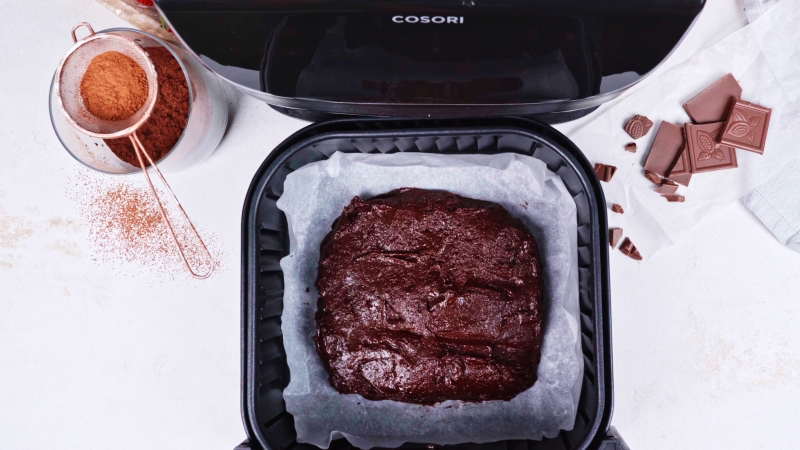
7. Time to Bake: Pour the batter into your prepared pan. If you’re using a slightly larger pan (like an 8-inch), just know your brownies will be thinner and bake faster. Start checking them around the 15-minute mark. For a 6-7 inch pan, bake for 18-22 minutes. Every air fryer is different, so keep an eye on it.
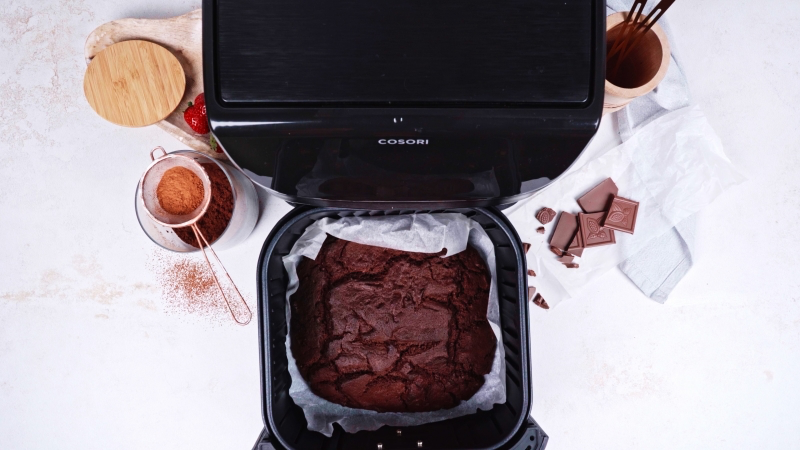
8. The Doneness Test: Forget what you know about the clean toothpick test. For fudgy brownies, a clean toothpick means you’ve overbaked them. You want to pull them when the edges are set, the top looks dry and crackly, and a toothpick inserted in the center comes out with moist, sticky crumbs attached (but not wet batter).
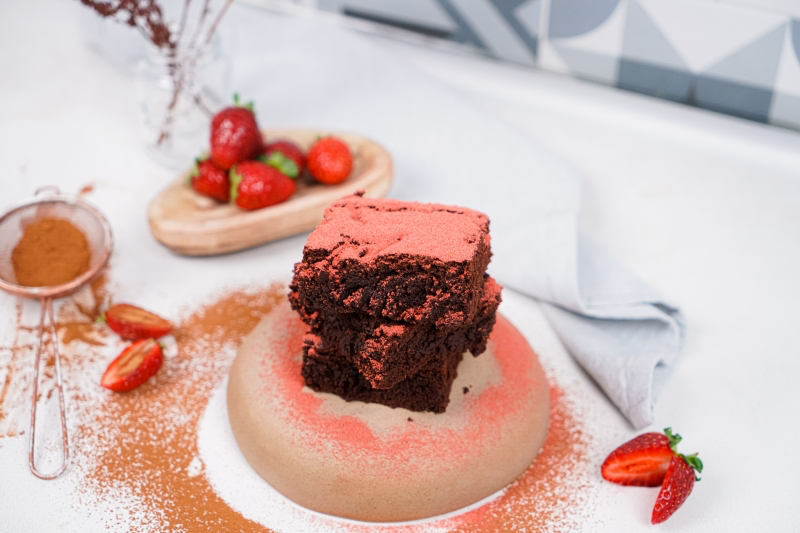
9. The Hardest Part: Waiting. Let the brownies cool COMPLETELY in the pan. This is non-negotiable. As they cool, they finish setting up. If you cut into them while warm, you’ll have a delicious, gooey mess instead of clean squares.
Common Brownie Disasters and How to Fix Them
Even the pros have off days. Here’s how to figure out what went wrong.
The Problem: Burnt top, raw middle. The Cause: Your air fryer is too hot. The top cooked way too fast. The Fix: Lower the temp by 10-15°C (20-25°F) next time. Remember that oven thermometer I mentioned? This is where it saves the day by telling you what your machine is really doing. If the top is still browning too fast, you can lay a small piece of foil loosely over the pan after the first 10 minutes of baking.
The Problem: They’re dry and taste like cake. The Cause: You overbaked them. Two minutes is all it takes to go from fudgy to sad. Or, you might have measured your flour incorrectly by scooping it. The Fix: Pull them out sooner next time—trust the moist-crumb test! And please, use a kitchen scale for flour. It’s a game-changer.
The Problem: The texture is gummy and weird. The Cause: Most likely underbaked, so the starches didn’t cook through. Or your GF flour blend might have too much starch in it. The Fix: Make sure your air fryer is hot enough and give them another couple of minutes in the heat. If it keeps happening, try a different flour brand.
The Problem: They’re greasy. The Cause: Your emulsion broke. This happens when your melted chocolate was too hot or your eggs were too cold, causing the fat to separate. The Fix: Patience! Let the chocolate mixture cool down and always, always use room-temperature eggs.
Ready to Level Up? Fun Variations to Try
Once you’ve got the basic method down, you can start having fun with it.
Brown the Butter: For a next-level nutty, toasty flavor, melt your butter in a saucepan and keep cooking it until it foams and you see little brown bits at the bottom. It will smell incredible. Pour it into a bowl immediately to stop the cooking and use it in the recipe.
Add Some Crunch: Feel free to add up to a cup of toasted walnuts, pecans, or chocolate chunks. A lesser-known trick: toss them in a tablespoon of your GF flour blend before folding them in. This helps stop them from sinking to the bottom.
Make a Swirl: To get a pretty peanut butter or cream cheese swirl, drop spoonfuls on top of the batter in the pan, then use a knife to gently drag it through. For a cheesecake swirl, mix about 100g of softened cream cheese with one egg yolk and a couple of tablespoons of sugar first.
The Boring (But Important) Stuff: Safety and Storage
A few final notes to make sure everything goes smoothly from start to finish.
On the safety front, don’t use aerosol cooking sprays in your air fryer basket—they can ruin the non-stick coating over time. If you need to grease something, brush on a little oil instead. For those with Celiac disease or a serious intolerance, cross-contamination is a real danger. If you share a kitchen, make sure to use dedicated gluten-free tools or wash everything meticulously before you start. Glass and metal bowls are better than plastic, which can hold onto gluten traces in scratches.
As for storage, whatever you do, do not put your brownies in the fridge. The cold temperature will make them hard and dry. Store them in an airtight container at room temperature, and they’ll stay perfectly fudgy for about three days. They also freeze beautifully for up to three months if you wrap them well.
It might seem like a lot for a simple pan of brownies, but these are the little details that make a huge difference. By understanding the why behind the recipe, you can stop just following instructions and start baking with real confidence. Enjoy!
Inspiration:
Silicone Pan: Offers flexibility and easy removal, but can sometimes result in a less defined crust as silicone is an insulator. Baking time might need a slight increase.
Metal Pan: Conducts heat efficiently, giving you those coveted crisp edges and a reliable bake. A small 6-inch or 7-inch pan, like those from Wilton, is perfect for most air fryer baskets. For fudgy results, a light-colored metal pan is your best bet to prevent over-browning.
The secret to a truly fudgy brownie isn’t just the fat-to-flour ratio; it’s melting the butter and chocolate together *before* adding the sugar. This ensures the sugar dissolves into the fat, not the water from the eggs, creating that dense, chewy texture.
Patience is the final, unlisted ingredient. Letting your brownies cool completely in the pan—at least 30 minutes, an hour is better—is non-negotiable. This allows the starches in the gluten-free flour to set and the chocolate to firm up. Cut them too soon, and you’ll have a delicious, gooey mess instead of a clean, fudgy square.
Thinking about mix-ins? Choose wisely to maintain that perfect texture.
Espresso Powder: A teaspoon doesn’t add a coffee flavor but deepens the chocolate notes profoundly.
Toasted Nuts: Toasting pecans or walnuts before adding them prevents them from becoming soft and brings out their oils.
High-Quality Chocolate Chunks: Swap chips for roughly chopped chocolate from a bar like Scharffen Berger or Valrhona for luxurious melted pockets.
Flaky Sea Salt: A sprinkle of Maldon salt on top just before baking balances the sweetness and adds a delightful crunch.
Don’t forget the foil tent: The powerful fan in an air fryer can cook the top of your brownies much faster than the center. If you notice the top getting too dark or forming a hard crust after 10-12 minutes, loosely tent the pan with a small piece of aluminum foil for the remainder of the baking time. This deflects the direct heat while allowing the center to cook through.
My single-serve air fryer brownie in a ramekin is always a disaster. What am I doing wrong?
The issue is likely size and time. A small ramekin heats up incredibly fast. Reduce your recipe’s baking time by at least a third, and check for doneness early. The perfect single-serve brownie should have set edges but a toothpick inserted in the center should come out with moist, fudgy crumbs, not wet batter. A 6-ounce ramekin is ideal.
A 2022 market report showed that over 60% of US households now own an air fryer.
This isn’t just for fries anymore. This massive adoption means accessory innovation is booming. Look for dedicated air fryer baking sets, often including 6-inch or 7-inch pans and silicone liners, from brands like Cosori or GoWISE USA. These are designed to fit perfectly and maximize airflow, which is critical for even baking.
The secret to a crackly, paper-thin brownie top, often called the ‘crackle,’ lies in the eggs and sugar. You need to whip them together vigorously for a good 3-5 minutes until the mixture is pale, thick, and ribbony. This dissolves the sugar and incorporates air, creating a delicate meringue-like layer that bakes into that perfect sheen.
Use an electric hand mixer for best results.
Ensure your eggs are at room temperature to achieve maximum volume.
A consistently dense, moist crumb every time.
No more worrying about over- or under-baking.
The confidence to know exactly when your brownies are done.
The baker’s secret weapon? An instant-read digital thermometer. Forget the toothpick test. For the perfect fudgy brownie, pull it from the air fryer when the internal temperature hits between 175-185°F (80-85°C).
Don’t skimp on the chocolate. Your brownies will only be as good as their main ingredient. For deep, complex flavor, choose a dark chocolate with 60-70% cacao. Brands like Guittard or Callebaut offer baking wafers (feves) that melt more smoothly and evenly than standard chips.
Dutch-Process Cocoa vs. Natural Cocoa: The choice impacts more than just color.
Dutch-Process: Alkalized for a smoother, less acidic chocolate flavor and a darker color. It’s a great choice for classic, deep-chocolate brownies. Think Droste or Valrhona.
Natural Cocoa: More acidic and fruity, it provides a sharper chocolate taste. In this gluten-free recipe where we want density, Dutch-process cocoa is often the superior choice for fudginess.
A note on almond flour: It is not a 1-to-1 swap for a GF blend! While delicious, almond flour lacks the starches needed to bind the brownie. If you use only almond flour, expect a very dense, almost flourless-cake texture. For best results, use it as a partial substitute (replacing up to 1/3 of your GF blend) to add moisture and a nutty flavor.
Can I make these brownies vegan and gluten-free?
Absolutely! The key is finding the right substitutes. Use a high-quality plant-based butter that’s solid at room temperature (like Miyoko’s Kitchen Cultured Vegan Butter). For the eggs, a ‘flax egg’ (1 tablespoon ground flaxseed mixed with 3 tablespoons water, rested for 5 minutes) works beautifully to bind and add moisture. The result is an incredibly rich, fudgy vegan brownie.
Brown Sugar: Its molasses content adds moisture and a slight caramel flavor, resulting in a chewier, fudgier brownie.
White Sugar: Contributes to that sought-after crackly top and provides a cleaner, purely sweet flavor.
Many bakers find a 50/50 mix gives the best of both worlds: chewiness from the brown sugar and a perfect crust from the white.
Storing your gluten-free brownies correctly is key to preserving their fudgy texture. Never refrigerate them, as this will dry them out and make them hard.
Store in an airtight container at room temperature.
Place a slice of gluten-free bread in the container; the brownies will absorb its moisture, staying fresh for up to 4 days.
For longer storage, wrap individual brownies tightly in plastic wrap and freeze them.
Emily Thompson is a Culinary Institute of America graduate who has worked in Michelin-starred restaurants before transitioning to food writing and education. Author of three cookbooks, she specializes in seasonal cooking and making gourmet techniques accessible to home cooks. Emily's recipes have been featured in Food & Wine and Bon Appétit.
To provide the best experiences, we use technologies like cookies to store and/or access device information. Consenting to these technologies will allow us to process data such as browsing behavior or unique IDs on this site. Not consenting or withdrawing consent, may adversely affect certain features and functions.
Functional
Always active
The technical storage or access is strictly necessary for the legitimate purpose of enabling the use of a specific service explicitly requested by the subscriber or user, or for the sole purpose of carrying out the transmission of a communication over an electronic communications network.
Preferences
The technical storage or access is necessary for the legitimate purpose of storing preferences that are not requested by the subscriber or user.
Statistics
The technical storage or access that is used exclusively for statistical purposes.The technical storage or access that is used exclusively for anonymous statistical purposes. Without a subpoena, voluntary compliance on the part of your Internet Service Provider, or additional records from a third party, information stored or retrieved for this purpose alone cannot usually be used to identify you.
Marketing
The technical storage or access is required to create user profiles to send advertising, or to track the user on a website or across several websites for similar marketing purposes.