So, let’s have a real talk about no-bake desserts. For a lot of people, they’re the easy way out—a shortcut for when you don’t want to preheat the oven. But after years spent in professional kitchens and teaching the craft, I see them totally differently. To me, a great no-bake dessert is all about mastering texture and temperature. It’s pure food science, and honestly, it’s kind of magical.
A perfectly wobbly panna cotta or a cheesecake with a buttery, crisp crust doesn’t just happen. It’s the result of knowing how simple ingredients behave when you take heat out of the picture.
I learned this lesson the hard way, of course. Early in my career, I had to make a massive batch of lemon possets for a big event. Feeling a bit too confident, I just scaled up a recipe without thinking about the chemistry. The result? A hundred cups of what was basically tangy lemon soup. My mentor, a tough-as-nails pastry chef, didn’t even raise his voice. He just made me do it all over again, explaining that the acid-to-fat ratio was completely off. The proteins in the cream had nothing to grab onto. That disaster taught me more than any cookbook ever could. No-bake desserts aren’t just about mixing and chilling; they’re about control.
So, we’re not just going to follow recipes here. We’re going to get into the nitty-gritty of why they work. By the time we’re done, you’ll be making desserts that aren’t just easy, but genuinely impressive.
The Science of a Perfect Set
Every no-bake dessert needs something to give it structure. Since we’re not baking, we have to rely on other tricks—mostly chemistry and physics. Getting a handle on these is the key to leveling up your dessert game.
Fats: The Unsung Heroes
The simplest way to create structure is with fats that are solid when cold. Think butter, coconut oil, and the glorious fat in cream cheese. They are the foundation of so many great desserts.
Butter & Your Crust: When you mix melted butter with cookie crumbs, you’re essentially coating every little particle in fat. As the butter cools and chills in the fridge, it solidifies, acting like a delicious cement that holds everything together. The ratio is everything. My go-to starting point is 1 part unsalted butter to 3 parts fine crumbs, by weight. For a standard 9-inch pan, that usually means about a half-cup of butter (115g) for about two and a half cups of crumbs (340g). If your crust is falling apart, you need a bit more butter. If it’s greasy or rock-hard, you’ve used too much. The texture you’re aiming for before you press it into the pan is like damp sand—it should clump together when you squeeze it.
Cream Cheese: The rich, dense magic of a no-bake cheesecake comes from one thing: the high fat content of full-fat, block-style cream cheese. Here’s a heads up: using low-fat or the whipped stuff in a tub is the most common mistake I see. Those products have extra water and air, which means your filling will be soupy and disappointing. Think of it this way: block cream cheese is a brick, but tub cream cheese is like mortar with a lot of air in it. You can’t build a solid wall with just mortar. So always, always use the blocks, and let them soften at room temperature for at least an hour to get a super smooth, lump-free filling. Splurging on the good stuff (usually $3-$4 a block) is always worth it.
Gelling Agents: The Jelly vs. The Firm
For lighter desserts like mousse or panna cotta, we need a special gelling agent. The two big players are gelatin and agar-agar, and you really can’t swap them willy-nilly.
Gelatin: This is an animal-derived protein that creates that classic, tender, melt-in-your-mouth wobble. But it can be a little intimidating if you’ve never used it. It has to be “bloomed” first. Don’t worry, it’s easy!
Quick Tip: How to Bloom Gelatin Perfectly 1. Start with powdered gelatin (like the Knox brand you find in any grocery store) and a small bowl of cold water. 2. The rule of thumb is to use about 1 tablespoon of cold water for every 1 teaspoon of gelatin powder. Sprinkle the gelatin evenly over the water’s surface. 3. Don’t stir! Just let it sit for about 5-10 minutes. The granules will absorb the water and swell up, turning into a jiggly, translucent mass. That’s a successful bloom. 4. From there, you’ll gently melt this bloomed gelatin into a warm liquid in your recipe (like warm cream). Never boil it, as extreme heat can weaken its setting power.
By the way, some fresh fruits like pineapple, kiwi, and mango contain an enzyme that will literally eat the gelatin proteins, preventing your dessert from setting. If you want to use these fruits, you have to cook them first to kill the enzyme.
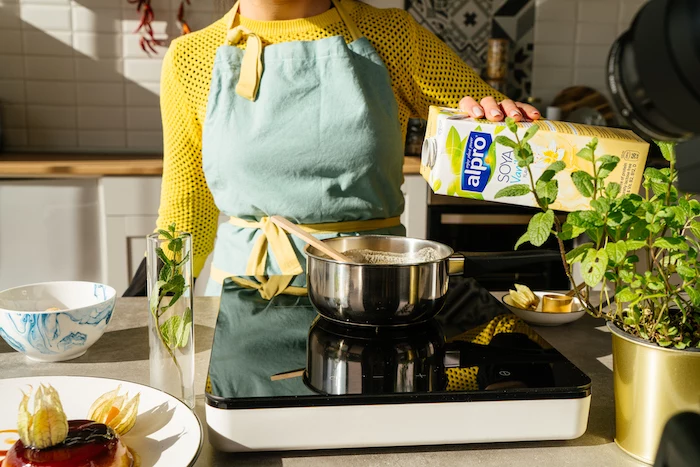
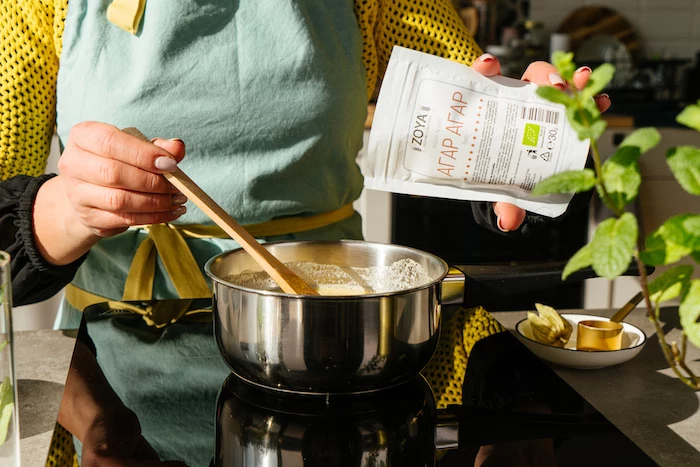
Agar-Agar: This is a fantastic vegan alternative made from seaweed. You can find it online or in health food stores, usually as a powder. Unlike gelatin, agar needs to be boiled with a liquid for a couple of minutes to activate. It also sets up much more firmly, even at room temperature. The final texture is less wobbly and more firm or even brittle. I use it for vegan recipes or when I need something to be super stable for transport.
So, Which One Should You Use?
For a classic, creamy wobble (like panna cotta): Go with gelatin.
For a vegan dessert or a very firm set: Agar-agar is your friend.
Activation: Gelatin blooms in cold water and dissolves in warm liquid. Agar-agar must be boiled.
Texture: Gelatin gives a tender, melt-in-your-mouth feel. Agar-agar gives a firm, almost snappy texture.
Acid + Protein: The Posset Miracle
Some desserts seem to set by pure magic. The classic lemon posset is the best example—it’s just cream, sugar, and lemon juice. The science is so cool. Heavy cream is full of fat and suspended milk proteins. When you heat it with sugar and then stir in an acid (like lemon juice), it causes the proteins to curdle on a microscopic level, forming a delicate mesh that traps all the liquid. The result is a silky, thick, custard-like dessert. The key? You have to use heavy cream or double cream with at least 35% fat. Milk or half-and-half just won’t work.
The Perfect No-Bake Crust: Your Foundation
A phenomenal dessert starts with a flawless crust. It needs to be crisp, flavorful, and strong enough to hold a clean slice.
1. Pick Your Base: The cookie you choose sets the whole mood.
Graham Crackers or Digestive Biscuits: The timeless choice. It’s a bit sweet, a bit wheaty, and goes with just about anything.
Chocolate Wafers or Oreos: My personal favorite for a dark, rich flavor and a beautiful visual contrast. And yes, use the whole Oreo, filling and all! The extra sugar and fat in the filling actually help the crust bind together. Store-brand chocolate sandwich cookies work just as well here, so it’s a great place to save a buck or two.
Pretzels or Salty Crackers: Absolutely amazing with caramel or peanut butter fillings. That salty-sweet combo is a winner. Just add a tablespoon of sugar to the mix to balance it out.
Toasted Nuts: Finely ground pecans, almonds, or walnuts make a fantastic gluten-free crust. A heads-up: nuts are naturally oily, so you might want to start with a tablespoon or two less butter than the recipe calls for.
2. The Grind is Key: A food processor is your best friend here. Pulse until you have fine, even crumbs. Big chunks create weak spots. No processor? A sealed plastic bag and a rolling pin work too—just be thorough!
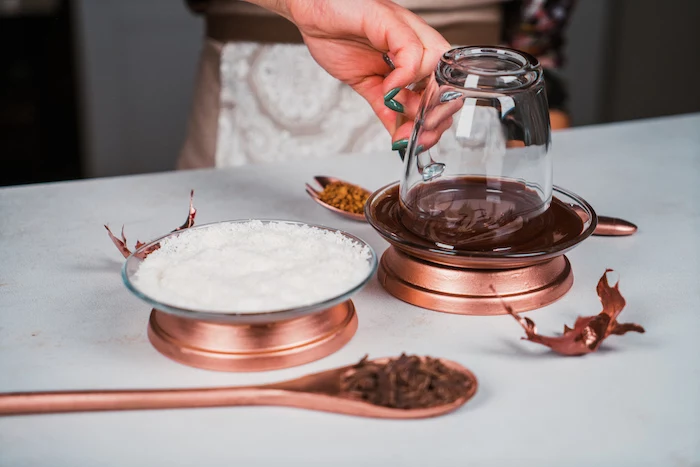
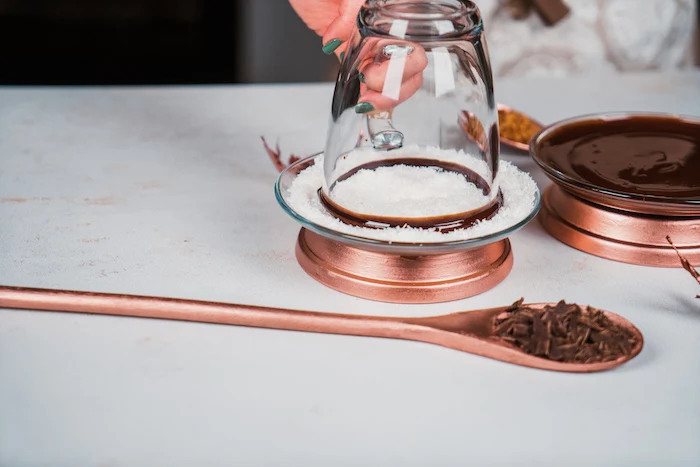
3. Press It Like a Pro: This is what separates a sad, crumbly crust from a sharp, professional one. Dump your buttered crumbs into a springform pan. Use your fingers to push them up the sides first. Then, grab a flat-bottomed glass or measuring cup and press down FIRMLY on the bottom and against the sides. That pressure is what makes it strong.
Time-Saving Trick: Make a double batch of the crust mixture. Use half now and freeze the rest in a ziplock bag for up to three months. Next time you need a quick dessert, you’re already halfway there!
4. The Chill is Essential: Don’t skip this! The crust needs at least 30 minutes in the fridge or 15 in the freezer. This solidifies the butter and creates a firm base for your filling. If you pour a room-temp filling onto a room-temp crust, you’ll get a soggy mess.
In a Rush? For a super fast dessert, just make the crust, chill it, and fill it with your favorite ice cream or even some good-quality instant pudding. Boom—a delicious treat in under 30 minutes.
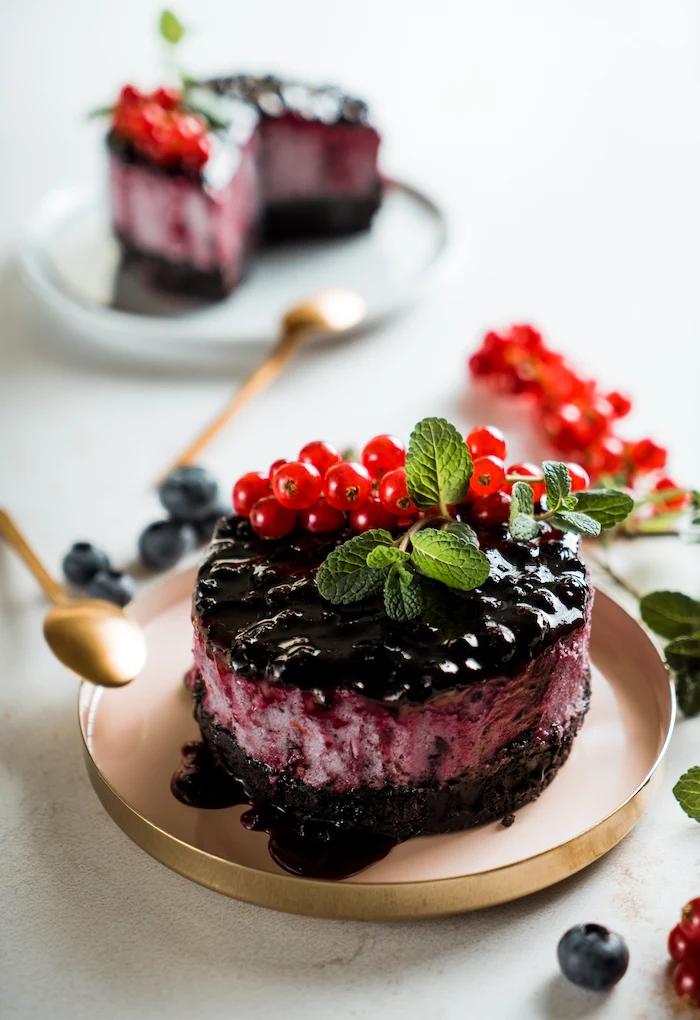
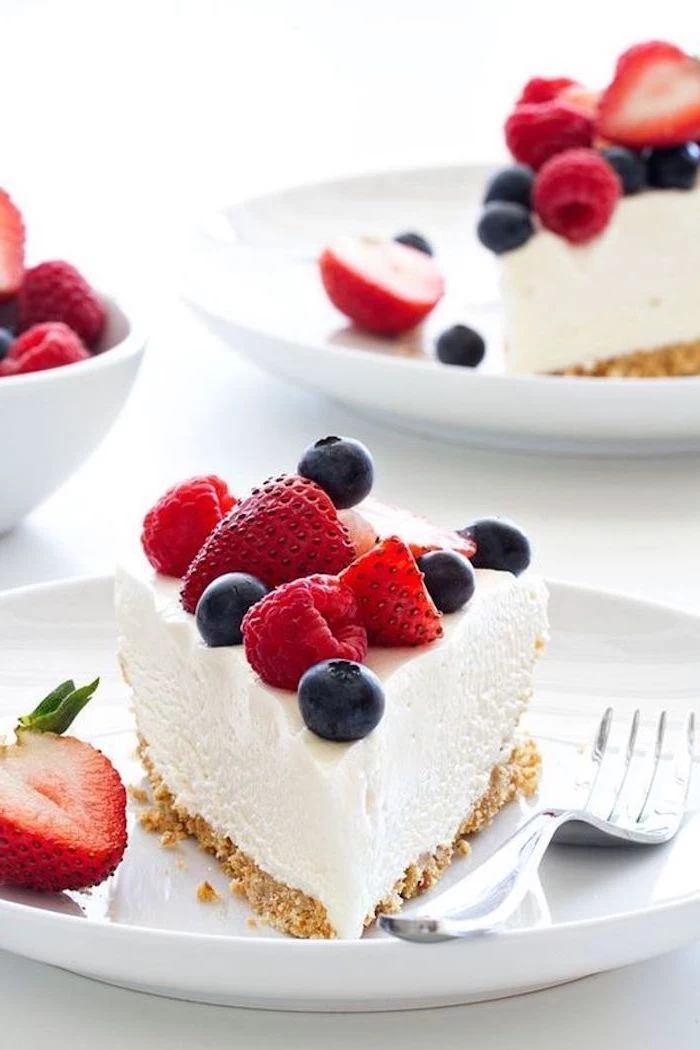
Let’s Make: The Ultimate No-Bake Oreo Cheesecake
This isn’t your average mix-and-chill recipe. We’re focusing on technique to get a cheesecake that’s packed with flavor, ridiculously smooth, and holds a perfect slice. This makes enough for 8-10 people, and all the ingredients should run you about $15-$20.
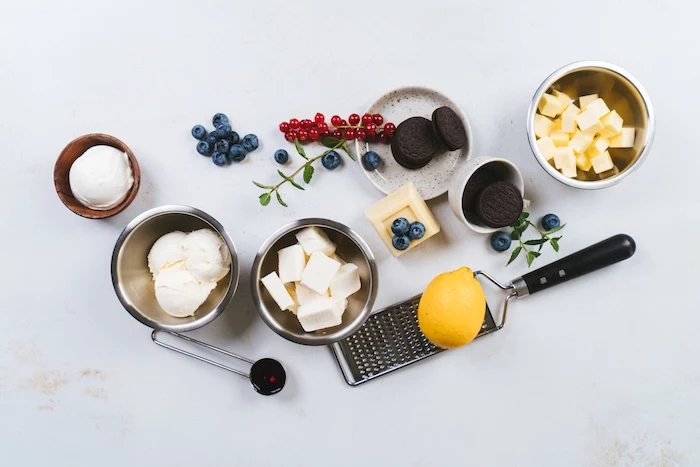
You’ll Need:
For the Crust:
32 Oreo cookies (about 350g), the whole cookie
1/2 cup (115g) unsalted butter, melted
For the Filling:
Three 8oz packages (680g) full-fat block cream cheese, softened to room temp
1 cup (200g) granulated sugar
2 teaspoons pure vanilla extract
A good pinch of fine sea salt
1 cup (240ml) cold heavy whipping cream (at least 35% fat)
12 more Oreo cookies, roughly chopped
The Method:
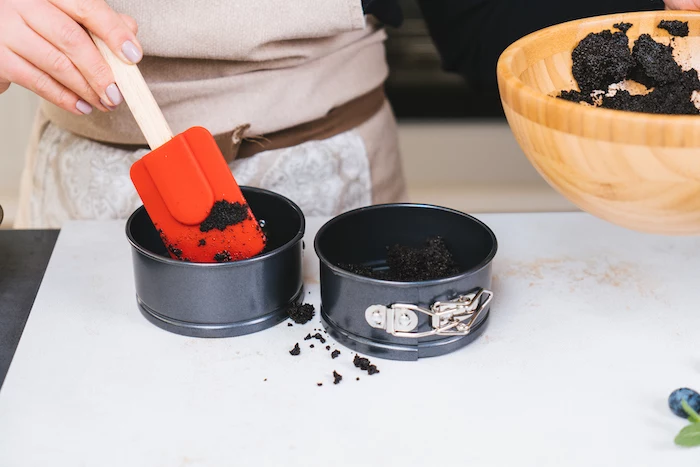
1. Prep the Pan: Lightly grease a 9-inch springform pan. It’s a small step, but it’s cheap insurance for a clean release later.
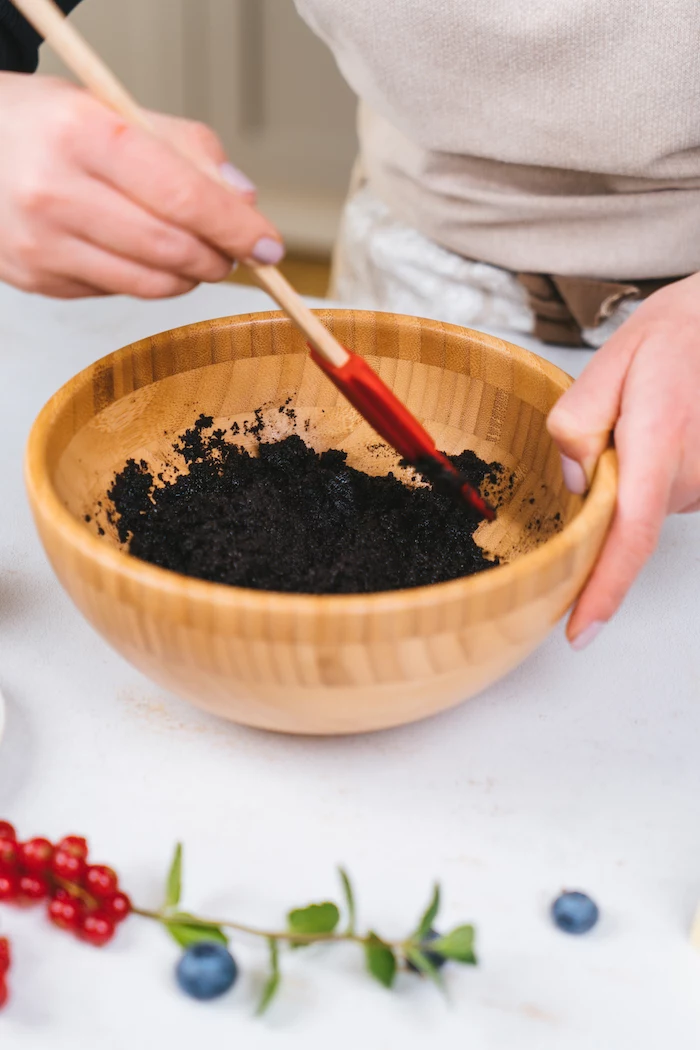
2. Make the Crust: Pulse the 32 whole Oreos in a food processor until they’re fine crumbs. With the machine running on low, drizzle in the melted butter. Press the mixture firmly into your pan, going about 1.5 inches up the sides. Pop it in the freezer while you make the filling. The quick freeze makes the shell extra sturdy.
3. Whip the Cream: In a separate, chilled bowl, whip the cold heavy cream until it holds stiff peaks. (Did you know? The fat globules in cold cream whip up faster and create a more stable structure. It’s a tiny step that makes a huge difference!) Stiff peaks mean that when you lift the beaters, the cream peak stands straight up. Don’t over-whip or you’ll get butter! Set it aside in the fridge. Whipping the cream separately is the secret to a lighter, airier texture.
4. Make the Cheesecake Base: In a large bowl, beat the room-temperature cream cheese with an electric mixer for about 2 minutes until it’s completely smooth. Scrape the bowl down well. Add the sugar, vanilla, and salt and beat for another 2 minutes until it’s silky smooth. Rub a little between your fingers—you shouldn’t feel any grit from the sugar.
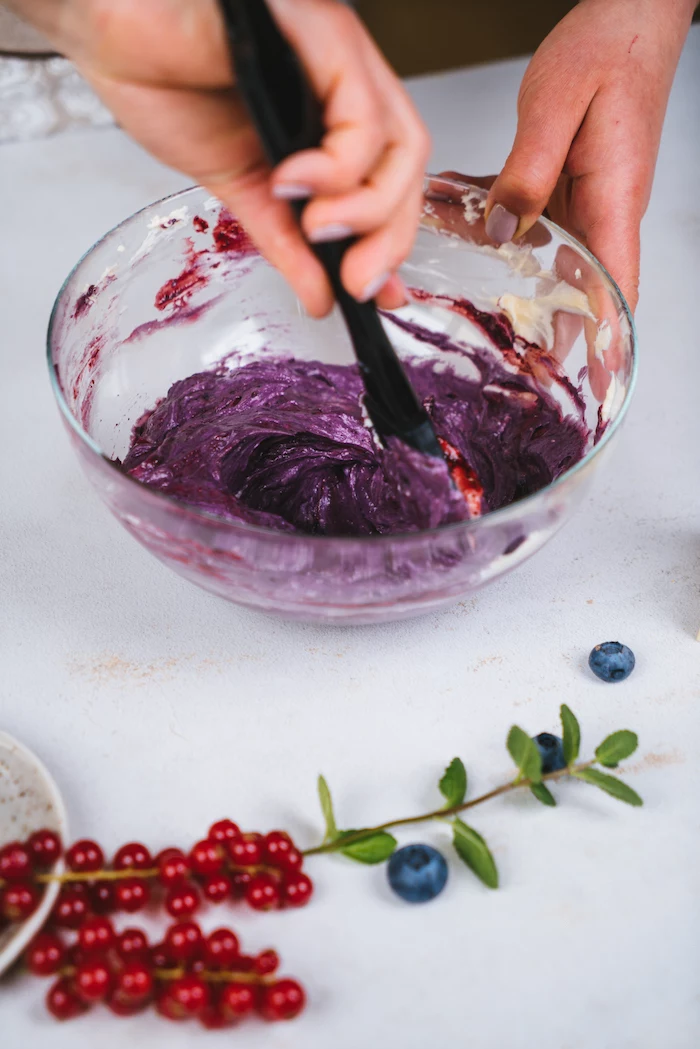
5. Fold It All Together: Gently fold about one-third of your whipped cream into the cheesecake base to lighten it up. Then, add the rest and fold until just combined. Overmixing here will knock out all the air you just whipped in. Finally, fold in the chopped Oreos.
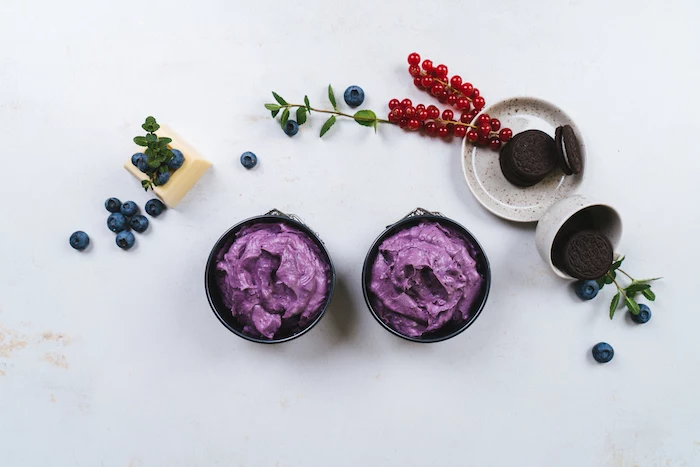
6. Fill and Chill: Grab the crust from the freezer. Pour the filling in and smooth the top with an offset spatula for that pro finish. Cover loosely with plastic wrap and refrigerate for at least 8 hours, but honestly, overnight is so much better. This long chill is non-negotiable—it lets the fats solidify and the flavors deepen.
Pro Tip for Serving: To get that perfectly clean release from the springform pan, run a thin knife dipped in hot water around the edge of the cheesecake before you unbuckle the ring. It works every time!
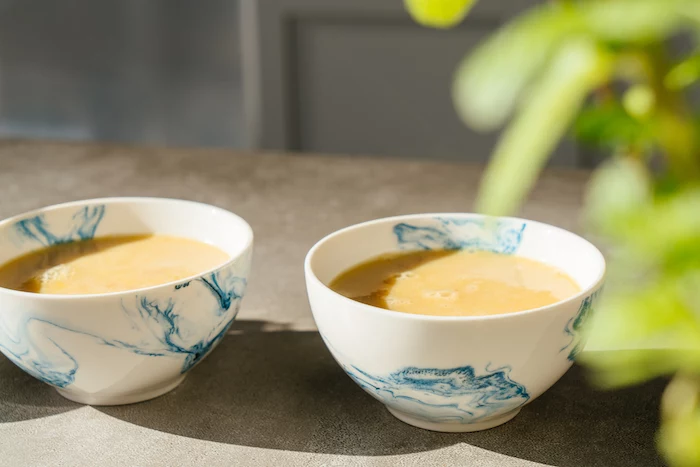
Let’s Make: A Classic Lemon Posset
This dessert has traditional roots and feels incredibly elegant, but it’s shockingly simple. It’s the perfect showcase for the magic of acid and protein. This makes four small servings.
You’ll Need:
2 cups (500ml) heavy whipping cream (at least 35% fat)
3/4 cup (150g) superfine or caster sugar
5 tablespoons (75ml) fresh lemon juice, strained
1 tablespoon lemon zest
The Method:
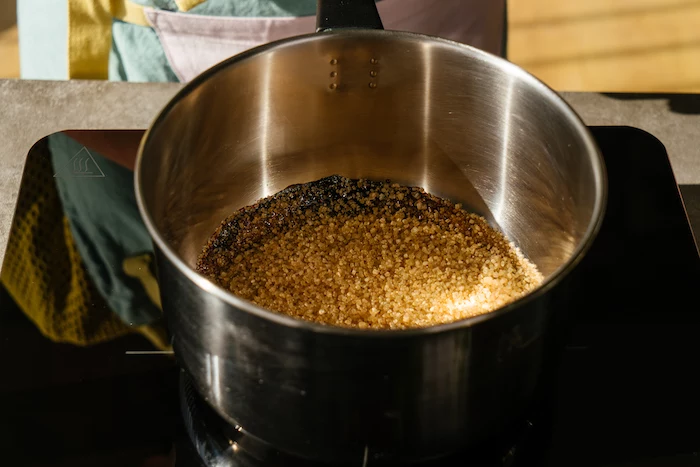
1. Combine and Heat: In a heavy-bottomed saucepan (this is important to prevent scorching!), combine the cream and sugar. Heat over medium, stirring until the sugar dissolves.
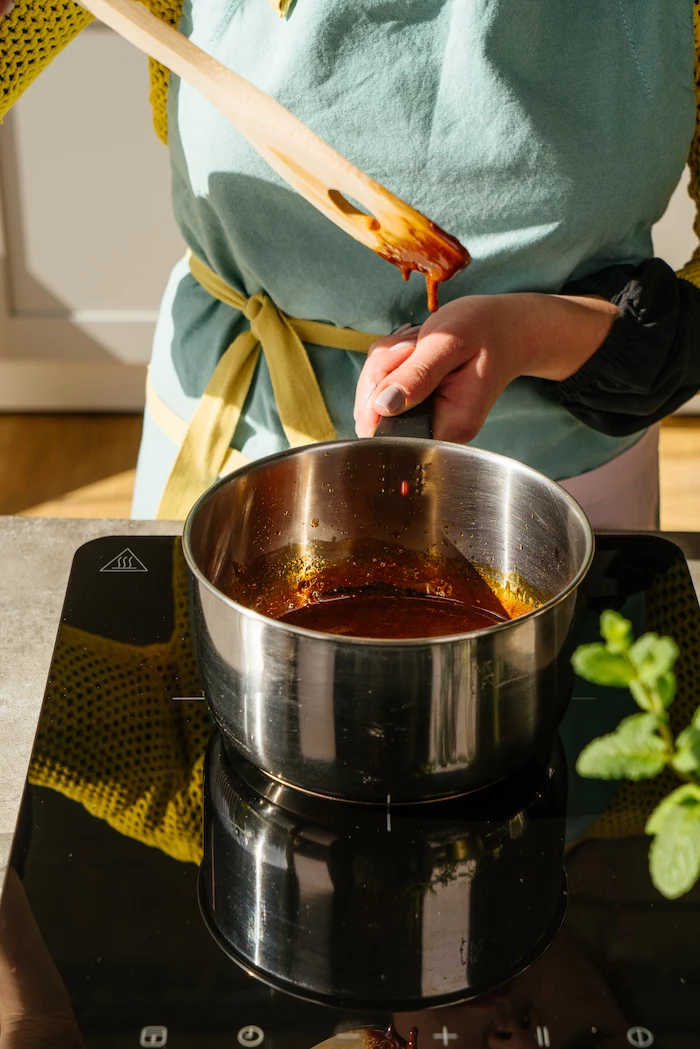
2. The Critical Boil: Bring the mixture to a rolling boil. Then, reduce the heat a bit and let it simmer for exactly 3 minutes, stirring constantly. I use a timer for this every single time. This step concentrates the fats and proteins, which is vital for a good set.
3. Add the Lemon: Remove the pan from the heat and let it cool for a minute or two. Now, stir in the strained lemon juice and zest. Straining the juice is key for a perfectly smooth texture. You’ll see it start to thicken almost right away!
4. Rest and Pour: Let the mixture sit for about 15 minutes to infuse, then pour it into four small glasses or ramekins.
5. Chill Out: Refrigerate for at least 4 hours, or until fully set. A good trick is to chill them uncovered for the first hour to prevent condensation from forming on top.
A Note on Variations: You can use this same technique with other citrus! Limes are a straight swap. For sweeter citrus like oranges, they are less acidic, so you’ll need a bit more juice (try about 100ml for the same amount of cream) and you might want to slightly reduce the sugar to taste.
A Quick But Important Note on Safety and Storage
Okay, let’s talk food safety. With dairy-heavy desserts, you have to be careful.
The Two-Hour Rule: Never leave these desserts at room temperature for more than two hours (or just one hour on a hot day). Keep them refrigerated.
Raw Stuff: I’d strongly advise against any recipe calling for raw eggs unless you’re using pasteurized eggs, which are sold in cartons at most supermarkets. Also, raw flour can be a sneaky risk. For things like edible cookie dough, spread the flour on a baking sheet and toast it in a 350°F (175°C) oven for about 5 minutes to be safe.
Storage: Most cheesecakes will last 3-4 days in the fridge, well-covered. Just know the crust will get a little softer each day. Mousses and possets are best eaten within 2 days for the best texture.
When is it better to let a pro handle it? While these recipes are totally doable at home, if you’re planning a dessert for a huge, important event like a wedding, you might consider hiring a professional. They have access to equipment like blast chillers and special ingredients to ensure everything is perfect and food-safe on a large scale. For something really technical like a layered entremet with a mirror glaze, the process is pretty unforgiving. It’s fun to practice, but for a can’t-fail occasion, professional experience can be a lifesaver.
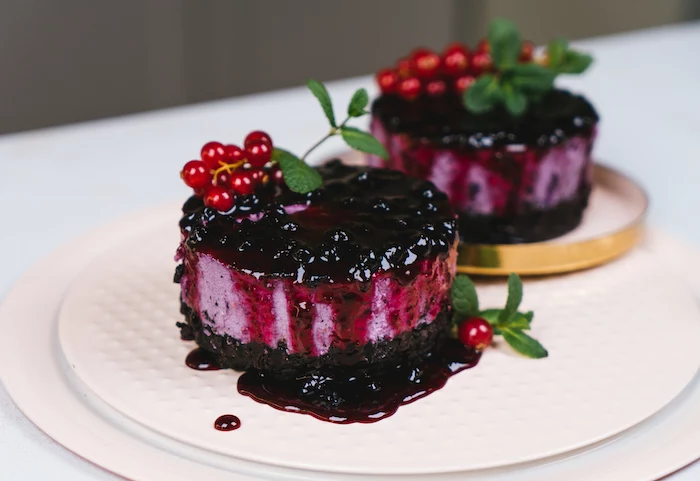
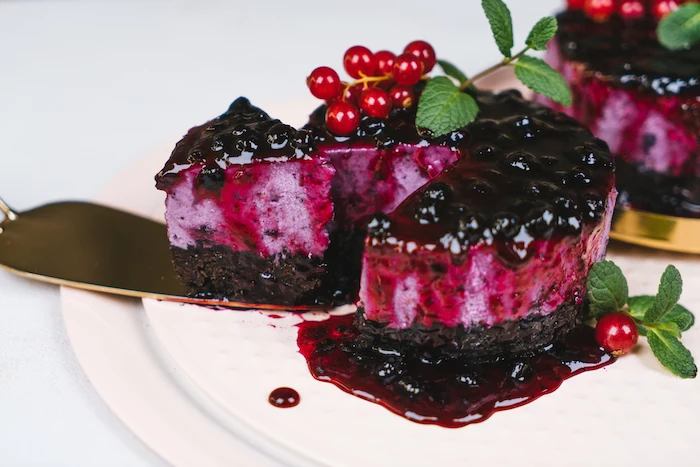
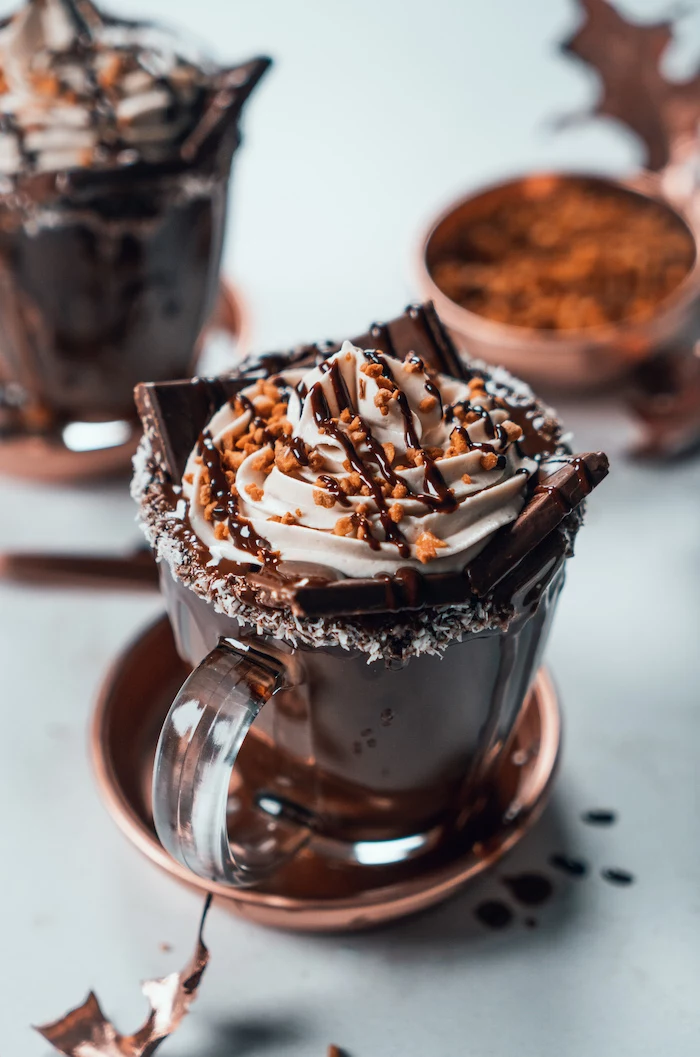
Inspiration Gallery
The global market for chilled desserts was valued at over $80 billion in 2022.
This massive figure proves that our love for cool, creamy treats is universal. It’s not just about convenience; it’s about a specific sensory experience. A chilled dessert offers a refreshing counterpoint to a heavy meal or a hot day, a texture and temperature that baked goods simply can’t replicate.
Why is my no-bake cheesecake filling runny?
The most common culprit is over-softened cream cheese or under-whipped cream. Your cream cheese should be soft enough to beat without lumps, but still cool to the touch. For the cream, whip it until it holds stiff peaks—not soft, droopy ones. The air you whip in is a key structural element. If you’re using a brand like Philadelphia, let it sit out for just 30-45 minutes, not several hours.
To achieve that perfectly smooth, mirror-like top on a mousse or panna cotta, use an offset spatula. After pouring your mixture into its container, gently glide the spatula across the surface. For a flawless finish, dip the spatula in hot water and wipe it dry before the final pass. It’s the secret to desserts that look as good as they taste.
Infuse your cream with flavor before you even start.
Gently heat the heavy cream with a split vanilla bean, a few bruised cardamom pods, or citrus peel for 20 minutes.
Strain it well and chill it completely before whipping.
The result? A dessert with an incredible depth of flavor that seems to come from nowhere.
Gelatin Sheets vs. Powdered Gelatin: Sheet gelatin, favored by pastry chefs, dissolves more clearly and provides a purer flavor. A
When it comes to the crust, don’t limit yourself to graham crackers. Explore these alternatives:
Biscoff cookies: Add a warm, caramelized spice note perfect for coffee or pumpkin fillings.
Chocolate wafer cookies: Create a deep, dark base that contrasts beautifully with light-colored fillings.
Pretzels: A salty, crunchy crust is the perfect foil for a sweet caramel or peanut butter dessert.
Toasted oats & nuts: For a healthier, gluten-free option with fantastic texture.
A perfectly set panna cotta should
The magic of a great tiramisu lies in the quality of its ingredients. Use authentic Italian Savoiardi (ladyfingers), which are sturdier and more absorbent than their softer American counterparts. For the cheese, skip the cream cheese and insist on real mascarpone. Its high-fat content (often over 40%) provides the signature rich, silky texture that is the hallmark of this classic.
Important: When folding whipped cream into a heavier base (like a cream cheese mixture or a chocolate mousse base), always lighten the base first. Start by vigorously mixing about one-quarter of the whipped cream into the base. This loosens it up, making it much easier to gently fold in the remaining cream without deflating all the air you worked so hard to incorporate.
Can I make a no-bake dessert vegan?
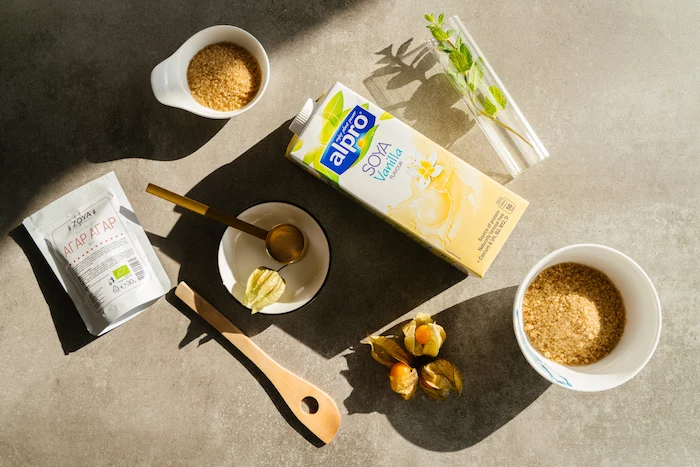
Absolutely. The key is substitution science. Use full-fat coconut cream (chilled overnight) instead of heavy cream. For structure, rely on soaked raw cashews blended until silky, or use a firm silken tofu. Your setting agent will be agar-agar instead of gelatin. It’s a different chemical process, but the results can be just as decadent.
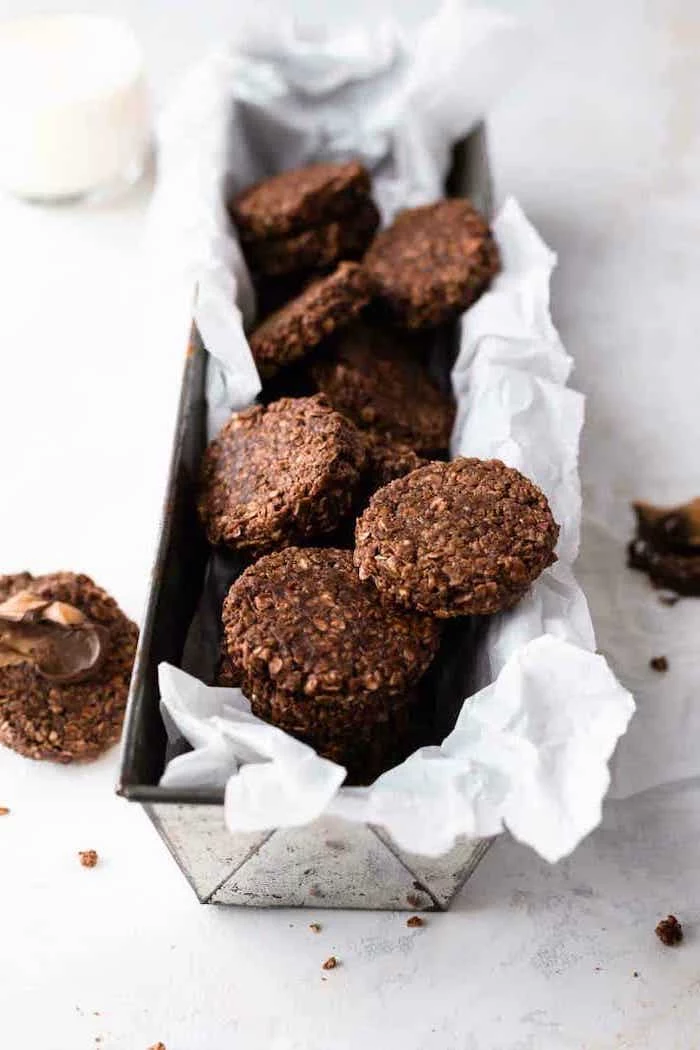
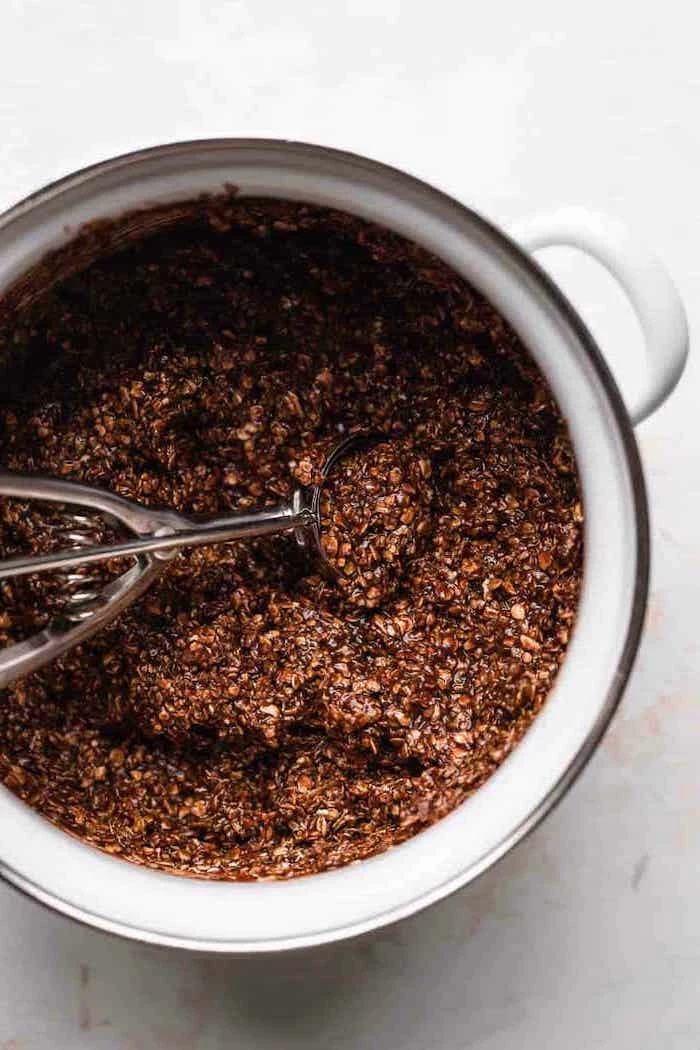
Creates an irresistibly fudgy texture.
Adds a rich, caramel-like sweetness.
Provides structure without any cooking.
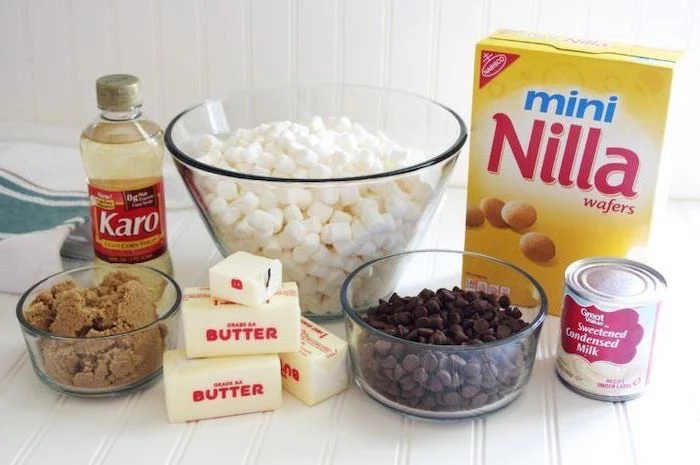
The secret? Sweetened condensed milk. It’s the backbone of countless no-bake wonders, from key lime pie to Brazilian brigadeiros.
Unmolding a dessert from a traditional pan can be nerve-wracking. The solution is a springform pan or a tart pan with a removable bottom. For an extra layer of insurance, line the bottom and sides with parchment paper, leaving an overhang to use as ‘handles’ to lift the dessert out cleanly.
Did you know? The term ‘icebox cake’ first appeared in the 1920s, promoted by companies to sell their new electric refrigerators.
This piece of history highlights the core appeal of no-bake desserts: they are a product of modern convenience. The simple layering of cookies or wafers with whipped cream or pudding, left to meld and soften in the cold, is a testament to how technology changes the way we create—and enjoy—food.
For a Chocolate Mousse: The type of chocolate you use matters immensely. A high-quality dark chocolate with 60-70% cacao, like Callebaut or Valrhona Guanaja, will provide enough cocoa solids and cocoa butter to help the mousse set firmly with a deep flavor. Milk chocolate has more sugar and milk solids, resulting in a softer set and requiring less added sugar in your recipe.
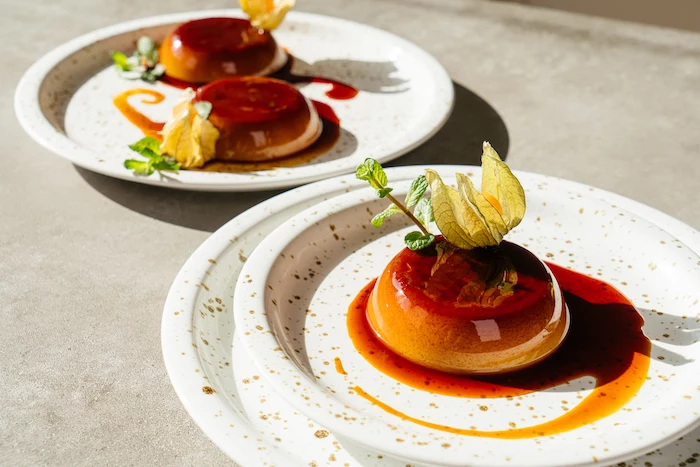
The final touch can elevate a simple dessert to something spectacular. Think beyond a sprinkle of cocoa powder.
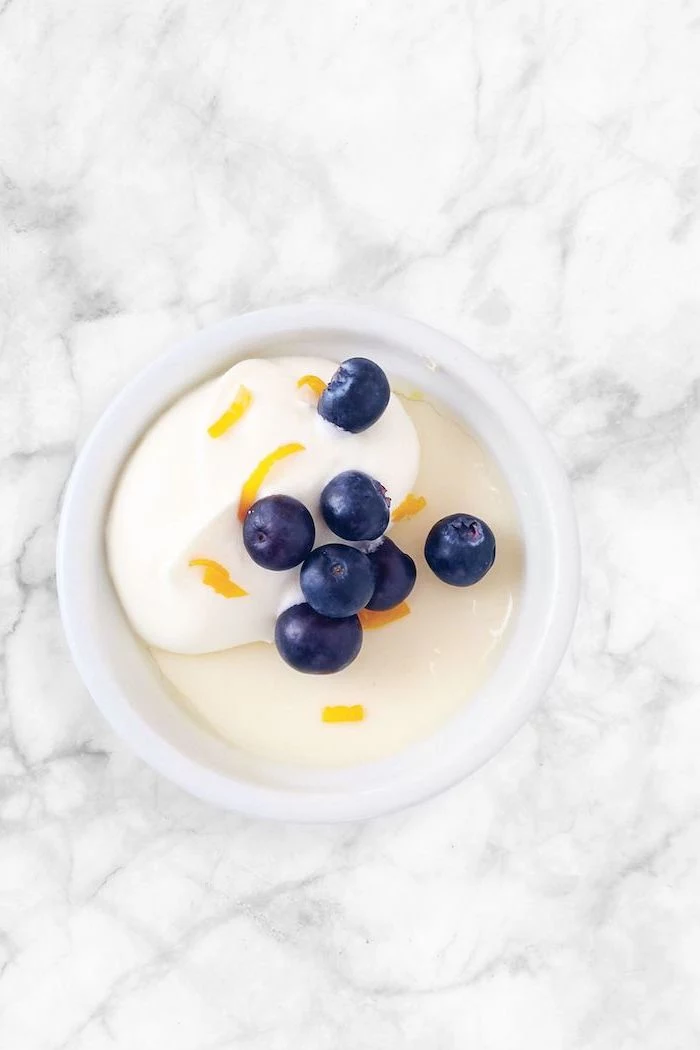
Color: Fresh berries, a sprig of mint, edible flowers, or a vibrant fruit coulis.
Drama: A web of spun sugar or a perfectly formed quenelle of cream.
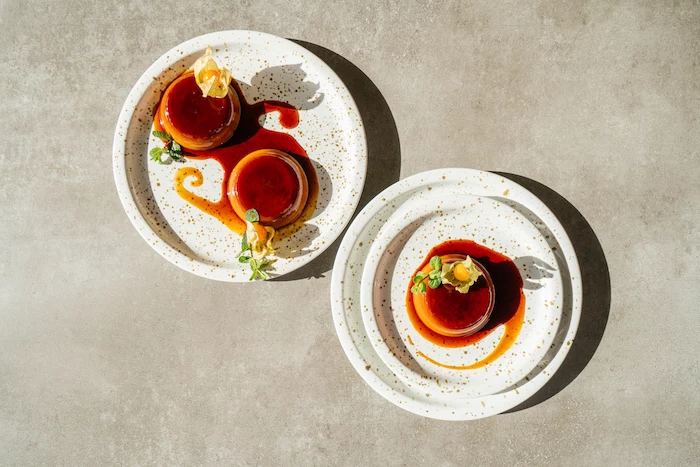
A lemon posset, one of the oldest no-bake desserts, is pure chemistry. It relies on the acid from lemon juice to react with the casein proteins in hot heavy cream. This reaction causes the proteins to denature and link up, creating a thick, spoonable custard as it cools. The ratio is critical; too much acid makes it grainy, too little and it won’t set at all.
Never add gelatin to a hot liquid. It can kill its setting power. Let your mixture cool to lukewarm before incorporating bloomed gelatin.
Coconut Oil Crust: A fantastic alternative to butter, especially for a subtle tropical note. Use refined coconut oil if you don’t want any coconut flavor, or virgin coconut oil if you do. It sets even harder than butter when chilled, creating an exceptionally crisp crust. It’s also a great option for dairy-free or vegan recipes.
Want perfectly uniform layers in your trifle or layered dessert jar?
Use a piping bag. Instead of spooning in your mousse, pudding, or cream layers, pipe them in. This gives you complete control, keeps the sides of the glass clean, and ensures each layer is perfectly even. A large round tip works best for a smooth, clean application.
Storing no-bake desserts correctly is key to preserving their texture. Most cheesecakes and mousses should be covered tightly with plastic wrap, ensuring the wrap touches the surface to prevent a skin from forming. They will typically keep for 3-4 days in the refrigerator. Note that crumb crusts will soften over time as they absorb moisture from the filling.
It won’t melt in a warm room.
It holds its shape perfectly when sliced.
It’s completely vegan-friendly.
The secret? Agar-agar. This seaweed-derived gelling agent sets much more firmly than gelatin and, unlike gelatin, it sets at room temperature. It’s the go-to for vegan desserts that need to be sturdy.
Acid’s Role: It’s not just for flavor. In dairy-based desserts, acids like lemon juice or tart fruits can cause curdling if not used carefully. However, they can also be the star, as in a lemon posset. For cheesecakes, a touch of lemon juice or sour cream doesn’t just cut the richness; its acidity helps to firm up the proteins in the cream cheese for a better set.
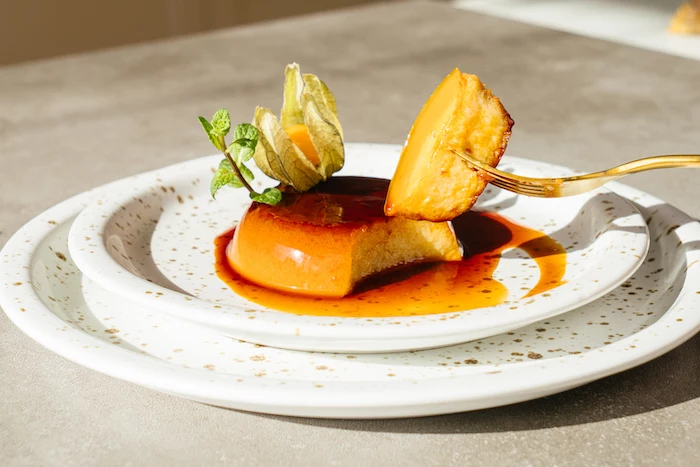
The ‘wobble test’ is a pastry chef’s signature move for checking doneness in set custards. The center should jiggle gently, while the edges remain set. If the whole thing sloshes, it needs more time.
For an extra-stable whipped cream that won’t weep or deflate (perfect for topping icebox cakes), add a stabilizer. A simple method is to beat in a tablespoon of instant vanilla pudding mix or non-fat milk powder for every cup of heavy cream. This adds starch and proteins that absorb excess liquid, keeping your cream lofty for days.
Don’t throw away that half-empty jar of Nutella or Biscoff spread. Scrape every last bit out and blend it into your cheesecake filling or mousse base. It’s an instant flavor boost and a smart way to use up pantry staples, adding richness and a familiar, crowd-pleasing taste to your creation.
Emily Thompson is a Culinary Institute of America graduate who has worked in Michelin-starred restaurants before transitioning to food writing and education. Author of three cookbooks, she specializes in seasonal cooking and making gourmet techniques accessible to home cooks. Emily's recipes have been featured in Food & Wine and Bon Appétit.
To provide the best experiences, we use technologies like cookies to store and/or access device information. Consenting to these technologies will allow us to process data such as browsing behavior or unique IDs on this site. Not consenting or withdrawing consent, may adversely affect certain features and functions.
Functional
Always active
The technical storage or access is strictly necessary for the legitimate purpose of enabling the use of a specific service explicitly requested by the subscriber or user, or for the sole purpose of carrying out the transmission of a communication over an electronic communications network.
Preferences
The technical storage or access is necessary for the legitimate purpose of storing preferences that are not requested by the subscriber or user.
Statistics
The technical storage or access that is used exclusively for statistical purposes.The technical storage or access that is used exclusively for anonymous statistical purposes. Without a subpoena, voluntary compliance on the part of your Internet Service Provider, or additional records from a third party, information stored or retrieved for this purpose alone cannot usually be used to identify you.
Marketing
The technical storage or access is required to create user profiles to send advertising, or to track the user on a website or across several websites for similar marketing purposes.