Finally Master Panna Cotta: Your Guide to That Perfect, Creamy Wobble
In one of my first kitchen jobs, panna cotta was the secret handshake. The head chef would have new cooks whip one up on a quiet afternoon. It looks simple, right? Cream, sugar, a little something to make it set. But he wasn’t just checking if we could read a recipe. He was testing our feel for the craft—our understanding of balance, texture, and temperature.
In this article
- First Things First: Your Kitchen Toolkit
- The Heart of the Matter: Gelatin vs. Agar-Agar
- Building the Perfect Base
- Pro Techniques for a Flawless Finish
- Panna Cotta Rescue Mission!
- Working with Raspberries: A Tale of Two Methods
- Recipe 1: Classic Cream Panna Cotta with Raspberry Coulis (Gelatin-Based)
- Recipe 2: Vegan Raspberry Panna Cotta (Agar-Based)
- Final Thoughts & Storing Your Masterpiece
- Inspirational Gallery
A panna cotta that stood up like a brick? Failure. One that slumped into a milky puddle on the plate? Just as bad. It needed to have this… delicate, almost magical wobble. It had to literally melt on your tongue, leaving behind a clean, creamy flavor. That experience taught me something important: panna cotta isn’t just “cooked cream.” It’s a masterclass in finesse.
For so many people, this dessert is either a huge win or a total frustration. The difference between a silky triumph and a rubbery or soupy mess is all about knowing the why behind each step. So, let’s go beyond a basic recipe. We’ll get into the nitty-gritty of ingredients and techniques, focusing on a gorgeous raspberry version that will teach you principles you can apply to any flavor you dream up.
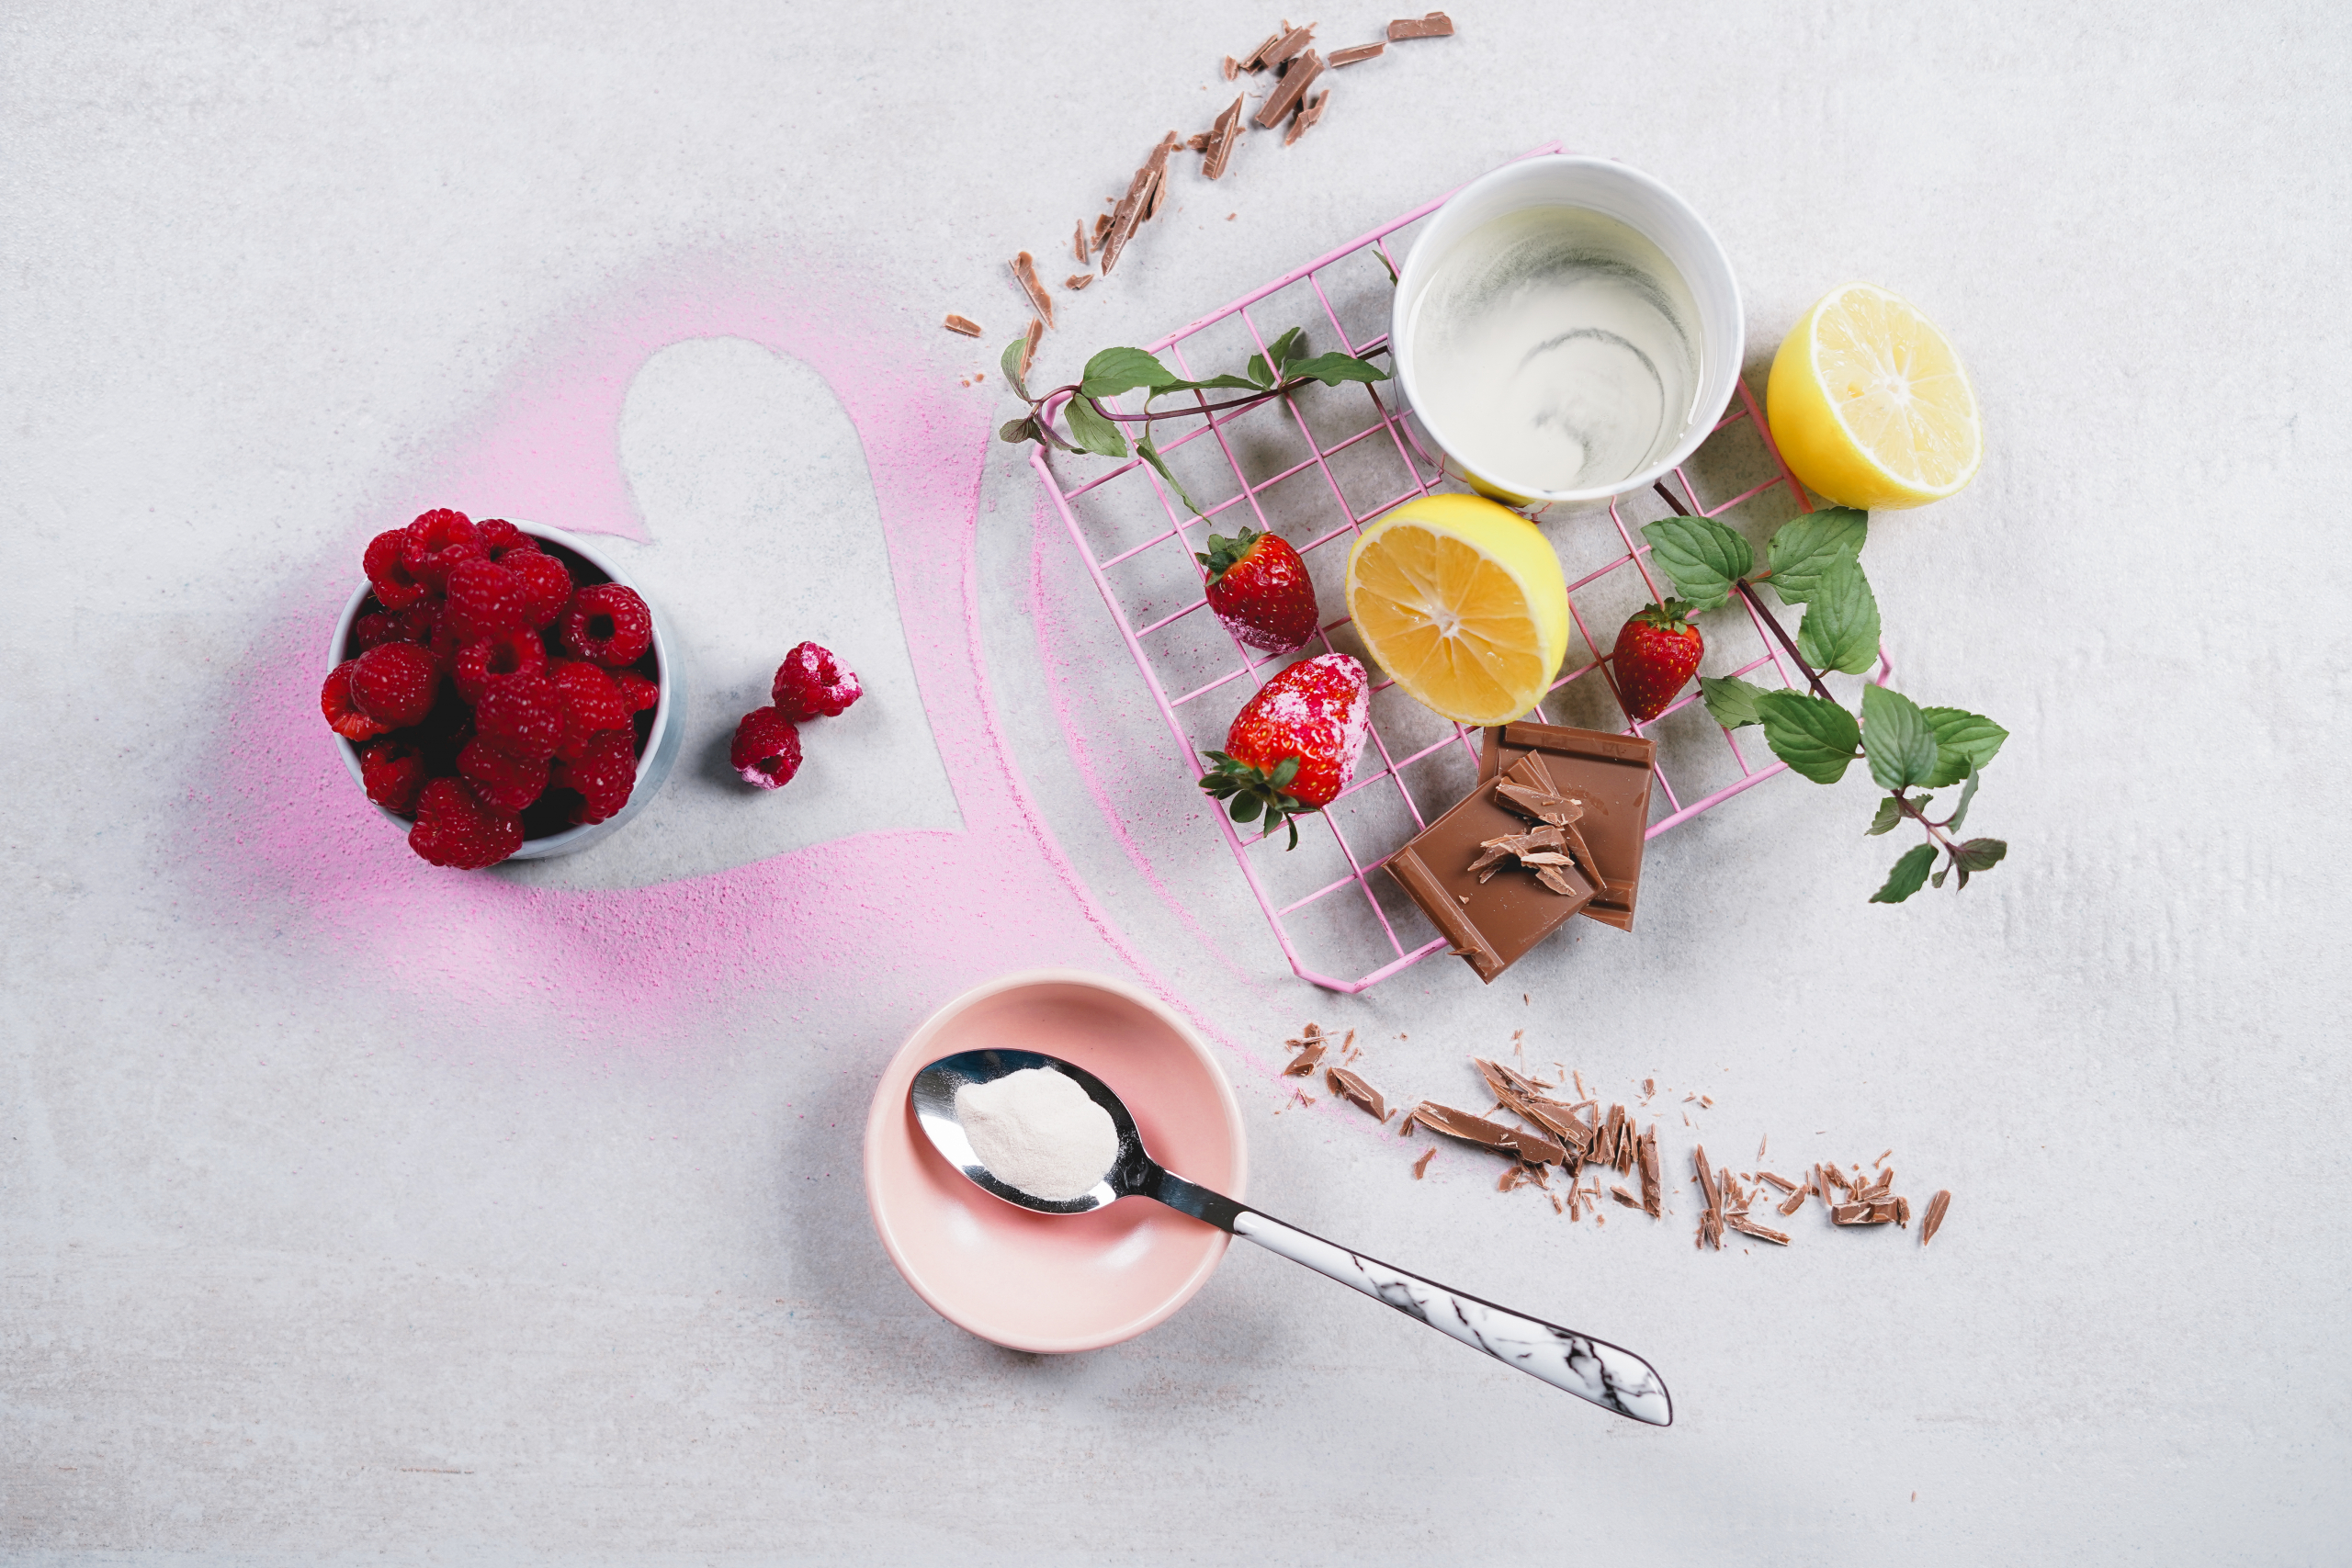
First Things First: Your Kitchen Toolkit
Before we dive in, let’s talk gear. You don’t need a ton of fancy equipment, but a few key items are non-negotiable for getting that pro-level finish.
- A Digital Scale: Seriously, this is my number one tip. Baking is a science, and measuring by weight (grams) instead of volume (cups) is the only way to guarantee consistency. A decent one costs about $15 on Amazon and will change your baking game forever.
- A Fine-Mesh Sieve: This is your secret weapon for a silky-smooth texture. No exceptions!
- Small Ramekins or Glasses: You’ll need about six 4-to-6-ounce vessels. Glass, ceramic, or even silicone molds will work just fine.
The Heart of the Matter: Gelatin vs. Agar-Agar
The magic of panna cotta comes from its gelling agent. Your two main players are gelatin and agar-agar, and they are absolutely not interchangeable. Honestly, understanding how they differ is the most critical step toward getting the texture you want.
The Classic Choice: Gelatin
Gelatin is an animal-derived protein that creates an incredibly luxurious, smooth set. Its real superpower is that it melts just below body temperature. This is what gives traditional panna cotta that signature, melt-in-your-mouth quality. It doesn’t just feel soft; it literally dissolves on your tongue.
In pro kitchens, we almost always use leaf (or sheet) gelatin. It gives a cleaner flavor and a more refined texture than the powder you find in most grocery stores. Heads up: gelatin sheets are graded by their setting power, or “bloom strength.” If a recipe doesn’t specify, assume it means Gold-grade. You can find leaf gelatin on Amazon or at specialty baking shops; a pack of 100 sheets might run you $20-$25 but will last a very long time.
Quick Tip on Gelatin Conversion: The biggest question I get is how to substitute powder for sheets. Here’s a good rule of thumb: 1 Gold-leaf sheet (which is about 2g) is equivalent to roughly ½ teaspoon of standard powdered gelatin. Weighing is always best!
To use gelatin, you have to “bloom” it first by rehydrating it in cold water. For sheets, just submerge them in a bowl of cold water for 5-10 minutes. For powder, sprinkle it over a small amount of cold water from your recipe and let it sit undisturbed. Never just dump the powder in a clump! After blooming, squeeze the water from the sheets and whisk them into your warm (not boiling!) cream base. Boiling can destroy gelatin’s setting power, so be gentle.
The Plant-Based Powerhouse: Agar-Agar
Agar-agar (or just agar) is a vegan gelling agent derived from seaweed. It’s fantastic, but it creates a totally different texture. An agar gel is much firmer, with a clean snap to it rather than a creamy melt. It doesn’t dissolve in the mouth the same way because its melting point is much higher. This isn’t a flaw, just a different style of dessert.
Unlike gelatin, agar must be boiled to activate. You’ll whisk the powder into your cold liquid base first, then bring the whole mixture to a rolling boil for a full minute or two. I’ve seen so many people skip this step and end up with soup. Don’t be that person! Agar is also much more powerful; just one teaspoon of powder can set around four cups of liquid. You can find it in the health food aisle, at Asian markets, or online for about $8-$12 a jar.
By the way, high-acid ingredients like our raspberries can sometimes weaken a gelatin set. Agar, on the other hand, couldn’t care less about acid, making it a very reliable choice for fruity desserts.
Reader Challenge: The best way to understand the difference is to experience it. Make a tiny half-batch of panna cotta with gelatin and another with agar. Taste them side-by-side. You’ll instantly feel the difference in texture and mouthfeel—it’s a lesson you won’t forget!
Building the Perfect Base
With so few ingredients, quality is everything. Each one has a critical job to do.
The Cream: The soul of panna cotta is its fat. Heavy cream (36% fat or higher) is the traditional go-to for that rich, decadent texture. You can use lighter cream, but the result will be less luxurious. For a vegan version, full-fat canned coconut milk is your best friend. Look for one with at least 18% fat. Don’t even try with carton coconut milk or other plant milks like almond; they’re too low in fat and will give you a watery, sad result.
The Sweetener: Sugar does more than just sweeten; it also contributes to a softer texture. Plain granulated sugar is the standard because it dissolves cleanly. You can play with honey or maple syrup, but remember they’ll add their own distinct flavors.
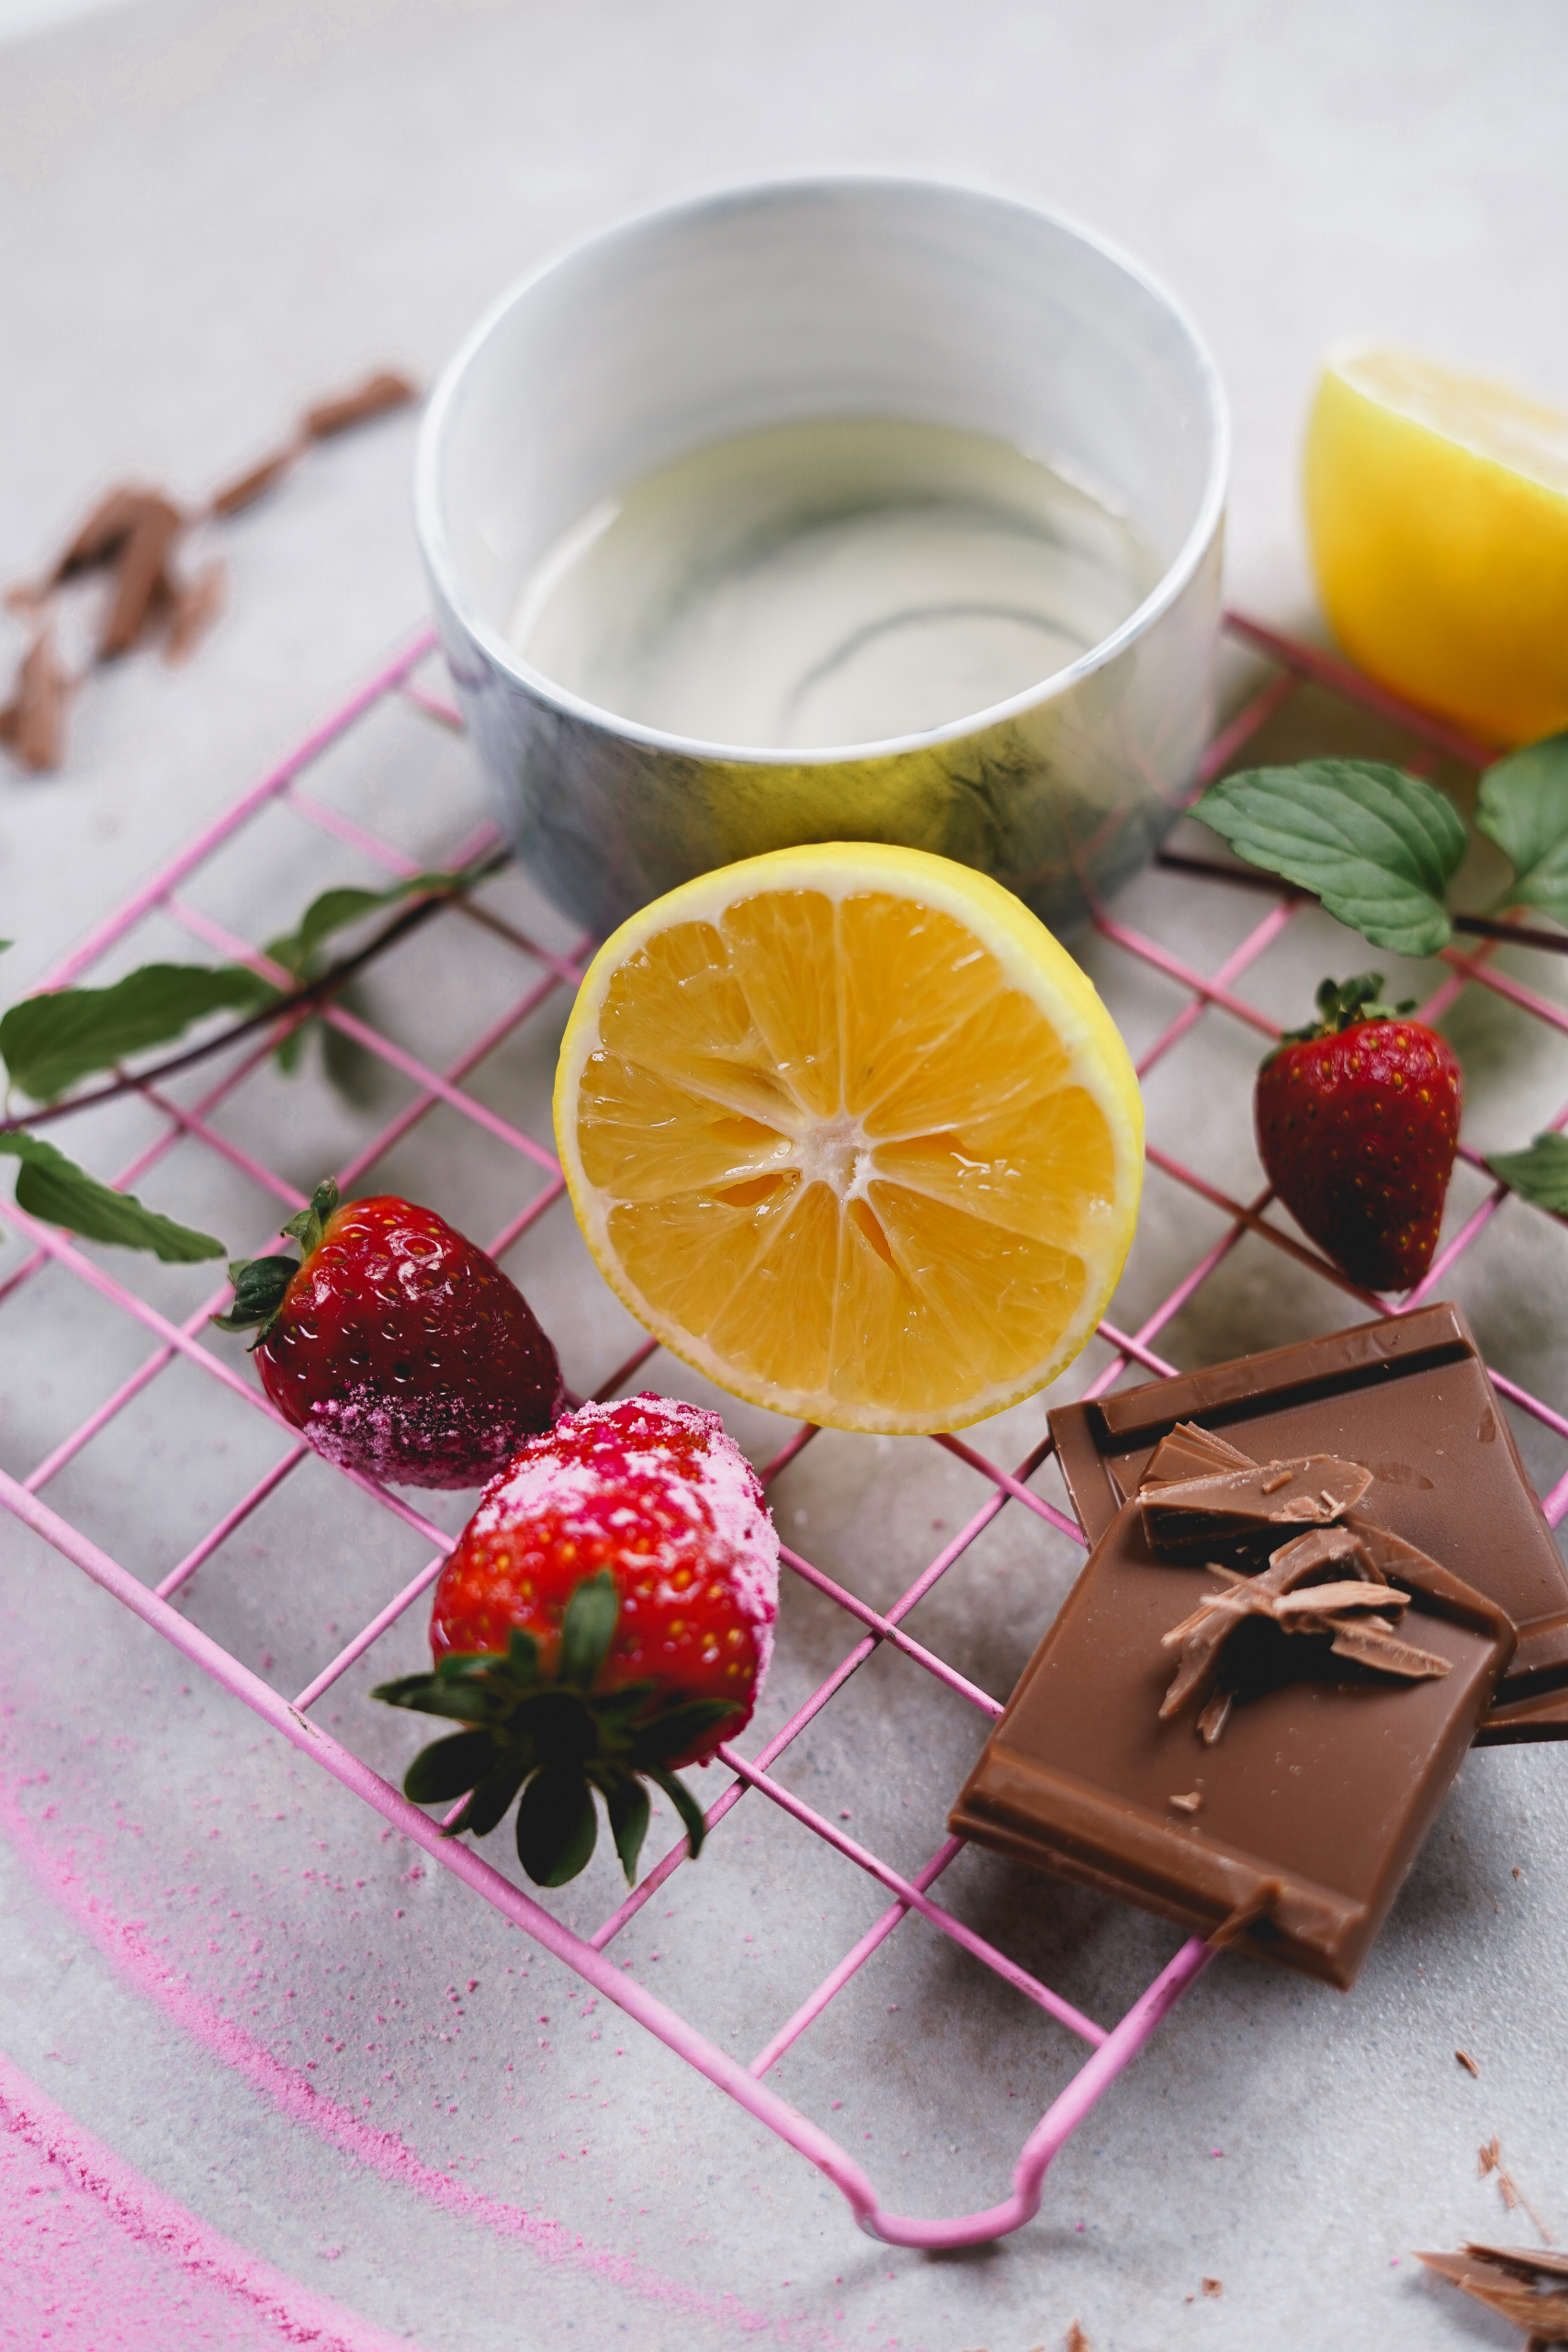
The Flavor: To get a truly top-tier result, use a whole vanilla bean. Is it a splurge? Yes. A single bean can cost $5 or more, while a good bottle of vanilla extract is around $15 and lasts for months. But for a special occasion, the complex, aromatic flavor from a real bean is unmatched. Just slice the bean open, scrape out the seeds, and toss both the seeds and the pod into the cream as it heats. The tiny black specks are a visual cue that you’re dealing with the good stuff.
Pro Techniques for a Flawless Finish
The little details are what separate a homemade attempt from a professional dessert.
- Infuse the Flavor: Don’t rush this! Gently heat your cream, sugar, and vanilla. Once it’s steaming, kill the heat, cover the pot, and let it steep for 20-30 minutes. This lets the flavor fully bloom.
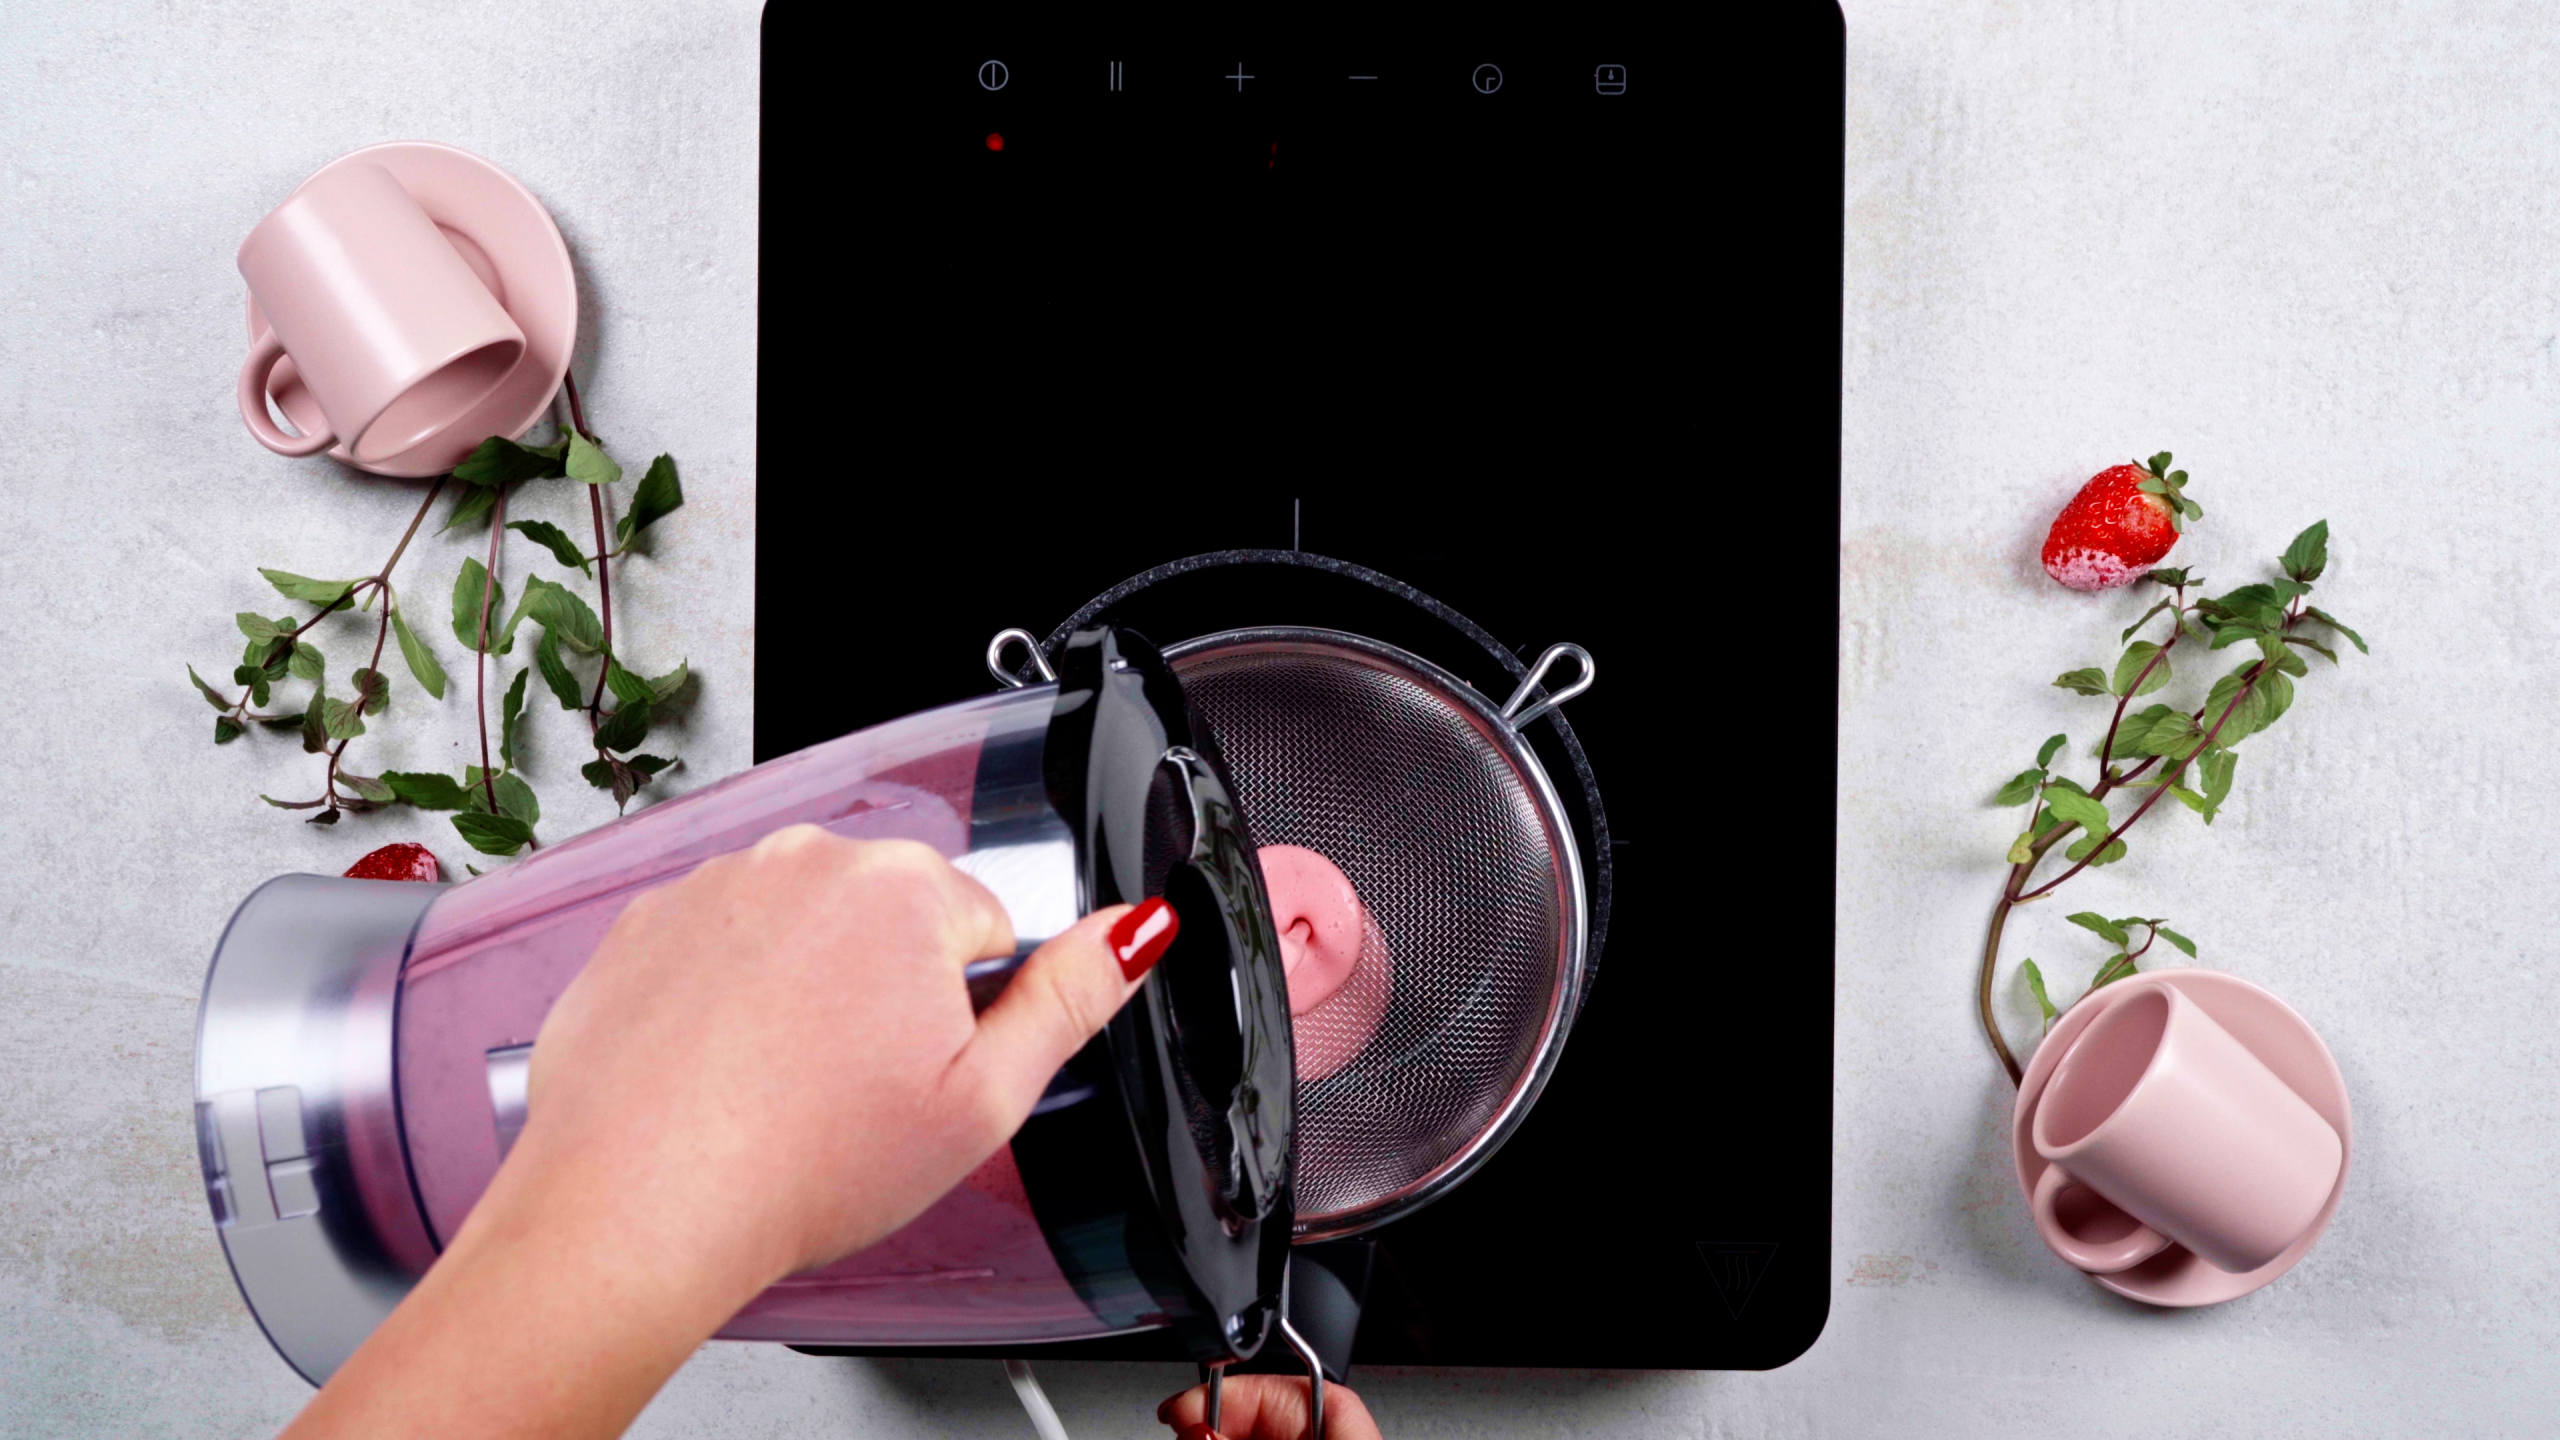
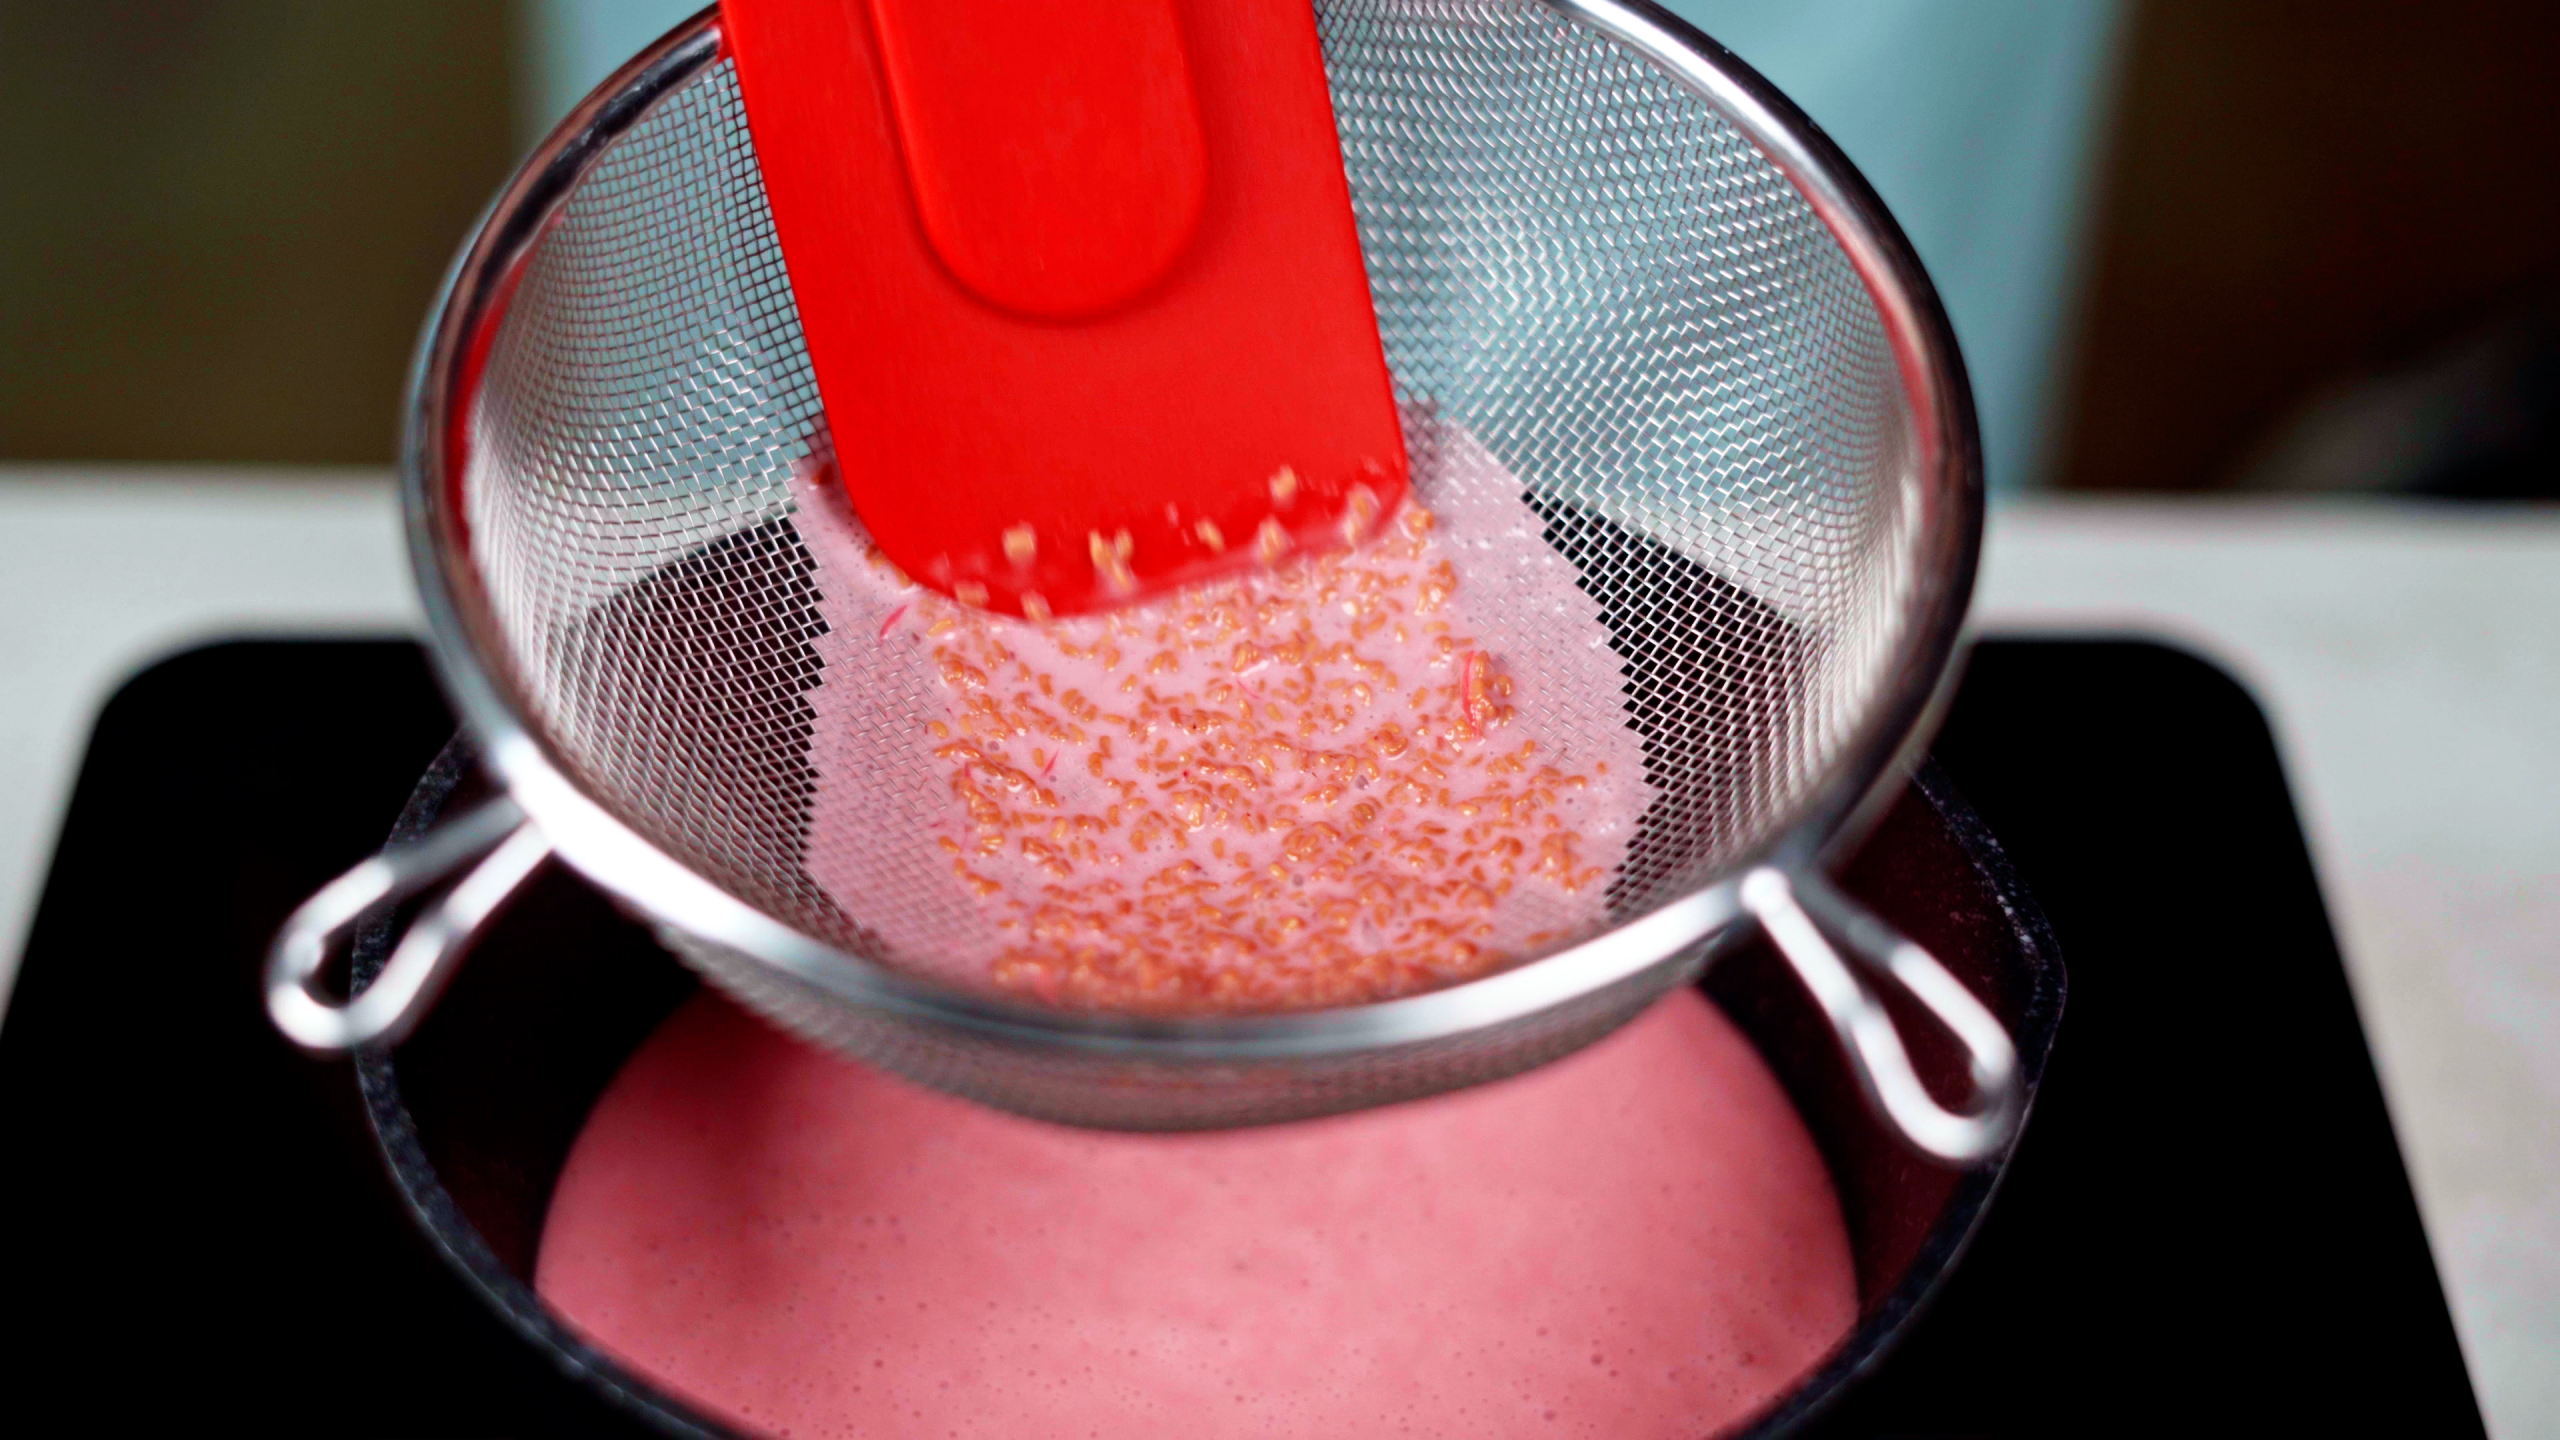
- Always Strain: Pour your final panna cotta base through that fine-mesh sieve. This is the single most important step for a silky texture. It catches any undissolved bits, the vanilla pod, and ensures a perfectly smooth liquid.
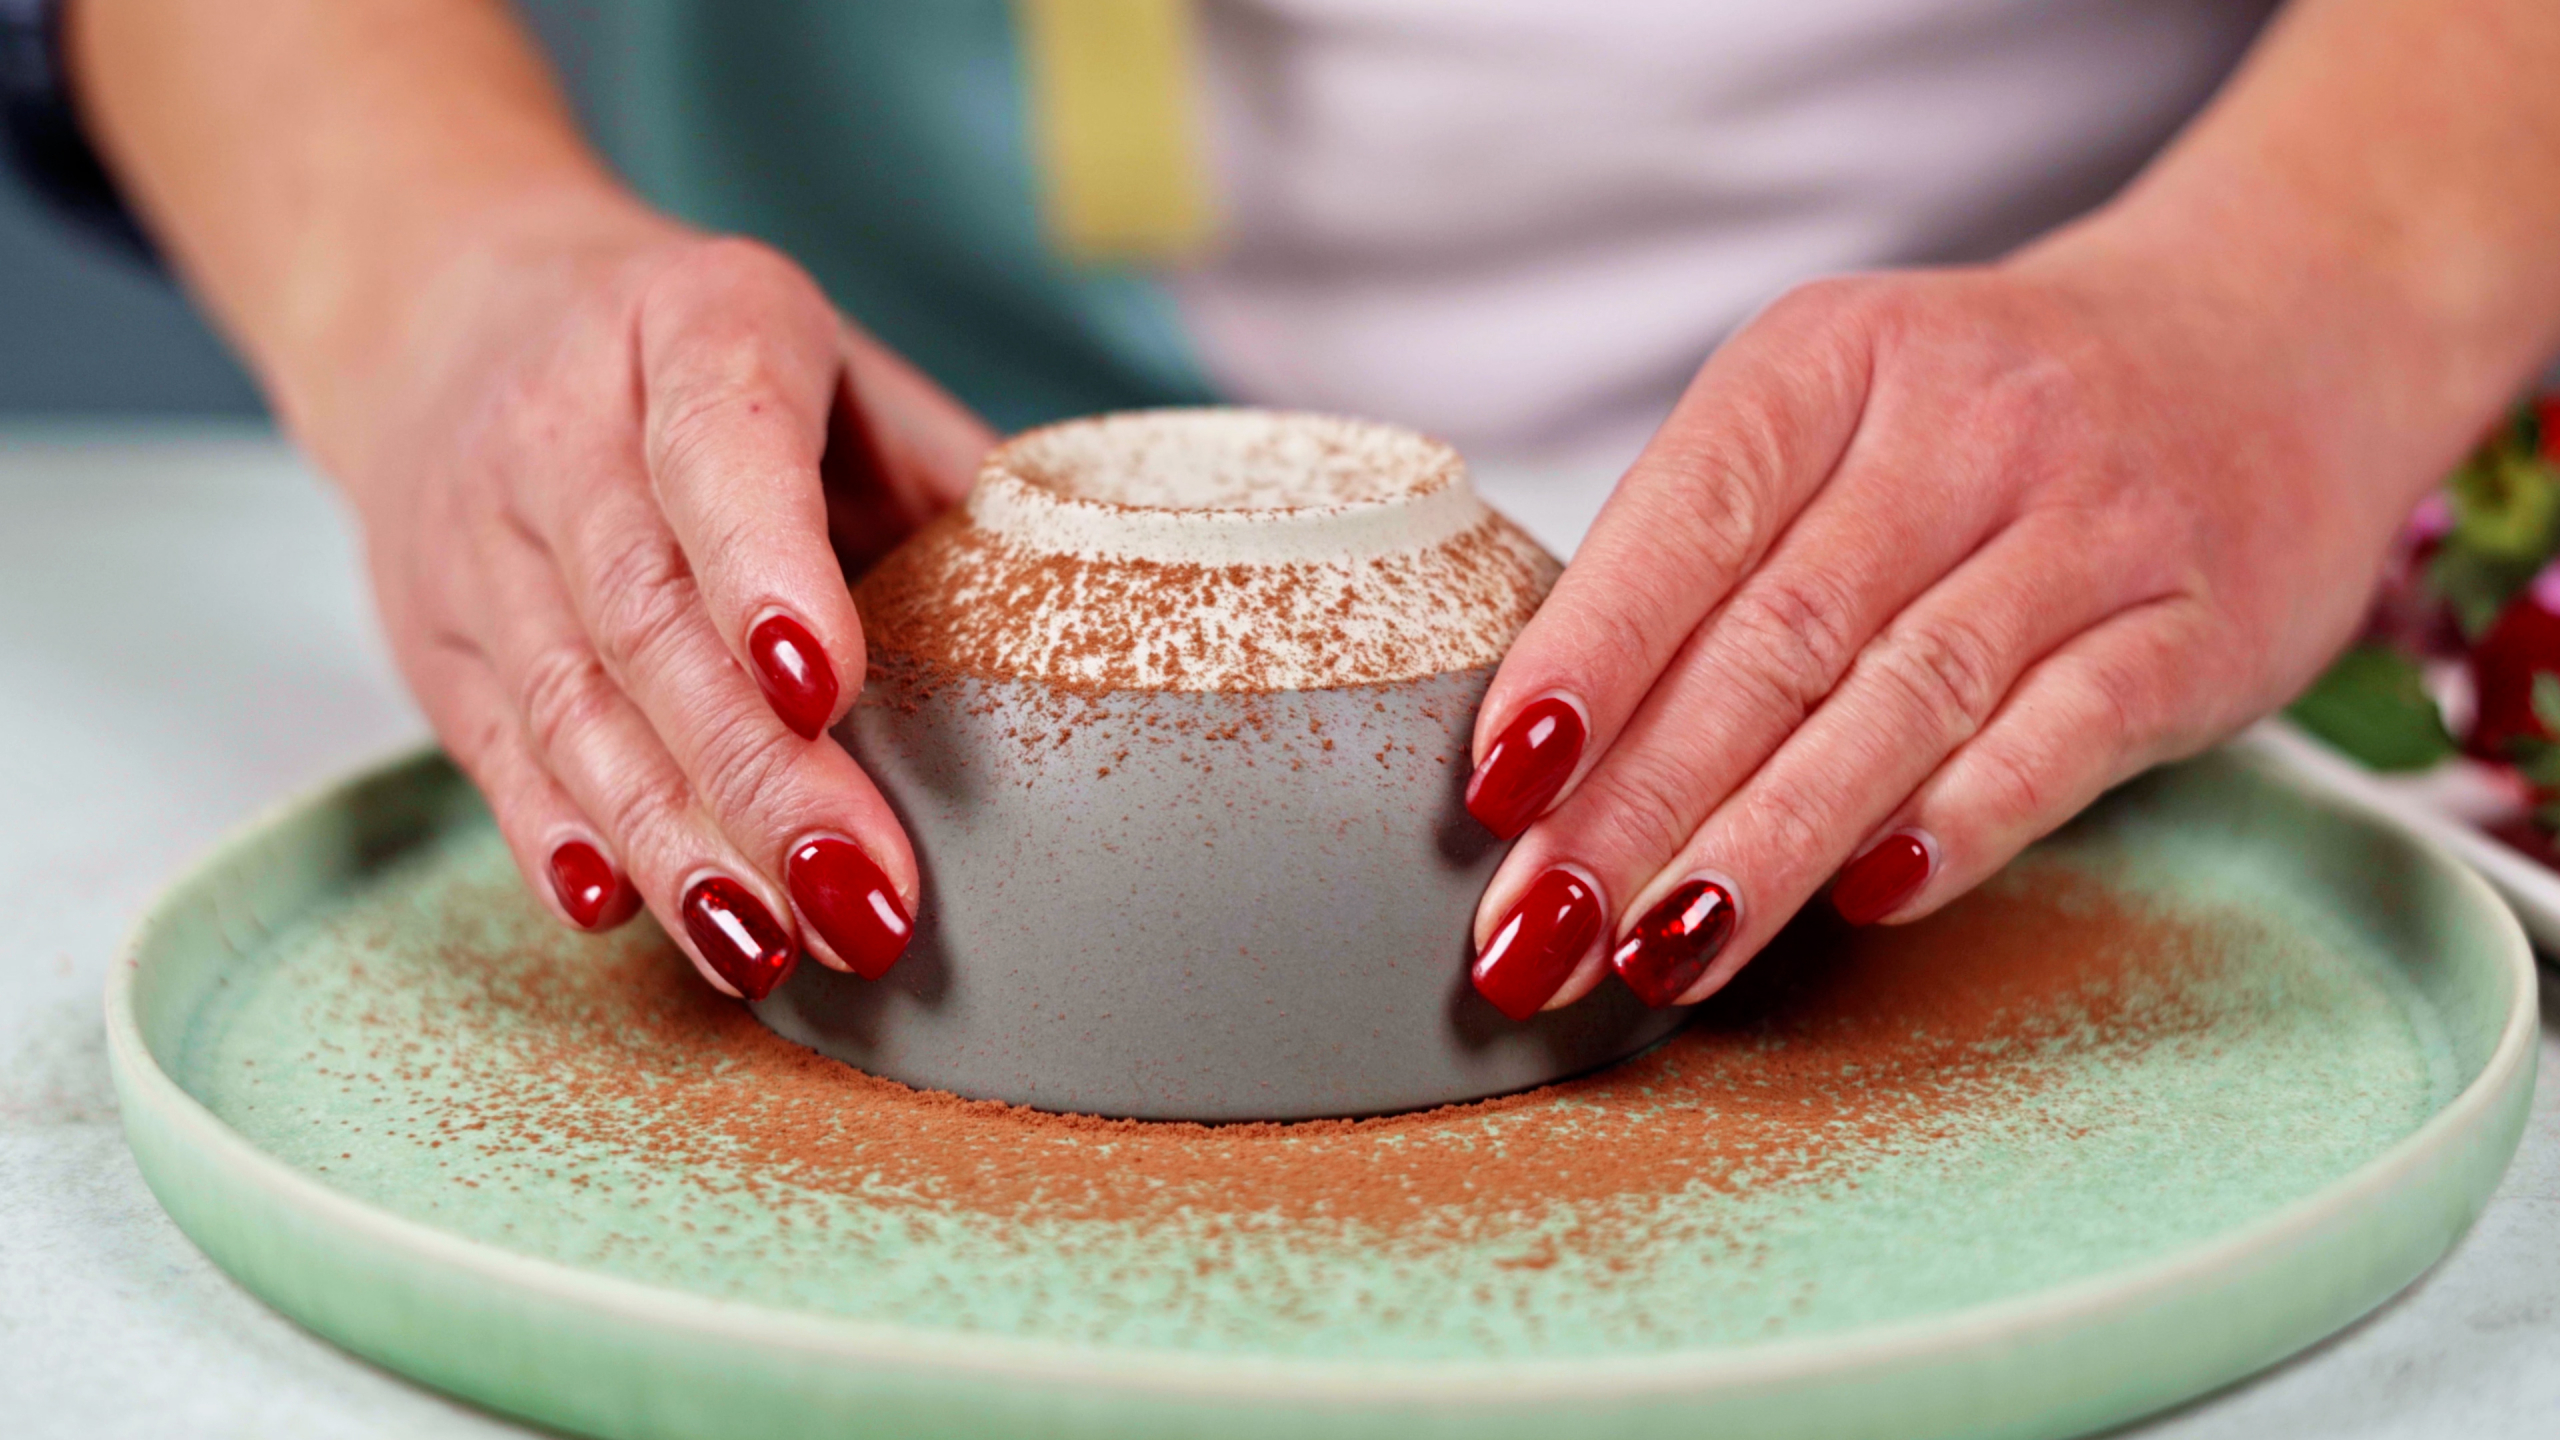
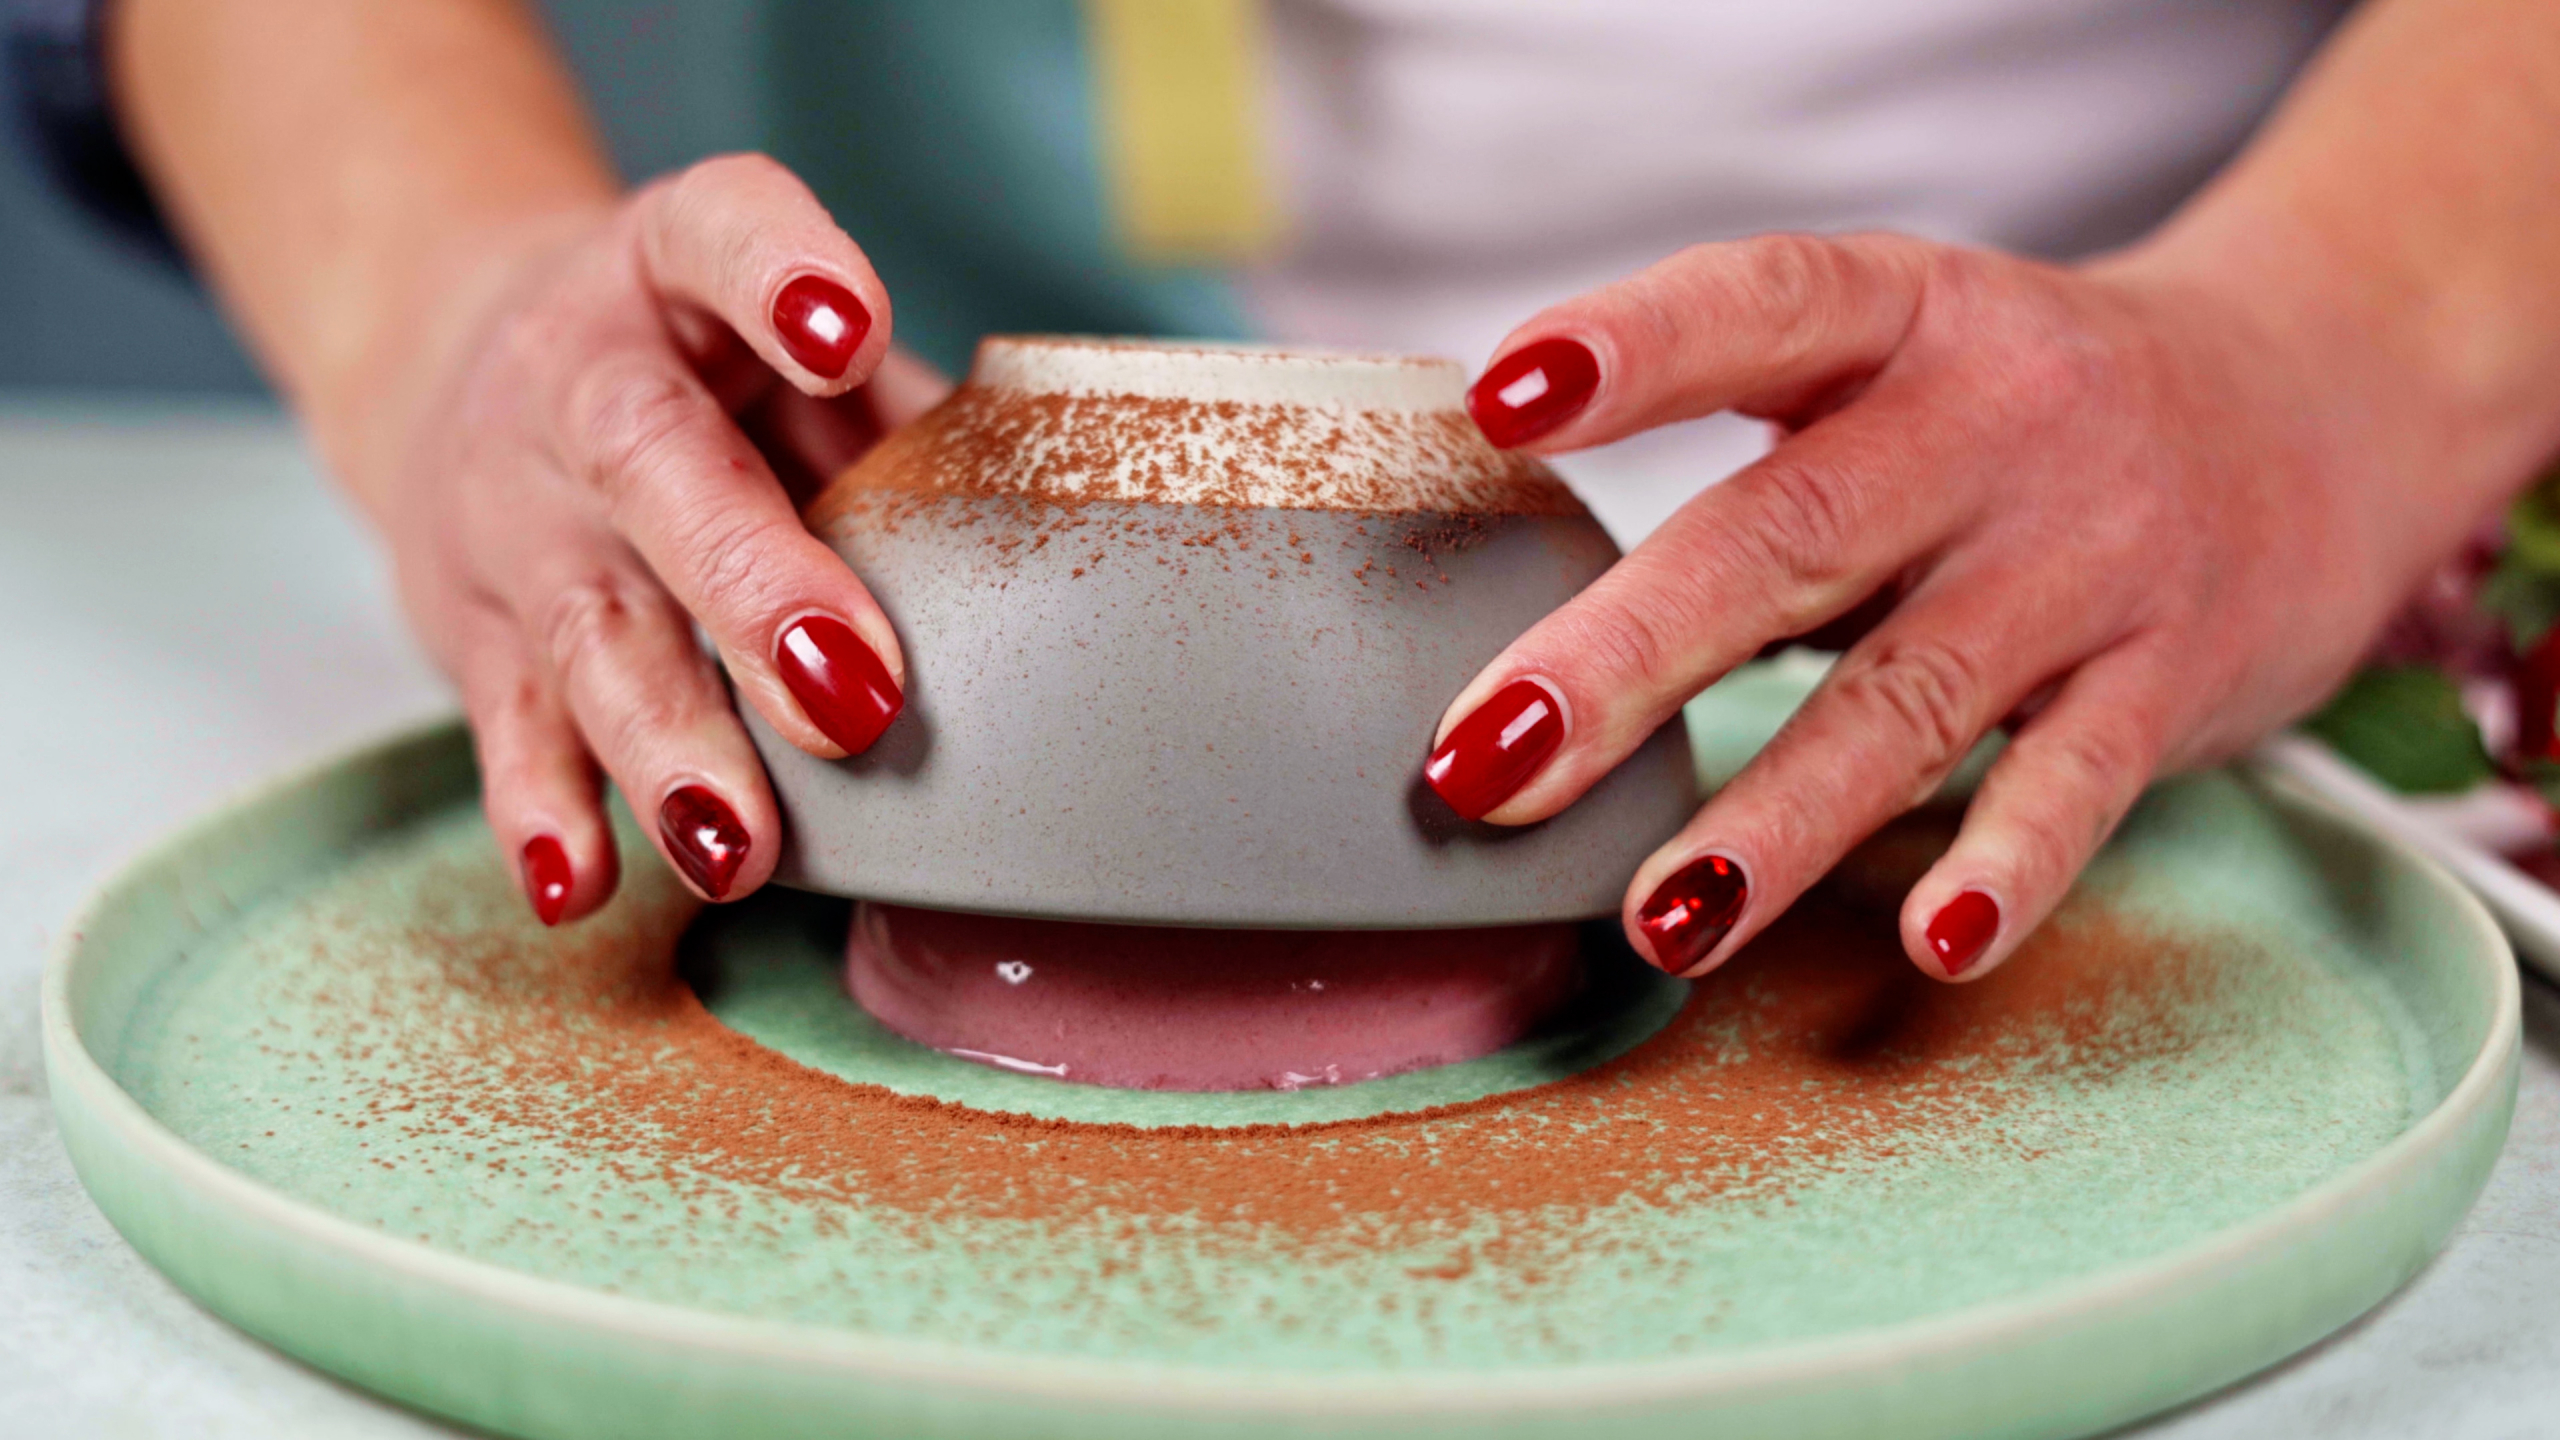
- Molding & Chilling: If you plan to unmold the panna cotta, lightly grease your ramekins with a neutral oil, then wipe most of it out with a paper towel. You just want a microscopic film to help with release. Pour the mixture in, cover with plastic wrap, and chill for at least six hours—overnight is even better. Agar sets faster (about 2 hours) but still benefits from a longer rest.
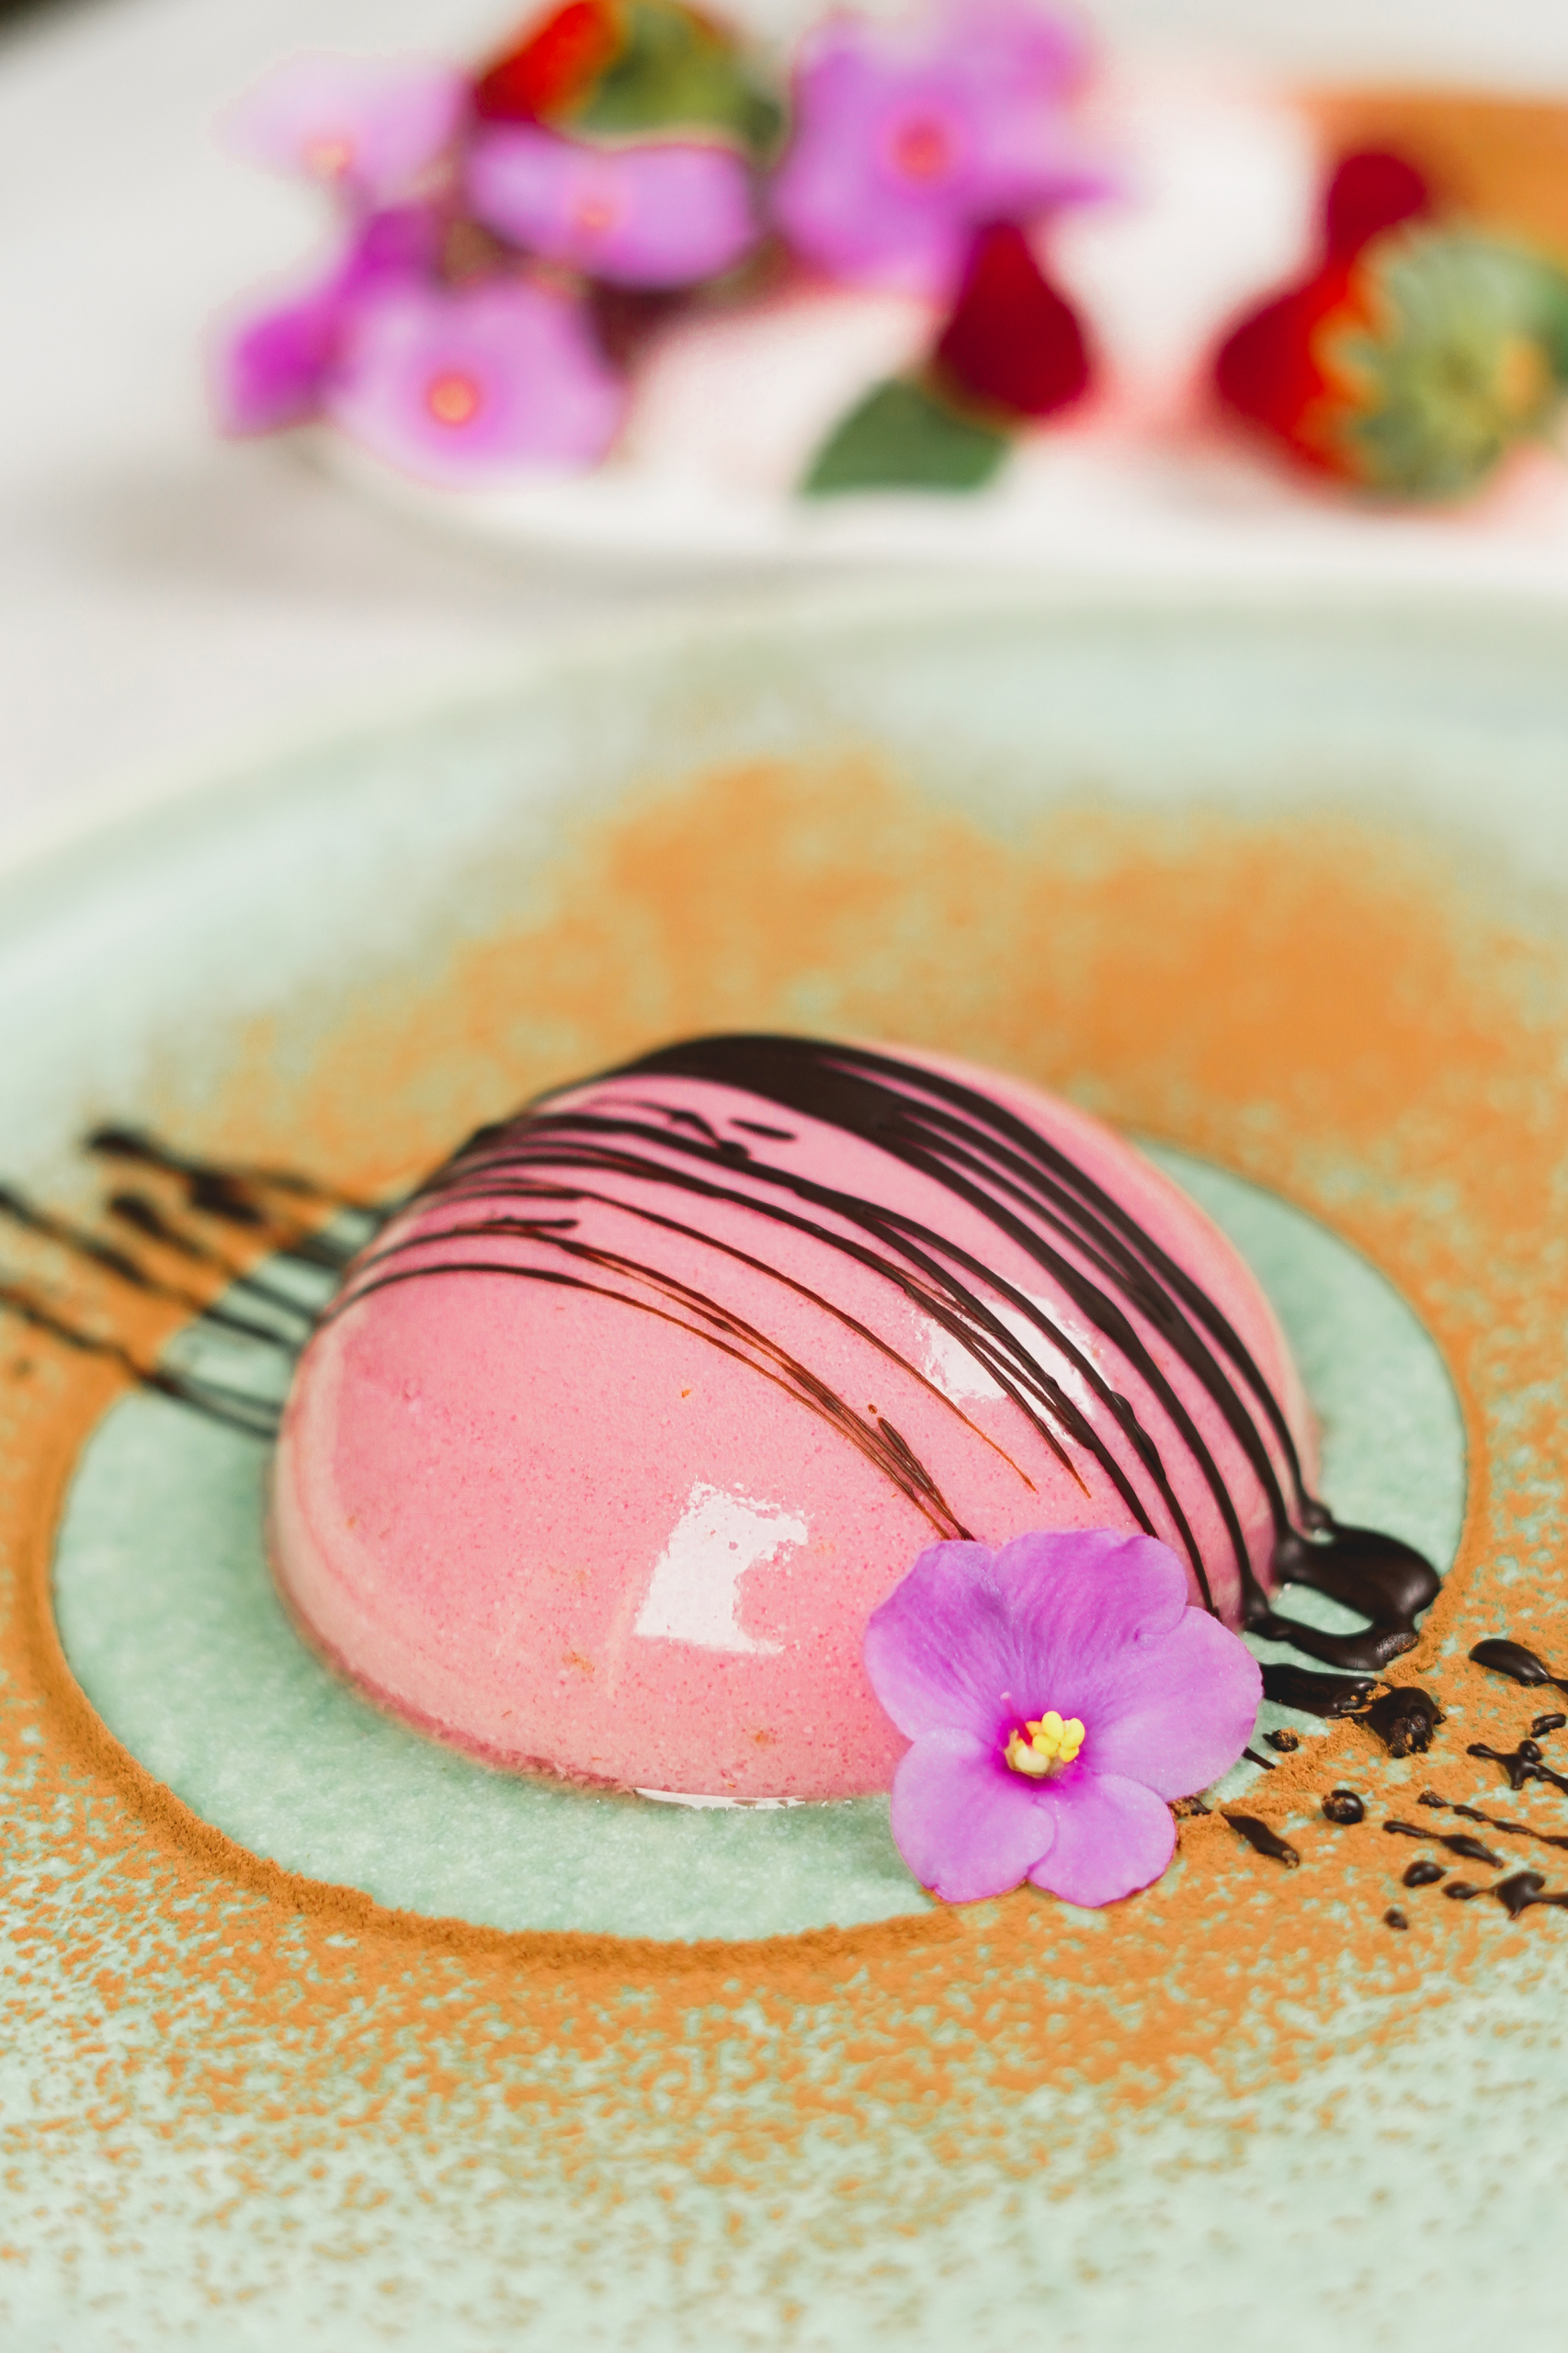
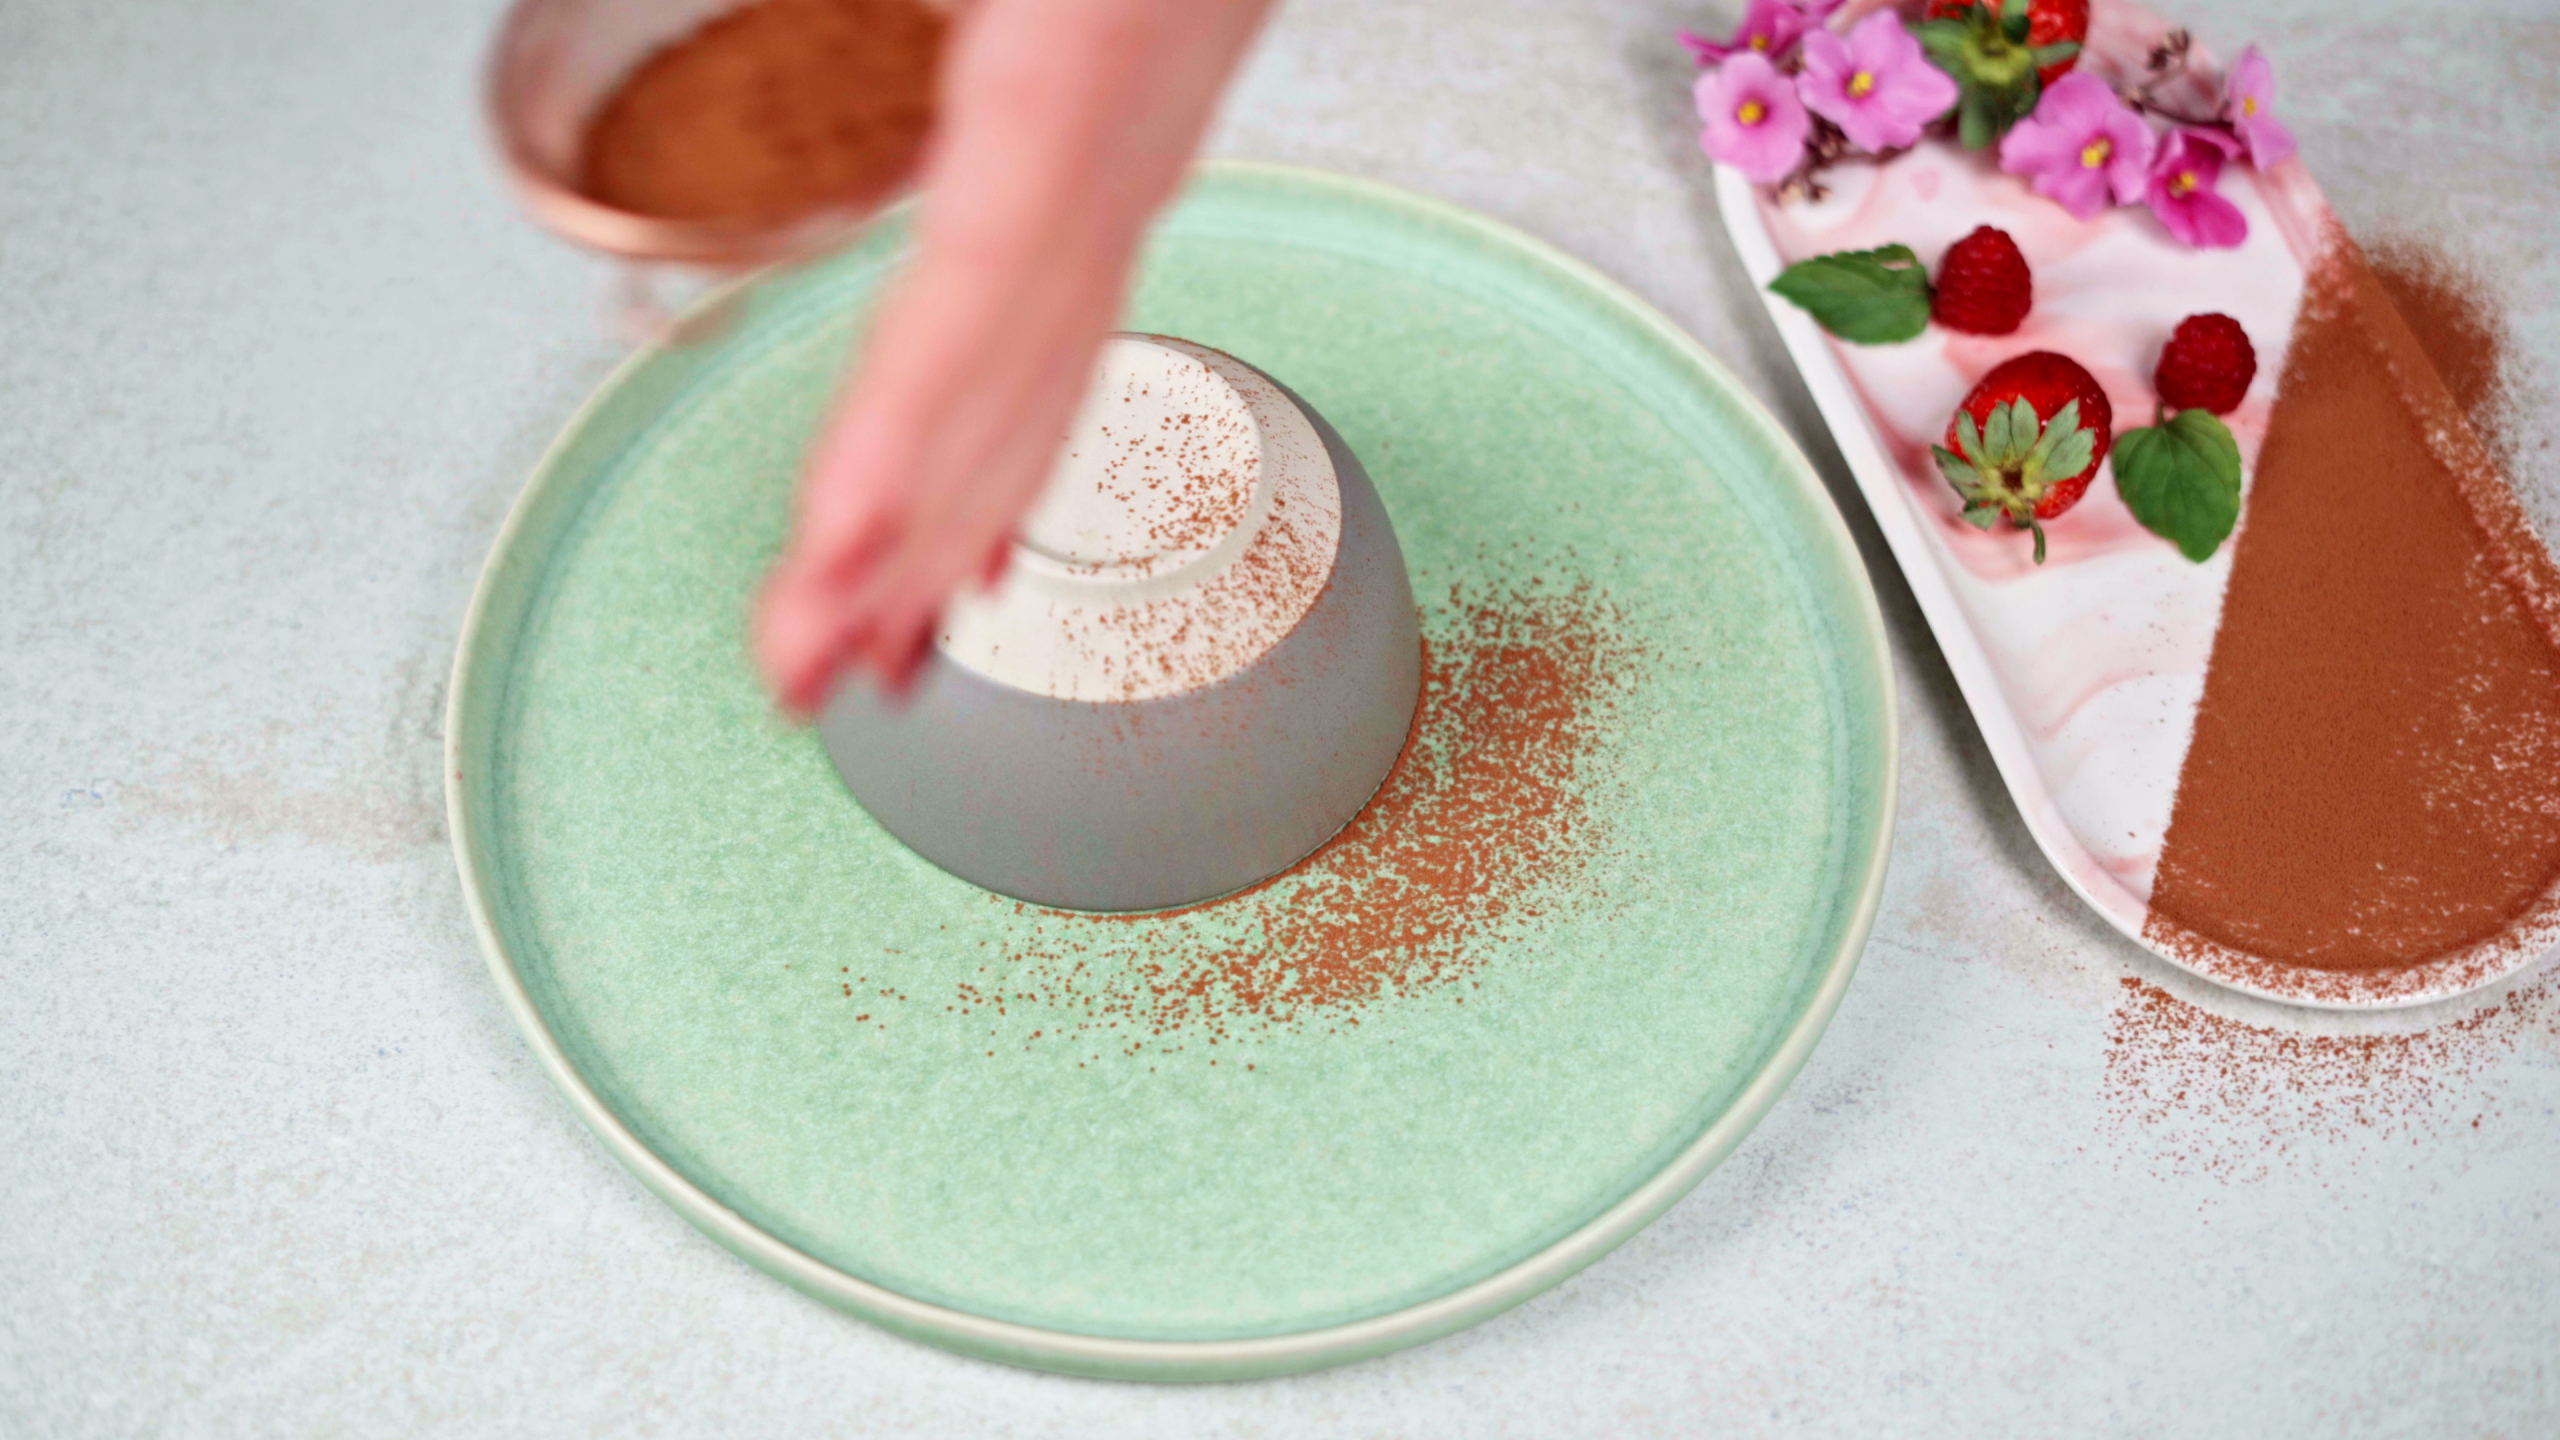
- The Unmolding Secret: This is the moment of truth. Dip the mold in a bowl of hot tap water for 5-10 seconds. Don’t use boiling water, and don’t leave it in too long! Invert it onto a chilled plate. Why chilled? A warm plate can start to melt the delicate dessert, creating a puddle. A gentle shake should be all it takes.
Panna Cotta Rescue Mission!
So, you chilled it for hours and it’s still liquid. Don’t panic! You can usually save it. Gently pour the unset mixture back into a saucepan. If you used gelatin, bloom an extra half-sheet or ¼ tsp of powder and whisk it in. Gently reheat the base (remember, don’t boil!), then strain and chill again. If you used agar, you likely just didn’t boil it long enough. Pour it back in the pot, bring it to a rolling boil for a solid two minutes while whisking, and then re-chill. Problem solved!
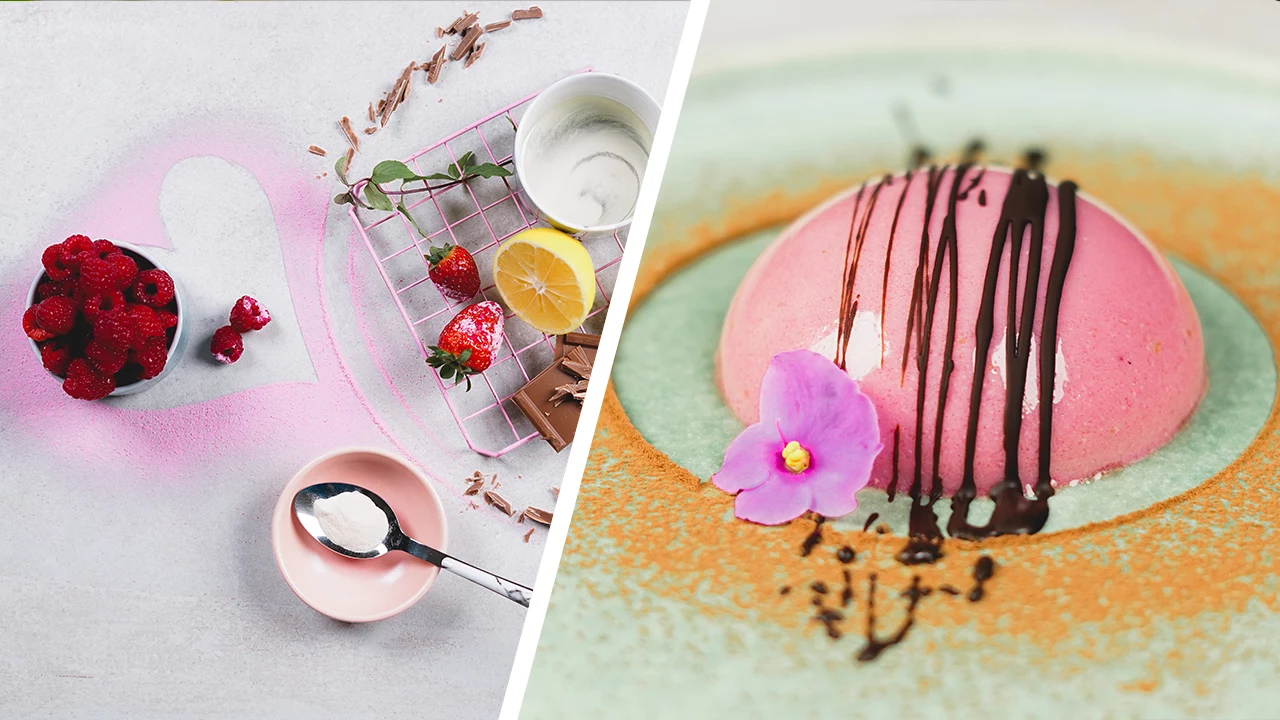
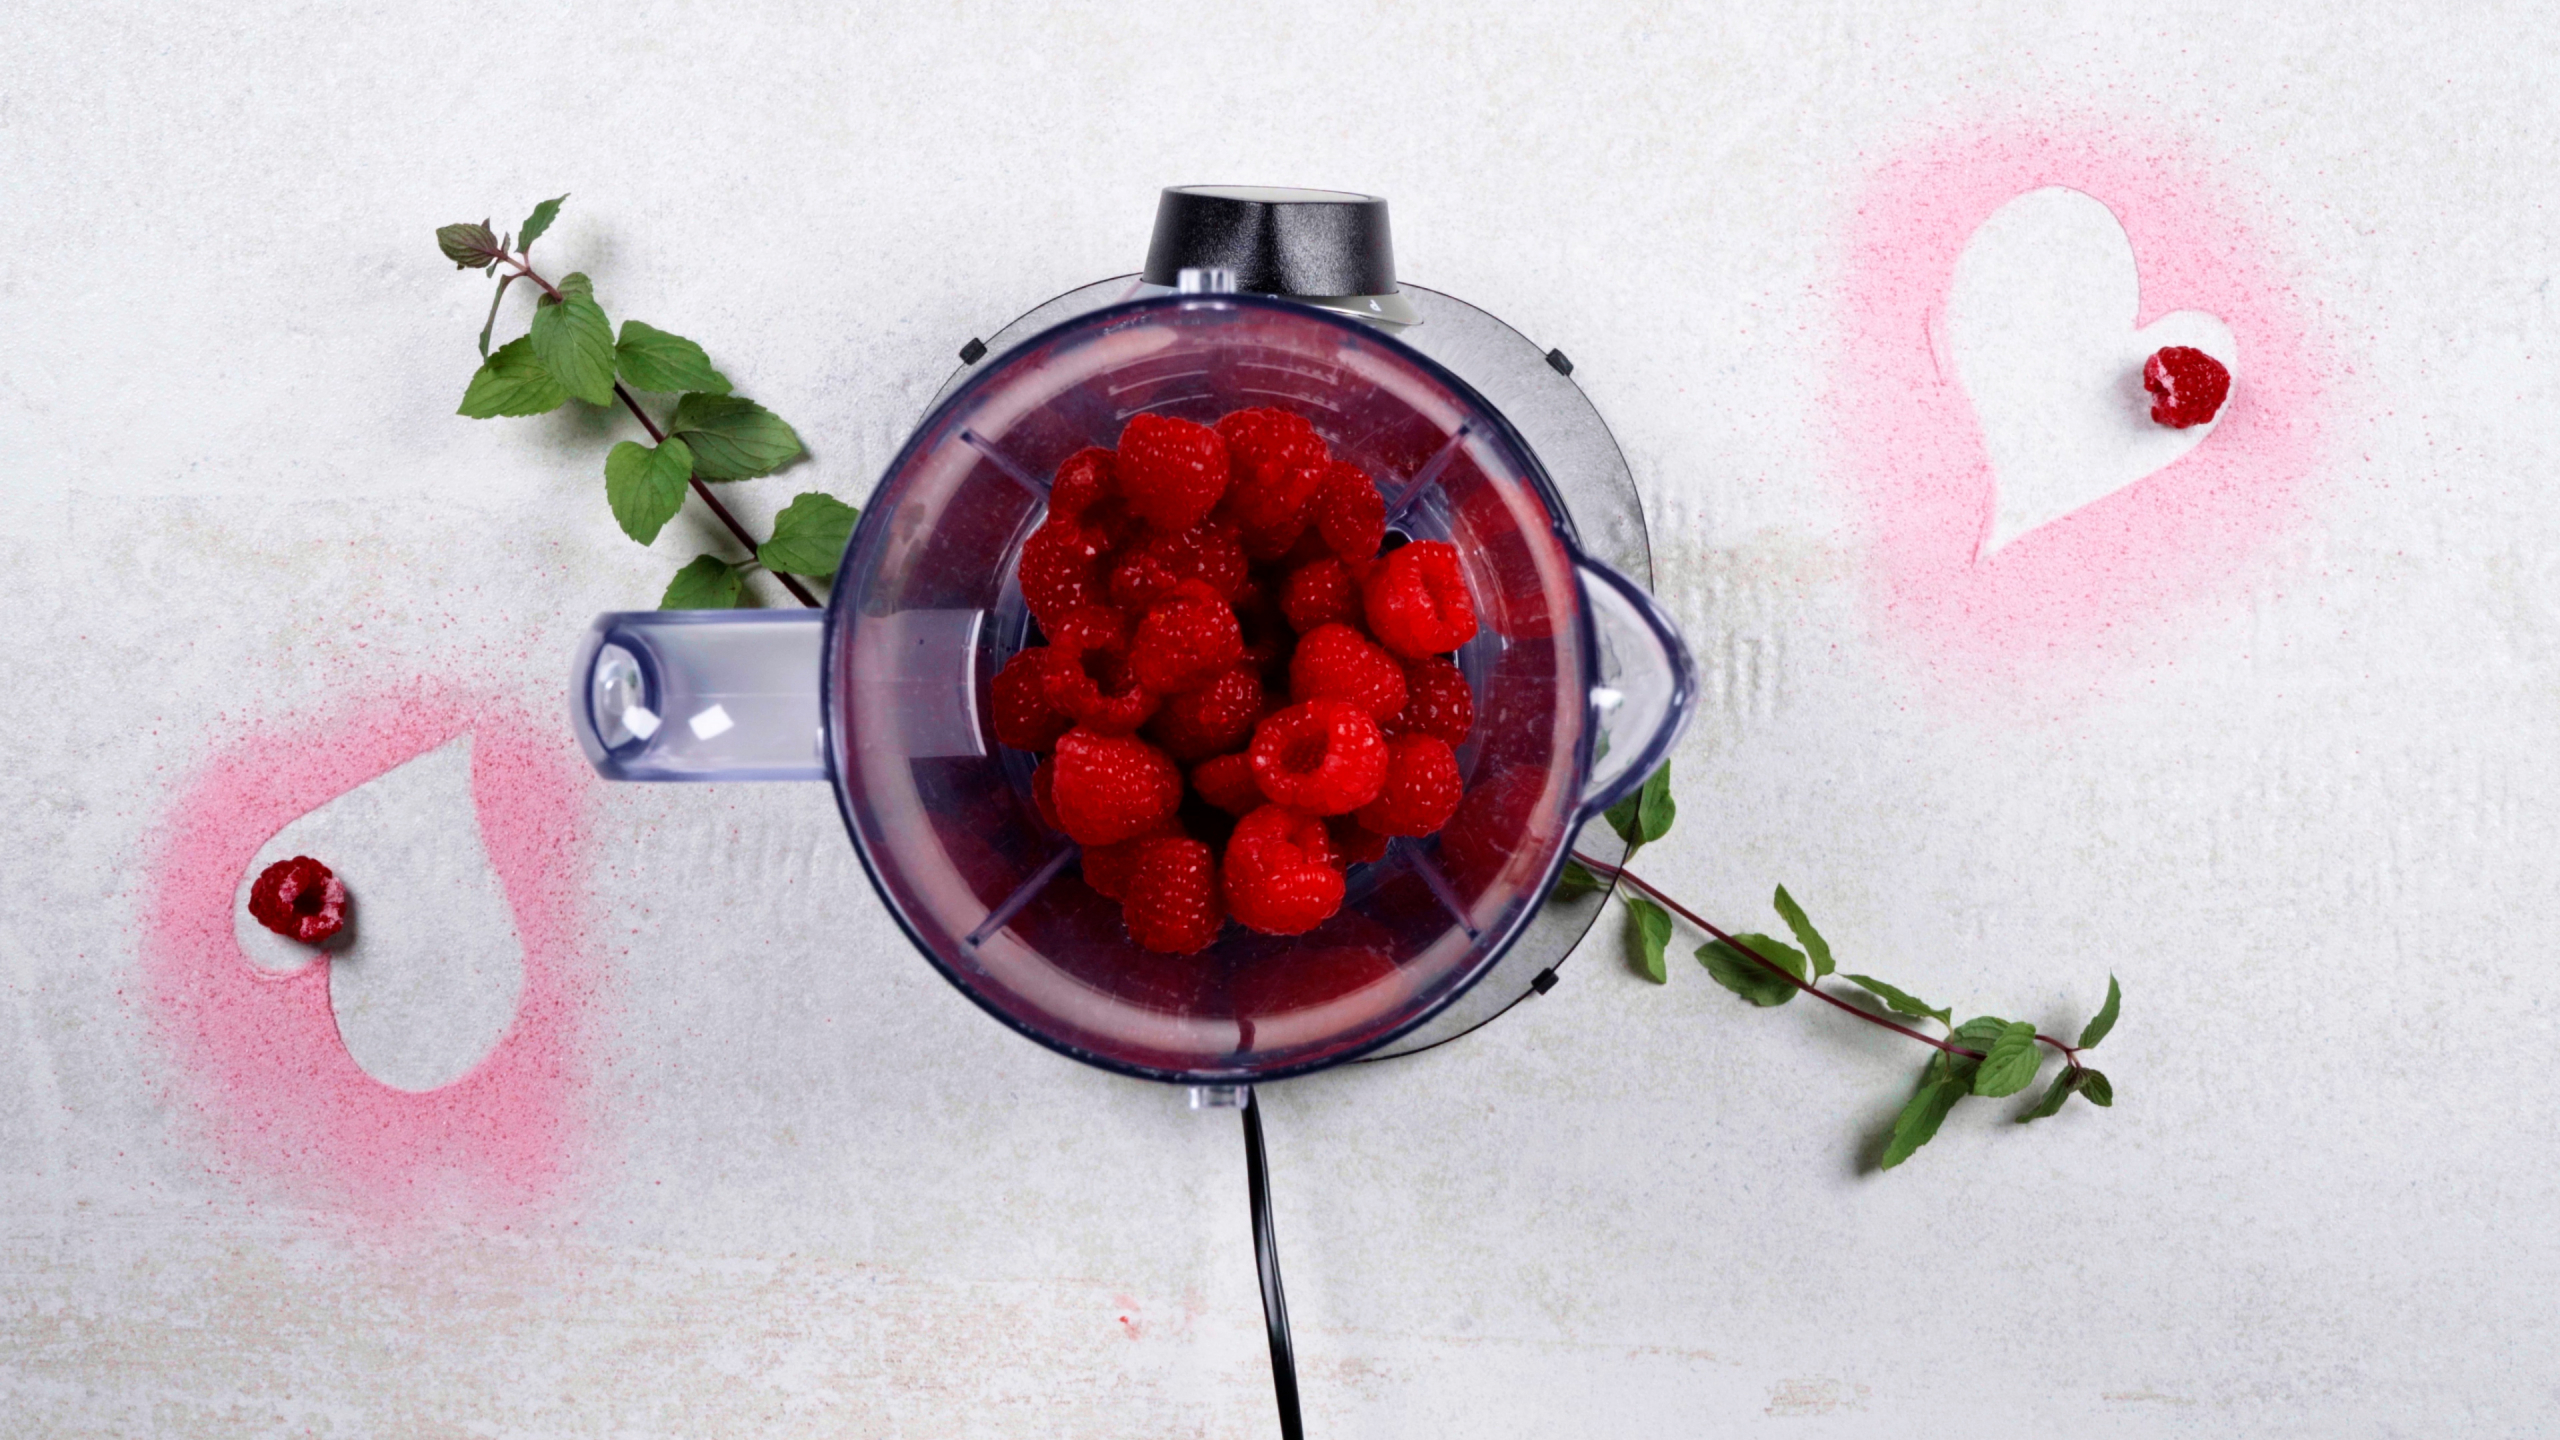
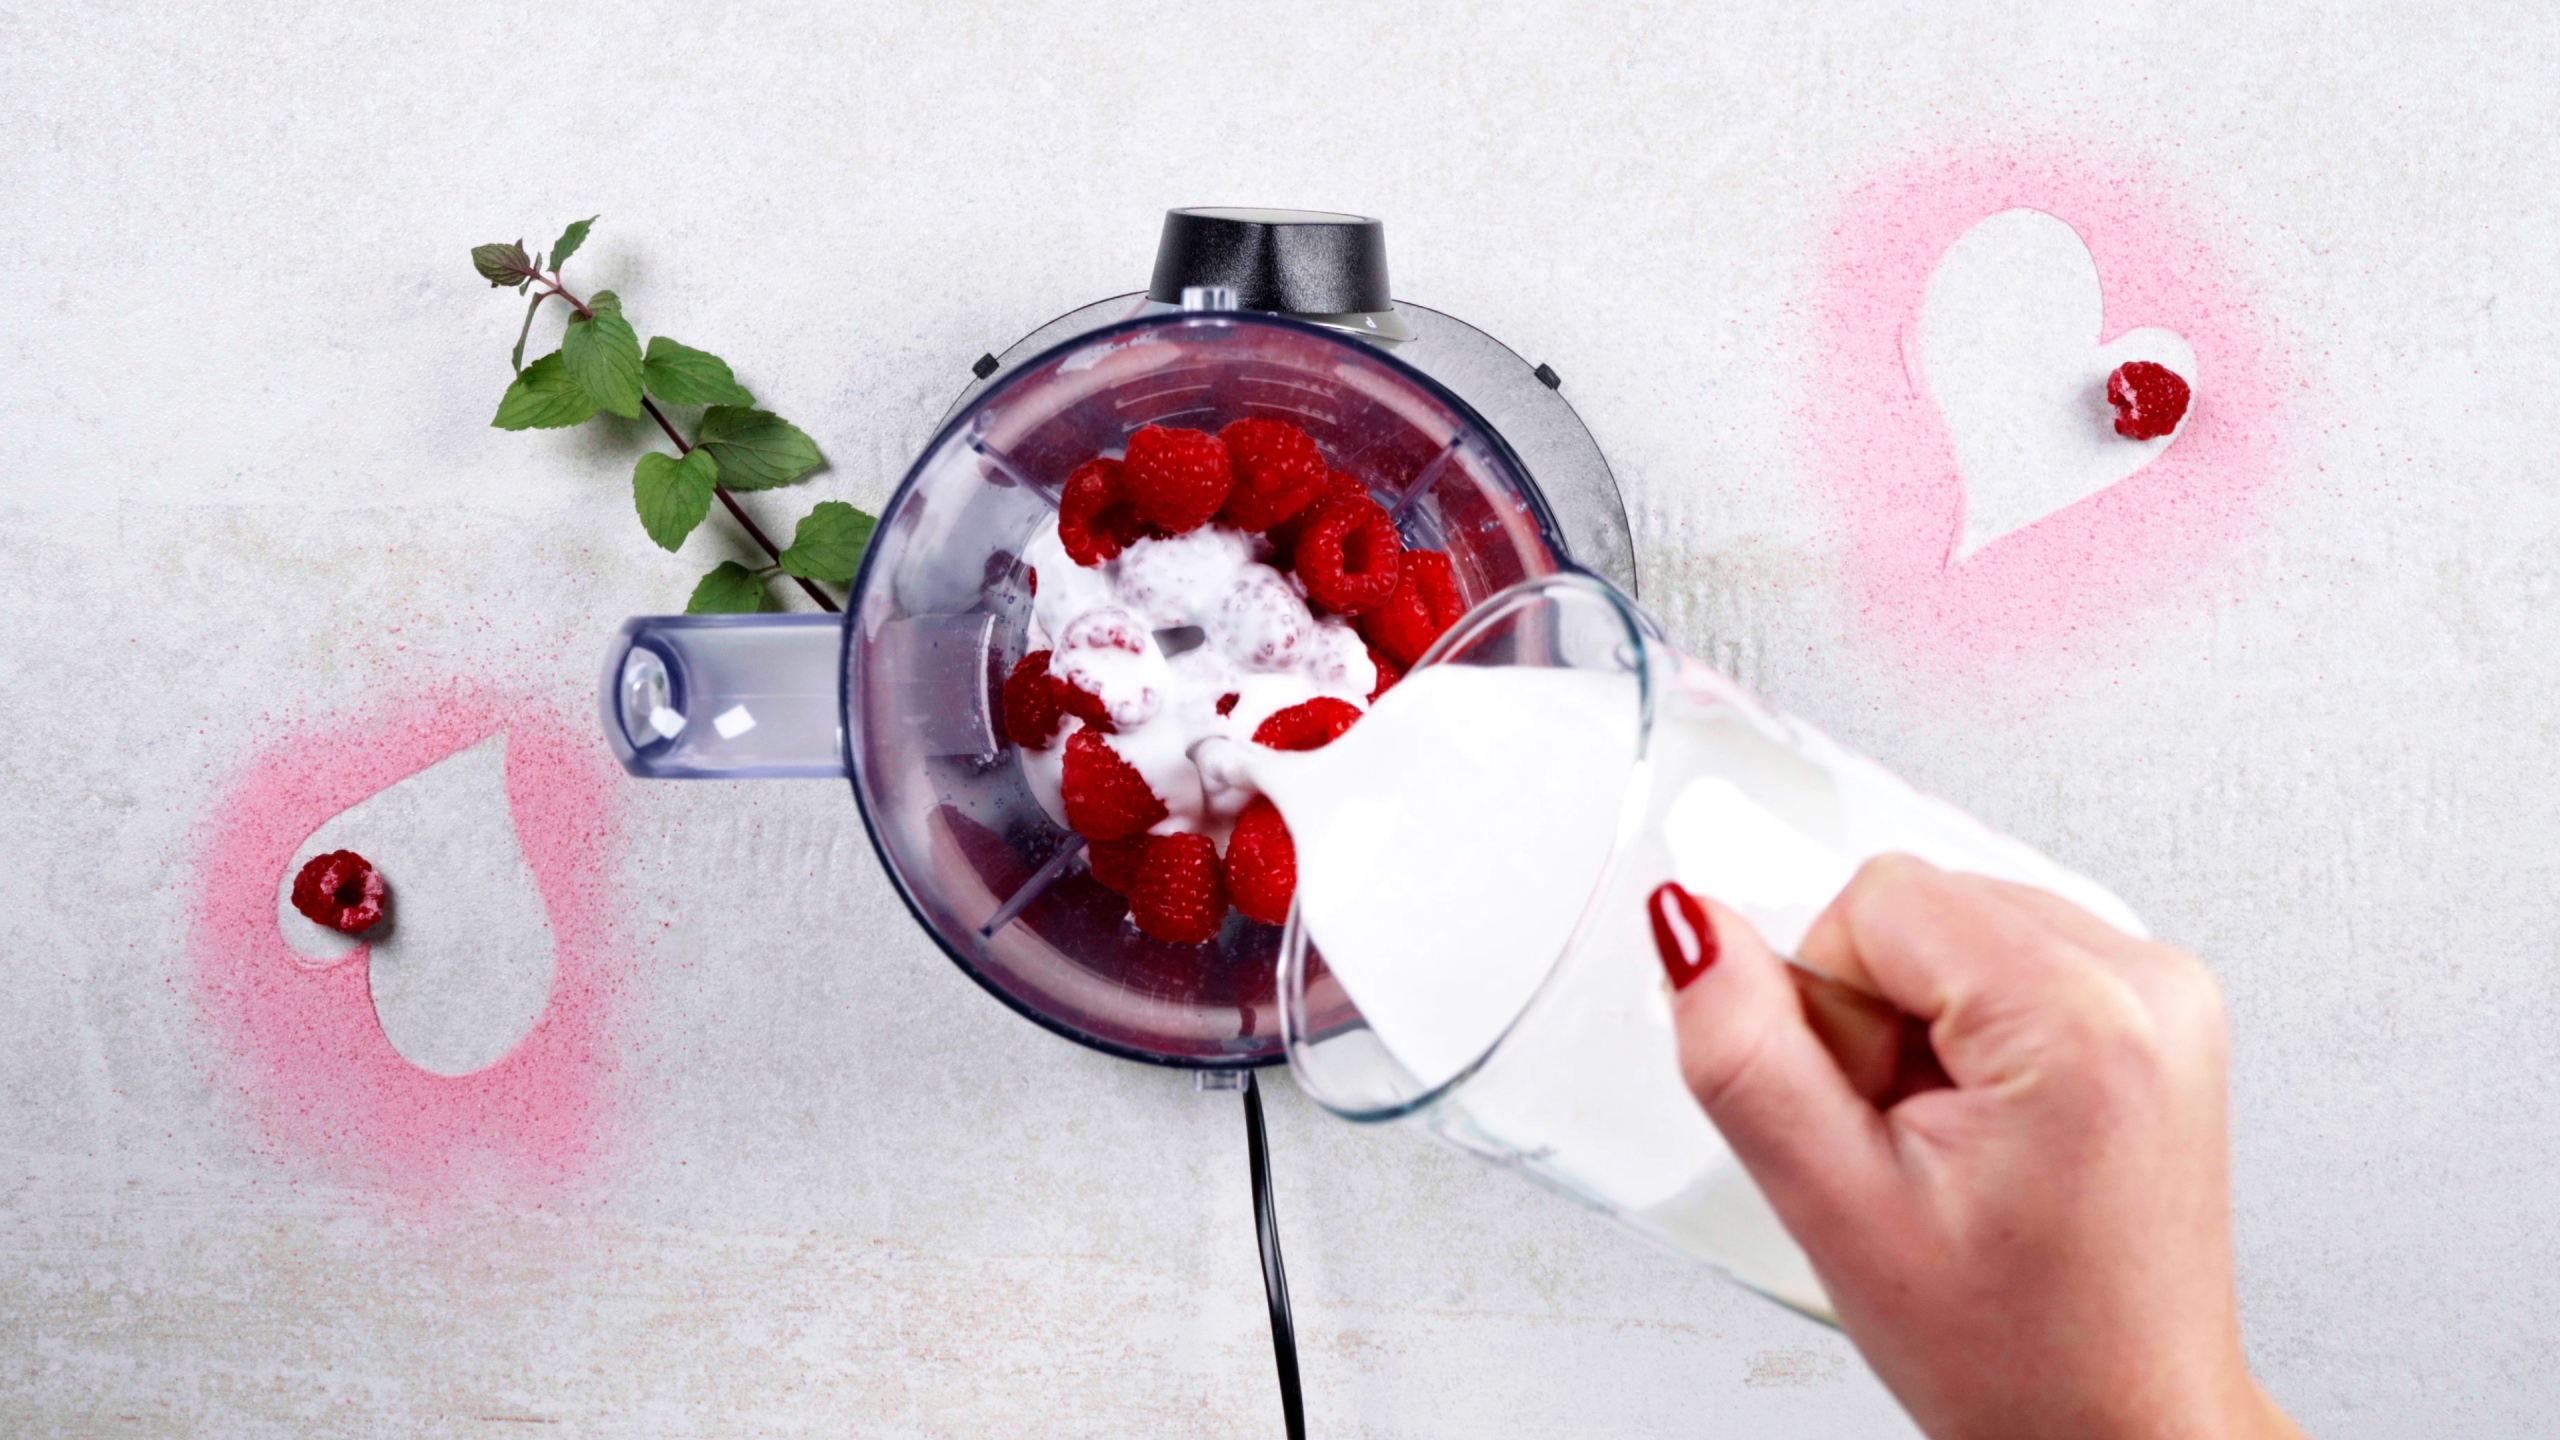
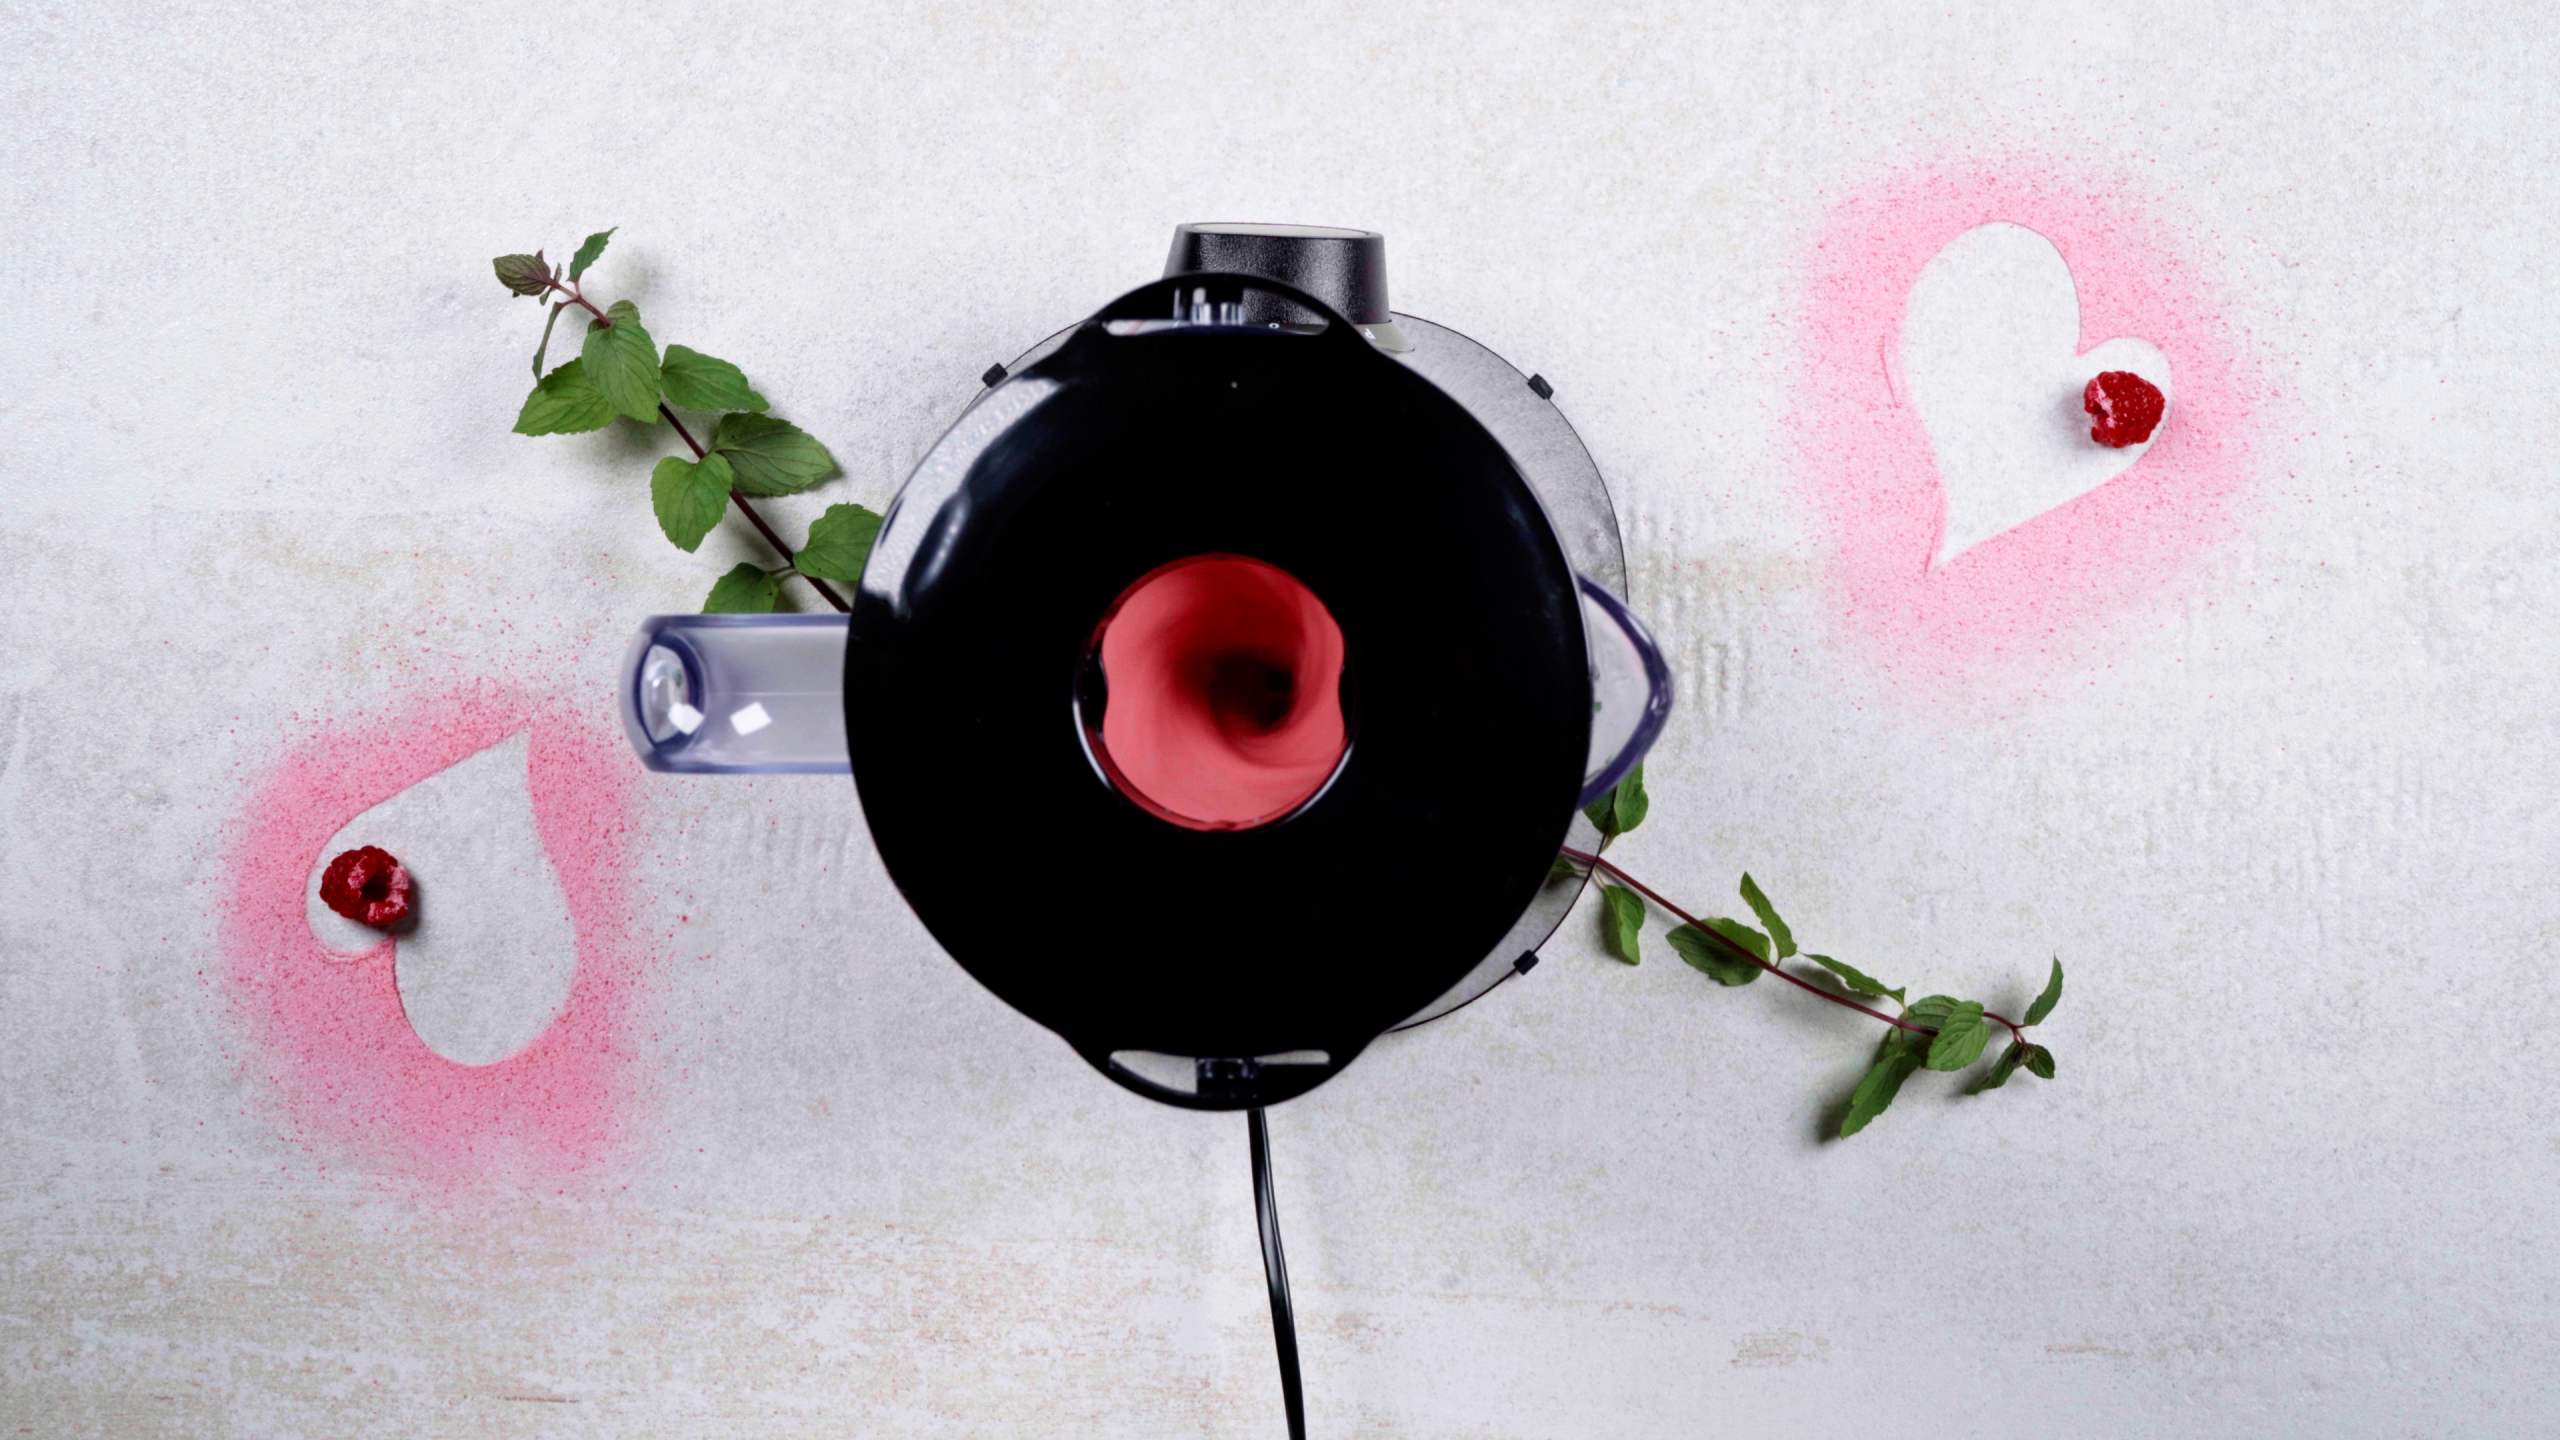
Working with Raspberries: A Tale of Two Methods
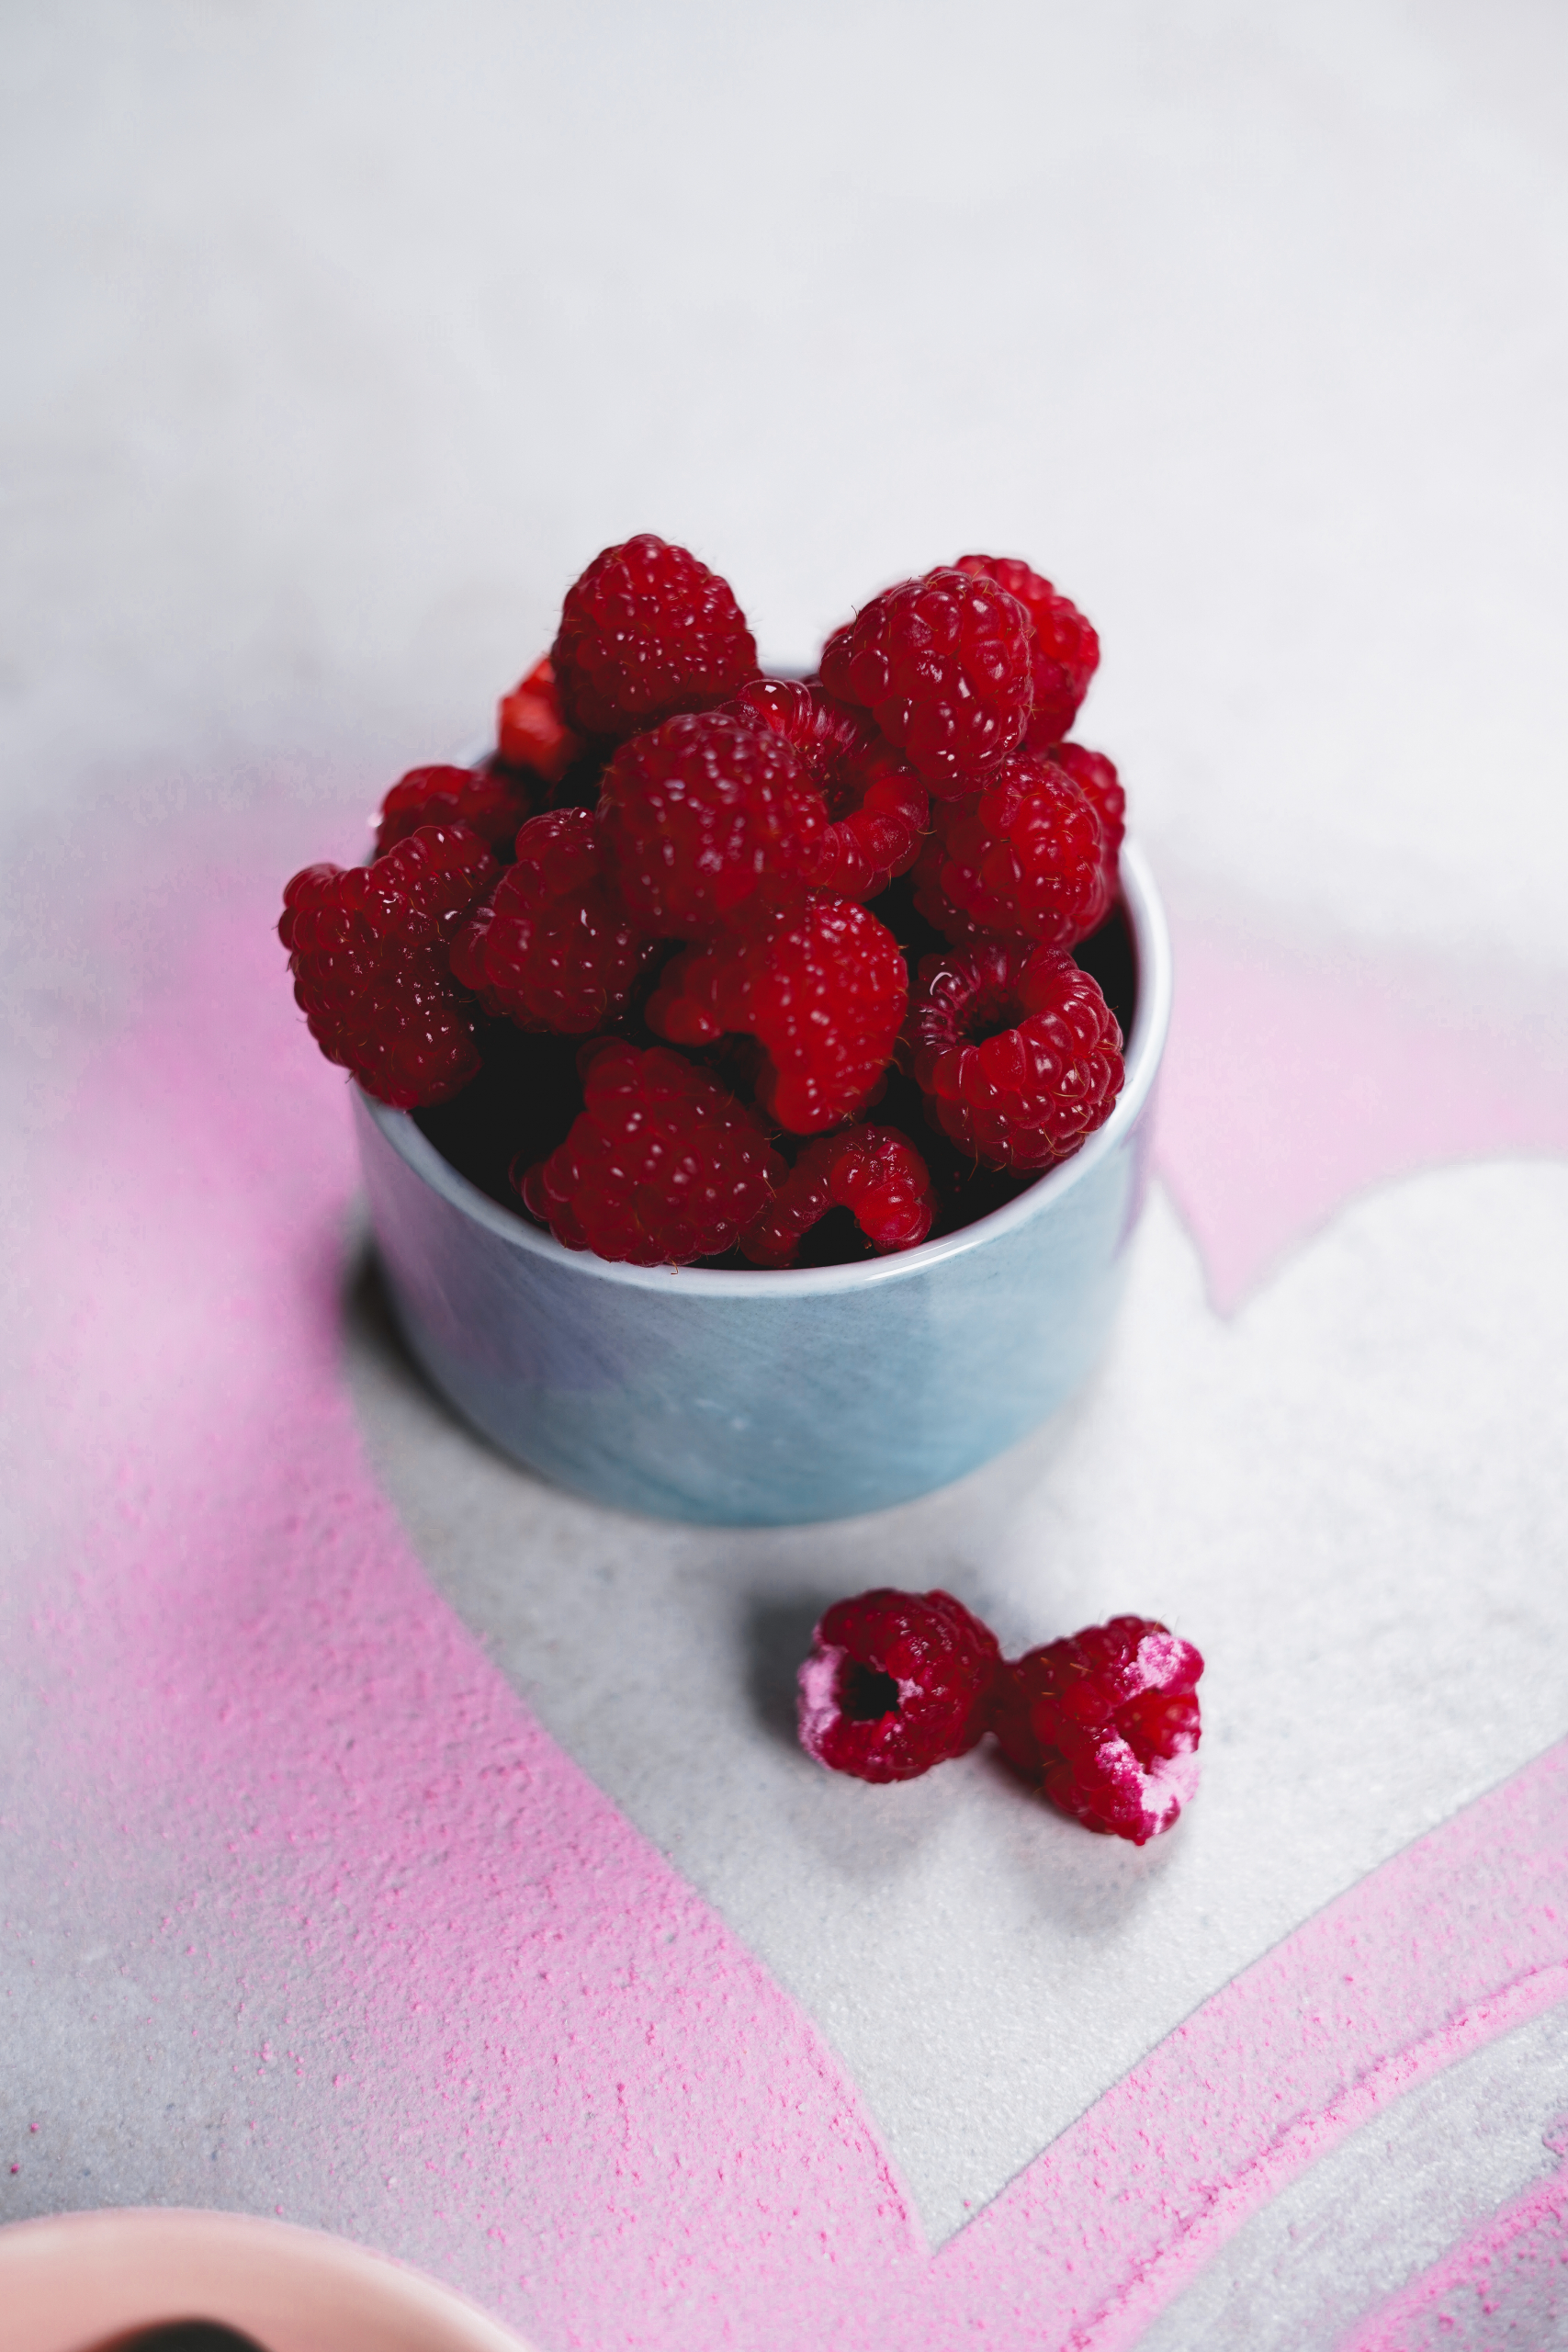
For a vibrant raspberry flavor, I find frozen raspberries work beautifully—they’re picked at peak ripeness. Just cook them down with a little sugar and a squeeze of lemon juice to brighten the flavor and color.
Now, you have two main ways to incorporate the fruit:
- The Integrated Method: Mix the raspberry purée (strained of its seeds for the best texture) directly into the cream base. This creates a beautiful, uniformly pink dessert. Good to know: since raspberry is acidic, I always add a little extra gelatin for insurance—about half a sheet or ¼ teaspoon of powder for a recipe this size. This method works perfectly with acid-loving agar.
- The Layered Method: Make a classic vanilla panna cotta and let it set completely. Then, pour a thin layer of raspberry gelée (purée set with its own gelling agent) on top. This creates a stunning visual and a clean separation of flavors.
Recipe 1: Classic Cream Panna Cotta with Raspberry Coulis (Gelatin-Based)
This is the traditional method for that signature wobble. I highly recommend using a digital scale for this one.
Yields: 6 servings
Active Time: 25 minutes
Chill Time: 6 hours, but overnight is best
For the Panna Cotta:
- 500g Heavy Cream (at least 36% fat)
- 100g Whole Milk
- 85g Granulated Sugar
- 1 Vanilla Bean (or 1 tsp high-quality vanilla extract)
- 7g Gold-leaf Gelatin (about 3.5 sheets) or 1.5 tsp powdered gelatin
- 30g Cold Water (only if using powdered gelatin)
For the Raspberry Coulis (Sauce):
- 250g Frozen Raspberries
- 40g Granulated Sugar
- 1 tbsp Lemon Juice
Let’s Make It:
- First, bloom your gelatin. If using sheets, soak them in a bowl of cold water. If using powder, sprinkle it over the 30g of cold water and let it sit for about 10 minutes.
- Next, infuse the cream. In a saucepan, combine the cream, milk, and sugar. If using a vanilla bean, split it, scrape in the seeds, and add the pod. Warm it over medium-low heat until the sugar dissolves. Don’t boil! Remove from heat, cover, and let it all hang out for 20 minutes.
- While that’s happening, make the coulis. Simmer the raspberries, sugar, and lemon juice in a small pot until the berries break down, about 10-15 minutes. For an elegant sauce, push it through a fine-mesh sieve to remove the seeds. Let it cool.
- Back to the cream. Remove the vanilla pod. Squeeze the water from your bloomed gelatin sheets and whisk them into the warm cream until they dissolve. If using powdered, pop the bloomed gelatin in the microwave for 5 seconds to liquefy it, then whisk it into the cream.
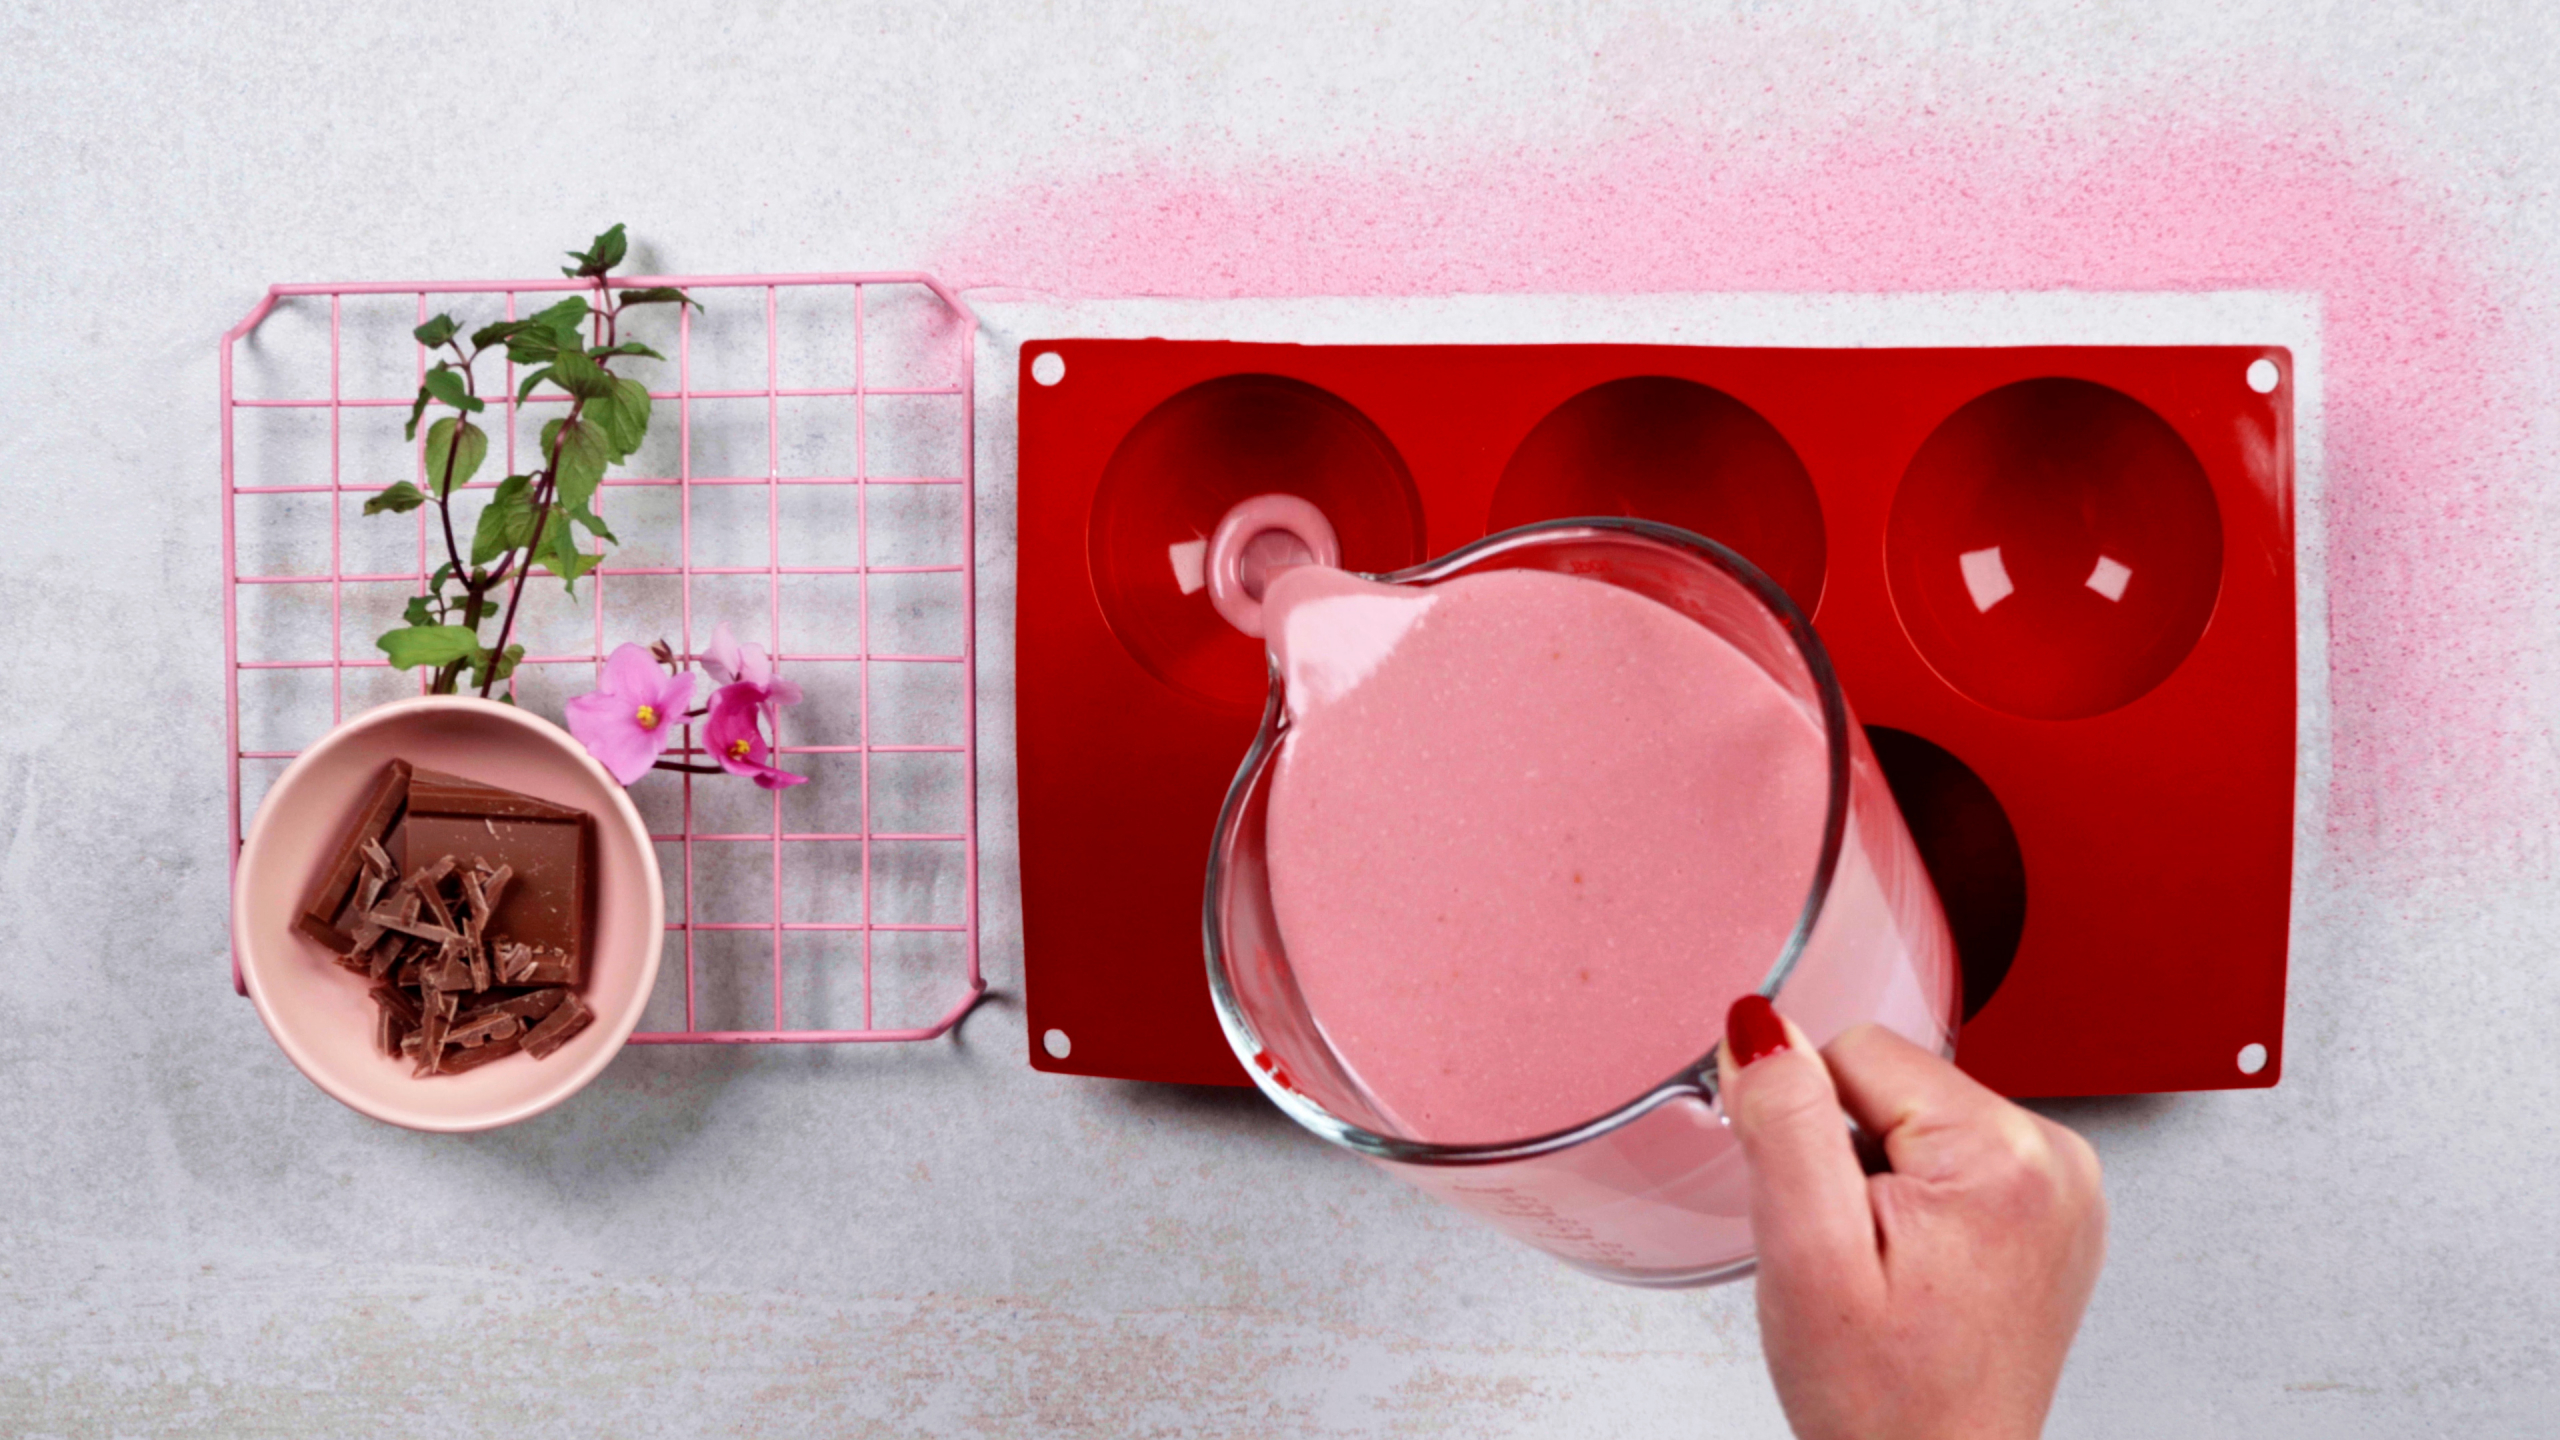
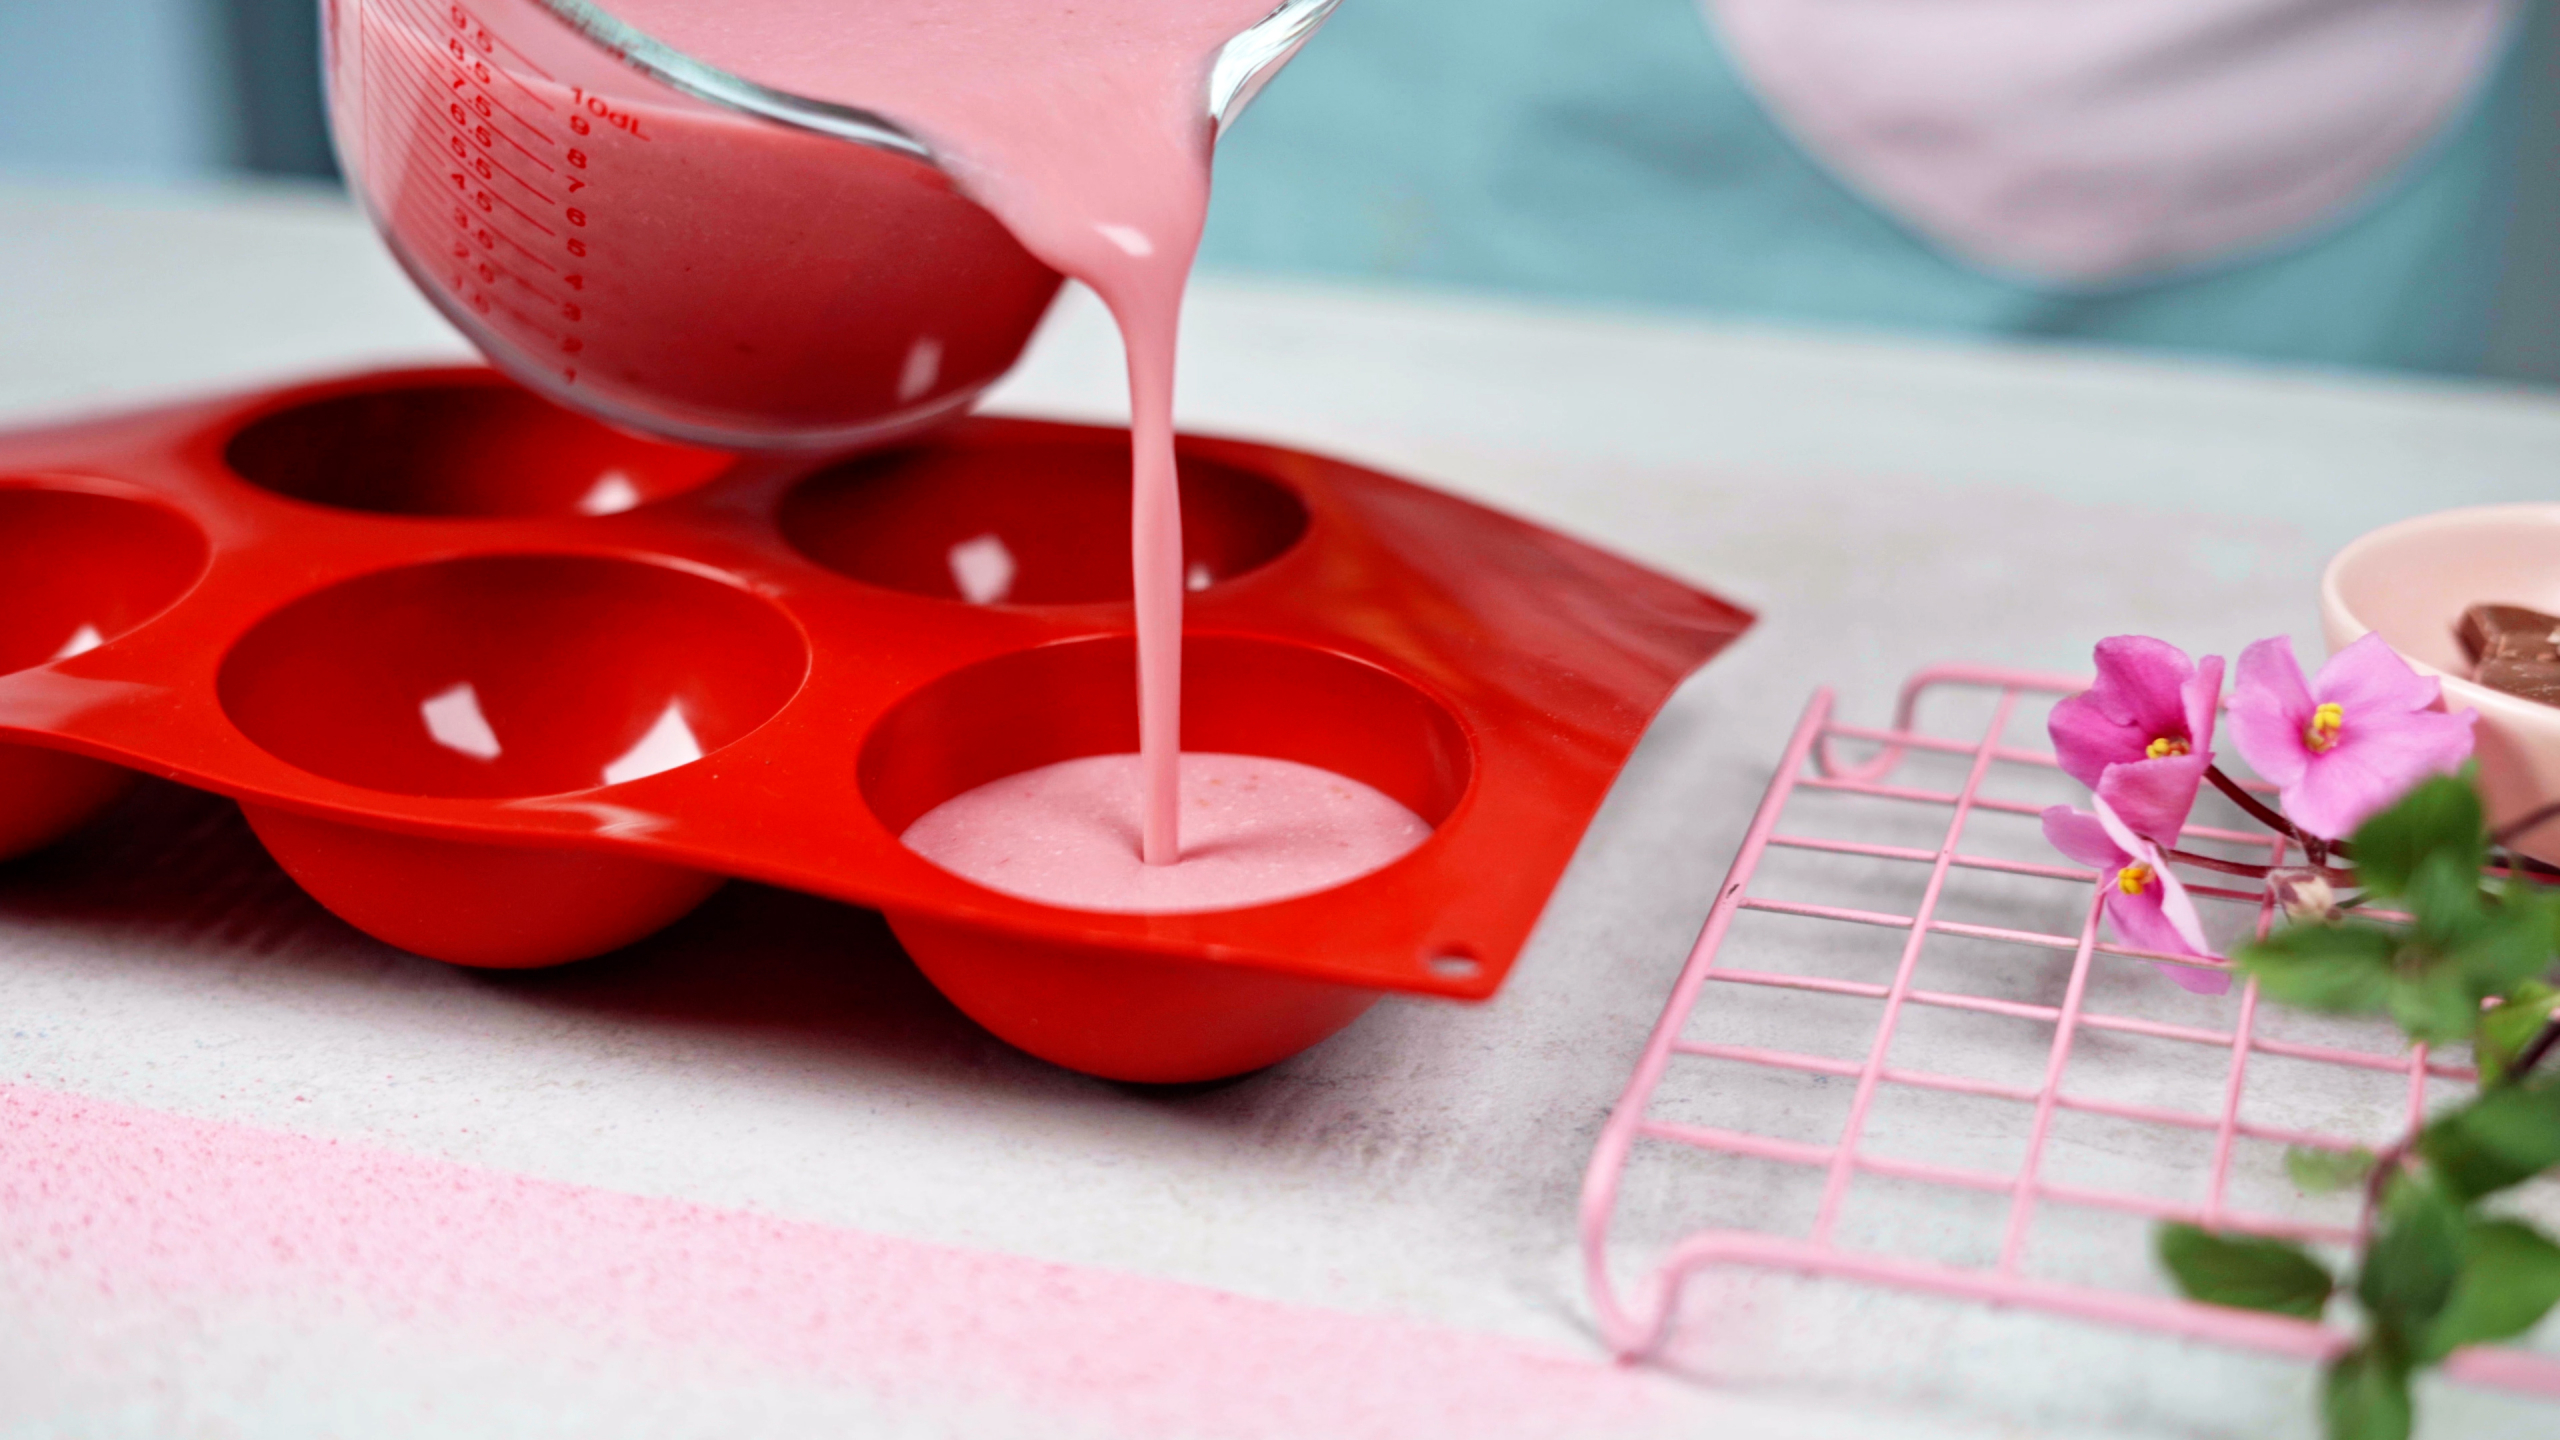
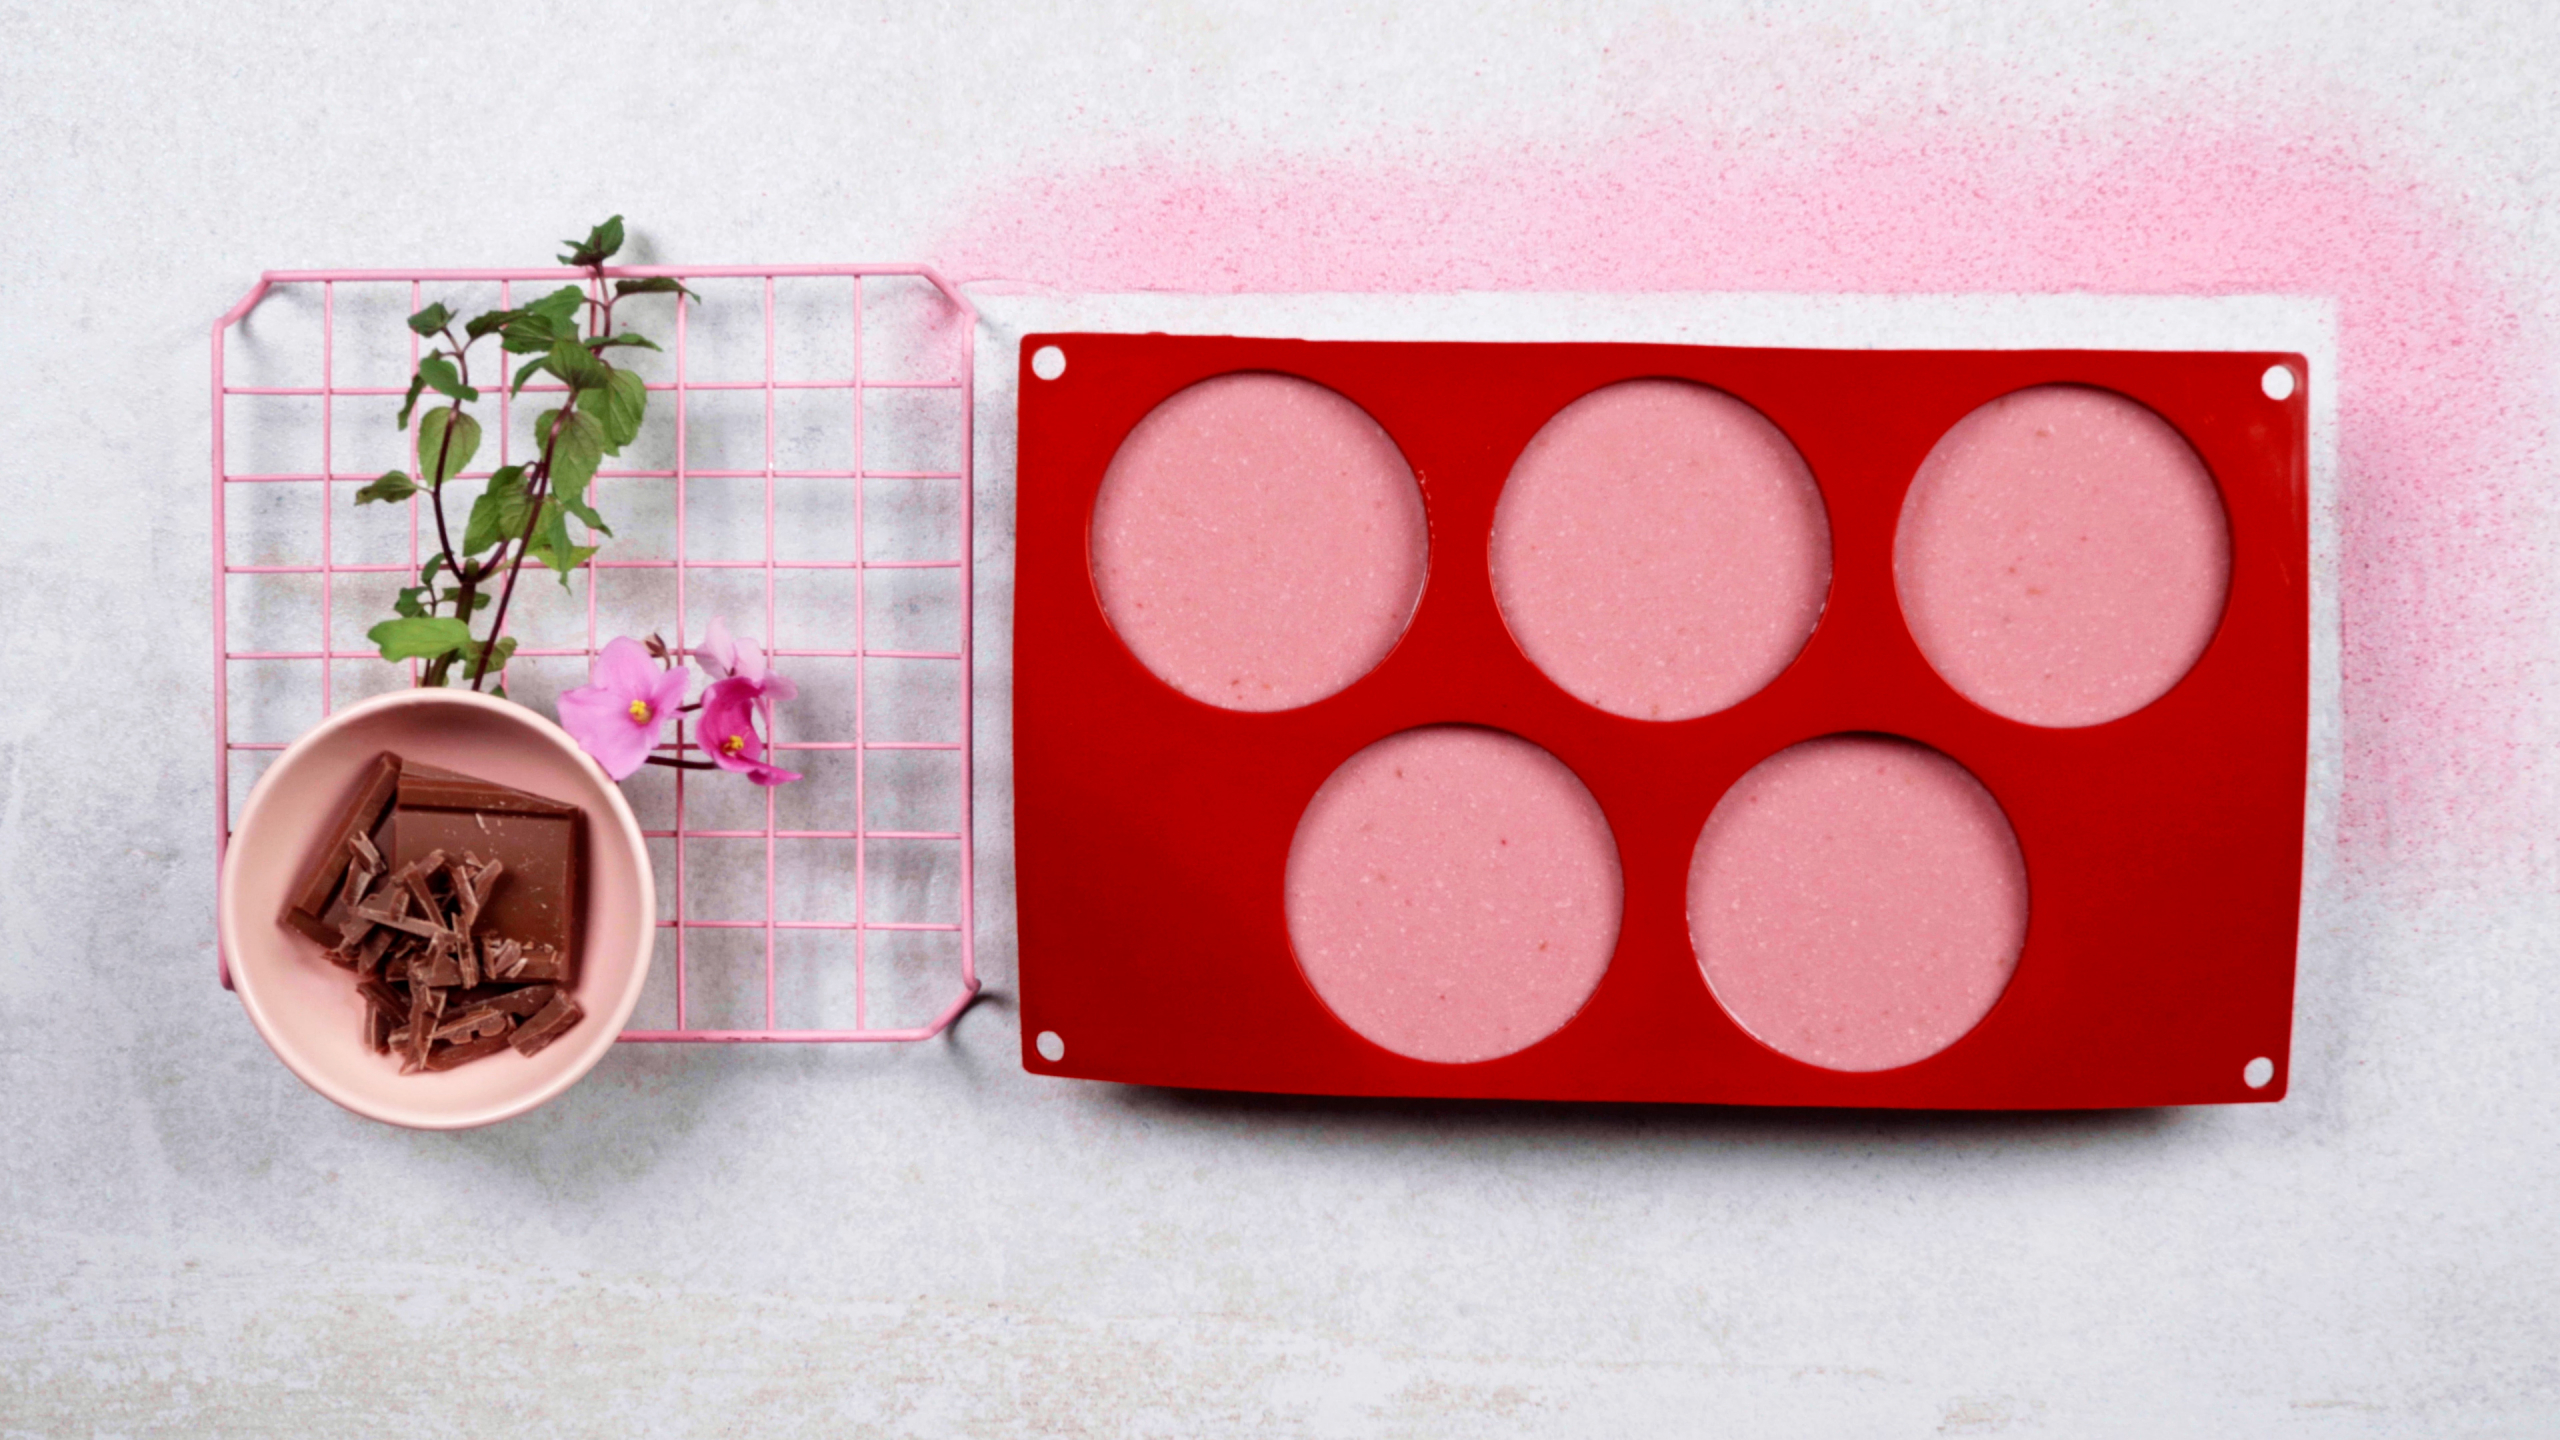
- Strain and pour! Pour the base through your sieve into a pitcher, then divide it among six lightly oiled ramekins. Cover and chill for at least 6 hours.
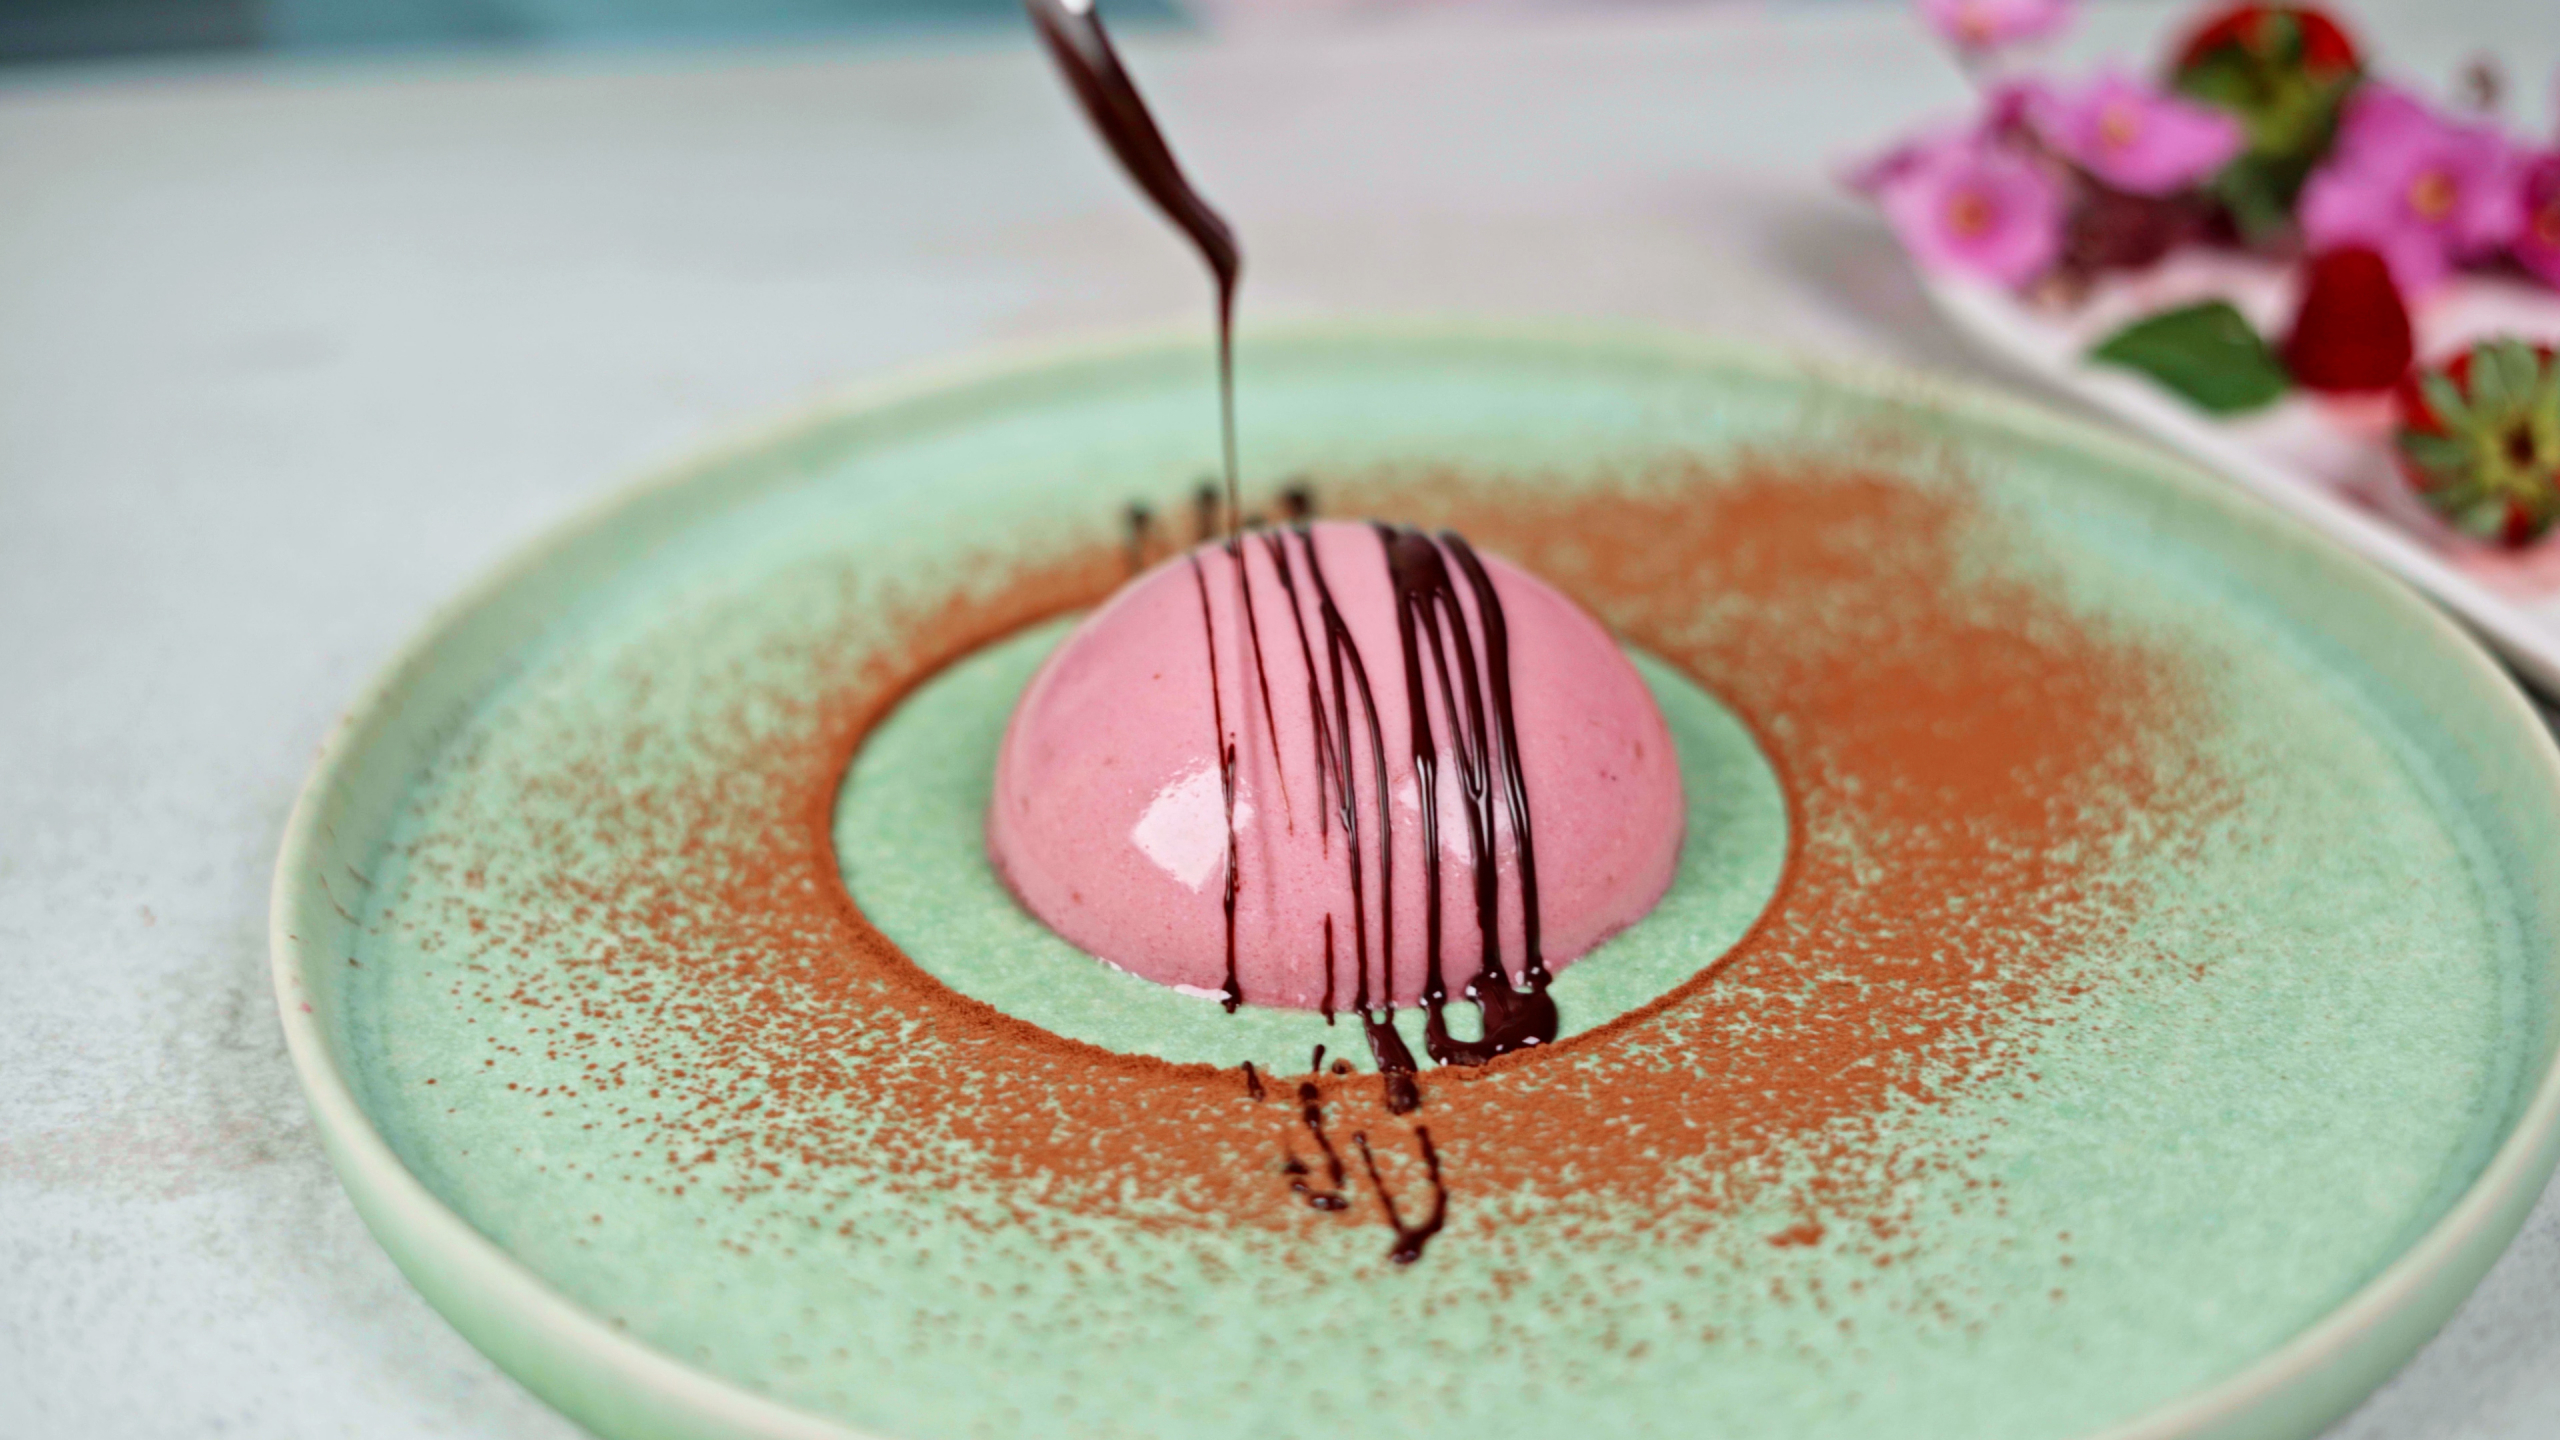
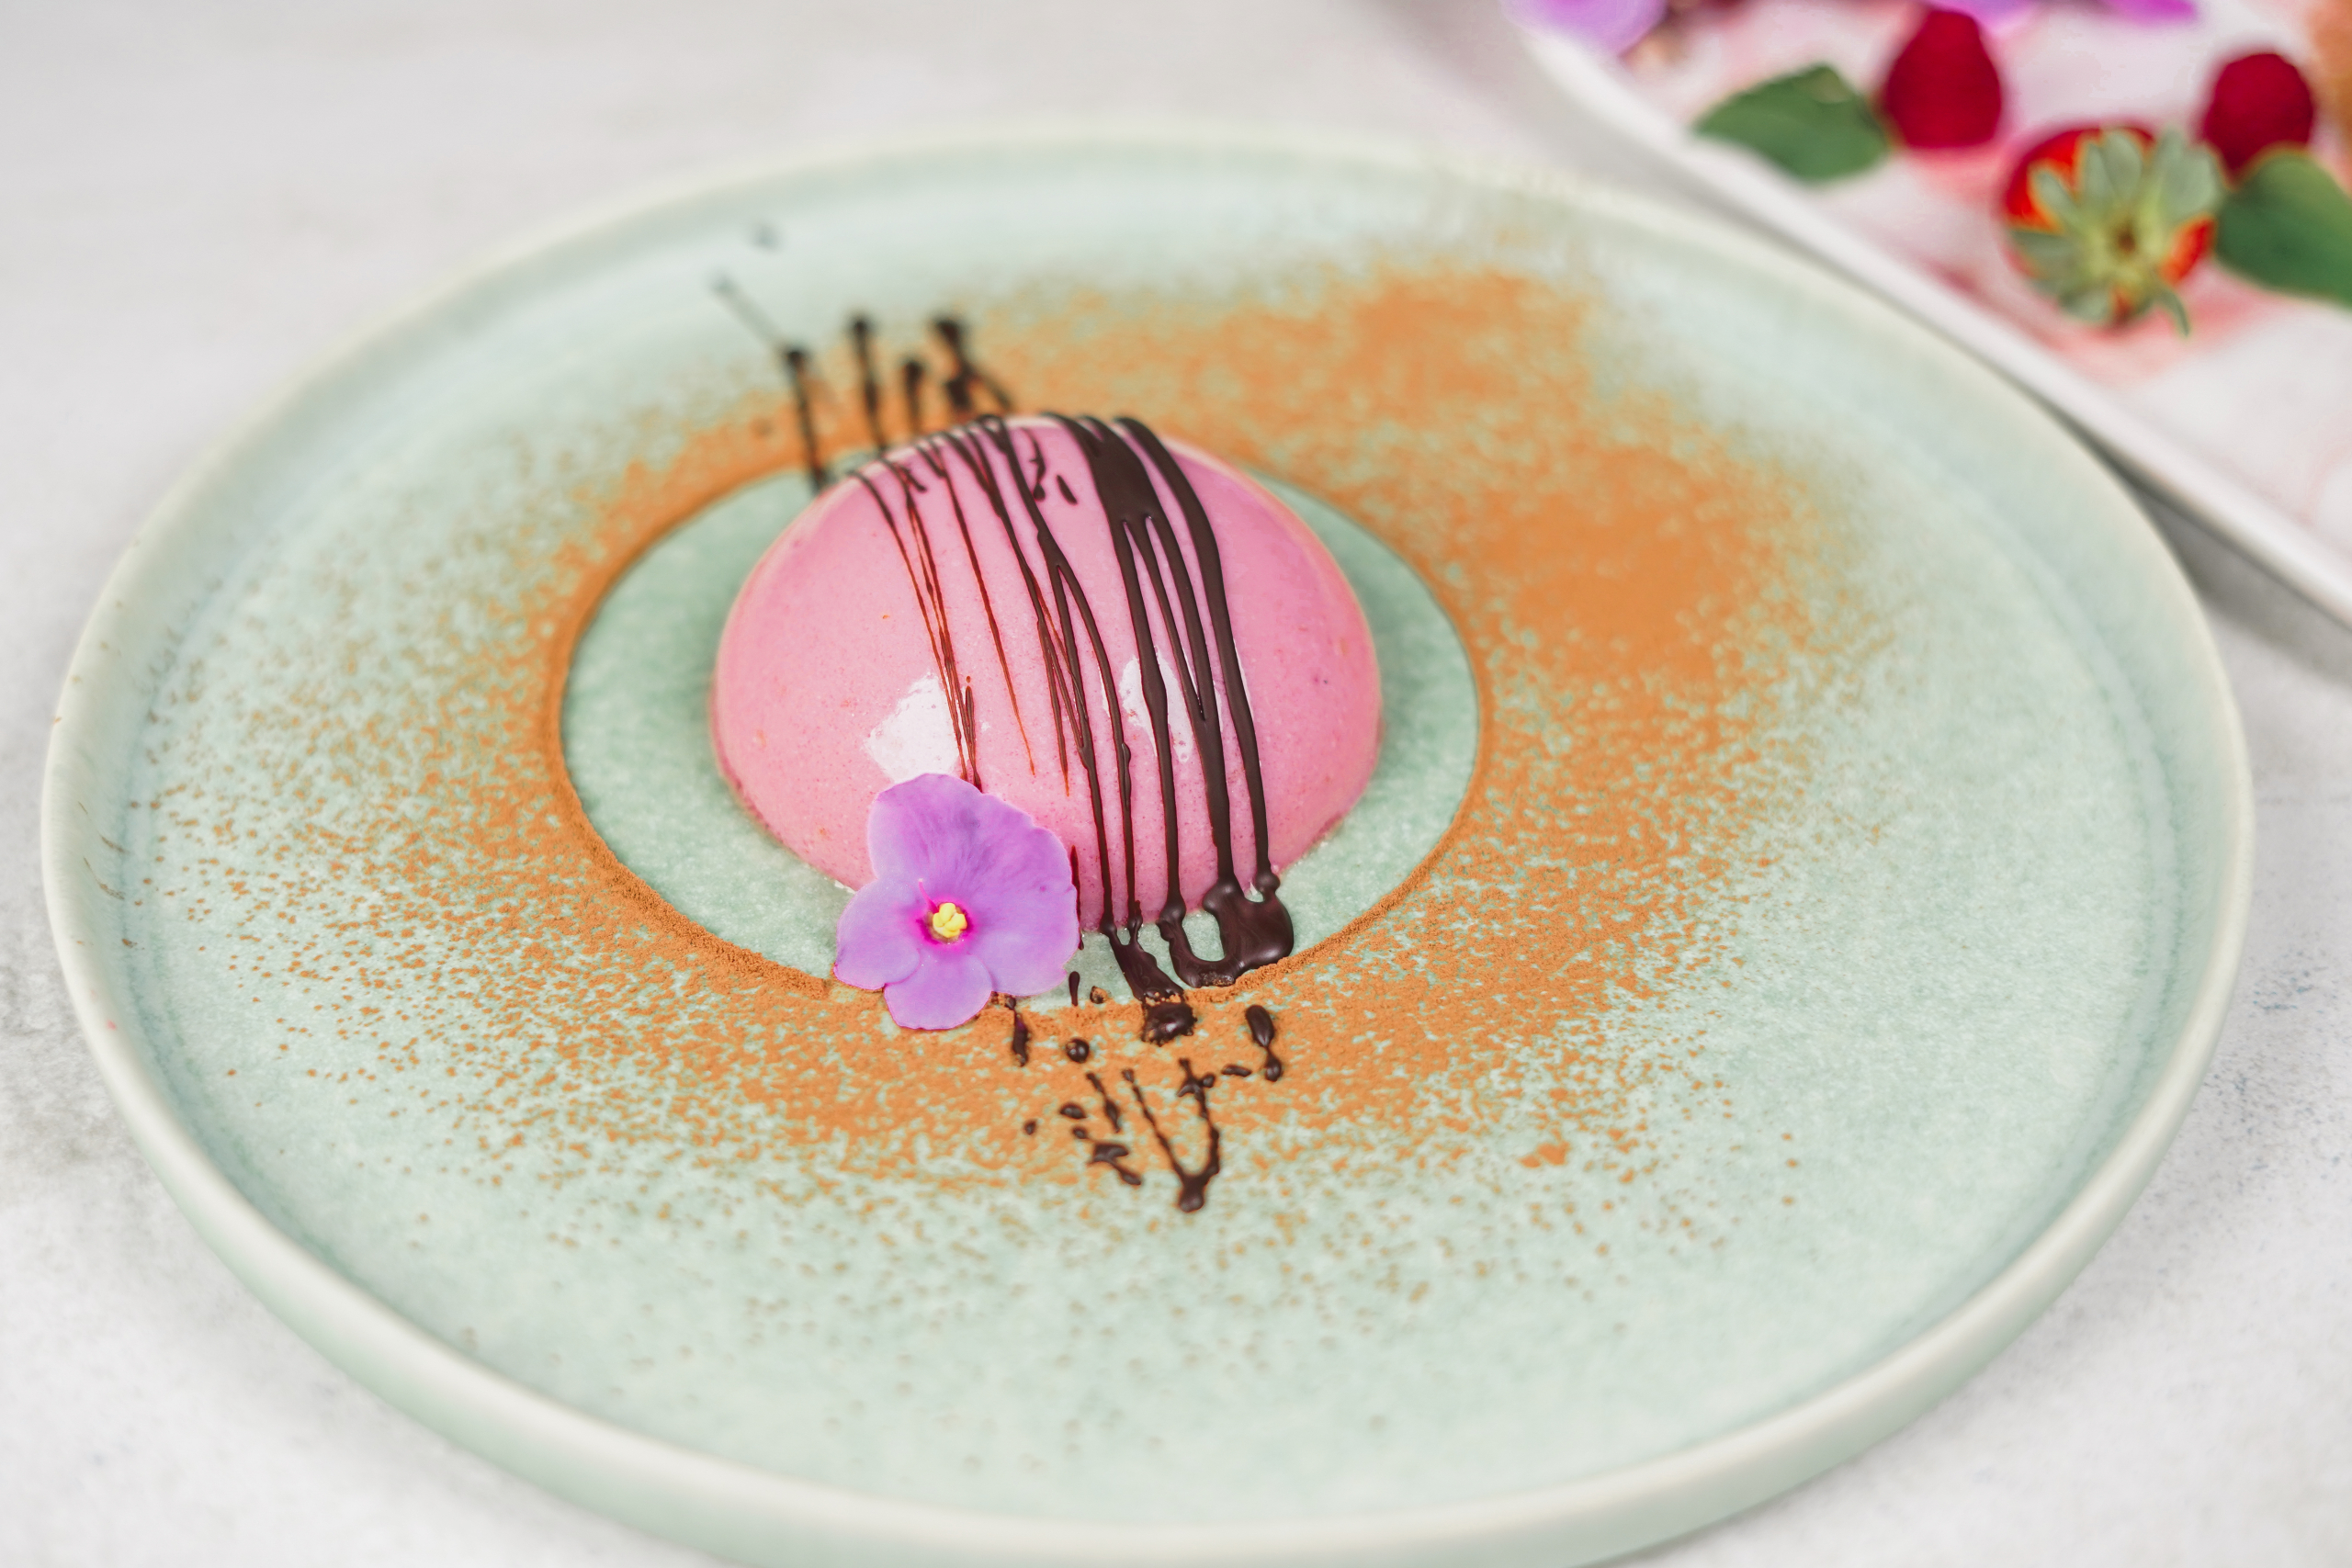
- To serve, unmold the panna cottas onto chilled plates and spoon that gorgeous raspberry coulis over the top. A few fresh berries make it look extra special.
Recipe 2: Vegan Raspberry Panna Cotta (Agar-Based)
This dairy-free version is firm, creamy, and bursting with integrated raspberry flavor.
Yields: 6 servings
Active Time: 25 minutes
Chill Time: 2 hours
- 400g Canned Full-Fat Coconut Milk
- 200g Unsweetened Almond or Soy Milk
- 100g Agave Nectar or Maple Syrup
- 200g Fresh or Frozen Raspberries
- 1 tsp Agar-Agar Powder
- 1 tsp Vanilla Extract
Let’s Make It:
- In a blender, combine all the ingredients: coconut milk, almond milk, agave, raspberries, and vanilla. Blend until perfectly smooth.
- For the best texture, strain the mixture through a fine-mesh sieve into a saucepan to get rid of the raspberry seeds.
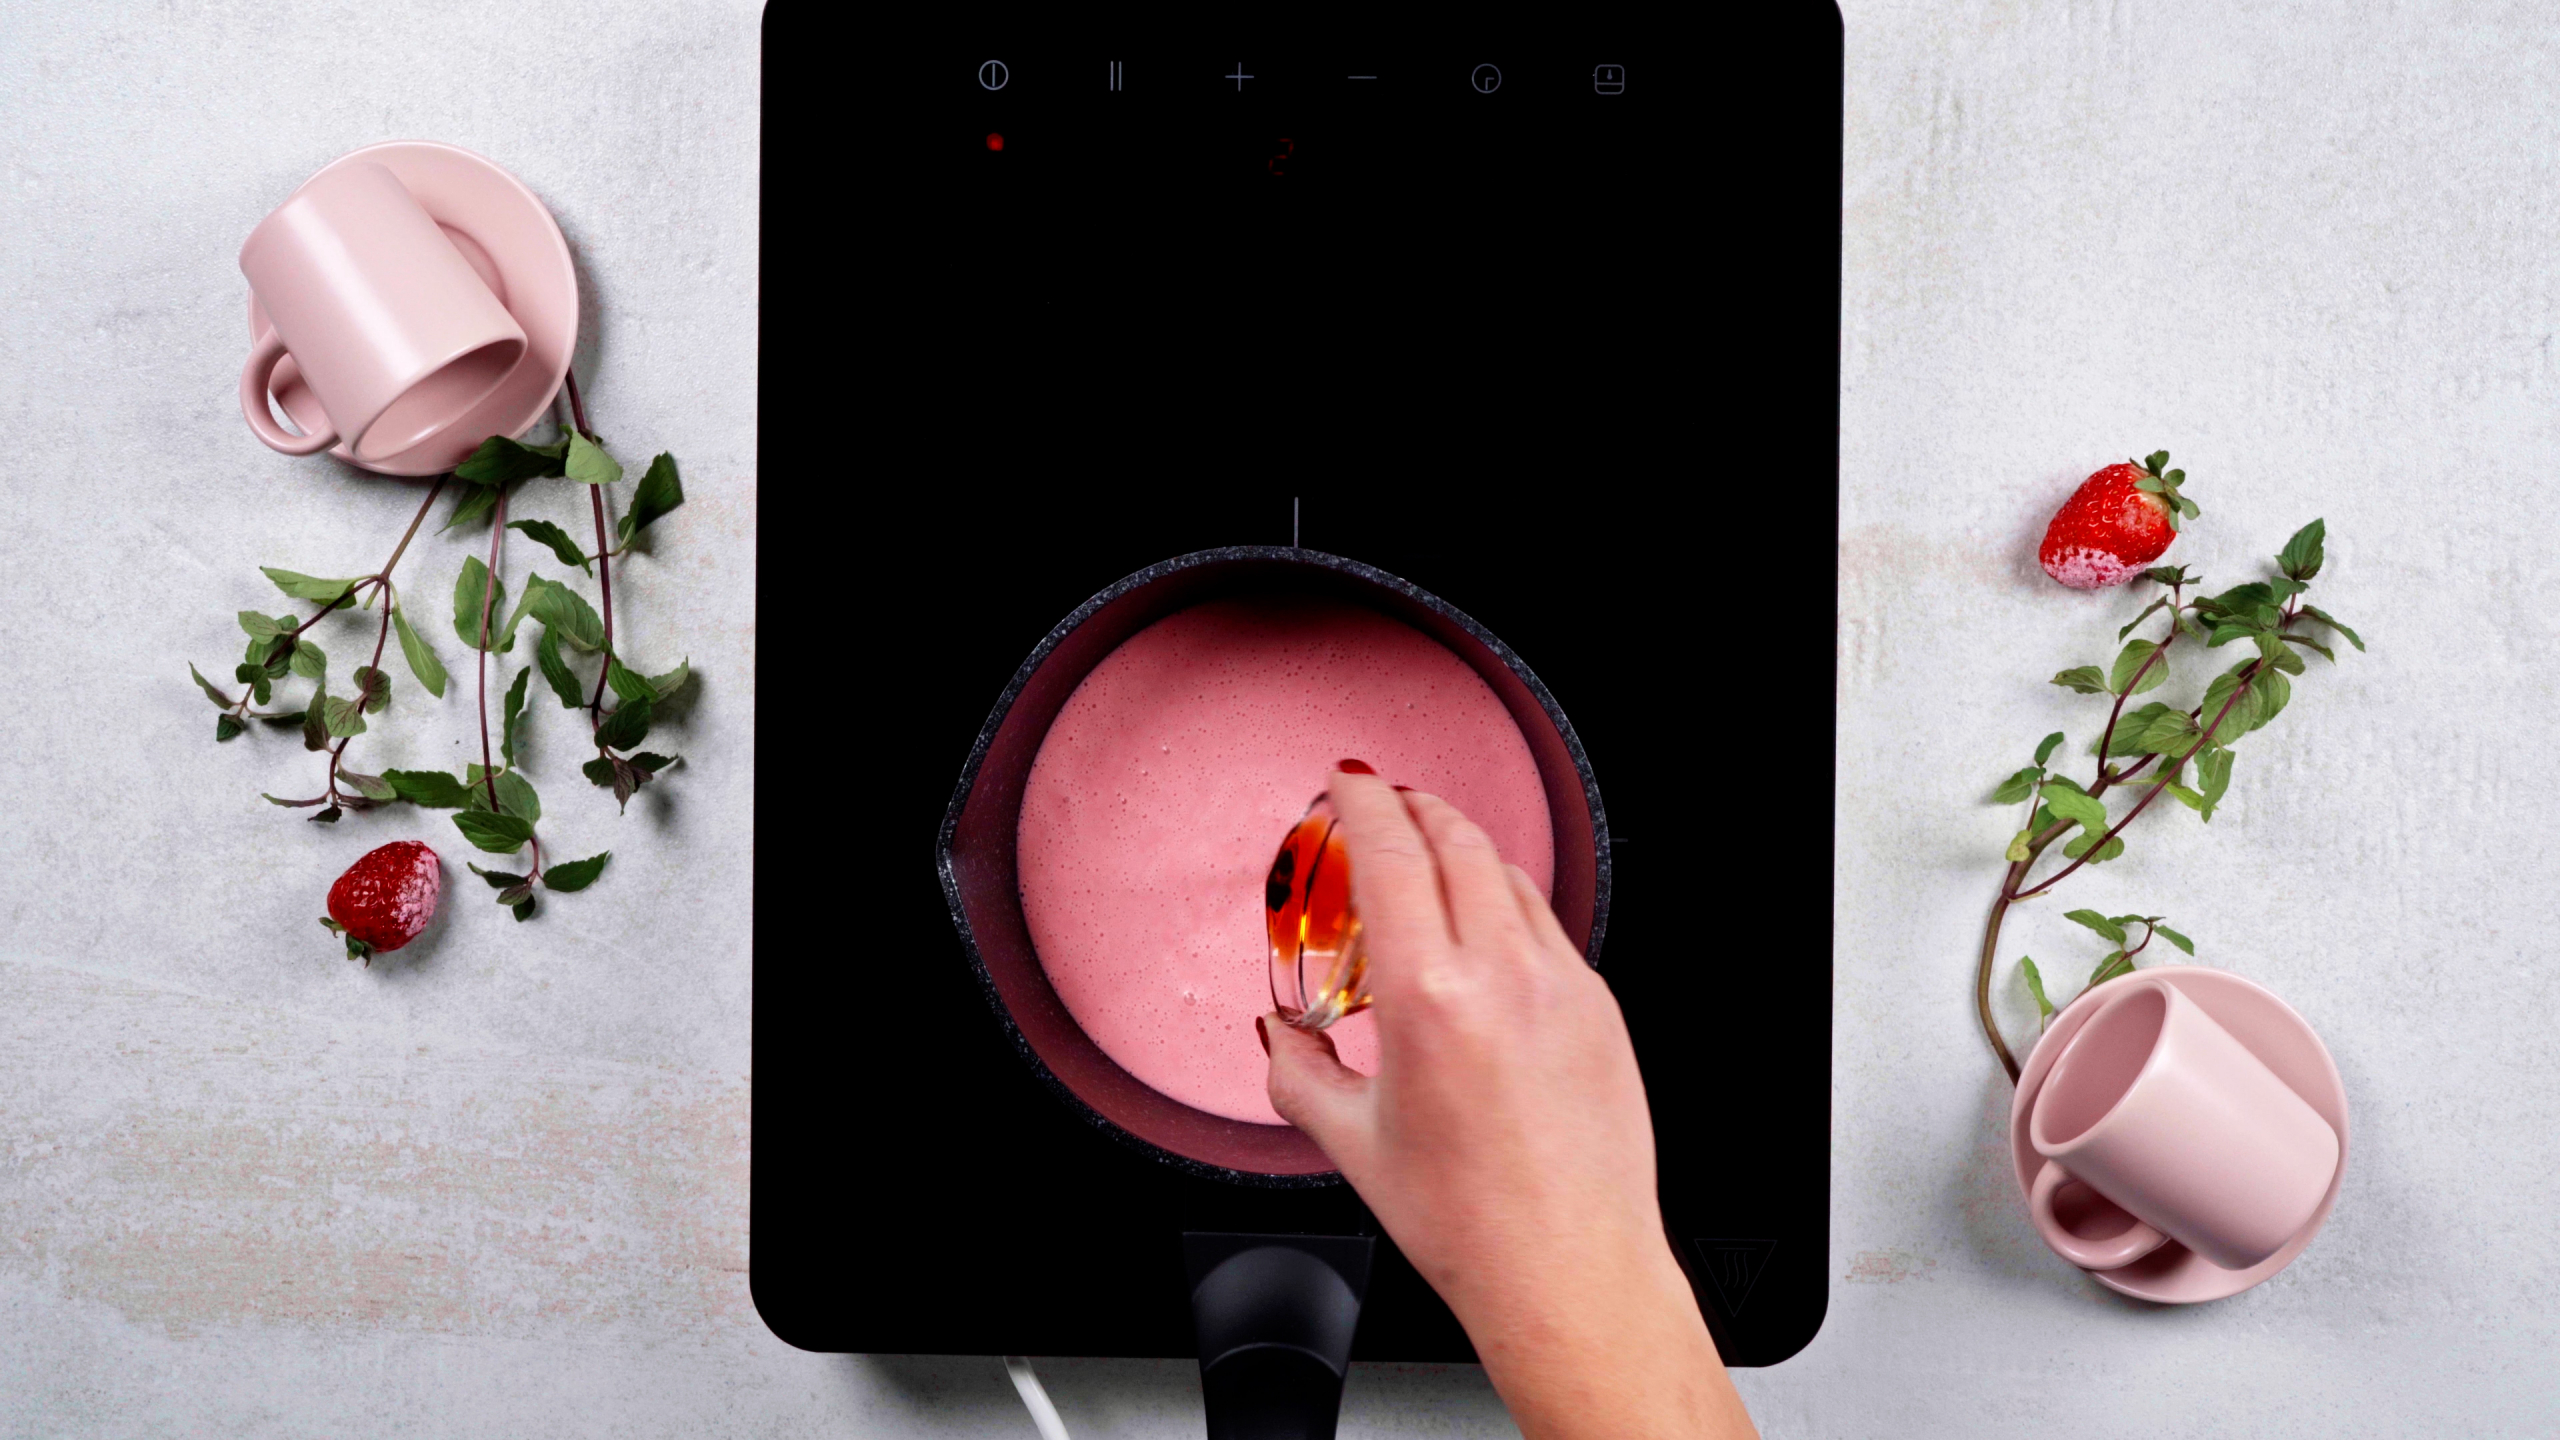
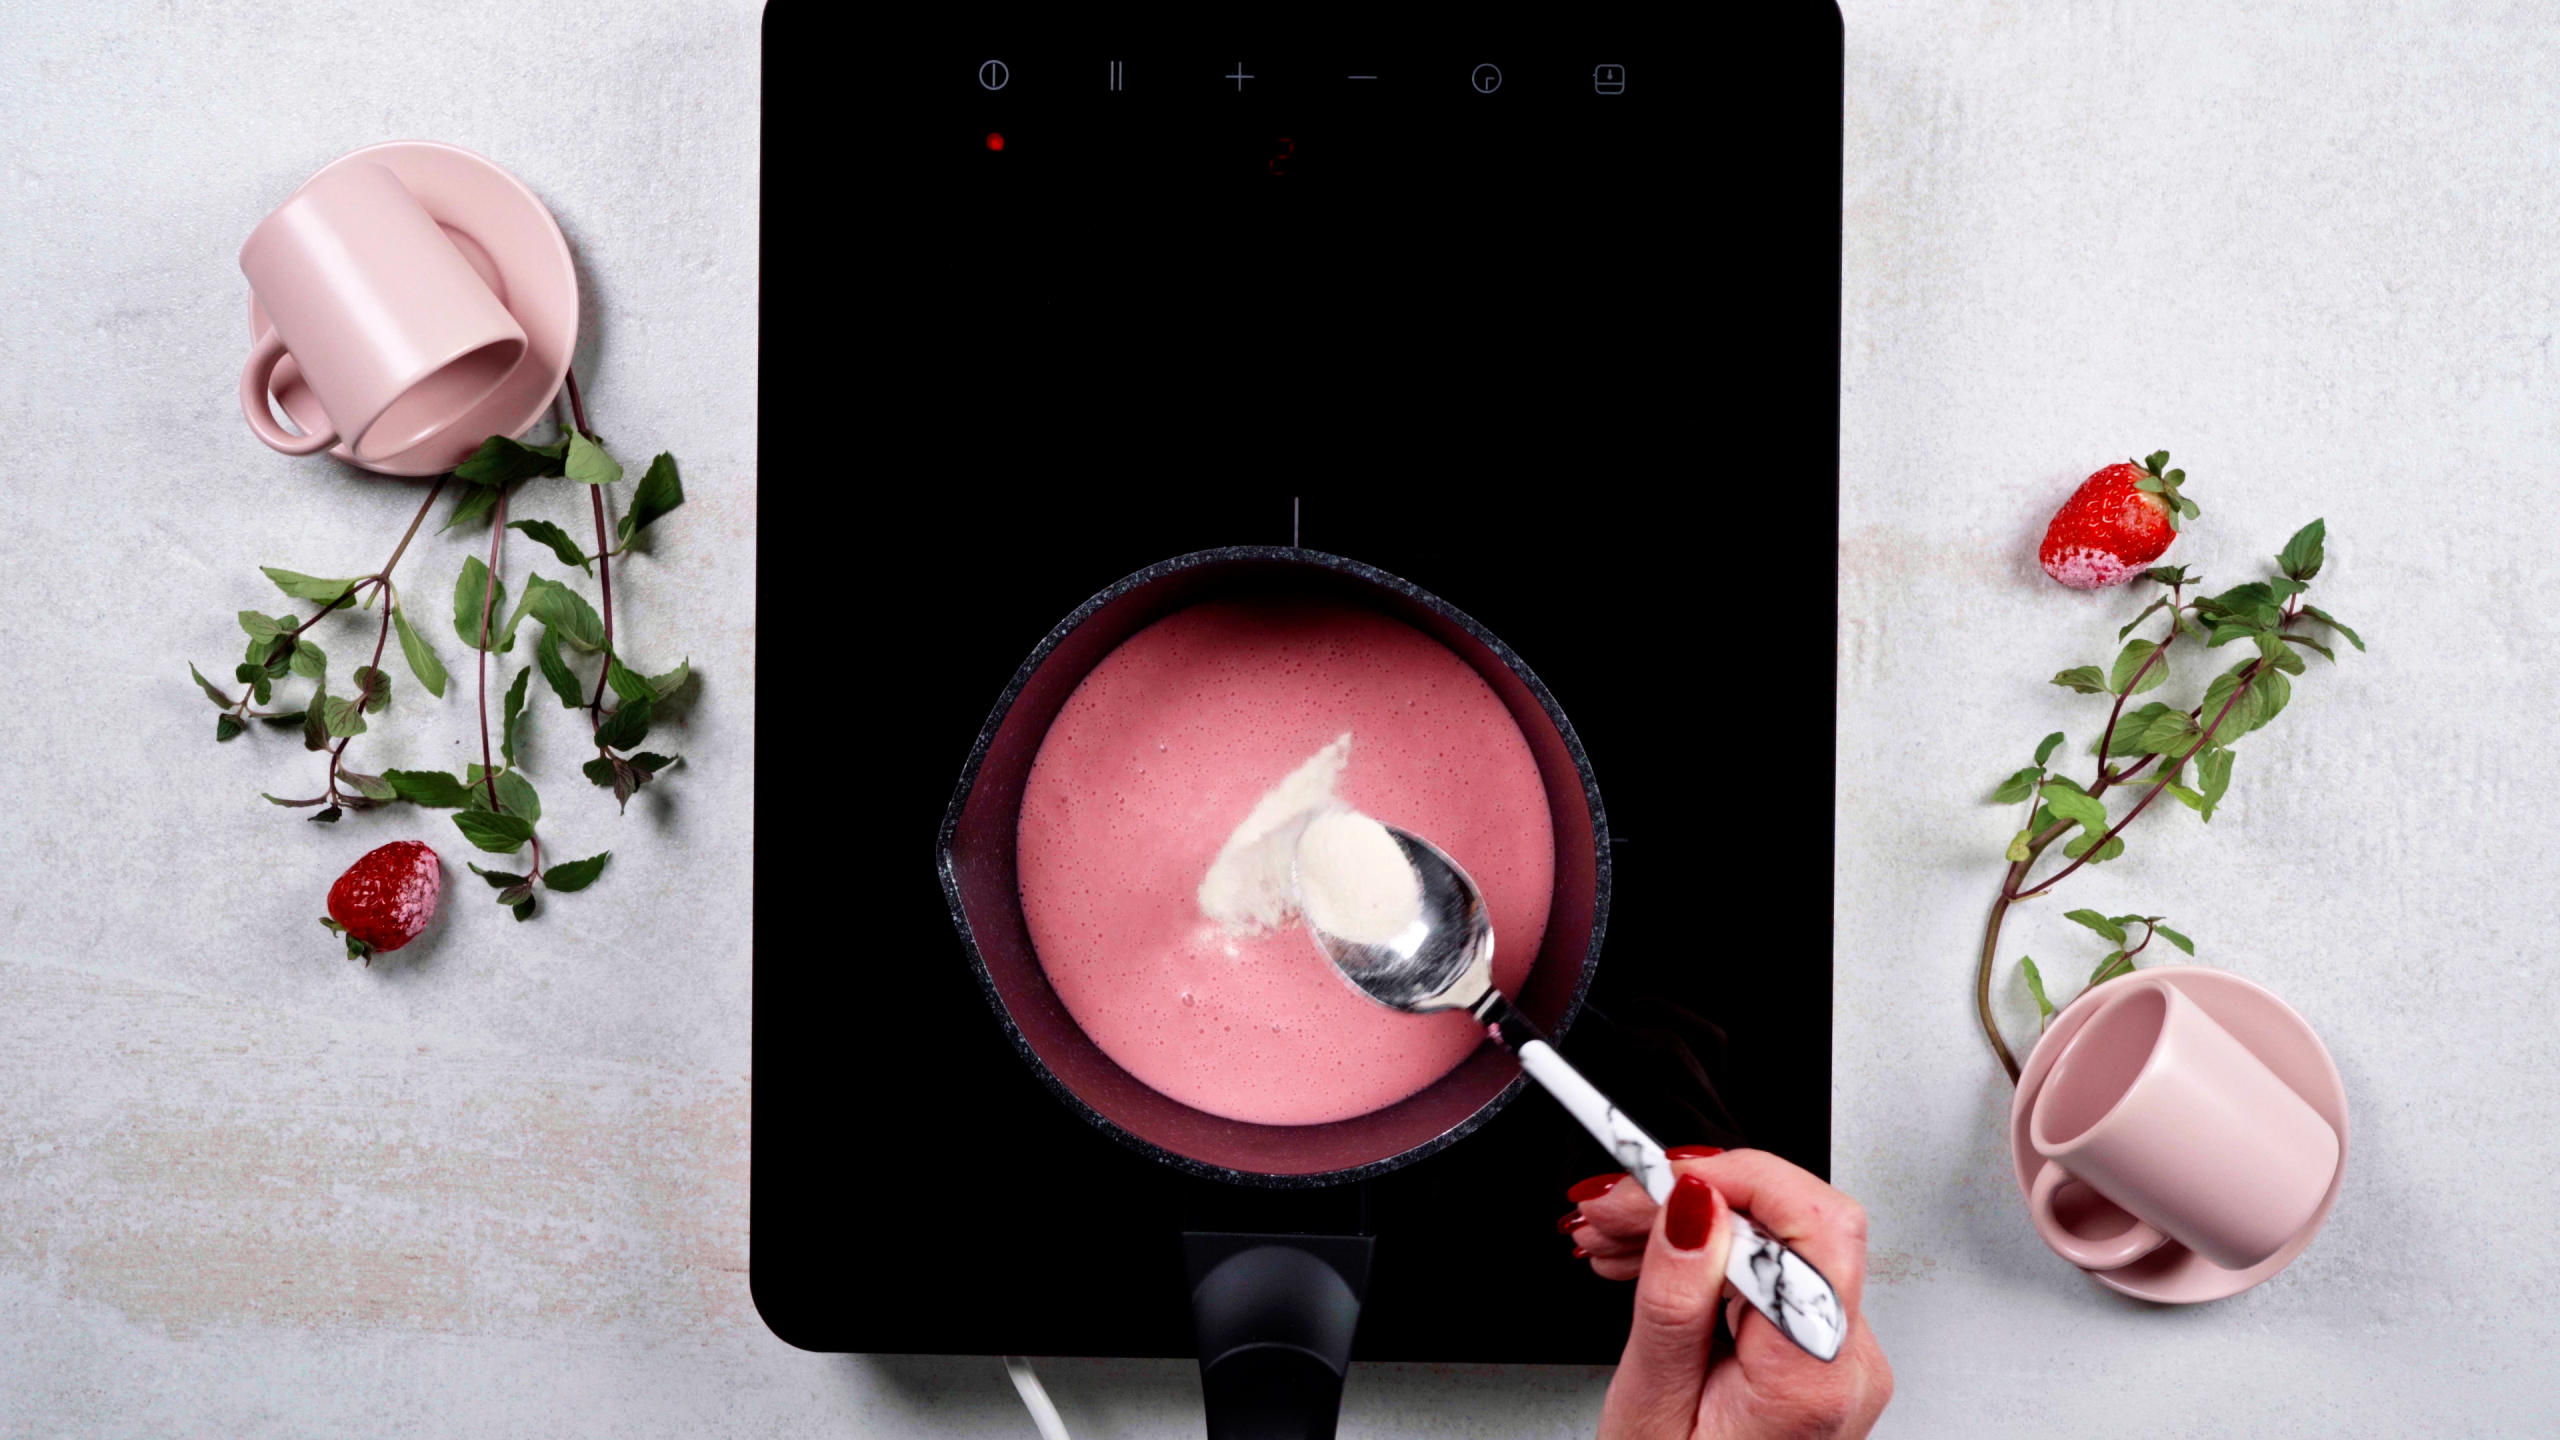
- Now for the crucial part: activate the agar. Whisk the agar powder into the cold mixture in the saucepan until it’s fully dispersed.
- Bring the mixture to a full, rolling boil over medium-high heat, whisking the whole time. Once it’s boiling, keep it boiling for 1-2 minutes. This is non-negotiable!
- Immediately pour the hot mixture into your molds. It will start to set pretty fast. Chill for at least 2 hours, or until completely firm. Unmold and enjoy!
Final Thoughts & Storing Your Masterpiece
A common question is, “how long does panna cotta last?” In the fridge, it’ll hold up beautifully for 3 to 4 days. In fact, it’s an ideal make-ahead dessert; we used to prep them a day or two in advance in the restaurant to let the flavors fully mature.
And what about freezing? My advice: don’t do it. Freezing destroys the delicate protein structure of the gel. When it thaws, it will separate and “weep,” leaving you with a grainy, watery mess. It’s best enjoyed fresh.
At the end of the day, trust the process. Pay attention to the details, weigh your ingredients, and you’ll be rewarded with a dessert that’s simple on paper but incredibly elegant in reality. It’s a true test of a cook’s touch, and one that’s so satisfying to master.
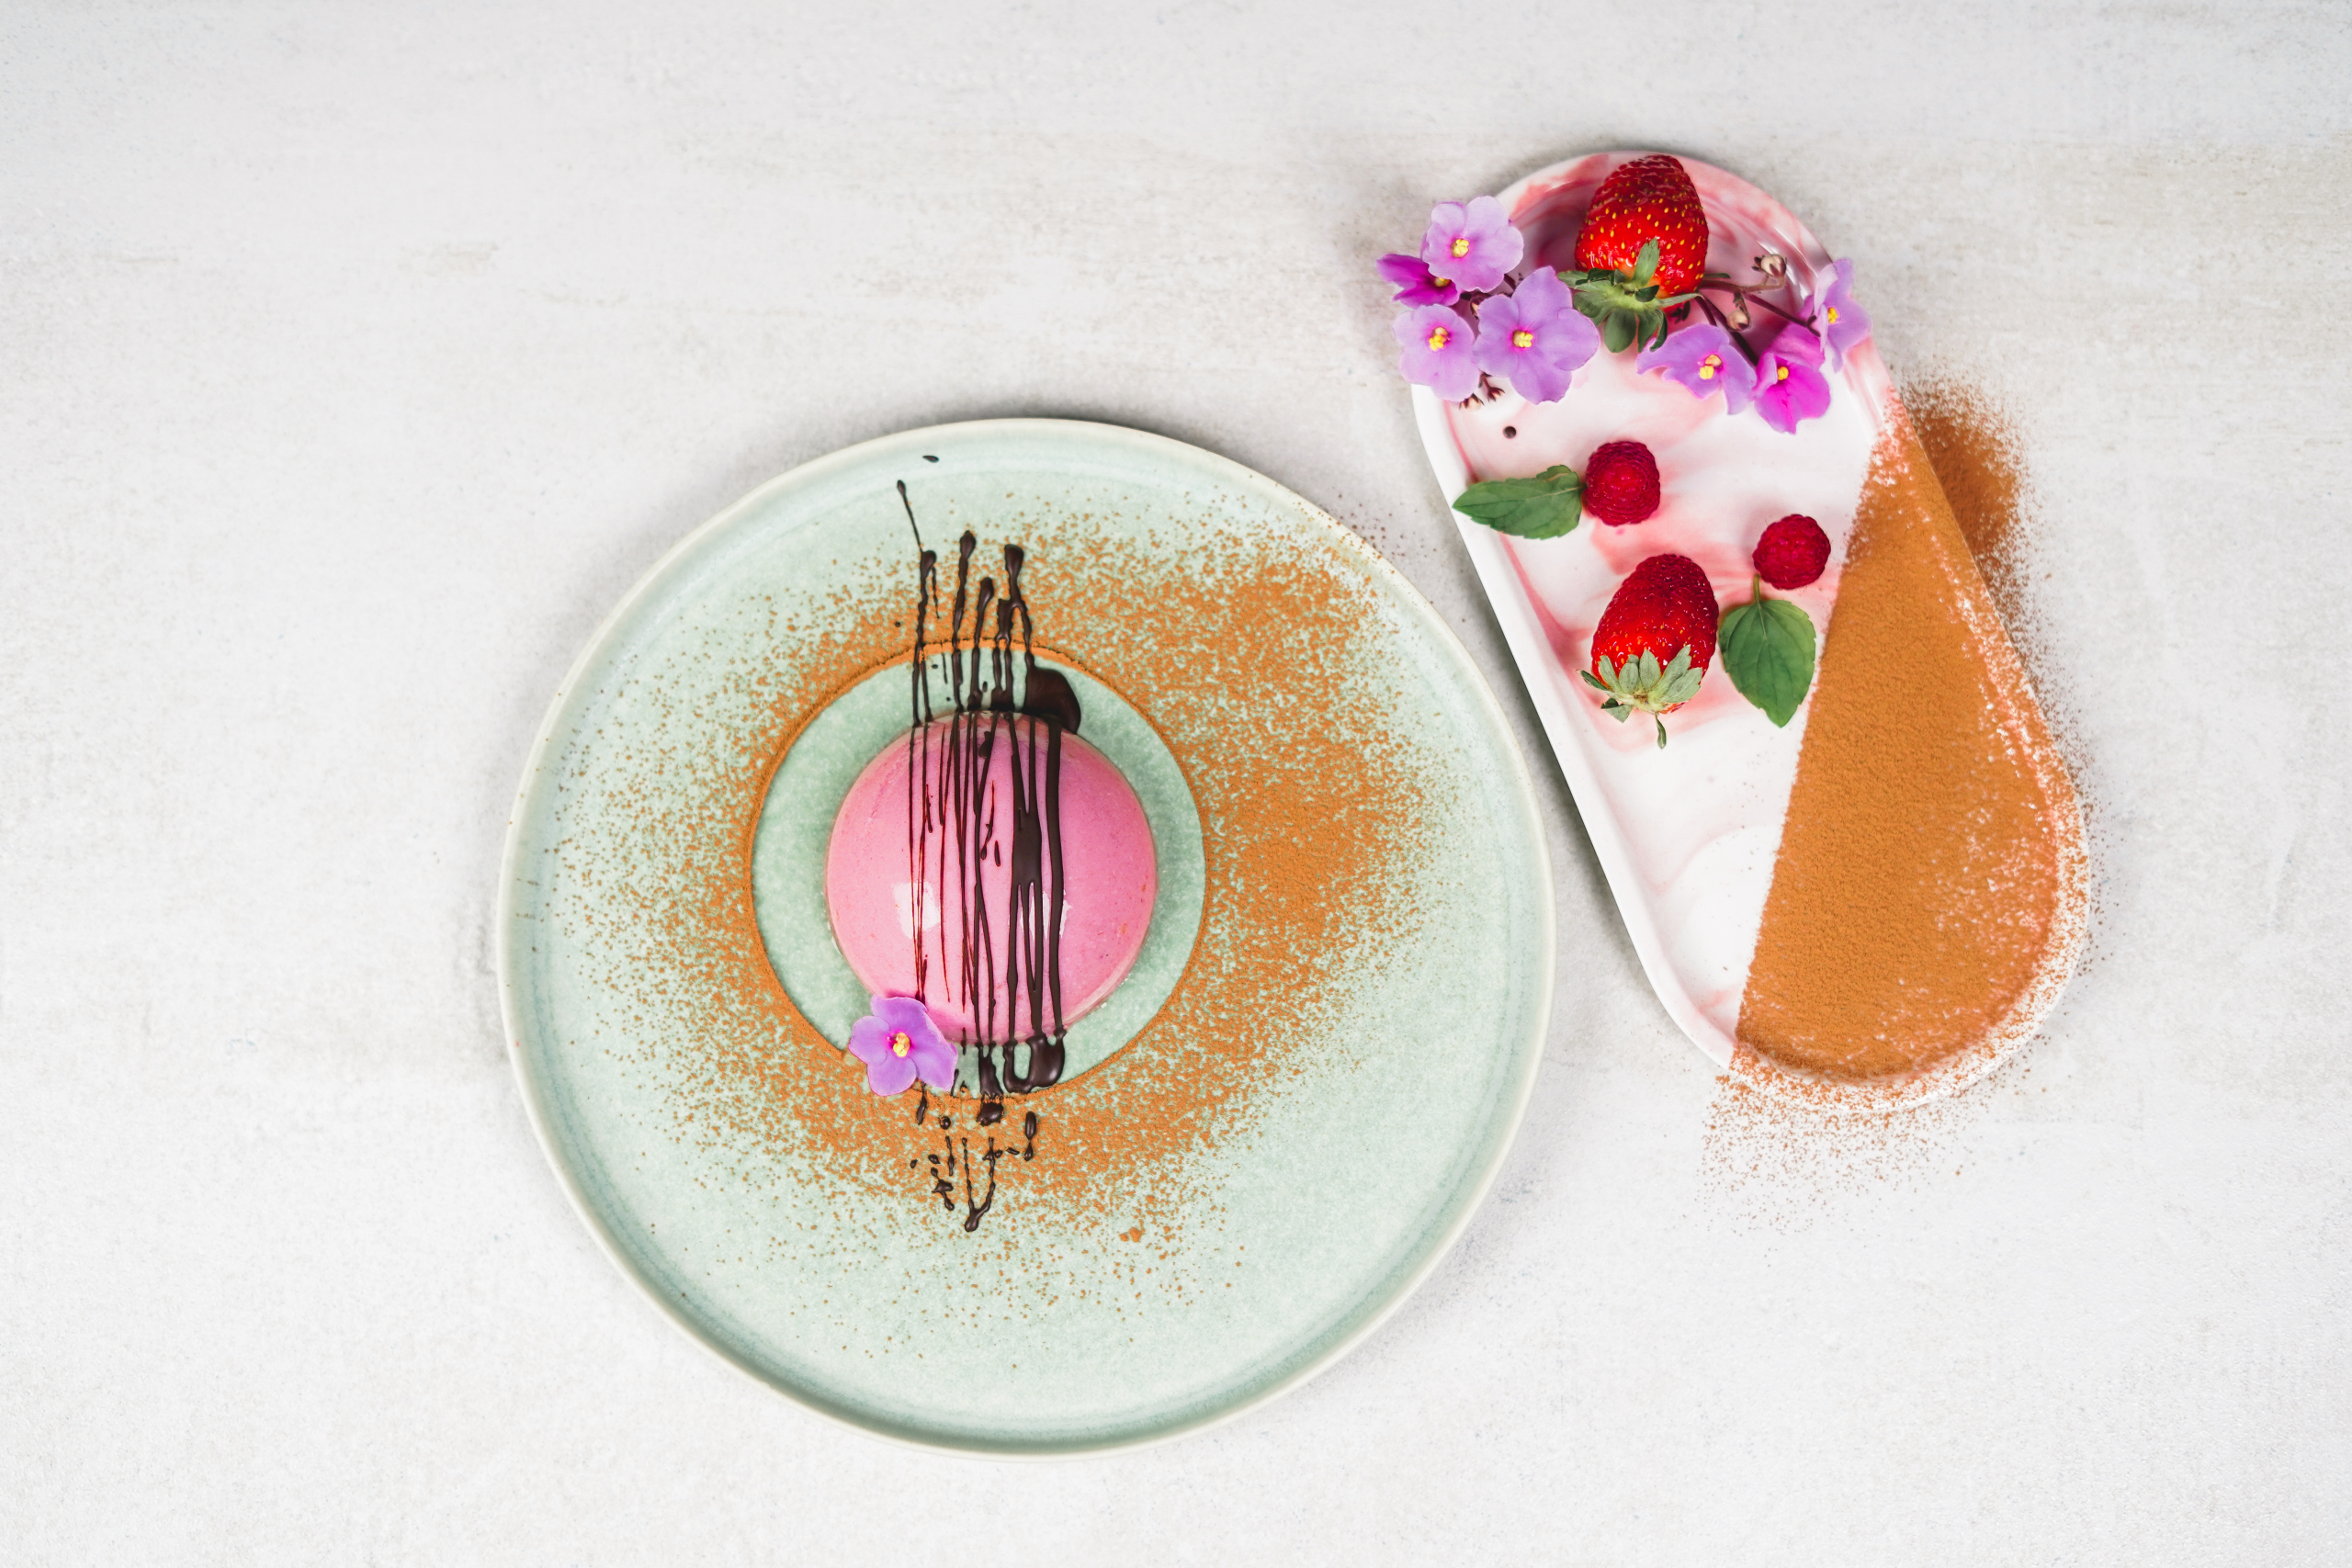
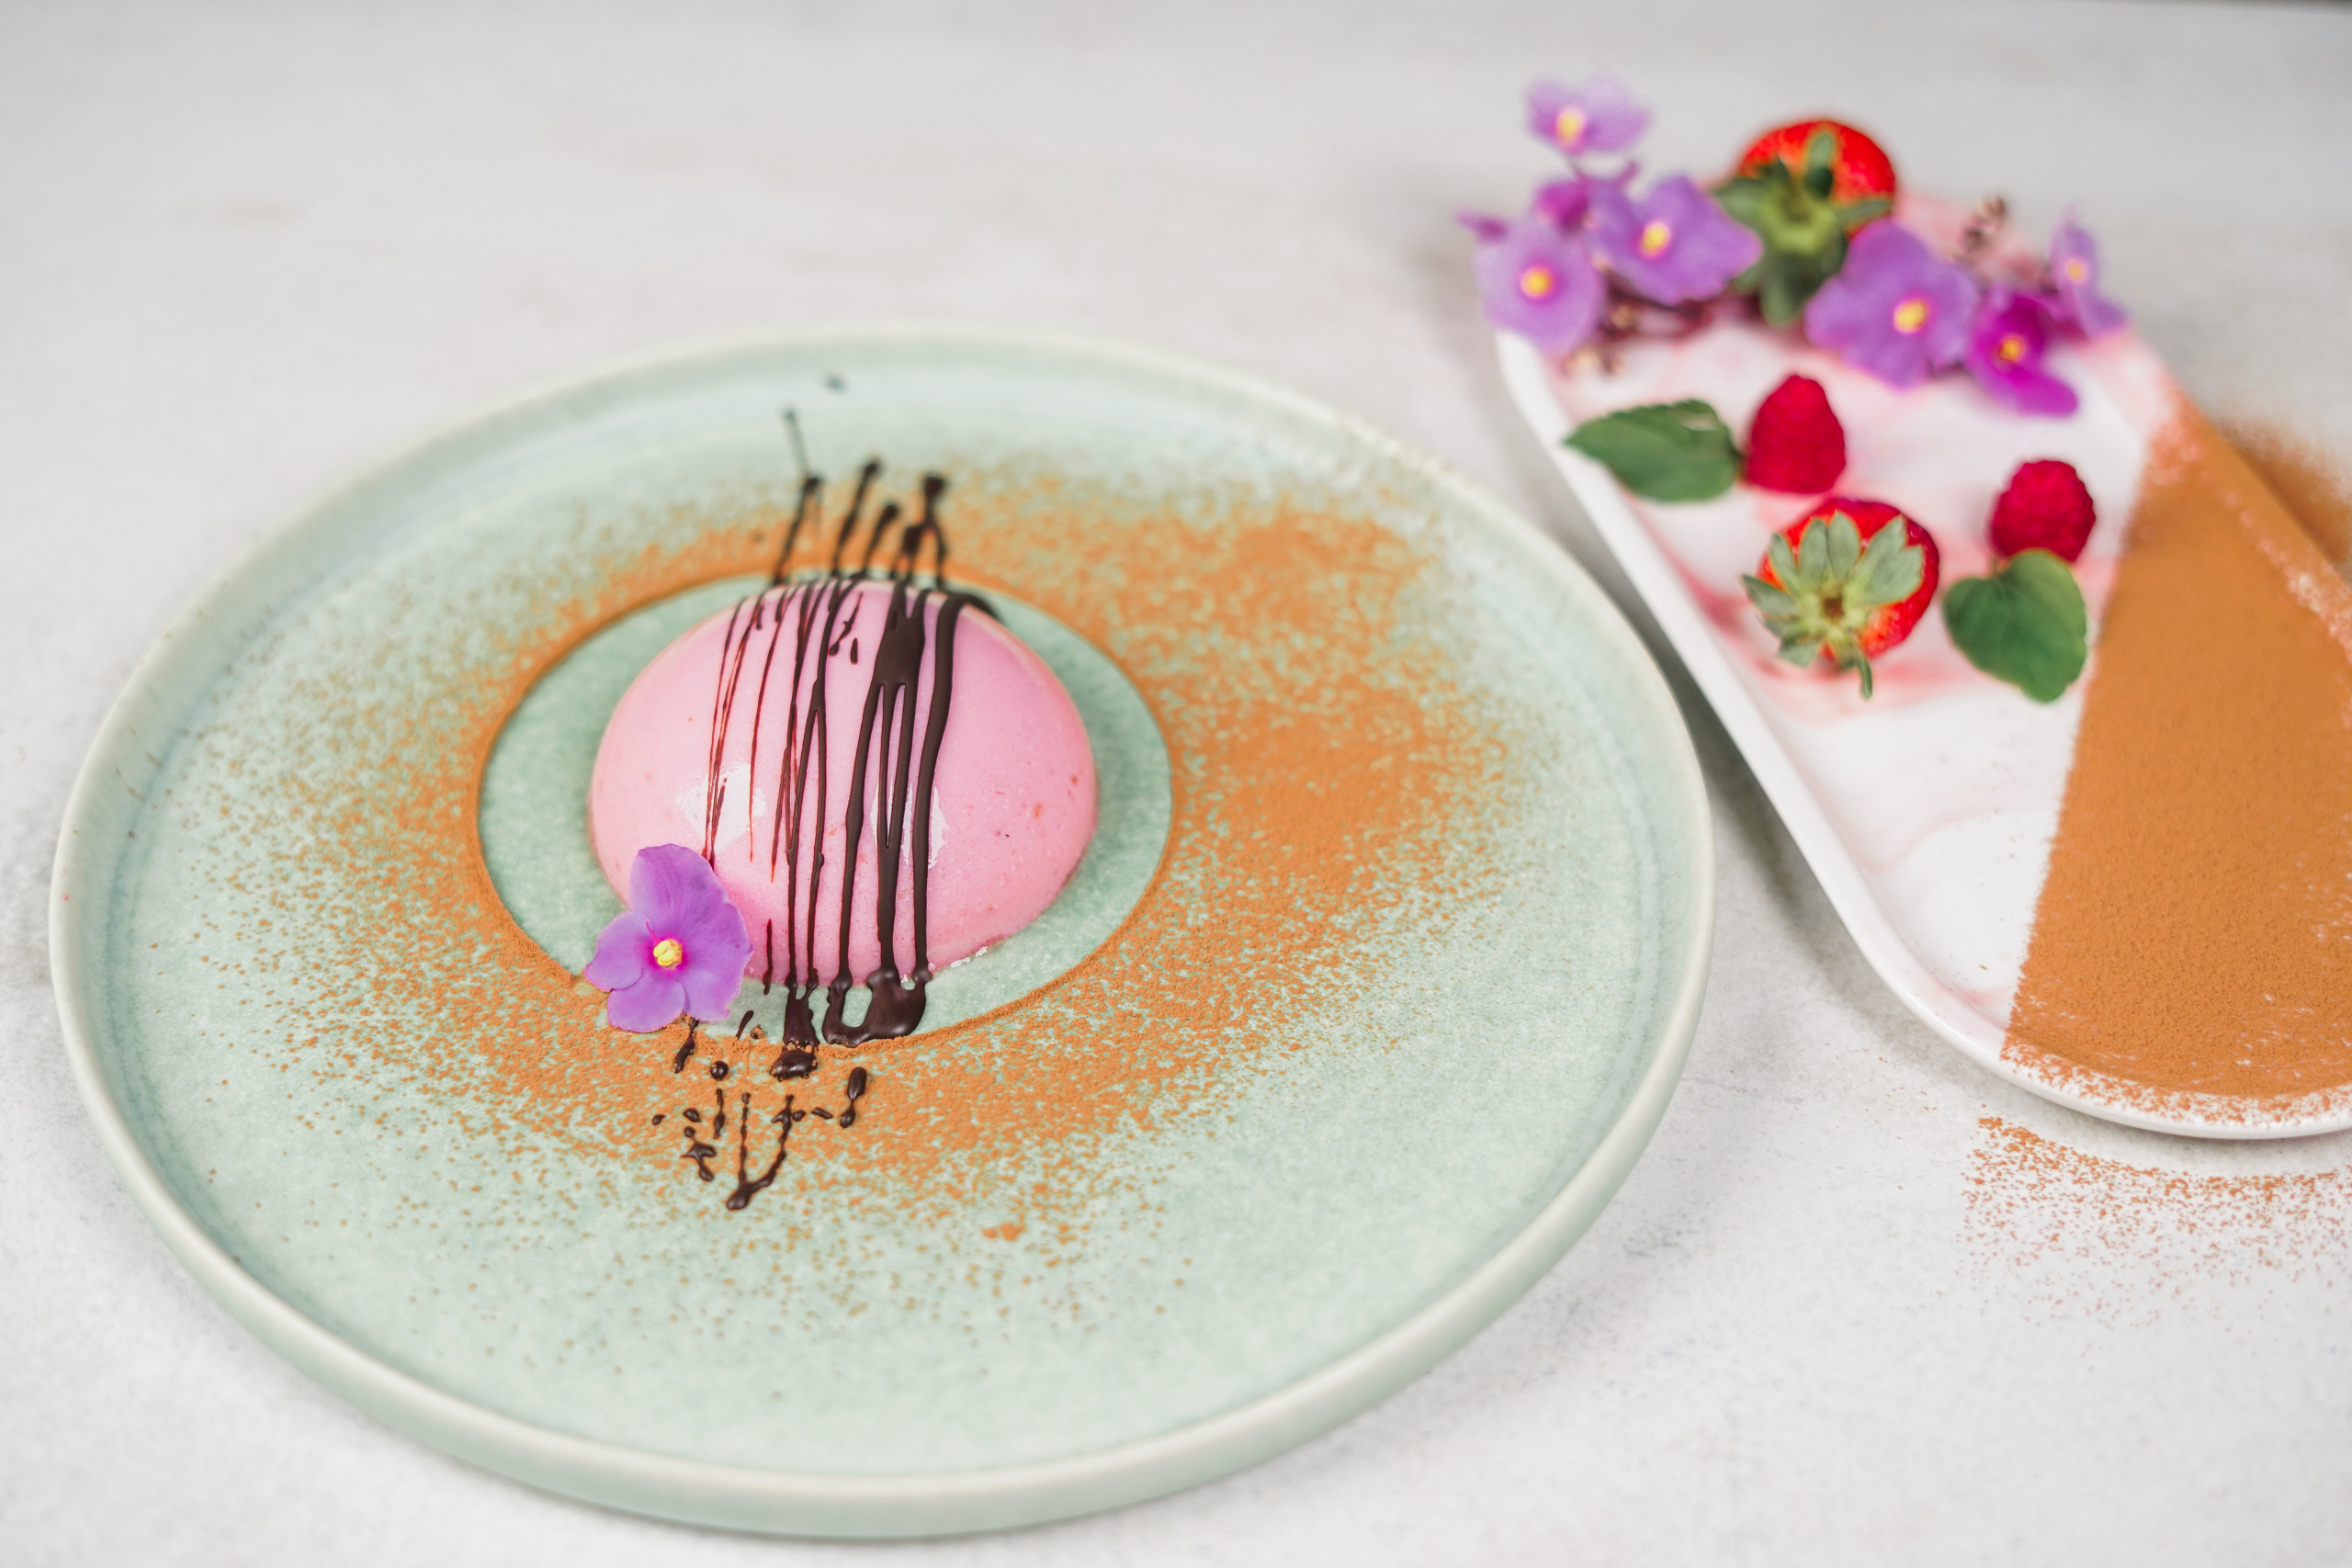
Inspirational Gallery
The perfect unmolding trick: To release your panna cotta flawlessly, dip the outside of the mold into a bowl of warm water for just 3 to 5 seconds. Don’t let any water get inside! Place your serving plate on top, invert both together, and give a gentle shake. It should slide out, preserving its delicate shape.
- A cloud-like, melt-in-your-mouth texture.
- A pure, clean dairy flavor that isn’t masked by excessive sweetness.
The secret? Using buttermilk for up to half of the cream. It introduces a subtle, elegant tang that cuts through the richness and lightens the entire dessert.
Why is my panna cotta grainy instead of smooth?
This is usually due to one of two things: your sugar didn’t fully dissolve, or the gelatin wasn’t completely melted and incorporated. Gently heat the cream and sugar, stirring until you can’t feel any granules. For gelatin, ensure it’s fully dissolved in the warm cream before you even think about chilling. That fine-mesh sieve the article mentions? It’s your best friend for catching any rogue bits.
Panna cotta’s birthplace is believed to be the Langhe region of Piedmont, Italy, an area famous for its wine, truffles, and rich culinary heritage. Originally, it was likely set using boiled fish bones.
Go beyond a simple fruit coulis. The best panna cotta is a canvas for textural contrast. Think about adding:
- A sprinkle of crunchy, salted pistachios or toasted almonds.
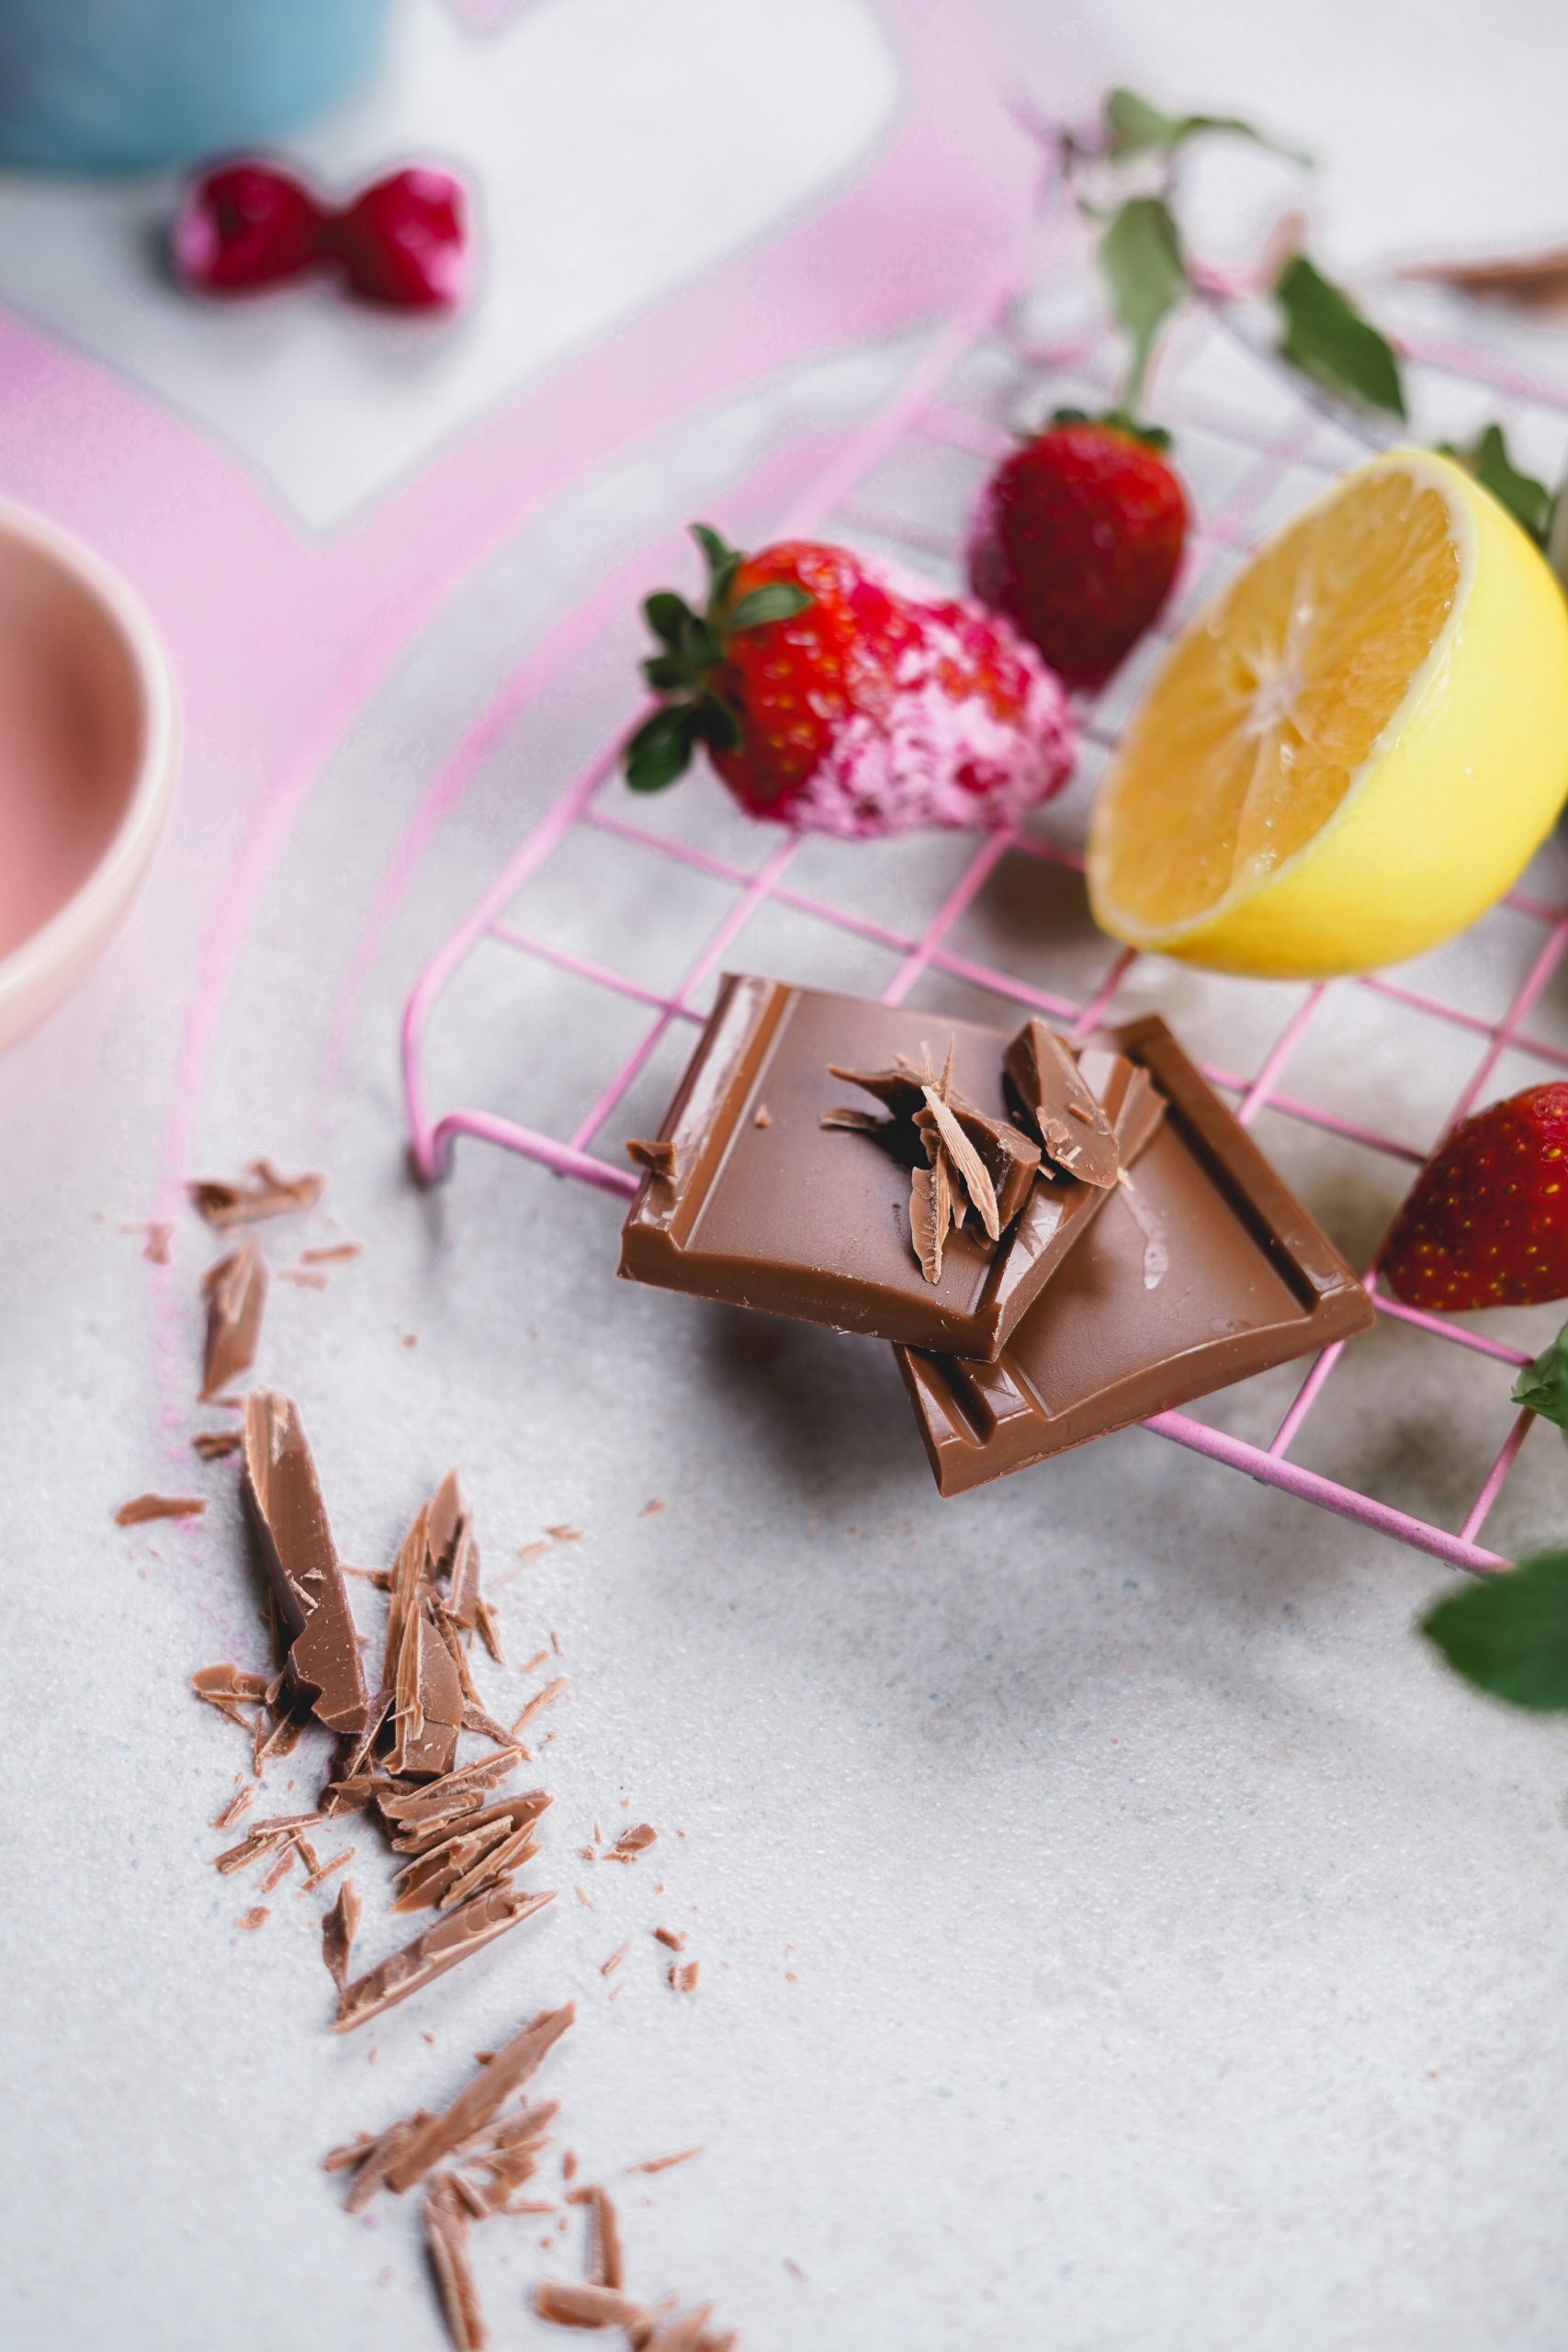
- Delicate, paper-thin shards of dark chocolate.
- A drizzle of high-quality, aged balsamic glaze for a sweet-sour kick.
- Finely grated lemon or orange zest for a burst of fresh aroma.
Gelatin Sheets vs. Powdered Gelatin: While both work, many pastry chefs prefer sheets. They provide a clearer, more refined result with less potential for a slightly ‘animal’ flavor. A brand like Knox is the standard for powdered gelatin, while silver or gold grade sheets are the professional’s choice. Remember to always check the ‘bloom’ strength, as it dictates gelling power.
A study in the Journal of Food Science found that the perception of creaminess is directly linked to fat content, but also to an ultra-smooth consistency, free of any perceptible granules.
This confirms why obsessing over texture is key. Using a high-fat cream (at least 35%) provides the luxurious mouthfeel, while meticulous technique—straining the mixture, gentle heating—delivers that signature silky smoothness that defines a perfect panna cotta.
A crucial point: Never, ever boil the cream mixture once the gelatin has been added. Boiling can denature the gelatin proteins, weakening their setting power. You want to warm the cream just enough to dissolve the sugar and melt the bloomed gelatin—think steamy, not bubbling.
The next frontier for panna cotta is savory. Imagine a parmesan panna cotta served with a balsamic-roasted tomato, or a goat cheese version topped with fig jam and prosciutto. The same principles of creaminess and a delicate set apply, but the flavor profile shifts from dessert to an elegant appetizer.
Your choice of ramekin subtly influences the experience. Classic fluted porcelain ramekins from a brand like Apilco offer a traditional look. Straight-sided glass vessels (like Duralex glasses) create a modern, clean presentation, allowing you to see the perfect creaminess even before the first spoonful.
Infusing the cream is where you can truly get creative. Before adding the gelatin, gently warm the cream with your chosen aromatic for 15-20 minutes, then strain. Try these combinations:
- For a floral note: A few sprigs of fresh lavender or a tablespoon of dried rose petals.
- For a cozy spice: A stick of cinnamon and a star anise.
- For a modern twist: Two bags of Earl Grey tea for a bergamot-infused delight.
For a vegan alternative that doesn’t sacrifice creaminess, full-fat coconut milk is your best ally. Its high fat content mimics dairy cream beautifully. Pair it with agar-agar, as mentioned in the article, and you’ll get a slightly firmer but equally delicious result. A coconut-lime panna cotta is a guaranteed crowd-pleaser.


