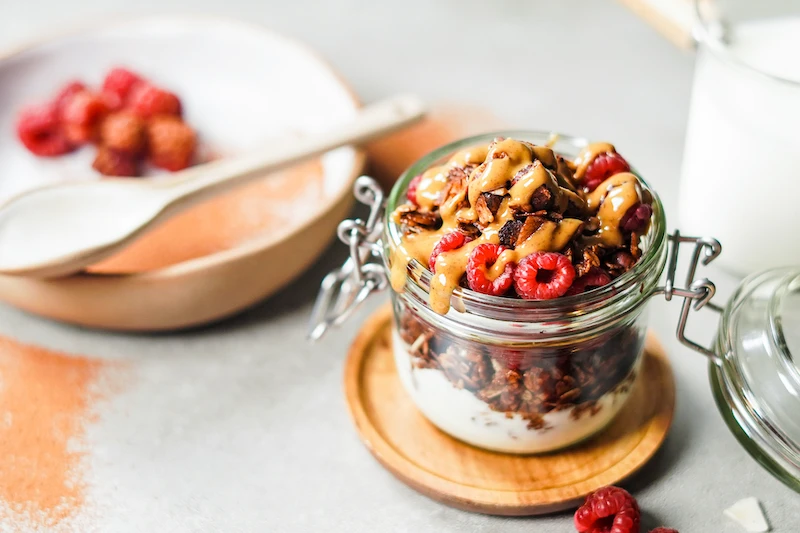
Finally, Homemade Granola With Big, Crunchy Clusters: The Pro Method
I’ve spent a lot of time making granola. It all started in a small bakery where the smell of toasted oats and cinnamon was just part of the Tuesday morning routine. My mentor there taught me that great granola isn’t just a jumble of good ingredients; it’s a science project you can eat. Since then, I’ve made literally thousands of pounds of the stuff for cafes, and I’ve seen every possible mistake.
In this article
And honestly, the biggest mistake is treating it like trail mix. You know, just tossing everything in a bowl, throwing it in the oven, and hoping for the best. That’s a recipe for sad, crumbly, and often burnt granola.
But the good stuff? The granola with those big, crunchy clusters and a deep, toasty flavor? That doesn’t happen by accident. It’s all about technique. So let’s skip the fluff and get right into the methods the pros use, so you can stop making mediocre granola and start making something truly exceptional. We’ll cover the science, the secrets to getting those clusters, and how to make sure your hard work actually stays fresh.
Oh, and by the way, making it yourself is a huge money-saver. A batch from this recipe costs around $8-$10 to make, depending on your nuts, and yields way more than a tiny $15 bag of the fancy stuff from the store.
First, A Little Kitchen Science
To get great results, you have to understand what’s actually happening on that baking sheet. It’s a tag team of two reactions: the Maillard reaction and caramelization. They sound fancy, but they’re pretty simple to grasp.
The Maillard reaction is what creates that deep, nutty, toasty flavor. It’s a chemical dance between the proteins (in the oats and nuts) and the sugars (from your maple syrup or honey). It’s the same magic that browns bread or sears a steak. For this to happen properly, you need moderate heat.
Caramelization, on the other hand, is just the browning of sugar. When the liquid in your syrup cooks off, the sugar starts to break down, creating those classic caramel and toffee notes. This is also what acts as the delicious glue holding your clusters together.
So, what’s the magic number for your oven? Around 320°F (or 160°C) is the sweet spot. If you go too low, you’ll just dehydrate the oats without developing any flavor. Too high, and the sugar will burn before the oats have a chance to toast, leaving you with a bitter granola that’s somehow still raw-tasting on the inside. No, thank you.
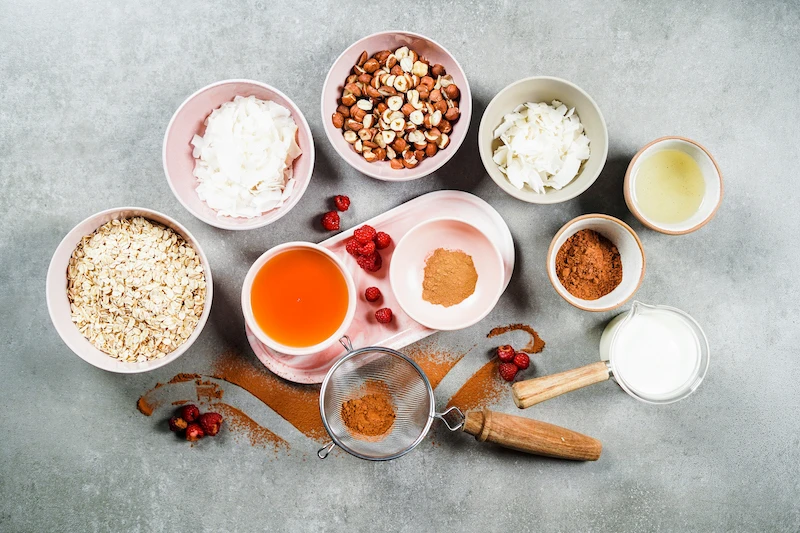
Let’s Talk Gear and Must-Have Ingredients
Before we get to the recipe, a few things are non-negotiable. Don’t skip these!
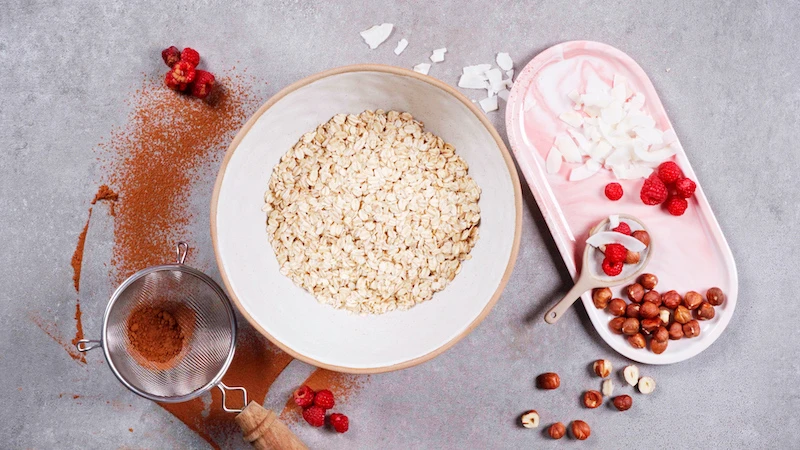
- Old-Fashioned Rolled Oats: Seriously, this is the only choice. Not quick-cook oats (they’ll turn to mush) and definitely not steel-cut oats (they’ll stay hard as little rocks). You need the classic rolled oats for that perfect chewy-but-crisp texture.
- A Kitchen Scale: This is the single most important tool for consistency. A cup of oats can vary in weight by a surprising amount depending on how you pack it. A digital kitchen scale (you can get one for about $15 online) removes all the guesswork and ensures your wet-to-dry ratio is perfect every time.
- An Oven Thermometer: Here’s a hard truth: your oven is probably lying to you. Most are off by 25 degrees or more. An $8 oven thermometer that hangs from the rack is the difference between success and failure. Don’t skip this!
- A Rimmed Baking Sheet: You’ll want a standard half-sheet pan. The rim is absolutely crucial for keeping the melted fat and sugar on the pan and not all over the bottom of your oven.
A Quick Word on Fats
Fat is more than just a binder; it helps everything toast evenly and creates a crisp texture. Your choice of fat makes a big difference in the final product. There’s no single best option, just different results:
- Melted Butter: This gives you that classic, rich bakery flavor. It’s a fantastic choice for a comforting, traditional-tasting granola.
- Coconut Oil: This is my go-to for incredible crispness. The flavor is mild and it creates a wonderfully light, shattering texture when the granola cools.
- Light Olive or Avocado Oil: If you want the flavor of the nuts and spices to be the star of the show, a neutral oil is the way to go.
For what it’s worth, I often use a 50/50 mix of melted unsalted butter and coconut oil to get the best of both worlds—rich flavor and ultimate crispness.
The Method for Big, Crunchy Clusters
Alright, let’s get down to business. This is where the magic happens.
Step 1: The Mix-Up
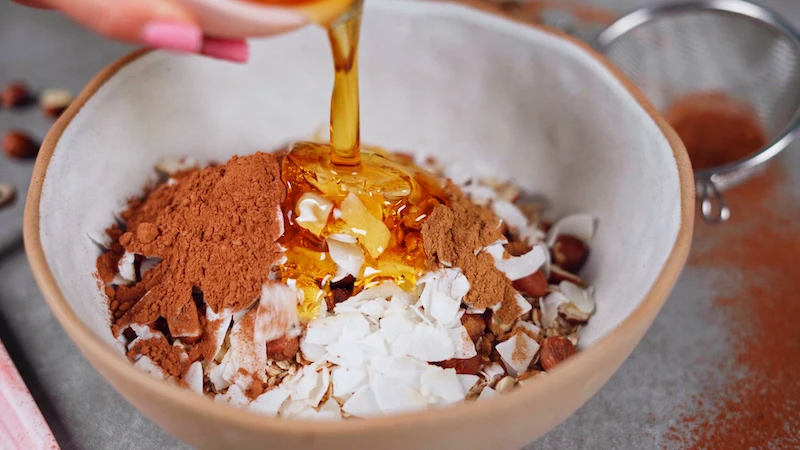
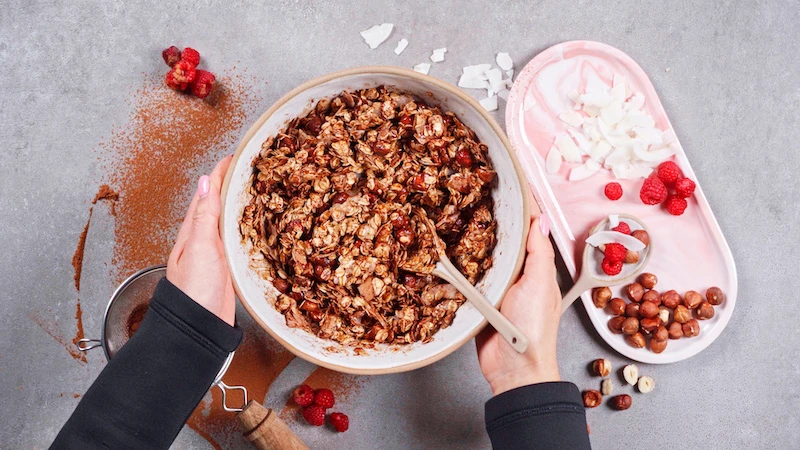
Don’t just dump everything in a bowl. First, whisk all your dry ingredients together in a large bowl—oats, nuts, seeds, salt, spices. Get them fully combined. In a separate, smaller bowl, whisk your melted fat, liquid sweetener, and any extracts. Then, pour the wet over the dry and use a flexible spatula (or your hands!) to mix until every single oat is damp. No dry spots allowed!
Step 2: The Press-Down
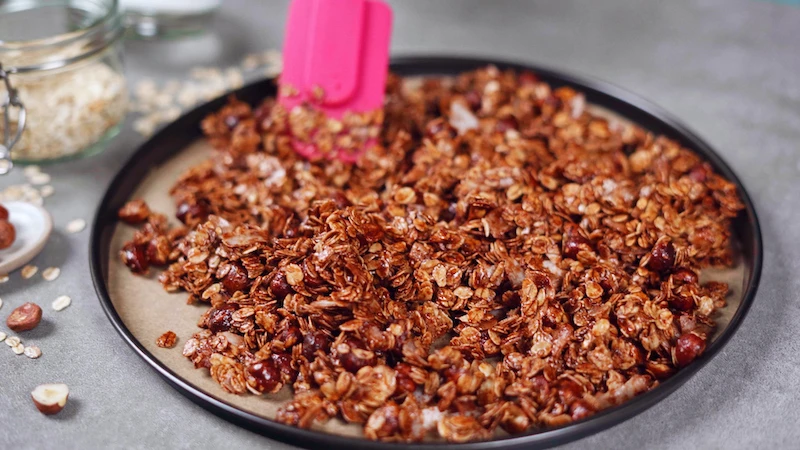
Pour the mixture onto your parchment-lined baking sheet and spread it into an even layer. Now for the key part: take the bottom of a flat measuring cup or another piece of parchment and press down firmly across the entire surface. You want to compact it into one solid sheet. This pressure is what encourages clusters to form.
Step 3: The Flip, Not the Stir
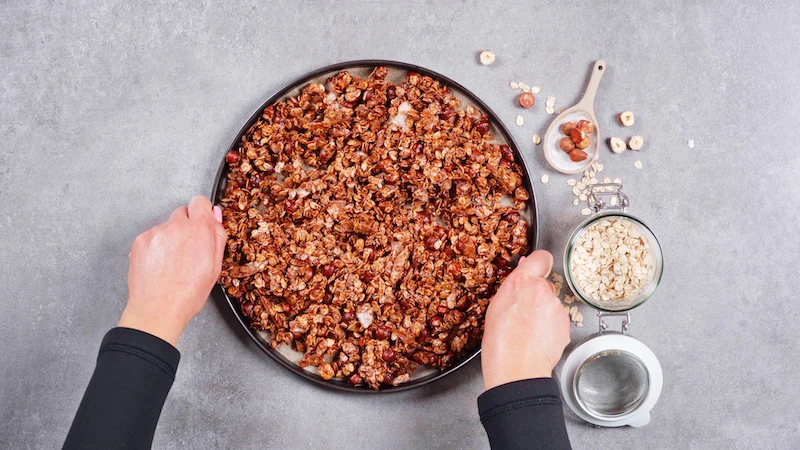
Bake for about 40 minutes total. Halfway through, at the 20-minute mark, take the pan out. DO NOT STIR IT. Stirring is the enemy of clusters. Instead, use a big metal spatula to break the sheet into 4-6 large pieces—think of them as big granola paving stones. Carefully flip these big chunks over, press them down gently again, and pop it back in the oven.
The Pro-Level Cluster Secret: Want even lighter, crispier clusters? Whisk one egg white into your wet ingredients until it’s foamy before pouring it over the dry mix. The protein creates an extra-light, super-crispy binder. It’s a total game-changer.
Step 4: The Cool Down (aka The Hardest Part)
This is where 90% of people mess up. Hot granola is soft, not crispy. The crispness happens as the sugar hardens during cooling. I’ll admit it, the first time I got impatient and poked at my cooling granola, it shattered into literal dust. Don’t be me. Walk away from the pan! Let it cool on the baking sheet, untouched, for at least one hour. Two is even better. Once it’s 100% cool, you can break it into chunks of your desired size.
Our Go-To Base Granola Recipe
Master this, and then feel free to get creative. All measurements are by weight for best results, but I’ve included cup estimates.
Prep time: 15 minutes
Bake time: 40 minutes
Cooling time: 1-2 hours (absolutely mandatory!)
Ingredients:
- 300g (about 3 cups) Rolled Oats
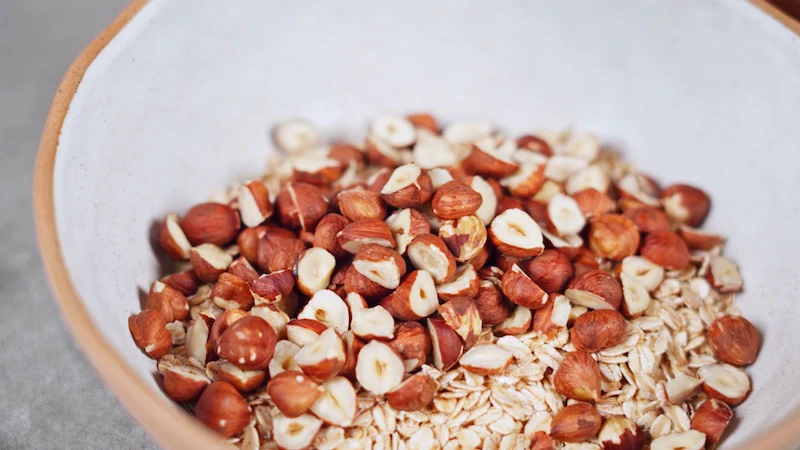
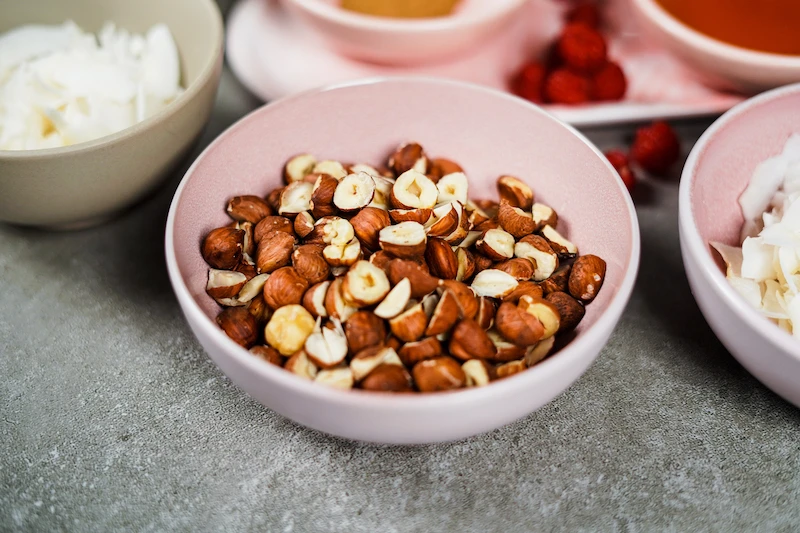
- 150g (about 1 cup) Raw Nuts, roughly chopped (almonds or pecans are great)
- 60g (about 1/2 cup) Raw Seeds (pumpkin or sunflower)
- 50g (about 1/2 cup) Unsweetened Coconut Flakes
- 4g (about 1/2 tsp) Fine Sea Salt
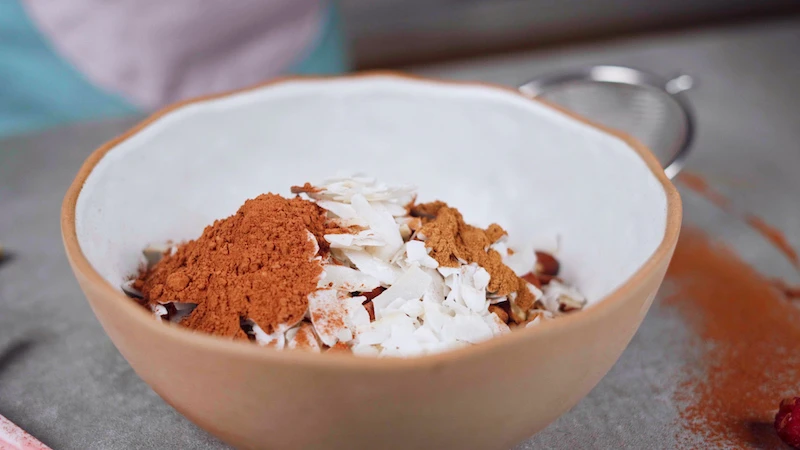
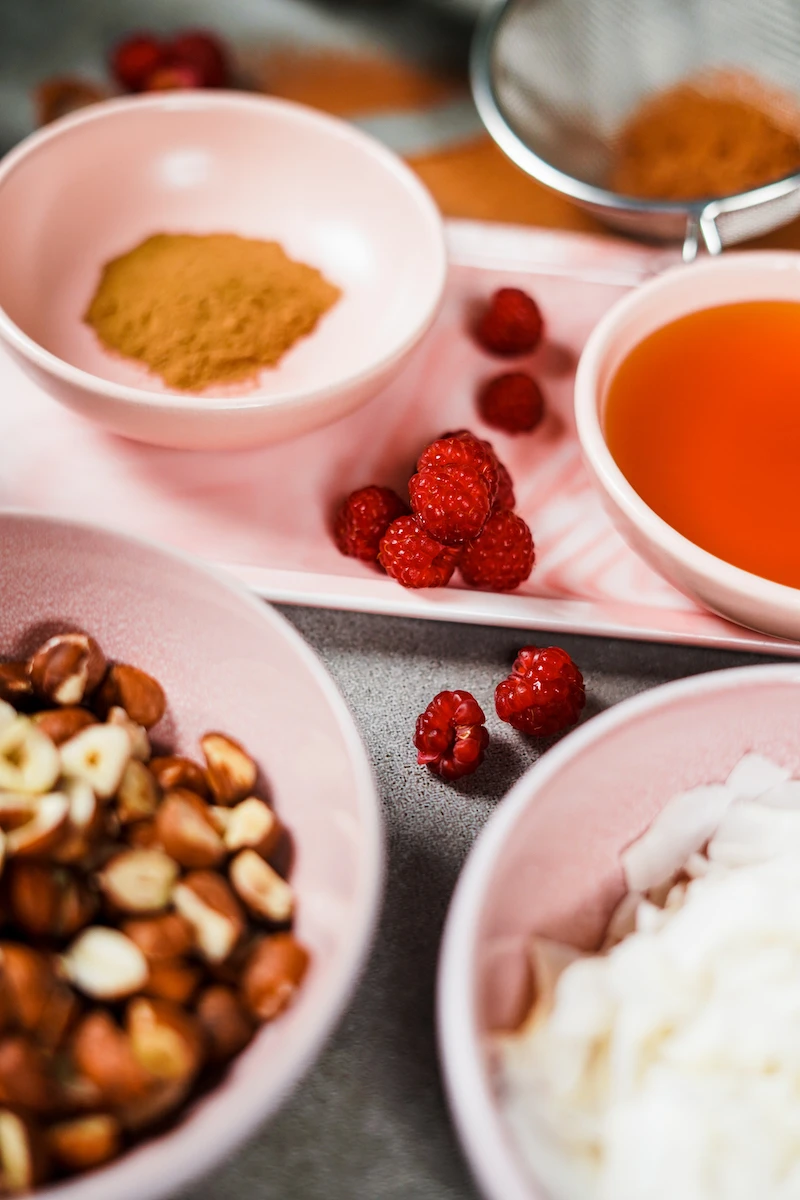
- 6g (about 1 tsp) Ground Cinnamon
- 120ml (about 1/2 cup) Melted Fat (coconut oil, butter, or a mix)
- 120ml (about 1/2 cup) Liquid Sweetener (pure maple syrup or honey)
Instructions:
- Preheat your oven to 320°F (160°C). Line a large, rimmed baking sheet with parchment paper.
- In a large bowl, whisk together the oats, nuts, seeds, coconut, salt, and cinnamon.
- In a small bowl, whisk together the melted fat and liquid sweetener.
- Pour the wet over the dry and mix until everything is evenly coated.
- Spread the mixture onto your baking sheet and press down firmly into a solid, even layer.
- Bake for 40 minutes, flipping in large chunks at the 20-minute mark.
- Remove from the oven and let it cool completely on the pan without touching it for at least 1 hour.
- Once cool, break into clusters. Done!
Granola 911: Troubleshooting Your Batch
Things go wrong. It happens. Here’s a quick guide to figure out what happened.
- If it’s soggy or soft… You probably crowded the pan. If you double the recipe, you MUST use two separate baking sheets. Too much granola on one pan will steam instead of toast. The other culprit? You didn’t let it cool long enough.
- If it’s burnt… Your oven is likely running hot (get that thermometer!). Honey also tends to burn a bit faster than maple syrup, so if you’re using honey, check it 5 minutes earlier.
- If you have no clusters… You probably stirred it instead of flipping it in large chunks. Or, you touched it while it was still warm. Patience is a virtue, especially with granola!
Riffs, Variations, and Pro Tips
Once you’ve got the method down, it’s easy to play around.
A common pitfall is adding dried fruit too early. Never add dried fruit before baking—it will turn into hard, bitter little rocks. Instead, stir it in after the granola has cooled completely. A good rule of thumb is to add about 100g (or 3/4 cup) of raisins, chopped apricots, or cranberries per batch.
Want to go savory? It’s amazing on salads and soups. Just reduce the sweetener by half, use olive oil for the fat, ditch the cinnamon, and add savory spices like rosemary, thyme, and black pepper.
Quick tip for a faster morning: Make a big batch of the dry mix and store it in an airtight container. When you want fresh granola, just scoop out what you need (around 560g or 5 cups for this recipe), add the wet ingredients, and bake. Turns a 15-minute prep into a 5-minute one.
To store your finished masterpiece, use a truly airtight container like a mason jar. Kept in a cool, dark pantry, it will stay wonderfully crisp for about three weeks. After that, it’s still edible, but it starts to lose its magic.
Inspiration:
Rolled Oats: Also known as old-fashioned oats, these are whole oats that have been steamed and flattened. Their larger, thicker structure holds up beautifully to baking, creating a hearty texture and providing the perfect canvas for cluster formation.
Quick-Cooking Oats: These are rolled oats that have been cut into smaller pieces and pressed even thinner to reduce cooking time. For granola, they tend to create a sandy, crumbly texture rather than the desirable chunky clusters.
For that signature crunch, always choose rolled oats.
The process of toasting nuts, known as pyrolysis, breaks down proteins and carbohydrates to create hundreds of new aromatic compounds, significantly deepening their flavor profile.
This is why adding raw nuts directly to your granola mix is a missed opportunity. Toasting them separately for 5-7 minutes before adding them to your wet ingredients unlocks a world of nutty, roasted flavor that raw nuts simply can’t provide. It’s an extra step that pays huge dividends in taste.
The secret to perfect granola flavor profiles? Knowing when to add your star ingredients.
The golden rule is to add delicate items *after* the granola has been baked and cooled completely. This prevents them from burning or turning chewy. Mix these in just before storing:
- Dried Fruits: Chopped apricots, cranberries, or cherries will scorch in the oven.
- Chocolate: Chips or chunks will melt into a mess. For a decadent touch, stir them into the still-warm (not hot!) granola to get a slight melt without losing their shape.
- Coconut Flakes: Unsweetened large-flake coconut can be added in the last 5 minutes of baking for a light toast, but sweetened or shredded coconut should be added after.
That satisfyingly crisp, yet not greasy, texture comes from a perfect balance of sweetener and fat. While the syrup provides the binding sugar, the oil is crucial for conducting heat evenly. It coats every oat and nut, protecting them from the oven’s direct heat while helping them crisp up to golden perfection. For a neutral flavor, use avocado or melted coconut oil. For a richer, more savory note, a quality extra-virgin olive oil can be a surprisingly delicious choice, especially in a granola with rosemary and pistachios.
- Granola that stays shatteringly crisp for weeks.
- Clusters that remain intact, never turning soft or stale.
- Flavor that tastes just as fresh on day 20 as on day 1.
The technique? Absolute patience. Once out of the oven, do not touch the granola. Let it cool completely on the baking sheet for at least an hour, undisturbed. This allows the caramelized sugars to harden, setting the clusters permanently. Breaking it up while warm is the #1 cause of crumbly granola. Once totally cool, break it into chunks and store in a truly airtight container, like a Weck or Kilner jar.
Not all liquid sweeteners are created equal when it comes to crunch.
While the article’s choice of maple syrup provides a wonderful flavor and a delicate crispness, for truly rock-hard clusters, a thicker syrup works best. Brown rice syrup is the secret weapon of many commercial brands for its superior binding power. Honey is also an excellent choice as it caramelizes beautifully. For a lower glycemic index option with deep, caramel notes, try date syrup from a brand like Date Lady.

The secret to a perfect gift: Go beyond the jar. Package your signature granola in a clear cellophane bag tied with a beautiful ribbon. Attach a custom tag not just with the ingredients, but with a serving suggestion. For example: “Autumn Spice Granola: Incredible with warm, spiced apple slices and a dollop of Greek yogurt.” It transforms a simple homemade treat into a thoughtful, curated gift.
Are your nuts and seeds creating pantry chaos?
Think of your granola recipe as the ultimate pantry-clearing project. Those last two tablespoons of pumpkin seeds, the quarter-cup of pecans, the forgotten bag of hemp hearts—they can all find a home here. Don’t feel locked into a single nut or seed. Combining what you have on hand not only reduces food waste but also creates a uniquely complex and flavorful granola every single time. It’s a delicious way to shop your own pantry first.


