Your No-Fail Guide to Steaming Perfect Tamales Every Time
I’ve spent more years than I can count making tamales, both in bustling restaurant kitchens and right at home with my family. Honestly, the smell of steaming masa is pure comfort to me. It’s the scent of a celebration, of good food, and of tradition all rolled into one. Over the years, I’ve seen every mistake in the book—tamales that turned into a sad, mushy mess and others that came out like dry, hard little bricks. And you know what? The most common point of failure isn’t the masa or the filling. It’s the steaming. This is the final step where all your hard work either shines or… well, steams out.
In this article
Steaming is what magically transforms that soft, raw dough into a firm, moist, and delicious little package. Getting a feel for how it works is the secret to getting consistent results. This guide isn’t about weird, complicated tricks. It’s about the solid, time-tested techniques that I’ve relied on to make thousands of perfect tamales. We’ll get into the right gear, why steaming is the only way to go, and the little details that separate okay tamales from truly great ones.
Why Steaming Is the Secret Sauce
To really master this, you have to get what’s happening inside that big pot. You’re not just heating up the tamales; you’re kicking off a pretty cool transformation. Steam is incredibly good at transferring heat. When water boils, it turns into a gas that carries a ton of energy. When that hot steam hits the cooler surface of the tamales, it condenses back into water, releasing all that energy directly into the masa.
This does two super important things. First, the moisture from the steam keeps everything from drying out. Unlike baking in an oven, steaming creates a 100% humidity bubble for your tamales. Second, the steady, gentle heat cooks the masa perfectly. At a certain temperature, the starch in the corn masa absorbs water, swells up, and creates that tender, cake-like texture we all love. It’s a process called gelatinization. If the heat is all over the place, this process just won’t happen right. It’s kitchen science, plain and simple.
Getting Set Up for Flawless Steaming
The pros I’ve worked with and the elders in my family all say the same thing: it’s all in the setup. A good tamal starts way before it hits the pot, but the steaming process is where you’ve got to be on your game.
Your Steamer Pot (The Vaporera)
The right tool makes any job easier, and this is no exception. The classic choice is a vaporera, which is just a tall stockpot designed specifically for tamales. You can find them at most Latin markets or online, and a good 20-quart one will usually run you between $30 and $60. It’s a worthwhile investment if you plan on making tamales regularly. These pots have a steamer rack that sits high up, leaving plenty of room for water underneath without it ever touching the tamales. That’s the whole point—if they sit in water, they get waterlogged.
But hey, no vaporera? No problem. You can easily rig one up. Grab your largest, deepest stockpot (at least 16 quarts, or you’ll be doing endless batches) with a tight-fitting lid. Then, you just need something to lift the tamales off the bottom. A simple metal steamer basket works great. In a pinch, I’ve seen people use a few balls of aluminum foil or even an upside-down ceramic bowl to hold up a heat-safe plate. Just make sure your setup is stable! You don’t want a tamal-anche halfway through cooking.
Water, Coins, and Common Sense
How much water to use isn’t a guessing game. I start with about 2 to 3 inches of water in the bottom of the pot. To get things going faster, always start with hot or boiling water. It’ll cut your startup time way down.
Here’s a trick I learned from an old-school chef that has saved me more than once. Toss a few clean coins, like pennies or quarters, into the water at the bottom of the pot. As the water simmers, the coins will happily rattle away. If the rattling stops, it’s your alarm bell—you’re out of water! Trust me, I learned this the hard way one year when I got distracted and came back to a burnt pot and a batch of ruined tamales. If you hear silence, you need to add more water. Keep a kettle of boiling water handy and carefully pour it down the side of the pot, avoiding the tamales, to keep the steam party going.
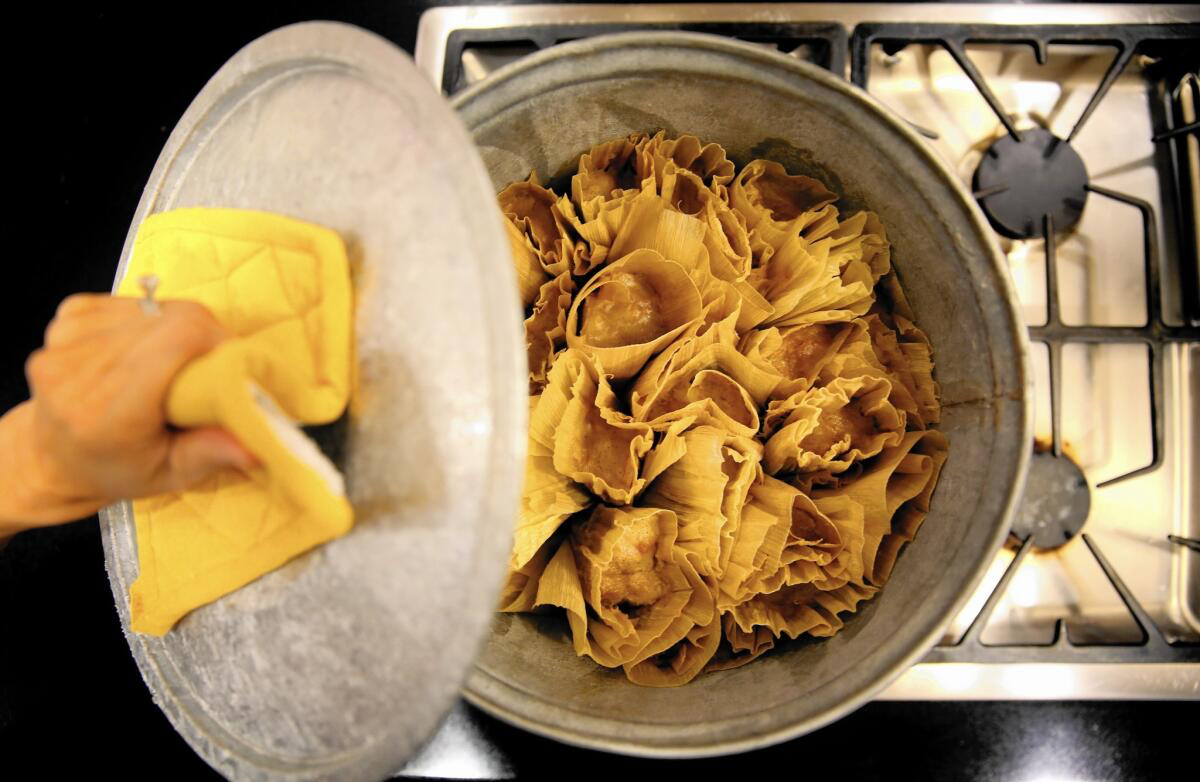
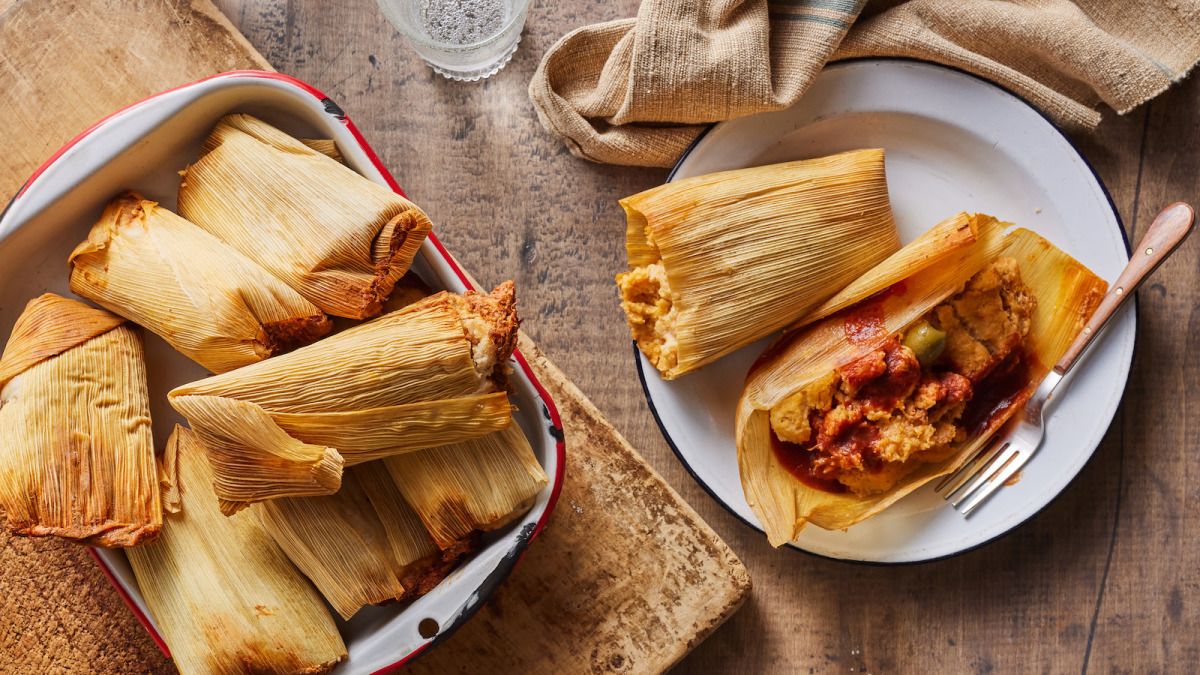
Arranging the Tamales Like a Pro
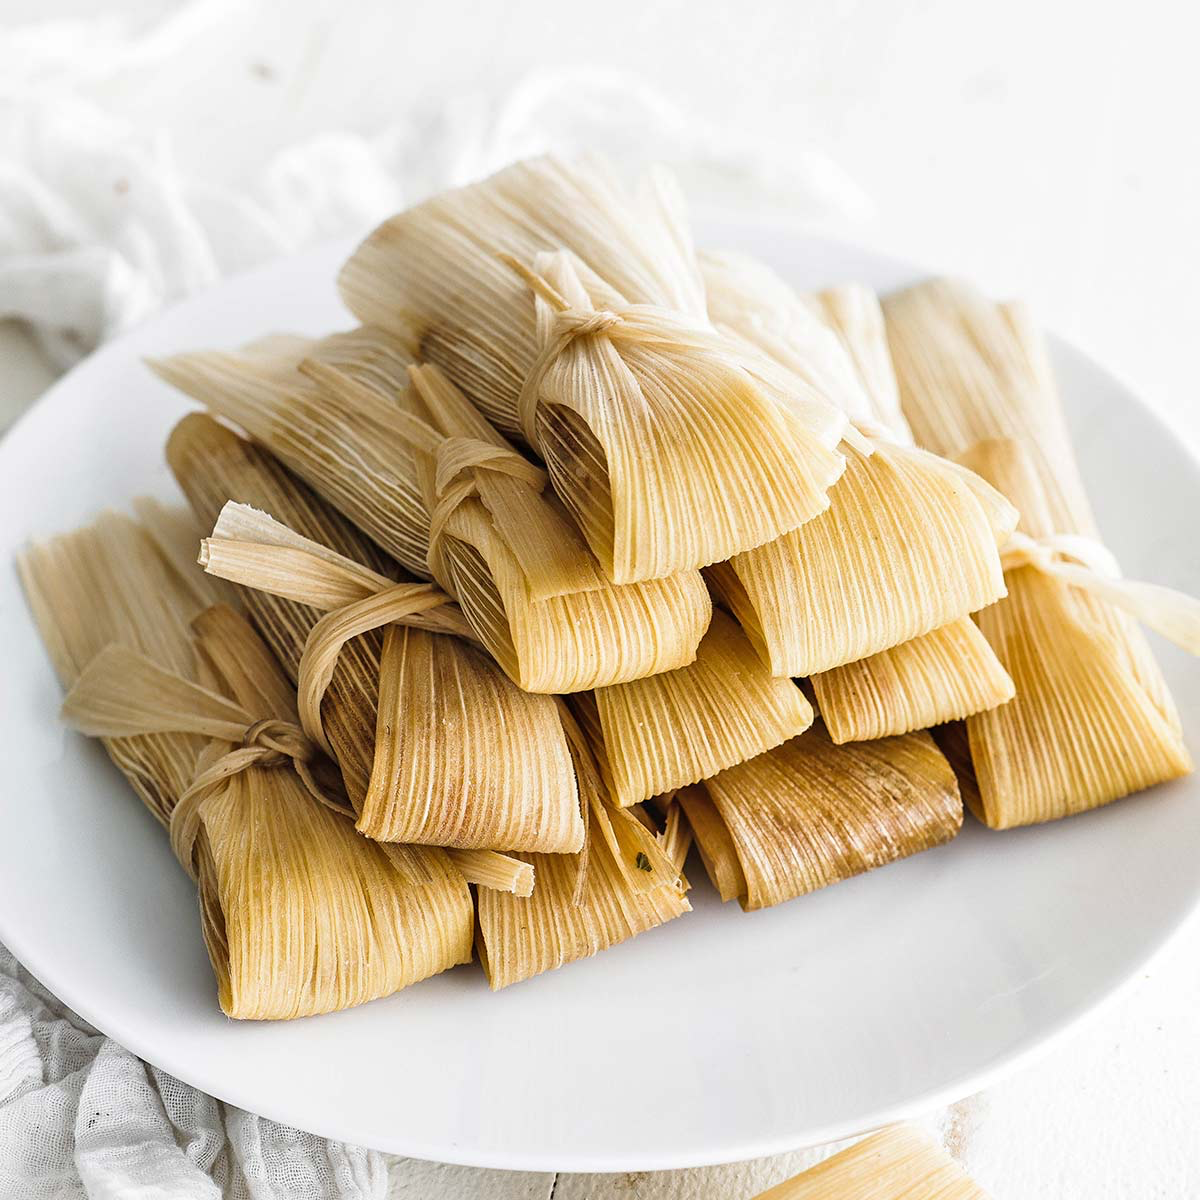
How you stack ’em matters. Tamales need to be arranged standing up, with their open, folded end facing the sky. This stops water from seeping inside. Pack them in snugly so they support each other, but don’t cram them in so tight that steam can’t move around. Steam needs to circulate freely to cook every single tamal evenly. If they’re packed like sardines, the ones in the middle will still be raw when the outer ones are done.
Don’t have enough tamales to fill the pot? A classic problem. Just roll up a big ball of aluminum foil and use it as a spacer to fill the gap and keep everyone standing tall.
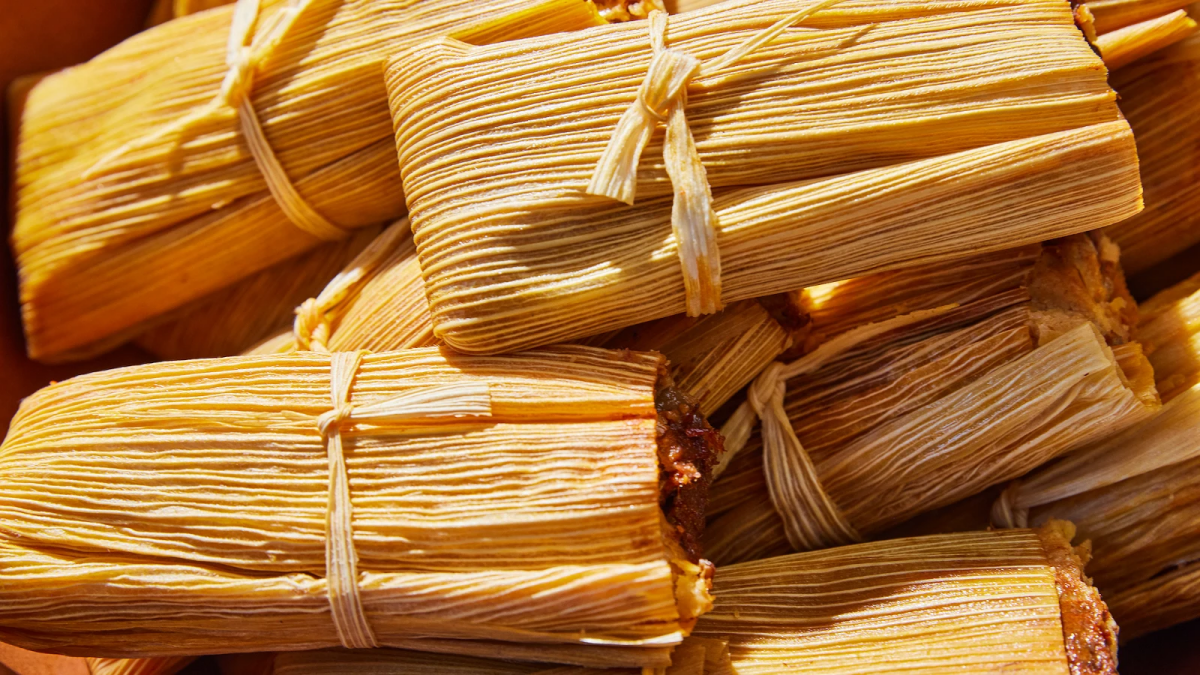
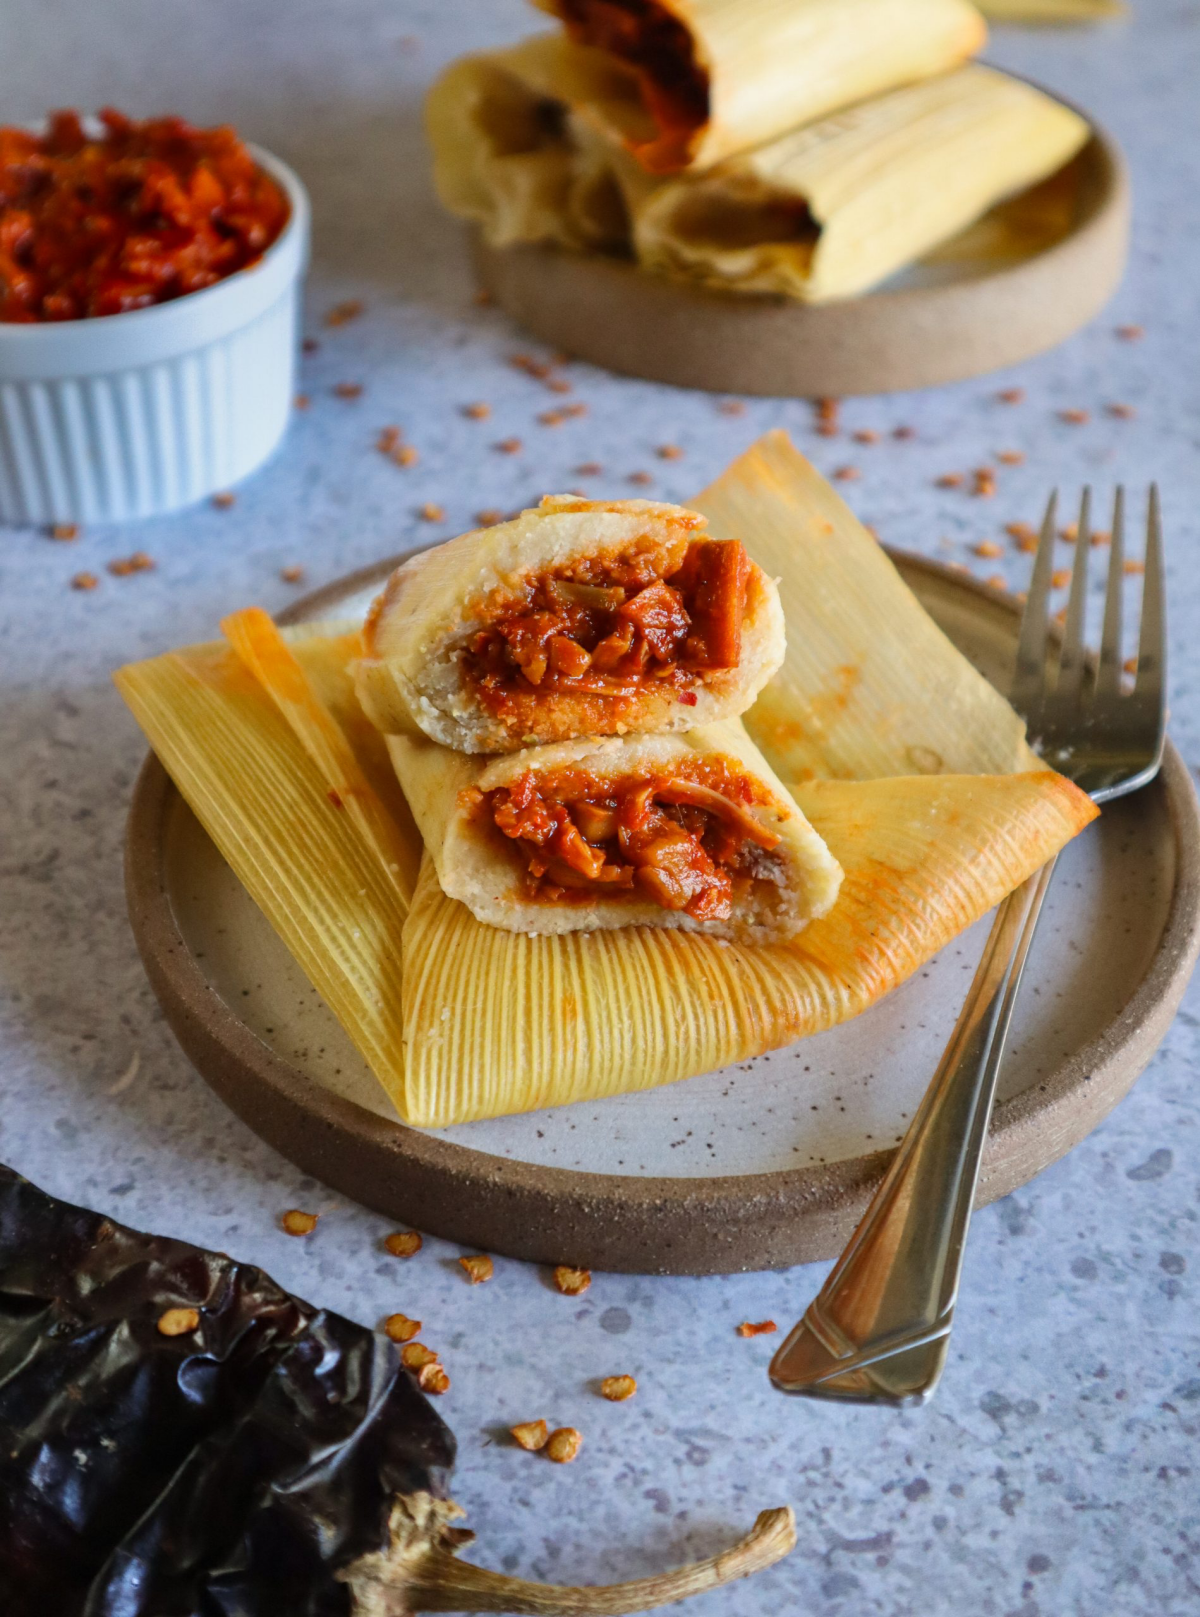
Wrappers: Corn Husks vs. Banana Leaves
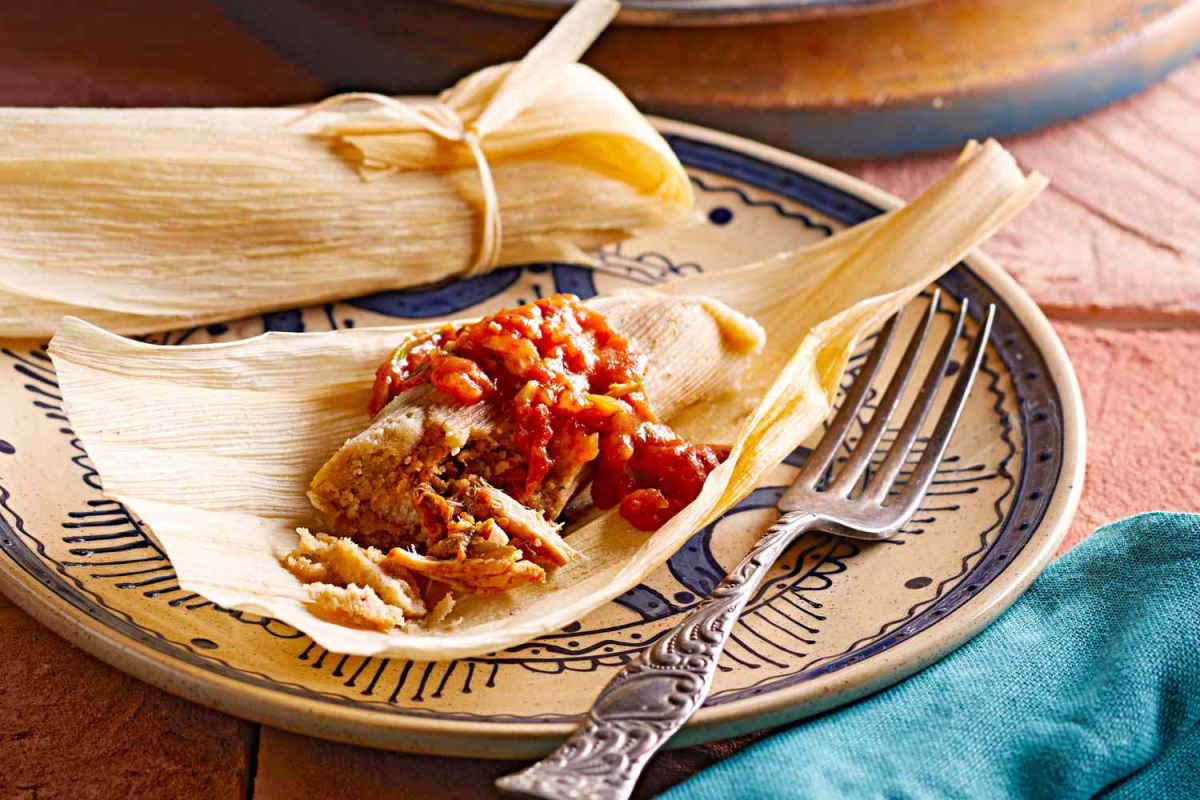
Not all tamales are wrapped the same, and the wrapper makes a huge difference in flavor and texture. In most of the U.S. and Northern Mexico, the go-to is dried corn husks (hojas de maíz). You have to soak them in hot water for at least 30 minutes to make them soft and pliable. They give the masa a subtle, earthy, sweet corn flavor that’s absolutely classic.
Travel south, though, and you’ll find banana leaves are king. I spent some time with a brilliant cook from Oaxaca who swore by them. They create a much better moisture barrier than corn husks, resulting in incredibly moist, tender tamales. The leaf itself adds a faint, grassy, almost floral note that’s totally unique. By the way, prepping banana leaves is easy. You just need to make them pliable by gently passing them over a low flame or blanching them for a moment. Be careful not to burn them; you’re just looking to soften them up so they don’t crack when you fold them.
So, which is better? It’s all about preference! – For flavor: Corn husks give you that traditional, sweet corn taste. Banana leaves offer a more subtle, earthy and slightly tangy flavor. – For moisture: Banana leaves are the clear winner. They lock in moisture for a much steamier, more tender result. – For prep: Corn husks just need a good soak. Banana leaves require a quick toast over a flame, which takes a little practice but is well worth it.
The Ultimate Step-by-Step Steaming Process
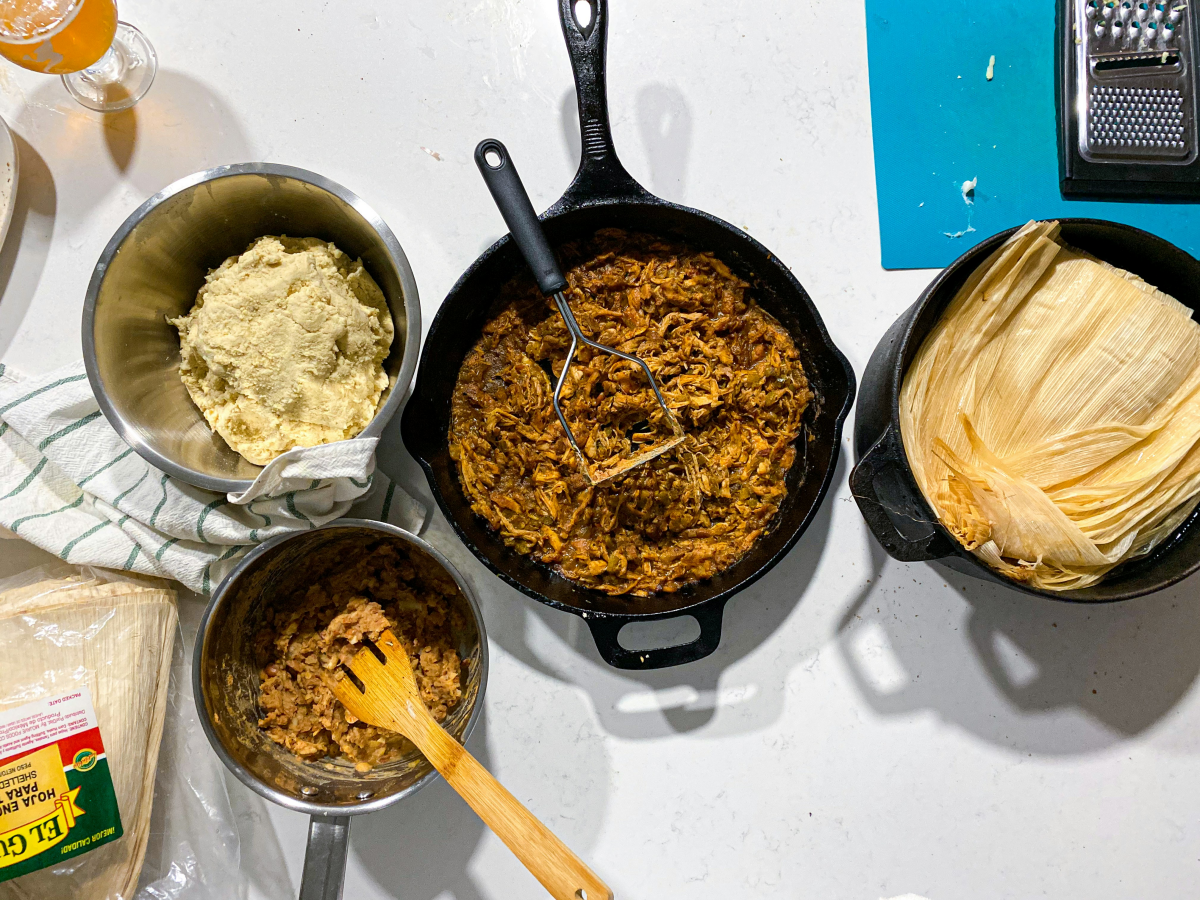
Alright, let’s put this all together. Let’s assume you’ve got your delicious masa ready—it should have the consistency of thick cake batter or soft peanut butter—and your fillings are good to go.
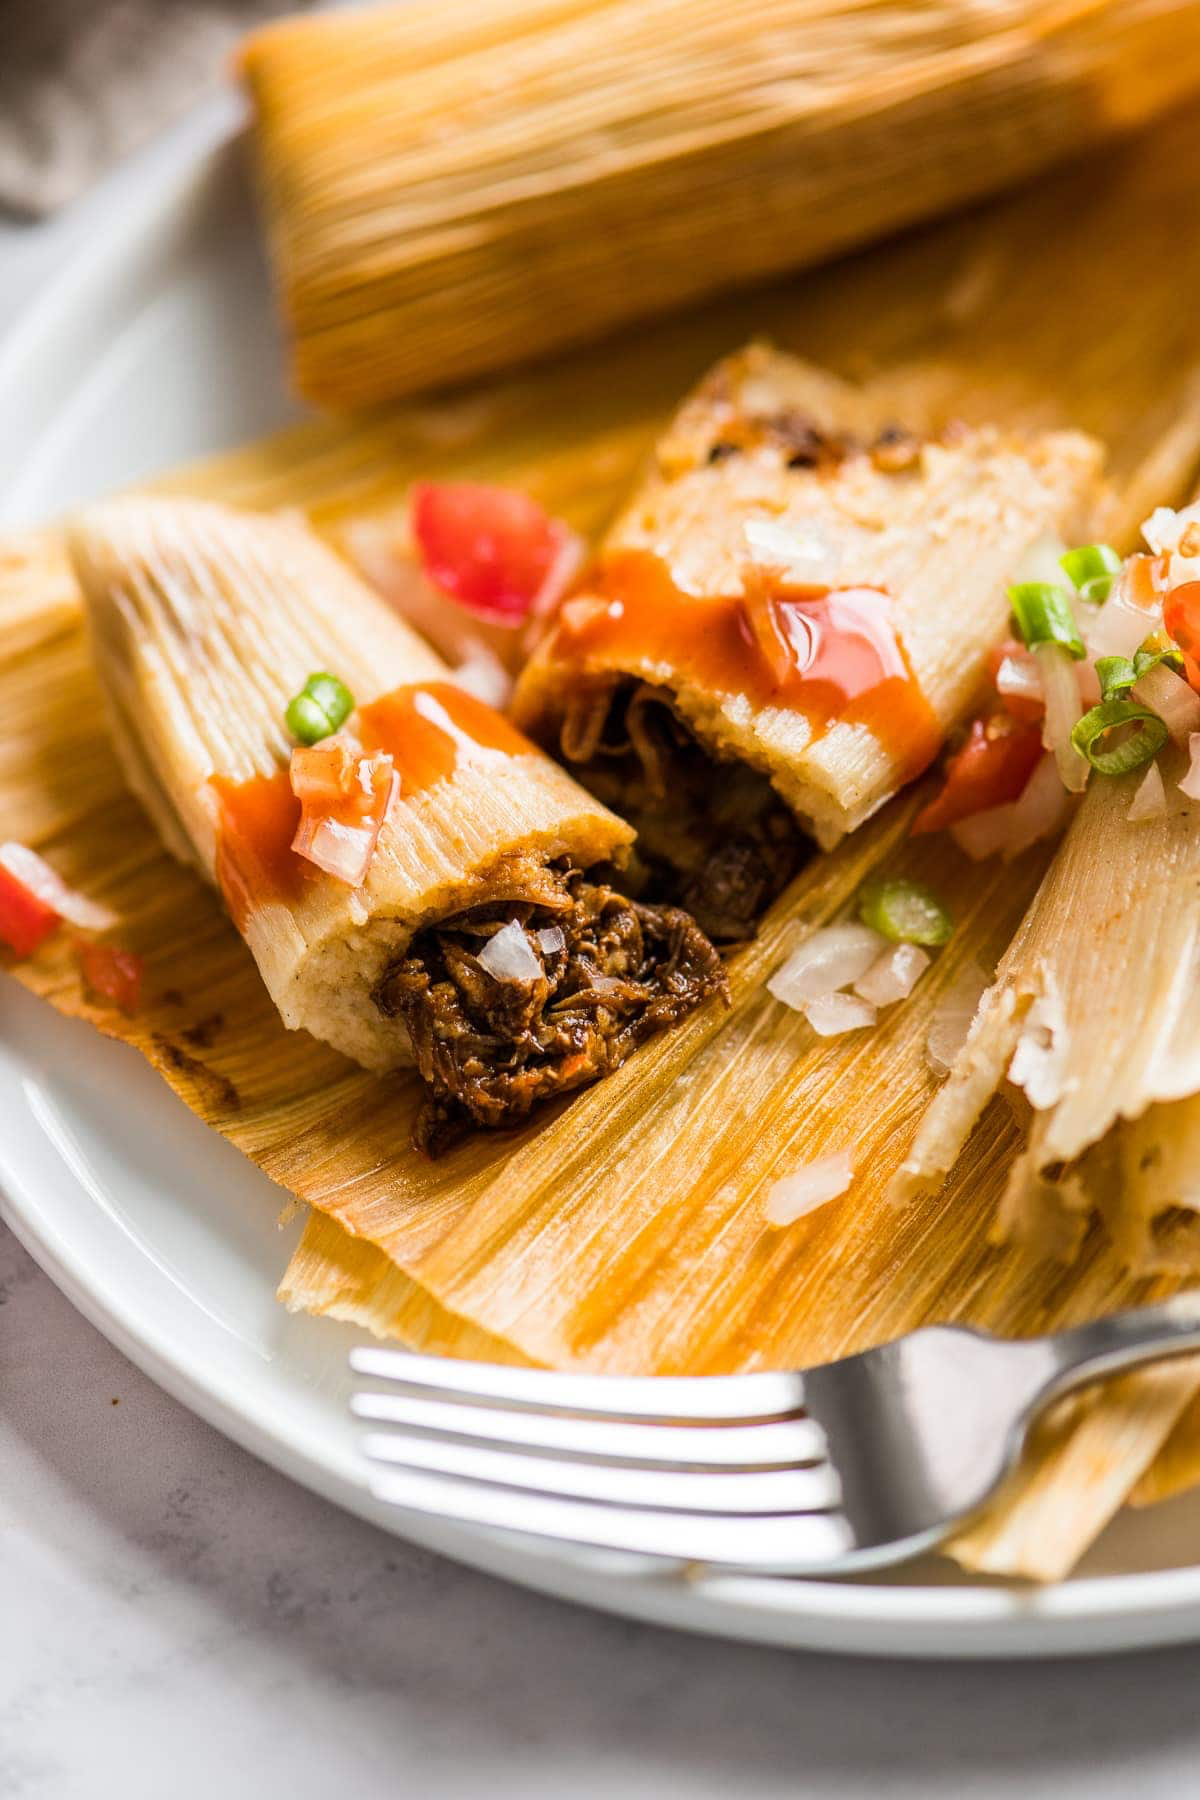
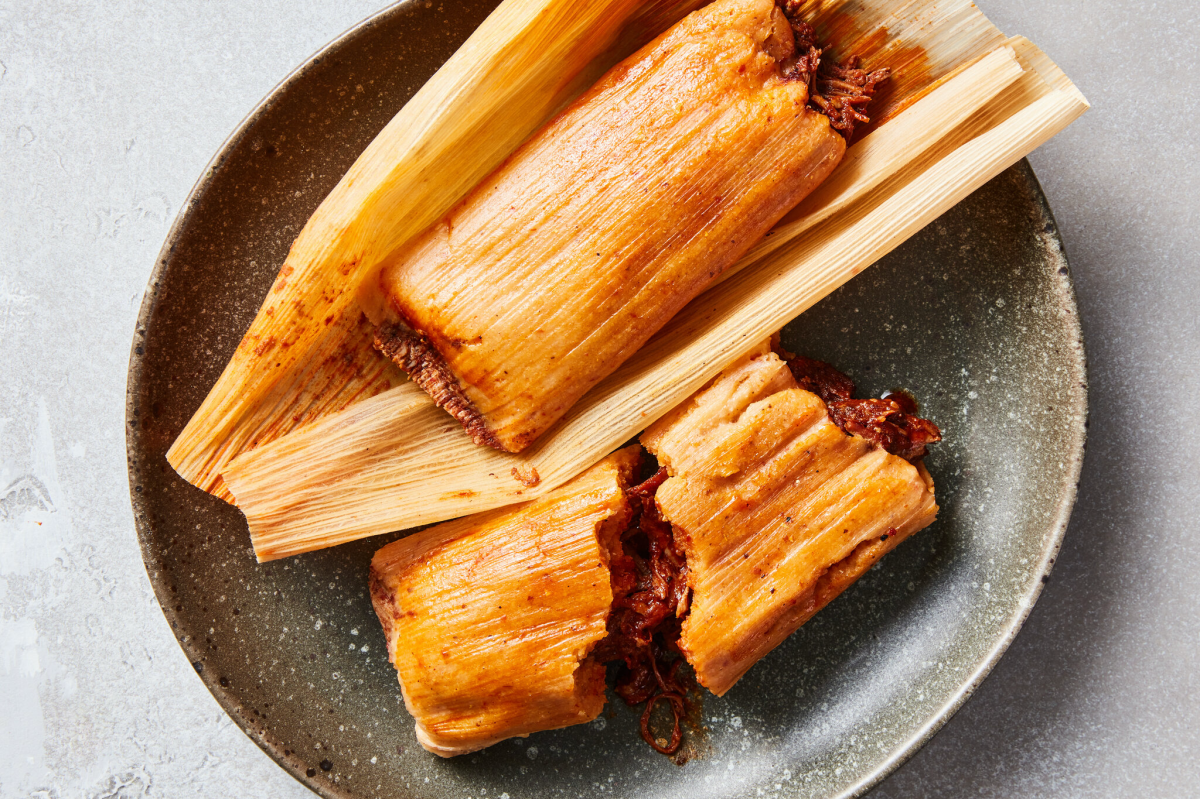
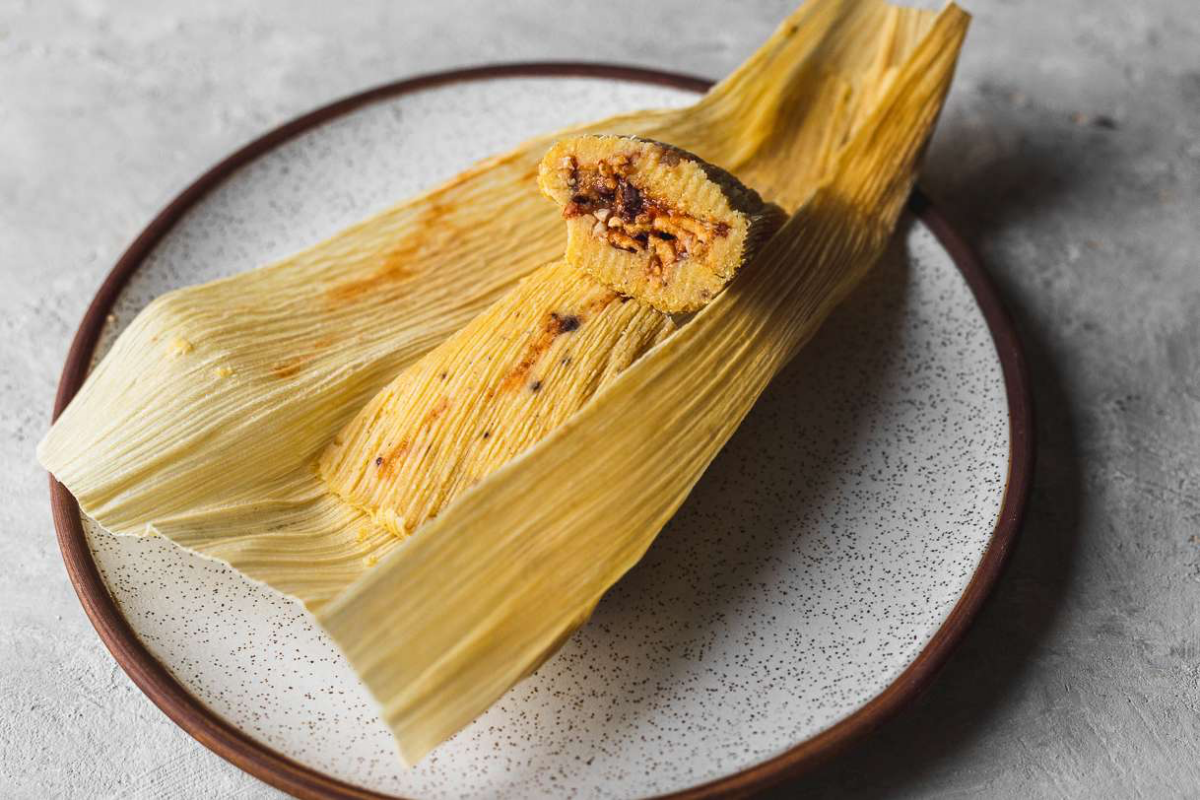
1. Prep the Pot: Pour 2-3 inches of hot water in your steamer pot. Toss in your coins if you’re using them. Pop in the steamer rack, making sure it’s high and dry above the water line. 2. Load the Tamales: Stand your tamales up in the pot, open-end-up. Pack them snugly, using a foil ball as a spacer if your pot isn’t full. 3. Seal the Deal: This is a crucial step. Lay a layer of extra soaked corn husks or a clean, damp kitchen towel right on top of the tamales. Then put the lid on tightly. This creates a gasket that traps every bit of steam. 4. Bring to a Boil: Crank the heat to high and wait for the water to reach a rolling boil. You’ll see a steady puff of steam from the lid. This should take about 5-10 minutes. 5. Simmer Down: As soon as it’s steaming, reduce the heat to medium-low. You’re aiming for a gentle, steady simmer—not a violent boil that will knock your tamales over and use up water too fast. You should hear a soft bubbling sound. 6. Set a Timer: For a batch of 1-2 dozen average-sized tamales, plan on 1 hour to 1 hour and 30 minutes. Bigger tamales will need more time, of course. 7. The Doneness Test: This is the only way to know for sure. After about an hour, carefully open the lid away from your face (that steam is no joke!). Use tongs to pull out one tamal from the center of the pot. Let it rest on a plate for 2-3 minutes to cool slightly. Now, unwrap it. If the masa pulls away cleanly from the husk, it’s done! If it’s still sticky or doughy, it needs more time. 8. More Time if Needed: If they aren’t ready, just wrap the test tamal back up, place it back in the pot, cover everything, and steam for another 15-20 minutes before checking again. 9. The All-Important Rest: Once they pass the test, turn off the heat but DO NOT take them out yet. Let them rest in the hot, steamy pot with the lid on for at least 20-30 minutes. This lets the masa firm up. If you skip this, even a perfectly cooked tamal can seem mushy.
Quick Fixes, Hacks, and Reheating
Even when you do everything right, stuff happens. Here’s how to handle common issues and a few modern tricks.
Soggy Tamales? This is almost always because water got in. Either your water level was too high, the boil was too rough, or they fell over. Next time, double-check your setup! Dry Tamales? This means not enough steam. Either the pot ran out of water and they started to bake, or your initial masa was too dry. Keep an ear out for those coins!
Quick Tip: Using a Pressure Cooker or Instant Pot
Yes, you can absolutely use a pressure cooker! It’s way faster. Pour about a cup of water in the bottom, place the tamales on the trivet (standing up, of course), and seal the lid. Cook on high pressure for about 20-25 minutes. Let the pressure release naturally for at least 10 minutes before opening. It’s a game-changer for small batches.
Steaming from Frozen
Tamales freeze beautifully. You can steam them right from the freezer—do not thaw them first, or they’ll get mushy. Just add about 30-45 minutes to your normal steaming time. As always, use the doneness test to be sure.
How to Reheat Leftovers**
The best way is to steam them again for about 10-15 minutes until they’re hot all the way through. But if you’re in a hurry, the microwave works. Just wrap a tamal in a damp paper towel and heat it for a minute or two. It won’t be quite as good as freshly steamed, but it’s a solid B+.
A Quick Word on Safety
Heads up! You’re working with a giant pot of boiling water and incredibly hot steam. Please be careful. Always, always lift the lid away from your face to let the steam escape in the other direction. And use good, dry oven mitts when handling that heavy pot. If you’re ever thinking about selling your tamales, just be sure to look into your local health department rules first; they can be pretty specific.
At the end of the day, these instructions are a guide. Your stove, your pot, and even the weather can change things slightly. The real truth is in the doneness test. It’s the only guaranteed way to know when your hard work has paid off. Happy steaming!
Galerie d’inspiration
The Traditional Tamalera: This is the specialist’s tool. A tall pot, often made of aluminum or stainless steel, with a steamer rack that sits well above the water line. Its height is its advantage, allowing steam to circulate freely around dozens of tamales stood upright. Brands like IMUSA make classic, affordable models that are staples in many kitchens for a reason.
The Stockpot & Steamer Insert: The versatile workhorse you probably already own. It works well for smaller batches, but the key is water level. Most inserts sit low, so you must ensure the water doesn’t boil up and touch the tamales, turning them soggy. A pro tip: place three crumpled balls of aluminum foil under the insert to give it extra height.
For the serious tamal-maker, a dedicated tamalera is a worthy investment. For everyone else, a stockpot with a little careful setup works beautifully.