The Only Pizza Dough Guide You’ll Ever Need (Seriously)
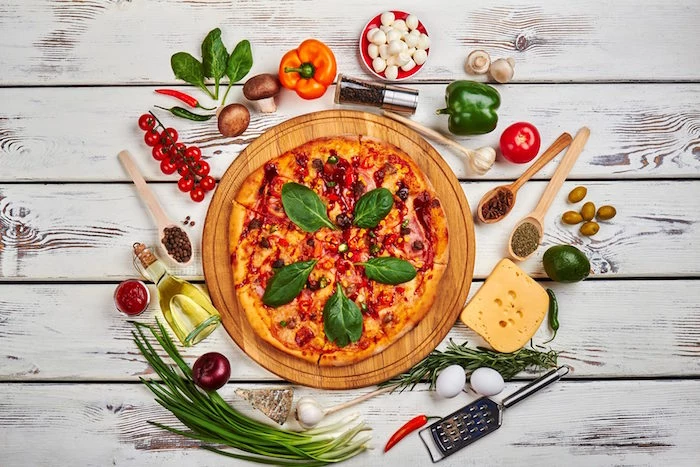
I’ve spent a good chunk of my life with my hands in dough—in bakeries, bustling pizzerias, and showing new apprentices the ropes. And I can tell you one thing for sure: the soul of a truly great pizza isn’t the fancy toppings. It’s the crust. It’s the foundation for everything else, and honestly, it’s where the magic happens.
In this article
So many people think pizza dough is just flour, water, and yeast thrown together. But it’s so much more than that. To a baker, it’s a living thing. You have to understand it, know what it needs, and guide it along. When you get that relationship right, you can create something incredible, even in a regular home kitchen.
A lot of online recipes promise a quick fix, but they often skip the most important part: the ‘why.’ They give you steps but no understanding. This guide is different. We’re not just following a recipe; we’re going to dive into the techniques I’ve picked up over the years. We’ll get into the science of fermentation, proper kneading, and how to conquer the limits of your home oven. My goal is for you to feel the dough and know what’s happening, because that knowledge is the key to making amazing pizza every single time.

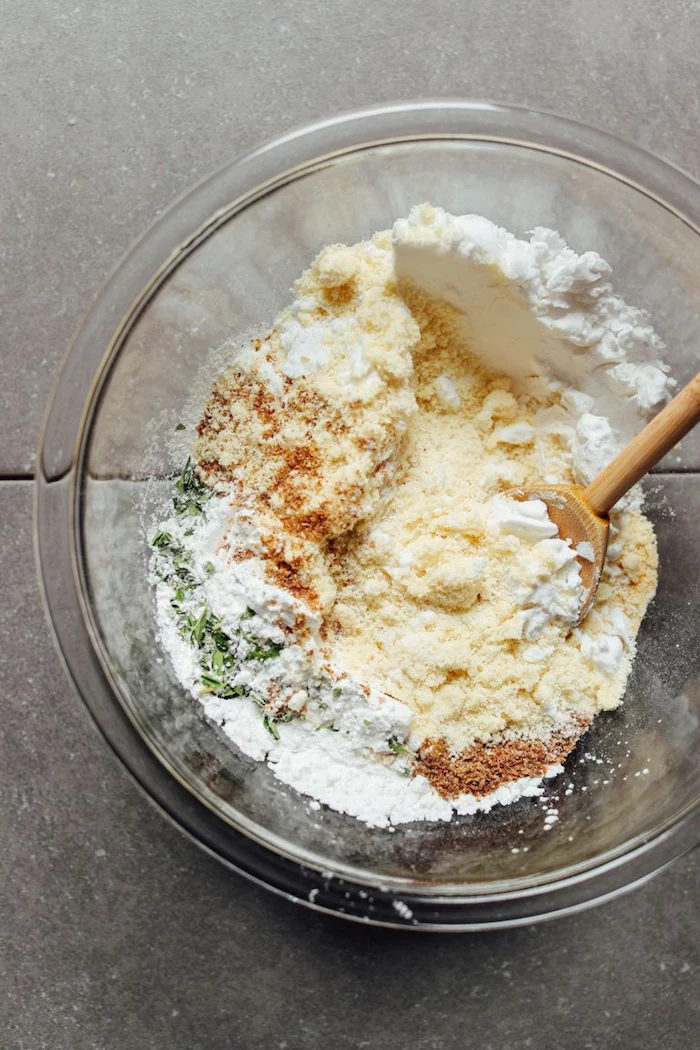
The Heart of the Dough: Let’s Talk Ingredients
Before we even think about a mixing bowl, let’s chat about what goes into our dough. The quality of your pizza starts right here. And good news: choosing the right ingredients isn’t about buying the most expensive stuff. It’s about knowing what each one does. This is where you level up from just mixing to actually crafting.
Flour: The Backbone of Your Crust
Flour is, without a doubt, the most important player here. It provides the structure. The main thing you need to get your head around is protein content. When flour gets wet, these proteins create gluten—an elastic network that traps the gas bubbles from the yeast. That network is what gives you a good rise and that satisfying chew in the final crust.
You’ll see a few common options out there, so let’s break them down:
- All-Purpose (AP) Flour: This is your standard grocery store flour, with a protein content around 10-12%. Can you make pizza with it? Absolutely. It’ll result in a softer, more tender crust. It’s a perfectly fine place to start if it’s all you have on hand.
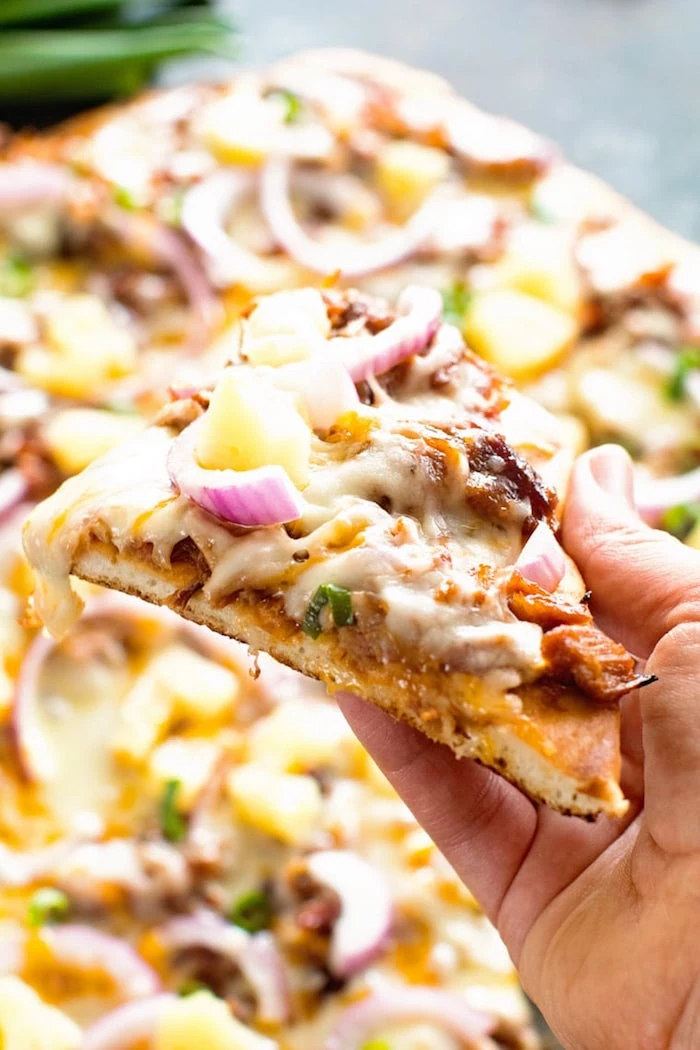
- Bread Flour: Now we’re talking. With a higher protein content (usually 12-14%), bread flour creates a much stronger gluten network. This gives you that classic chewy, foldable crust you’d find in a great New York-style slice. Honestly, for most people baking at home, this is my top recommendation. It’s forgiving and gives fantastic results. Just look for a good, unbleached brand; the popular ones in the baking aisle are usually a safe bet.
- “00” Flour: This is the famous Italian flour for traditional Neapolitan pizza. The “00” just means it’s milled incredibly fine, like powder. It’s designed to be used in scorching hot wood-fired ovens that hit temperatures over 800°F. In a home oven, which usually maxes out around 550°F, it can sometimes bake up a bit pale and soft. My advice? Master your technique with bread flour first, then have fun experimenting with “00” later on.

Water: The Lifeblood
Water is more than just a hydrator; its temperature is your gas pedal for fermentation. For our recipe, you want lukewarm water, somewhere in the 95-105°F (35-40°C) range. A cheap digital thermometer is great for this, but the old baker’s trick works just fine: if it feels comfortably warm on your wrist, you’re good to go. This temperature gently wakes up the yeast without shocking or killing it.
Oh yeah, you might hear bakers talk about “hydration.” That’s just the weight of the water compared to the weight of the flour. A 65% hydration dough is a fantastic starting point—it’s easy to handle and bakes up beautifully.
Yeast: The Engine of the Rise
Yeast is what breathes life into your dough. It’s a tiny organism that eats the sugars in the flour and releases carbon dioxide gas, which gets trapped by that gluten network we talked about, making the dough rise.
- Instant Dry Yeast (IDY): This is my go-to for home baking. It’s super reliable and you can mix it straight in with your dry ingredients. No fuss.
- Active Dry Yeast (ADY): This kind needs to be woken up, or “bloomed.” You just dissolve it in your warm water (with a pinch of sugar, if you like) and let it sit for 5-10 minutes until it gets foamy. If it doesn’t foam, your yeast is dead. Toss it and grab a new packet. Quick tip: If you only have Active Dry Yeast, you can use the same amount as the instant yeast in our recipe (4g), but don’t forget to bloom it first!
- Fresh Yeast: This comes in a little cake and is what many pro bakeries use. It’s wonderful but has a short shelf life and can be hard to find. We’ll stick with instant yeast for this guide.
Salt and Oil: The Finishing Touches
Salt isn’t just for flavor. It’s secretly working behind the scenes to strengthen your gluten and, importantly, regulate the yeast. It slows fermentation down just enough to let a deeper, more complex flavor develop. Pro tip: Always mix the salt in with your flour first. Adding it directly to the yeast can kill it.

A little olive oil is a great addition for American-style pizzas. It adds flavor, softness, and helps the crust get a beautiful golden-brown color in a lower-temperature home oven.
The Foundational Recipe: A Go-To Home Pizza Dough
This is the recipe I always start with. It’s a 65% hydration dough that’s perfect for a classic New York-style pizza. I can’t stress this enough: please use a digital kitchen scale. Baking is science, and measuring by cups can be wildly inconsistent. Grams are precise. This recipe makes enough for four 12-inch pizzas, which is perfect.
Here’s what you’ll need:
- Bread Flour: 615g
- Lukewarm Water (95-105°F / 35-40°C): 400g
- Instant Dry Yeast: 4g (about 1 ¼ tsp)
- Fine Sea Salt: 12g (about 2 tsp)
- Extra Virgin Olive Oil: 15g (about 1 tbsp)
Step 1: Mixing and Kneading
In a large bowl (or the bowl of a stand mixer), whisk together the flour and instant yeast. Add the salt to one side of the bowl. Pour in your lukewarm water and olive oil. If using a stand mixer with a dough hook, mix on low for 2 minutes until a shaggy ball forms, then knead on medium-low for 6-8 minutes.
Kneading by hand? Mix with a wooden spoon until it’s too tough to stir, then turn it out onto a lightly floured surface. It’s going to be sticky—don’t panic and dump a bunch of extra flour on it! Knead for 10-12 minutes. The rhythm is simple: push with the heel of your hand, fold it over on itself, and give it a quarter turn. Repeat. You will physically feel the dough transform from a sticky mess into a smooth, elastic, and slightly tacky ball.
The Quality Check: The Windowpane Test
This is how the pros know the gluten is ready. Pinch off a small piece of dough and gently stretch it between your fingers. If you can stretch it thin enough to see light through it without it tearing, you’ve nailed it. If it tears, just knead for another couple of minutes and test again. This one step is a game-changer for your crust’s texture.
Step 2: The First Rise (Bulk Fermentation)
Lightly oil a large bowl, place your dough ball inside, and flip it once to coat it lightly in oil. This stops a dry skin from forming. Cover the bowl with plastic wrap or a damp towel and let it rise in a warm spot for 1.5 to 2 hours, or until it has doubled in size. If your kitchen is chilly, pop it in the oven with ONLY the oven light on—the bulb gives off just enough heat to create a perfect proofing box.
Step 3: The Cold Ferment (This is the Pro Secret)
Okay, this is the step that separates good pizza from great pizza. Gently turn the risen dough out onto your counter and press it down to release some of the gas. Using your scale, divide the dough into four equal pieces (they’ll be about 260g each). Shape each piece into a tight ball by pulling the sides down and tucking them underneath. Then, roll the ball on the counter under a cupped hand to create a nice, tight surface.
Place each dough ball into its own container. Good to know: You can use small Tupperware, deli containers, or even individual lightly oiled Ziploc bags. Cover them tightly and pop them in the fridge. Let them rest for at least 24 hours, and up to 72 hours. This slow, cold ferment is where the magic happens. The yeast works at a snail’s pace, developing unbelievably complex flavors you can never get from a same-day dough. It’s a lesson I learned a long time ago, and it changed everything.
By the way, don’t have a full 24 hours? I get it. Even a short 8-12 hour cold ferment in the fridge will give you a noticeable flavor boost over a same-day dough. It’s a great middle ground!
What About the Extra Dough? A Quick Guide to Freezing
Since this recipe makes four dough balls, you’re probably wondering what to do with the extras. Freezing them is super easy and works beautifully.
The best time to freeze your dough is right after the cold ferment. That way, all that amazing flavor is locked in. Just take your individual dough balls, wrap each one tightly in plastic wrap, and then pop them into a freezer bag. They’ll keep well for up to 3 months.
When you’re ready to use one, just pull it from the freezer and let it thaw overnight in the fridge. Then, take it out of the fridge about 2-3 hours before you want to bake, letting it come to room temperature on the counter (still covered, of course). It’ll be relaxed and ready to shape.
From Dough Ball to Pizza: The Final Stretch
This is it—the moment of truth! Don’t stumble at the finish line; these last steps are just as crucial as making the dough.
Step 1: Get Your Oven Screaming Hot
Take your dough balls out of the fridge about 2 hours before baking. Let them warm up on the counter, still covered. This relaxes the gluten, making the dough a dream to stretch. Cold dough will just snap back at you.
Now for the oven. You need it HOT. Place a pizza steel or stone on a rack in the upper-middle position and preheat your oven to its highest setting (usually 500-550°F / 260-290°C) for a full hour. No cheating on the preheat time!
Heads up! A pizza steel is my top recommendation. They typically run between $40 and $100, but they transfer heat way more efficiently than a stone, which usually costs around $25-$50. This gives you a better oven spring and a crispier crust. Don’t have either? A great budget-friendly hack is to flip over a large cast iron skillet and preheat it the same way. It works wonders.
Step 2: Shape Your Pizza (No Rolling Pins Allowed!)
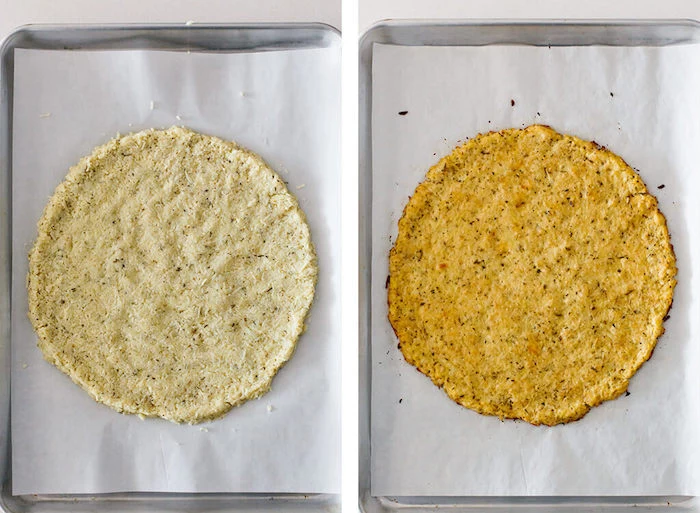
Lightly flour your work surface and hands. Plop down one dough ball and gently press down in the center with your fingertips, working your way out but leaving a 1-inch rim untouched. This will become that beautiful, puffy crust.
And please, for the love of pizza, never use a rolling pin. It crushes all those delicate air bubbles you worked so hard to create, leaving you with a dense, flat crust. Use your hands. Pick up the dough and gently stretch it over your knuckles, letting gravity do the work. Rotate it as you go until you have a 12-inch circle.
Step 3: Top It and Launch It
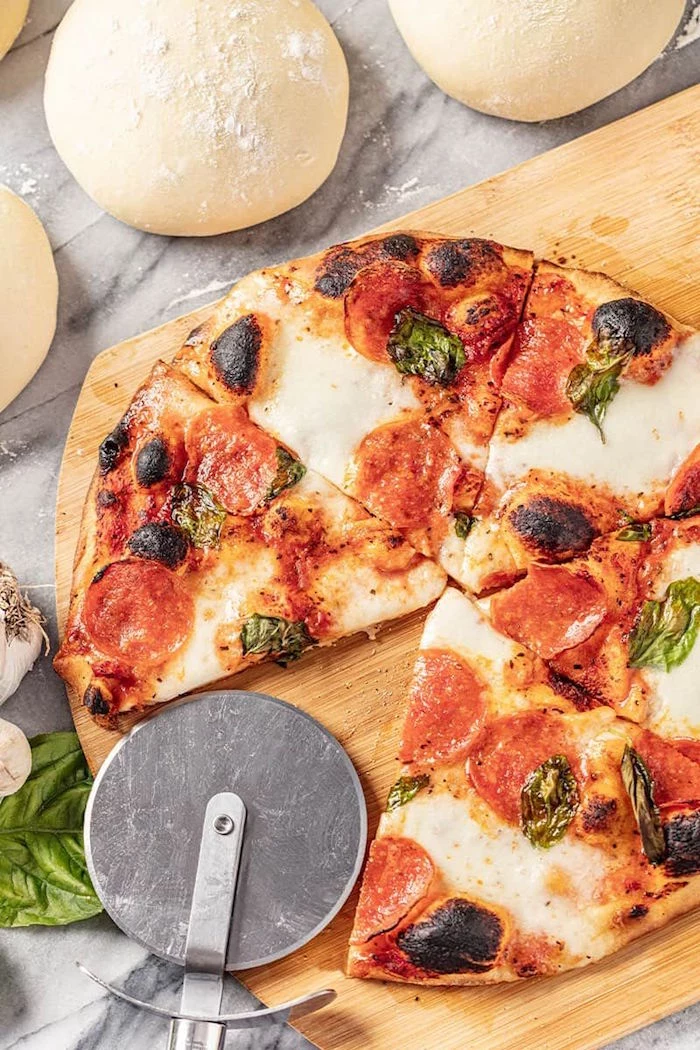
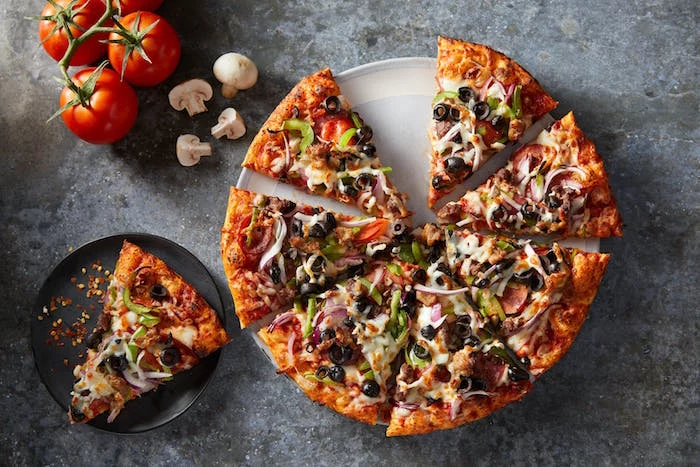
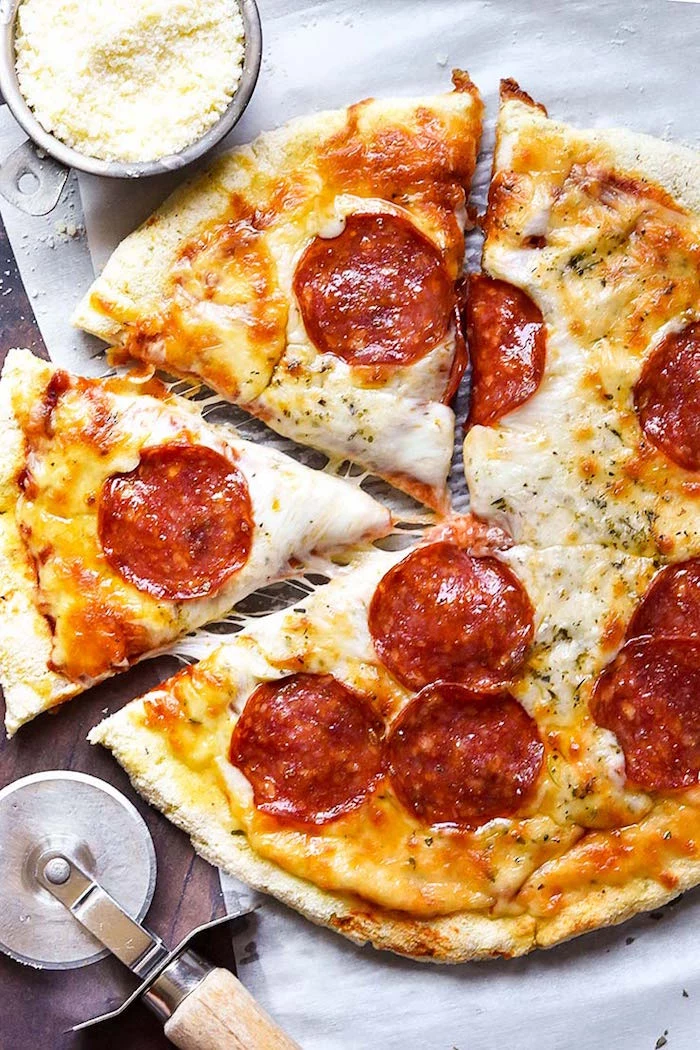
Lightly dust a pizza peel (the paddle) with semolina flour or cornmeal. This acts like tiny ball bearings to help the pizza slide off smoothly. Lay your shaped dough on the peel and work quickly. Add your toppings. The golden rule is less is more. An overloaded, watery pizza won’t cook right. As a rule of thumb, for a 12-inch pizza, try not to use more than 1/3 cup of sauce and about 1 cup of cheese. Give your crust a fighting chance!

Give the peel a little shake to make sure the pizza isn’t stuck. Open the oven, aim for the back of your hot steel, and with one confident, quick jerk, slide that pizza on. Don’t hesitate—confidence is key here.
Step 4: The Bake
Bake for 7-10 minutes. After about 4 minutes, you might want to use the peel to give the pizza a 180-degree turn for even browning. It’s done when the crust is deep golden brown and the cheese is beautifully melted and bubbly. Slide it out and let it rest on a wire rack for a minute. This keeps the bottom from getting steamy and soft.
Troubleshooting Common Issues
Even after all these years, dough can still throw me a curveball. It’s sensitive. Here’s how to handle common problems.
- Problem: My dough is a sticky nightmare! This usually means your hydration is a bit high or your kitchen is humid. Don’t add tons of flour to the dough itself. Instead, use a light dusting on your hands and work surface. A bench scraper is your best friend here.
- Problem: My dough keeps snapping back when I stretch it. The gluten is too tense. This is the dough’s way of telling you it needs to relax. Just cover it with a towel and let it rest on the counter for 15-20 minutes. It’ll be much more cooperative afterward.
- Problem: My crust is pale and kinda soft. Your oven or baking surface wasn’t hot enough. You have to preheat for that full hour. Seriously. A pizza steel makes a world of difference.
- Problem: My dough feels dry and stiff. Your kitchen might be very dry, or you may have accidentally measured a little too much flour. No worries! Just knead in more water, a tiny bit at a time (like a teaspoon), until the dough feels pliable and right.
A Quick Word on Safety
We’re working with some serious heat here, so please be careful. I’ve seen some nasty burns from carelessness.
Your oven and pizza steel are going to be scorching hot. Use high-quality oven mitts and be mindful of the blast of hot air when you open the oven door. When you launch and retrieve the pizza, be calm and deliberate. Rushing leads to accidents. And of course, always work with clean hands and on clean surfaces.
Finally, remember that your results will vary. The humidity in your air, the brand of your flour, the real temperature of your oven—all these things have an effect. If your first pizza isn’t perfect, don’t get discouraged! See it as a learning experience. The best bakers are the ones who are always observing, adapting, and learning from every single batch.
So, here’s your mission, should you choose to accept it: Make this dough and focus on just ONE thing—the windowpane test. Don’t sweat the perfect shape or fancy toppings. Just feel that dough change in your hands. Getting that right is your first big win. You’re not just following a recipe anymore; you’re starting a craft.
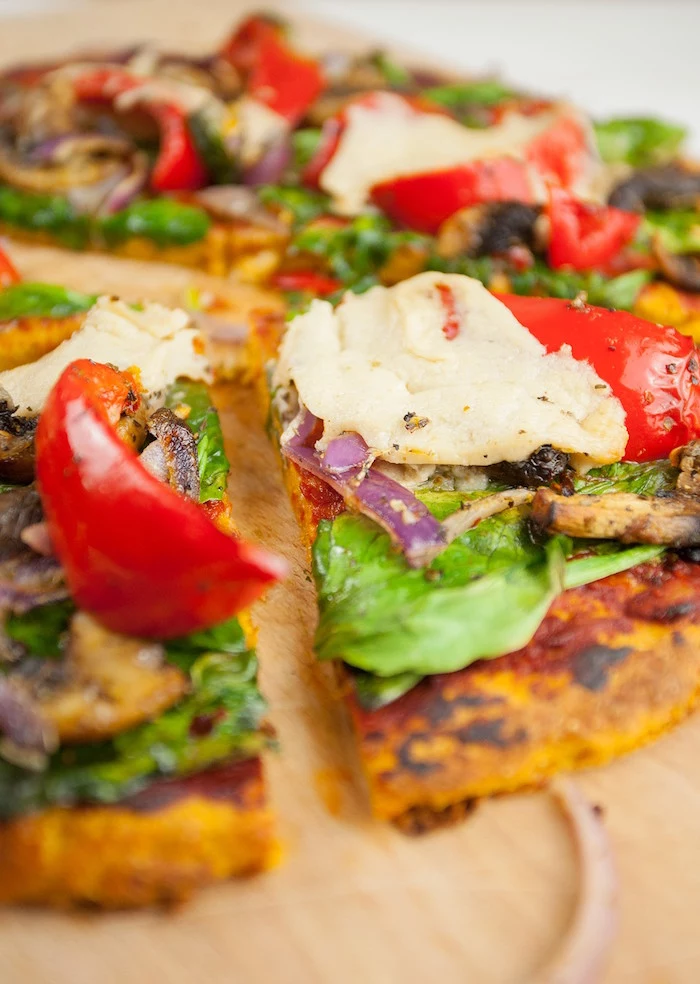
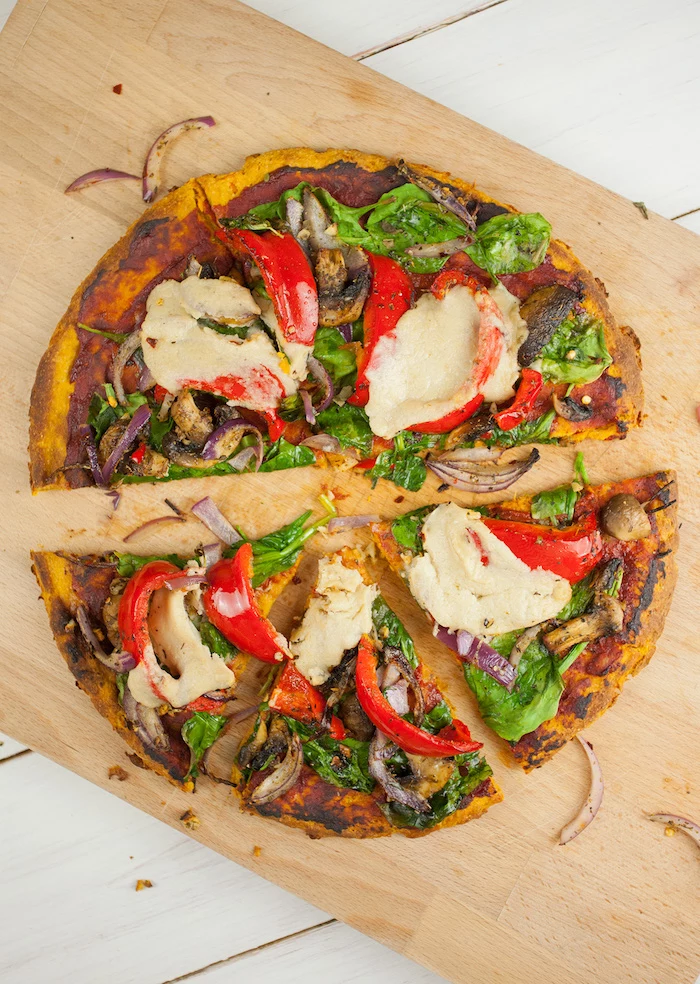
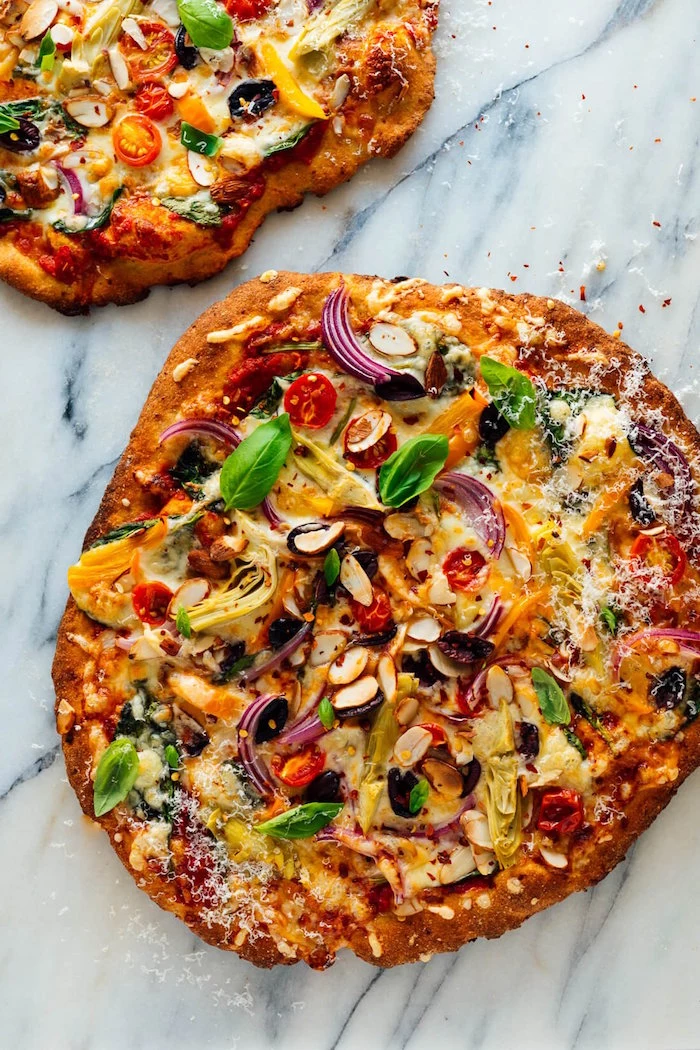
Inspirational Gallery

Active Dry Yeast: This classic needs to be “bloomed” first—dissolved in warm water with a pinch of sugar to activate it. It’s reliable and forgiving.
Instant (or Rapid-Rise) Yeast: Finer granules mean you can mix it directly with your dry ingredients, no blooming required. It often works a little faster.
For the long, cold fermentation method discussed in this guide, both work beautifully, but instant yeast makes the initial mix-up a bit quicker.

Did you know? The term ’00’ flour, like the famous Caputo ’00’, doesn’t refer to protein content but to how finely the flour is milled. This ultra-fine texture is key to the famously soft and delicate crumb of a Neapolitan pizza crust.
The secret to a crust that’s both light and chewy lies in proper kneading. You’re developing the gluten network that will trap air. How do you know when you’re done? The dough will transform from a shaggy mess into a smooth, elastic ball. It should feel slightly tacky, but not stick to your hands. Press a finger into it; the indentation should spring back slowly.
Why put pizza dough in the fridge for 24 to 72 hours?
This is called cold fermentation, and it’s the secret to pizzeria-level flavor. While the yeast’s rising action slows down in the cold, other enzymes get to work, breaking down starches and proteins. This process develops complex, rich, and slightly tangy flavor notes that you can never achieve in a quick, 2-hour rise. It’s the single biggest step-up for your home pizza game.
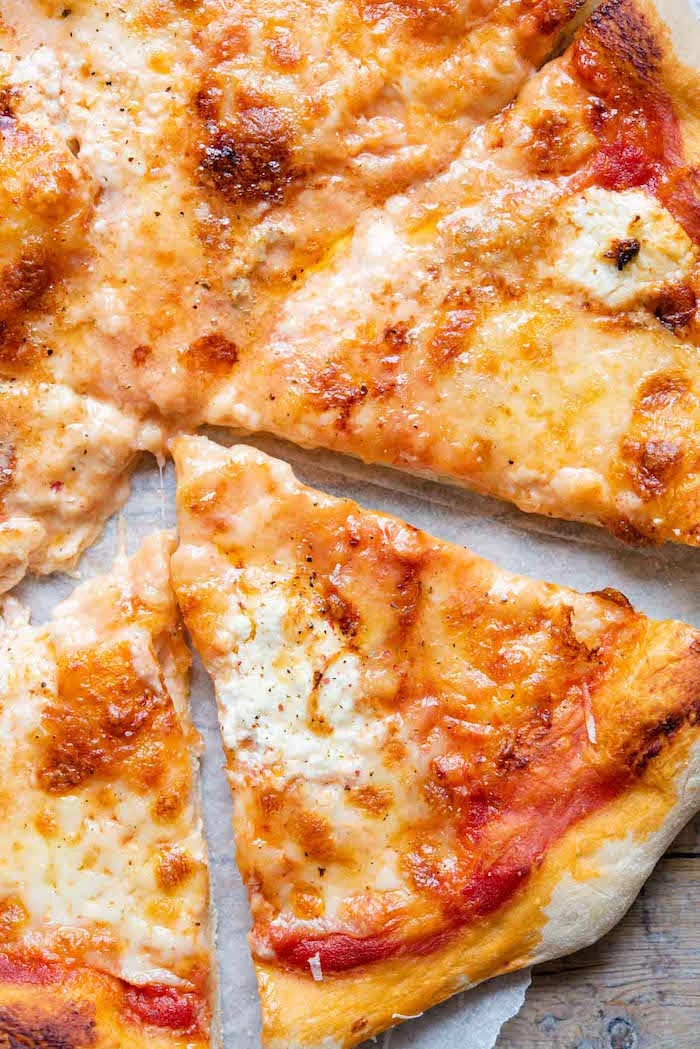
The single most important rule for a crispy crust: Your oven and your baking surface must be screaming hot. Preheat your oven with a pizza steel or stone inside for at least 45-60 minutes at the highest possible temperature, typically 500-550°F (260-290°C). The initial blast of heat is what creates “oven spring” and cooks the bottom before the toppings make it soggy.
- Creates an intensely crispy, browned bottom crust.
- Cooks your pizza faster and more evenly.
- Recovers heat quickly between pizzas.
The secret? A pizza steel. Brands like Baking Steel have revolutionized home pizza-making because steel conducts heat more effectively than a ceramic stone, giving you results that are closer than ever to a professional pizza oven.
Over 80% of the authentic ‘Pizza Napoletana’ is cooked for no more than 90 seconds.
This is only possible because of the extreme heat of a wood-fired oven (over 900°F / 485°C). At home, you can’t replicate the time, but you can replicate the principle: cook your pizza as hot and as fast as your oven allows to achieve that perfect balance of a cooked crust and fresh-tasting toppings.

Tired of your pizza sticking to the peel at the worst possible moment? The professional’s trick is to use semolina flour. Its coarse, ball-bearing-like texture is far superior to regular flour for dusting your peel. It doesn’t absorb moisture as quickly, ensuring a smooth, disaster-free launch into the oven every time.
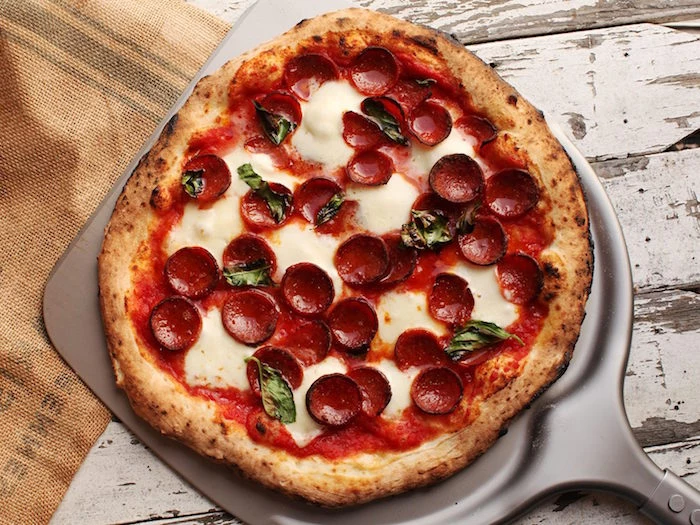
The ‘cornicione’ is the puffy, airy, and sometimes leopard-spotted rim of the pizza—the crown jewel. To achieve it:
- When shaping, press the center out but leave a 1-inch border untouched. Never use a rolling pin, as it crushes these precious air bubbles.
- Be gentle as you stretch, preserving that outer ring.
- A super-hot oven will cause the air trapped in the rim to expand rapidly, creating that magnificent puff.
Can I really get a great crust without a fancy pizza oven?
Absolutely. The key is to maximize your home oven’s power. After preheating your stone or steel at your oven’s highest setting for an hour, switch the oven to the broiler setting for the 5-10 minutes right before you launch the pizza. Place the rack about 7 inches from the top. Launch the pizza, let the broiler brown the top for 2-4 minutes (watch it like a hawk!), then switch back to the bake setting to finish cooking the bottom.
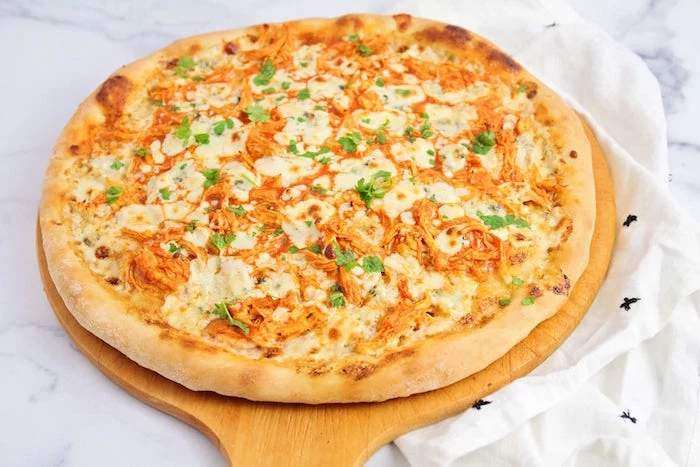
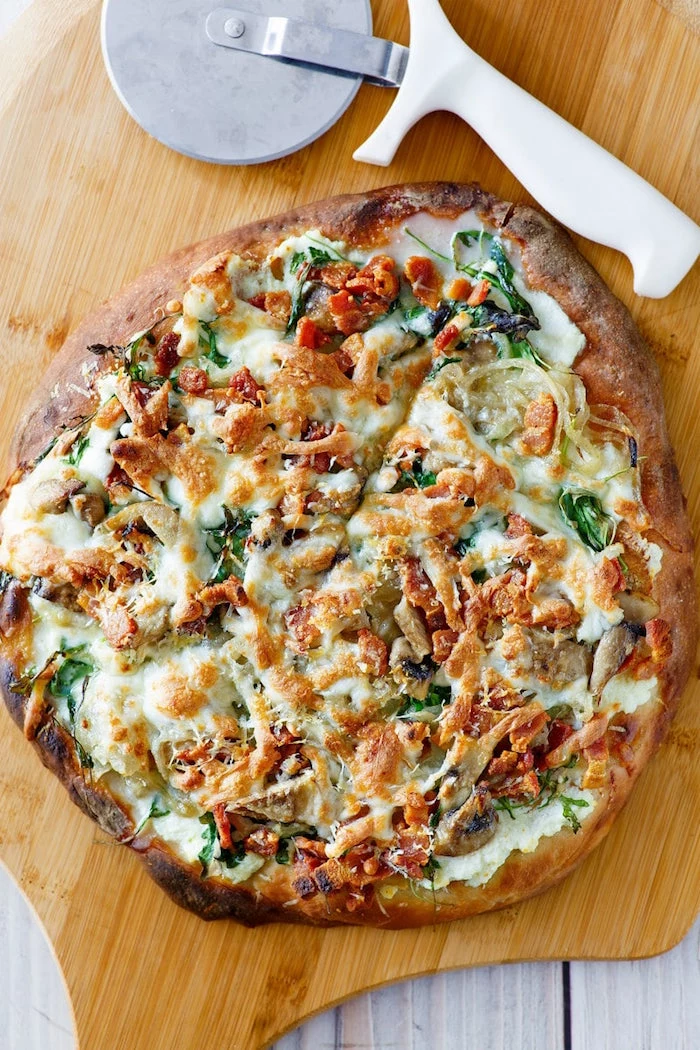
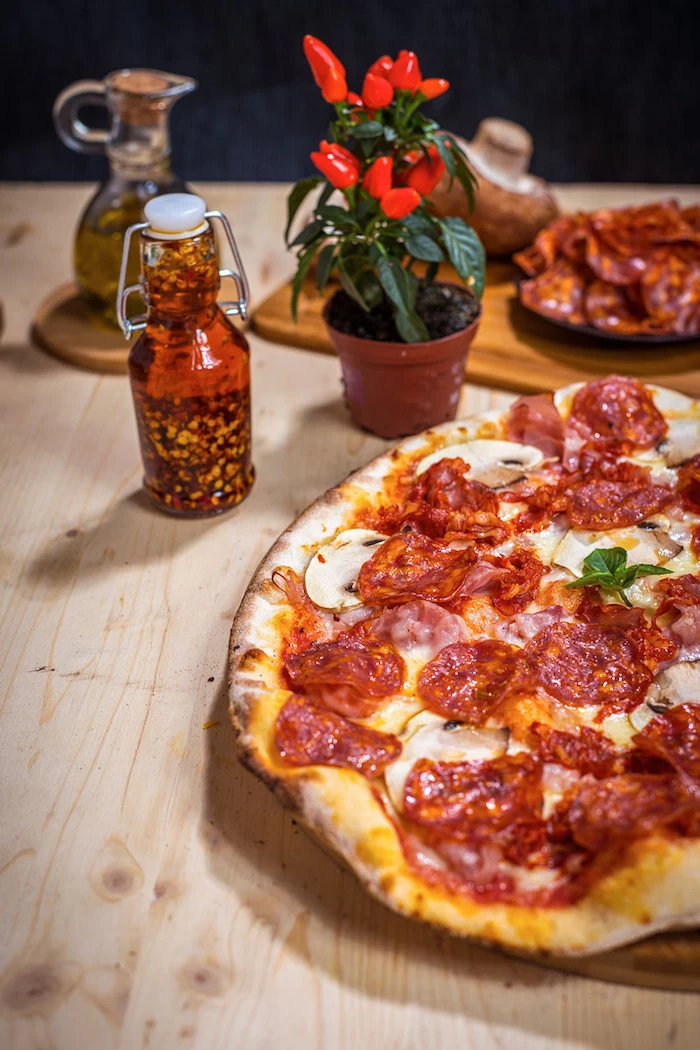
For an extra layer of flavor, infuse olive oil with a crushed garlic clove and some fresh herbs like oregano or rosemary. Gently warm the oil for 10 minutes, let it cool, then brush it lightly over the crust’s edge just before it goes into the oven. It creates an incredible aroma and a delicious finish.
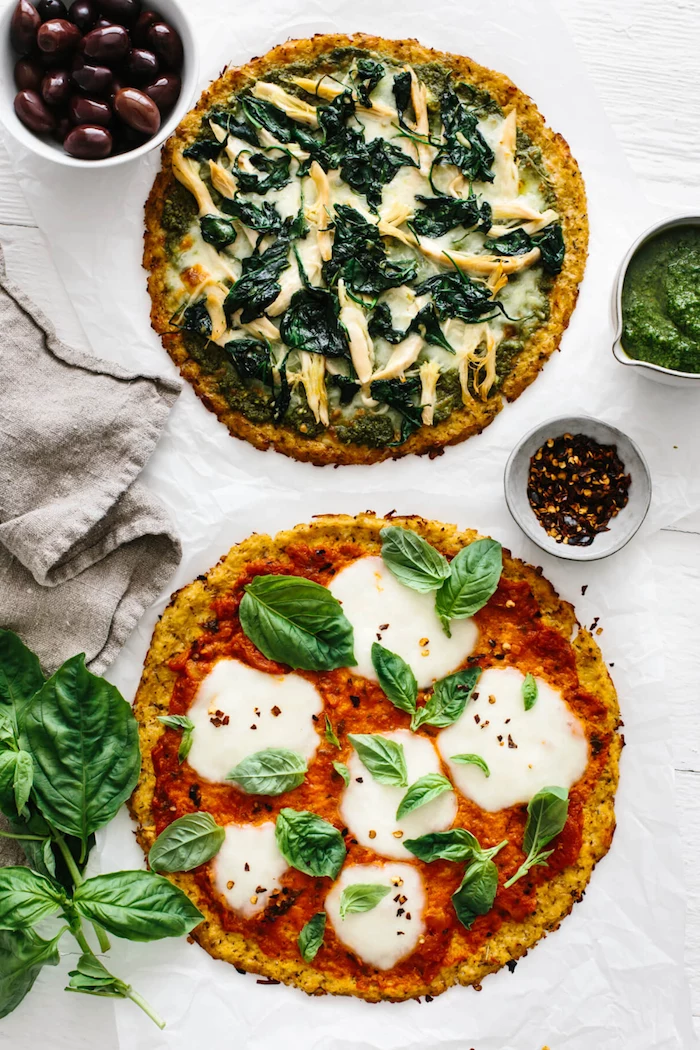
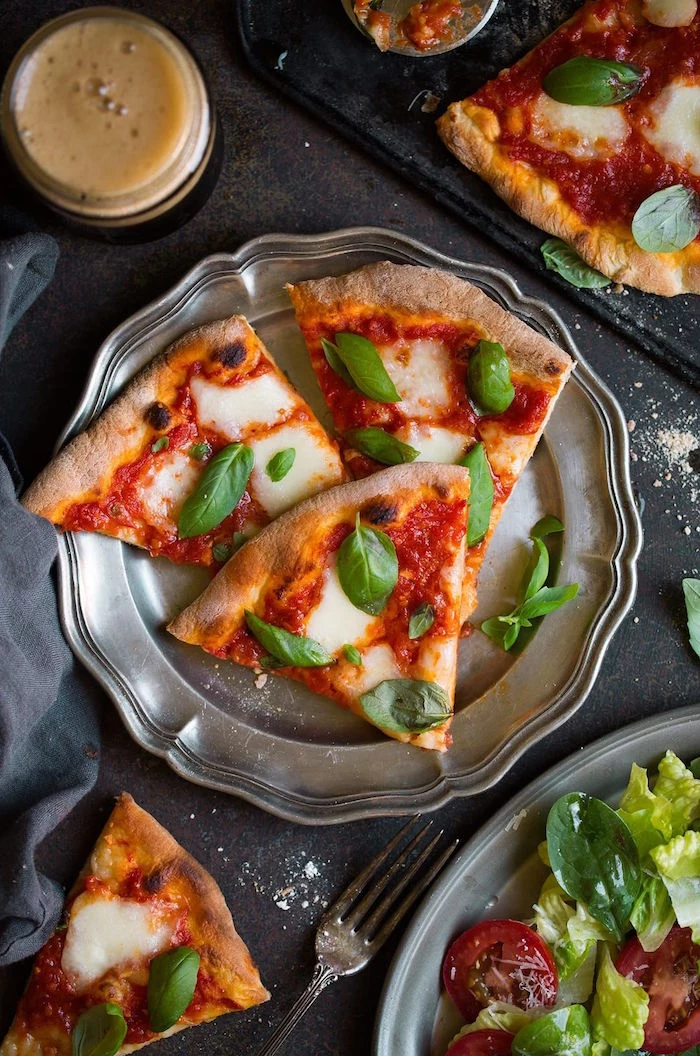
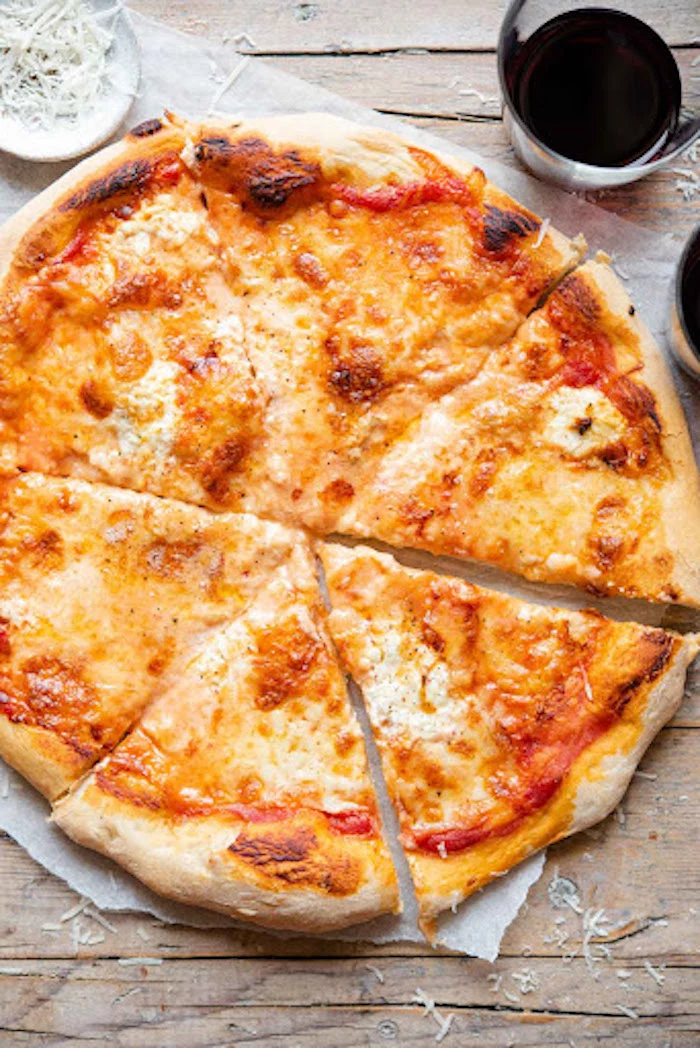
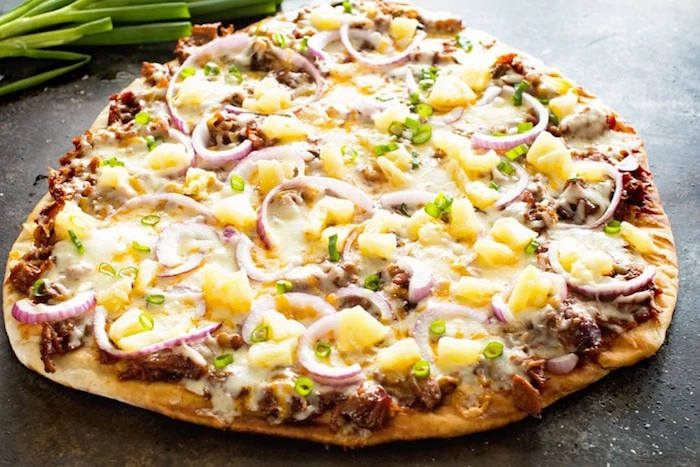
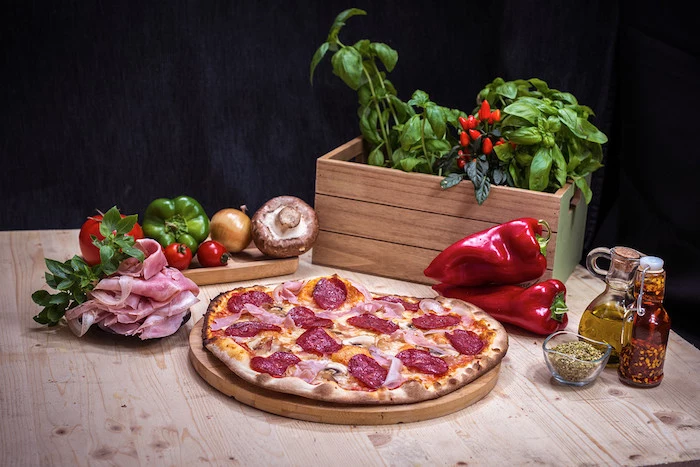
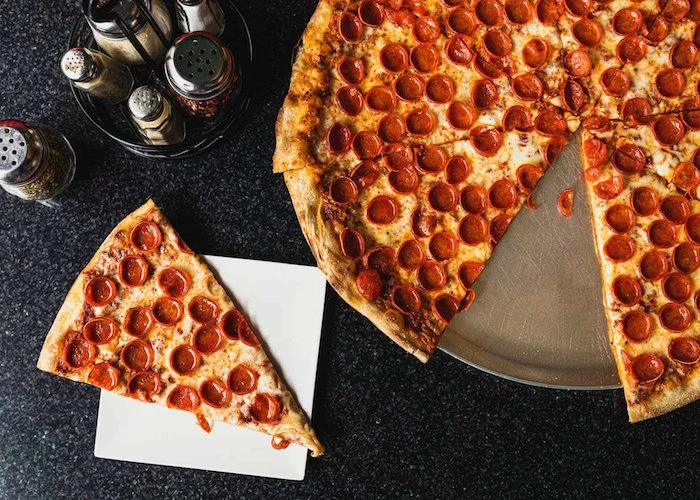
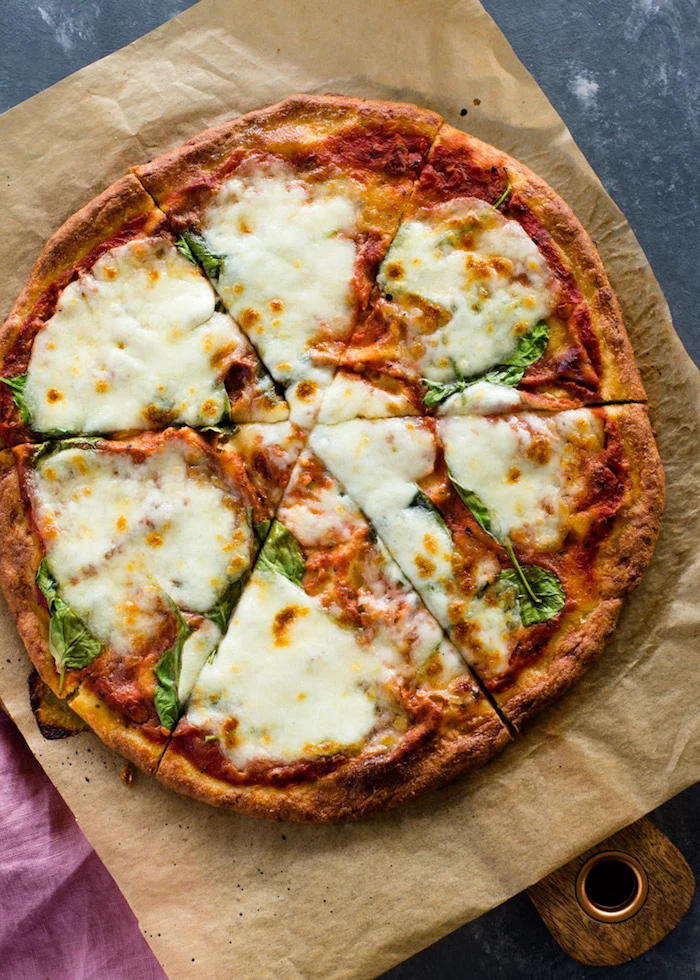
New York Style: Characterized by a large, thin, and foldable slice with a crispy but chewy edge. It’s typically made with bread flour, which has a high protein content, and often includes a little oil and sugar in the dough for browning and tenderness.
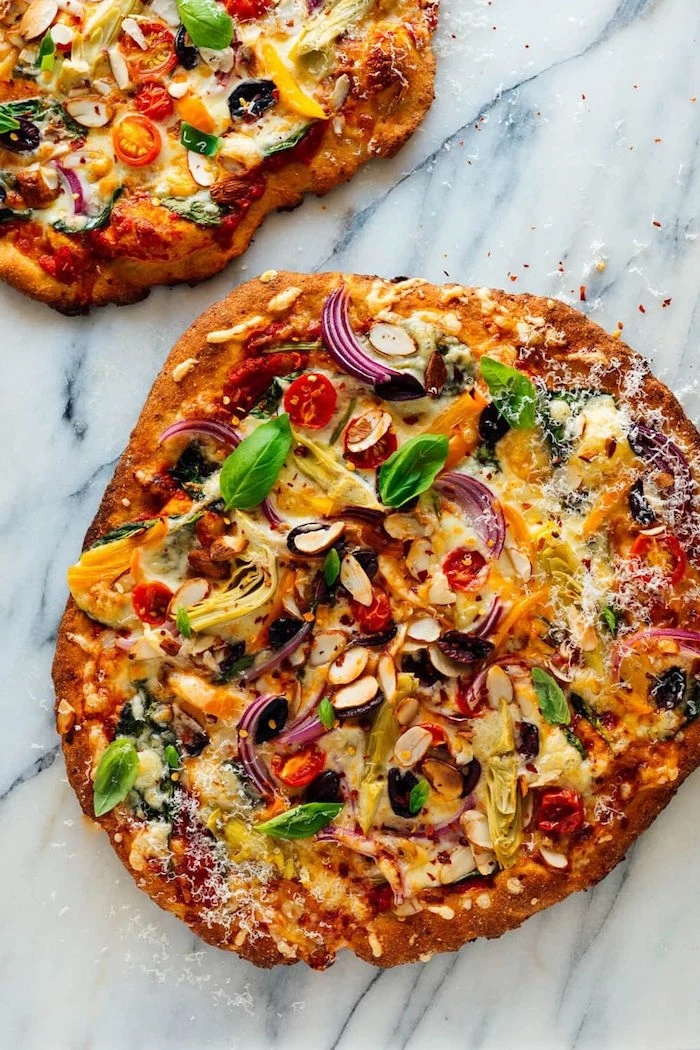
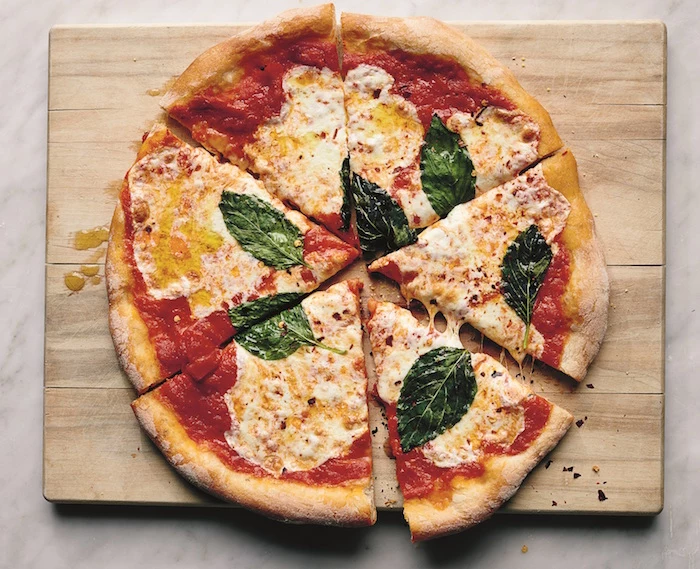
Neapolitan Style: The traditional Italian pizza. It has a pillowy-soft, cloud-like crust with a pronounced, puffy cornicione. The recipe is minimalist: only ’00’ flour, water, salt, and yeast. It’s cooked lightning-fast at very high temperatures.

“The Windowpane Test” is a baker’s rite of passage.
It’s the ultimate way to check if your gluten is fully developed. Take a small piece of kneaded dough and gently stretch it between your fingers. If you can stretch it thin enough to see light through it without it tearing, your dough is ready for its first rise. If it tears easily, it needs a few more minutes of kneading.
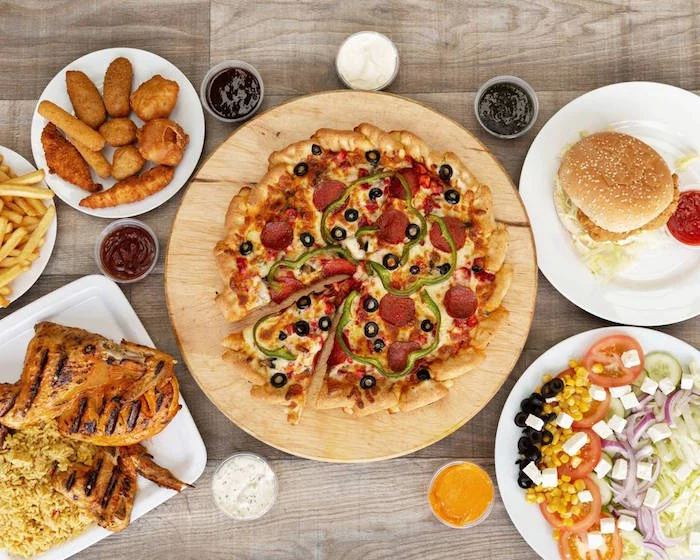
Don’t throw away leftover dough! It’s perfect for making other delicious snacks.
- Roll it thin, brush with olive oil and herbs, and bake into crispy breadsticks (grissini).
- Divide it into small balls, stuff with a cube of mozzarella, and bake as savory dough balls.
- Fold a small piece of dough over cheese and pepperoni to make a mini-calzone.

A common beginner mistake: using a rolling pin. While it’s fast, a rolling pin brutally flattens the dough, destroying the delicate network of air bubbles that your yeast worked so hard to create. A hand-stretched pizza will always have a lighter, airier, and more interesting texture. Take the time to learn to stretch by hand—it’s worth it.
What does ‘65% hydration’ even mean?
It’s simply the ratio of water to flour by weight. If your recipe calls for 1000g of flour, a 65% hydration dough would use 650g of water. A lower hydration (around 60%) results in a stiffer dough that’s easier to handle, perfect for beginners. A higher hydration (70%+) creates a stickier, wetter dough that can be challenging, but rewards you with a very open, airy crumb structure typical of artisan breads.

For an authentic Neapolitan-style pizza, the choice of flour is non-negotiable for purists. Look for Italian brands specifically milled for pizza, like Antimo Caputo ’00’ Pizzeria or Le 5 Stagioni. These flours have the right protein balance and fine texture to produce a crust that is both strong and incredibly tender after a quick, high-heat bake.
Yes, you can absolutely use your sourdough starter! Swap out the commercial yeast for about 100-150g of active, bubbly starter for every 500g of flour. Expect a longer fermentation time and a more complex, tangy flavor in the finished crust. It adds a wonderful, rustic character to your pizza.
- Dough balls that can be used on demand.
- Flavor development that continues in the freezer.
The secret? Freezing your dough correctly. After the first rise, divide the dough into individual balls. Lightly coat each one with olive oil and place them in separate zip-top freezer bags. They’ll keep for up to 3 months. To use, thaw in the refrigerator overnight, then let it sit at room temperature for 2 hours before shaping.
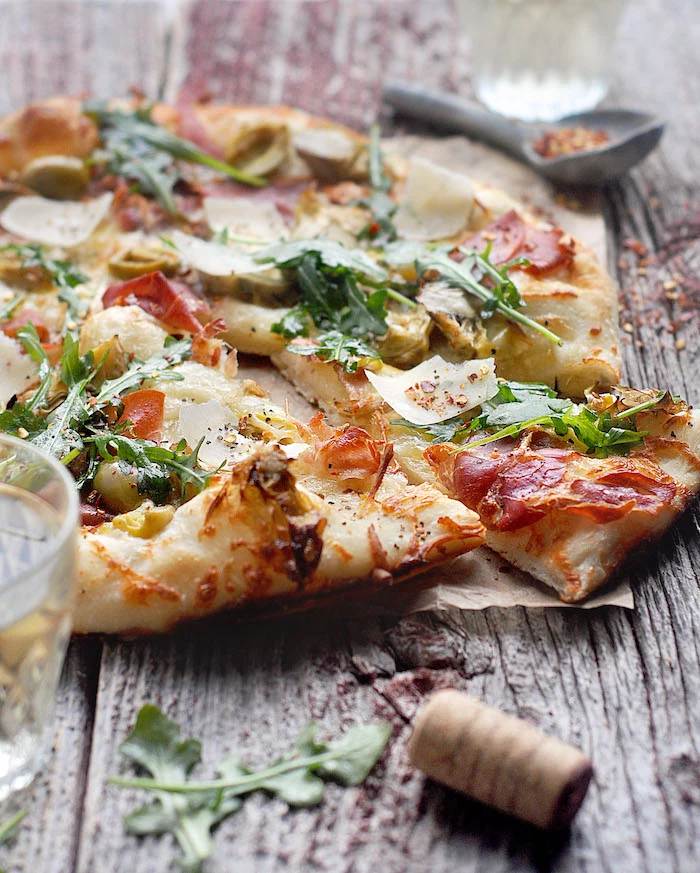
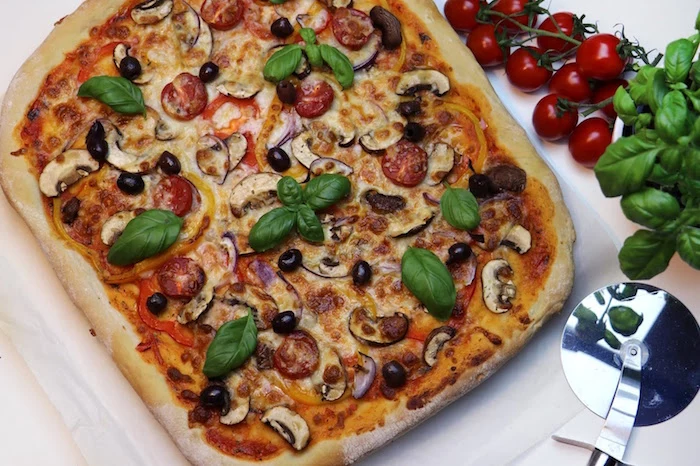
While Neapolitan pizza gets the spotlight, don’t forget its Roman cousin, ‘Pizza al Taglio’ (pizza by the cut). This style is baked in large rectangular trays and sold by weight. The dough often has a higher hydration and includes olive oil, resulting in a thicker, focaccia-like crust that’s incredibly light and airy on the inside and satisfyingly crisp on the bottom.
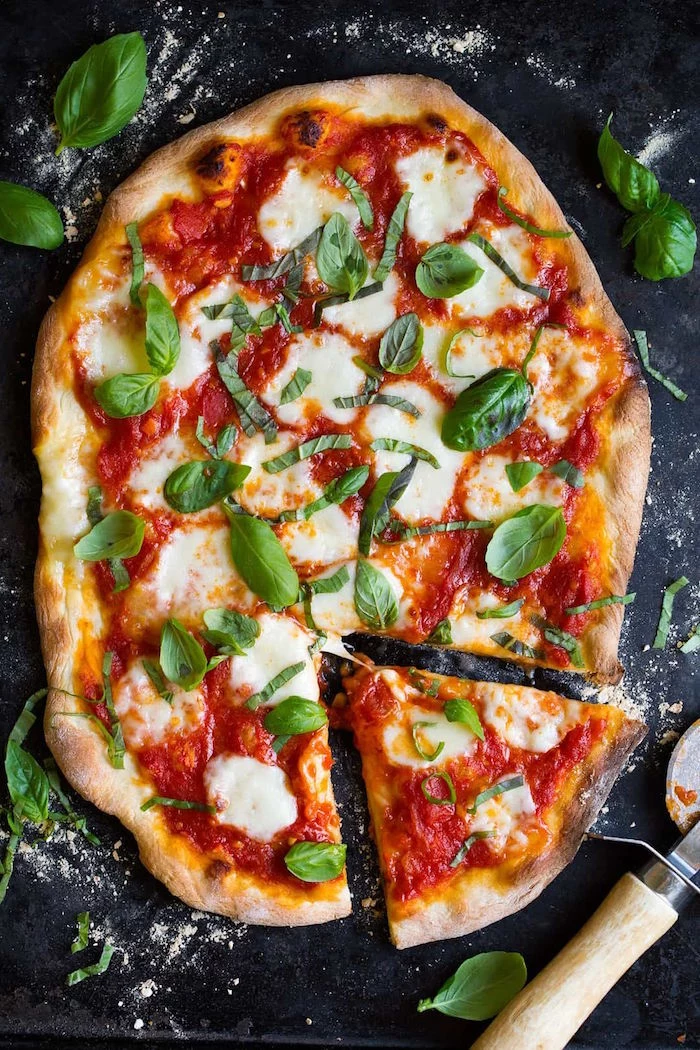
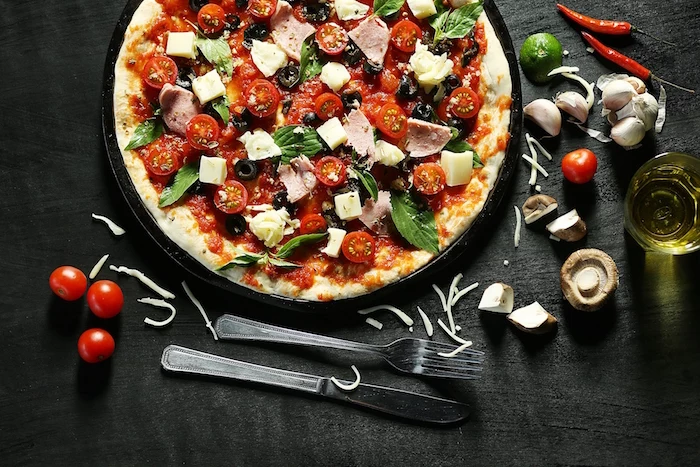
True San Marzano tomatoes, marked with the D.O.P. seal, are prized for pizza sauce because they have fewer seeds and a lower water content than other varieties.
This means you get a richer, more intense tomato flavor that won’t make your pizza dough soggy. For a perfect sauce, simply crush them by hand with a pinch of salt and a fresh basil leaf. That’s it.
The problem: Your cold-fermented dough from the fridge is stiff and hard to stretch. The solution: Patience. Pull the dough balls from the fridge at least 1-2 hours (sometimes 3 for larger balls) before you plan to bake. Letting them come to room temperature allows the gluten to relax, making the dough pliable and easy to shape. It also ‘wakes up’ the yeast for one last push in the oven.

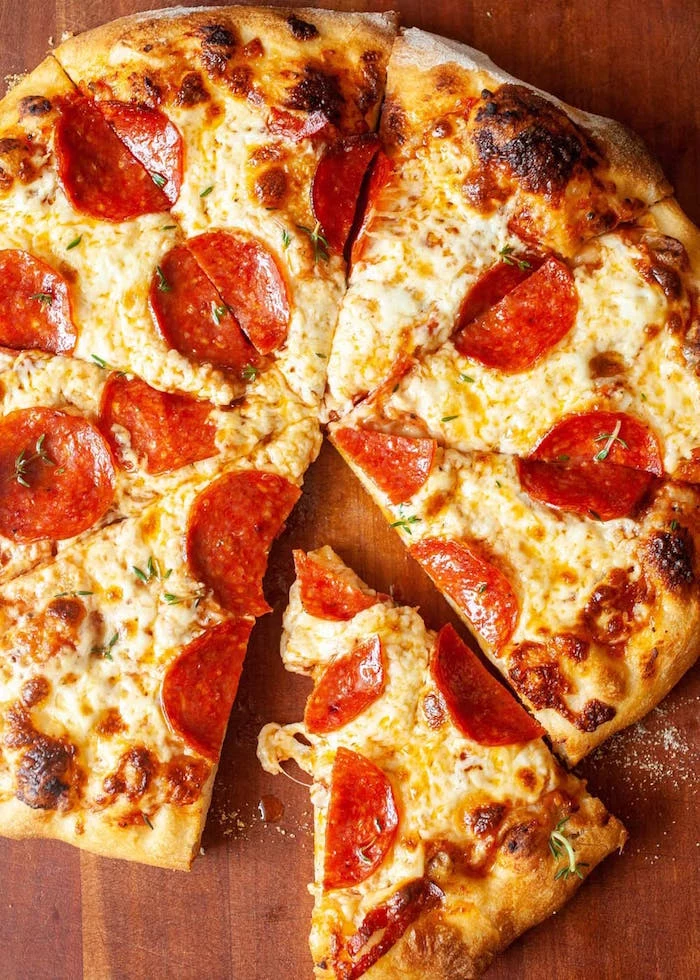
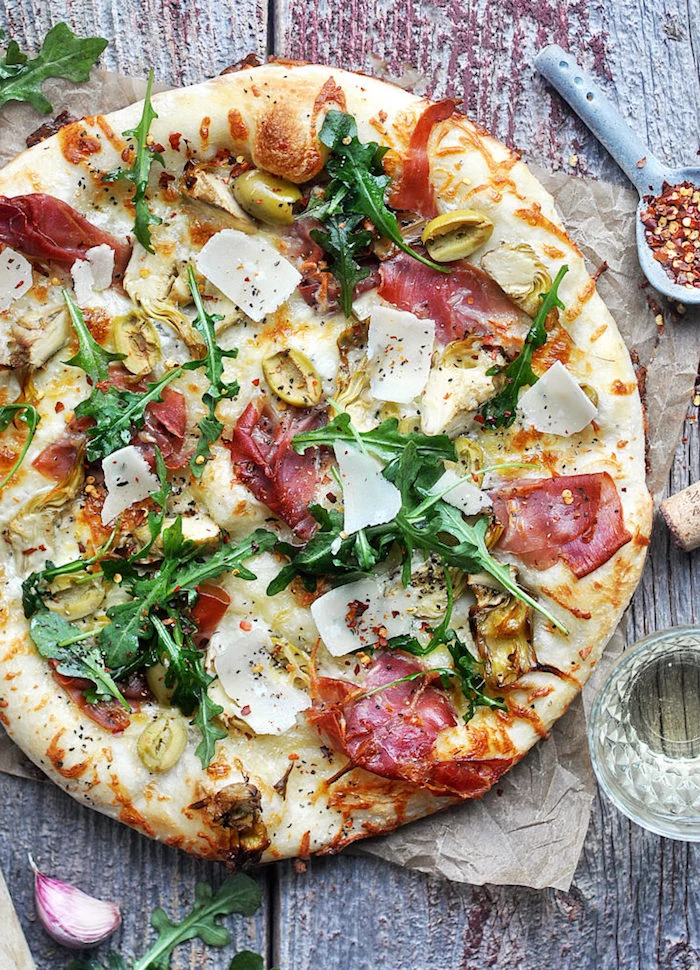
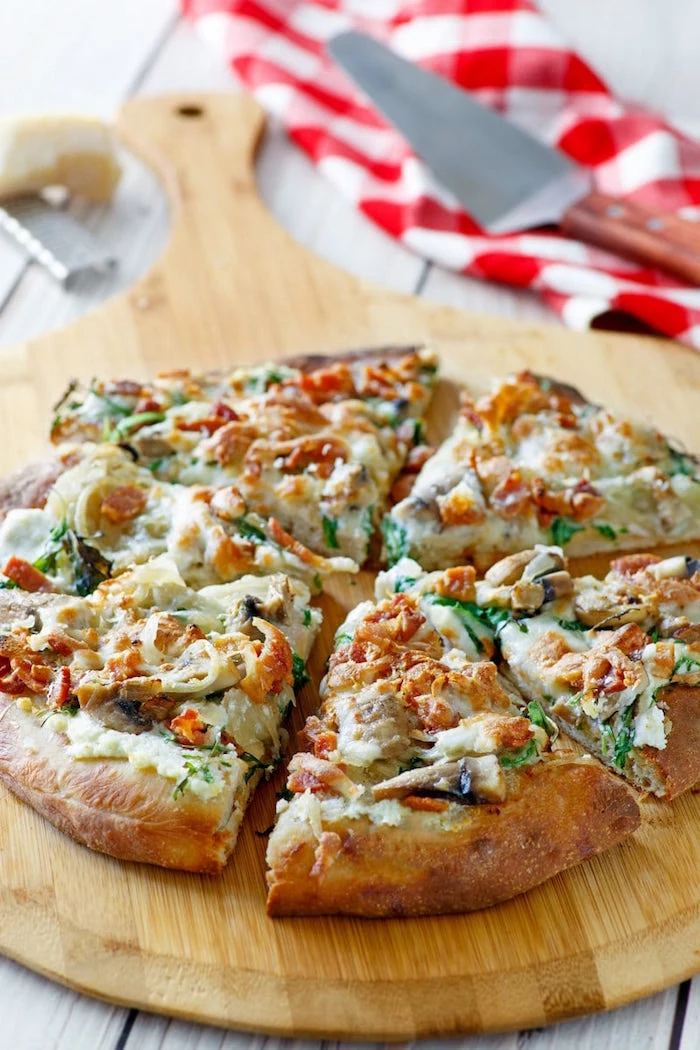
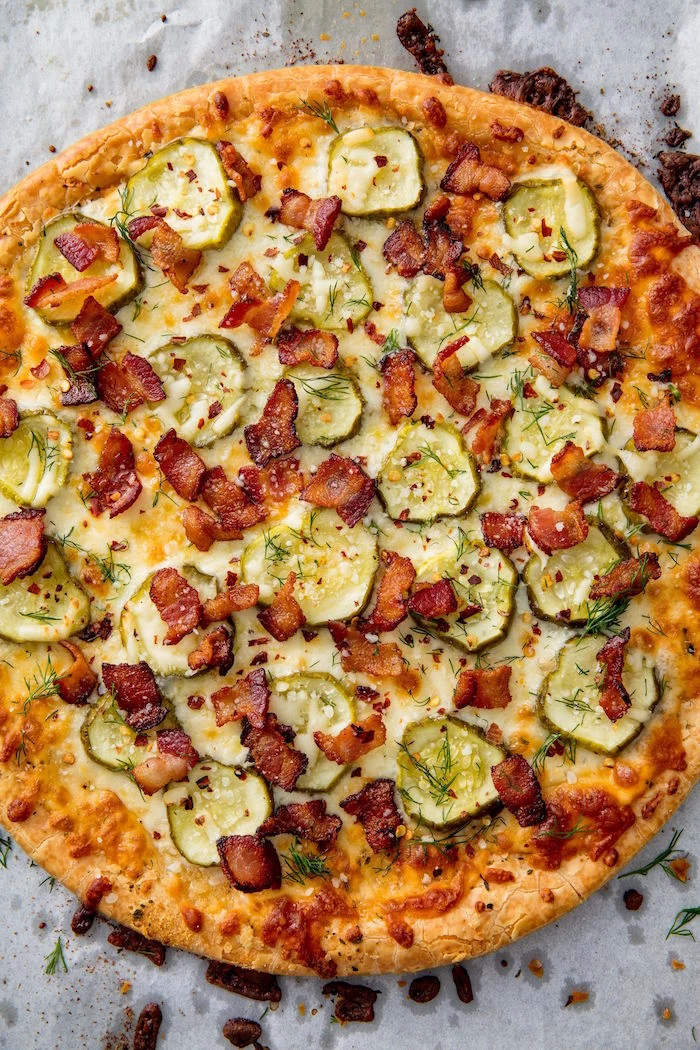
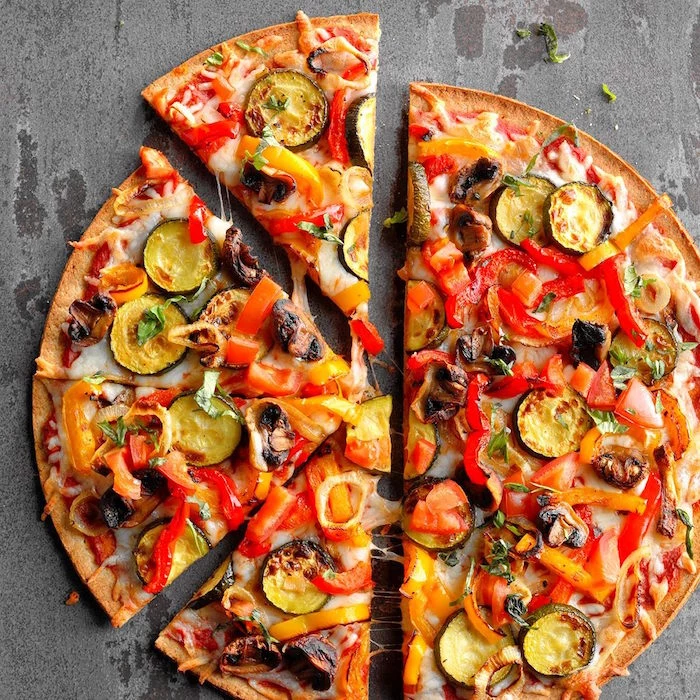
A classic Italian ethos: less is more. It’s tempting to load your beautiful dough with mountains of cheese and toppings, but this is a common mistake. An overloaded pizza can become greasy, steam the crust instead of baking it, and create a muddled mess of flavors. Let your incredible crust be the star. A thin layer of sauce and a few high-quality, balanced toppings are all you need.

“The water is just as important as the flour. It’s the lifeblood of the dough.” – Franco Pepe, legendary Italian Pizzaiolo
Your dough is alive, and its needs change with the weather. On a hot, humid day, your flour will be slightly more hydrated, and the yeast will be hyperactive. You might need slightly less water and a shorter rising time. In a cold, dry kitchen, the opposite is true. Pay attention to the feel of the dough, not just the clock. This is the art of baking.


