Finally, Homemade Oat Milk That Doesn’t Suck (No Slime, I Promise)
I’ve spent more years than I can count in professional kitchens, and one of the biggest hurdles was always getting homemade plant milks right. When oat milk exploded in popularity, I saw everyone making the same mistake. They’d follow some simple recipe they found online and end up with a goopy, slimy mess. Honestly, I made that mistake too in the beginning, and it was beyond frustrating.
In this article
But that frustration is what pushes you to figure out the why behind a recipe, not just the how. And let me tell you, making amazing oat milk at home has almost nothing to do with owning a fancy, expensive blender. It’s all about technique.
Commercial brands have high-tech gear and enzymes to get that perfect texture, but we can get incredibly close by controlling just three things: temperature, friction, and pressure. I’m going to walk you through the exact method I’ve perfected, explain the simple science behind it, and show you how to avoid all the common pitfalls.
So, Why Does Oat Milk Get Slimy, Anyway?
Before we can fix the problem, we have to know what causes it. The main culprit behind that dreaded slime is a type of soluble fiber in oats called beta-glucan. It’s the same stuff that makes your morning bowl of oatmeal thick, creamy, and satisfying. It’s great for you, but it’s your worst enemy when you want a smooth, drinkable milk.
On top of that, oats are packed with starch. When you mix oats and water, both the beta-glucans and the starches are just waiting for an excuse to activate and turn your drink into goo. And what’s the trigger? Two things we almost always introduce during the process: heat and friction.
Heat: Even slightly warm water will start to cook the starches and dissolve the beta-glucans, basically starting the porridge-making process. We need to do the exact opposite.
Friction: Those fast-spinning blender blades create more heat than you’d think. The longer you blend, the warmer the mix gets. The blending action also physically shreds the oats, releasing way more of those slimy compounds into the water. A one-minute blend might sound short, but it’s more than enough time to ruin your oat milk.
So, our entire strategy is built around fighting these two things. We use ice-cold water, a super short blend time, and a gentle straining method. Once you get that, you’re golden.
The Foolproof Method for Basic Oat Milk
This is the recipe. Follow the steps precisely, especially the timing. This isn’t a forgiving soup recipe; the technique is everything.
First, Let’s Talk Ingredients
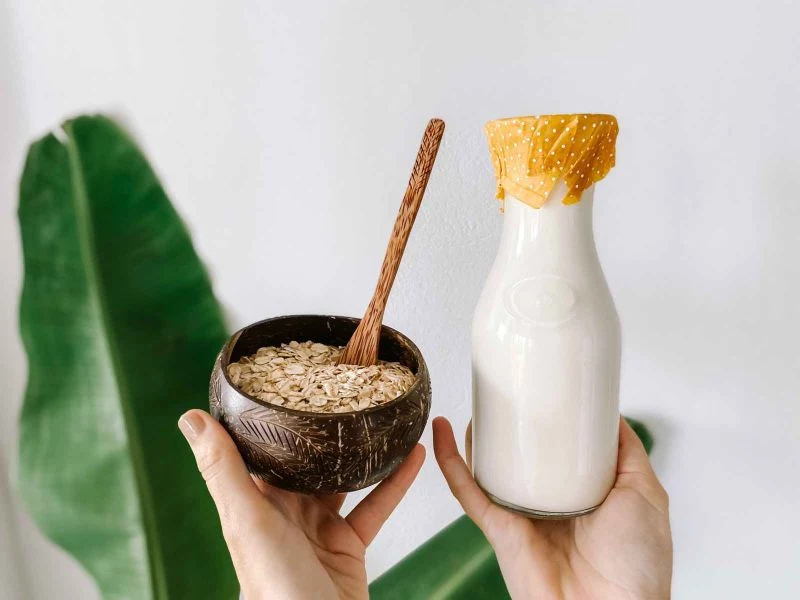
Oats: You want to use old-fashioned rolled oats, period. Steel-cut oats are too tough and need more blending, which means more friction and slime. Instant oats are too processed and turn to mush on contact. If you can, grab organic rolled oats—oats are a crop that often gets sprayed with herbicides, so organic is a good choice. And a heads-up for anyone with Celiac disease or a serious gluten intolerance: you MUST use oats that are certified gluten-free. Oats are gluten-free by nature, but they’re almost always processed on equipment that handles wheat, so cross-contamination is a real risk.

Water: This is just as critical as the oats. Use filtered water that is ICE-COLD. I’m not kidding. A few hours before you plan to make your milk, fill a pitcher with water and stick it in the fridge. Right before blending, toss in a handful of ice cubes. This cold temperature is your number one weapon against slime.
Optional (But Recommended) Flavorings:
- Salt: A tiny pinch of fine sea salt doesn’t make it salty, it just makes it taste better. It brings out the natural sweetness of the oats and makes the flavor pop. I never skip it.
- Sweetener: If you like your milk sweet, toss in one or two pitted Medjool dates or a tablespoon of maple syrup when you blend.
- Vanilla: About a quarter teaspoon of real vanilla extract adds a lovely warmth, especially if you’re using it for lattes.
The Gear You’ll Need
- A decent blender. You don’t need a $500 Vitamix, but that old $40 blender from your college days might struggle. You want something with enough power to pulverize the oats quickly, so aim for a blender with at least 500-600 watts.
- A fine-mesh nut milk bag. This is non-negotiable for a good texture. Cheesecloth is either too porous (letting pulp through) or too thick if you layer it. A sieve is even worse. I really like the ones from brands like “Pro Quality” on Amazon; you can get a 2-pack for about $12, and they last forever.
- A large bowl for straining the milk into.
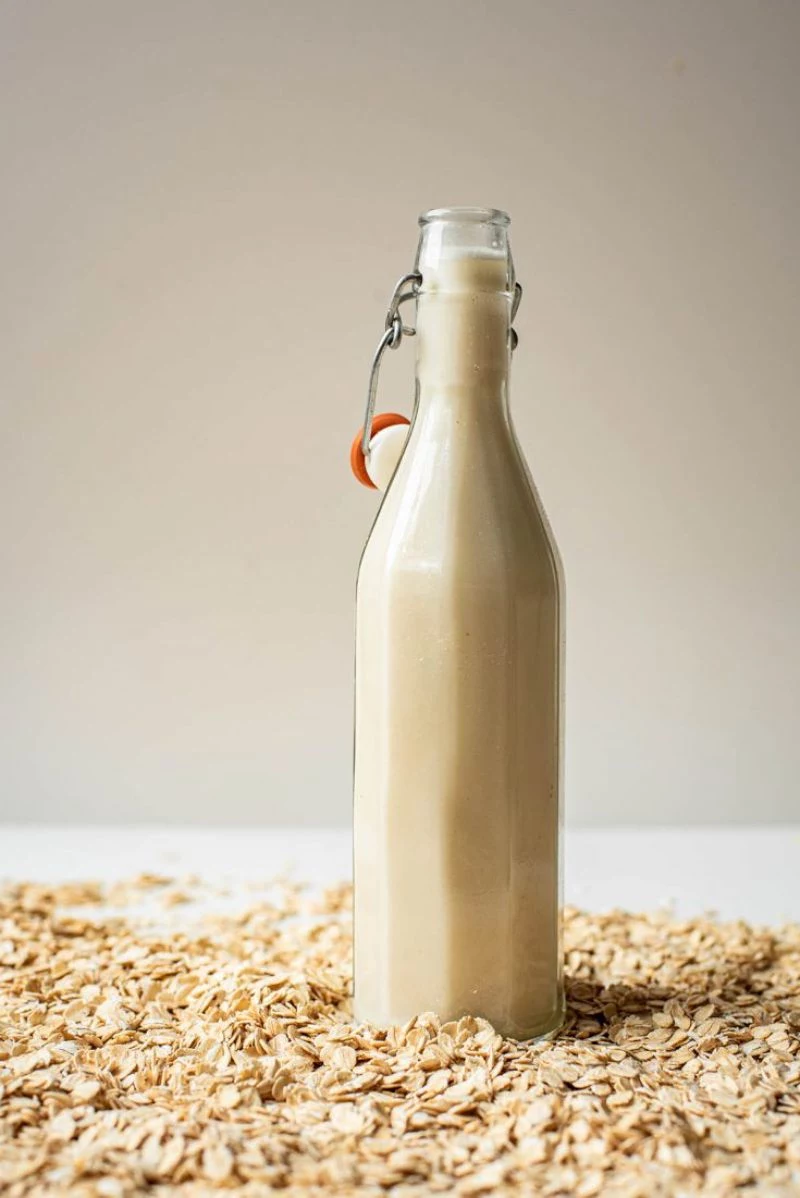
- A glass bottle or jar with a tight lid for storage. Pro tip: I always run my bottle through a hot dishwasher cycle or rinse it with boiling water first. This sanitizes it and helps the milk last longer.

Step-by-Step to Non-Slimy Success
This recipe makes about 3.5 cups and takes less than 5 minutes, seriously.
Here’s what you’ll need:
- 1 cup (90g) rolled oats (certified GF if needed)
- 4 cups (960 ml) ice-cold filtered water
- 1/4 teaspoon fine sea salt
- Optional: 1-2 pitted dates, 1 tbsp maple syrup, 1/2 tsp vanilla extract
The Technique:
- DO NOT SOAK THE OATS. I see this in so many recipes, and it’s the fastest way to get slime. We want the absolute minimum contact time between the oats and water before blending.
- Combine and Go. Put the oats, ice-cold water, salt, and any of your optional flavorings into the blender.
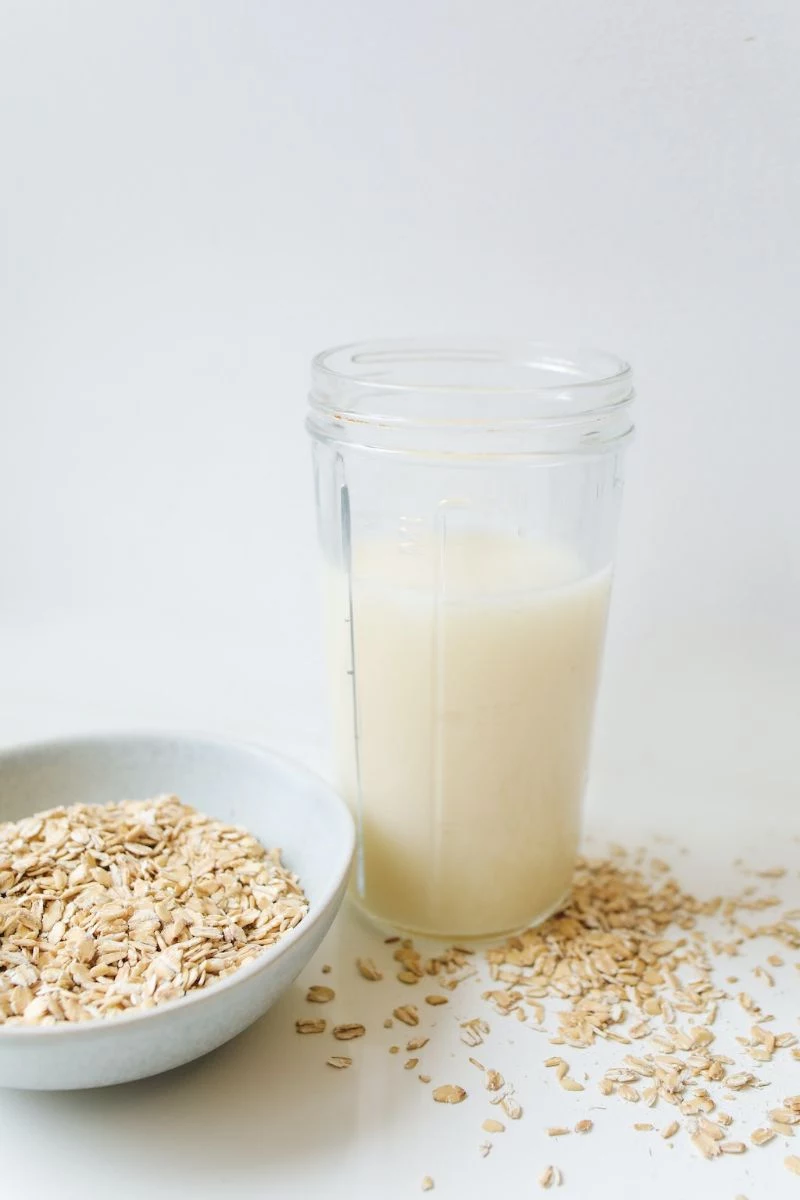
- Blend for 30 Seconds. EXACTLY. I know it feels wrong, but trust me. Set a timer on your phone. The biggest mistake people make is thinking, ‘just a few more seconds won’t hurt.’ It will! The mixture should look thin, like skim milk, not thick and creamy like a smoothie. Seeing tiny flecks of oat is totally normal.
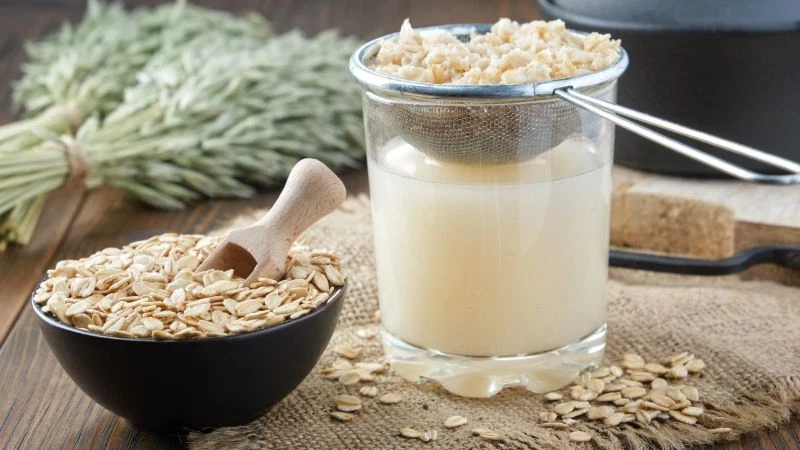
- Get Ready to Strain. Drape your nut milk bag over a large bowl and pour the blended mixture right in.
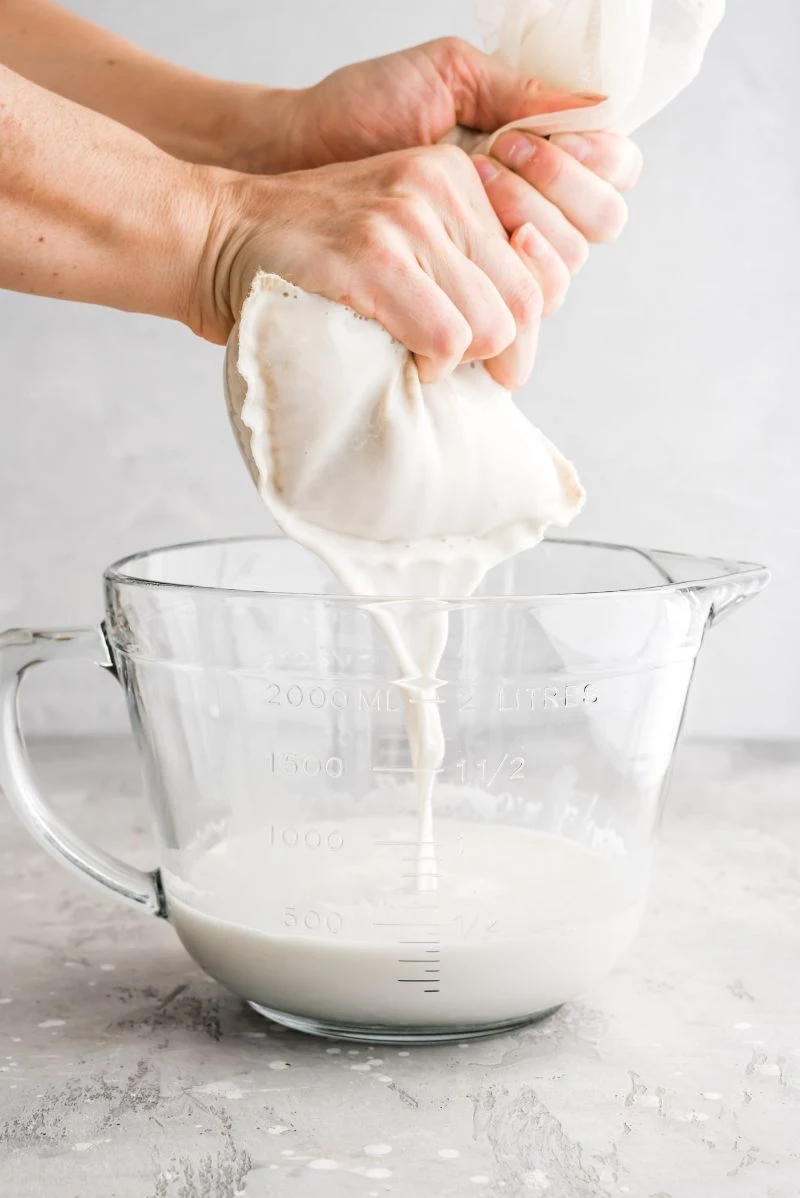
- Strain Gently. This is the other critical step. Let gravity do the work. Lift the bag and let the milk drain through. You can give it one gentle squeeze to get the last bit out, but DO NOT wring it out like a wet towel. Squeezing forces the starches through the mesh and creates slime. The tiny bit of milk you sacrifice is worth it for a perfect texture.
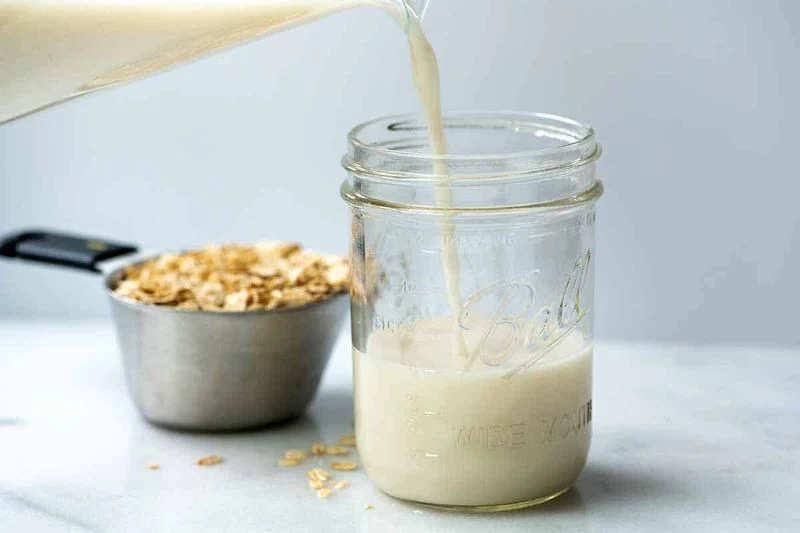
- Store Immediately. Pour your beautiful oat milk into a clean, sealed glass bottle and get it into the coldest part of your fridge.

By the way, don’t throw out the leftover oat pulp! You can toss it into a smoothie, mix it into dog food (my dog loves it), or add it to muffins for extra moisture and fiber. It feels way less wasteful.
Oh, and a quick tip for cleaning that nut milk bag, because it can be a pain. Immediately after you’re done, turn the bag inside out, rinse it under hot water to get the pulp off, scrub with a little dish soap, and then hang it to air dry completely. Don’t let the pulp dry on it, or you’ll regret it later!
Troubleshooting Common Problems
Even with the best method, things can go sideways. Here are the most common issues and how to fix them.
Help! My oat milk is slimy!
- Did you use ice-cold water? Room temp water is a recipe for disaster. It has to be cold.
- Did you blend for more than 30 seconds? Stick to the rule. It feels short, but it’s the magic number.
- Did you squeeze the bag too hard? Be gentle! Let it drain naturally.

My oat milk separated in the fridge. Is it bad?
- Nope, this is 100% normal. Store-bought milk has gums and emulsifiers to keep it perfectly mixed. Ours doesn’t. The heavier oat solids will naturally settle. Just give the bottle a good, vigorous shake before you use it, and it’ll be good as new.
Why does my oat milk curdle in hot coffee?
- This is a simple chemistry problem. The heat and acidity of coffee can make the oat proteins clump together. It’s more common with light roast coffees, which tend to be more acidic.
- The Easy Fix (Tempering): Don’t pour cold milk into hot coffee. Instead, pour some oat milk in your mug first, then very slowly pour in the hot coffee while stirring. This gradual temperature change often prevents curdling.
- The Pro-Level Fix: Want milk that performs like a barista’s? Take 1/4 cup of your finished oat milk and blend it with about 1/8 teaspoon of a neutral oil (like refined coconut or canola oil) for about 10 seconds. The added fat creates a much more stable emulsion. Now, this oil-infused milk is ready to add to your hot coffee without fear of curdling.

Can I double this recipe?
- Absolutely! You can double it to 2 cups of oats and 8 cups of water, as long as your blender is big enough to handle it without overflowing. Just keep the blend time the same—still just 30 seconds!
The Final Word: Storage, Safety, and Is It Worth It?
Your homemade oat milk is a fresh product with no preservatives. It will last for about 4-5 days in a sealed jar in a cold fridge. I like to write the date I made it on the lid with a marker. Always trust your nose—if it smells even slightly sour, toss it.
So, is it actually cheaper? Let’s do the math. A half-gallon (64 oz) carton of a premium brand can cost $5.00 or more. A big 42 oz container of store-brand rolled oats is about $4. This recipe uses about 90g of oats, which costs you roughly $0.40. You’re making about a quart of fresh oat milk for less than fifty cents. The savings are huge over time!
But for me, the real benefit isn’t just the money. It’s knowing exactly what’s in my glass: no gums, no weird oils, and no added sugar unless I put it there myself. It’s a craft, and once you get the hang of it, you’ll never go back to slimy, disappointing results again.
Inspirational Gallery
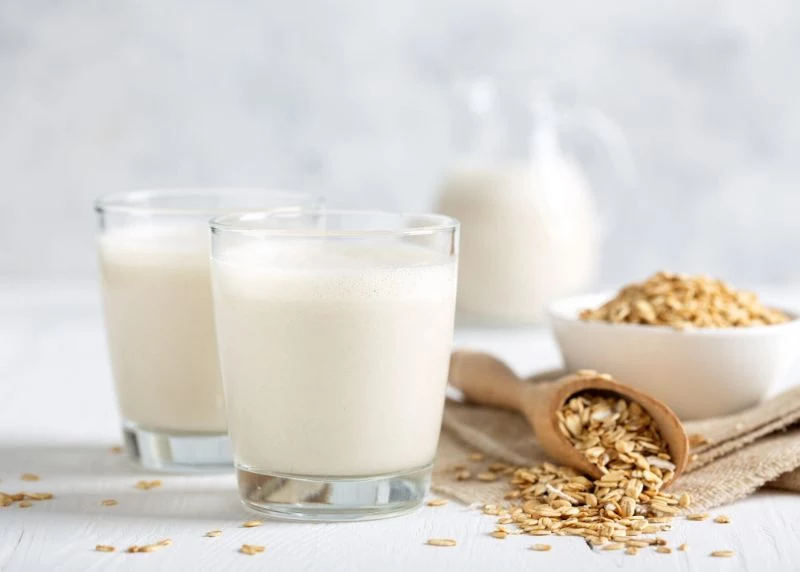
The right oats matter: For that perfect creamy texture without the slime, stick to old-fashioned rolled oats. Steel-cut oats are too tough and release starch unevenly, while instant oats are over-processed and will turn to mush the second they hit water. For a certified gluten-free version, brands like Bob’s Red Mill offer reliable options.
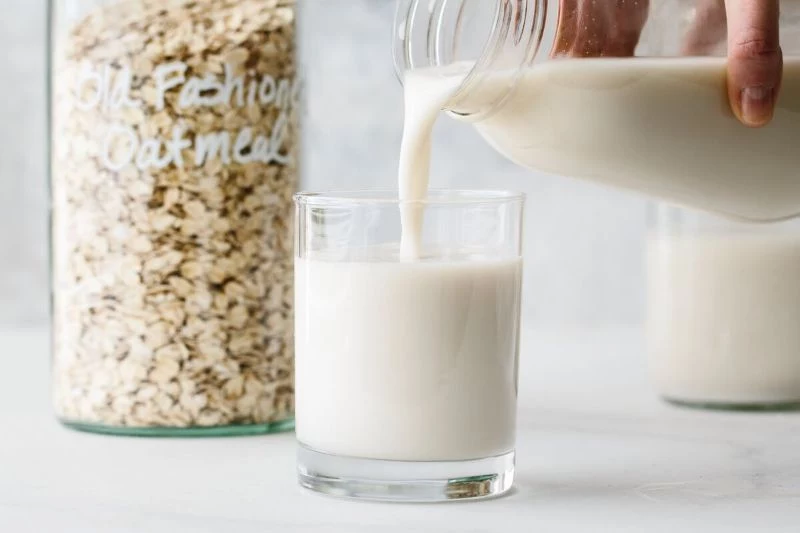
My oat milk separates in the fridge. Did I mess up?
Not at all! Natural separation is actually a good sign. It means your milk isn’t full of the industrial gums and emulsifiers (like gellan gum or dipotassium phosphate) that commercial brands use to force stability. Just give the bottle a vigorous shake before each use—it’s the signature move of a truly homemade, additive-free product.
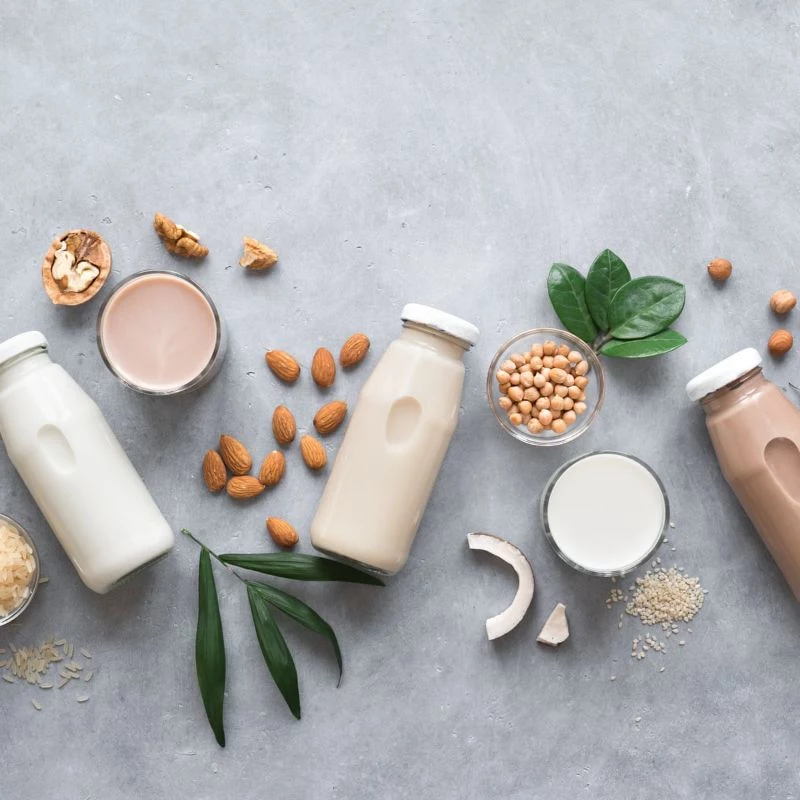
A single liter of commercial oat milk can require up to 48 liters of water for production, but the vast majority of that is natural rainfall. Compared to almonds, which need extensive irrigation, oats are a far more sustainable choice for your homemade plant milk.
Don’t throw away that leftover oat pulp! It’s packed with fiber and perfect for reducing kitchen waste. You can immediately add a spoonful to a smoothie for extra thickness, mix it into your morning porridge, or store it in the fridge to bake into oatmeal cookies, muffins, or homemade granola bars later in the week.

Want to level-up your morning coffee? The secret to frothed oat milk that rivals your favorite café is a tiny bit of fat. Commercial ‘barista blends’ add rapeseed or sunflower oil to create stable microfoam. You can replicate this by adding half a teaspoon of a neutral oil (like sunflower) or a pinch of sunflower lecithin to your batch before blending. This helps it emulsify and prevents it from curdling in hot coffee.
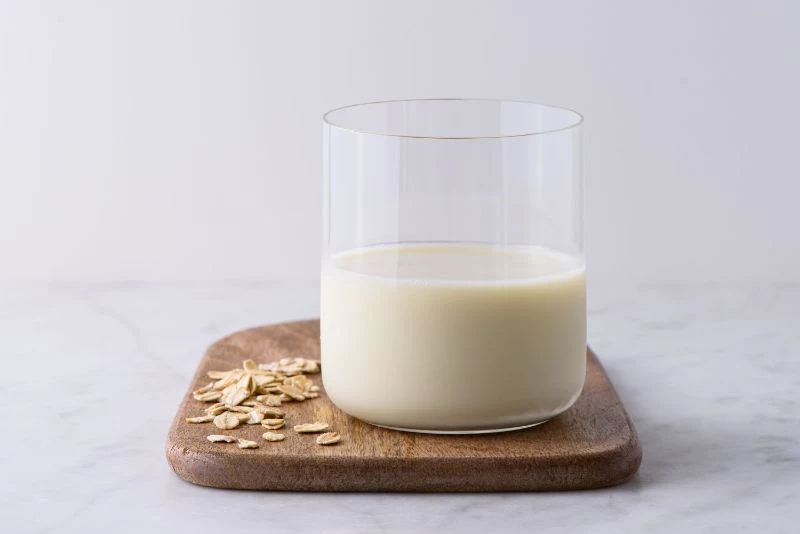
- A richer, more decadent mouthfeel.
- Better performance in recipes calling for cream.
- Less noticeable separation after refrigeration.
The secret? Simply adjust your ratios. While a 1:4 measure of oats to water creates a great all-purpose milk, switching to a 1:3 ratio will produce a thicker, more luxurious oat cream perfect for enriching soups or desserts.
Once you’ve mastered the basic recipe, it’s time to play with flavors. The key is to add flavorings *after* blending and straining to avoid affecting the texture.
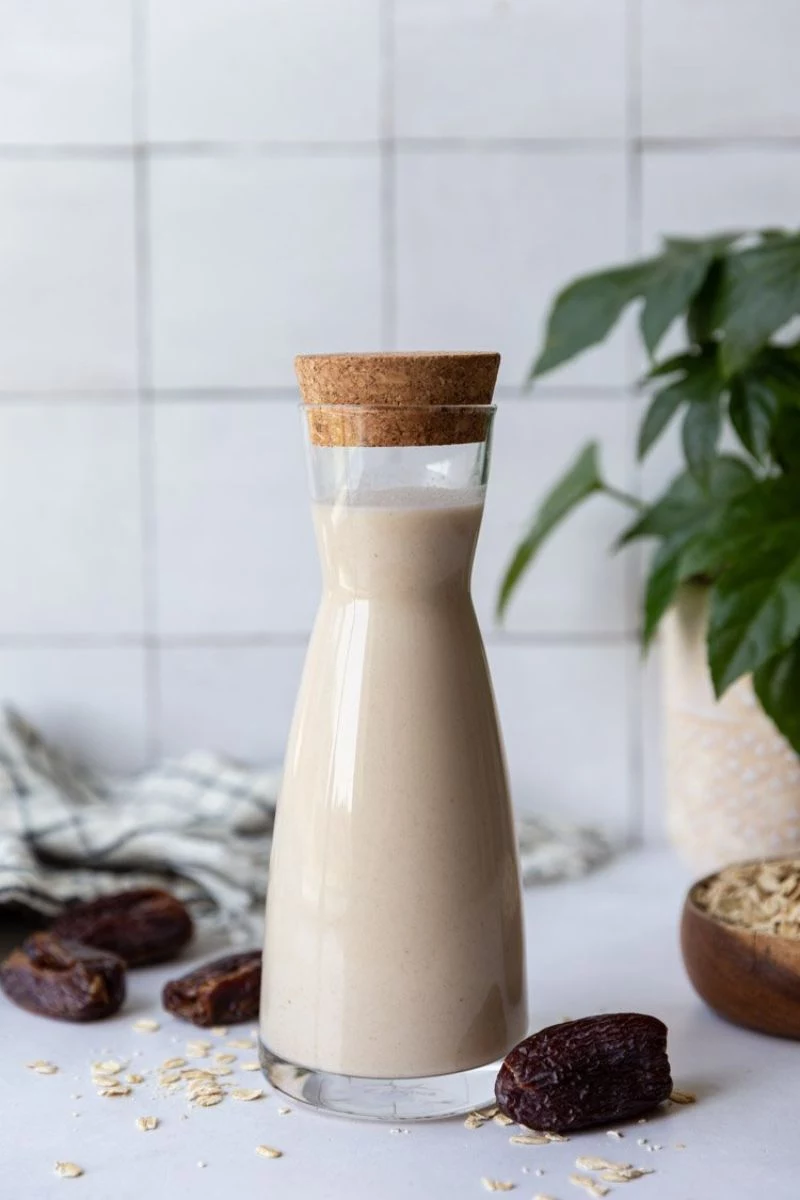
- For sweetness: Blend in one or two pitted Medjool dates or a teaspoon of maple syrup.
- For depth: A splash of real vanilla extract and a tiny pinch of sea salt will make the oat flavor pop.
- For spice: A dash of cinnamon or cardamom turns your milk into an instant chai base.
Nut Milk Bag: Specifically designed with an ultra-fine 200-micron mesh, it yields the smoothest, pulp-free milk and is durable enough for repeated squeezing and washing.
Cheesecloth/Sieve: A more accessible option, but multiple layers of cheesecloth are needed and can be messy. A fine-mesh sieve is better, but may still let very fine sediment through, resulting in a slightly grittier texture.
For consistently silky results, investing in a dedicated nut milk bag is a small upgrade that makes a big difference.
Making oat milk at home can cost as little as 25 cents per liter, depending on the price of your oats. Compared to premium brands like Oatly or Chobani, which can run upwards of $4-5, the savings are immediate and substantial.
This cost-effectiveness turns a daily staple into a smart budgetary choice, proving that quality and economy can go hand-in-hand in your kitchen.

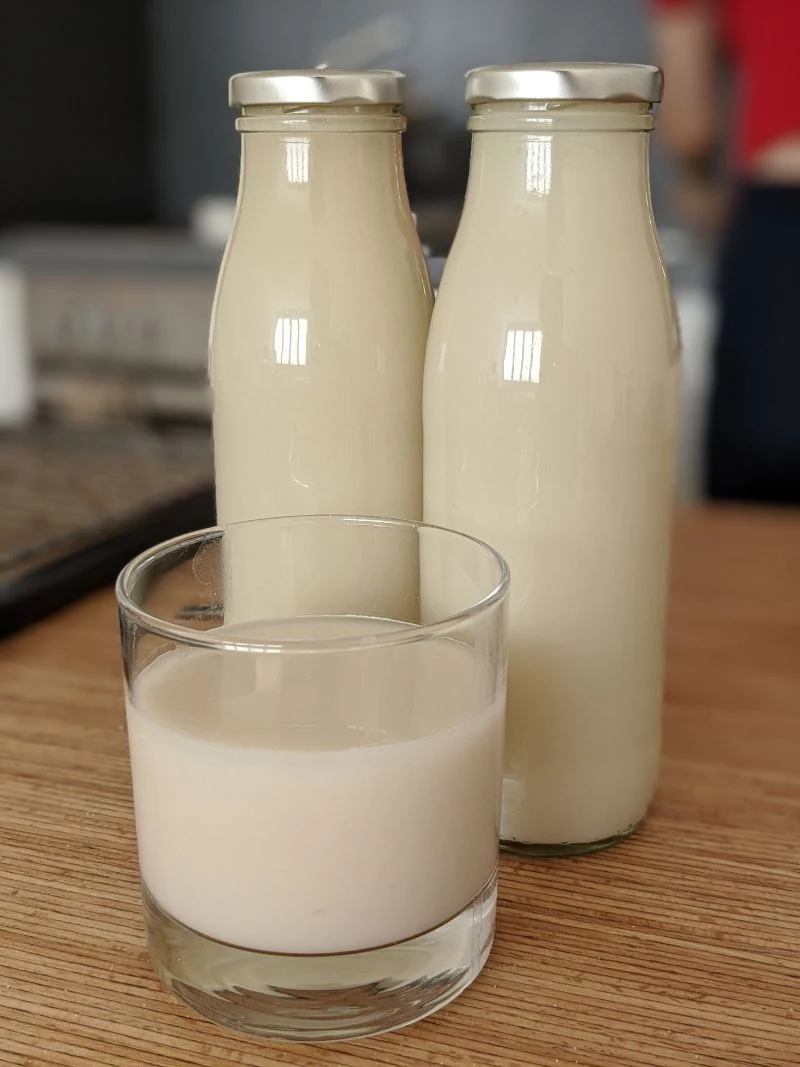
Storage is key to freshness: Always keep your homemade oat milk in a sealed glass bottle or jar in the coldest part of your fridge (usually the back of the bottom shelf). Plastic containers can sometimes impart unwanted flavors. It will stay fresh for up to 5 days. If you’re unsure, trust your nose—a sour smell is the first sign it’s past its prime.
No high-speed blender? No problem.
An immersion (stick) blender can also work wonders. The trick is to use a tall, narrow container that just fits the blender head. This contains the ingredients, allowing the blades to work efficiently without splashing. Use short, 10-second bursts to pulverize the oats, keeping the total blend time under 30 seconds to prevent any heat build-up.
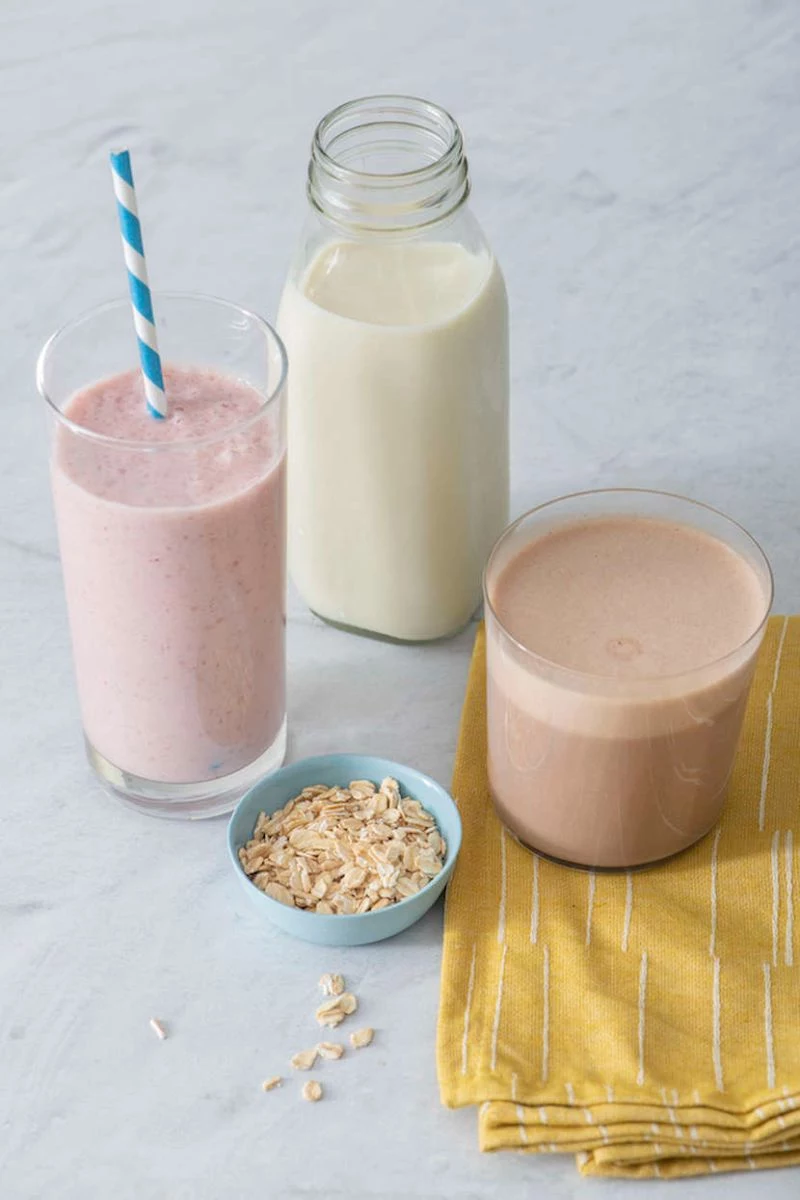
Beyond the cereal bowl: Your fresh oat milk is a versatile culinary ingredient. Its neutral, slightly sweet profile makes it a fantastic dairy-free base for creamy blended soups like butternut squash or tomato. It’s also the perfect liquid for a vibrant green smoothie, complementing the flavors of spinach, mango, and banana without the overpowering nuttiness of other plant milks.


