Forget the Bakery: Your Guide to Nailing Perfect Lemon Bars at Home
Let’s be real for a second. A truly fantastic lemon bar from a high-end bakery can easily set you back $5 or more. For one bar. But what if I told you that you could make an entire tray of even better ones at home for about $10? It’s totally possible, and honestly, it’s one of the most satisfying things you can bake.
In this article
After years spent in professional kitchens, I can tell you that lemon bars are a classic test. They seem simple—just a crust and a filling—but getting them right reveals a real understanding of baking. It’s all about the balance of a crisp, buttery base against a smooth, zesty curd that’s sweet but still packs a puckery punch.
Heads up: this isn’t a 30-minute dessert. You should plan for about 45 minutes of active work, plus at least 3 hours for cooling and setting. That cooling time is non-negotiable, by the way. It’s the secret to getting those perfectly clean, beautiful slices.
This guide is my brain dump of all the tricks and techniques I’ve learned to get them right every single time. We’re skipping the shortcuts and making a proper shortbread crust from scratch—it’s the only way to get that perfect sandy, melt-in-your-mouth texture that stands up to the filling. My goal is to show you why each step works, so you can bake with confidence and know how to fix things if they go a little sideways.
The ‘Why’ Behind the Magic
A great baker knows a little bit of food science, and lemon bars are a perfect example. It all comes down to two key things: keeping the crust from getting tough and ensuring the filling is silky smooth, never grainy.
The Secret to a Tender Crust
Shortbread is all about the butter. The goal is a “short” texture, which is just a baker’s way of saying tender and crumbly. To get that, you have to stop gluten from forming. When flour gets wet, it creates chewy gluten strands—great for bread, terrible for our bars. By cutting cold butter into the flour, you coat the flour particles in fat. This acts like a little raincoat, preventing too much moisture from getting in and limiting that gluten development. That’s why we pre-bake the crust (it’s called “blind baking”). It cooks the dough and creates a sealed-off surface so the liquidy filling doesn’t turn your masterpiece into a soggy mess.
The Delicate Dance of the Curd
The filling is where the real magic happens. It’s an emulsion of egg yolks, sugar, and lemon juice. The acid in the lemon juice is the key player here. As you whisk it into the egg yolks, the acid starts to gently “cook” the egg proteins, thickening them even before they hit the oven. But you have to introduce them slowly. If you just dump the juice in, the acid will shock the eggs and scramble them instantly. I’ll be honest, the first time I tried this as a cocky apprentice, I did just that. The result? Sweet lemon scrambled eggs. I had to throw the whole batch out. Lesson learned: respect the slow pour! Constant whisking creates a stable, creamy mixture that bakes into a soft, gorgeous custard.
Getting Set Up for Success
In a pro kitchen, we live by the rule of mise en place—which just means “everything in its place.” It’s the single best habit you can adopt to make baking less stressful. Before you even think about mixing:
- Read the whole recipe. Seriously, from start to finish.
- Measure everything out. A digital kitchen scale is a baker’s best friend because grams are always grams. Cups can be wildly inaccurate. You can find a decent one online for about $15, and it will change your baking game.
- Prep your pan. Line an 8×8-inch metal baking pan with parchment paper, leaving some overhang on two sides. This creates a “sling” that lets you lift the whole block out later for easy cutting.
- Zest before you juice! It’s nearly impossible to zest a floppy, juiced lemon half.
- Bring eggs to room temperature. They blend into the sugar so much better. Quick tip: Forgot to take them out ahead of time? Just pop the whole eggs in a bowl of warm (not hot!) tap water for 5-10 minutes while you gather your other ingredients. Problem solved.
Nailing That Buttery Base
So, you have two main ways to make the crust: by hand or with a food processor. Both are great, but they give slightly different results.
The food processor is lightning-fast. You just pulse everything together until it looks like coarse crumbs. It’s foolproof and quick, but be careful not to overdo it, or you risk a tough crust. Eight to ten short pulses is usually all you need.
Doing it by hand takes a bit more elbow grease but gives you more control. You use a pastry blender or just your fingertips to rub the cold butter into the flour mixture. You’re looking for a texture like coarse breadcrumbs with some pea-sized chunks of butter still visible. Those little butter pockets are what create amazing, flaky layers. It’s the method I learned first, and it really teaches you to feel the dough.
Whichever method you choose, the next step is crucial: press the dough into the pan FIRMLY and EVENLY. I use the flat bottom of a measuring cup to pack it down tight. If your crust is uneven, the thin spots will burn while the thick spots stay raw.
The Official Recipe for Perfect Lemon Bars
This recipe is designed for an 8×8 inch pan and will give you 9 generous bars or 12 smaller ones. I’ve included cup measurements, but for truly professional results, I highly recommend using a scale.
You’ll Need This Equipment:
- 8×8 inch (20×20 cm) light-colored metal baking pan. (Good to know: Dark pans absorb more heat and can scorch your buttery crust before the center is done. Go for the shiny silver ones if you can!)
- Parchment paper
- Digital kitchen scale (highly recommended)
- A few mixing bowls
- Whisk
- A Microplane or other fine zester
And These Ingredients:
For the Shortbread Crust:
- 190g (1 ½ cups) all-purpose flour
- 100g (½ cup) granulated sugar
- ½ tsp fine sea salt
- 113g (½ cup or 1 stick) cold, unsalted butter, cut into ½-inch cubes
For the Silky Lemon Filling:
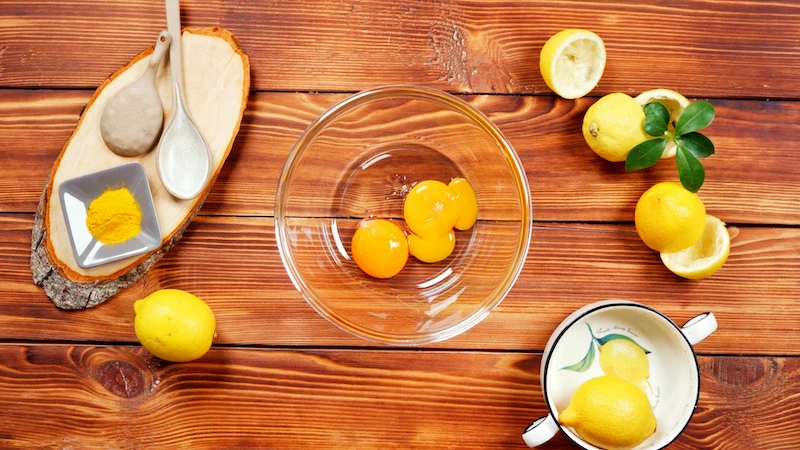
- 4 large egg yolks (Pro tip: Don’t toss those 4 egg whites! You can whip them with sugar to make little meringue kisses. A fantastic, zero-waste treat.)
- 250g (1 ¼ cups) granulated sugar
- Zest of 2 medium lemons
- 120ml (½ cup) fresh-squeezed lemon juice (from 3-4 lemons). Please, please use fresh juice! Bottled juice often has a dull, metallic taste from preservatives and can affect how the curd sets.
- A pinch of salt
- Powdered sugar for dusting (optional, but looks pretty)
The Step-by-Step Method:
- Get Ready: Move your oven rack to the middle position and preheat to 350°F (175°C). Line your pan with the parchment sling.
- Make the Crust: Whisk the flour, sugar, and salt together in a bowl. Add the cold butter cubes and work them in with your fingertips or a pastry blender until the mix looks like coarse, sandy crumbs.
- Press and Blind-Bake: Dump the crumbs into your pan and press them down into a firm, even layer. Bake for 20-22 minutes, until the edges are just starting to turn a pale golden-brown. Don’t skip this!
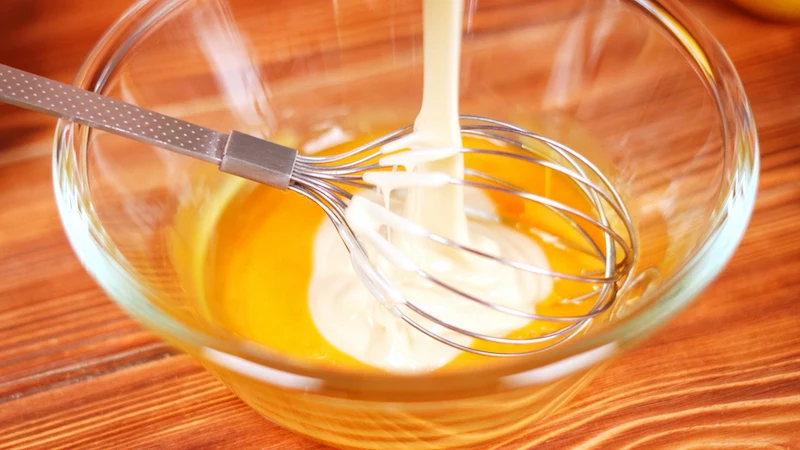
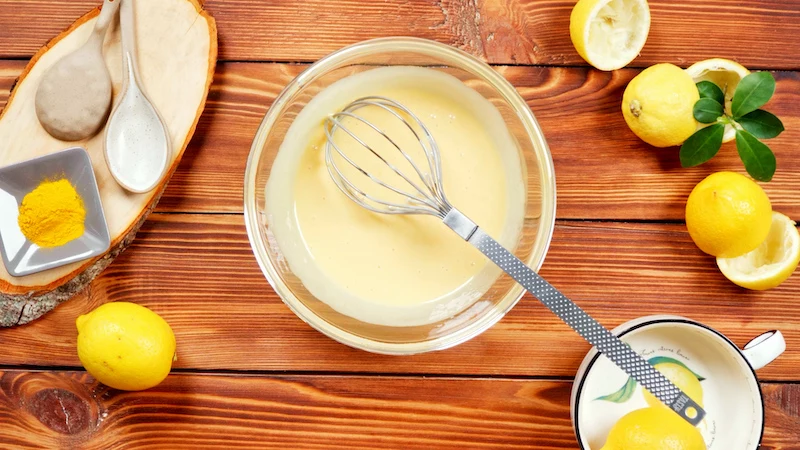
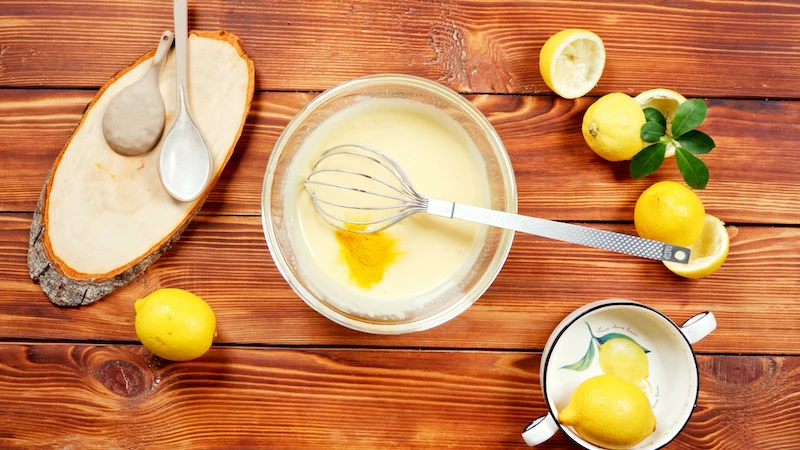
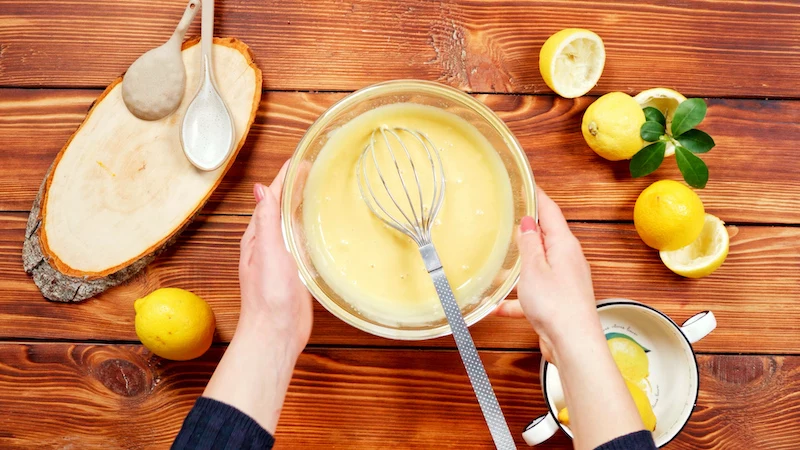
- Mix the Filling: While the crust is baking, whisk the egg yolks and sugar together in a separate bowl. Go at it for a solid minute until the mixture is pale yellow, thick, and ribbony. Whisk in the lemon zest and the pinch of salt.
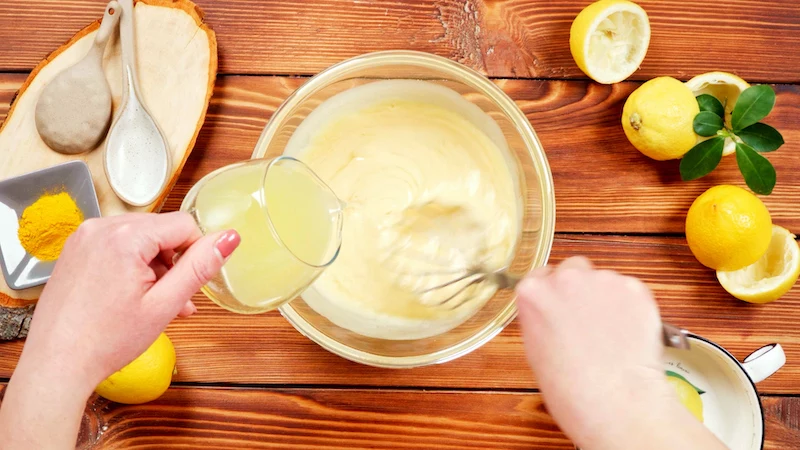
- Create the Curd: Okay, this is the important part. While whisking constantly, pour the fresh lemon juice into the egg mixture in a very slow, steady stream. Drizzle it in. This prevents the eggs from scrambling and creates that perfect, silky emulsion.
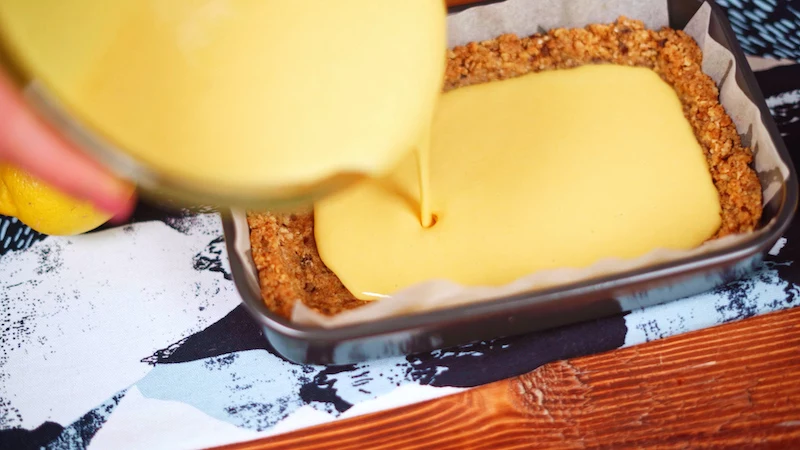
- The Second Bake: As soon as the crust comes out of the oven, reduce the oven temp to 325°F (160°C). Pour the filling directly onto the hot crust (the heat helps set the bottom layer instantly). Pop it back in the oven for another 15-18 minutes.
- The Wobble Test: The bars are done when the filling is mostly set, but the very center still has a slight jiggle to it when you gently nudge the pan. If it’s completely solid, it’s already over-baked.
- Cool Down is Crucial: Place the pan on a wire rack and let it cool completely to room temperature (about 1 hour). Then, cover it with plastic wrap (try not to let it touch the surface) and stick it in the fridge for at least 2 hours, but overnight is even better. This is what makes the curd firm enough to slice cleanly.
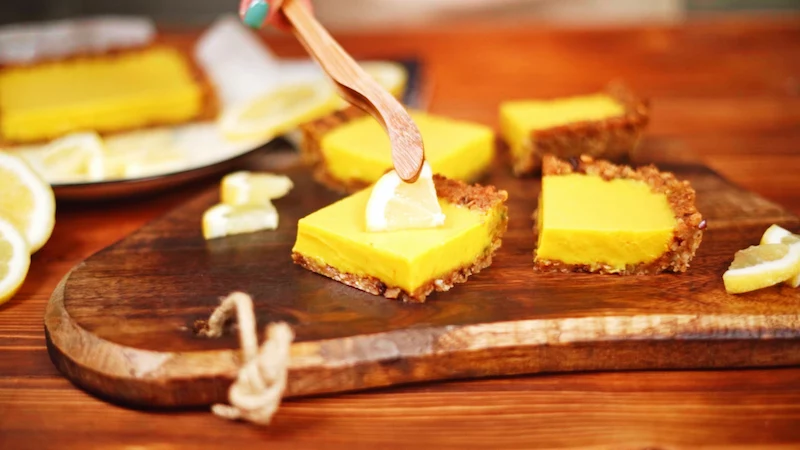
- Slice and Serve: Once it’s fully chilled, use your parchment sling to lift the block out. Dust with powdered sugar right before serving. For those super-clean, professional-looking cuts, use a big, sharp knife and wipe the blade clean with a damp paper towel between each slice.
Troubleshooting Like a Pro
Even the pros have off days. Here’s how to figure out what went wrong.
- Problem: My crust is soggy!
The Cause: You probably under-baked the crust. The Fix: Next time, make sure it’s a definite light golden brown before you add the filling. A properly hot crust helps seal the deal. - Problem: The filling is grainy.
The Cause: The lemon juice was added too fast and scrambled the eggs. The Fix: Remember the slow, steady stream while whisking. It’s a game of patience that pays off. - Problem: The top cracked!
The Cause: Usually means it was a little over-baked, causing the proteins to tighten and squeeze out moisture. The Fix: Pull it from the oven when it still has that center jiggle. Cooling it too fast can also cause cracks, so you can let it cool in a turned-off oven with the door ajar for 20 minutes before moving it to a rack.
Making Them Last: Storage & Scaling Up
Got leftovers? Lucky you. Store the bars in an airtight container in the refrigerator. They’ll stay fresh and delicious for up to 5 days. Honestly, I think they taste even better on day two once the flavors have had time to meld.
Want to make a bigger batch for a party? You can absolutely double this recipe for a standard 9×13 inch pan. Just be sure to increase the baking time. The crust will likely need 25-30 minutes, and the filling will probably need 20-25 minutes. Keep an eye on it and use the same visual cues and wobble test.
Creative Twists and Fun Variations
Once you’ve mastered the classic, feel free to play around! This recipe is a fantastic base.
- Citrus Swap: Try using key lime juice for a taste of the Florida Keys, or blood orange juice for a stunning color and sweeter flavor. Grapefruit also works for a more sophisticated, slightly bitter note.
- Nutty Brown Butter Crust: For a deeper flavor, brown your butter before adding it to the flour. Just melt it and cook until the milk solids turn brown and it smells toasty. Let it cool a bit before using. It’s a total game-changer.
- Herb Infusions: For a modern, chef-y twist, gently warm your lemon juice with a sprig of rosemary or thyme for about 10 minutes. Strain out the herb before adding the juice to the eggs. It adds a subtle savory complexity that is absolutely divine.
Baking is a hands-on craft. Don’t worry if your first attempt isn’t flawless. The real skill is learning to see when the curd is perfectly wobbly or feel when the crust dough is just right. Trust the process, be patient during the cool-down, and enjoy the bright, zesty reward of a lemon bar you made yourself.
Inspirational Gallery
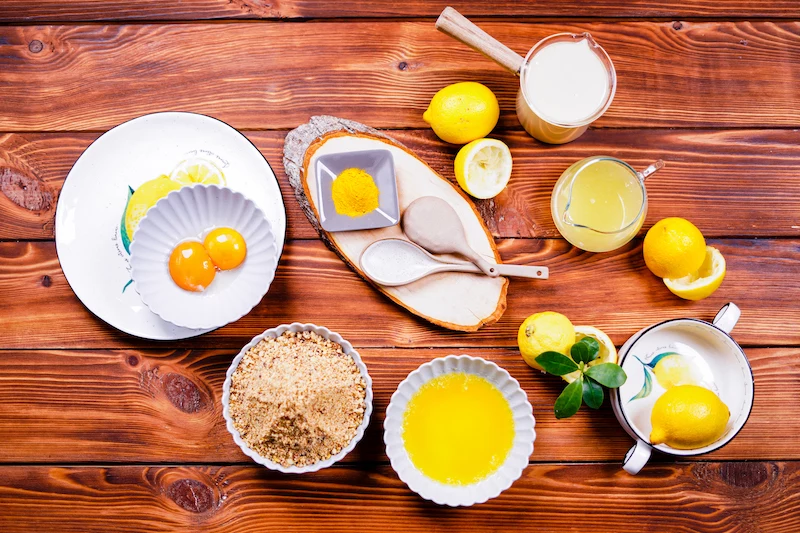
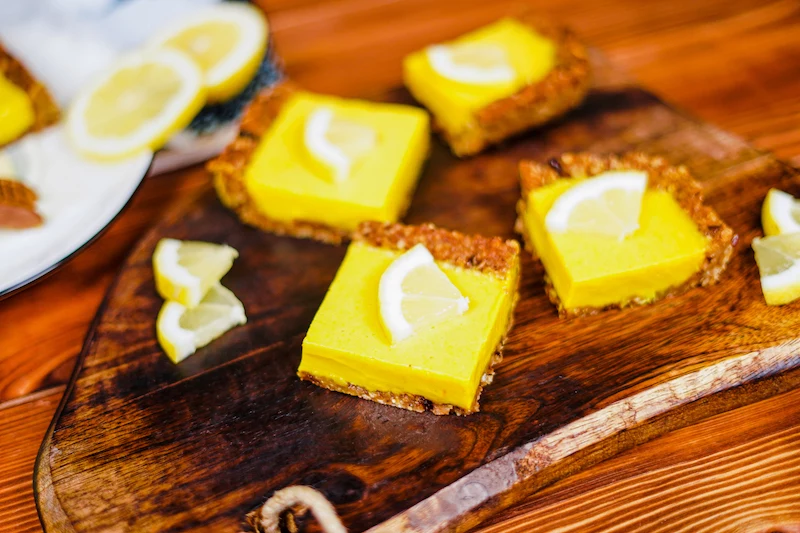
Wondering why your lemon bars don’t have that vibrant, sunny yellow hue?
The secret often lies in the egg yolks. For a richer, deeper color without artificial dyes, look for eggs from pasture-raised hens, which tend to have more intensely orange yolks. Some bakers also add a tiny pinch—less than 1/8 teaspoon—of turmeric to the filling, as seen in some of the gallery photos. It enhances the yellow color naturally without noticeably affecting the classic lemon flavor.
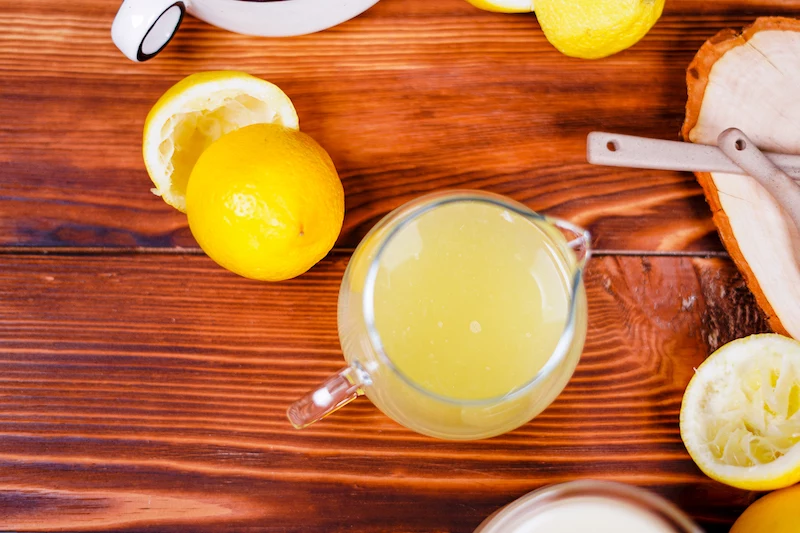
The United States is one of the world’s top producers of lemons, with California and Arizona accounting for over 95% of the entire crop.
This abundance means we have access to fantastic citrus year-round. When shopping, choose lemons that feel heavy for their size—a sure sign they’re full of juice. The skin should be bright yellow and firm, with a fine-grained texture.
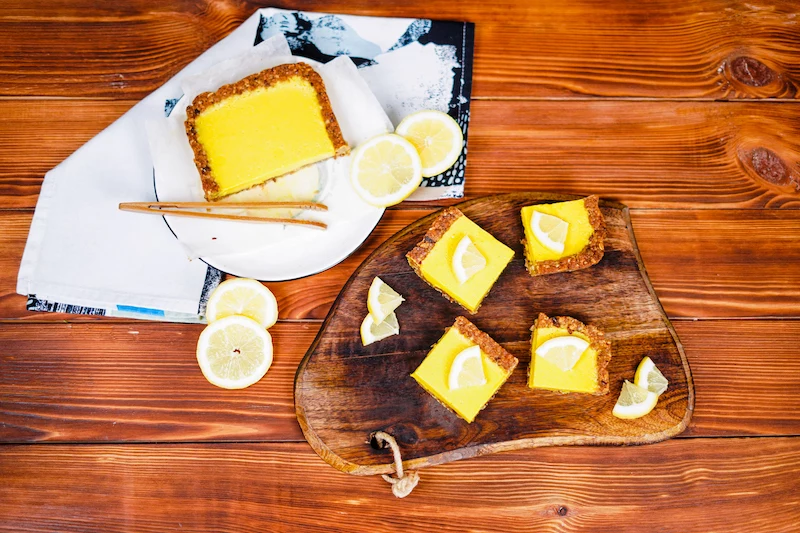
For the crispest cut: Don’t rush the chill. A minimum of 3 hours in the fridge is essential, but letting them set overnight is even better. Use a large, sharp chef’s knife. For a truly flawless slice, run the blade under hot water and wipe it completely dry between each cut. This melts the butter in the crust just enough to glide through without dragging or crumbling.
- A perfectly smooth, silky curd that never curdles.
- A more stable emulsion for a uniform texture.
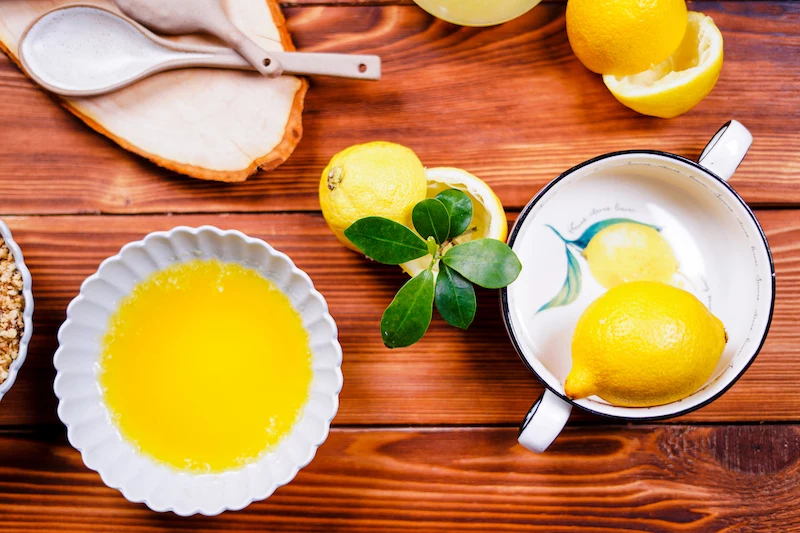
The secret? Using room-temperature eggs. Cold eggs can cause the melted butter in your filling to seize up, resulting in a lumpy texture. Let your eggs sit on the counter for about 30 minutes before you start mixing for a flawless result.
The pan you bake in matters more than you think. While convenient, disposable aluminum pans can sometimes react with the high acidity of the lemon filling, imparting a faint metallic taste to your bars.
Glass or Ceramic: A classic choice like a Pyrex 8×8 dish is perfect. It’s non-reactive and conducts heat evenly, though you might need to add a few minutes to the baking time.
Anodized Aluminum: For professionals, this is the go-to. Brands like Fat Daddio’s offer pans with a non-reactive surface that provides the sharp, straight corners and even browning of metal without the metallic taste.
Unlock a new level of flavor by thinking beyond the classic powdered sugar topping. A little creativity at the end can transform your lemon bars from delicious to unforgettable.
- Herbal Notes: Finely chopped fresh rosemary or thyme sprinkled on top just after baking adds a sophisticated, fragrant aroma that complements the citrus.
- A Touch of Spice: A light dusting of cardamom or ground ginger offers a warm, exotic counterpoint to the tart lemon.
- Fruity & Floral: Garnish with a few edible flowers like pansies or a sprinkle of crushed, freeze-dried raspberries for a pop of color and flavor.
To get every last bit of flavor, always zest your lemon *before* you juice it.


