The Real Deal: How to Make Semifreddo That’s Better Than Any Ice Cream
I still remember the first time I had a real semifreddo. It wasn’t at some stuffy, high-end restaurant. It was in a tiny, family-run spot in Italy, after a ridiculously long and hot day learning the ropes in a professional kitchen. The chef brought out this simple slice of what I thought was just frozen mousse. But man, that texture was something else. It was firm enough to slice, yet it just melted on my tongue with a creamy, velvety softness that regular churned ice cream can’t even touch. It was a total lightbulb moment for me.
In this article
That experience completely changed how I think about frozen desserts. For years, I’ve been making and teaching others how to make semifreddo, and I can tell you it’s so much more than a simple “no-churn ice cream.” It’s a craft. It’s about perfectly balancing air, fat, and sugar to stop those crunchy ice crystals from ever forming. The name literally means “half-frozen,” and that’s the perfect description. You make it by folding a few light, airy components together and then freezing it in a mold—no churning required. The result is a dessert you can slice like a cake but that eats like the most luxurious ice cream you’ve ever had.
This guide is going to walk you through the professional method, step-by-step. We’ll get into the simple science of why it works, build a classic raspberry and vanilla bean version together, and by the end, you’ll have the confidence to go off-script and create your own flavors.
What’s the Secret to That Creamy Texture?
Honestly, understanding why semifreddo is so good is the key to nailing it every single time. It’s a little bit of kitchen chemistry, but it’s super straightforward. Three things work together to create that signature smooth, sliceable magic.
- Air: The Secret to Lightness. The main hero here is air. We get that air by whipping two things: heavy cream and a stable egg foam. The foam can be made from either cooked egg yolks (a sabayon) or cooked egg whites (an Italian meringue). When you gently fold these fluffy mixtures together, you’re trapping thousands of tiny air bubbles. As the base freezes, those bubbles act like little roadblocks, preventing the water from forming a solid, dense block of ice. That’s what makes it feel so light and mousse-like.
- Fat: Your Best Friend Against Iciness. Fat is what keeps your semifreddo from getting crunchy. The high butterfat content in heavy cream (and you’ve got to use the good stuff, at least 36% fat) works wonders. As it freezes, the little fat globules coat the water molecules, physically stopping them from ganging up and forming large ice crystals. The fat in egg yolks also helps, along with natural emulsifiers that create a super smooth, stable base.
- Sugar: The Built-In Antifreeze. Sugar isn’t just for sweetness here. In a way, it’s a form of antifreeze. When you dissolve sugar in the base, it lowers the freezing point of the water. This means your semifreddo never freezes completely solid in a standard home freezer. It stays perfectly “half-frozen”—firm enough to hold its shape but soft enough to melt the second it hits your tongue.
Choosing Your Base: Rich Custard vs. Light Meringue
In pro kitchens, almost every semifreddo starts with one of two foundations. They each give a different vibe, and knowing both lets you get creative.
The first option is a custard-style base, technically called a pâté à bombe. This is the classic, richer method where you whisk egg yolks and sugar over gentle heat to create a thick, pale, ribbony foam called a sabayon. This process pasteurizes the eggs, making them perfectly safe, and gives the final dessert a decadent, custardy flavor. This is my go-to for rich flavors that can stand up to it—think chocolate, coffee, toasted nuts, or a deep vanilla bean.
Your other choice is an Italian meringue base. This one creates a much lighter, loftier semifreddo. You make it by whipping egg whites while drizzling in a hot sugar syrup, which cooks the whites and makes them incredibly stable. It has a cleaner, sweeter flavor that’s almost like marshmallow fluff. This base is absolutely perfect for fruit-forward flavors, since it really lets the fruit’s natural brightness shine through. It’s also a bit more stable when serving, which is a nice bonus on a warm day.
So, which should you choose? Simple. For deep, rich, and decadent, go with the custard base. For bright, light, and fruity, the meringue base is your best bet.
Let’s Make It: Vanilla Bean & Raspberry Semifreddo
Alright, let’s get our hands dirty. This recipe uses that classic custard (sabayon) method. It’s a version I’ve tweaked over the years to get the perfect balance of richness and brightness.
Heads up on time: This isn’t a last-minute dessert. Plan on about 45 minutes of active work, but it needs a solid 8 hours (or ideally, overnight) in the freezer to set up perfectly.
What You’ll Need
- A 9×5 inch metal loaf pan. Metal gets cold fast, which helps the semifreddo freeze quickly and evenly. A glass or ceramic pan works in a pinch, but it’ll take a bit longer.
- A trusty digital thermometer. Seriously, don’t skip this. It’s the only way to know for sure that your eggs are cooked safely for the sabayon. You can grab one for about $15 online or at any kitchen supply store.
- A stand mixer or a good hand mixer. You’ll be whipping for a while, so unless you have a superhuman arm, you’ll want some electric help.
- Basic kitchen gear: A medium saucepan, a couple of large mixing bowls (one needs to be heatproof), a silicone spatula, and plastic wrap.
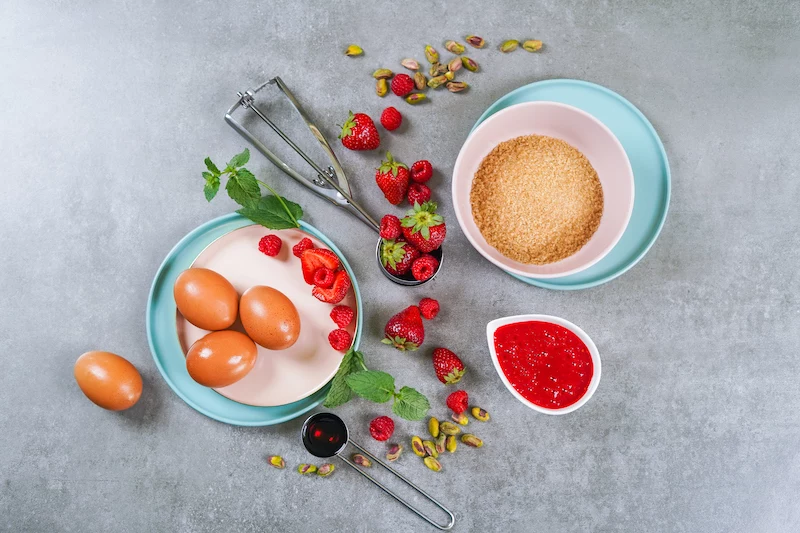
Ingredients
- For the Raspberry Purée:
- 12 ounces (340g) raspberries, fresh or frozen
- 1/4 cup (50g) granulated sugar
- For the Custard Base:
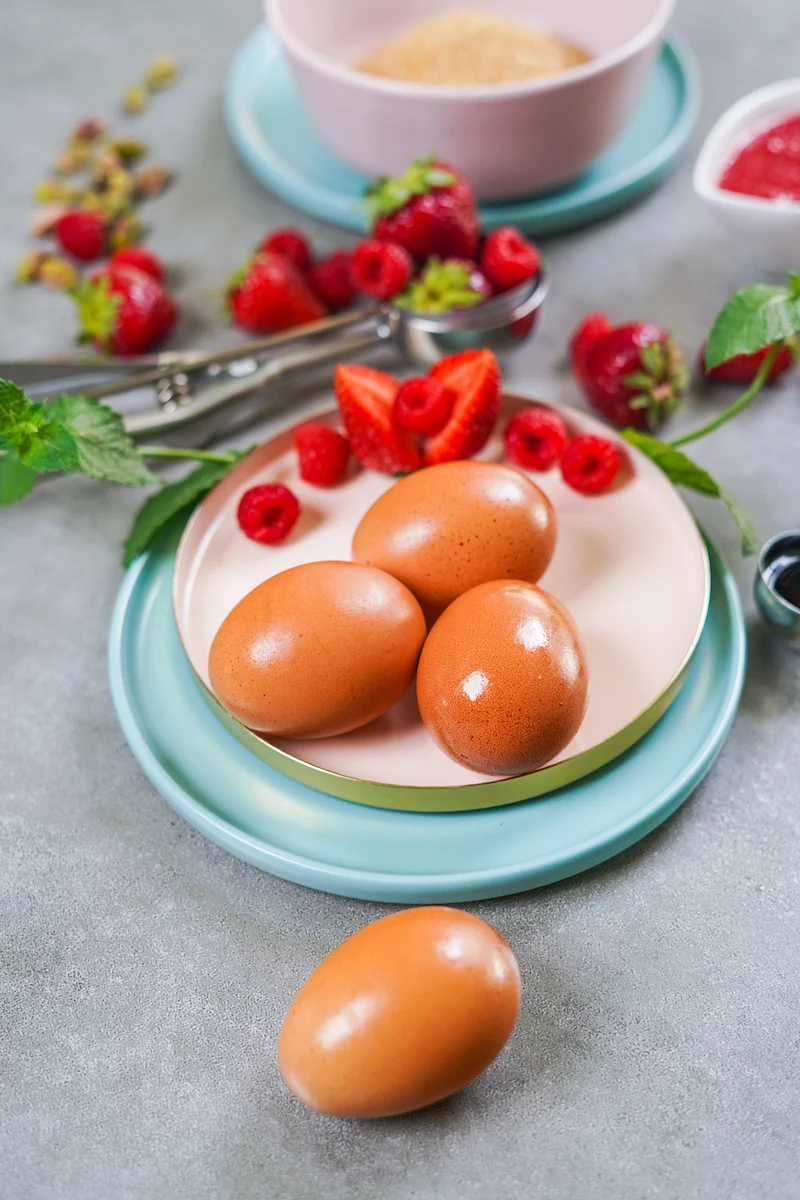
- 6 large egg yolks (Use pasteurized yolks if you want extra peace of mind, they work great!)
- 1/2 cup (100g) granulated sugar
- 1/4 cup (60ml) water
- 1 vanilla bean or 1 tablespoon of high-quality vanilla extract. (A quick note on cost: a couple of vanilla beans can run you $10-$20, while a good bottle of extract is about the same but lasts much longer. The bean gives you those beautiful little specks, but a great extract provides fantastic flavor.)
- For the Whipped Cream:
- 2 cups (480ml) very cold heavy whipping cream (at least 36% milkfat)
- For Assembly:
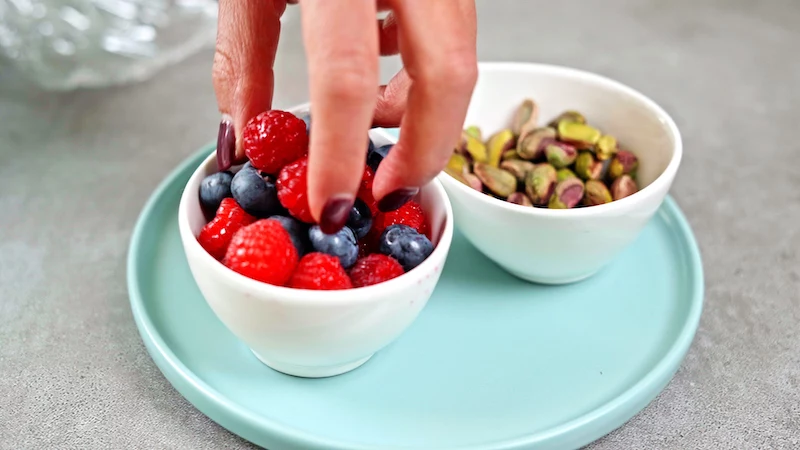
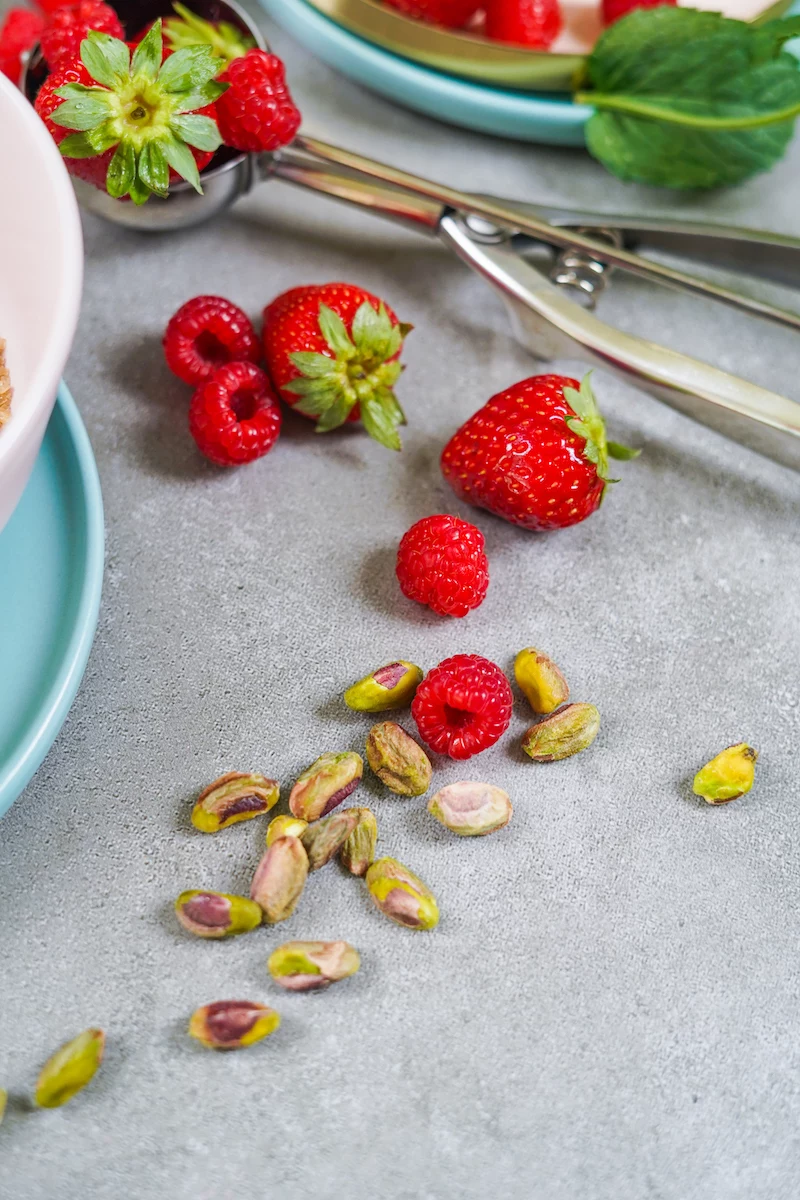
- 1 cup (125g) fresh raspberries
- 1/4 cup (30g) chopped pistachios (optional, but they look amazing)
- My semifreddo is icy. This is the number one problem, and it usually means there’s too much water or not enough fat, sugar, or air. Did you cook down the fruit purée enough? Did you whip the sabayon to a full ribbon? Was your cream whipped properly? A lesser-known trick: adding about 1 tablespoon of a neutral spirit like vodka to the sabayon base can help inhibit ice crystals, since alcohol doesn’t freeze solid.
- It looks greasy or separated. This almost always happens when the emulsion breaks, usually from folding a warm base into cold cream. The fix is patience. Let every component cool properly before combining them. And remember to fold gently!
- All my mix-ins sank to the bottom. Your base was probably a bit too thin. Make sure it’s thick and airy before you start layering. For really heavy additions like chocolate chunks, you can even pop the base in the freezer for 15-20 minutes to firm up slightly before folding them in.
- The Showstopper Dome: A beautiful, dome-shaped semifreddo. You line a bowl with slices of sponge cake soaked in a liqueur, then fill it with two layers of semifreddo—maybe one creamy ricotta and one rich chocolate. It’s a project, but it’s stunning.
- The Nutty & Crunchy Version: In some of the world’s best hazelnut-growing regions, you’ll find versions that fold in toasted, chopped hazelnuts and chunks of chewy nougat (torrone). The textural contrast is just incredible.
- Inspiration from the South: Pistachio & Coffee: For a coffee kick, just dissolve 2-3 tablespoons of high-quality instant espresso powder into the warm sabayon before it cools. For a pistachio version, fold in about 1/2 cup of unsweetened pistachio paste. You can often find this at specialty food stores or online baking shops.
- A clean, perfect slice every time.
- No cracking or crumbling, even when frozen solid.
- A beautiful, professional presentation on the plate.
- Zabaglione & Amaretti: A rich, Marsala-laced sabayon base with coarsely crushed Italian amaretti cookies folded in for a delightful crunch.
- Pistachio & Orange Blossom: Use a high-quality pistachio paste (not ground nuts) for intense flavor and color, scented with a few drops of orange blossom water.
- Chocolate & Hazelnut (Gianduja): A tribute to Piedmont, combining rich dark chocolate with toasted hazelnut paste for a taste reminiscent of luxury gianduja.
The Step-by-Step Method
Step 1: Prep Your Pan & Purée
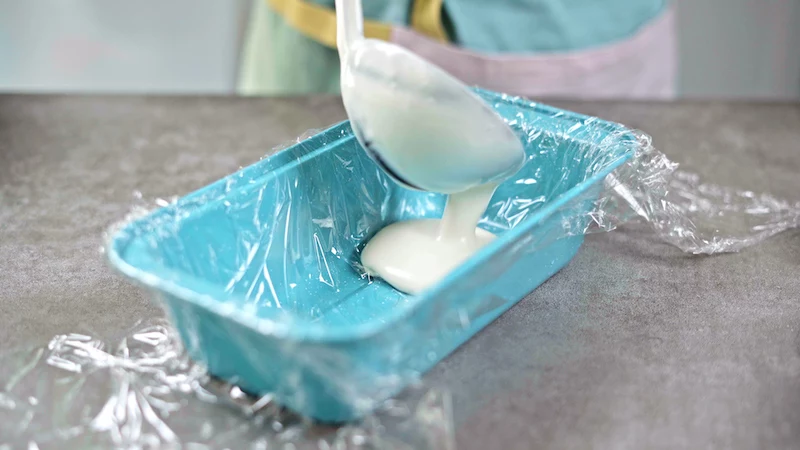
First, get your loaf pan ready. Line it with a big piece of plastic wrap, leaving plenty of overhang on all sides. This overhang is your best friend later for easy removal. Set the pan aside.

Quick tip: You can make the raspberry purée up to 3 days in advance and keep it in an airtight container in the fridge. It’s a great way to break up the work!
To make the purée, combine the 12 ounces of raspberries and sugar in a small saucepan. Cook it over medium heat for about 10-15 minutes, stirring here and there, until the berries have completely broken down and the mixture has thickened. The goal here is to cook out some of the water to concentrate the flavor. Now, push the mixture through a fine-mesh sieve into a bowl to remove the seeds. Let it cool completely before you use it.
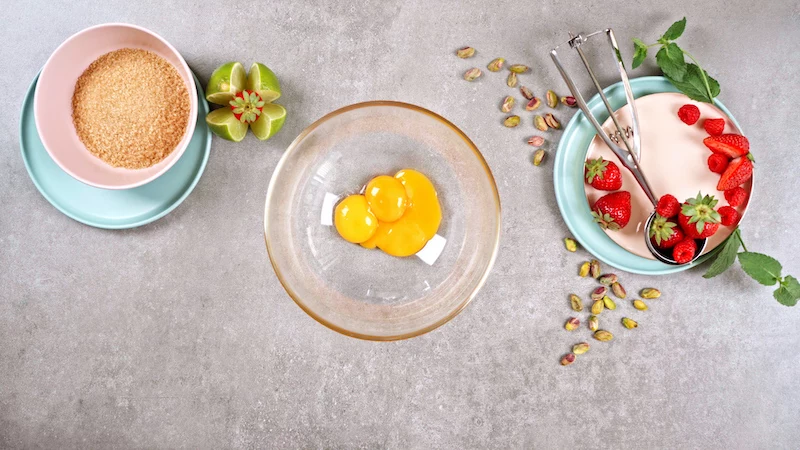
Step 2: Make the Sabayon (Custard Base)
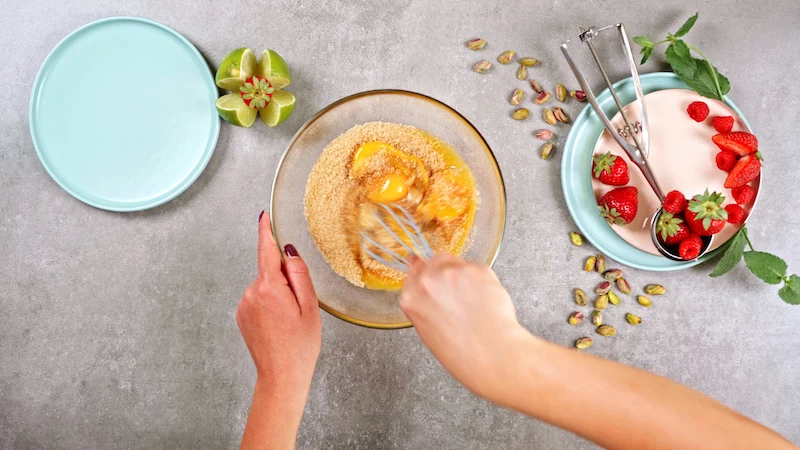
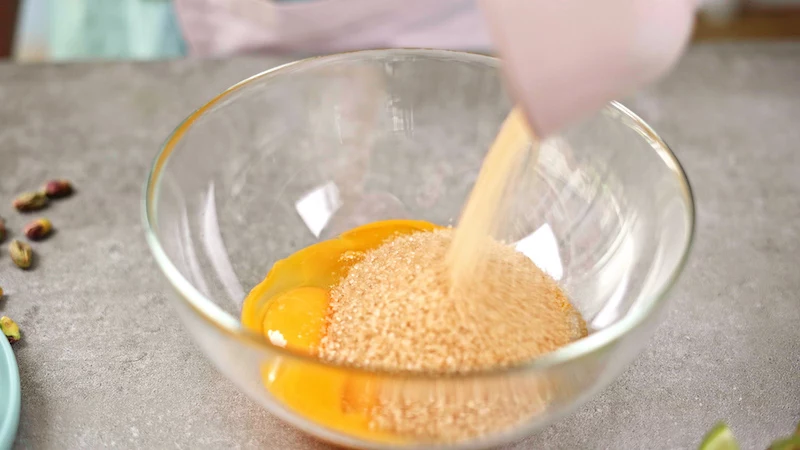
Fill a medium saucepan with an inch of water and bring it to a gentle simmer. In a heatproof bowl that can sit on top of the pan without touching the water, combine the egg yolks, sugar, and water. If you’re using a vanilla bean, scrape the seeds in now.
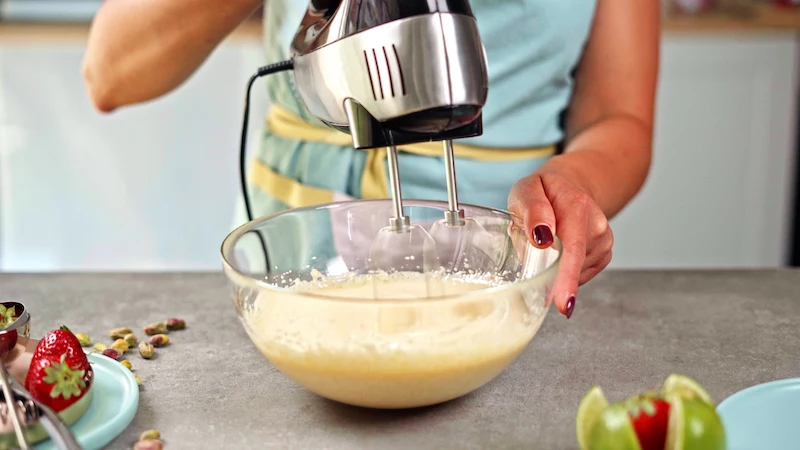
Place the bowl over the simmering water and start whisking immediately with your hand mixer on medium speed. You have to keep the mixture moving! Continue whisking constantly for 8-10 minutes. It’ll get thick, pale, and fluffy. You’re looking for two things: the thermometer must read 160-165°F (71-74°C), and the mixture should reach the “ribbon stage.” That’s when you lift the beaters and the mixture falls off in a thick ribbon that sits on the surface for a moment. Once you hit both marks, take it off the heat and beat for another 2 minutes to help it cool. Set it aside to cool to room temperature.
And don’t panic! If you see a few bits of egg starting to scramble on the side of the bowl, just pull it off the heat immediately, whisk like crazy to re-incorporate them, and then put it back. You can usually save it!
Step 3: Whip the Cream
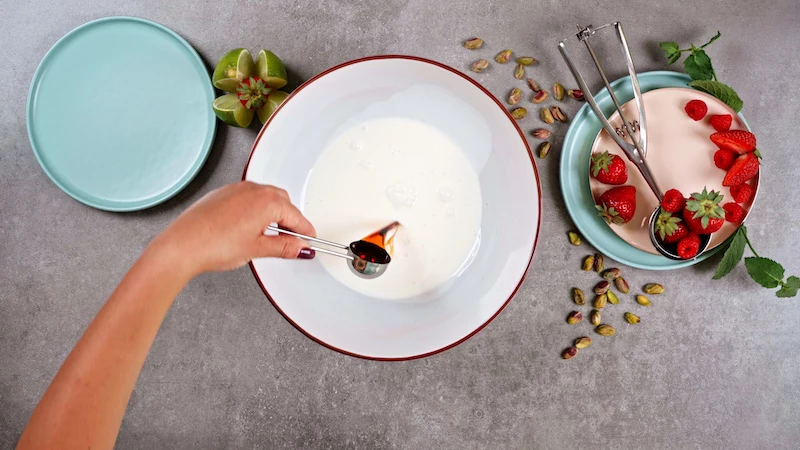
In a large, chilled bowl, pour in the cold heavy cream. (If you’re using vanilla extract, add it now.)
By the way, the cream has to be cold. Cold fat globules whip up much more easily and create a more stable foam. For a little extra insurance, I always pop my mixing bowl and beaters in the freezer for 10 minutes beforehand. It makes a huge difference.
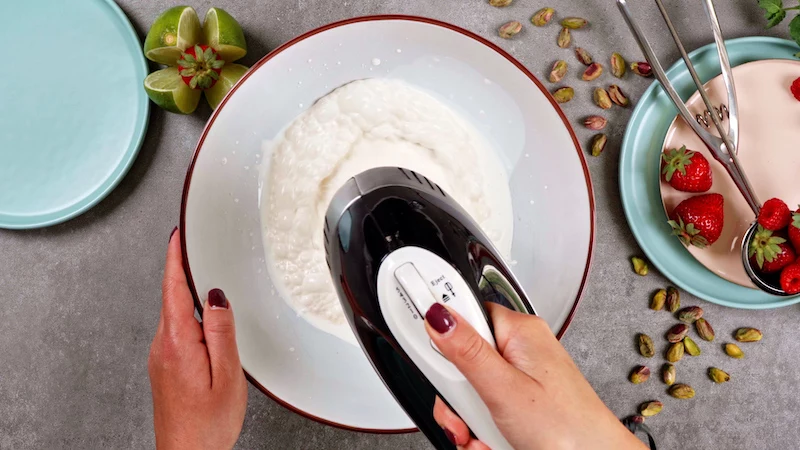
Whip the cream on medium-high speed until you have soft peaks. That means when you lift the beaters, the peak gently flops over. A common mistake is over-whipping to stiff, grainy peaks. This makes it a nightmare to fold and can make your semifreddo feel heavy or greasy. It’s always better to be slightly under-whipped than over-whipped.
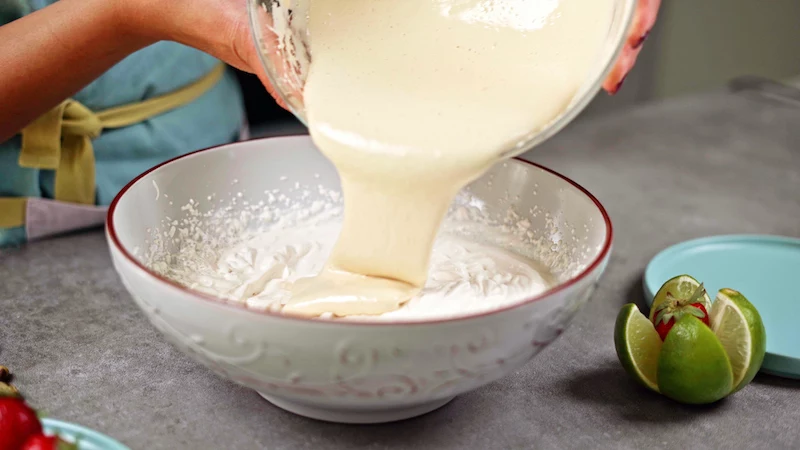
Step 4: Fold It All Together
This is where the magic happens, so be gentle. First, make sure your sabayon is fully at room temperature. I learned this the hard way once and folded a warm base into my cold cream. I ended up with a greasy, separated mess. Learn from my mistake and be patient!
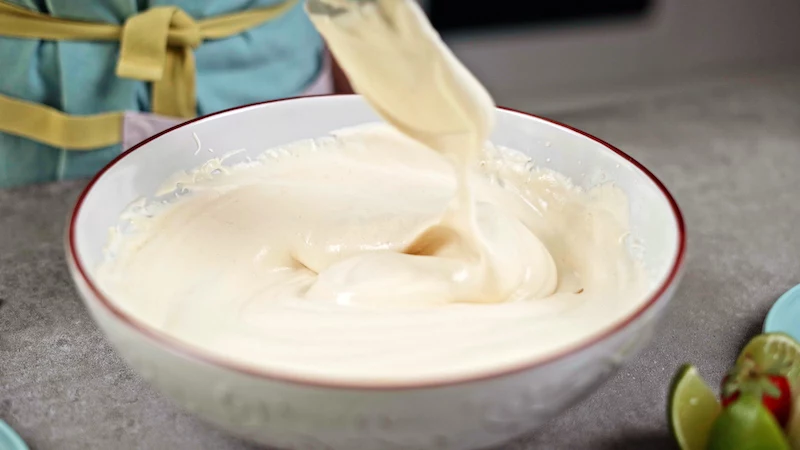
Start by folding about one-third of the whipped cream into the sabayon. This lightens it up. Then, pour that lightened mixture into the rest of the whipped cream. Use a spatula to cut down through the middle, scrape along the bottom, and fold it over the top. Rotate the bowl and repeat until just a few streaks remain. Don’t stir!
Step 5: Assemble and Freeze
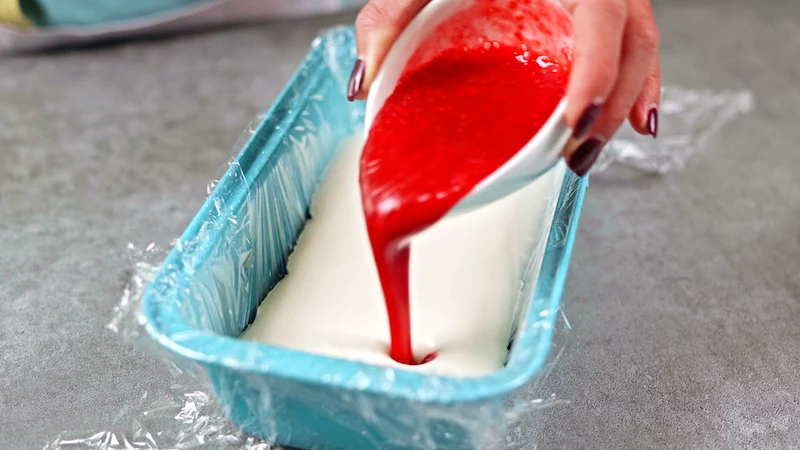
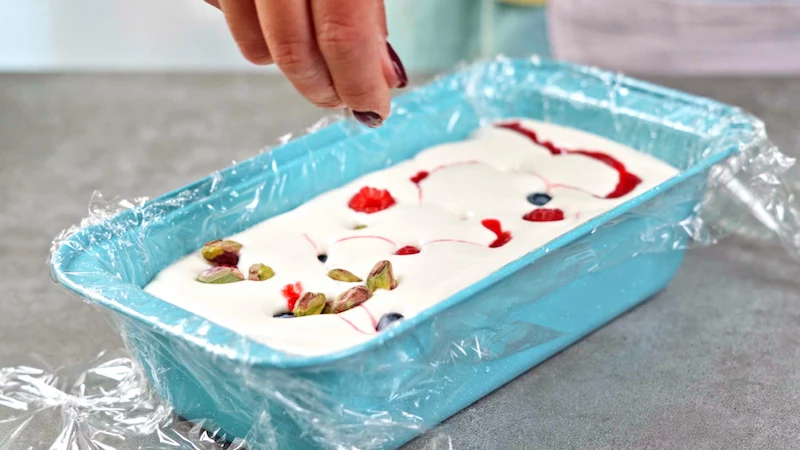
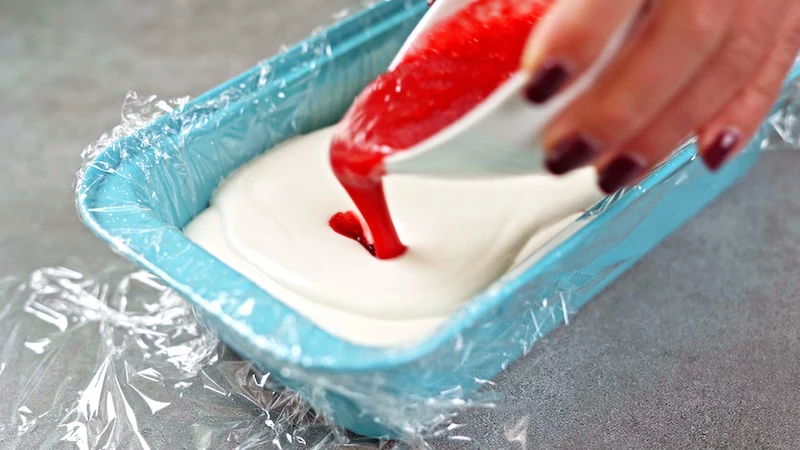
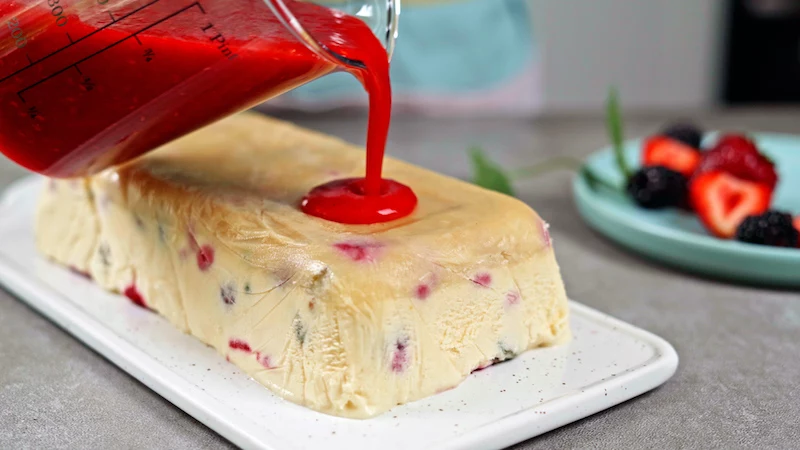
Pour about a third of the vanilla base into your lined pan. Dollop a few spoonfuls of the cooled raspberry purée and scatter some fresh raspberries over it. Use a knife to give it a gentle swirl for that marbled look.
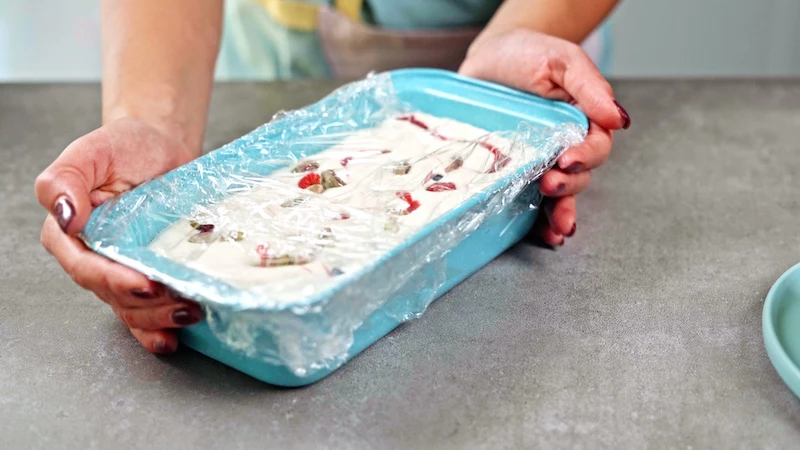
Repeat with another layer of base, purée, and berries, and then a final layer. Tap the pan on the counter a couple of times to get rid of any big air pockets. Fold the overhanging plastic wrap over the top to seal it shut.
Place it on a level spot in your freezer for at least 8 hours, or preferably overnight. Let it set up properly. It needs that time.
Troubleshooting Common Problems
Even pros run into issues. Here are the most common snags and how to fix them.
Flavor Ideas to Get You Started
Once you nail this technique, you can play around endlessly. Here are a few classic concepts to inspire you.
Serving, Storing, and Final Thoughts
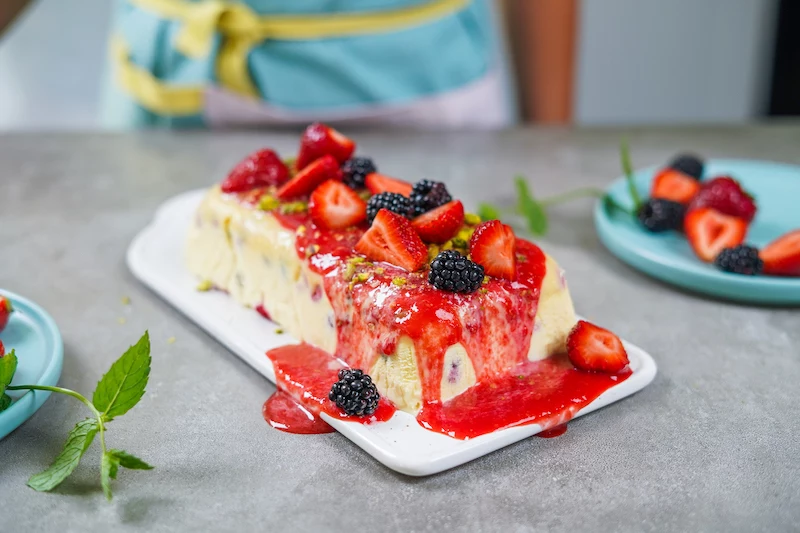
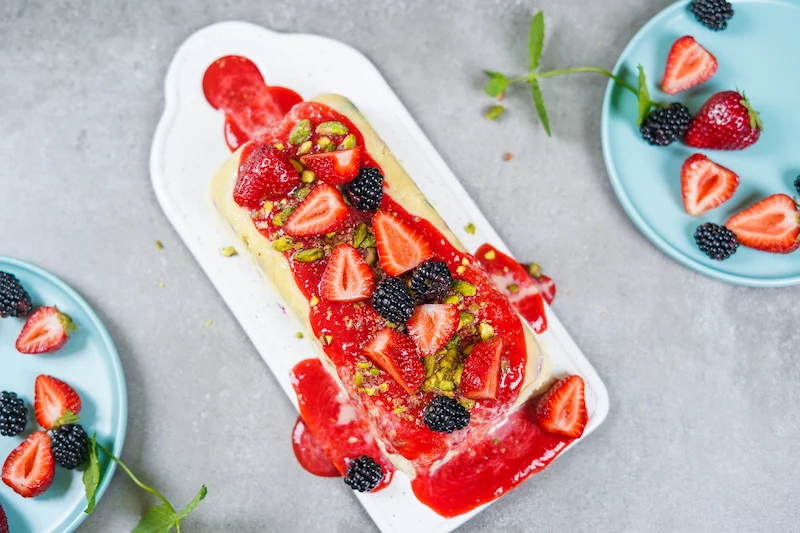
To serve your masterpiece, take it out of the freezer about 5-10 minutes before you plan to slice it. This lets it soften just enough.
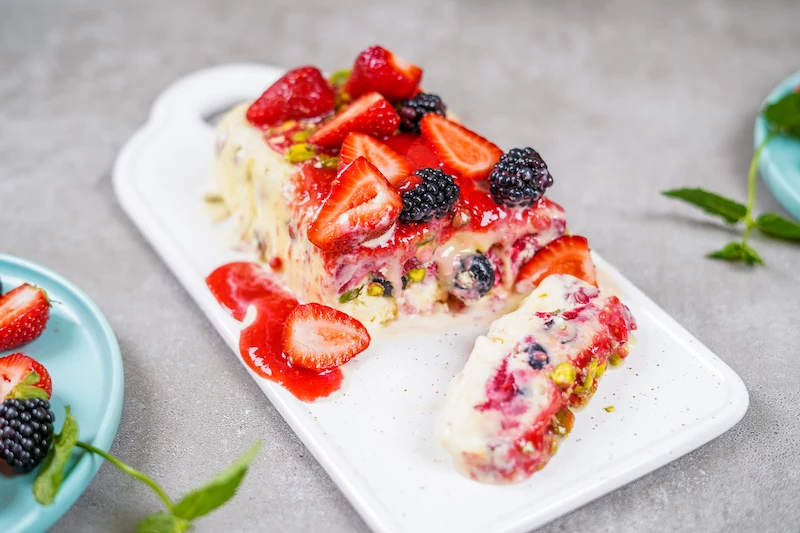
Unwrap the top, flip the pan onto a chilled plate, and lift it off. Peel away the plastic wrap. For those perfect, clean slices, use a long knife dipped in hot water and wiped dry between each cut. Garnish with a drizzle of leftover purée, some fresh berries, and those chopped pistachios.
Wrapped up tight, your semifreddo will last for a couple of weeks in the freezer, but honestly, it’s at its absolute creamiest and best within that first week. Enjoy the process! It’s a little bit of patience, a little bit of technique, and a whole lot of delicious reward.
Inspirational Gallery
The right mold matters: While flexible silicone loaf pans make unmolding seem easy, professional pastry chefs often prefer metal. A standard metal loaf pan, like one from USA Pan, conducts cold much more efficiently, leading to a faster, more even freeze. This rapid chilling is key to preventing large ice crystals and achieving that signature ultra-smooth texture.
A semifreddo’s final texture is a direct result of its aeration. Over-folding the whipped cream and egg foam base is the number one mistake, as it knocks out the air you worked so hard to incorporate. Fold until just combined—a few streaks are better than a soupy mix.
Want to elevate your flavor game beyond simple mix-ins?
Try infusing the heavy cream before you whip it. Gently heat the cream with your chosen aromatic until it’s barely simmering, then cover and let it steep off the heat for 30 minutes before chilling completely. This technique imparts a much deeper, more complex flavor throughout the dessert. Excellent options include whole coffee beans, Earl Grey tea leaves, or even fresh rosemary sprigs.
The secret is simple: heat. Run a long, sharp knife under hot water for a few seconds and wipe it completely dry before making each cut. The heated blade glides through the frozen dessert effortlessly.
Torrone Style: Fold in a generous amount of chopped toasted almonds, pistachios, and a drizzle of high-quality honey for a nougat-inspired classic.
Affogato Inspired: Create a coffee-infused base and serve each slice with a shot of hot, freshly brewed espresso poured over the top right at the table.
These two approaches transform the dessert from a simple slice into an interactive experience.

Don’t just think sweet. A savory semifreddo can be a stunning appetizer or cheese course. Imagine a Parmesan and black pepper version served with prosciutto and figs, or a goat cheese and herb semifreddo drizzled with a balsamic glaze. The key is to balance the rich base with sharp, savory, or peppery notes.
A splash of alcohol does more than add flavor. Liqueurs lower the freezing point of the mixture, acting as a natural ‘antifreeze’ that results in an even softer, silkier semifreddo.
Just a tablespoon or two is enough to make a difference. For the raspberry version in this article, a hint of Chambord would be perfect. For a nutty semifreddo, try Frangelico; for a citrus one, a touch of Grand Marnier works wonders.

When preparing your semifreddo for the freezer, consider the final presentation. To create beautiful swirls of fruit purée or chocolate sauce, pour half the base into the mold, add dollops of your sauce, and use a skewer to gently drag through them. Top with the remaining base and repeat. This simple action creates a stunning marbled effect when sliced.
A word on vanilla: While a whole vanilla bean is luxurious, it’s not the only option for intense flavor. A high-quality vanilla bean paste, like the one from Nielsen-Massey, offers a great compromise. It provides those beautiful black specks and a robust flavor profile for a fraction of the cost and effort of scraping a pod.