The Real-Deal Guide to Flawless Chocolate-Covered Strawberries
I’ve probably dipped a million strawberries in my life. Okay, maybe not a million, but thousands for sure—for fancy hotel spreads, big wedding buffets, you name it. And over time, I’ve learned that the difference between a sad, lumpy strawberry and a perfect, glossy one isn’t some wild secret. It’s all about technique, temperature, and really understanding your ingredients.
In this article
- First Things First: Your Shopping List & Game Plan
- Step 1: Choosing Your Heroes (The Berries & Chocolate)
- Step 2: The All-Important Prep Work
- Step 3: Mastering the Melt (a.k.a. Tempering)
- Step 4: The Dip, Tap, Scrape
- Step 5: Making Them Pretty
- Step 6: Setting and Storing (The Hard Truth)
- When Things Go Wrong (And How to Fix It)
- Galerie d’inspiration
So many people get tripped up making these at home. The chocolate gets thick and gloopy, or it turns all dull and chalky after it sets. And the worst? When the strawberries start to “weep,” creating a little puddle of sadness. These are all super common issues, but trust me, they’re all fixable.
My goal here is to pull back the curtain and show you the methods the pros actually use. We’re aiming for that thin, crisp chocolate shell with a gorgeous shine and a satisfying snap. This isn’t just a recipe; it’s a guide to the craft.

First Things First: Your Shopping List & Game Plan
Before you even think about melting chocolate, let’s get organized. This whole process, from washing the berries to the final dip, will probably take about 1.5 to 2 hours. Most of that is just hands-off drying time, so don’t sweat it.
Here’s what you’ll need to grab:
- Strawberries: One pound (about 16-20 medium berries) is a great starting point.
- Chocolate: You’ll want about 12 ounces of high-quality chocolate for a pound of berries. This gives you enough depth in the bowl for easy dipping.
- An Instant-Read Thermometer: This is non-negotiable if you want pro results. Don’t try to guess!
- Tools: A heatproof bowl, a saucepan for a double-boiler setup, a spatula, and a baking sheet lined with parchment paper or a silicone mat.
Step 1: Choosing Your Heroes (The Berries & Chocolate)
With just two main ingredients, you can’t hide. Starting with the good stuff makes all the difference in the world. Seriously, don’t skip this part.
Finding the Right Strawberry
You’re looking for a berry that’s firm, sweet, and built to last. Gently squeeze one—it should feel solid, not soft. A deep, vibrant red color all the way up to the leaves is a good sign it’s ripe and flavorful. Oh, and check those green tops (the calyx)! They should look fresh and green, not brown and wilty. They also make a perfect natural handle for dipping.
I personally like medium-sized, cone-shaped strawberries. They just look classic and give you that perfect fruit-to-chocolate ratio. And yes, seasonal berries are almost always better. The ones you find in the dead of winter can be a bit watery, which can cause issues later on.
The Great Chocolate Debate
Walking down the baking aisle can feel overwhelming. Let’s break it down into the two main players: real couverture chocolate and compound chocolate (or candy melts).
For the best possible result, you want couverture chocolate. This is the good stuff, made with a high percentage of cocoa butter. It’s what gives you that incredible flavor, a beautiful gloss, and that signature snap when you bite into it. You can find excellent options like Ghirardelli or Guittard at most grocery stores, and pro-level brands like Callebaut or Valrhona at specialty baking shops or online. A pound of real couverture might set you back between $15 and $25, but it is absolutely worth it for the taste and texture. The only catch? It must be tempered.
For a quick and easy alternative, there’s compound chocolate. Often sold as “melting wafers” or “candy melts,” this stuff swaps out the cocoa butter for vegetable oils. The huge upside is that it requires zero tempering—you just melt and go. It’s a lifesaver for kids’ parties or when you’re in a huge rush. The downside? The flavor and texture just aren’t the same. It can have a slightly waxy feel and lacks the rich taste of real chocolate. A bag usually costs around $8.
My advice? If you’re taking the time to do this, go for the real couverture. The little bit of extra effort pays off big time.
Step 2: The All-Important Prep Work
In pro kitchens, we live by the rule of ‘mise en place’—everything in its place. A little prep now prevents a huge headache later.
The Most Critical Step: Washing and Drying
Listen up, because this is crucial: water is the mortal enemy of melted chocolate. A single, tiny drop can cause your entire bowl of beautiful, liquid chocolate to “seize” into a grainy, unusable mess.
Here’s how to avoid that disaster:
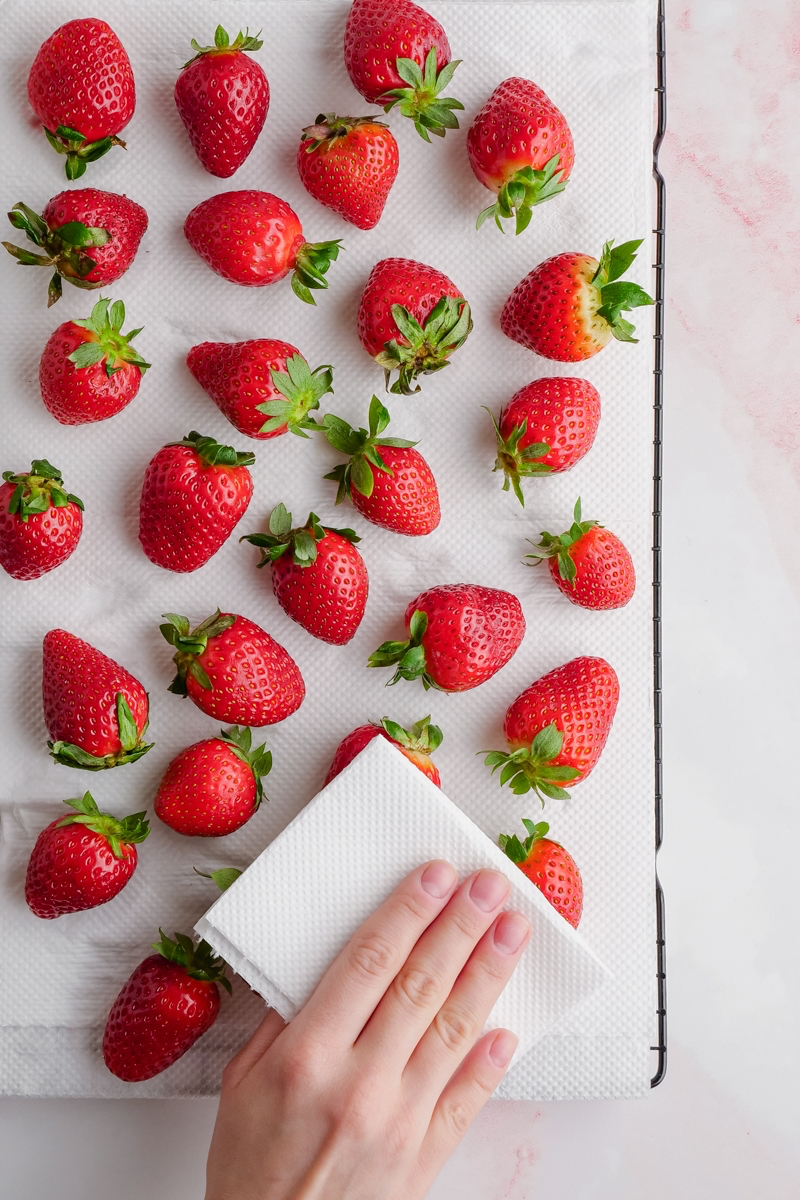
- Gently rinse your strawberries under cool water, leaving the green tops on.
- Pat each berry completely dry with a paper towel. Be gentle!
- Now for the patient part. Lay them on a clean kitchen towel or paper towels and let them air dry at room temperature for at least 30-60 minutes. The surface of the berry needs to be BONE DRY before it goes anywhere near the chocolate.
Also, never, ever dip cold strawberries straight from the fridge. The condensation that forms on the cold berry is enough to ruin your chocolate. Let me tell you, I learned this the hard way during a chaotic holiday service. We rushed, pulled berries from the walk-in cooler, and within an hour, our finished product was weeping and cracked. We had to remake hundreds of them. A lesson you only need to learn once!
Step 3: Mastering the Melt (a.k.a. Tempering)
Tempering is just a fancy word for heating and cooling chocolate to specific temperatures to get the cocoa butter crystals to line up perfectly. When they do, you get that glossy finish and firm snap. Without it, you get dull, soft, sometimes streaky chocolate. You’ll need that digital thermometer now!
The Seeding Method (The Pro Standard)
This is my go-to method. It’s reliable and straightforward. You melt most of your chocolate, then add in some unmelted chocolate (the “seed”) to cool it down and provide the right crystal structure.
Quick Temperature Guide:
- Dark Chocolate: Melt to 115°F, cool to 82°F, then rewarm to a working temp of 88-90°F.
- Milk Chocolate: Melt to 110°F, cool to 80°F, then rewarm to a working temp of 86-88°F.
- White Chocolate: Melt to 105°F, cool to 79°F, then rewarm to a working temp of 82-84°F.
Let’s walk through it with dark chocolate: Finely chop all 12 ounces. Set aside about 3-4 ounces (this is your seed). Melt the larger portion in a bowl over a pan of barely simmering water, stirring until it hits 115°F. Remove it from the heat, wipe the bottom of the bowl dry, and stir in your seed chocolate. Keep stirring until the temperature drops to 82°F. If it’s still too low, you can pop it back over the warm water for a few seconds—just don’t go past 90°F!
Good to know: If you mess up or the chocolate gets too thick while you work, don’t panic! You can just gently reheat the whole batch to the initial melting temperature (115°F) and start the seeding process over. No waste!
The Microwave Shortcut
For small batches, the microwave works great. Place all your chopped chocolate in a bowl. Heat on 50% power for 30 seconds. Stir. Repeat. When it’s about 70% melted liquid with 30% soft, unmelted lumps, stop heating. Just keep stirring until the residual heat melts the rest. This acts as a self-seeding method and should land you right at your working temperature.
Step 4: The Dip, Tap, Scrape
Your station should be ready: tempered chocolate, dry room-temp berries, and a parchment-lined tray.
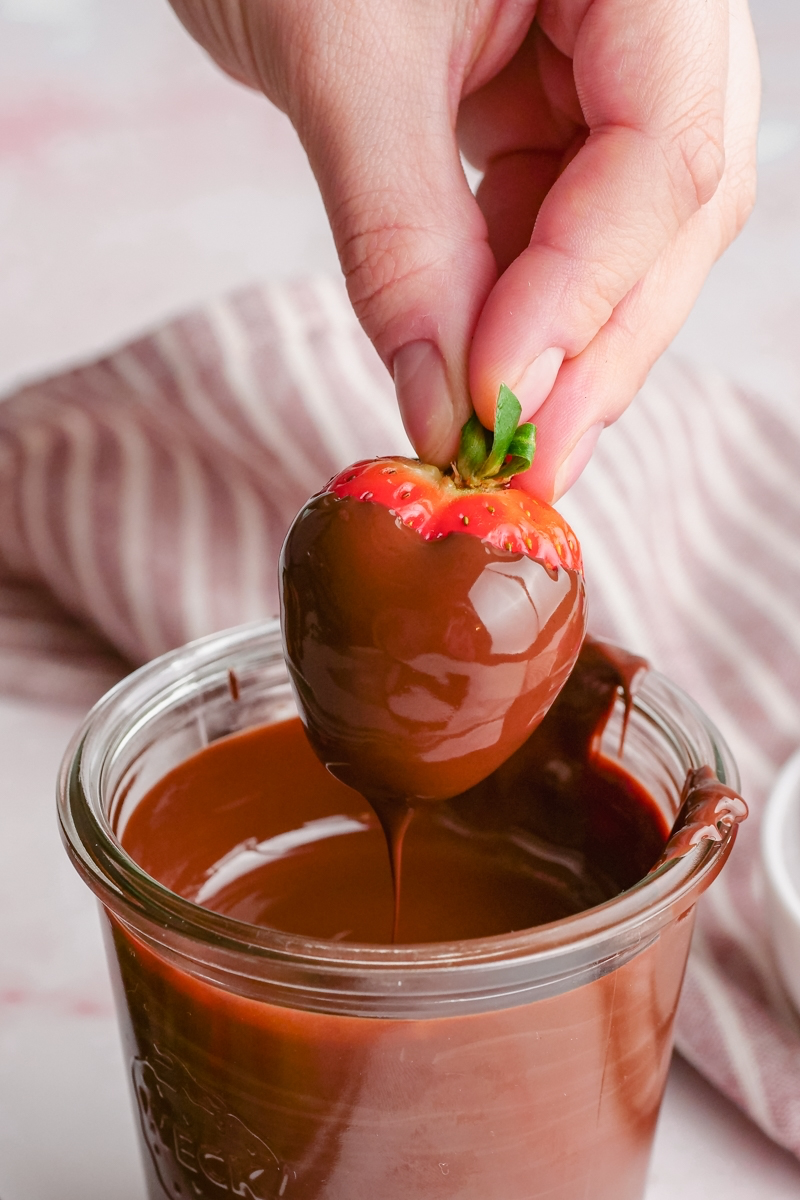
- Hold the berry by its green leaves.
- Dip it into the chocolate, leaving a little red showing at the top.
- Now for THE SECRET STEP. Lift the berry and gently but firmly tap your wrist against the rim of the bowl. Do this several times. This is what makes the difference between a thick, clumsy coating and a thin, elegant shell. Excess chocolate will drip right off.
- Finally, lightly scrape the bottom of the berry on the lip of the bowl to prevent a chocolate “foot” from forming.
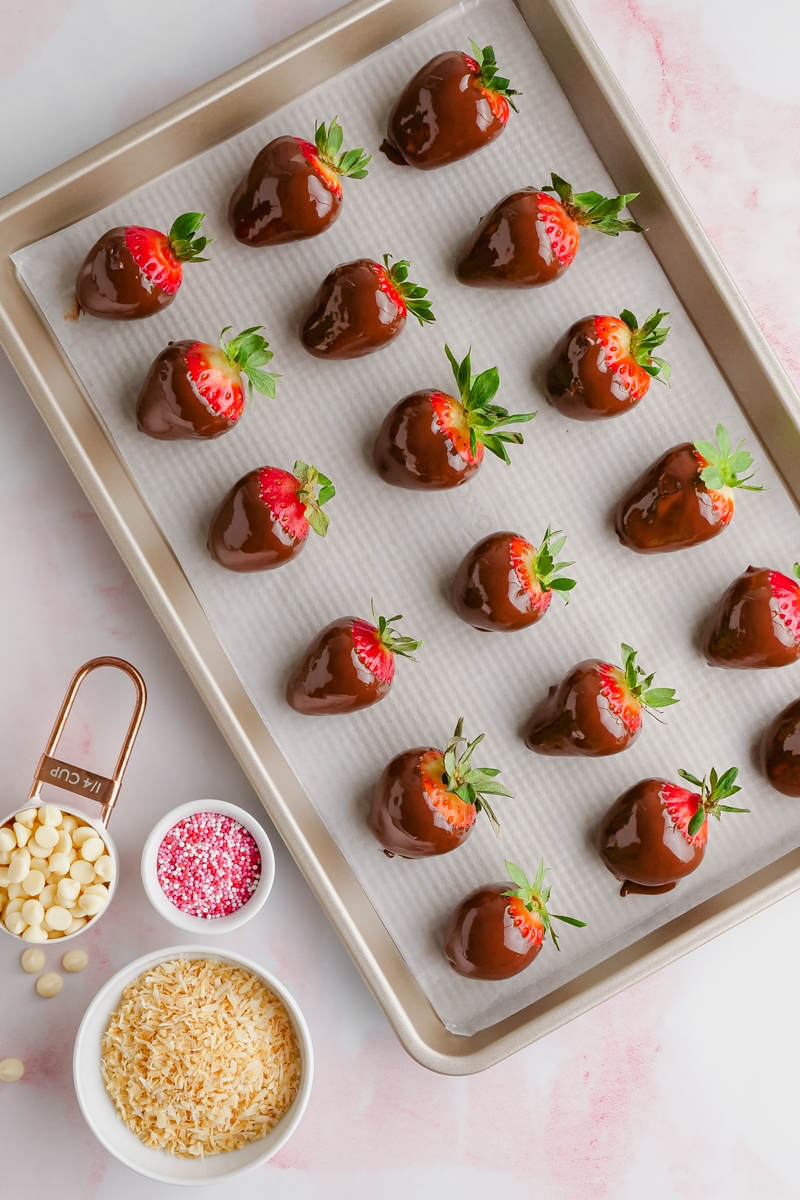
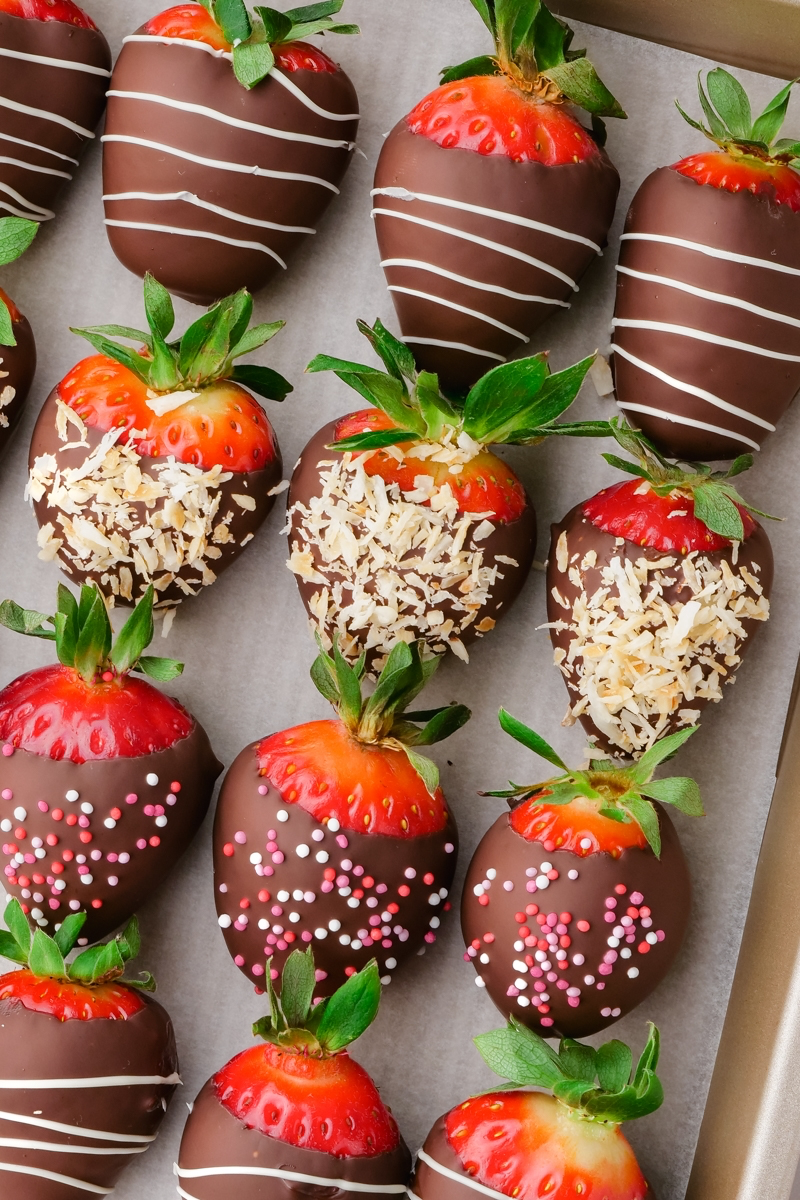
- Place it on your prepared tray. If you’re adding sprinkles or nuts, do it now while the chocolate is wet.
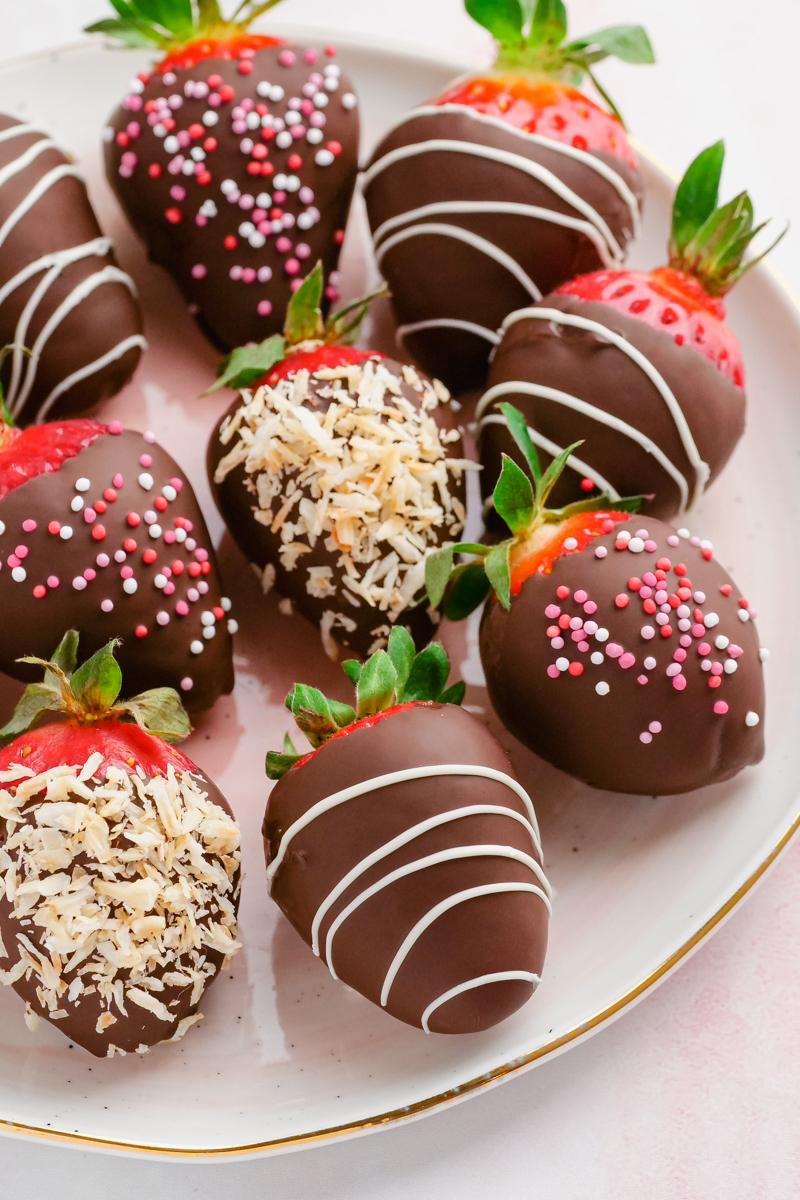
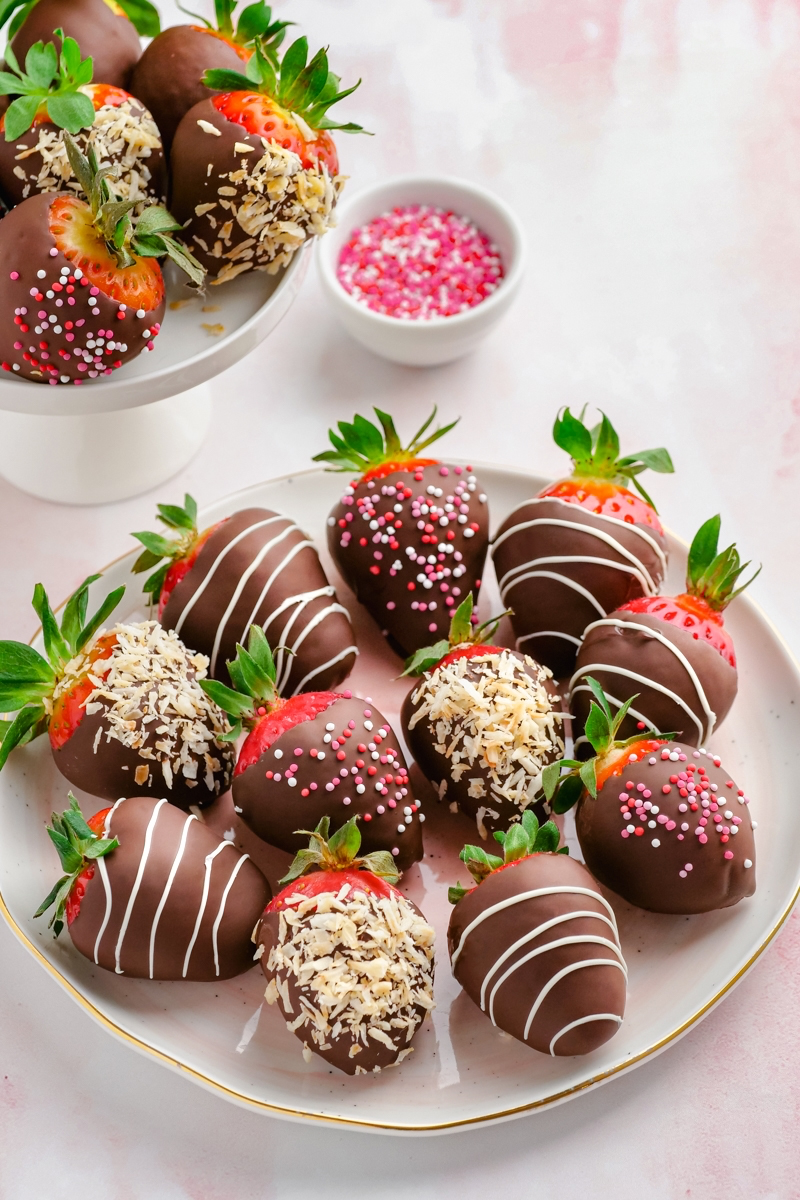
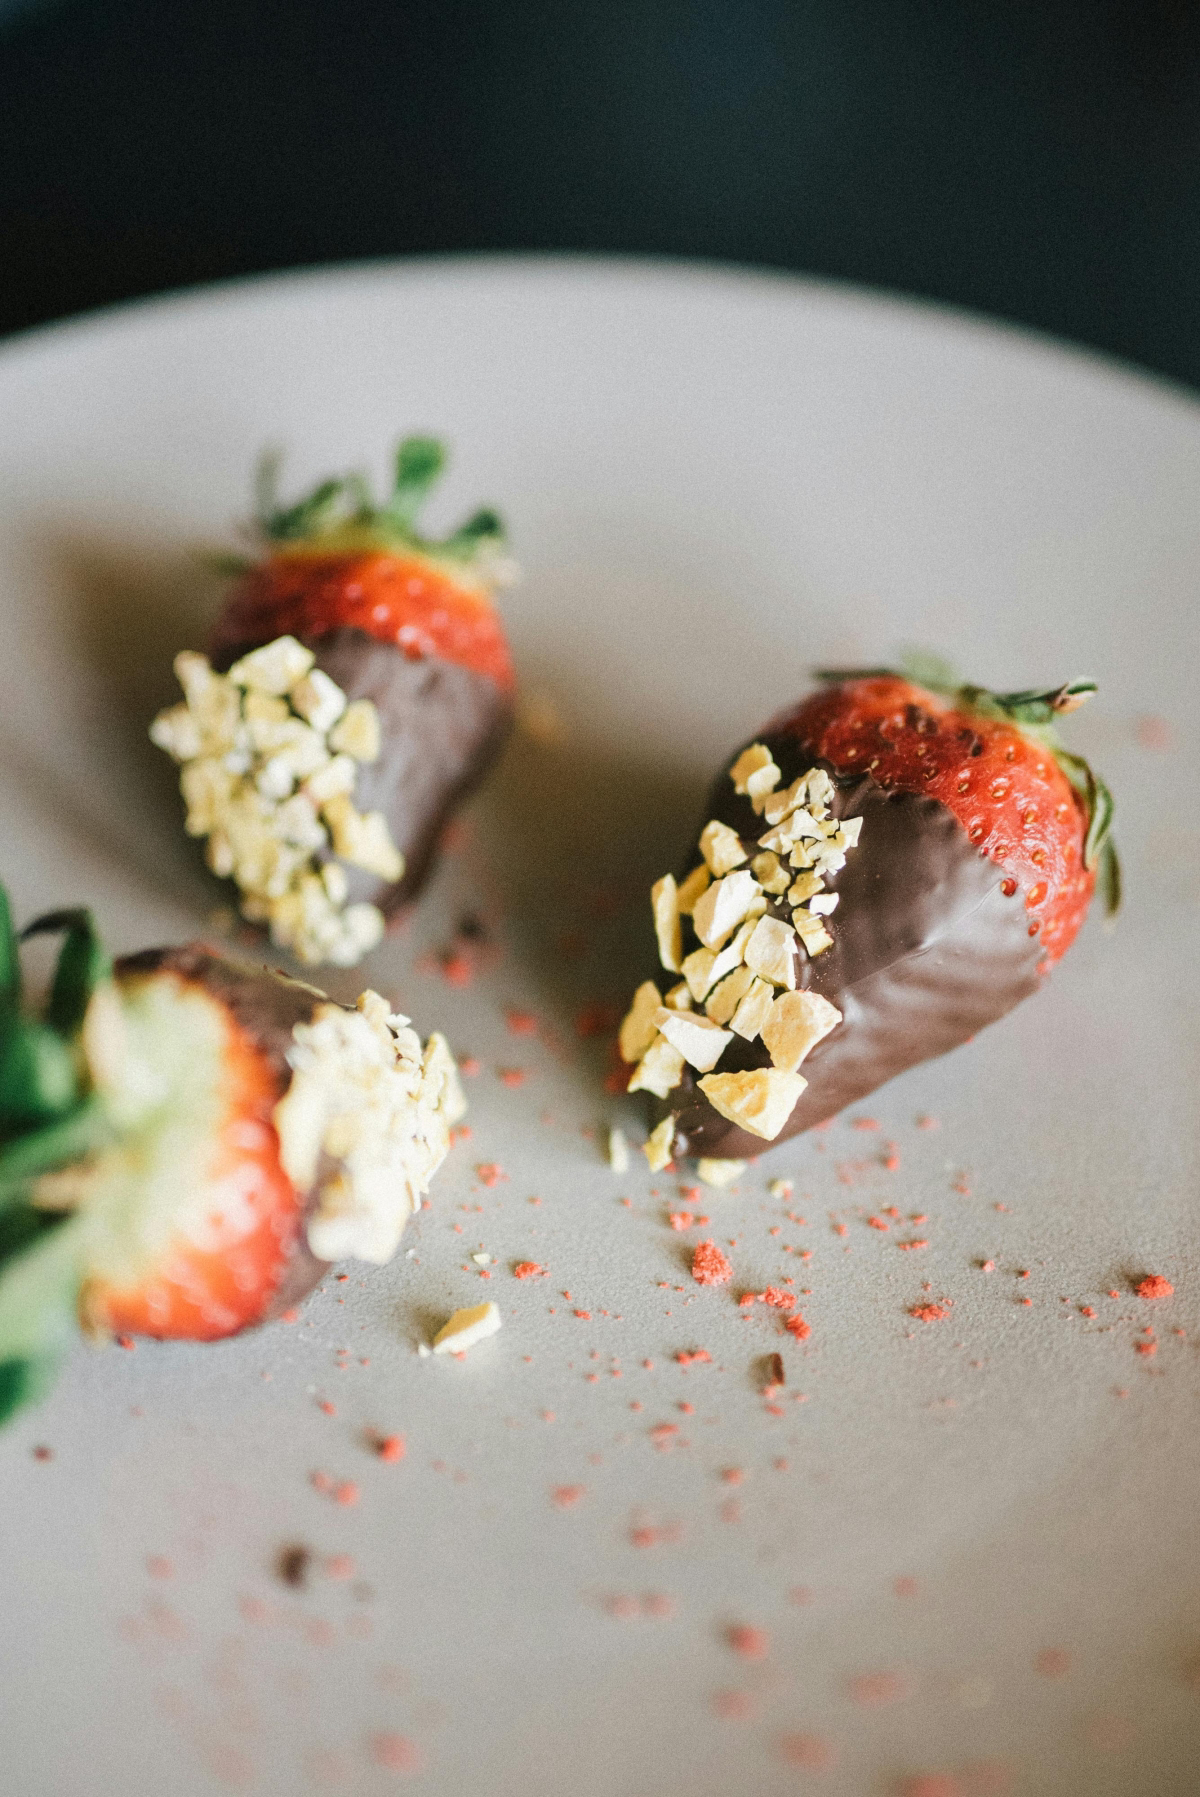
Step 5: Making Them Pretty
A simple dipped berry is a thing of beauty, but a little decoration is fun. Toasted nuts, flaky sea salt (amazing on dark chocolate!), or festive sprinkles are easy wins. For a classic drizzle, let the first coat set completely. Then, melt a small amount of a contrasting chocolate, put it in a small squeeze bottle or even a plastic baggie with the corner snipped off, and drizzle away.
Step 6: Setting and Storing (The Hard Truth)
For the absolute best, shiniest finish, let your strawberries set at a cool room temperature (around 65-68°F). They’ll be firm in about 15-20 minutes. If your house is warm, you can pop them in the fridge for 5-10 minutes MAX, just to set the chocolate. Any longer and you risk condensation, which dulls the shine.
And now, for some real talk. Chocolate-covered strawberries are meant to be eaten the same day they are made. They have a very short shelf life. After about 24 hours, the berry starts to release moisture, making it soggy and causing the chocolate to weep. If you absolutely must store them, put them in a single layer in an airtight container in the fridge for up to one day. Let them sit out for 20 minutes before serving to take the chill off.
When Things Go Wrong (And How to Fix It)
- My chocolate is too thick! If no water got in, you can stir in a tiny bit of melted cocoa butter or paramount crystals (found at baking stores) to thin it out. Never add regular butter or milk!
- It’s grainy and ruined! It’s seized. A little water got in. I’m sorry, but it’s done for dipping. But wait! Stir in a few tablespoons of hot cream to turn it into a fantastic chocolate sauce for ice cream. No waste!
- My finished berries are dull and streaky. That’s fat bloom from improper tempering or a big temperature shock. There’s no fix after the fact, so the solution is prevention. Make sure you hit your temps!
- They’re leaking! The berries were probably too wet, too cold when dipped, or they’re just old. Best to use fresh, dry, room-temp berries and serve them quickly.
Honestly, making these is a skill that teaches patience. Don’t get discouraged if your first try isn’t perfect. Every pro has a story about a seized bowl of expensive chocolate—it’s a rite of passage! Focus on good ingredients and controlling your temps, and you’ll be making gorgeous strawberries in no time.
Galerie d’inspiration
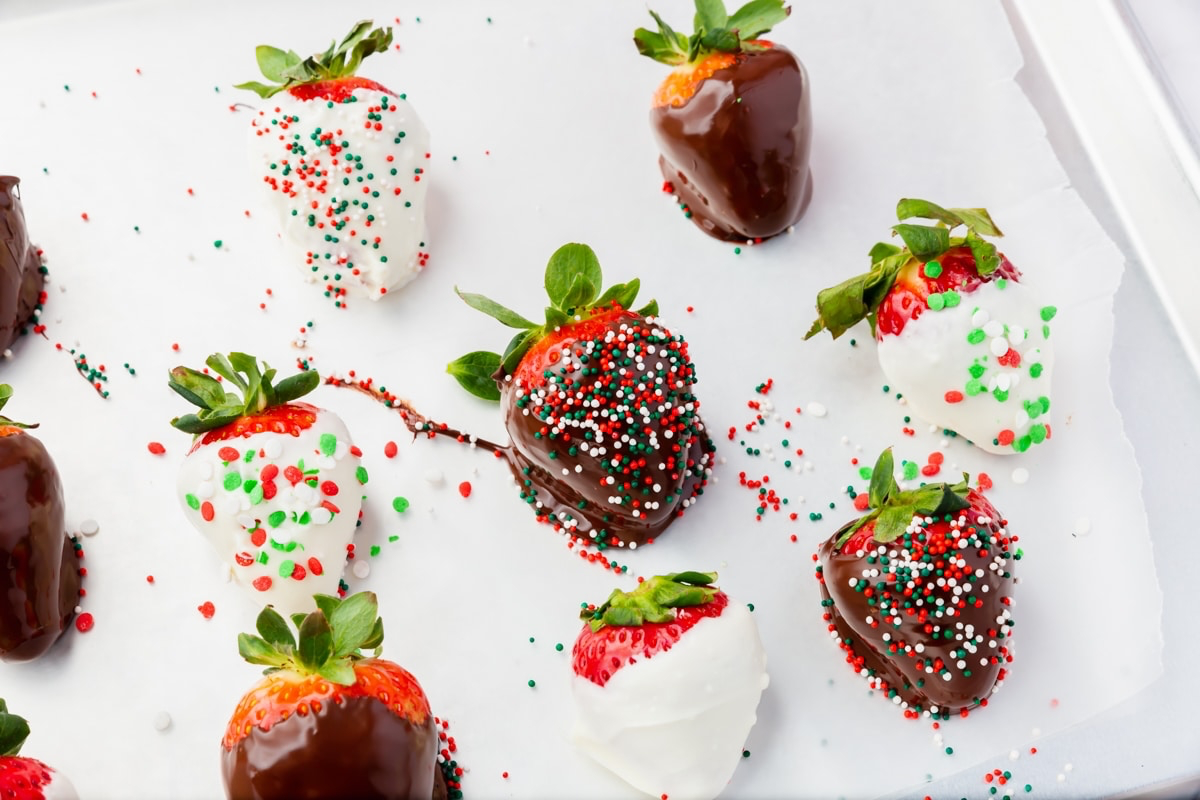
Once you’ve mastered that perfect, glossy coat, the real fun begins. Transforming your chocolate-covered strawberries into festive masterpieces is all about timing and texture. For a truly professional-looking holiday platter, think beyond the simple dip.
- Contrasting Drizzles: For a clean, sharp look, melt white or ruby chocolate (Valrhona’s Strawberry Inspiration has an incredible flavor) and use a squeeze bottle or a small piping bag to create quick zig-zags over the set dark chocolate.
- Festive Textures: For holiday crunch, sprinkle finely crushed peppermint candy canes or festive sanding sugar (like the vibrant red and green varieties from Wilton) onto the chocolate before it sets. The key is to work fast!
- A Touch of Luxe: Want ultimate elegance? A tiny flake of edible gold leaf, applied carefully with tweezers to the still-wet chocolate, creates a stunning effect perfect for a sophisticated Christmas or New Year’s Eve treat.


