Your Ultimate Guide to Cooking Potatoes Like a Pro
I’ve been around professional kitchens for a long, long time. And I’ve seen some seriously talented cooks who can handle the fanciest fish or the most complicated sauces. But honestly, if you want to know how good a cook really is, give them a potato.
In this article
It’s such a humble ingredient, right? But it has zero patience for carelessness. Get it right, and you’ve got pure comfort on a plate. Get it wrong, and you’re looking at a sad pile of gluey mush or, even worse, a waxy, undercooked lump. The potato doesn’t lie.
So, this isn’t just another list of recipes. My goal here is to get you to think like a cook. Once you understand the ‘why’ behind the potato, you can nail it every single time, no recipe required.
In a hurry? Here’s the absolute minimum you need to know: For fluffy baked or mashed potatoes, grab the big, brown-skinned baking potatoes (like Russets). For potato salads, soups, or anything where you need slices to hold their shape, go for the small, red-skinned or waxy varieties. And for a fantastic all-around potato that’s great for roasting, you can’t go wrong with the golden-fleshed types (like Yukon Golds).
First Things First: Choosing Your Weapon
Okay, let’s get into it. The single biggest mistake people make is grabbing any old bag of spuds from the grocery store and hoping for the best. That’s a recipe for disappointment. The difference between a great potato dish and a terrible one almost always comes down to one thing: starch.
The Great Divide: Starchy vs. Waxy
Think of starch as tiny little granules inside the potato’s cells. When you cook them, they absorb water and swell up. How they swell and interact determines the final texture.
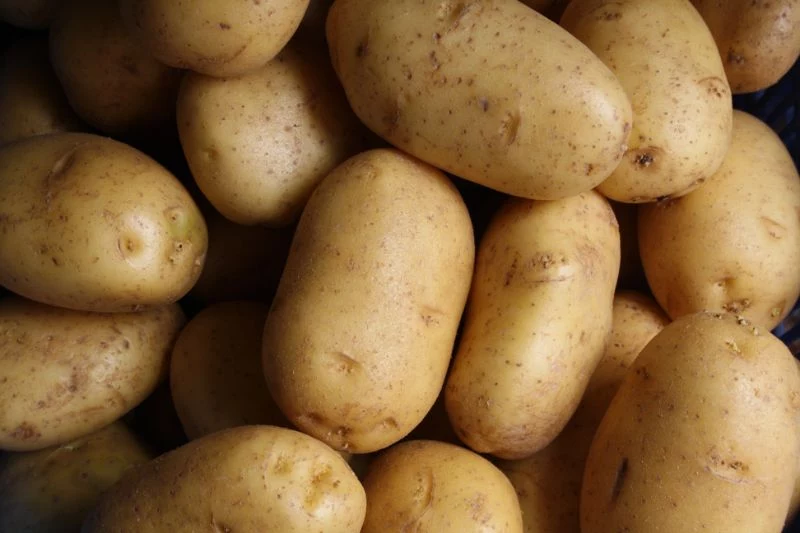
- Starchy (or Floury) Potatoes: These are your classic, big, brown-skinned baking potatoes. They have a high starch and low moisture content, and their internal structure is kind of loose. When you cook them, the cells swell up and separate easily, creating that light, dry, and fluffy texture we all love.
Best For: Baking (that fluffy inside is a perfect sponge for butter and sour cream), mashing (they break down into a beautiful, smooth purée), and making French fries (the low moisture makes them super crispy on the outside).
Avoid For: Potato salads, gratins, or stews. They’ll just disintegrate into a cloudy mess. - Waxy Potatoes: These are the ones with smoother, thinner skin, often smaller and red or the long, slender “fingerling” types. They’re low in starch and high in moisture, with cells that are packed together tightly. This means they hold their shape incredibly well when cooked.
Best For: Boiling for potato salads, roasting for firm chunks, and using in soups or gratins. They slice cleanly even after cooking.
Avoid For: Mashing! Seriously, don’t do it. You have to work them so hard to break them down that you end up with a sticky, gluey paste. It’s a culinary crime, and there’s no coming back from it. - All-Purpose Potatoes: These are the happy medium, with the popular golden-fleshed varieties being a prime example. They have a moderate amount of starch, making them surprisingly versatile. They hold their shape better than a starchy baker but are fluffier than a waxy red potato. If you only have space or budget for one type, this is your safest bet.
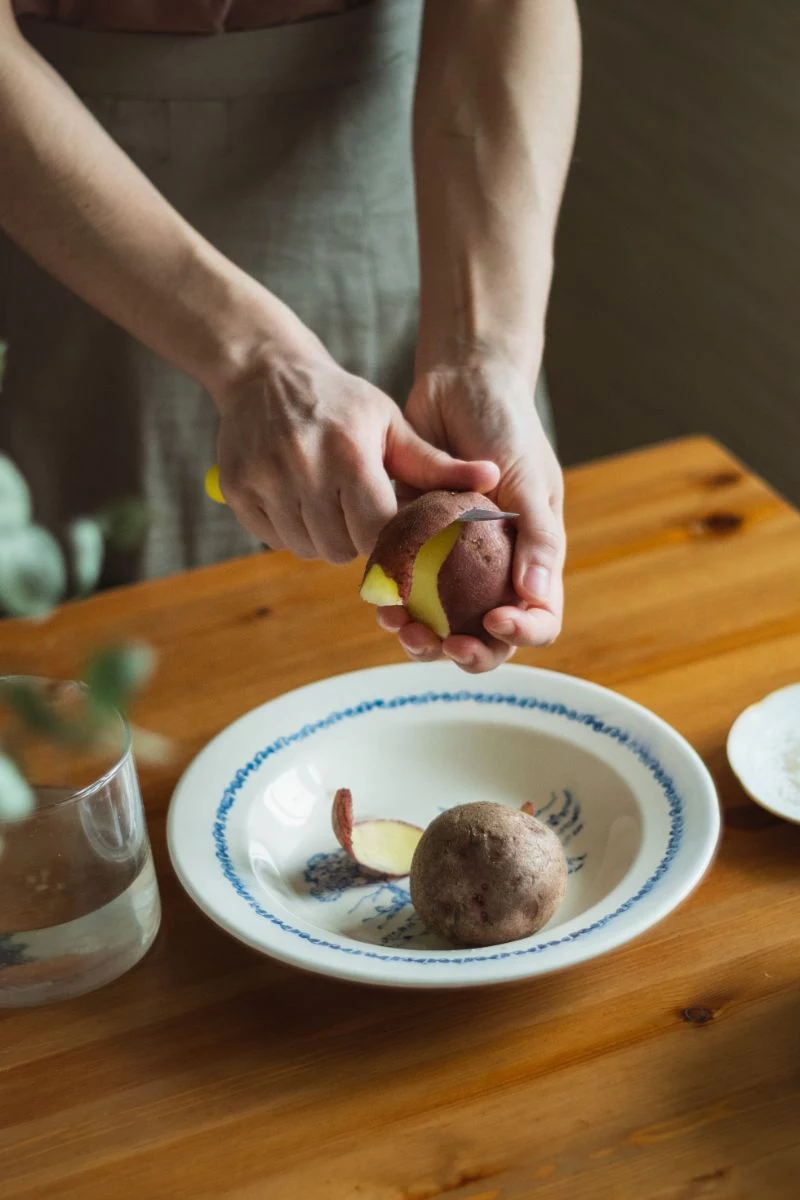
Oh yeah, the skin question: To peel or not to peel? For ultra-smooth mashed potatoes or classic French fries, you’ll want to peel them. But for roasted potatoes or rustic potato salads, leaving the skin on adds great texture, flavor, and extra nutrients. Just make sure to scrub them well!
The Cold Water Trick Everyone Should Know
Here’s a piece of kitchen wisdom that instantly separates the rookies from the pros. When you’re boiling potatoes, always start them in cold, salted water. If you dump them straight into boiling water, the outside cooks way too fast and turns to mush before the inside is even tender. Starting them cold lets them heat up gradually for perfectly even cooking. And don’t be shy with the salt—it’s your only chance to season the potato from the inside out.
Mastering the Core Techniques
Once you’ve got the right potato, it’s all about technique. Pretty much every potato dish you can think of is a variation of one of these four methods.
Technique 1: Perfect Boiled Potatoes
It sounds basic, but so many people get this wrong. This is your foundation for a killer potato salad.
The Plan:
- How much to make: A good rule of thumb is about 1/2 pound of potatoes per person.
- Prep Time: 10 minutes | Cook Time: 15-20 minutes
- The Method: Grab your waxy potatoes (red-skinned or new potatoes are perfect). Chop them into uniform 1 to 2-inch pieces so they cook evenly. Pop them in a pot, cover with at least an inch of cold water, and add a heavy pinch of salt—make it taste like the sea (about 1 tablespoon of kosher salt per 2 quarts of water). Bring to a boil, then immediately lower the heat to a steady simmer. A hard, rolling boil will just beat them up. They’re done when the tip of a knife slides in with zero resistance. Drain them right away and let them steam dry in the colander for a few minutes. This is key! Wet potatoes make a watery, sad potato salad.
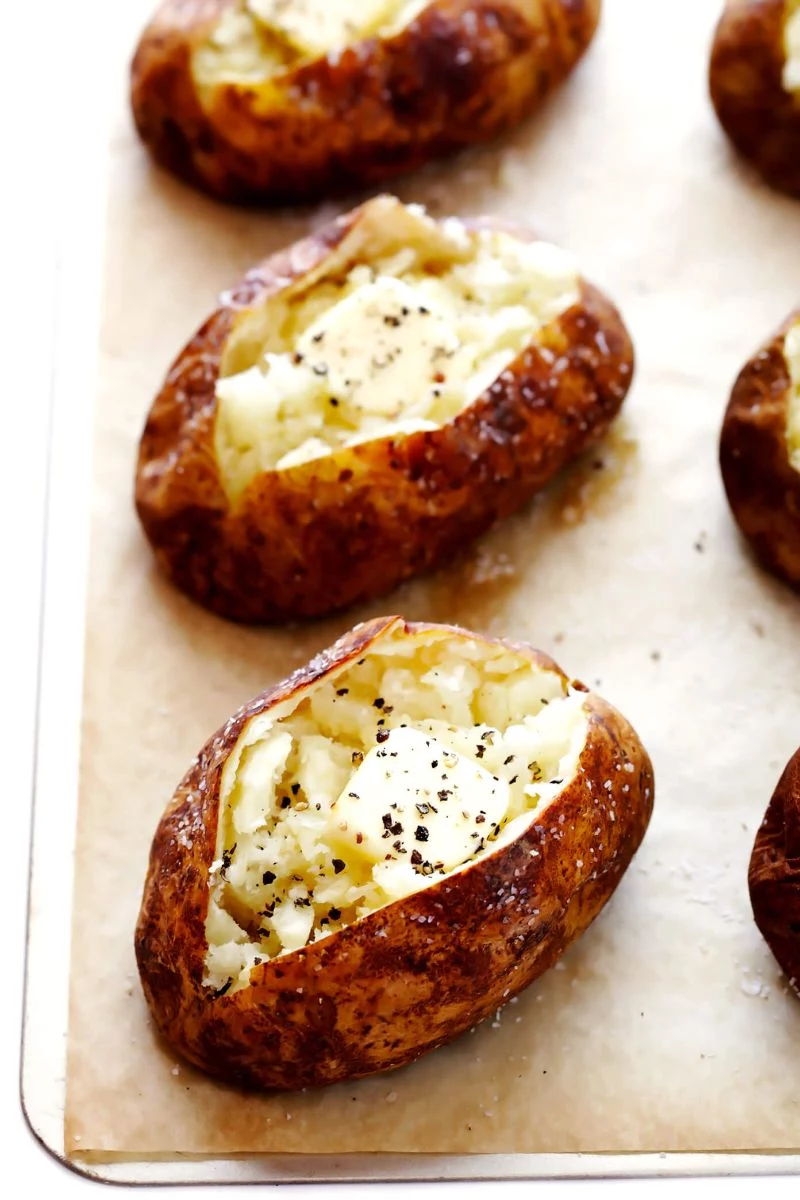
Technique 2: The Classic Baked Potato
A truly great baked potato has two things: crackly, salty skin and a steaming, fluffy interior. This is a job exclusively for a starchy baking potato.
The Plan:
- How much to make: One large potato per person.
- Prep Time: 5 minutes | Cook Time: 60-75 minutes
- The Method: Get your oven cranking to 400°F (200°C). Scrub the potatoes well and, most importantly, dry them completely. Pierce the skin 5-6 times all over with a fork—this lets steam escape. (Heads up: I once saw a potato explode in an oven because someone forgot this step. It’s a messy lesson.) Bake them directly on the oven rack for about an hour. Then, pull them out, rub them all over with a little oil or melted butter, and sprinkle generously with coarse salt. Pop them back in for another 10-15 minutes. This second bake is what makes the skin unbelievably crisp. You’ll know it’s done when the skin is tight like paper and it gives easily when you squeeze it (with a towel, of course).
- Pro Tip: NEVER wrap your potato in foil to bake it. Foil traps steam, which just gives you a soft, soggy skin. You’re steaming it, not baking it.
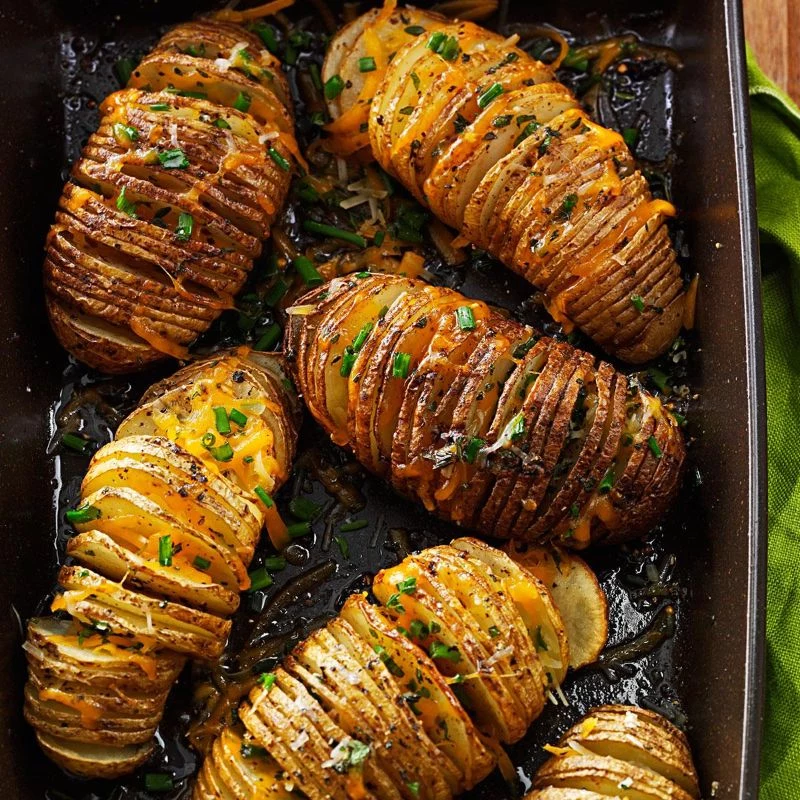
Technique 3: Truly Crispy Roasted Potatoes
This is where legends are made. The goal is a deep golden-brown, crunchy crust with a creamy, fluffy center.
The Plan:
- How much to make: Plan for 1/2 to 3/4 pound per person, because these disappear fast.
- Prep Time: 15 minutes | Cook Time: 40-50 minutes
- The Method: Use an all-purpose potato, like a golden-fleshed variety. Cut into 1.5-inch chunks. Now, here’s the game-changing secret: parboil them. Start them in cold, salted water, bring to a boil, and cook for just 7-10 minutes. Drain them really, really well. Then, return the dry potatoes to the hot, empty pot, put the lid on, and give them a good shake for 15 seconds. This scuffs up the outside, creating a starchy layer that gets insanely crispy in the oven. This is the step you can’t skip!
- Next, preheat your oven to 425°F (220°C). Pour some fat onto a baking sheet and let it get screaming hot in the oven. For next-level flavor, duck fat is the absolute king (a jar runs about $10-$15 at specialty stores or online), but bacon grease or a good high-heat oil like canola works great, too. Carefully spread your scuffed potatoes on the hot pan in a single layer. Don’t overcrowd them, or they’ll steam! Use two pans if you need to. Roast for 30-45 minutes, turning once, until you can hear them sizzling and they’re golden brown all over. Season with salt and herbs the second they come out of the oven.
Technique 4: Restaurant-Quality French Fries
Yes, you can make incredible fries at home. The secret is the double-fry method, and it requires a starchy potato.
The Plan:
- Prep Time: 45 minutes (includes soaking) | Cook Time: 15-20 minutes
- The Method: Peel your potatoes and cut them into uniform 1/4-inch sticks. Soak them in a bowl of cold water for at least 30 minutes to remove excess starch. Then, drain and dry them COMPLETELY. Water and hot oil are a seriously dangerous mix.
- First Fry: Heat your oil in a heavy pot to 325°F (160°C). A deep-fry thermometer is essential here for safety and results—you can get a reliable one for about $15 at any kitchen store. Fry the potatoes in batches for 3-5 minutes. They should be soft and pale, not brown. Drain on a wire rack. (In a pinch, paper towels on a plate will do, but a rack keeps them from getting soggy on the bottom.)
- Second Fry: Crank the oil up to 375°F (190°C). Fry the cooled potatoes again for 2-4 minutes until they’re perfectly golden brown and crisp. Drain on the rack and hit them with fine salt immediately.
- SERIOUS SAFETY WARNING: Never fill your pot more than halfway with oil. Keep a lid nearby. If it ever catches fire, DO NOT use water. Turn off the heat and smother the flames with the lid. Never walk away from hot oil.
Beyond the Basics: Other Cool Things to Try
Once you’ve got the fundamentals down, you can tackle anything.
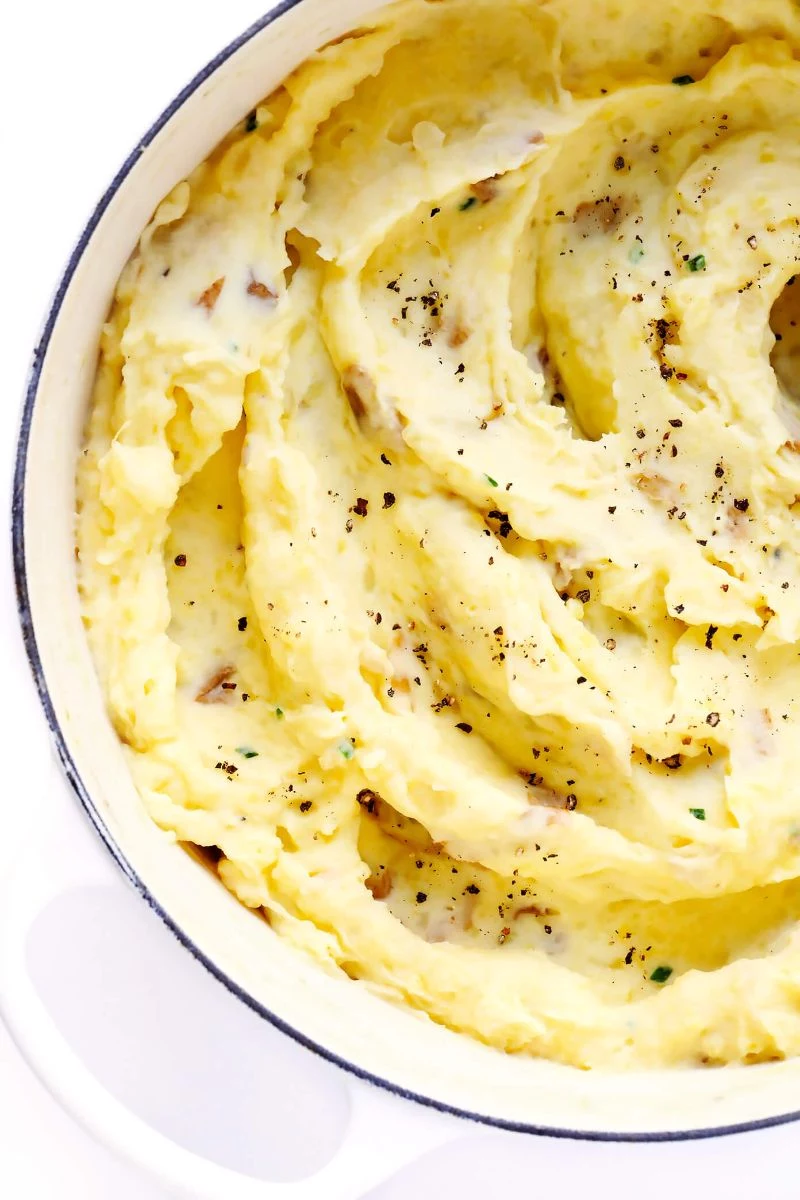
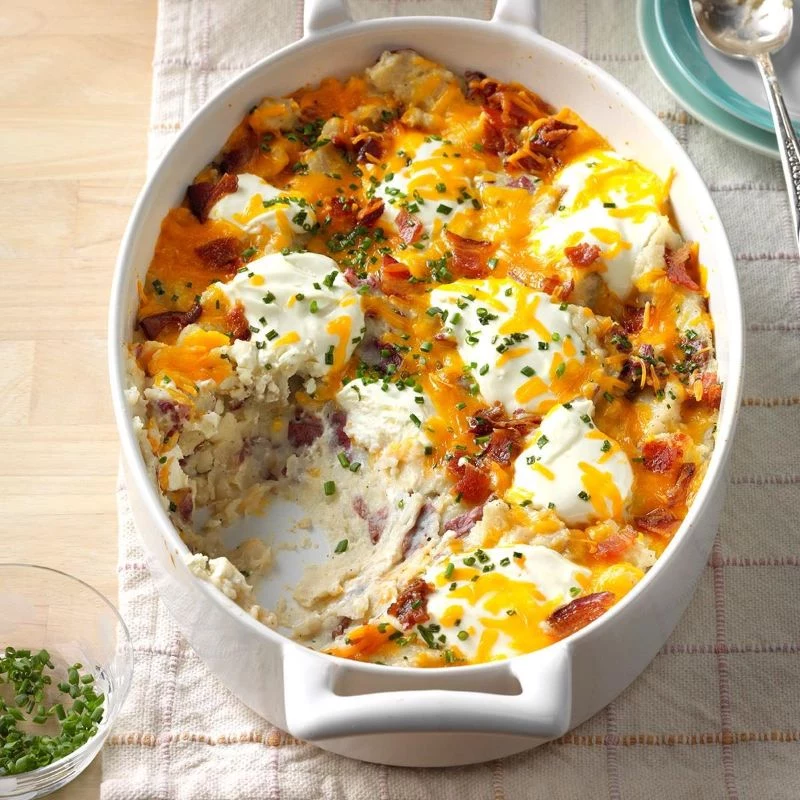
Unbeatable Mashed Potatoes
The secret to fluffy, not gummy, mash is using boiled starchy potatoes and the right tool. A potato ricer or a food mill is the pro’s choice. They press the potato into fine strands without overworking the starch. You can find a good ricer for $20-$30, and it’s worth every penny. A hand masher is your next best bet. Whatever you do, avoid a food processor or blender! The blades shred the starch cells and will turn your beautiful potatoes into wallpaper paste. I made that mistake once as a trainee. My chef made me eat it. Never again.
Quick tip: Always warm your milk/cream and melt your butter before adding them to the hot, riced potatoes. Cold dairy will make your mash lumpy.
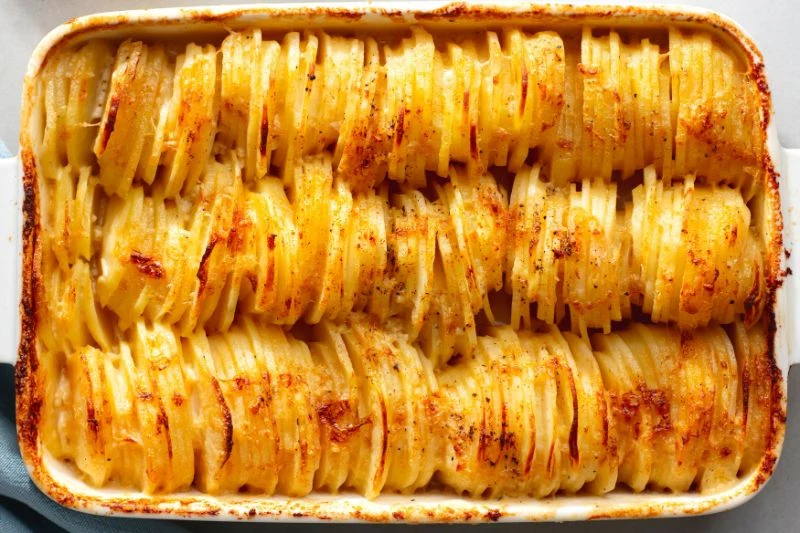
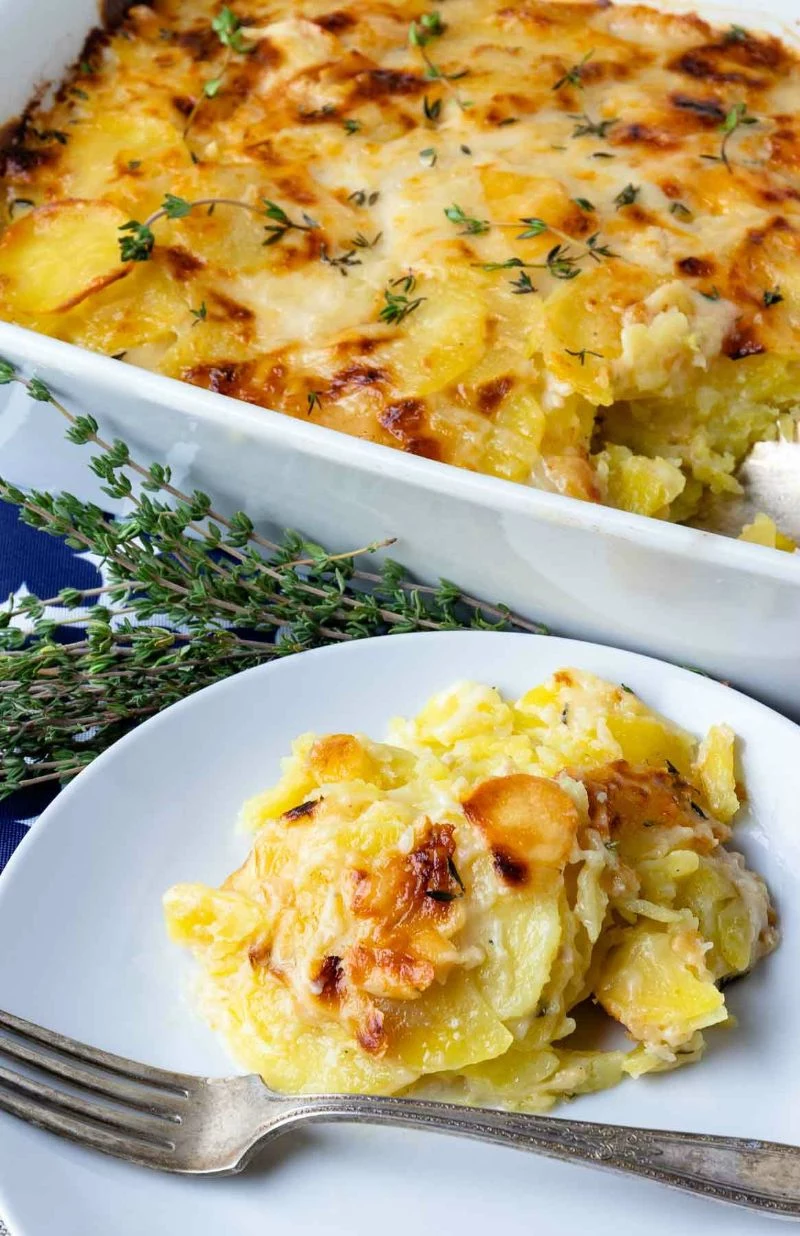
Fancy Gratins
These beautiful layered dishes need sturdy, waxy, or all-purpose potatoes that can be sliced thin. A mandoline slicer is the best tool for uniform slices, but please, be careful. I’ve seen more nasty cuts from mandolines than from any other kitchen tool. Always use the safety guard. A sharp knife and a steady hand work just fine, too. For a classic gratin, layer the thin potato slices with heavy cream and cheese, then bake covered for the first half to steam them, and uncovered for the second half to get that gorgeous brown top.
How to Store Them (and What That Green Stuff Means)
Your job starts at the store. Buy potatoes that are firm, with no soft spots, sprouts, or green patches. Store them in a cool, dark, dry place with good airflow—think a paper bag in a pantry, not a plastic bag. And definitely don’t store them in the fridge! The cold converts their starch to sugar, making them taste oddly sweet and causing them to brown too quickly when you cook them.
By the way, if you see green on a potato, you should be cautious. The green itself is just chlorophyll, but its presence means the potato was exposed to light, which also promotes the creation of a bitter compound called solanine. A little bit can be trimmed off with a generous margin, but if a potato is significantly green, just toss it. It’s not worth the risk of a bitter taste or an upset stomach.
And that’s it. Cooking a great potato isn’t about some secret recipe. It’s about understanding the ingredient and respecting the technique. Now you know the ‘why’. Go practice and make something delicious.
Inspirational Gallery
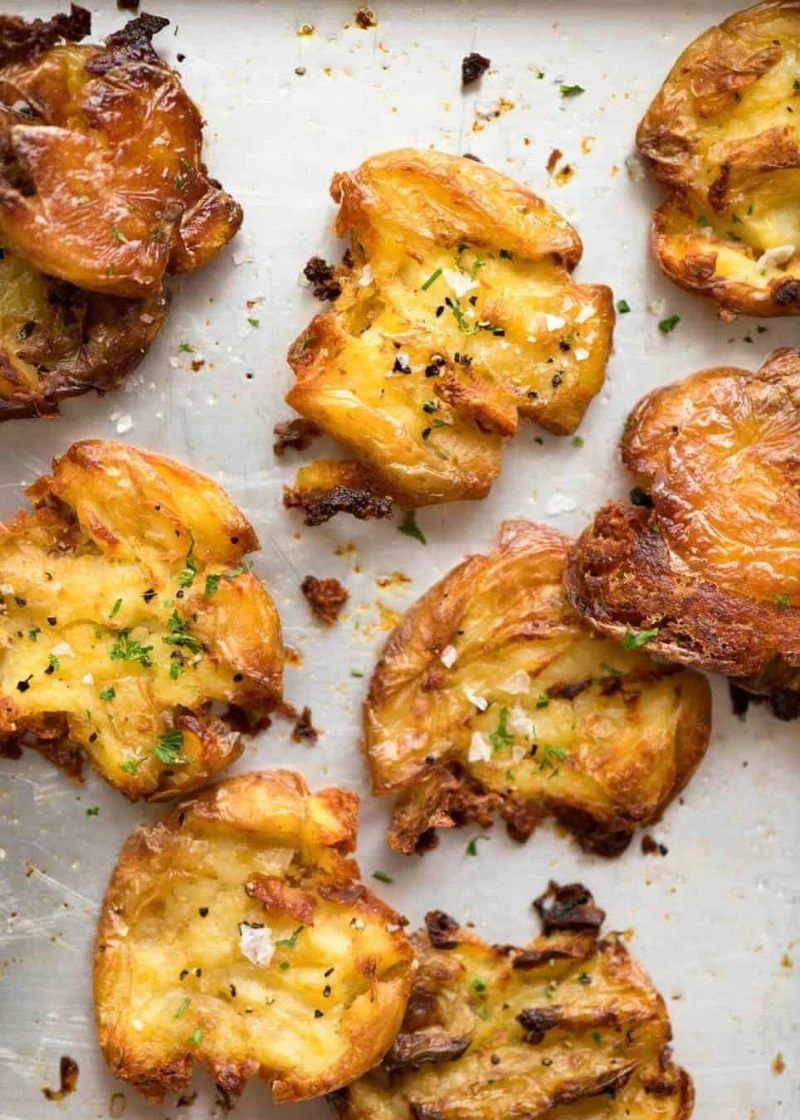
The secret to shatteringly crisp roast potatoes: It’s all about surface area and starch. After parboiling your potatoes (Yukon Golds are perfect for this), drain them well and give the colander a vigorous shake. This scuffs up the exteriors, creating a paste-like, starchy surface that fries to a perfect, crunchy crust in the hot fat.
Potato Ricer: This handheld tool forces cooked potato through small holes, creating fine, fluffy strands. The result is an exceptionally light and lump-free mash with minimal effort. Ideal for classic purées.
Food Mill: A bit more old-school, a food mill not only purées the potato but also separates out the skins. Perfect if you boil your potatoes skin-on to retain more flavor. The texture is slightly denser than with a ricer.
For the ultimate smooth texture praised by chefs, the ricer is your best bet.
The average American eats about 124 pounds of potatoes per year. That’s more than any other vegetable!
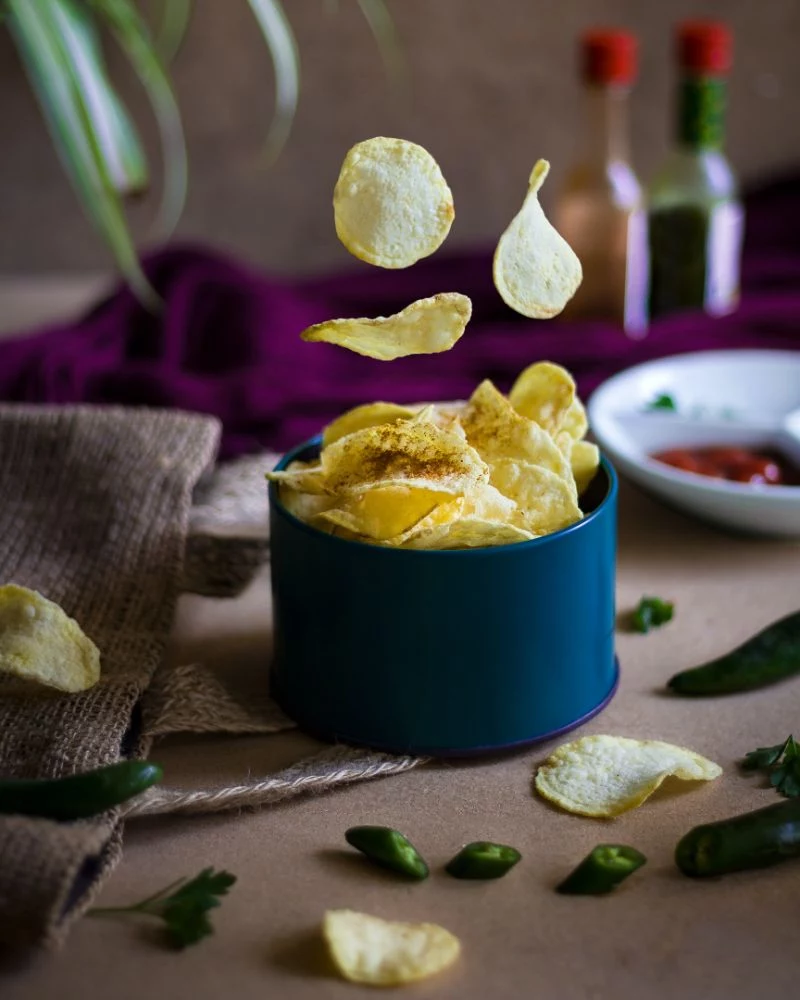
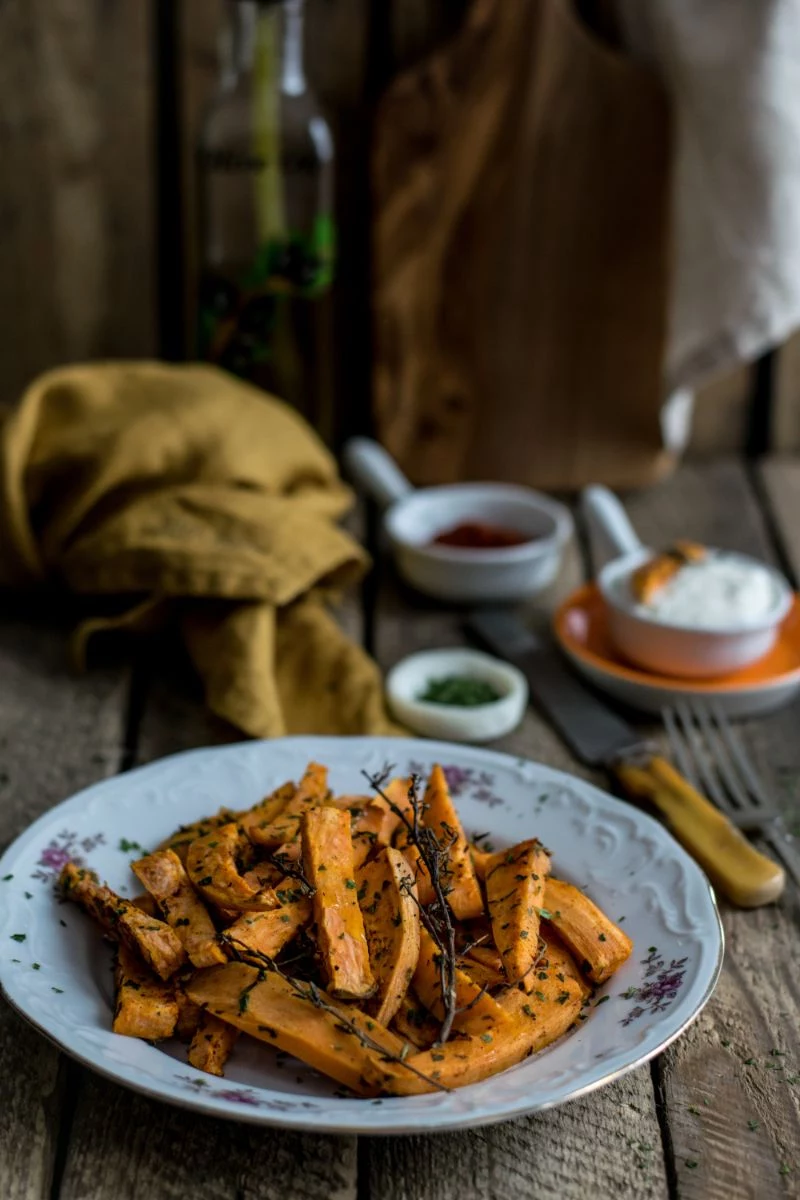
Tired of plain salt? Elevate your homemade fries or wedges with a custom seasoning blend before they hit the table.
- Smoky & Savory: A mix of smoked paprika, garlic powder, and a pinch of cumin.
- Luxe & Rich: A drizzle of quality truffle oil and finely grated Parmesan cheese. Finish with flaky Maldon sea salt.
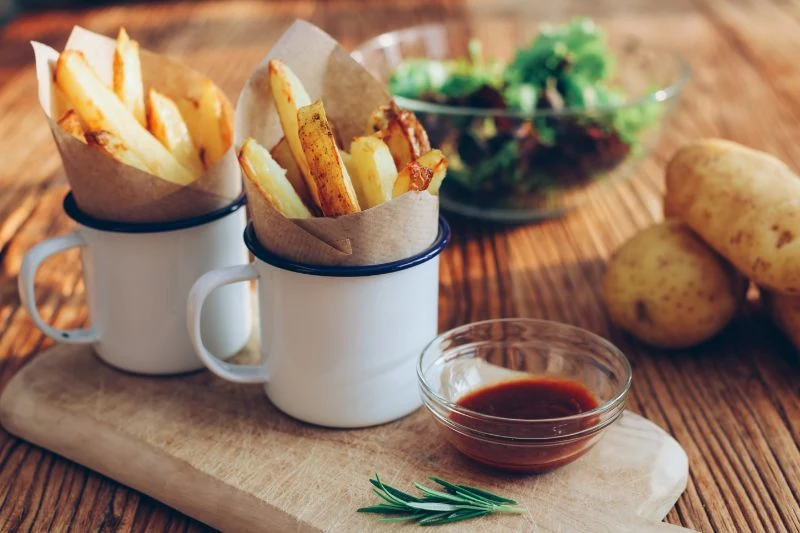
- Herbaceous & Fresh: Finely chopped fresh rosemary, thyme, and coarse sea salt.
Ever wonder why your mashed potatoes turned into a sticky, gluey mess?
The culprit is almost always overworking. When you mash potatoes, especially in a food processor or with an electric mixer, you rupture the starch cells. This releases excessive starch, which turns the texture from fluffy to paste-like. Stick to a hand masher or a ricer, and mix in your butter and cream gently, just until combined.
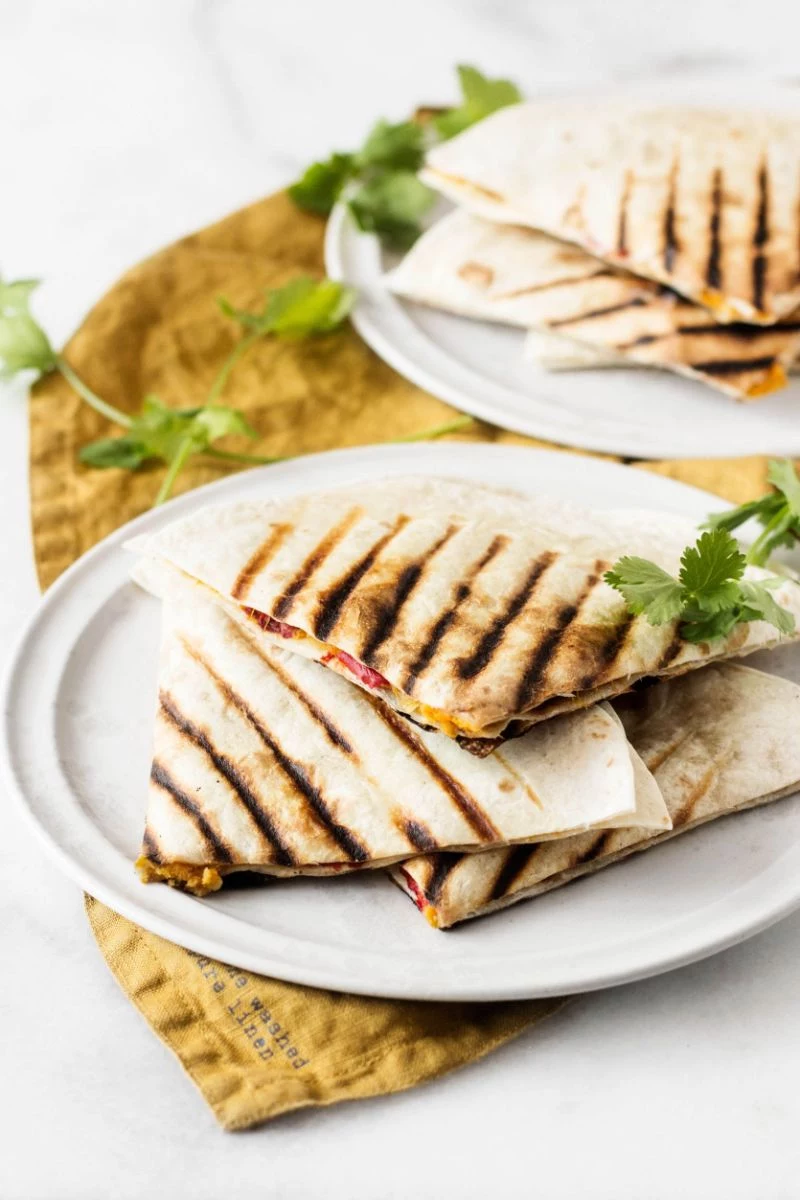
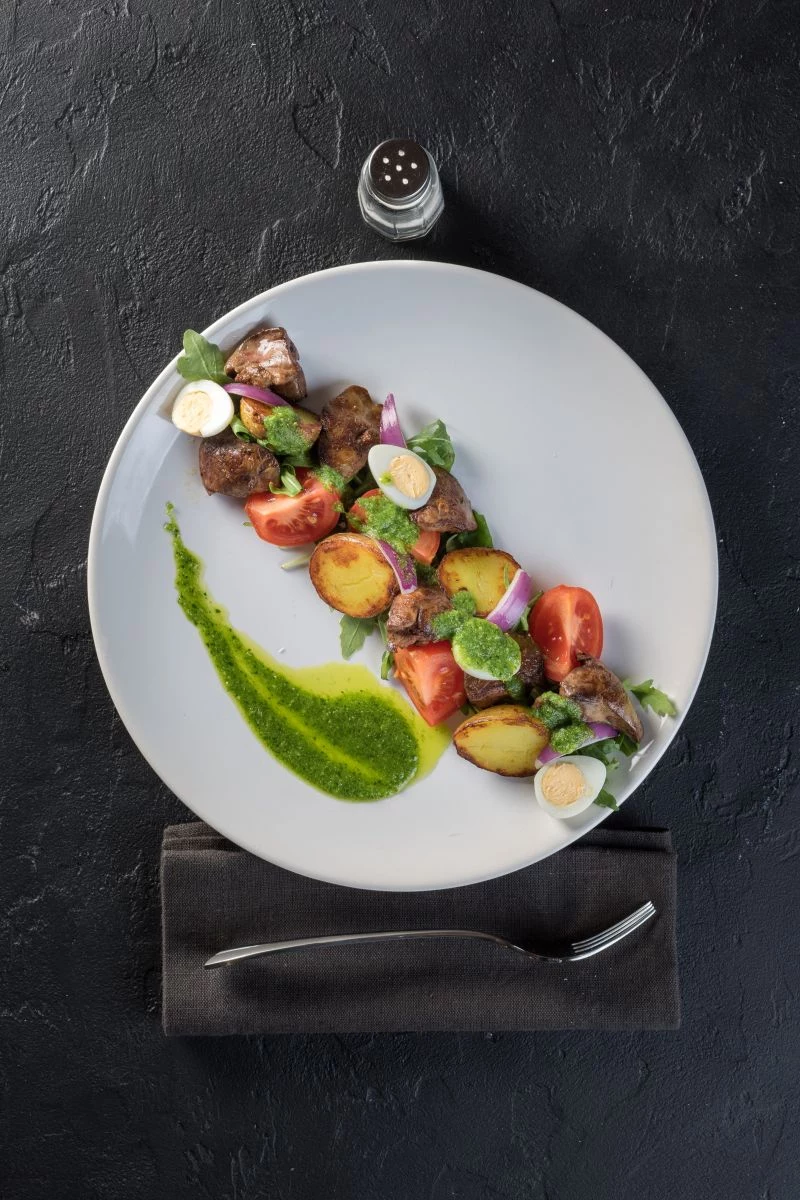
Look beyond the classic roast and venture into Spanish territory with a Tortilla Española. It’s a deceptively simple, hearty omelet made with just eggs, onions, and thinly sliced waxy potatoes gently fried in olive oil. The potatoes become tender and creamy, giving the dish its signature comforting texture. A true testament to the potato’s versatility.
A single apple stored with your potatoes can help prevent them from sprouting.
It’s true! Ripe apples release ethylene gas, a hormone that inhibits the cell growth responsible for sprouting. For best results, keep your potatoes in a cool, dark, and well-ventilated place—never the refrigerator, as the cold can turn their starch to sugar, affecting taste and cooking properties.
- A beautifully even, golden-brown crust.
- A deeper, more complex, and nutty flavor.
- A satisfyingly crisp texture that holds up to sauces.
The secret? A pinch of baking soda in your parboiling water. The alkaline water helps break down the potato’s surface pectin, which, combined with roughing them up, creates that starchy slurry that browns and crisps magnificently in the oven.
Don’t pour that cloudy potato water down the drain! That starchy liquid is a fantastic, frugal kitchen ingredient. Let it cool and use it to add body and a silky texture to soups and stews, or use it as the liquid when baking bread for an incredibly soft and moist crumb. It’s a classic chef’s trick for adding flavor and texture for free.
While Russets and Yukons are staples, keep an eye out for more vibrant varieties at farmers’ markets. For example:
- Adirondack Blue or Purple Peruvian: These potatoes have a stunning deep purple flesh that retains its color when cooked. They are medium-starchy with a nutty, earthy flavor, making for a visually dramatic roasted side dish or a striking potato salad.
- French Fingerling: A classic waxy potato with a rosy skin and yellow flesh. Their firm texture and buttery flavor make them exceptional when simply roasted whole or boiled for salads.


