The Ultimate Guide to Chickpeas: From Dried to Delicious
I’ve been working with chickpeas for what feels like my entire cooking life. In busy restaurant kitchens and my own little home setup, they’ve always been there. I’ve sorted through dusty bags of dried beans, rinsed what must be thousands of cans, and transformed them into everything from impossibly creamy hummus to hearty, soul-warming stews. The humble chickpea, or garbanzo bean, is so much more than just a pantry filler. It’s a foundation. And once you really learn how to cook it properly, you unlock a whole new world of textures and flavors. It’s a skill that pays you back every single time.
In this article
So many people I talk to are only familiar with the canned version. And look, those are great in a pinch! But mastering the dried chickpea is a total game-changer. You get complete control over the final texture, the flavor is worlds better, and honestly, it’s so much cheaper.
Speaking of which, let’s talk numbers. A one-pound bag of dried chickpeas usually costs around $3-$4 and will yield about 6 to 7 cups of cooked beans. That’s the same amount you get from about FOUR 15-ounce cans, which can easily cost $1.50 apiece. You’re basically getting double the product for the same price. This guide is all about sharing what I’ve learned over the years—the real-deal techniques, the science behind them, and the common mistakes to sidestep.
First, Know Your Beans
Before you even think about cooking, it’s good to know what you’re working with. Not all chickpeas are created equal, and you’ll usually find two main types out there. Knowing the difference is the first step to getting the exact results you want for your recipe.
- Kabuli Chickpeas: These are the big, round, cream-colored beans you probably picture when you think of chickpeas. They’re the most common variety in North America and Europe. Because they have a thin skin and a super creamy texture, they are absolutely perfect for things like salads, dips, and especially hummus. If a recipe just says “chickpeas,” it means these.
- Desi Chickpeas: This type is a bit smaller, often darker in color, and has a thicker, rougher skin. They’re a staple in Indian and Middle Eastern cooking. They pack a nuttier, more earthy flavor and are fantastic at holding their shape, which makes them the go-to for long-simmered curries and stews. They’re also what’s used to make chickpea flour (often called besan or gram flour). If you spot them, give them a try, but be prepared for a slightly longer cooking time.
At its core, a chickpea is mostly starch and protein. When you cook it, you’re just managing how heat and water interact with these elements to create a soft, tender bean. The goal is perfect hydration without turning it into total mush… unless, of course, mush is what you’re after!
The Great Debate: To Soak or Not to Soak?
For me, this isn’t even a debate. Soaking your dried chickpeas is a critical first step, and I consider it non-negotiable. Sure, some packages offer a “quick-soak” method, but I’ve found those give you inconsistent, often disappointing results. A proper, long overnight soak is my go-to for a couple of big reasons.
First, it guarantees your chickpeas will cook evenly. A dried chickpea is incredibly dense. Soaking lets water gently penetrate the bean, rehydrating it slowly from the outside in. If you skip this, you risk the outside turning to mush while the center stays hard and chalky. No one wants that.
Second, it just makes them easier to digest. Chickpeas have complex sugars that our bodies can struggle to break down, which is what can lead to, well, you know… gas. Soaking helps dissolve some of these sugars into the water. It also helps break down phytic acid, a compound that can get in the way of your body absorbing all the good minerals from the beans.
Here’s My Foolproof Soaking Method:
- Sort and Rinse: First thing’s first, pour your dried chickpeas onto a baking sheet. This is the easiest way to spot and pick out any little stones, debris, or broken beans. Then, give them a good rinse under cold water in a colander.
- Cover Generously with Water: Put the rinsed chickpeas in a large bowl and cover them with plenty of cold water—at least three or four inches above the beans. They will literally triple in size, so use a bigger bowl than you think you’ll need. Trust me on this; I learned the hard way and once woke up to a counter covered in escaped chickpeas and water.
- Add Salt! I add about one tablespoon of kosher salt for every pound of dried beans. There’s an old myth that salting beans makes them tough, but it’s just not true. Salt actually seasons the bean from the inside out and helps soften the skins, leading to a creamier final product.
- Let Them Be: Cover the bowl and just leave it on the counter for at least 8 to 12 hours. If your kitchen is particularly warm, you can pop the whole thing in the fridge.
- Drain and Rinse Again: After they’ve soaked, pour them into a colander, ditching that cloudy soaking water. Give the plumped-up beans one last rinse with fresh water, and they’re ready to cook.
A quick note on baking soda: Some people add a pinch of baking soda (like ¼ teaspoon per pound) to the soaking water. It creates an alkaline environment that breaks down the skins super fast, resulting in almost meltingly soft chickpeas. This is a great trick specifically for making ultra-smooth hummus, but be careful—too much can leave a slightly soapy taste.

How to Cook ‘Em Right
Once they’re soaked, you’ve got options. Your choice really depends on the gear you have and how much time is on your hands.
Stovetop Simmering (The Classic Way)
This is the traditional method, and it gives you the most control since you can taste-test as you go. Simply place your soaked chickpeas in a big, heavy-bottomed pot and cover them with at least two inches of fresh water. Now for the fun part: adding flavor. A lot of home cooks skip this, but it makes a huge difference. I always throw in aromatics like 3-4 whole peeled garlic cloves, half an onion, and a bay leaf. You can also get creative with a carrot, a stalk of celery, or even a parmesan rind for an incredible savory broth!
Bring it all to a boil, skim off any foam that rises to the top, then reduce the heat to a low, gentle simmer. A rolling boil will just beat them up and make them fall apart. Plan for about 1 to 1.5 hours of simmering, but start checking for doneness after 45 minutes. A perfectly cooked chickpea should crush easily between your fingers and taste creamy, not grainy.
Pressure Cooking (The Fast Way)
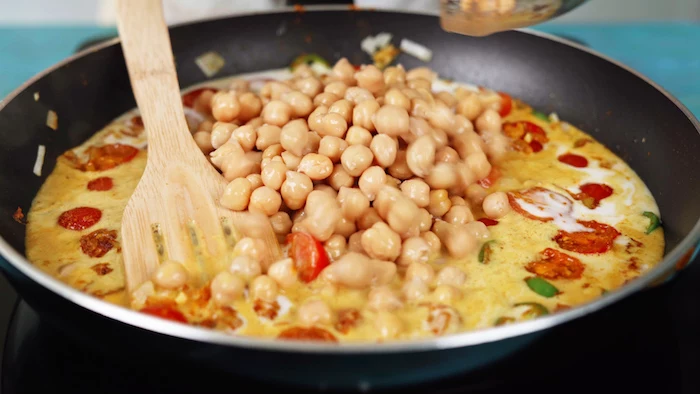
When I’m in a hurry, I turn to my pressure cooker (an Instant Pot works perfectly). It takes the cooking time from over an hour down to about 15 minutes. Just put your soaked beans in the pot, cover with about an inch of water (you need less since there’s no evaporation), and add your aromatics and another teaspoon of salt. Cook on high pressure for 12-15 minutes, then let the pressure release naturally for at least 10 minutes to keep the skins from bursting.
Heads up! A pressure cooker can also save you if you forgot to soak your beans. For unsoaked chickpeas, cook on high pressure for 40-50 minutes. The texture isn’t quite as perfect, but it’s a fantastic backup plan.
Working with Canned Chickpeas (The Convenient Way)
Let’s be real, we all need shortcuts sometimes. I always keep canned chickpeas in my pantry, and there’s zero shame in that. The key is to treat them right.
The Golden Rule: Rinse them! Canned chickpeas sit in a starchy liquid that can taste a bit metallic and is usually loaded with sodium. Just dump the can into a colander and rinse them under cold water until it runs clear. This one simple step makes a world of difference.
But wait! Don’t throw that liquid down the drain! That bean water is called aquafaba, and it’s culinary gold. It’s full of proteins that allow it to whip up just like egg whites. You can use it to make vegan meringues, mayonnaise, or a light-as-air chocolate mousse. I often freeze it in an ice cube tray to use later.
Putting Them to Work: Classic Techniques
Okay, you’ve got perfectly cooked chickpeas. Now what? Here’s how to nail a couple of the most popular dishes.
For the Silkiest, Creamiest Hummus
Good hummus is easy to make; great hummus just requires a couple of extra tricks. For the smoothest possible result, you need to overcook your chickpeas until they are completely mushy. Then comes the most important step: peel them. I know, it sounds tedious, but it’s the secret. Just place the cooked chickpeas in a big bowl of water and rub them between your hands. The skins float to the top for easy removal. It’s 10 minutes of work for a texture that’s a million times better.
Next, use high-quality tahini. A bitter, chalky tahini will ruin your hummus. Look for a good Middle Eastern brand, which you can often find in the international aisle of the grocery store (not next to the Jif). It should be runny and nutty. Oh, and when you blend everything, throw in a couple of tablespoons of ice-cold water. The cold temperature reacts with the tahini to make the final product incredibly light and fluffy. Blend it in a food processor for at least 4-5 minutes to get it perfectly airy.
For Impossibly Crispy Roasted Chickpeas
This is my favorite snack, but the enemy of crispy is moisture. Your whole mission here is to get the chickpeas as dry as humanly possible before they see any heat. After rinsing and draining, spread them on a kitchen towel and pat them completely dry. Let them air-dry for another 30 minutes if you have time.
Toss the very dry chickpeas with a high-smoke-point oil (like avocado, grapeseed, or even regular vegetable oil) and salt. Roast them in a single layer on a baking sheet at 400°F for 20-30 minutes, until they’re golden and you can hear them rattling around. Quick tip: Add your other spices after roasting. The residual heat will help them stick without burning in the hot oven.
Help! My Chickpeas Aren’t Cooperating
Sometimes, things go wrong. Here are a couple of common issues and how to fix them.
- My chickpeas won’t get soft! If you’ve been simmering for what feels like an eternity and they’re still hard, chances are your dried beans are just… old. Dried goods don’t last forever, and after a year or two, they can lose their ability to rehydrate properly. It’s a bummer, but the only fix is to start over with a fresh bag.
- My hummus tastes bitter! This is almost always the tahini’s fault. Some brands are just bitter. The best way to check is to taste a tiny bit of the tahini on its own before you add it. If it’s bitter, your hummus will be too.
Storage, Freezing, and Final Tips
Once you’ve cooked a big batch, you want to make them last. For the fridge, store them in their cooking liquid in an airtight container for up to 5 days. The liquid keeps them moist and flavorful.
For longer storage, they freeze beautifully. Let them cool completely, then you can portion them out. Pro-tip for freezing: Spread the cooled chickpeas on a baking sheet and pop them in the freezer for an hour until they’re solid. Then, transfer them to a freezer bag. This little trick prevents them from freezing into one giant, unusable brick. They’ll last for up to 6 months!
And a final, friendly reminder: Chickpeas are a fantastic source of fiber. If you’re not used to eating a lot of them, start with a smaller portion to give your system time to adjust. Enjoy your new chickpea mastery!
Inspirational Gallery

The Soaking Debate: While a long, overnight soak is classic, a ‘quick soak’ works wonders in a pinch. Simply cover your dried chickpeas with a few inches of water in a large pot, bring to a boil, cook for 5 minutes, then turn off the heat. Let them sit, covered, for one hour. They’ll be ready for cooking, and you’ve saved yourself a whole night of waiting.
A single cup of cooked chickpeas provides over 12 grams of dietary fiber — nearly half the daily recommendation for women.
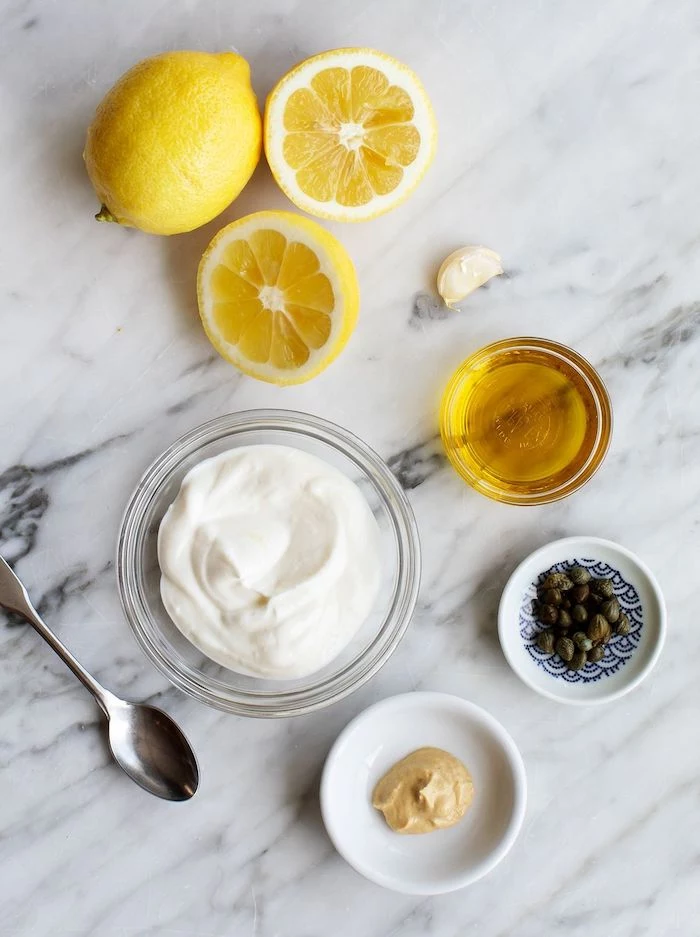
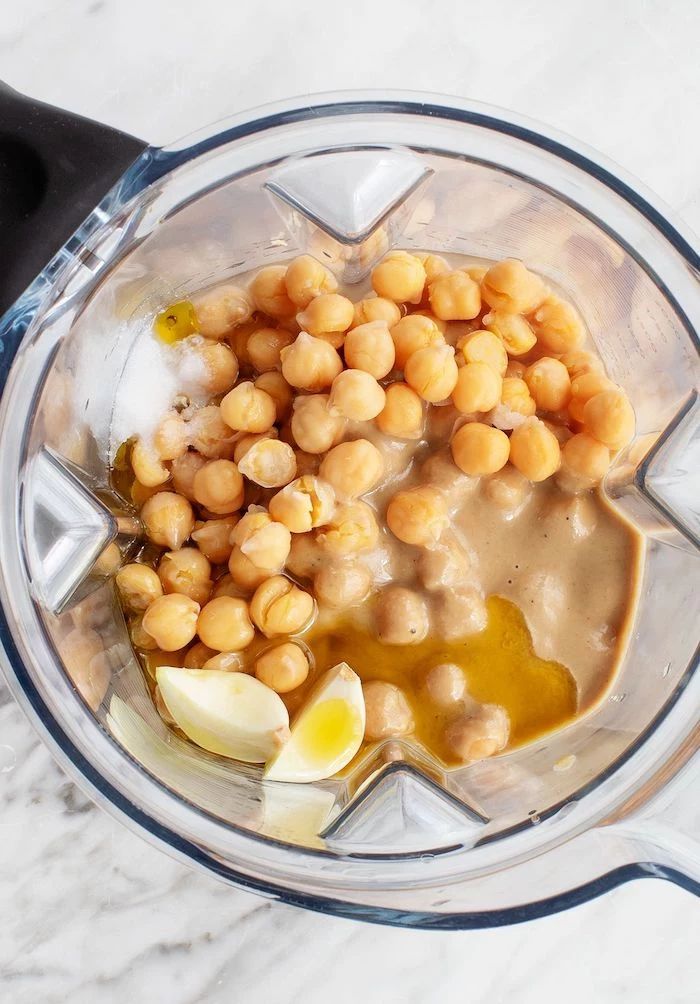
Is my hummus always a bit gritty?
For ultra-smooth hummus, the secret isn’t just a powerful blender. Two key steps make all the difference. First, overcook your chickpeas slightly until they are very mushy. Second, while the chickpeas are still warm, blend them with tahini and lemon juice for at least 3-4 minutes. Patience here is the key to breaking down every last fiber into a velvety, creamy paste.


Pressure Cooker vs. Stovetop: A pressure cooker like an Instant Pot can take unsoaked chickpeas to perfectly tender in about 40-50 minutes. The stovetop method requires soaking and then a gentle simmer for 1.5 to 2 hours. The pressure cooker is faster, while the stovetop gives you more control to check for doneness along the way. Both yield delicious results.

Don’t throw out that cooking liquid! The starchy water left after boiling chickpeas (or the liquid in the can) is called aquafaba. It’s a miraculous vegan egg substitute. You can whip it into meringues, use it to make light chocolate mousse, or create vegan mayonnaise. It’s the ultimate no-waste kitchen hack.

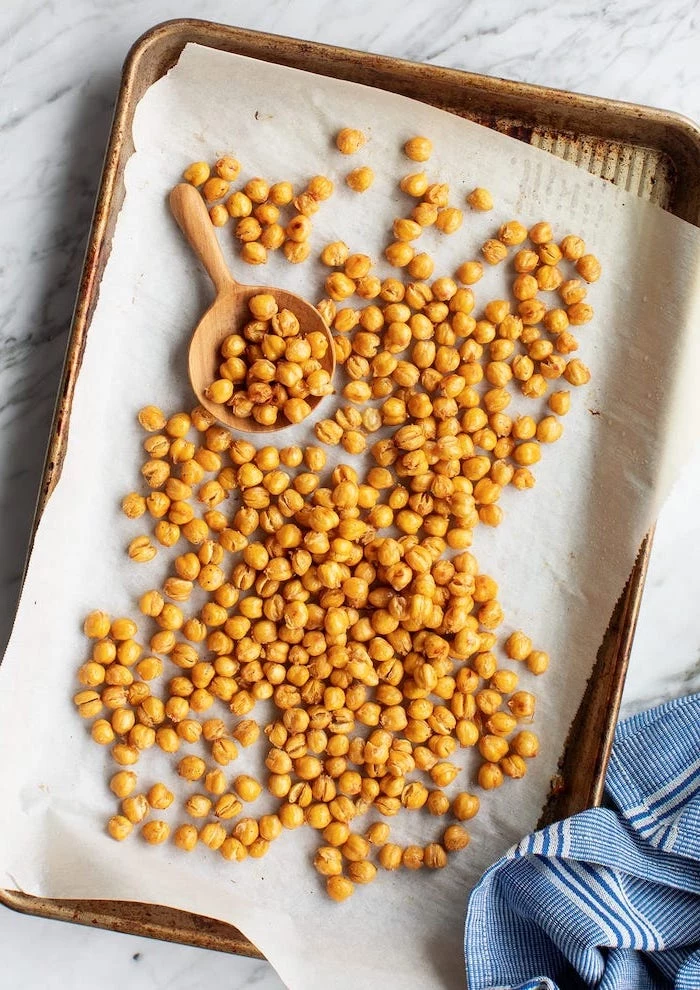
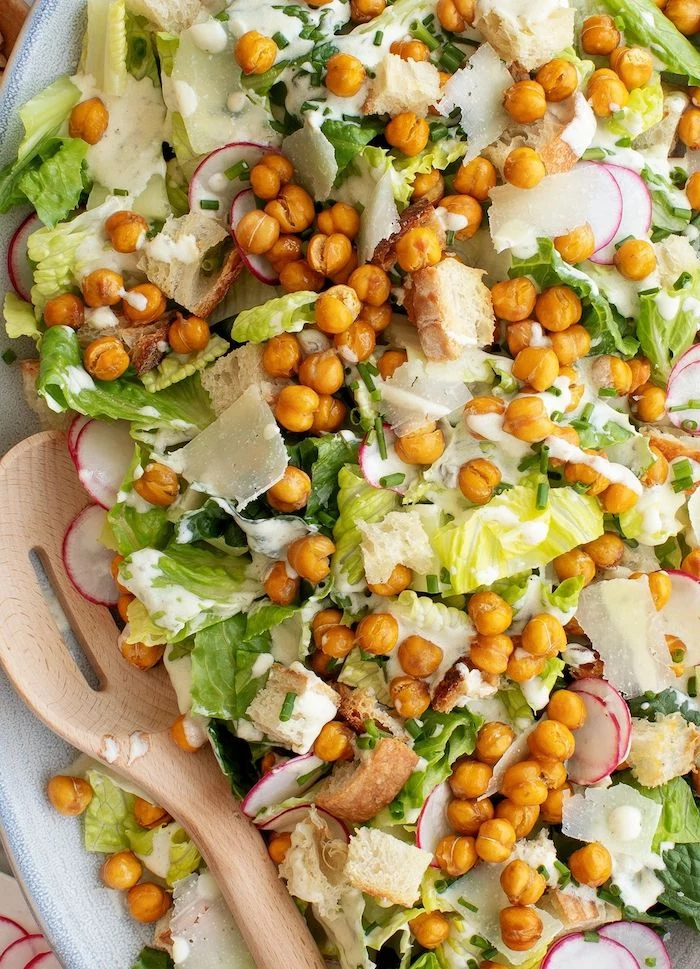
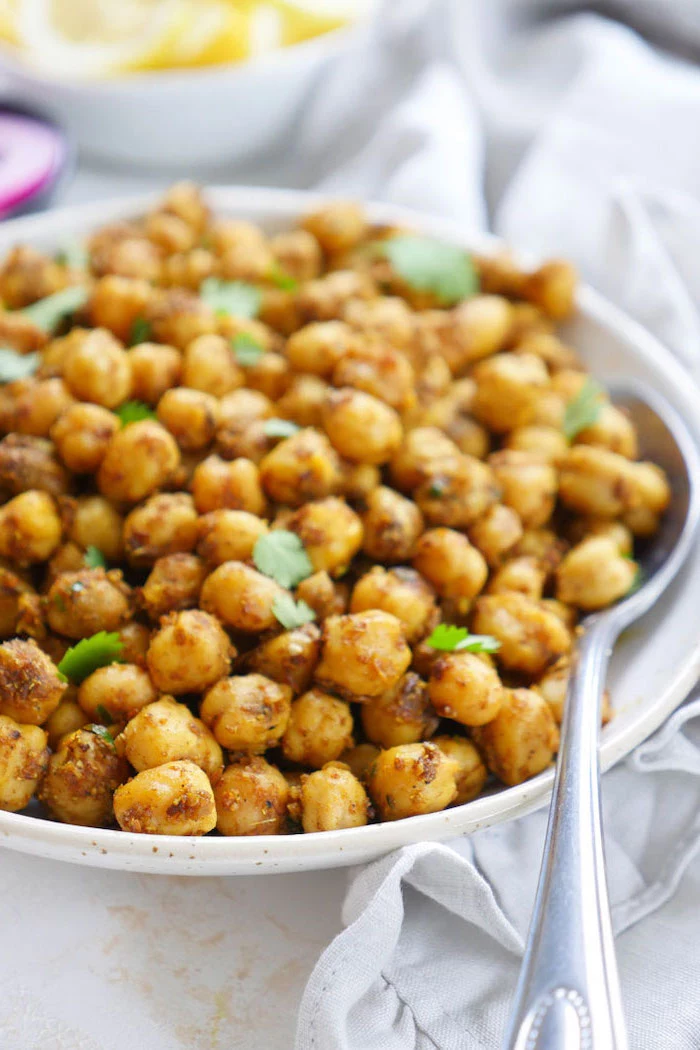
- Perfectly crispy, savory roasted chickpeas.
- An even coating of spices that doesn’t burn.
The secret? Make sure your cooked chickpeas are completely dry before tossing them with oil and spices. Pat them thoroughly with a kitchen towel or let them air-dry for 30 minutes. Moisture is the enemy of crispiness.
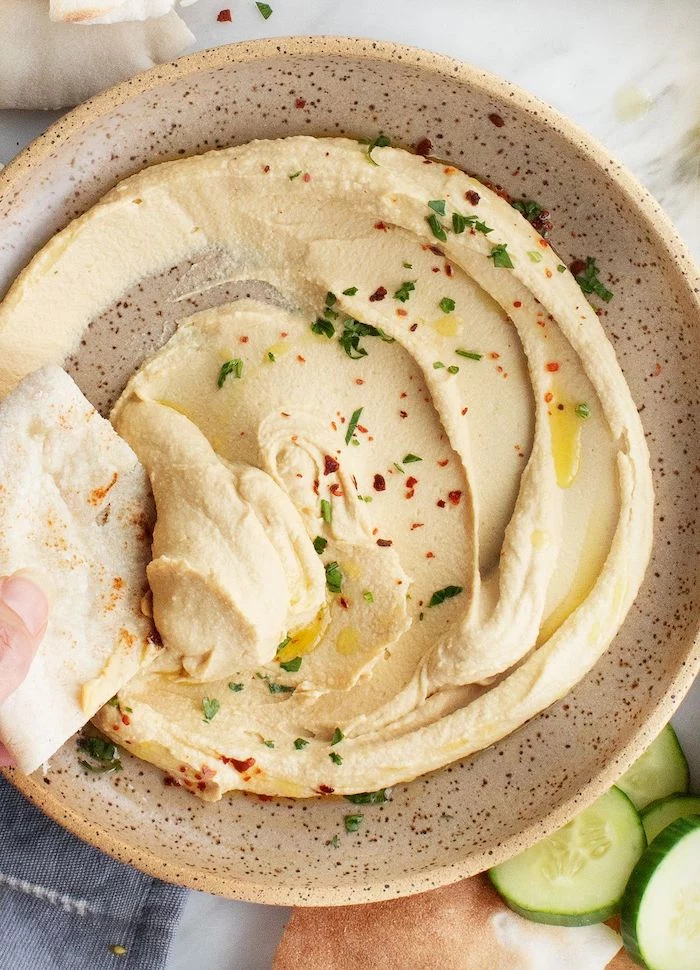
The quality of your tahini will make or break your hummus. Look for brands that are smooth, nutty, and only mildly bitter. A high-quality tahini, like Soom or Ziyad, will be pourable and creamy straight from the jar, not a hard-to-stir block of paste. It’s a small investment that pays huge flavor dividends.

Archaeological evidence suggests chickpeas were first domesticated in the Middle East over 7,500 years ago, making them one of the oldest cultivated legumes on Earth.
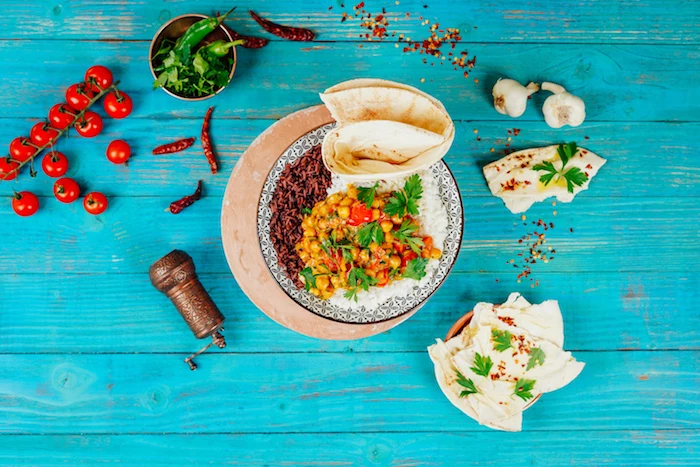
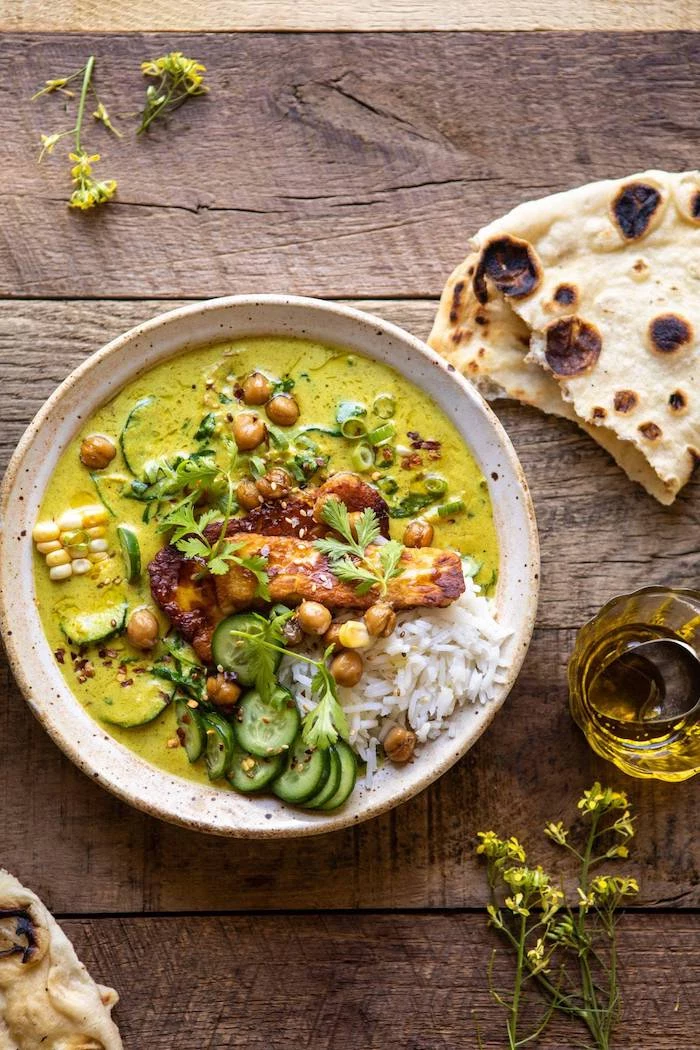
This ancient history is reflected in their culinary importance across the globe, from Mediterranean falafel to Indian curries. When you cook with chickpeas, you’re participating in a thousands-year-old tradition of nourishment.
A flavor trick: Adding a pinch of baking soda to the soaking or cooking water helps to break down the chickpeas’ skins. This results in a much softer texture, which is absolutely ideal for creating exceptionally creamy dips and purées.
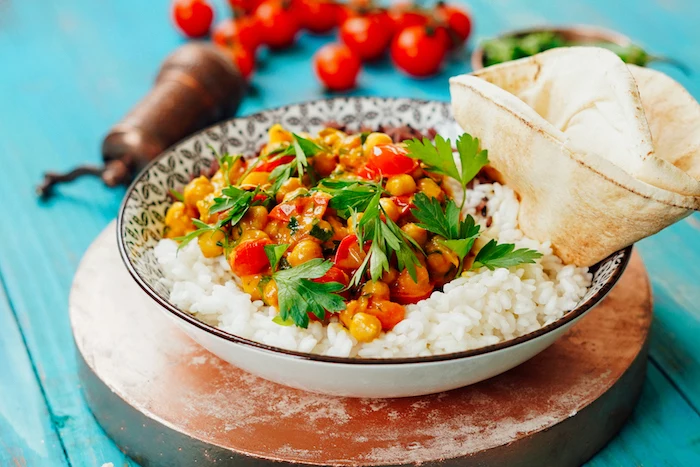
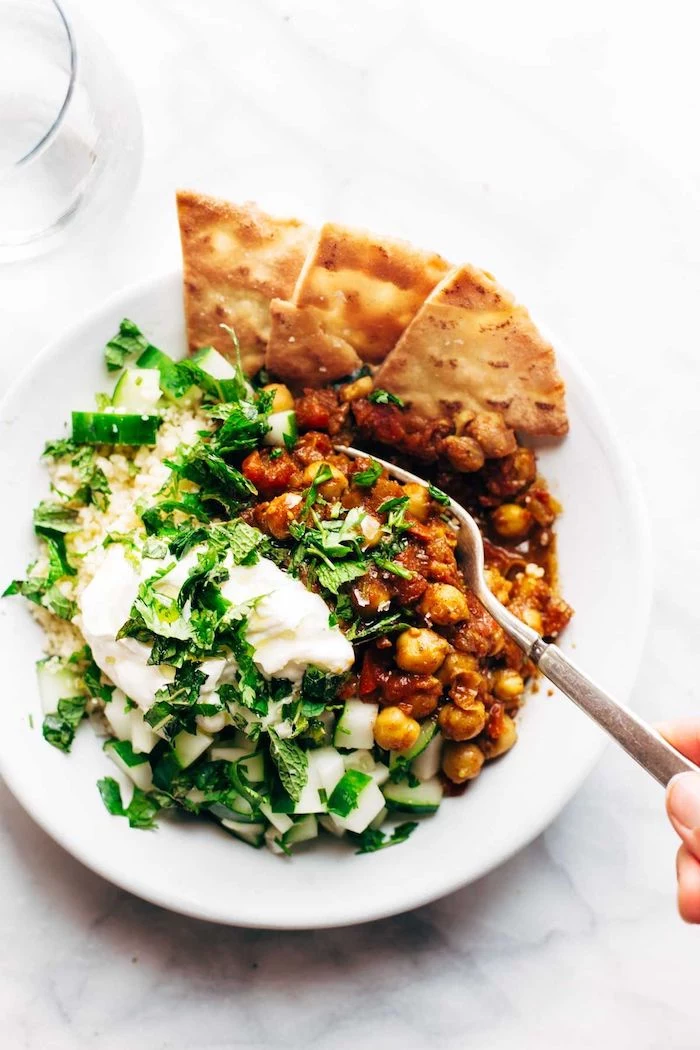
Expand your chickpea horizons beyond hummus. Explore global staples for inspiration:
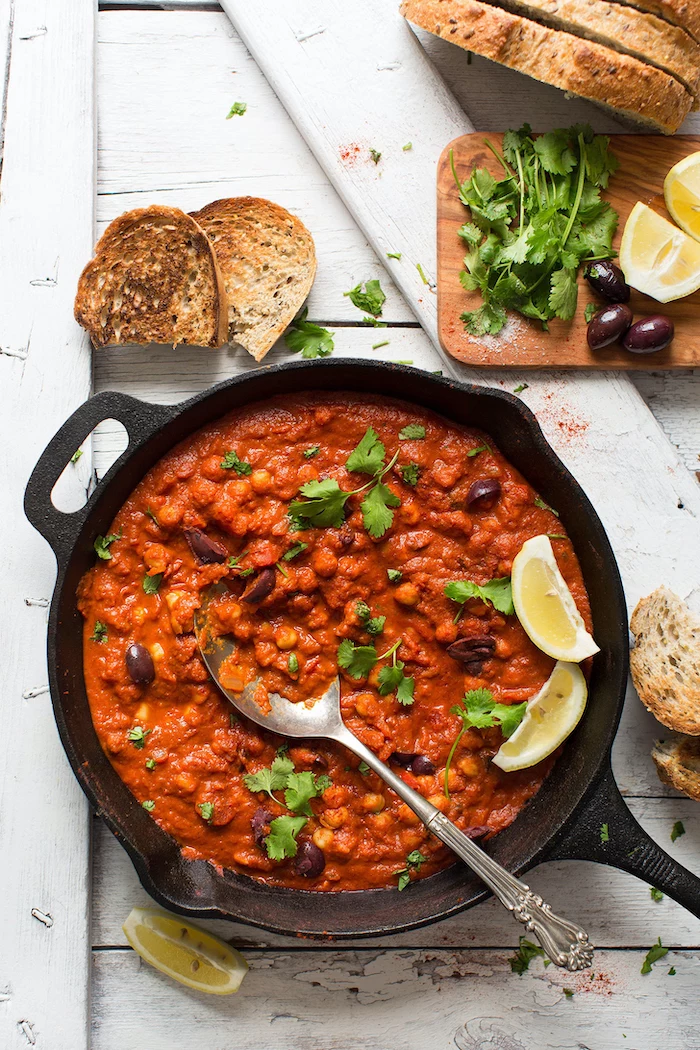
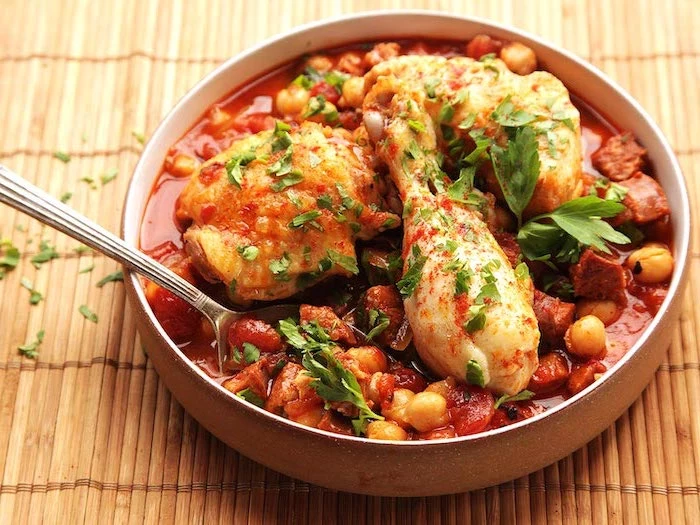
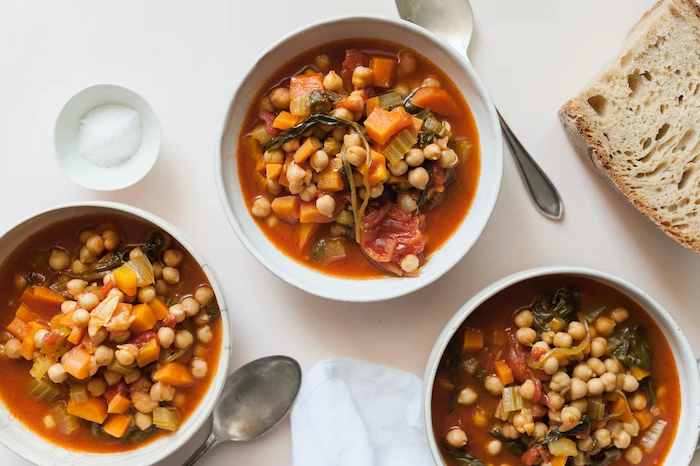
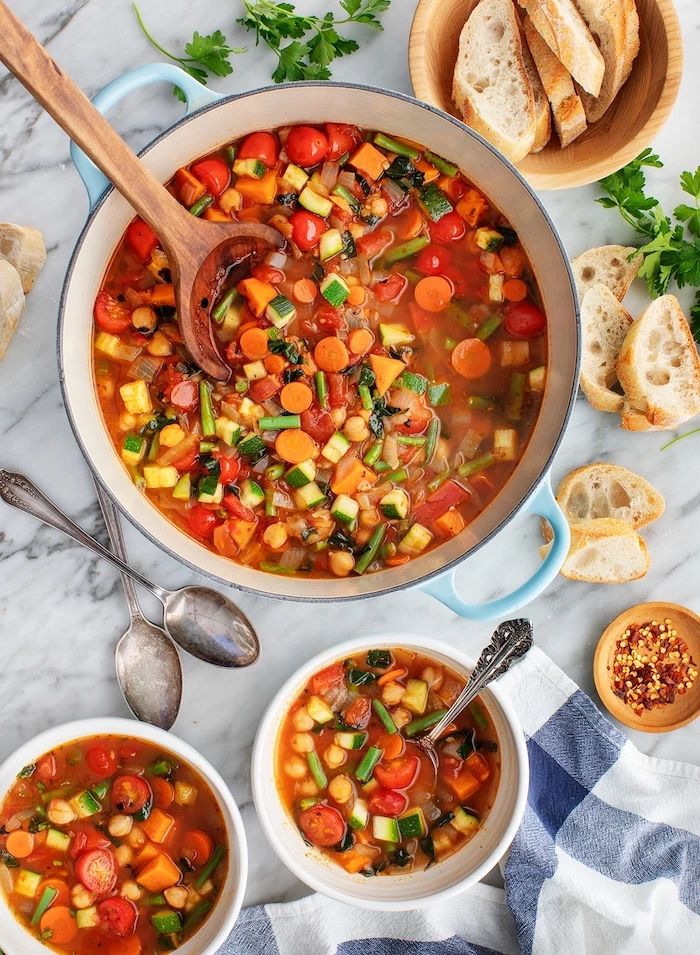
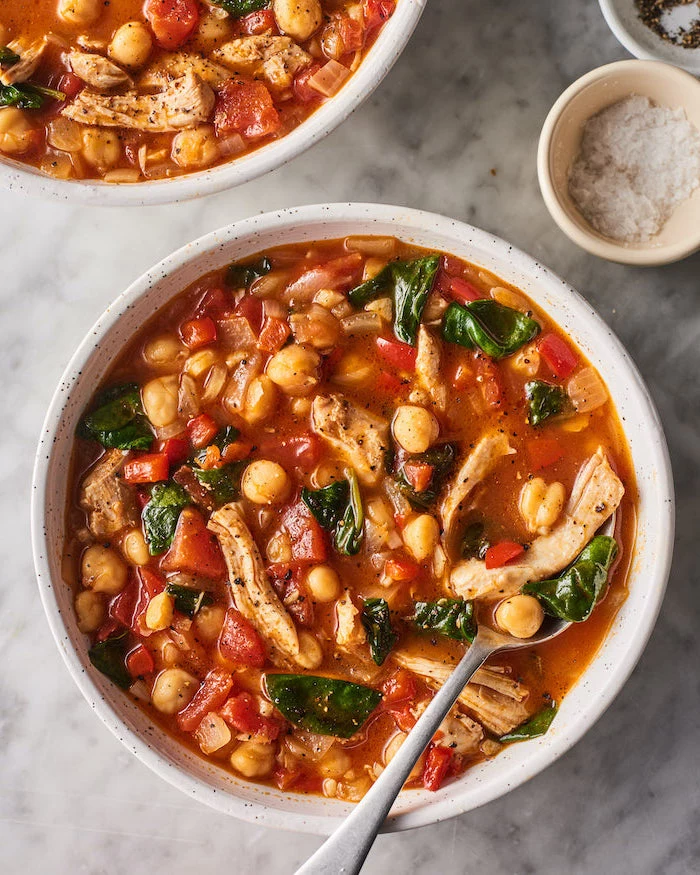
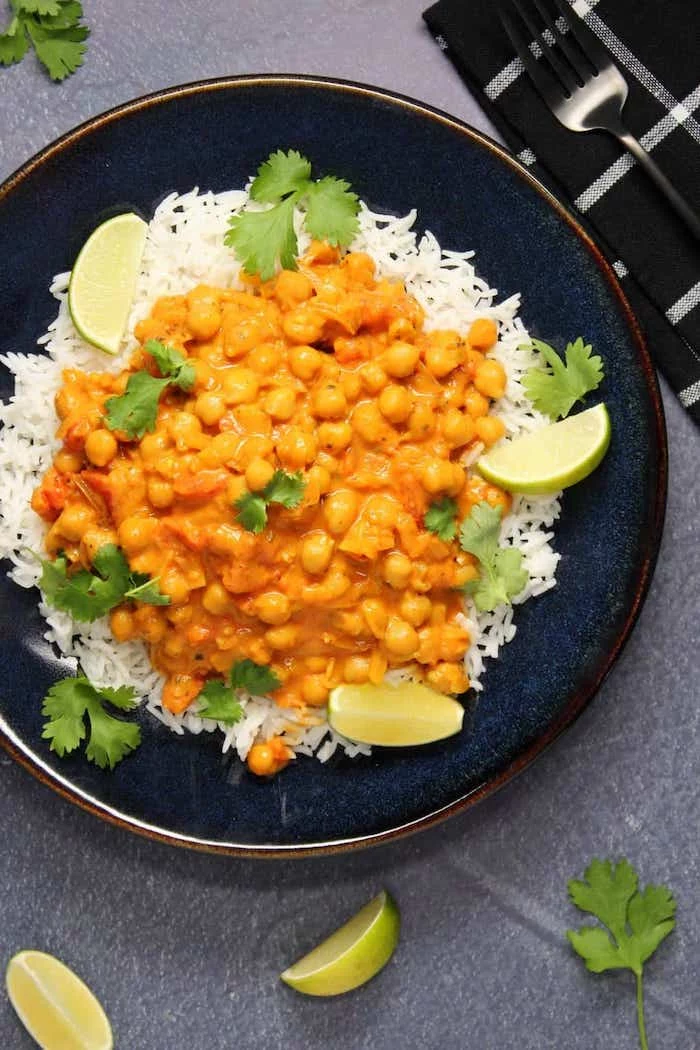
- Italy: Try Pasta e Ceci, a hearty peasant soup of pasta and chickpeas, often flavored with rosemary.
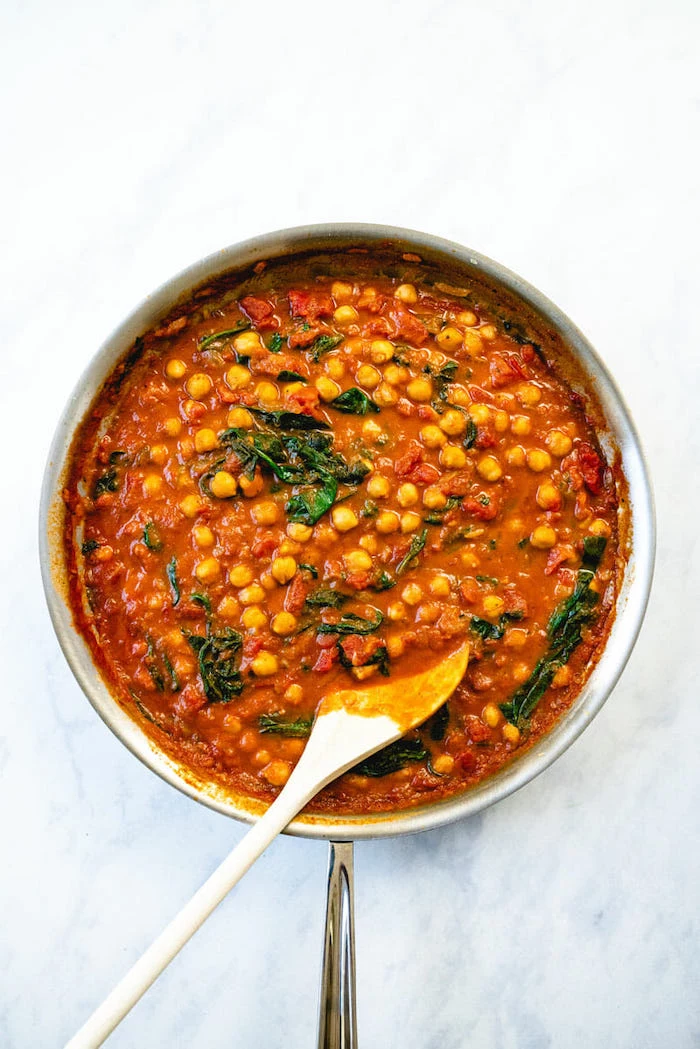
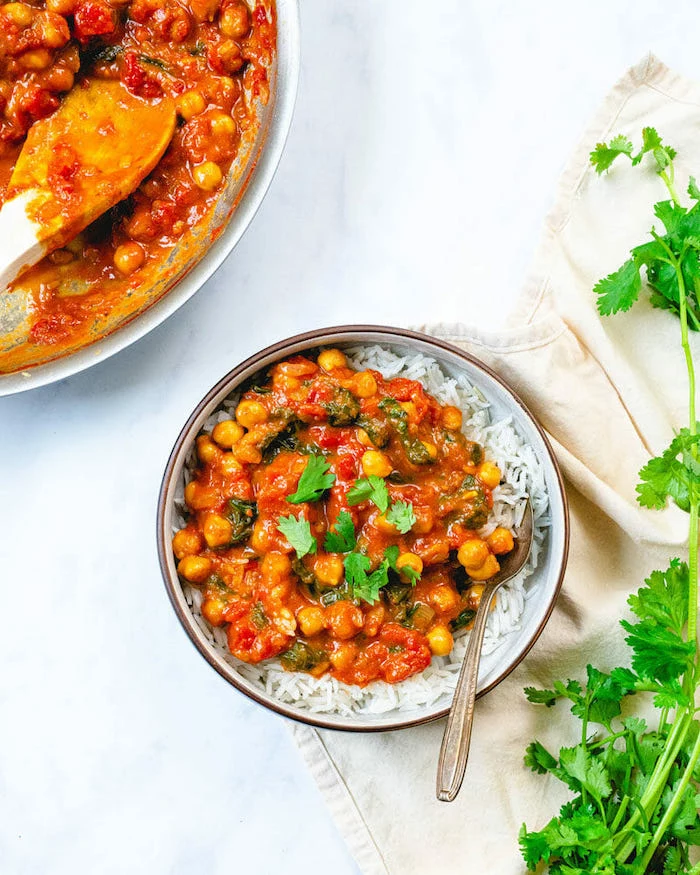
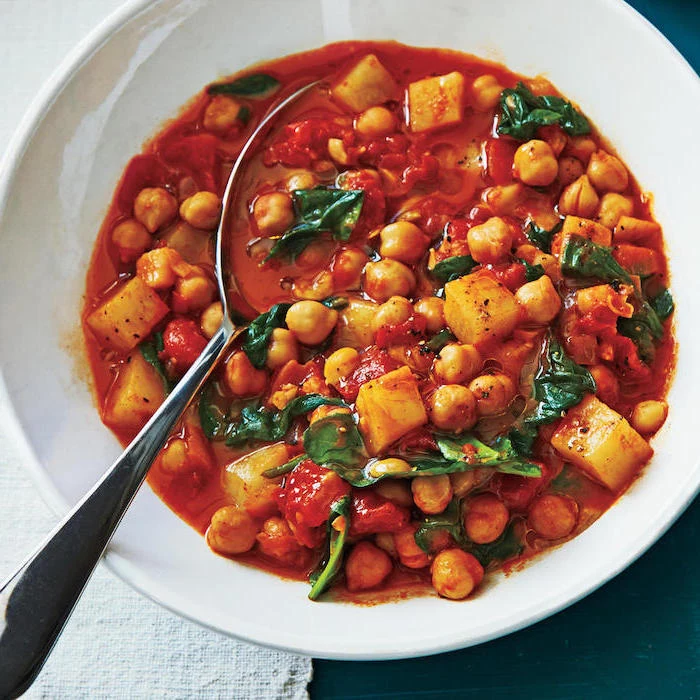
- Spain: Discover Espinacas con Garbanzos, a smoky tapas dish of spinach and chickpeas with cumin and paprika.
- France: Make Socca, a savory, crispy pancake from Nice made simply with chickpea flour, water, and olive oil.

For storing cooked chickpeas, let them cool completely in their cooking liquid. This prevents them from drying out. You can then refrigerate them in the liquid for up to 5 days. For longer storage, drain them (saving the aquafaba!) and freeze them in a single layer on a baking sheet before transferring to a bag. They’ll last for months.
Can I make great falafel from canned chickpeas?
It’s a common mistake, but canned chickpeas will result in a mushy, pasty falafel that falls apart in the fryer. The key to light, fluffy, and crispy falafel is to use dried chickpeas that have been soaked overnight but *not* cooked. They are ground raw with herbs and spices, which gives the final product its signature texture.

Chickpea Flour: This gluten-free flour, also known as gram or besan, has a nutty, earthy flavor. It’s the star of the show in dishes like Burmese tofu and Italian farinata. It also works as a fantastic binder in veggie burgers or as a thickening agent for savory sauces.
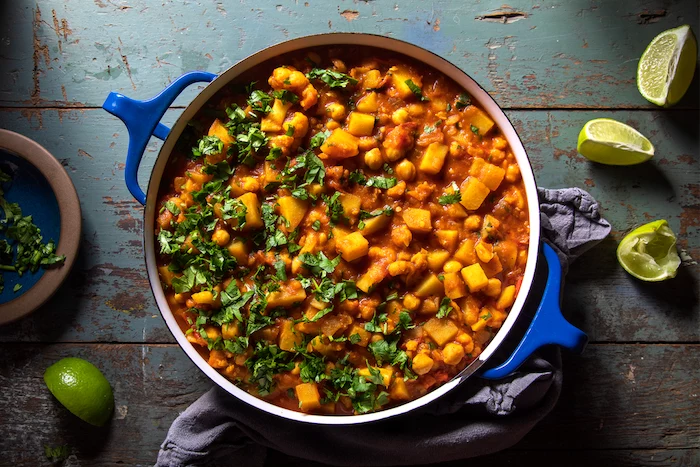
India is the world’s largest producer of chickpeas, accounting for over 70% of the global total. This is why the Desi chickpea variety is so central to its cuisine, forming the base of countless dals, curries, and snacks.
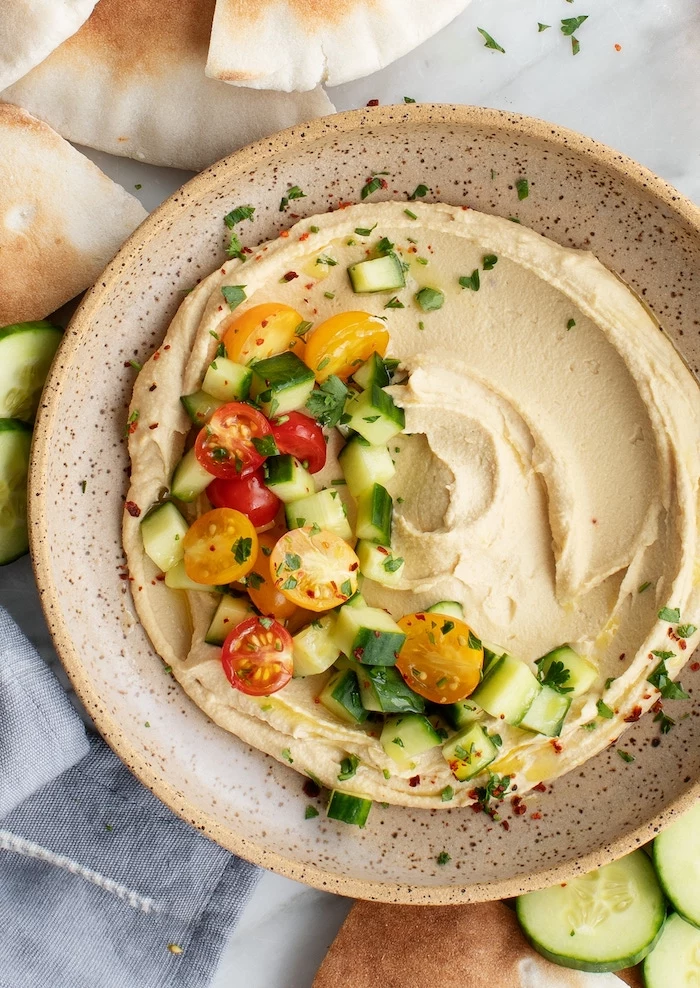
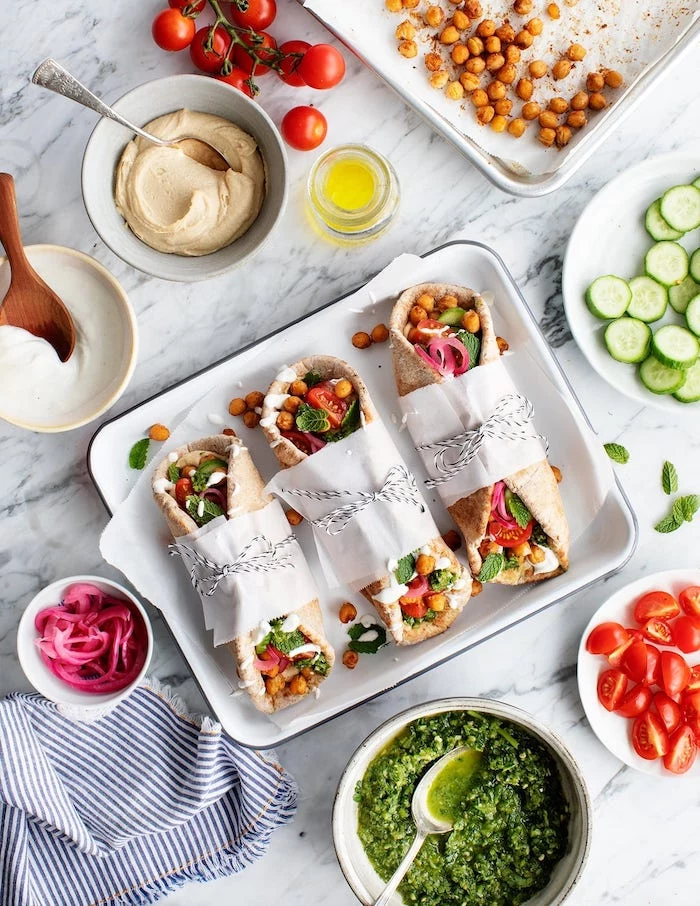
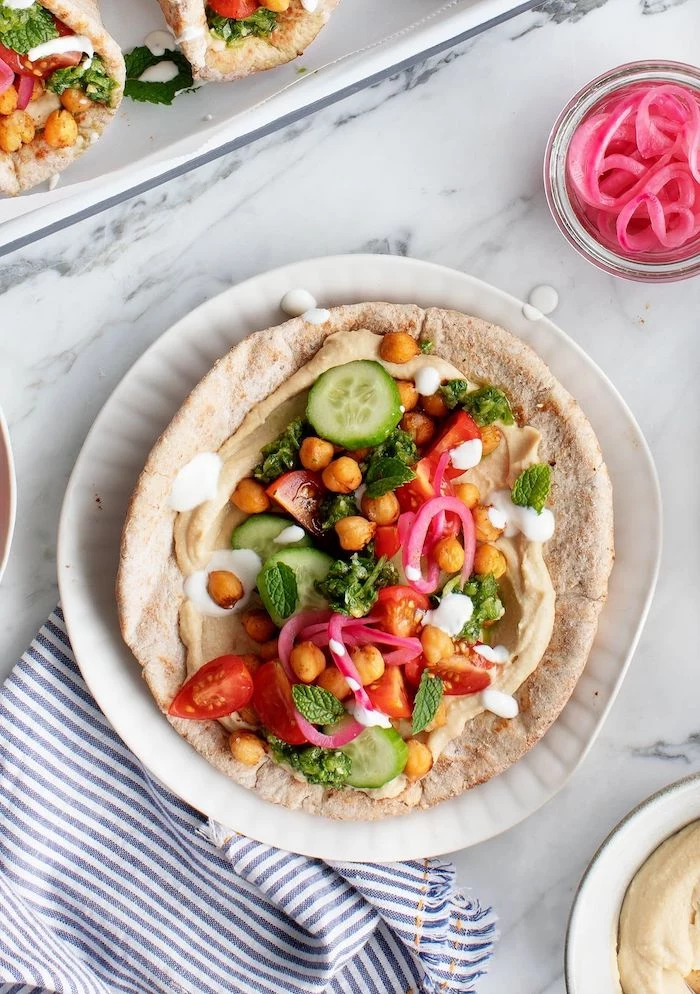
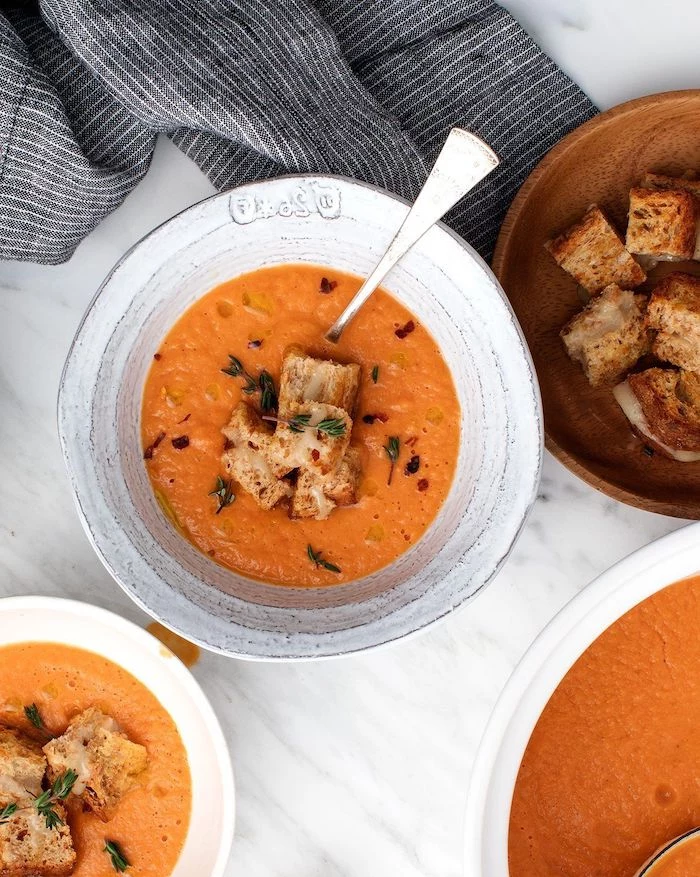
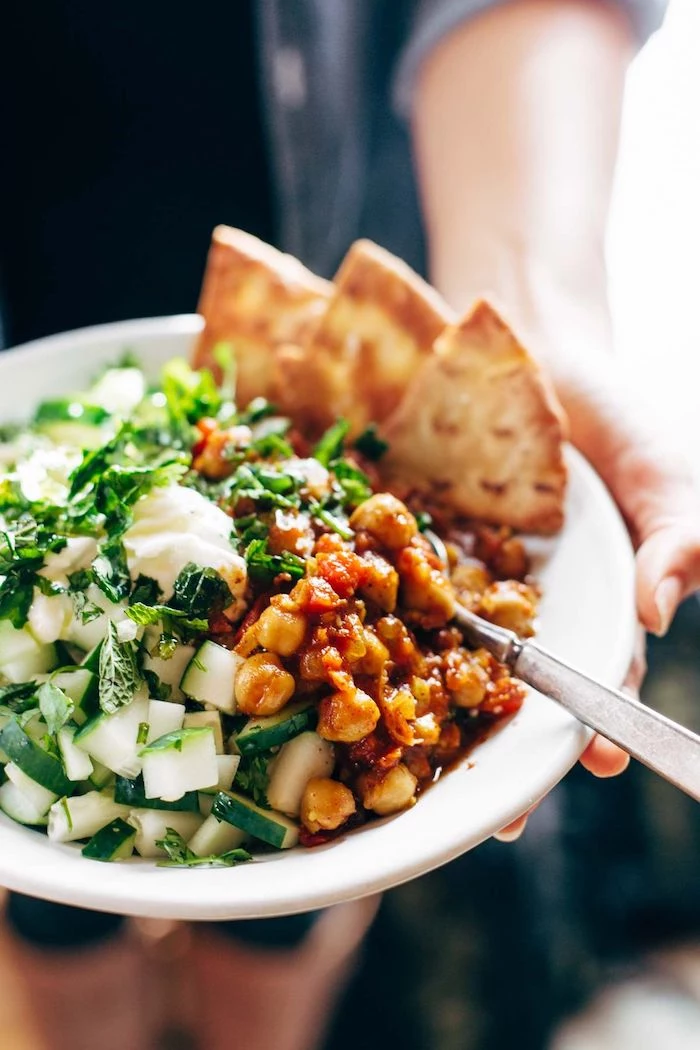
Elevate your hummus with toppings that add texture and flavor. Move beyond a simple drizzle of olive oil and try:
- Toasted pine nuts and a sprinkle of sumac.
- A spoonful of spicy harissa or zhoug.
- Crispy fried shallots and fresh parsley.
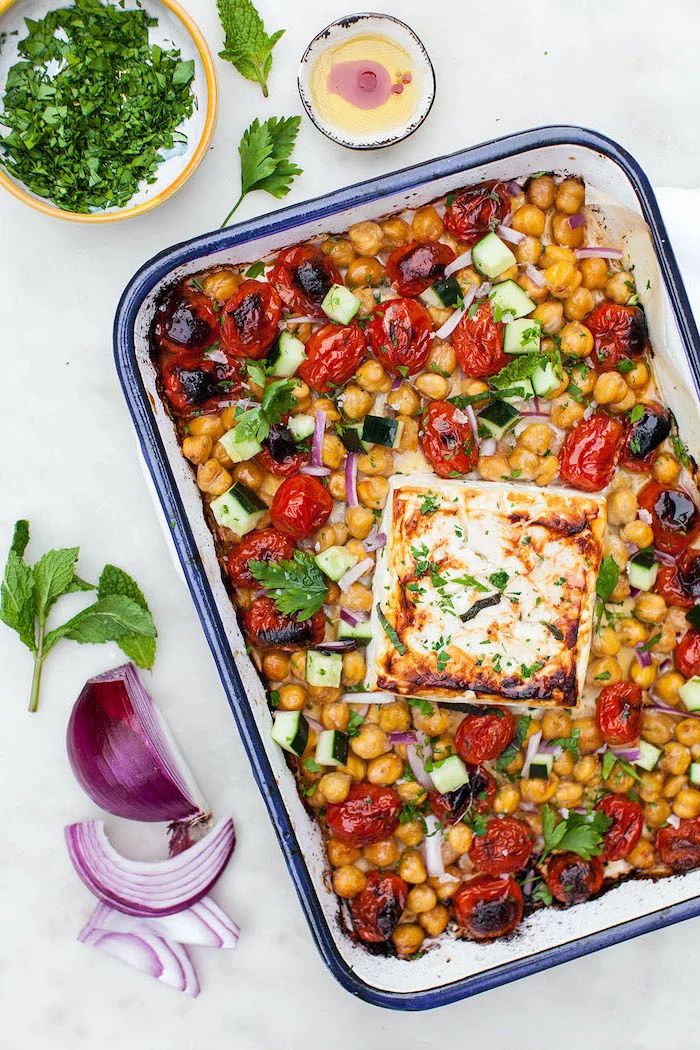
- A vibrant mix of diced cucumber and tomato.
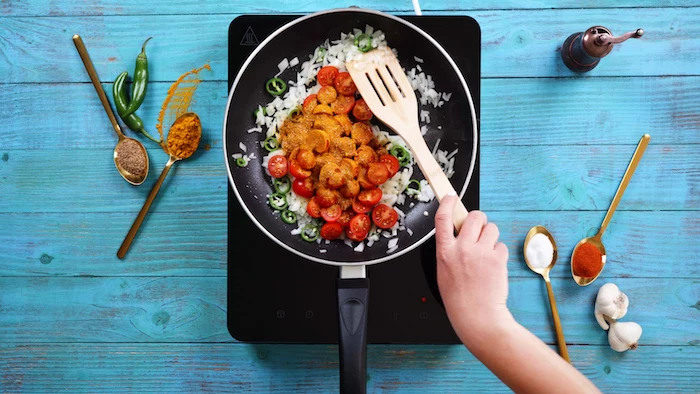
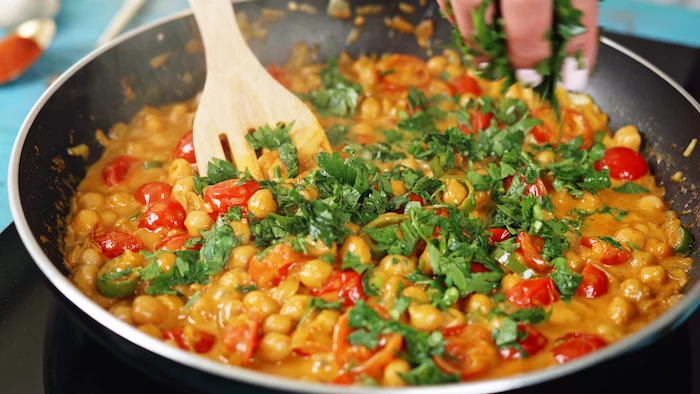
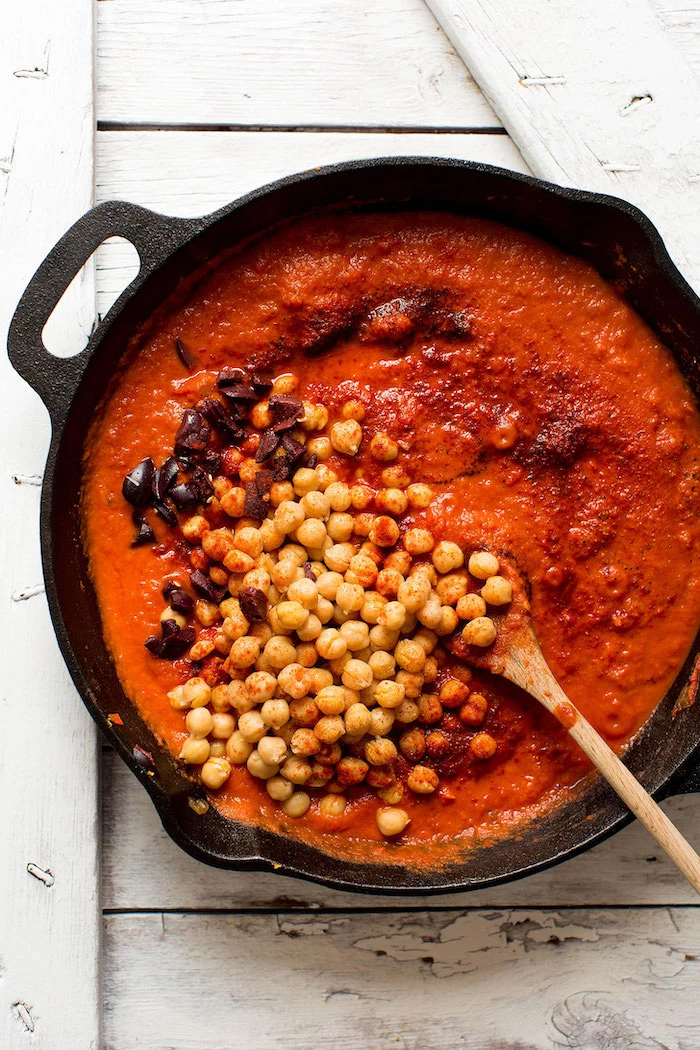
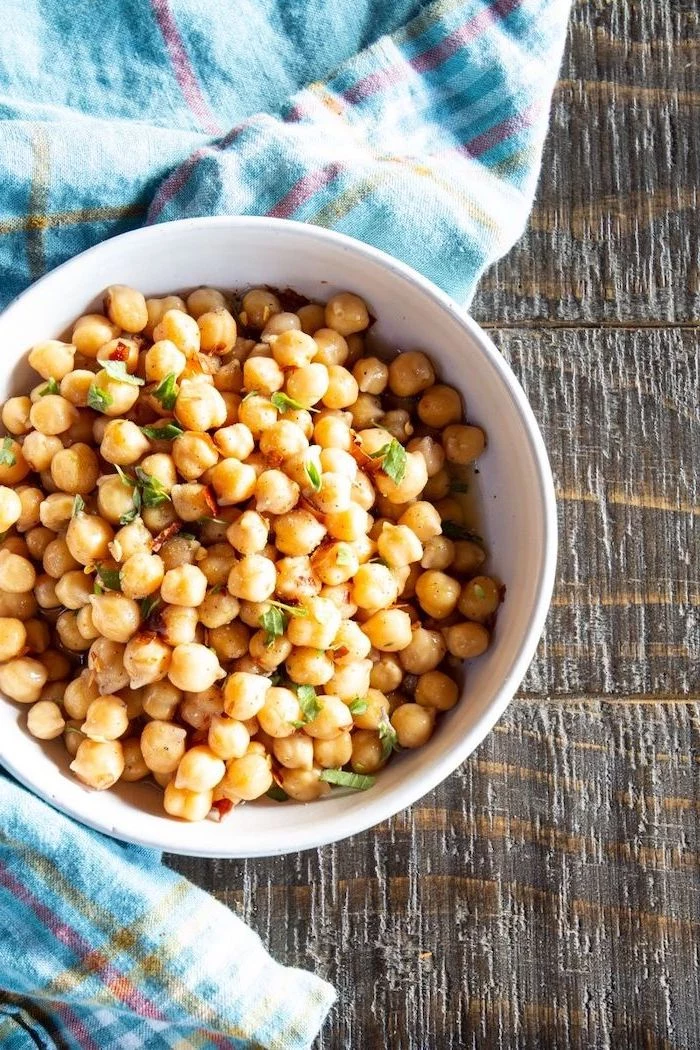
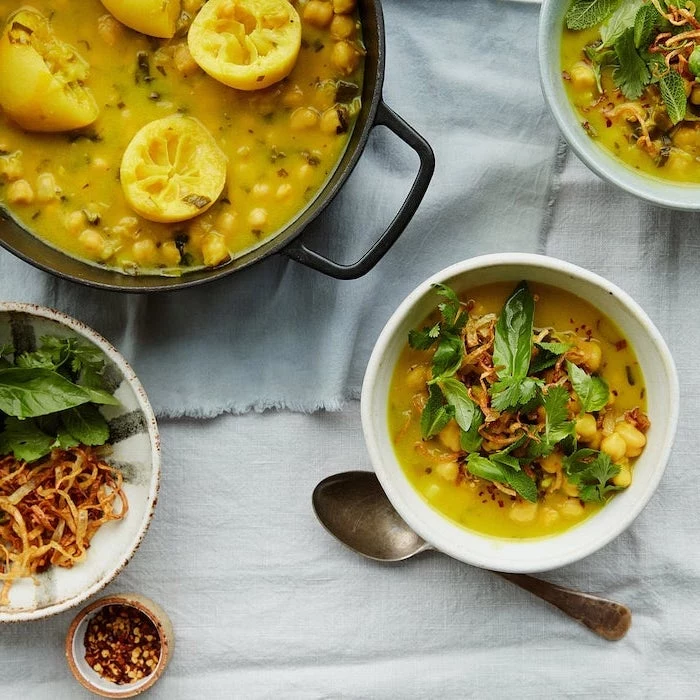
The subtle aroma of chickpeas simmering on the stove is one of cooking’s simple comforts. Enhance it by adding aromatics to the pot along with the beans: a few smashed cloves of garlic, a bay leaf, a sprig of rosemary, or a strip of kombu (dried seaweed), which aids in digestion and adds umami.
A common mistake: Salting the cooking water too early. Adding salt at the beginning of the cooking process can sometimes prevent the chickpeas from becoming fully tender. Instead, salt the chickpeas during the last 10-15 minutes of simmering. This allows them to soften completely while still being properly seasoned from the inside out.
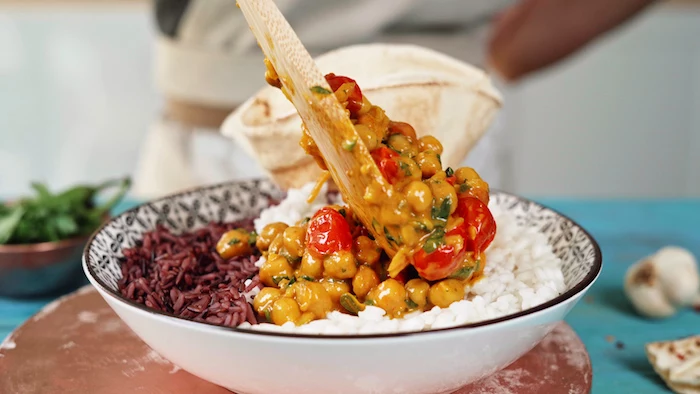
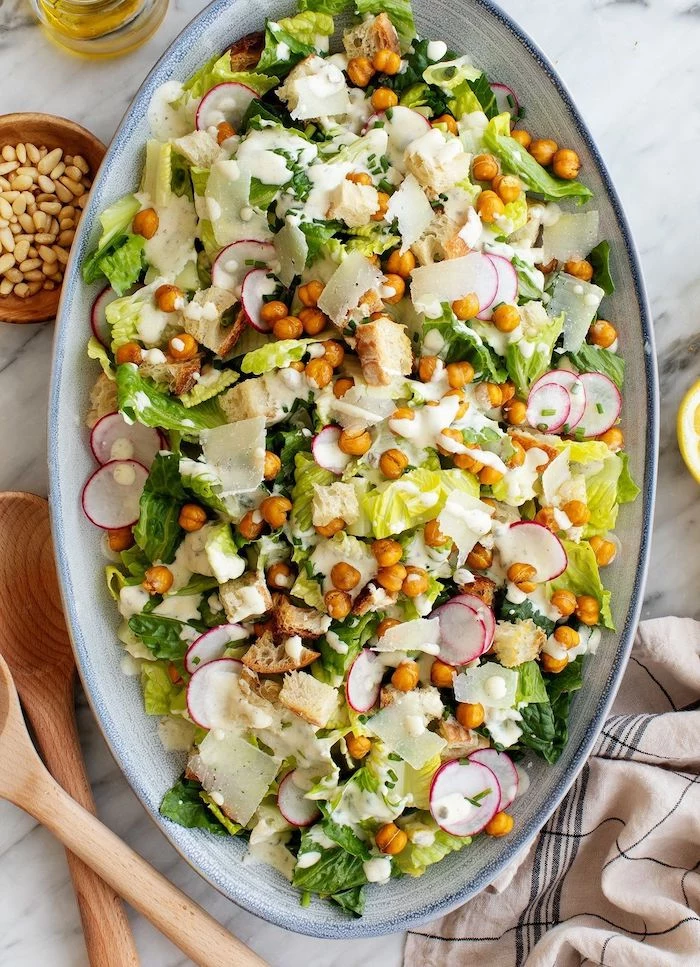
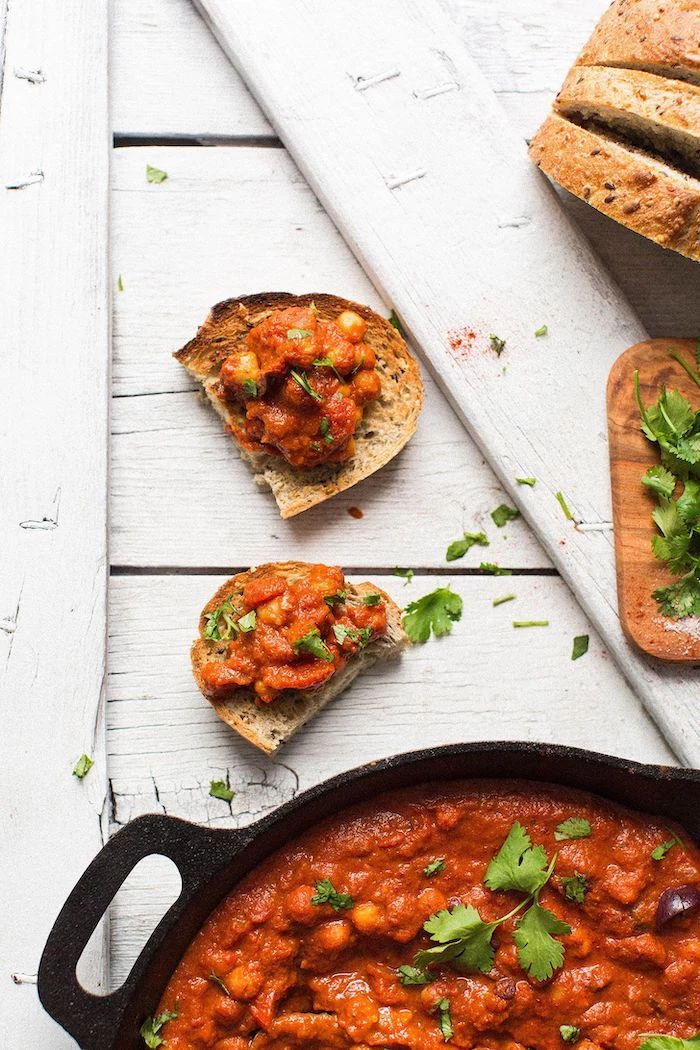
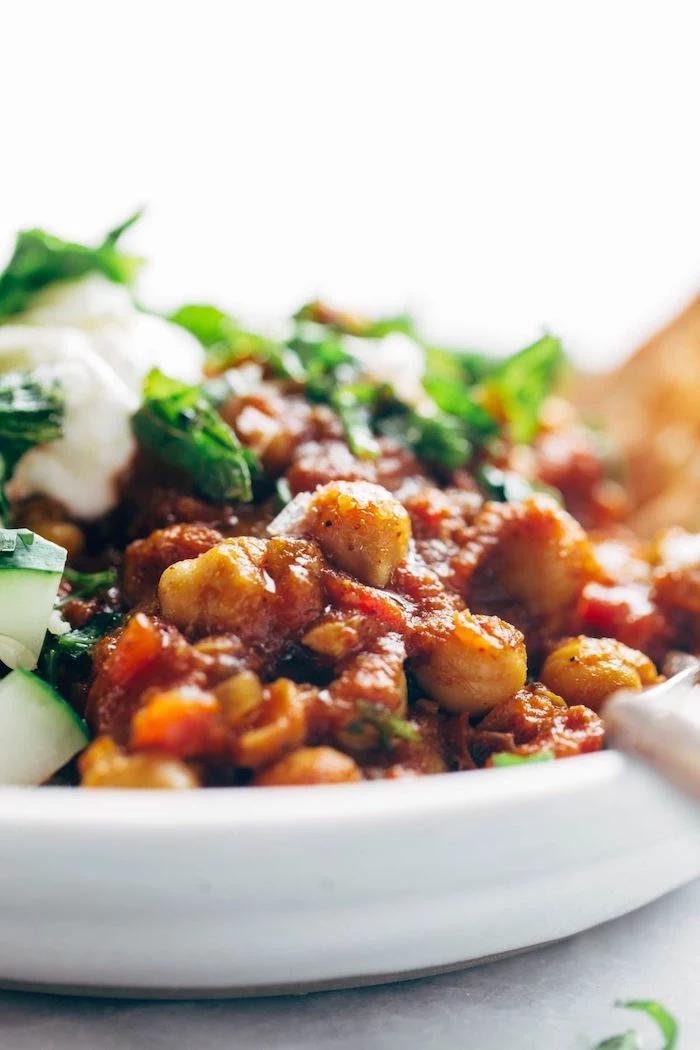
Looking for a satisfying meat-free meal?
Chickpeas are a fantastic base for hearty, ‘meaty’ dishes. Try mashing them with walnuts, breadcrumbs, and spices to form delicious veggie burgers. Or, use them in place of ground meat in a bolognese sauce or shepherd’s pie for a protein- and fiber-rich alternative that’s both filling and inexpensive.

- A stable, glossy vegan meringue for pavlova.
- A perfect emulsifier for creamy, homemade vegan mayo.
- A light, airy lift for chocolate mousse without eggs.
The ingredient behind this magic is aquafaba. For the best results, reduce the liquid from a can of chickpeas (or your cooking pot) on the stove by about a third to concentrate its power before whipping.
Roasted Chickpea Spice Blends: Move beyond salt and pepper. Try tossing your dried chickpeas in oil and one of these combinations before roasting:
Smoky & Spicy: Smoked paprika, cumin, chili powder, and a pinch of cayenne.
Herbaceous: Dried rosemary, thyme, garlic powder, and lemon zest (added after roasting).
This is a great way to customize a healthy, crunchy snack.
The modern pantry has embraced the chickpea in exciting new forms. Brands like Banza have popularized chickpea-based pasta, which offers nearly double the protein and more fiber than traditional pasta. You can also find chickpea flour, chips, and even pizza crusts, making it easier than ever to incorporate this nutritional powerhouse into your diet.

The Peeling Question: For the absolute smoothest, most luxurious hummus, peeling the chickpeas is non-negotiable. While it sounds tedious, there’s a trick: after cooking, drain the chickpeas and place them in a bowl of cold water. Gently rub them between your hands, and the skins will float to the surface. It’s a small, meditative step with a huge textural payoff.
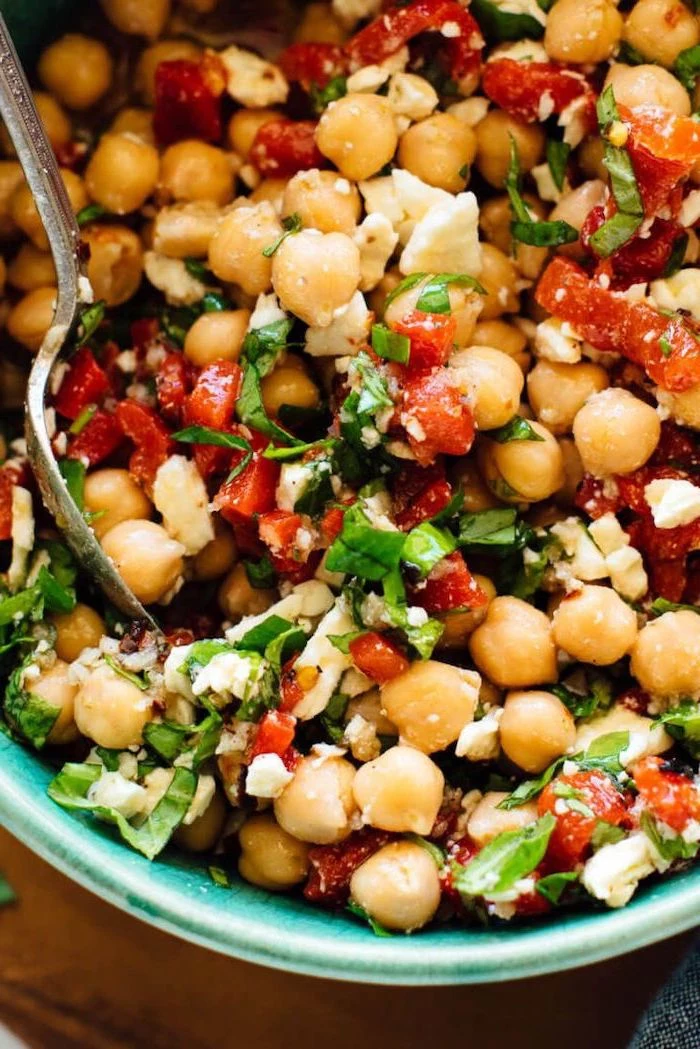
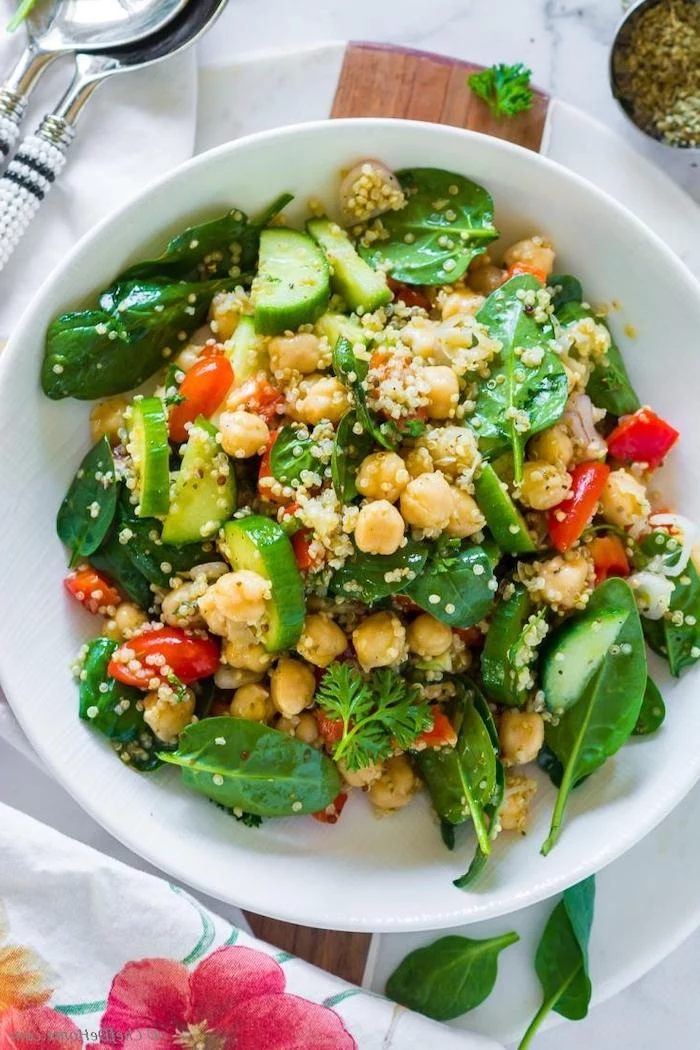
Don’t be afraid to mash them! A chickpea ‘tuna’ salad is a lunch game-changer. Roughly mash cooked chickpeas with a fork, then mix with vegan mayo or Greek yogurt, finely chopped celery, red onion, a squeeze of lemon, and a sprinkle of dill or capers. It’s fantastic in a sandwich or on a bed of greens.
My dried beans never seem to soften, no matter how long I cook them. Why?
The likely culprit is age. Dried beans, including chickpeas, lose their ability to rehydrate and soften properly over time. If your beans have been in the pantry for more than a year or two, they may remain tough. Always try to buy from a source with high turnover to ensure freshness.


