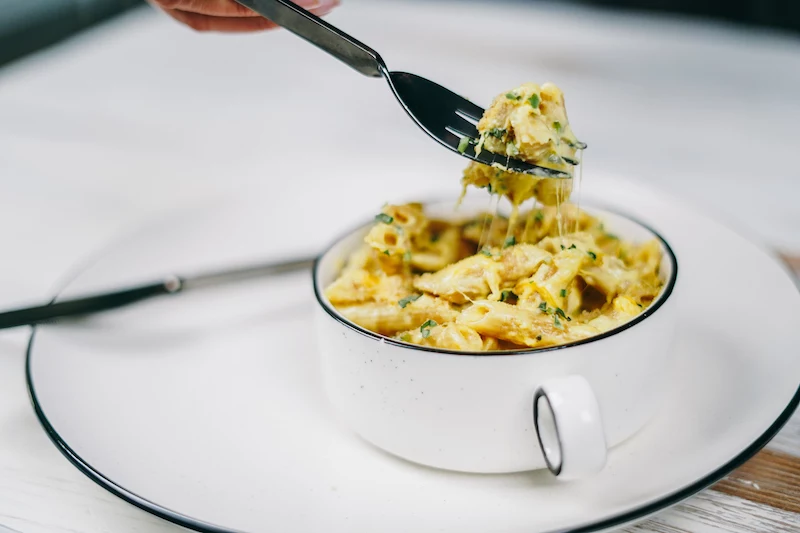
How to Make Mac & Cheese That Actually Changes Lives (or at least Dinner)
I’ll never forget my first real kitchen job. The head chef put me on family meal duty, and I figured, hey, mac and cheese is a guaranteed crowd-pleaser. So I grabbed a box, just like I would have at home. The chef saw it, didn’t yell, just shook his head and said, “We don’t cook from boxes. We cook from scratch. I’ll show you once.” That one lesson completely rewired my brain on what this dish could be. It’s not just pasta and cheese; it’s a beautiful dance of technique and ingredients.
In this article
So, forget the powdered cheese packets. We’re going deep on the craft behind a truly great macaroni and cheese. We’ll cover the science of a perfect cheese sauce, how to pick the right pasta and cheese, and the two best ways to finish the dish.
Heads up: From start to finish, plan on this taking about 45 to 60 minutes. It’s a bit of a project, but trust me, it’s worth every second.
The Soul of the Dish: Nailing the Cheese Sauce
A lumpy, grainy, or oily sauce is a dealbreaker. It doesn’t matter how fancy your other ingredients are; a bad sauce will ruin everything. What we’re aiming for is a smooth, creamy, and stable emulsion. That’s just a fancy way of saying we’re getting fat (from butter and cheese) and water (from milk) to play nice together, using a thickener to hold it all in place.
The Classic Way: Building a Béchamel
The traditional foundation for an epic mac and cheese is a béchamel—a simple white sauce made from a roux and milk. It’s one of the foundational sauces in classic cooking, and mastering it gives you total control over the final texture.
A roux is just a paste made from equal parts fat and flour, measured by weight. For our sauce, butter is the fat of choice.
Let’s Make the Roux:
- The Ratio: A great starting point for a medium-thick sauce is 3 tablespoons of unsalted butter and 3 tablespoons of all-purpose flour for every 3 cups of milk. If you have a kitchen scale, using it for accuracy (around 40 grams of each) is a pro move.
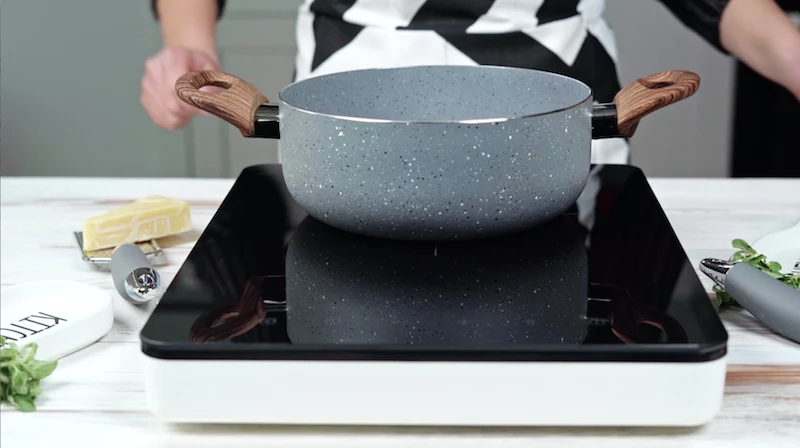
- The Process: First, melt your butter in a heavy-bottomed pot over medium-low heat. A heavy pot is key here because it spreads the heat evenly and prevents scorching. Once the butter is melted and foamy, dump in all the flour at once and start whisking. Keep that whisk moving constantly for two to three minutes.
- The ‘Why’: This part is critical. You’re cooking out that raw, pasty flour taste. The mixture will go from a clumpy paste to something that looks more like wet sand and smells beautifully nutty. So many people skip this step, and it really makes a difference. This is what’s known as a ‘blond’ roux, and it’s perfect for our sauce.
Now for the Milk…
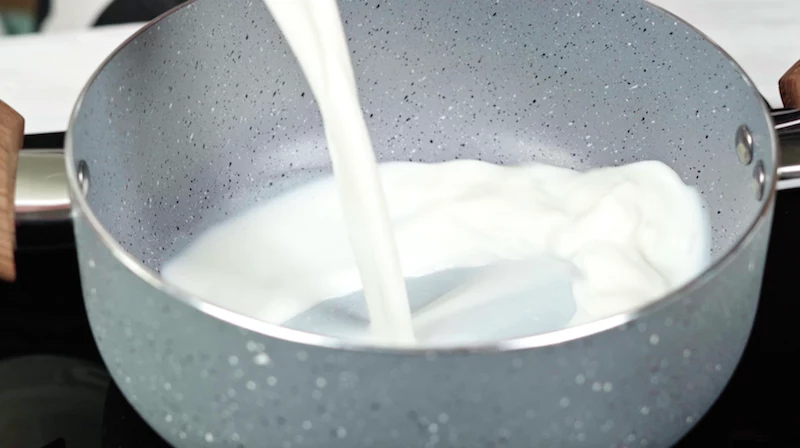
This is where things can get lumpy if you’re not careful. The secret is temperature contrast. You either add cold milk to a hot roux, or warm milk to a cool roux. My method, and the one I teach all my cooks, is to use cold milk.
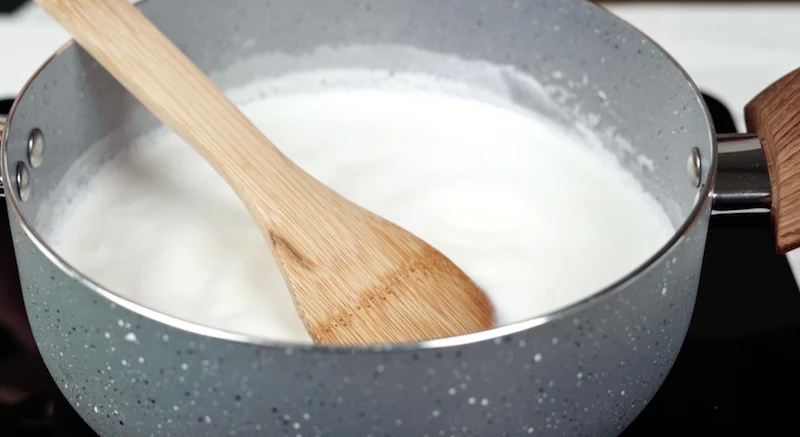
Pour about one cup of cold milk into the pot with your hot roux and whisk like you mean it. Okay, brace yourself: it’s going to seize up and look like a lumpy, ugly wallpaper paste. I promise, this is what’s supposed to happen. Don’t panic! Just keep whisking until it’s smooth. Then, you can slowly stream in the rest of the milk, whisking the whole time. Bring the sauce to a gentle simmer, stirring pretty often, especially around the edges of the pot. It’s ready when it has thickened enough to coat the back of a spoon.
By the way, there’s a reason we use whole milk. The higher fat content is crucial for creating that rich, creamy, and satisfying sauce. Using skim or low-fat milk will leave you with a thinner, less decadent result, and nobody wants that.
Picking Your Ingredients Like a Pro
Your finished dish is only as good as what you put into it. This is where you can really elevate your mac and cheese from good to unforgettable.
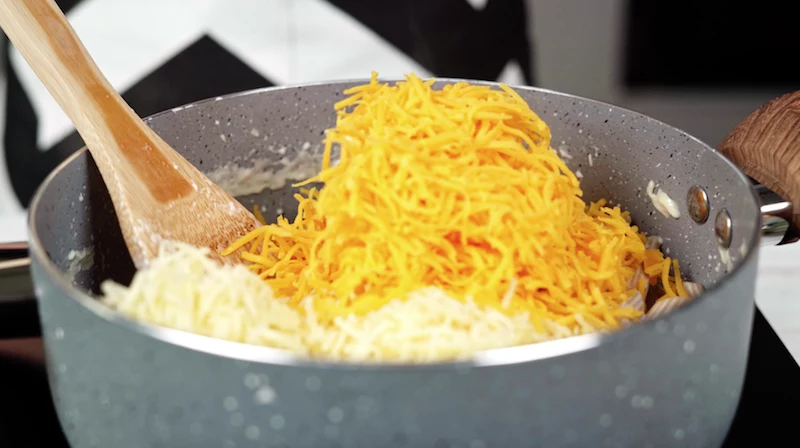
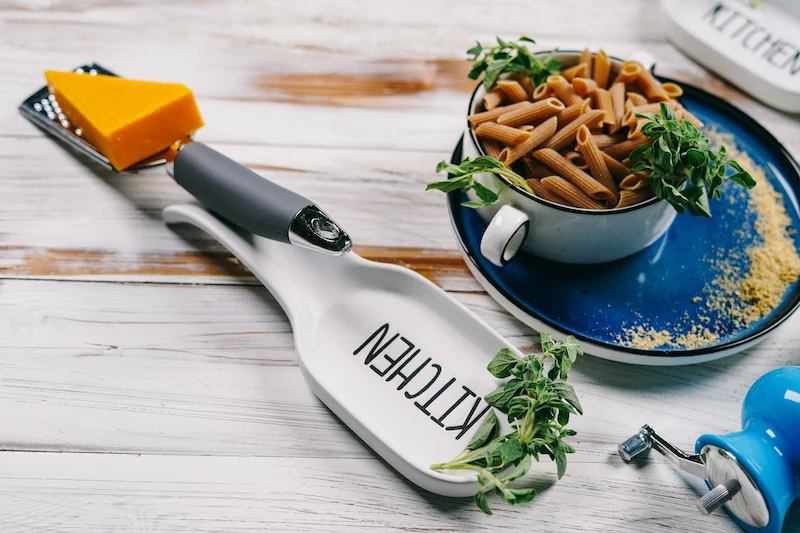
The Cheese: It’s More Than Just Cheddar
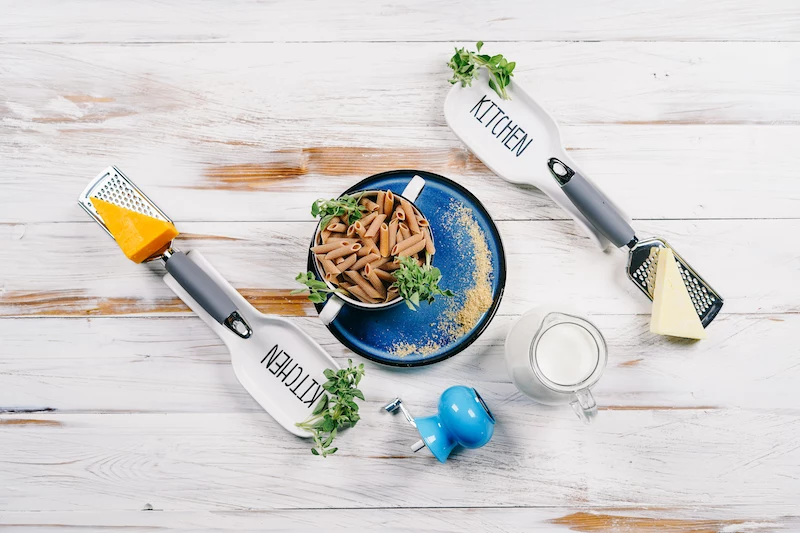
Here’s one of the biggest mistakes I see people make: using pre-shredded cheese. I get it, it’s convenient. But those bags of cheese are coated with stuff like cellulose or potato starch to keep the shreds from clumping. That same coating will make your beautiful sauce grainy. Do yourself a favor and always grate your own cheese from a block. It melts a million times better.
Quick tip: Hate grating? Use the shredding disk on your food processor. You can grate a pound of cheese in about 30 seconds. It’s a game-changer and saves your knuckles.
For a truly next-level sauce, I always use a blend of cheeses, each with a job to do:
- The Melter (about 60% of the blend): This is your base. You want a cheese with good moisture that melts into a creamy dream. Good, affordable choices are a young or medium sharp cheddar or Monterey Jack. If you want to splurge a bit, Gruyère is my personal favorite for its nutty, complex flavor. A block of sharp cheddar might run you $5-$7, while a quality Gruyère can be closer to $10-$12 for the same amount.
- The Flavor (about 30%): This is where the character comes from. An extra-sharp cheddar, an aged provolone, or a touch of smoked Gouda adds a punch of flavor that really stands up to the creaminess.
- The Secret Weapon (10% or less): Okay, this is a pro-level trick. A small amount of a simple processed cheese, like a couple of slices of American cheese or a dollop of cream cheese, will guarantee a silky-smooth sauce. These products contain something called emulsifying salts (like sodium citrate), which help the proteins in the other cheeses melt perfectly without getting stringy or oily. If you’re really serious, you can even buy pure sodium citrate online; just a half-teaspoon added to your sauce works wonders.
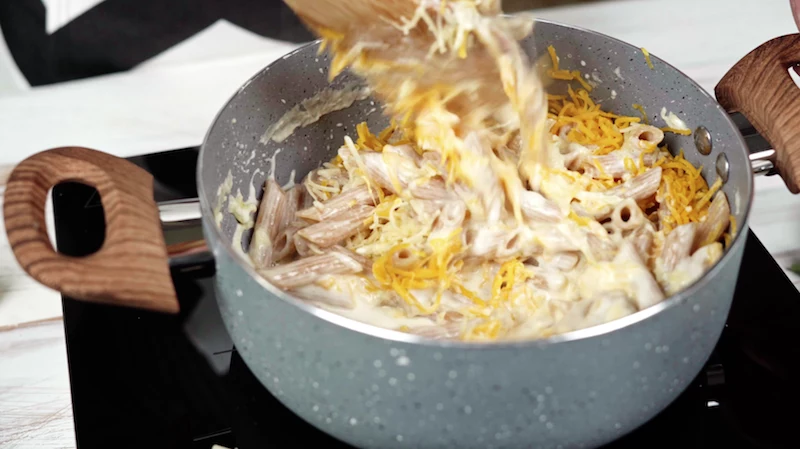
Crucial step: Once your béchamel is thick and smooth, take it OFF the heat. Let it cool for a minute, then add your grated cheese in handfuls, stirring until each batch is melted before adding the next. If you add cheese to a boiling sauce, it will break and turn into an oily mess.
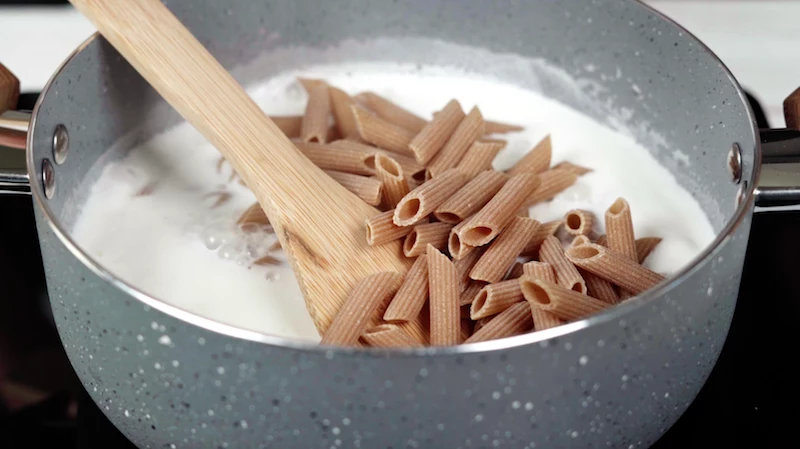
The Pasta: Shape Is Everything
The pasta isn’t just a filler; its shape determines how much delicious sauce you get in every bite. Smooth, straight pastas are not your friend here—the sauce just slides right off.
You want shapes with lots of nooks and crannies:
- Cavatappi: These corkscrews are my top choice. The hollow tube and ridges trap an insane amount of sauce.
- Shells: The little cups act like tiny bowls, scooping up cheesy goodness.
- Rigatoni: The big tubes and deep ridges are perfect for a heartier, baked version.
- Elbows: The classic choice works fine, but honestly, the other shapes hold sauce better.
And this part is non-negotiable: cook your pasta to al dente, which means “to the tooth.” It should still have a firm bite. Check the package, but start tasting it two minutes before the recommended time. It will keep cooking in the hot sauce. Mushy pasta is a tragedy.
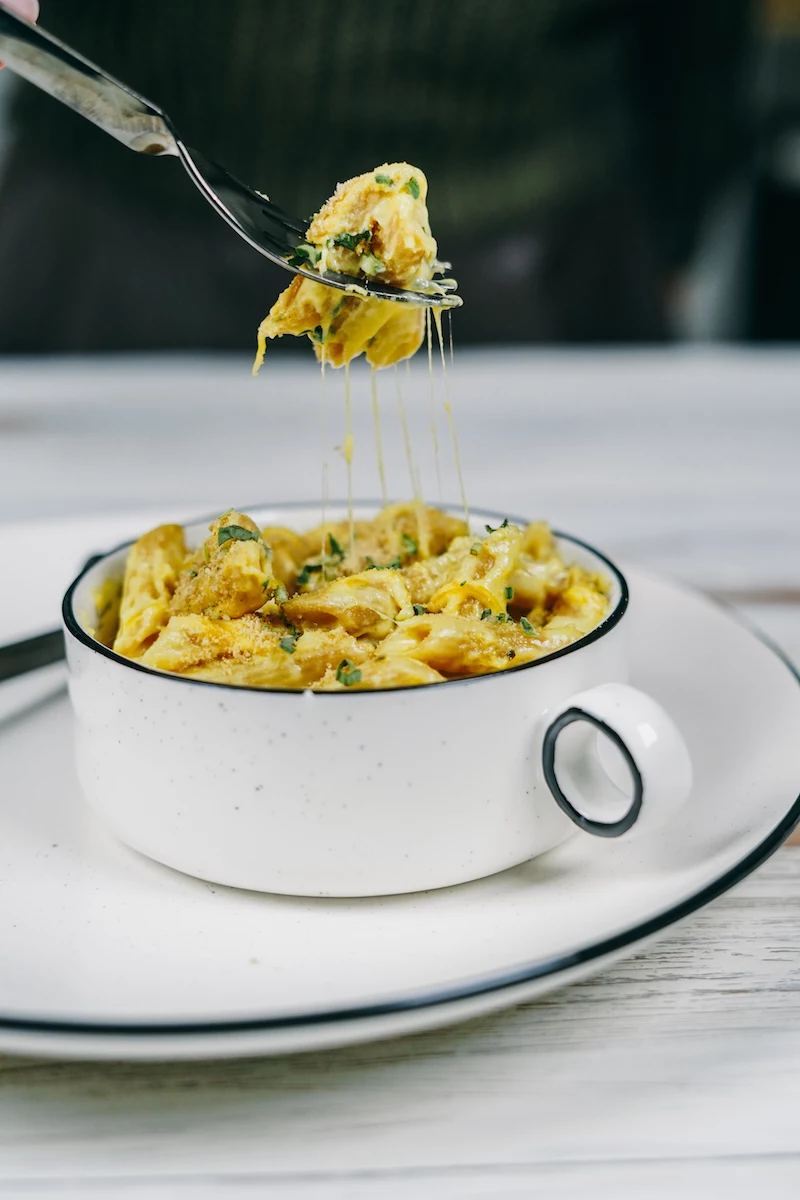
Stovetop vs. Baked: Choosing Your Perfect Finish
So, you’ve got your glorious sauce and perfectly cooked pasta. Now what? You have two main paths, each with its own charm. To be honest, there’s no wrong answer here, it just depends on what you’re looking for.
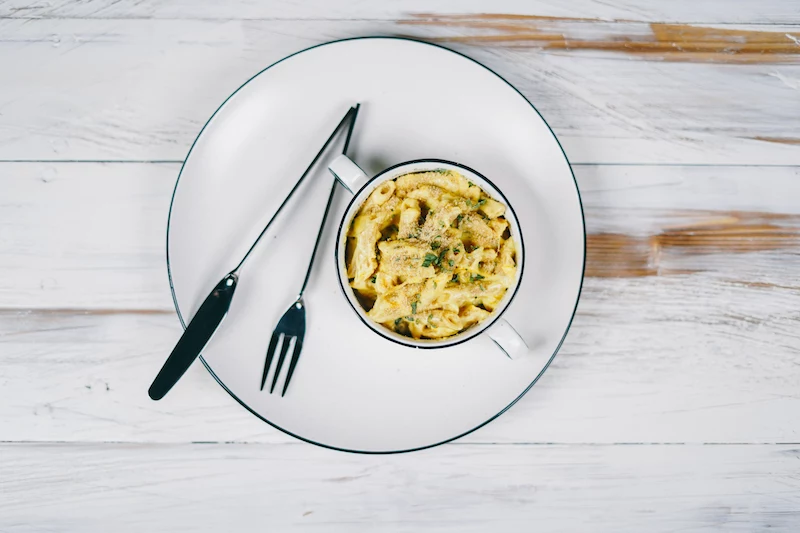
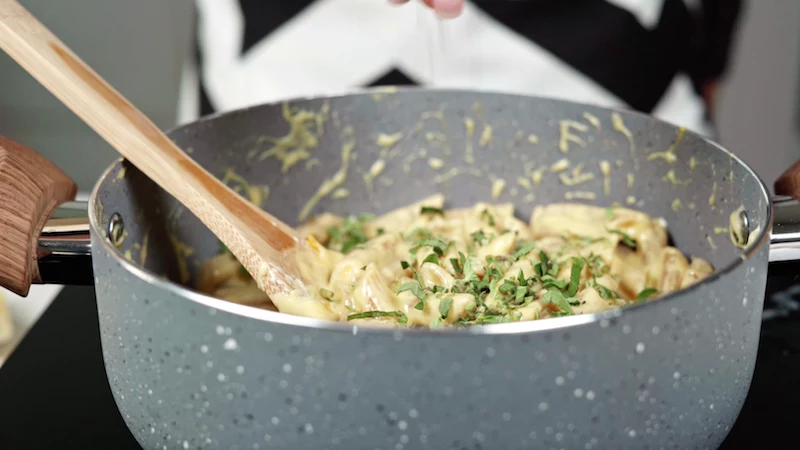
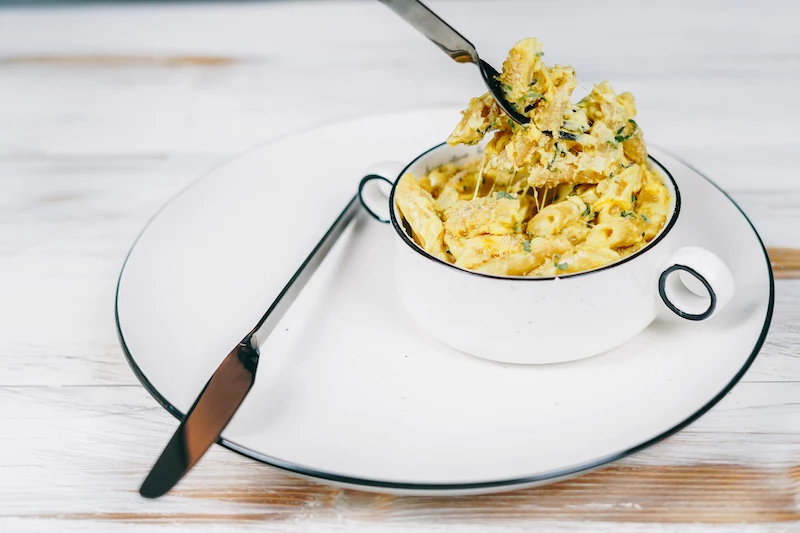
The Stovetop version is the quickest route to cheesy heaven. It’s looser, ultra-creamy, and really celebrates the pure, velvety texture of the sauce. It’s my go-to for a fast and satisfying weeknight dinner. Just pour the sauce over the drained pasta, stir, and serve immediately.
The Baked Casserole, on the other hand, is a true classic, perfect for potlucks or when you want something a bit heartier. Baking concentrates the flavors and gives you that irresistible crispy, golden-brown top. The final dish is sturdier and more sliceable. It takes an extra 25-30 minutes, but that crunchy topping is so worth it.
If you go the baked route and want an even richer, more custard-like texture, some traditional recipes call for tempering an egg into the sauce. But you can’t just dump an egg in, or you’ll get cheesy scrambled eggs. Here’s how to do it right: Whisk an egg in a separate bowl. Slowly, and I mean slowly, ladle about a cup of the warm cheese sauce into the egg while whisking the egg constantly. This gently raises its temperature. Then, you can pour the warm egg mixture back into the main pot of sauce.
Three Mac & Cheese Sins to Avoid at All Costs
If you only remember three things from this guide, make it these. Avoiding these common mistakes is the difference between good and great.
1. Using Pre-Shredded Cheese. We’ve been over this, but it bears repeating! The anti-caking agents will make your sauce grainy. Buy the block, do the work. It’s worth it.
2. Adding Cheese to a Boiling Sauce. Never, ever add your cheese to a sauce that’s still on direct heat or boiling. It will cause the fats to separate, leaving you with a greasy, broken mess. Remove from heat first!
3. Overcooking Your Pasta. Remember, the pasta will continue to cook in the hot sauce and even more so if you’re baking it. Pull it from the water when it’s still got a definite bite. Mushy pasta is the enemy.
On Reheating… If You Must
Let’s be real: macaroni and cheese is never quite as good the next day. The microwave is especially bad, as it tends to make the sauce break and turn oily. If you have leftovers, the best way to bring them back to life is to put a portion in a small saucepan over low heat. Add a splash of milk and stir gently until it’s warmed through and the sauce becomes creamy again. It’s not perfect, but it’s the next best thing.
My Go-To Stovetop Recipe
Master this, and you can make any mac and cheese your heart desires. This recipe will make enough for about 6-8 people and should cost between $20 and $30, depending on the cheese you choose.
Ingredients:
- 1 pound (454g) Cavatappi or Shell pasta
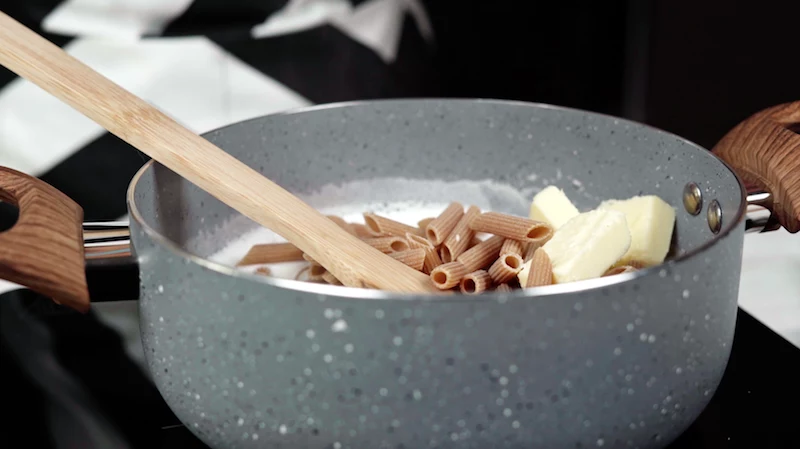
- 6 tablespoons (85g) Unsalted Butter
- 6 tablespoons (50g) All-Purpose Flour
- 4 cups (about 1 liter) Whole Milk, cold
- 1 teaspoon Kosher Salt
- 1/2 teaspoon Black Pepper
- 1/4 teaspoon Mustard Powder (this won’t make it taste like mustard, it just makes the cheese flavor pop)
- 8 ounces (226g) Gruyère Cheese, grated
- 8 ounces (226g) Sharp Cheddar Cheese, grated
- (Optional) 2 ounces (56g) American Cheese, torn into small pieces
Instructions:
- Cook the Pasta: Bring a large pot of water to a rolling boil and salt it generously—it should taste like the sea. Cook your pasta until it’s perfectly al dente. Drain it well and set it aside. Don’t rinse it!
- Make the Roux: In a large, heavy pot or Dutch oven, melt the butter over medium heat. Whisk in the flour and cook, whisking constantly, for about 2-3 minutes until it smells nutty and toasty.
- Build the Sauce: While whisking, pour in about 1 cup of the cold milk. It’ll form a thick paste—keep whisking until it’s smooth. Then, slowly stream in the remaining milk while whisking.
- Thicken: Bring the sauce to a simmer, stirring often, and let it bubble gently for 5-8 minutes until it has thickened enough to coat a spoon. Stir in the salt, pepper, and mustard powder.
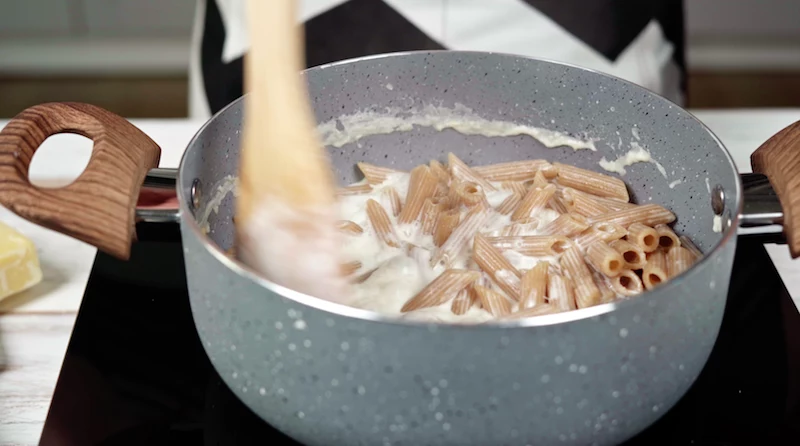
- Melt the Cheese: Take the pot completely off the heat. Let it sit for one minute to cool slightly. Add the cheeses in three batches, stirring with a wooden spoon until each addition is melted and the sauce is perfectly smooth.
- Combine and Serve: Add the cooked pasta to your glorious cheese sauce. Stir gently to coat every single piece. Taste it and add more salt if needed. Serve it up hot and watch people’s faces light up.
Making mac and cheese from scratch is more than just following a recipe; it’s a skill. It takes a little more effort than opening a box, but the result is something you can be genuinely proud of. And once you nail the foundation, you can start making it your own. That, right there, is the real joy of cooking.
Inspirational Gallery
The right cheese is about balancing flavor and function. It’s not just about what tastes good, but what melts into a dream.
This is why so many chefs rely on a cheese blend. A sharp, aged cheddar like Tillamook Extra Sharp brings the classic, punchy flavor, but can sometimes turn grainy. By blending it with a supreme melter like Gruyère or Fontina, you get the flavor from the cheddar and the smooth, luxurious, stretchy texture from the Alpine cheese. The combination is greater than the sum of its parts.
What’s the one mistake everyone makes with baked mac and cheese?
Forgetting to undercook the pasta. It’s a crucial step. You should boil your pasta for at least 2 minutes *less* than the package instructs for al dente. The pasta will continue to cook in the hot cheese sauce and then again in the oven. Starting with perfectly cooked pasta will result in a soft, mushy mess by the time it’s served. Trust the process; a slightly firm pasta going in means a perfect texture coming out.
- Boosts the creaminess without altering the flavor.
- Adds a subtle tang that cuts through the richness.
- Helps create an even smoother, more stable sauce.
The secret? A spoonful of cream cheese or a dash of Dijon mustard stirred into your sauce right at the end.
Classic Elbow Macaroni: The nostalgic choice. Its small, curved shape is familiar, but its smooth surface isn’t the best at holding sauce.
Gourmet Cavatappi or Shells: The textural upgrade. The ridges on cavatappi (corkscrews) and the deep cup of medium shells act like perfect little vessels, trapping more of that glorious cheese sauce in every bite.
For a truly sauce-rich experience, move beyond the elbow.
Take your topping game to the next level by making seasoned breadcrumbs. Melt two tablespoons of butter in a skillet, add a half-cup of Panko breadcrumbs (they’re lighter and crispier than regular), and toast until golden. Remove from heat and toss with a pinch of garlic powder, dried parsley, and grated Parmesan cheese. Sprinkle over your mac and cheese before baking for the ultimate crunchy crust.


