My Bakery Secret to Fluffy Gluten-Free Pumpkin Pancakes (That Actually Work)
For years, running my own small bakery, I’ll be honest: gluten-free baking felt like a constant letdown. People would ask for it, and I’d try my best, but the results were usually dense, a bit gritty, or even gummy. It wasn’t until my own niece was diagnosed with celiac disease that it got personal. I wasn’t just aiming for ‘good for gluten-free’ anymore; I needed to create something genuinely incredible. That whole journey taught me a huge lesson: amazing gluten-free results aren’t about some miracle ingredient. It’s all about technique.
In this article
- First, Why Are GF Pancakes So Tricky?
- Gathering Your Ingredients
- A Baker’s Deep-Dive on Ingredients
- The Method: Let’s Make Some Pancakes!
- The Go-To Recipe, All in One Place
- Troubleshooting: What to Do When It Goes Wrong
- Level-Up: Fun Variations to Try
- Make-Ahead and Storage Tips
- A Quick Word on Safety
- Inspiration:
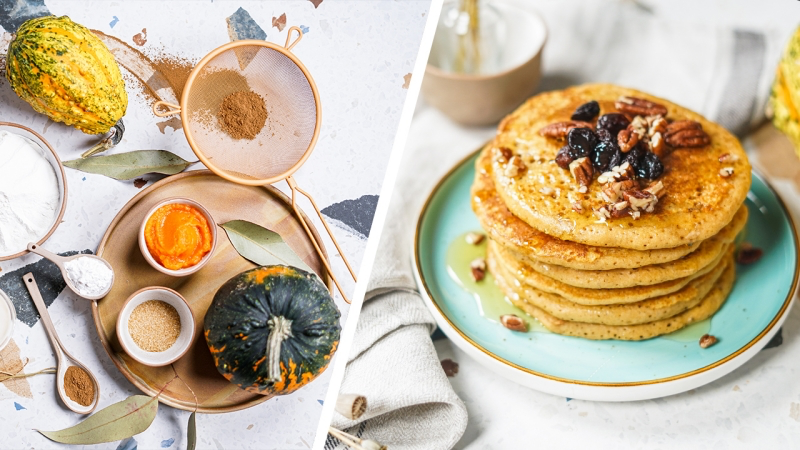
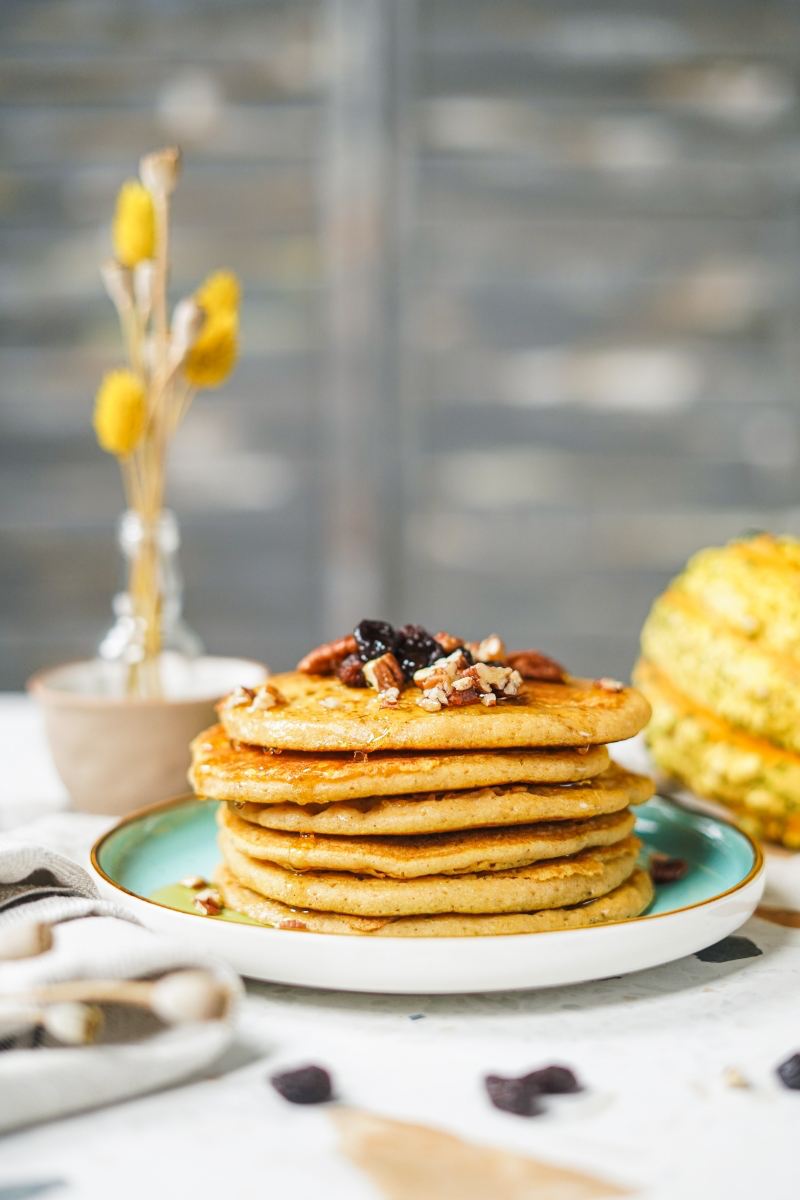
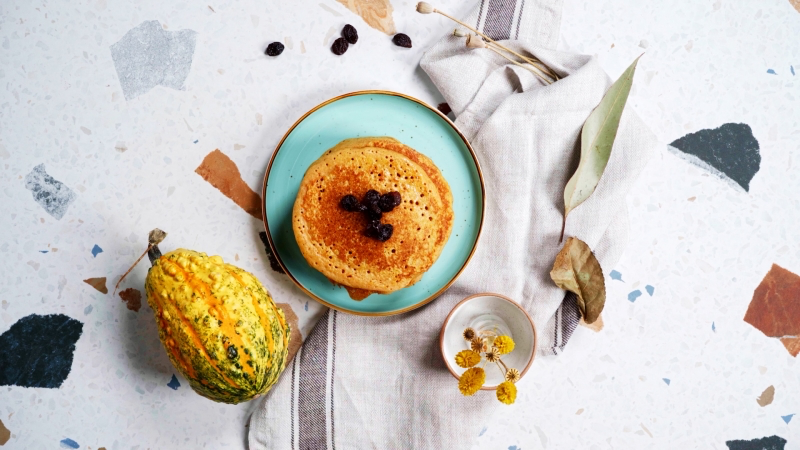
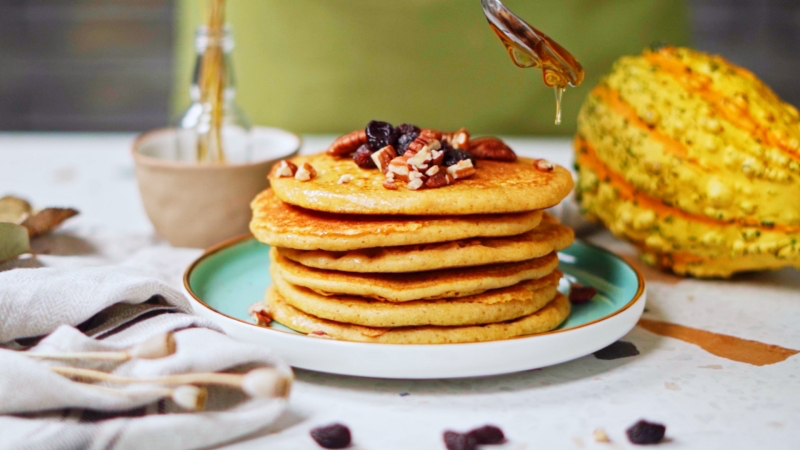
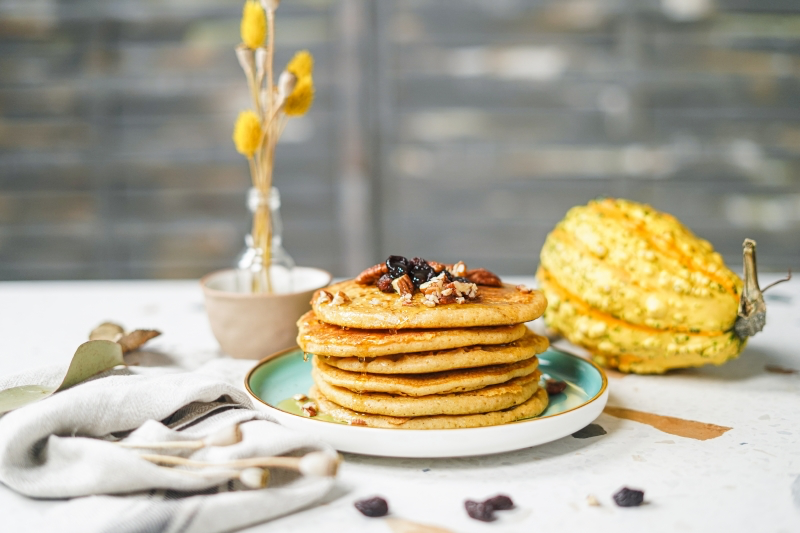
These pumpkin pancakes are the result of all that trial and error. They’re light, they’re fluffy, and they are packed with real pumpkin spice flavor. I want to walk you through the method, not just a recipe, so you get the ‘why’ behind each step. By the end, you’ll be able to whip these up perfectly. All in all, you’re looking at about 45 minutes from start to finish, and you’ll get about a dozen beautiful pancakes. Totally doable for a special weekend breakfast!
First, Why Are GF Pancakes So Tricky?
In regular baking, gluten is the superhero. It’s a protein that creates a stretchy web, trapping air and giving things like bread and pancakes their familiar structure and chew. When you ditch gluten, you’ve got to rebuild that structure from scratch. You can’t just swap flours and cross your fingers; you have to be a little more strategic.
Our goal is to mimic what gluten does. We do this by blending different gluten-free flours to get the right balance of protein and starch. We also need a binder, like xanthan gum, which is the magic ingredient that helps hold everything together and trap the air bubbles that make pancakes fluffy. Without it, you’d just have a flat, sad little disc.
Gathering Your Ingredients
Before we dive in, let’s talk about what you’ll need. Think of this as your game plan. Having everything ready makes the whole process so much more relaxing and fun.
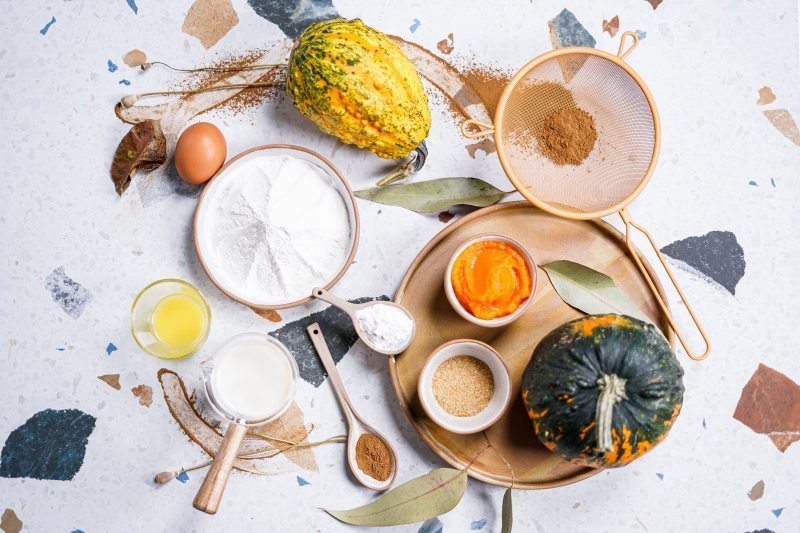
- For the pancakes: Canned pumpkin purée (the pure stuff!), eggs, milk (dairy or non-dairy), and either melted butter or a neutral oil.
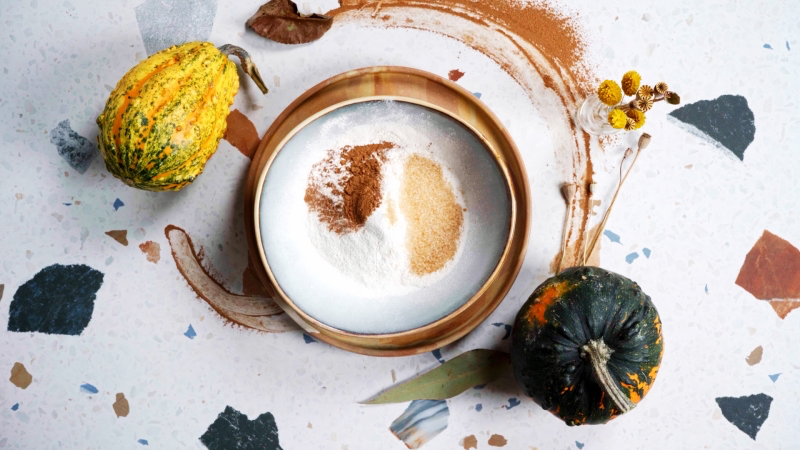
- The dry stuff: A good gluten-free all-purpose flour blend (with xanthan gum), a little sugar, baking powder, salt, and your spices.
- The spices: You can use a pre-made pumpkin pie spice, or grab your cinnamon, ginger, and nutmeg to make your own.
A Baker’s Deep-Dive on Ingredients
The quality of your pancakes really comes down to the small details in your ingredients. Here’s what I’ve learned to look for after countless batches.
The Pumpkin: Not All Cans Are Created Equal
For convenience, canned pumpkin is fantastic. But here’s the number one rule: make sure it’s 100% pure pumpkin, NOT pumpkin pie filling. That’s an easy mistake to make! The pie filling is already loaded with sugar and spices, and it will throw off the entire recipe. The leading national brand is usually my top pick because its consistency is so thick and reliable.
A quick tip: If you open a can and the purée looks watery, you can fix it! Line a mesh strainer with a coffee filter or cheesecloth, plop the pumpkin in, and let it drain over a bowl for about 30 minutes. You’ll be shocked how much water comes out. This step alone can be a total game-changer for your pancake texture.
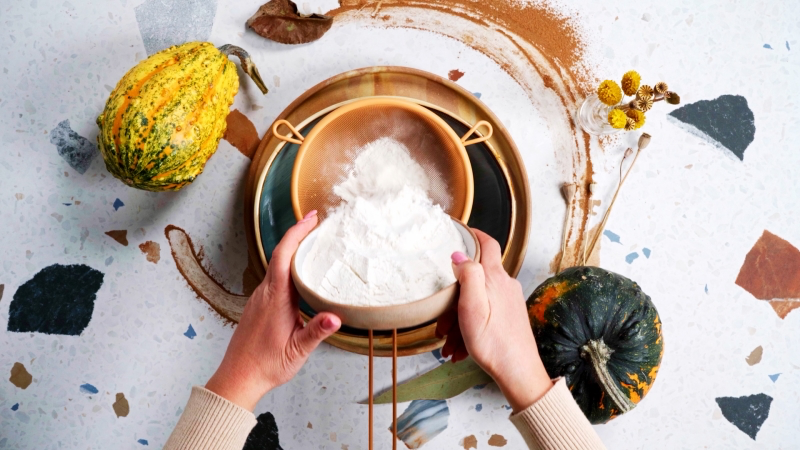
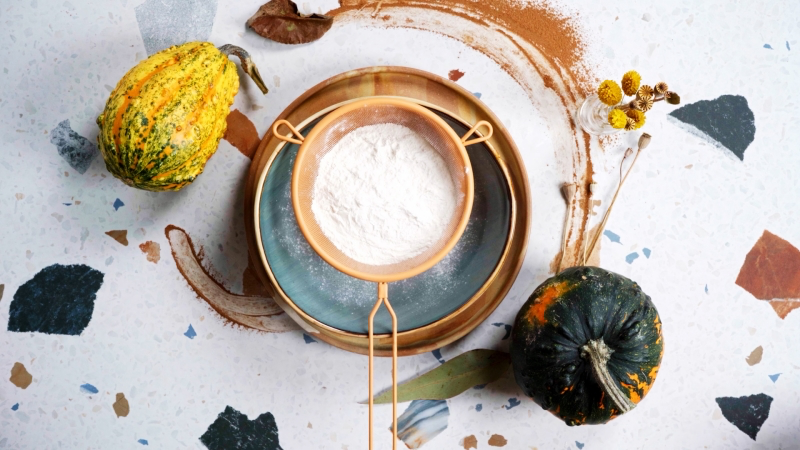
The All-Important Flour Blend
You can either buy a pre-made gluten-free blend or mix your own. If you’re buying one, look for a ‘measure-for-measure’ or ‘1-to-1’ type that already contains xanthan gum. It’s convenient and reliable, but it can be a bit pricey—sometimes $8 to $10 for a small box. A popular one you can find in most grocery stores works great for this.
To save money, especially if you bake often, making your own blend is the way to go. You can buy the base flours in larger bags and mix up a big batch to keep in an airtight container. Here’s a solid, all-purpose blend:
- 4.5 cups (or 600g) Brown Rice Flour
- 1 2/3 cups (or 200g) Potato Starch
- 2/3 cup (or 100g) Tapioca Starch (also called tapioca flour)
- 2 teaspoons Xanthan Gum
Heads up! I mean it when I say potato STARCH, not potato flour. They sound almost the same, but they are worlds apart. Potato flour is basically just ground-up dehydrated potatoes—it’s heavy, super absorbent, and can make your pancakes taste faintly of potato skins. Starch is the pure, light, refined stuff that gives you that fluffy texture we’re after. And by the way, using a kitchen scale is the best way to get consistent results, especially with gluten-free baking.
Liquids, Fats, and That Perfect Spice Mix
When it comes to the liquid, regular dairy milk works, but buttermilk is even better because its acidity gives the baking powder an extra kick. If you’re going dairy-free, you have some great options. Unsweetened almond milk is my go-to for a clean, neutral flavor. Oat milk is a close second, as it adds a nice touch of creaminess. You could even use full-fat canned coconut milk for incredible richness, but just know it will definitely make them taste like coconut pumpkin pancakes, which can be delicious in its own right!
For fat, you can’t beat the flavor of real, melted unsalted butter. But if you need a dairy-free option, a neutral oil like avocado or melted refined coconut oil works just fine. As for spices, here’s a little challenge: go check your spice cabinet right now. I bet you have cinnamon, nutmeg, and ginger. In 30 seconds, you can mix them up and create a custom blend that tastes way better than anything out of a jar. The aroma of freshly grated nutmeg is on another level compared to the pre-ground stuff!
The Method: Let’s Make Some Pancakes!
Technique is everything. How you mix and cook this batter will make all the difference.
Step 1: Get Everything Ready
In a real kitchen, we call this ‘mise en place’—everything in its place. Measure out all your ingredients first. Get your bowls, whisk, and spatula ready. This simple habit makes cooking so much more enjoyable. Oh, and here’s a pro move: turn your oven on to its lowest setting, around 200°F (95°C), and slide a baking sheet with a wire rack on it inside. It’s the perfect way to keep your finished pancakes warm and crisp, not soggy.
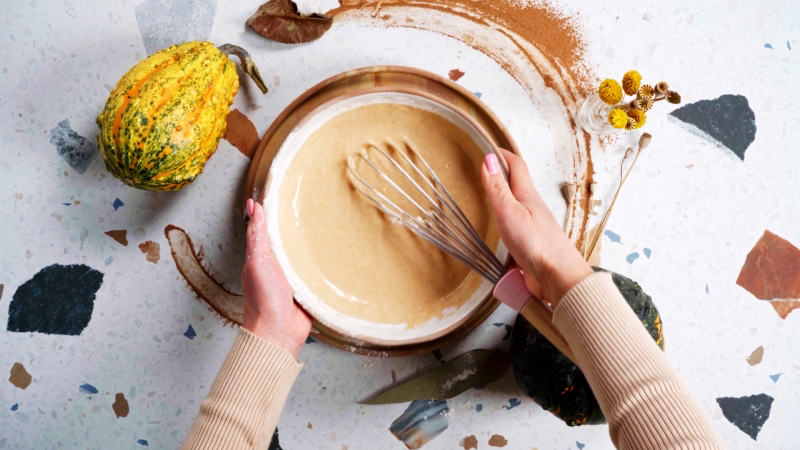
Step 2: The Mixing Dance
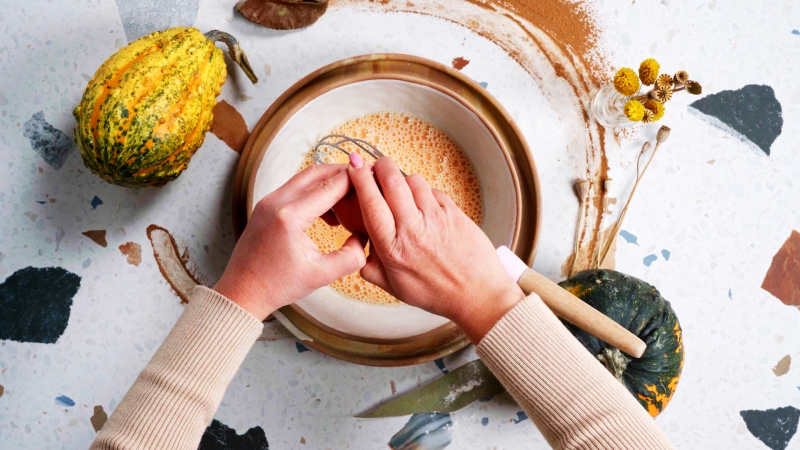
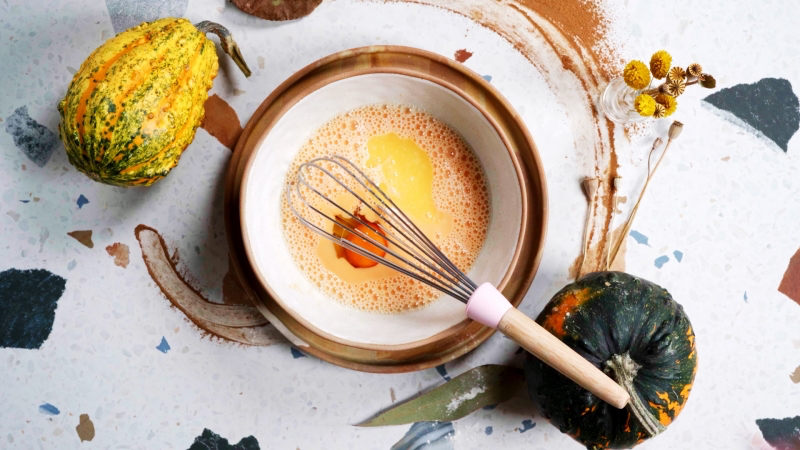
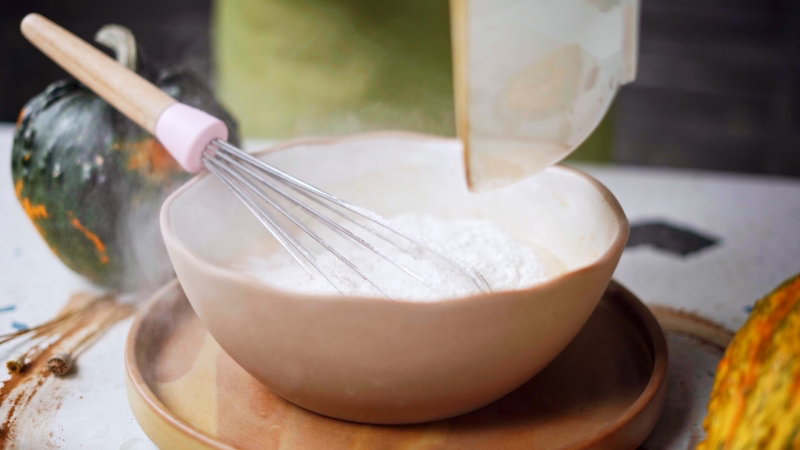
We use a simple method here to avoid overmixing. First, in a large bowl, whisk together all your dry ingredients: the flour blend, sugar, baking powder, salt, and spices. Don’t skip the whisking—it adds air and makes sure everything is evenly distributed. In a separate, medium bowl, whisk your eggs until they’re a little frothy, then mix in the pumpkin purée, milk, and melted butter. Now, pour the wet ingredients into the dry. Use a spatula to gently fold it all together until it’s just combined. A few lumps are totally fine and actually a good sign. Seriously, do not overmix!
Step 3: The Mandatory 10-Minute Rest
This might be the most skipped step, but for gluten-free batter, it’s critical. Let the batter rest on the counter for 10 to 15 minutes. This gives the flours time to fully hydrate and absorb all that liquid. You’ll notice the batter will thicken up a bit. It should look like a thick but still pourable yogurt.
Step 4: Cooking with Confidence
Your pan and your heat control are where pancake magic (or failure) happens. A heavy-bottomed non-stick griddle or a well-seasoned cast-iron skillet is your best friend here, as they provide nice, even heat. You want to aim for medium-low heat. Too high, and the outside will burn before the center is cooked. Too low, and they’ll steam and get tough.
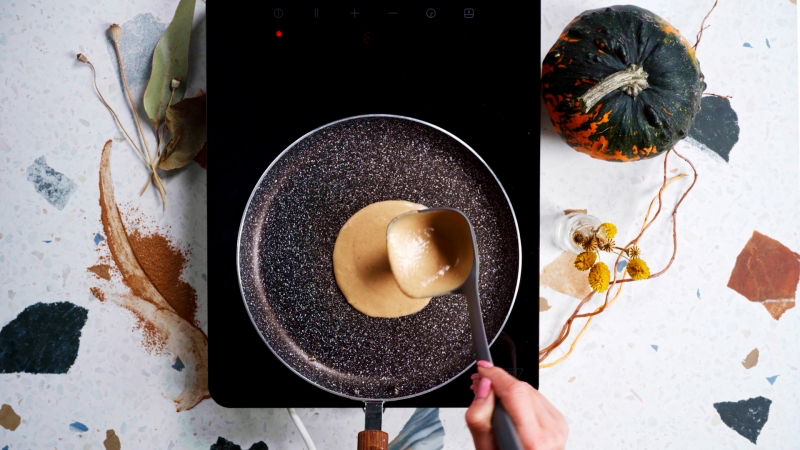
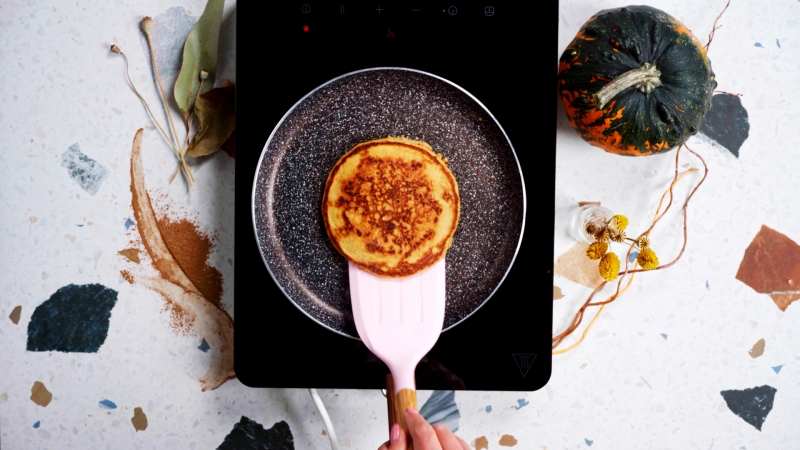
Here’s the classic water test to see if your pan is ready: flick a few drops of water on it. If they sizzle and evaporate instantly, it’s too hot. If they just sit there, it’s too cool. If they dance and skitter across the surface before disappearing, the temperature is perfect. Add a small pat of butter or a little oil, and wipe it with a paper towel so there’s just a thin sheen. Use a 1/4-cup measure to pour your batter. Don’t flip until you see bubbles form and pop all across the surface and the edges look dry. Be patient! Flip once, cook for another minute or two, and you’re done.
The Go-To Recipe, All in One Place
Alright, you’ve learned the why, so here’s the how. This is the base recipe I’ve honed over the years. Remember, you can always adjust things to your liking!
Yields: About 12 pancakes
Prep time: 15 minutes
Cook time: 20 minutes
Ingredients:
- 1 ½ cups (about 210g) gluten-free all-purpose flour blend (with xanthan gum)
- 2 tablespoons sugar (granulated or brown sugar)
- 2 teaspoons baking powder
- ½ teaspoon salt
- 1 ½ teaspoons cinnamon
- ½ teaspoon ground ginger
- ¼ teaspoon ground nutmeg
- A pinch of ground cloves (optional)
- 1 cup pure pumpkin purée
- 2 large eggs
- 1 cup milk (dairy or your choice of non-dairy)
- 2 tablespoons melted unsalted butter or neutral oil
Instructions:
- Preheat your oven to 200°F (95°C) and place a wire rack on a baking sheet inside.
- In a large bowl, whisk together the GF flour blend, sugar, baking powder, salt, and all the spices until well combined.
- In a separate bowl, whisk the eggs, then add the pumpkin purée, milk, and melted butter. Mix until smooth.
- Pour the wet ingredients into the dry ingredients and gently fold with a spatula until just combined. Don’t worry about a few lumps.
- Let the batter rest for 10-15 minutes. It will thicken as it sits.
- Preheat a non-stick griddle or cast-iron skillet over medium-low heat. Lightly grease with butter or oil.
- Pour batter by the ¼ cup onto the hot griddle. Cook for 2-4 minutes, until bubbles appear on the surface and the edges look set.
- Flip carefully and cook for another 1-2 minutes on the other side, until golden brown.
- Transfer the finished pancakes to the wire rack in the warm oven to keep them crisp while you cook the rest. Serve warm with your favorite toppings!
Troubleshooting: What to Do When It Goes Wrong
Even with the best method, sometimes things just don’t work out. Here are some common problems and how to fix them:
- The problem: My pancakes are gummy or raw in the middle.
The fix: Your heat was probably too high. Turn it down and give them more time to cook through. Also, make sure you let that batter rest! - The problem: They’re dry and crumbly.
The fix: Your batter was likely too thick. This can happen if you pack your flour into the measuring cup. If the batter seems like paste after resting, just thin it out with another tablespoon or two of milk. - The problem: They fell apart when I tried to flip them.
The fix: You probably tried to flip too soon. Patience is key! Wait for those bubbles to pop across the whole surface and for the edges to look dry and firm before you even think about flipping. - The problem: My pancakes are sickeningly sweet and taste… weird.
The fix: Ah, you might have grabbed pumpkin pie filling instead of pure pumpkin purée. It’s a classic mistake! That can is already full of sugar, so it throws the whole recipe out of whack. Double-check the can next time!

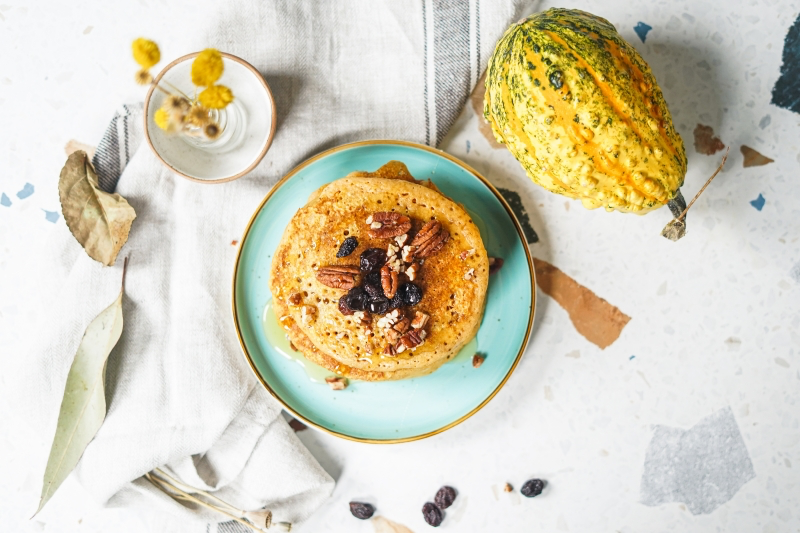
Level-Up: Fun Variations to Try
Once you’ve nailed the basic recipe, feel free to get creative. You could try using puréed butternut or kabocha squash instead of pumpkin for a slightly different flavor. To make them vegan, just use a ‘flax egg’ (1 tbsp ground flaxseed + 3 tbsp warm water, let it sit for 10 minutes) and your favorite dairy-free milk and oil. Or, for something totally different, go savory! Ditch the sugar and sweet spices and add some black pepper, dried sage, and finely chopped chives. They’re amazing topped with a fried egg.
Make-Ahead and Storage Tips
Let’s be real, you’re probably going to have leftovers. The good news is that these pancakes freeze beautifully. Just let them cool completely, then stack them with a small piece of parchment paper between each one. Pop them in a freezer bag, and they’ll be good for a couple of months. You can reheat them straight from the freezer in a toaster or microwave.

But what about leftover batter? Honestly, I don’t recommend saving it. The baking powder starts losing its power as soon as it gets wet, so pancakes made the next day will be much flatter. It’s better to just cook all the batter and freeze the finished pancakes.
A Quick Word on Safety
If you’re cooking for someone with a serious allergy or celiac disease, you have to be extra careful about cross-contamination. Gluten particles can get everywhere. Always use clean bowls and utensils, and if possible, have a separate set dedicated to gluten-free cooking. Also, make sure your key ingredients, like oat flour (if you use it) and even some baking powders, are explicitly labeled ‘Certified Gluten-Free’.
Baking is a craft. Your kitchen’s humidity and your specific ingredients can have a tiny effect. Learn to trust your senses, and soon enough, making amazing gluten-free pancakes will feel like second nature.

Inspiration:
Choosing the right gluten-free flour blend is half the battle. Not all are created equal for pancakes.
Bob’s Red Mill 1-to-1 Baking Flour: A reliable choice that produces a sturdy pancake. Some find it has a very subtle aftertaste due to the bean flour base.
King Arthur Gluten-Free Measure for Measure Flour: Excellent for a super light and fluffy texture with a neutral flavor profile, letting the pumpkin and spices truly shine.
For this recipe, King Arthur often yields a more delicate, bakery-style result.
Can I prepare the batter the night before?
While it seems like a great time-saver, it’s best to mix the batter right before cooking. The magic of fluffy pancakes comes from baking powder, which creates air bubbles as soon as it’s mixed with the wet ingredients. If you let the batter sit too long, this reaction fizzles out, and you’ll end up with flat, dense pancakes. For the ultimate fluff, always mix and cook fresh!
The secret to a tender crumb in gluten-free baking isn’t just the flour, but hydration time.
Once your batter is just mixed, step away for 5 to 10 minutes. This crucial resting period allows the gluten-free flours to fully absorb the liquids. It drastically improves the final texture, eliminating any potential grittiness and leading to a smoother, more cohesive pancake.
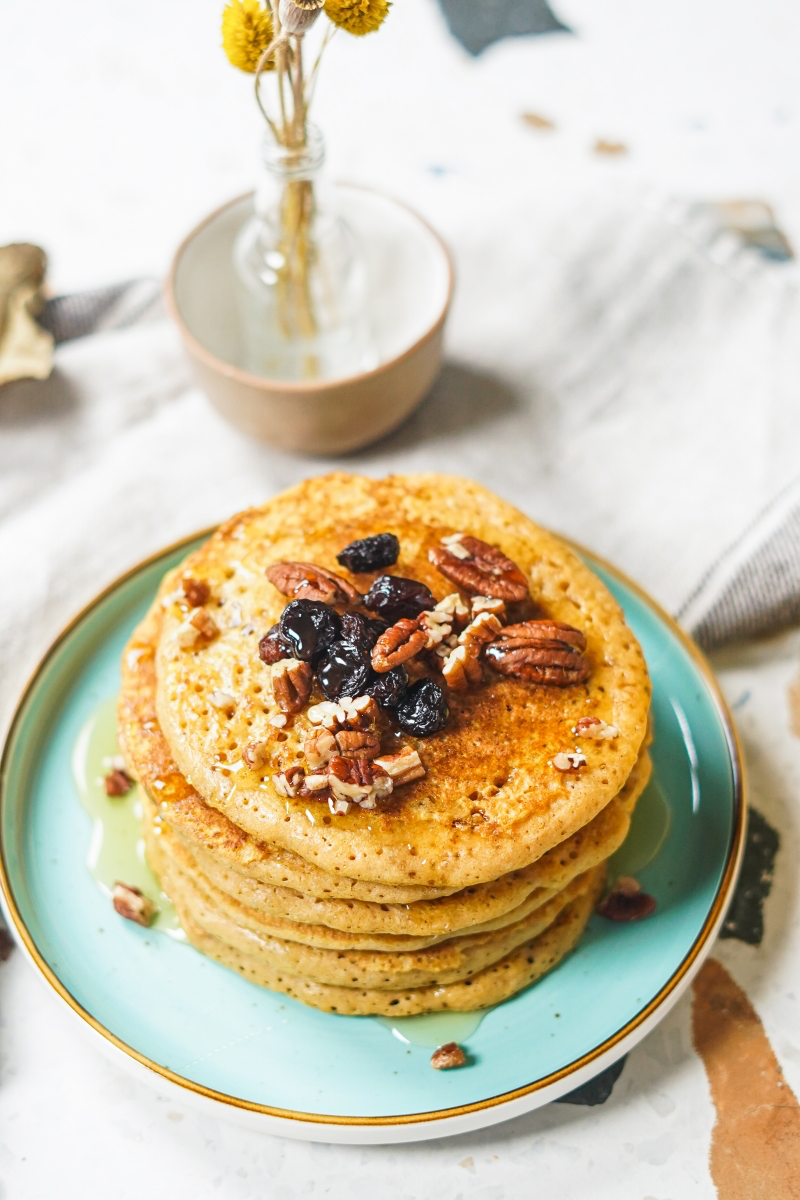
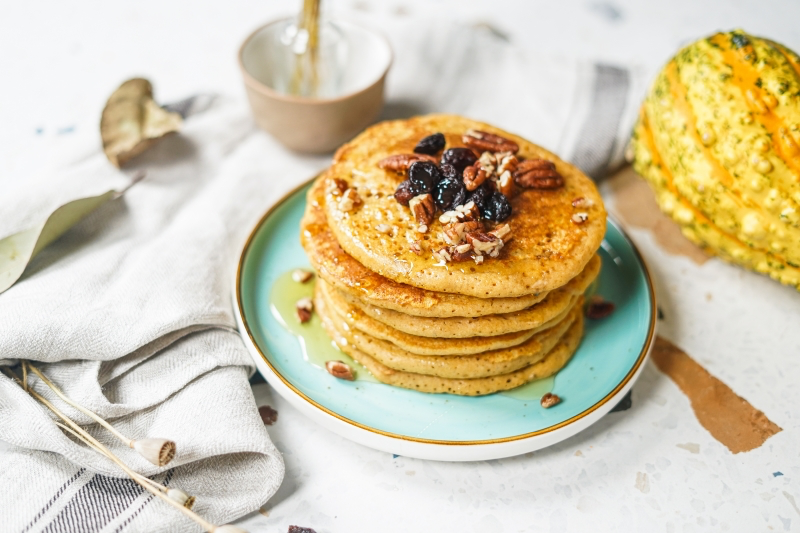
Elevate your pancakes from simple breakfast to a decadent brunch with the right toppings. Think beyond maple syrup:
- A dollop of tangy Greek yogurt or creamy coconut cream.
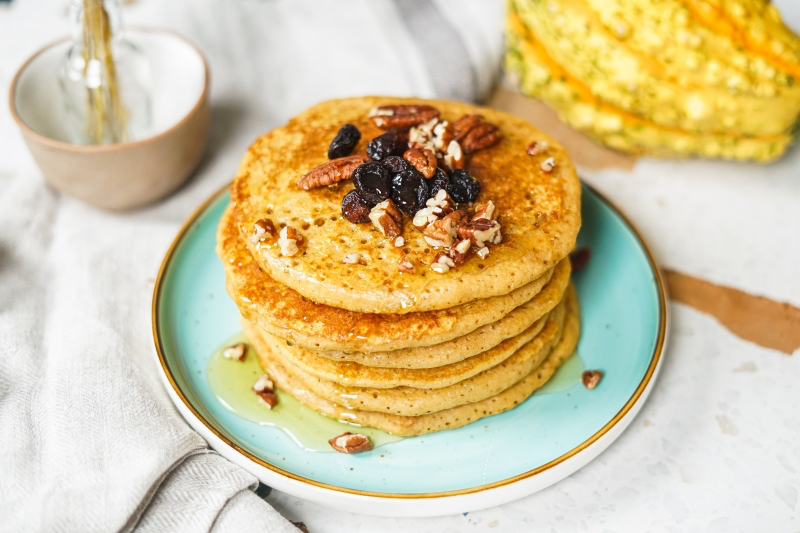
- A sprinkle of toasted, chopped pecans for a satisfying crunch.
- A drizzle of warm Biscoff cookie butter or apple butter.
- A few flakes of Maldon sea salt to enhance the sweetness.
The number one mistake: Overmixing the batter. With no gluten to develop, vigorous stirring simply knocks out the precious air bubbles created by the baking powder. Mix only until the wet and dry ingredients are combined. A few lumps are not only okay, they’re a sign you’ve done it right!
- Perfectly even, golden-brown color from edge to edge.
- Fluffy, consistent cooking without any burnt spots.
- The ability to cook a large batch all at once for the whole family.
The secret? An electric griddle. Its ability to maintain a single, consistent temperature across the entire surface far surpasses a pan on a stove burner, which inevitably has hot spots that can scorch your pancakes before they’re cooked through.
Did you know? Most canned pumpkin puree, including the popular Libby’s brand, is actually made from Dickinson squash, not the classic round field pumpkins.
This variety of squash is less stringy, sweeter, and has a creamier consistency, making it far better suited for baking. It’s the secret behind that smooth, rich pumpkin flavor you love in pies and pancakes.

Don’t let half a can of pumpkin puree go to waste! It’s incredibly versatile. Stir a few tablespoons into your morning oatmeal, blend it into a smoothie with banana and a splash of almond milk, or mix it into mac and cheese for a hidden veggie boost. You can also freeze it in an ice cube tray for perfectly portioned amounts later.
Making this recipe dairy-free or vegan is simple with the right swaps.
For the milk: Unsweetened oat milk, like the creamy versions from Oatly or Califia Farms, is a fantastic substitute that adds richness. Almond milk also works well.
For the eggs: To replace two eggs, make two ‘flax eggs’. Whisk 2 tablespoons of ground flaxseed with 6 tablespoons of water and let it sit for 5 minutes to thicken. It’s a perfect binder!
Why buy a pumpkin spice blend when you can create a fresher, more potent version yourself? It’s the little detail that makes your kitchen smell like a true autumn bakery. Simply mix these ground spices together:
- 4 teaspoons cinnamon
- 2 teaspoons ginger
- 1 teaspoon nutmeg
- 1 teaspoon allspice
- ½ teaspoon cloves
Store in a small airtight jar and use it all season long.
Turn your pancake breakfast into a sensory experience. As the pancakes sizzle, put on a mellow acoustic playlist and brew a pot of coffee or spiced chai. The combined aroma of pumpkin, spices, and coffee creates an atmosphere of pure comfort and signals that it’s time to slow down and savor the weekend.
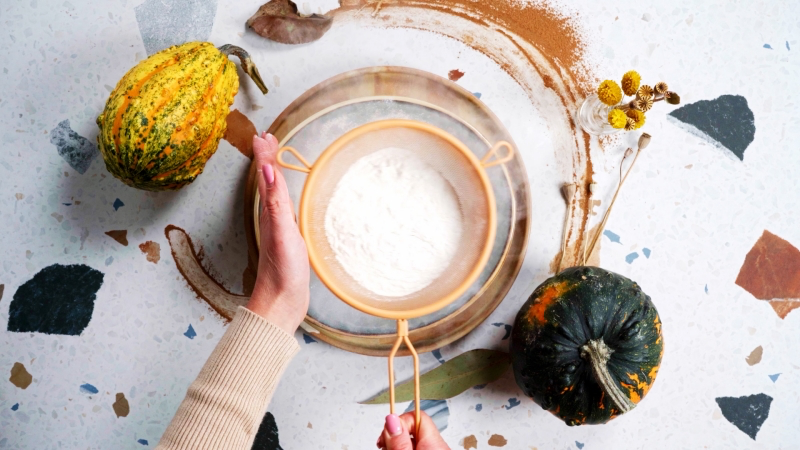
A study in the Journal of Food Science found that the way you measure flour can change its weight by up to 25%.
If your gluten-free pancakes ever turn out gummy or dense, this might be why. Never scoop your measuring cup directly into the flour bag, as this compacts it. Instead, use a spoon to fluff up the flour in its container, then gently spoon it into your measuring cup and level it with a knife. This light touch ensures a perfectly fluffy result.
You can absolutely freeze leftover pancakes for a quick weekday treat. Let them cool completely, then stack them with a small piece of parchment paper between each one to prevent sticking. Place the stack in a freezer-safe zip-top bag. To reheat, simply pop them in the toaster or a toaster oven until warm and slightly crisp.


