Forget Gritty Pucks: Here’s How to Make Amazing Gluten-Free Strawberry Shortcake
There’s something about strawberry shortcake that just screams summer, right? For years, though, making a truly amazing gluten-free version felt… impossible. My early attempts in professional kitchens were honestly a little embarrassing. They were either dense, gritty pucks or so crumbly they fell apart if you looked at them funny. It took a long, long time and a whole lot of flour to finally crack the code.
In this article
So, this isn’t just another recipe. This is the playbook I’d give to a new baker in my kitchen. We’re going to dive into the ‘why’ behind the ‘what.’ Why certain flours are non-negotiable, how cold butter works its magic, and all the little details that take a dessert from just ‘good enough’ to something you’ll be proud to serve anyone, gluten-free or not.
This is the real deal: a true, flaky, tender shortcake biscuit, designed from the ground up to be gluten-free without feeling like a compromise.
The Key to a Flawless GF Biscuit
Before we even think about measuring, let’s get on the same page. In traditional baking, gluten from wheat flour is the hero that provides all the structure. It creates that soft, stretchy dough that’s so forgiving. When you take it away, you have to build a new support system. Just swapping in one type of gluten-free flour is a recipe for disaster and the reason so many GF recipes fail.
Building Your All-Star Flour Team
After a ton of trial and error, I’ve found that a custom blend is the only way to get that perfect texture. You can use a pre-made blend in a pinch, but mixing your own gives you incredible control. By the way, always measure your flours by weight (grams) with a digital kitchen scale. It’s a cheap tool, maybe $15 on Amazon, and it’s the single best way to get consistent results. Scooping with cups is just too random.
Think of your flours as a team, with each one playing a specific role:
- The Foundation (Brown Rice Flour): This is your structural workhorse. It provides a sturdy base and a pleasant, wholesome flavor that keeps the biscuit from being too delicate. I’ve found that superfine brown rice flour, like the kind from Bob’s Red Mill, makes a big difference in avoiding any grittiness.
- The Lightness & Chew (Tapioca Starch): This starch brings a wonderful lightness and a subtle chewiness that really helps mimic the texture of a classic biscuit. It’s also great for encouraging that beautiful golden-brown color. Potato starch can work as a substitute, but tapioca starch gives you a better chew.
- The Richness & Moisture (Almond Flour): This is the secret weapon. The natural fats in almond flour add incredible flavor and moisture, ensuring your biscuits are tender and never dry. If you’re dealing with a nut allergy, sorghum flour is your best bet here.
- The Essential Binder (Xanthan Gum): This is completely non-negotiable. Xanthan gum is the glue that holds everything together. It mimics the elastic, sticky properties of gluten, trapping air from the baking powder to help the biscuits rise. Too little and you get sand; too much and they turn gummy. For this amount of flour, one teaspoon is the magic number.
A Quick Note on Cost: Heads up! Stocking your pantry with these specialty flours can feel like a bit of an investment at first. Expect to spend between $20 and $30 at the grocery store or online to get the set. The good news? These bags will last you through several batches of biscuits and other gluten-free baking projects.
Why Cold is Your Best Friend
The single most important rule in making any kind of flaky pastry? Temperature. The flakiness you want comes from little, solid chunks of fat (butter, in this case) suspended in the flour. When those cold butter chunks hit the hot oven, the water inside them instantly turns to steam. That steam pushes the layers of dough apart, creating thousands of tiny air pockets. The result is a light, layered, flaky texture.
If your butter is soft or melted, it just gets absorbed by the flour. You’ll end up with a tender crumb, but it’ll be dense and cakey, not flaky. So, every step from here on out is designed to keep that butter as cold as possible.
The Full Recipe and Pro Technique
Let’s get our hands dirty. Remember to read through the why for each step. That’s how you start thinking like a baker.
Total Time: Plan for about an hour. Prep: 25 mins | Chill: 15 mins | Bake: 15-18 mins
You’ll Need This Stuff:
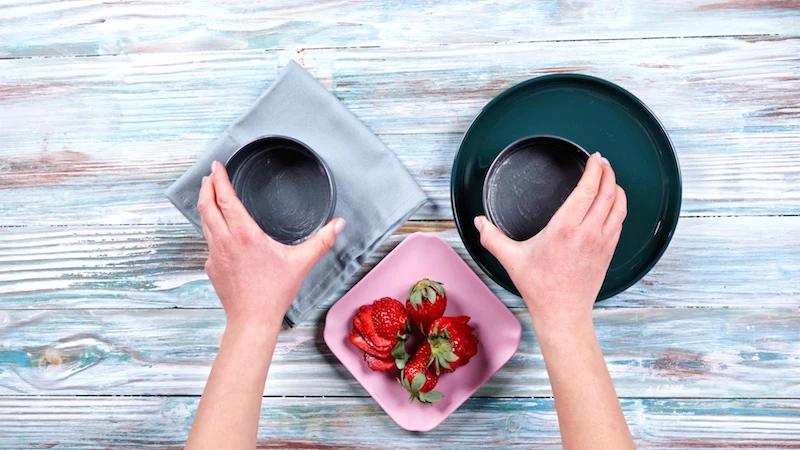
- A digital kitchen scale (seriously, it’s a game-changer)
- A large mixing bowl (chill it in the freezer for 15 minutes if you can!)
- A pastry blender. No blender? No problem. Two knives in a criss-cross motion, your fingertips, or even a cheese grater for the frozen butter will work just fine.
- A sharp 2.5 to 3-inch biscuit cutter
- A baking sheet lined with parchment paper
- A small bowl for your liquids
- A pastry brush for the egg wash
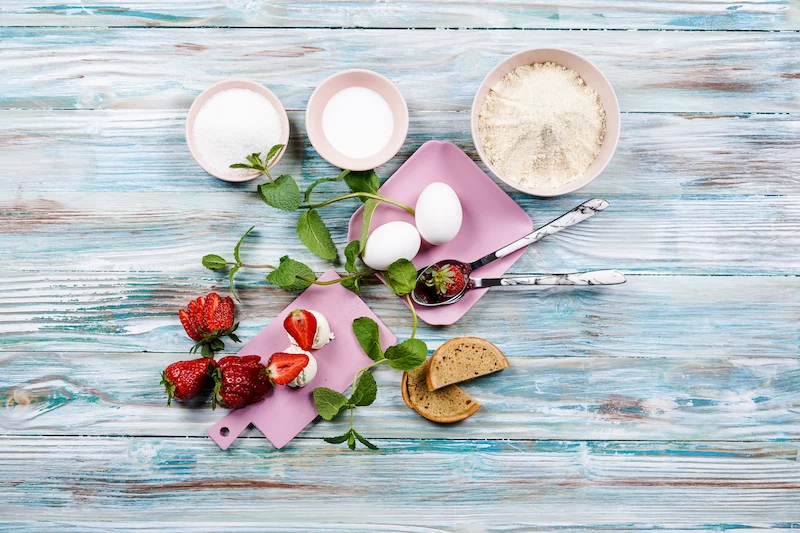
Ingredients:
For the Biscuits (Makes 6-8):
- 120g Brown Rice Flour (superfine is best)
- 60g Tapioca Starch
- 50g Superfine Almond Flour
- 25g Granulated Sugar, plus a little extra for sprinkling
- 1 tbsp (12g) Baking Powder
- 1/2 tsp (3g) Salt
- 1 tsp (4g) Xanthan Gum
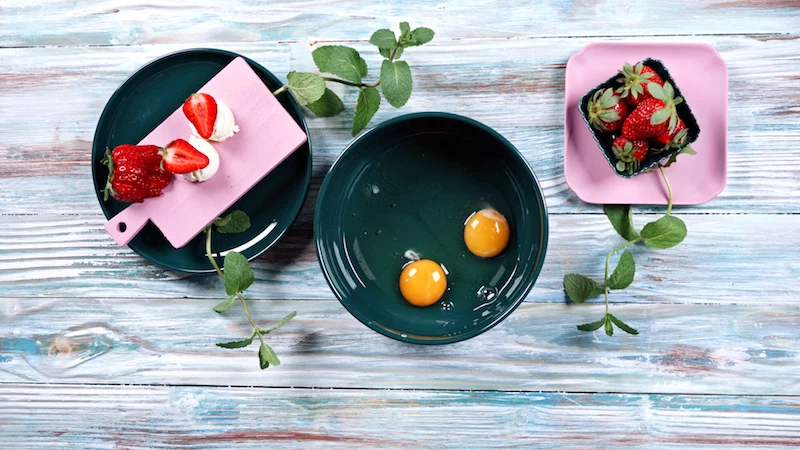
- 113g (1 stick) Unsalted Butter, cold and cut into 1/2-inch cubes
- 120ml (1/2 cup) Buttermilk, very cold
- 1 large Egg, beaten with a splash of water for egg wash (optional)
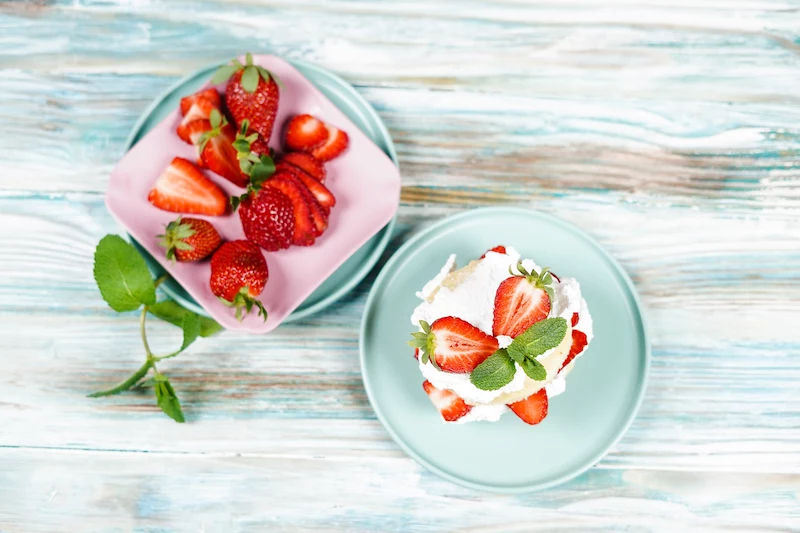
For the Strawberries:
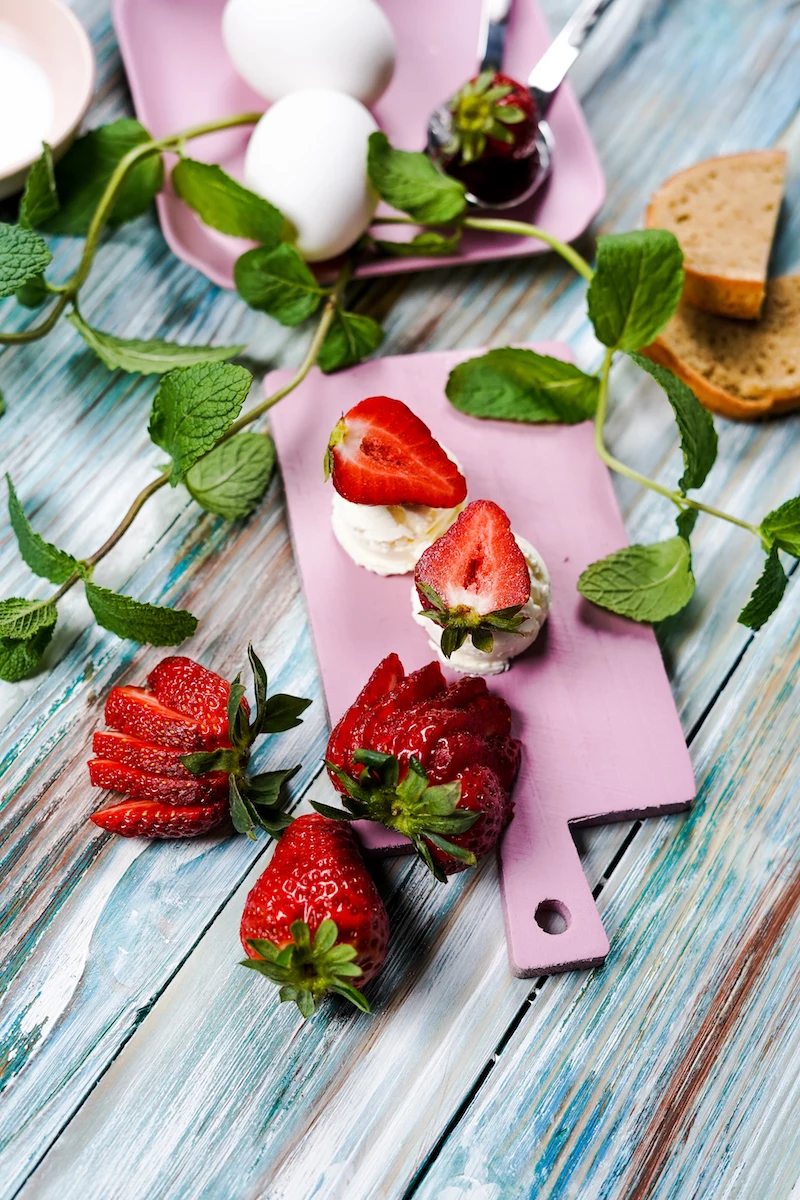
- 1 lb (about 450g) Fresh Strawberries, hulled and quartered
- 2-4 tbsp Granulated Sugar, depending on how sweet your berries are
- 1 tsp Fresh Lemon Juice
For the Whipped Cream:
- 1 cup (240ml) Heavy Whipping Cream, very cold
- 1-2 tbsp Powdered Sugar
- 1/2 tsp Vanilla Extract
The Step-by-Step Method
Part 1: Get the Fruit Ready
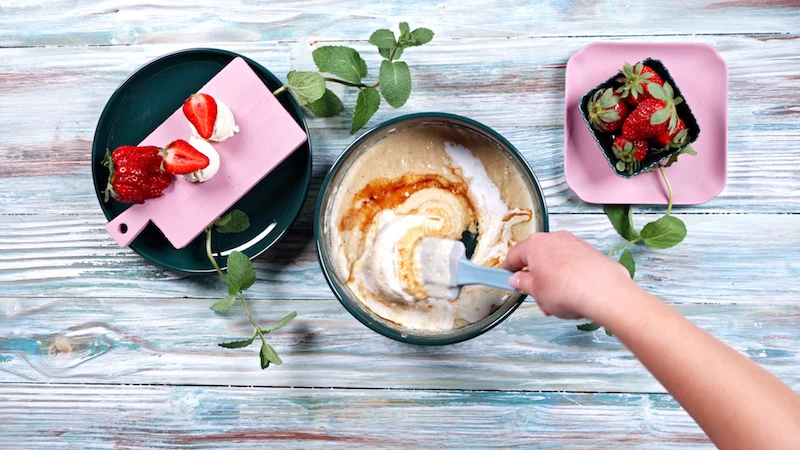
We start here so the strawberries have time to get juicy. It’s a process called maceration, where the sugar pulls moisture out of the fruit to create a natural syrup.
- In a bowl, gently mix the quartered strawberries, sugar, and lemon juice. The lemon juice just brightens up the flavor.
- Let it sit on the counter for at least 30 minutes, or up to a couple of hours. The longer it sits, the more syrup you get. If you’re making it further ahead, just pop it in the fridge.
Part 2: Making the Biscuits
- Get Ready: Move your oven rack to the middle and crank the heat to 400°F (200°C). High heat is what gives these biscuits their lift. Line your baking sheet with parchment paper.
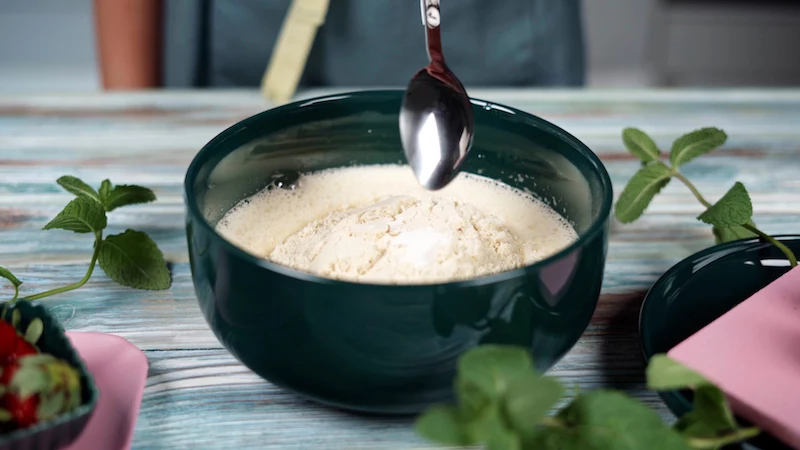
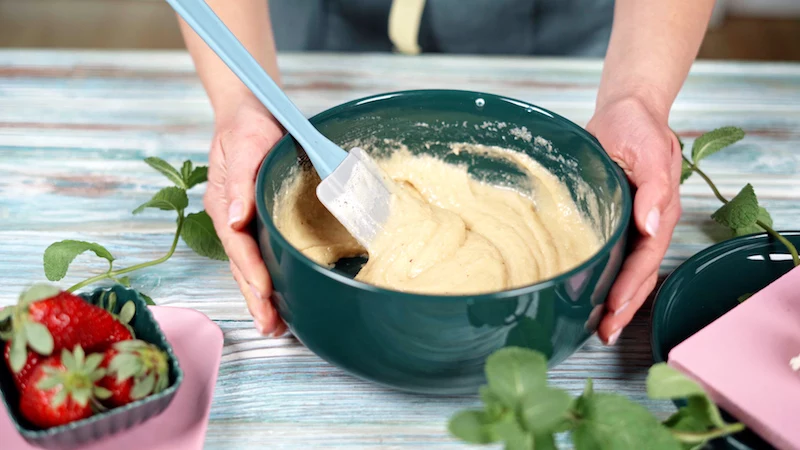
- Mix the Dry Stuff: In your large, chilled bowl, whisk together the brown rice flour, tapioca starch, almond flour, sugar, baking powder, salt, and xanthan gum. Don’t skip the whisking! It evenly distributes everything, which is super important.
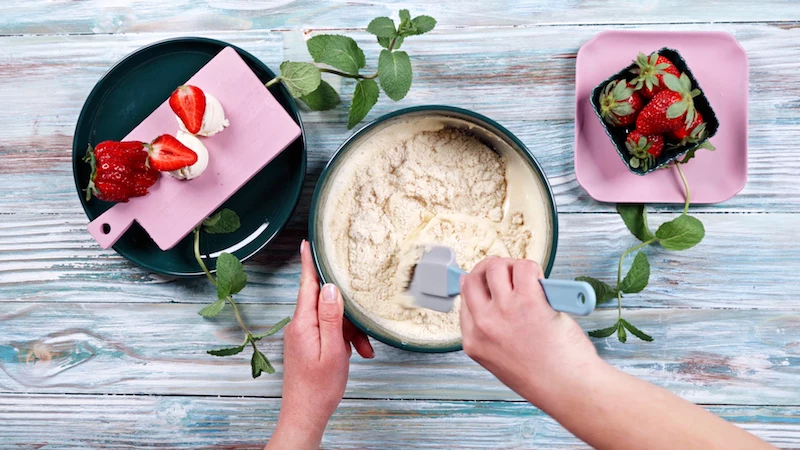
- Cut in the Butter: Add the cold butter cubes to the flour. Using your pastry blender or fingertips, quickly cut the butter in until you have a crumbly mix with butter pieces ranging from the size of peas to coarse cornmeal. The key is to work FAST. You don’t want that butter getting warm.
- Add the Buttermilk: Pour in all the cold buttermilk at once. Use a fork or spatula to mix until a shaggy dough just comes together. It should look like a messy pile that’s mostly sticking together, with some dry, floury bits still visible. Don’t panic, this is what you want! Over-mixing at this stage is the number one cause of tough biscuits.
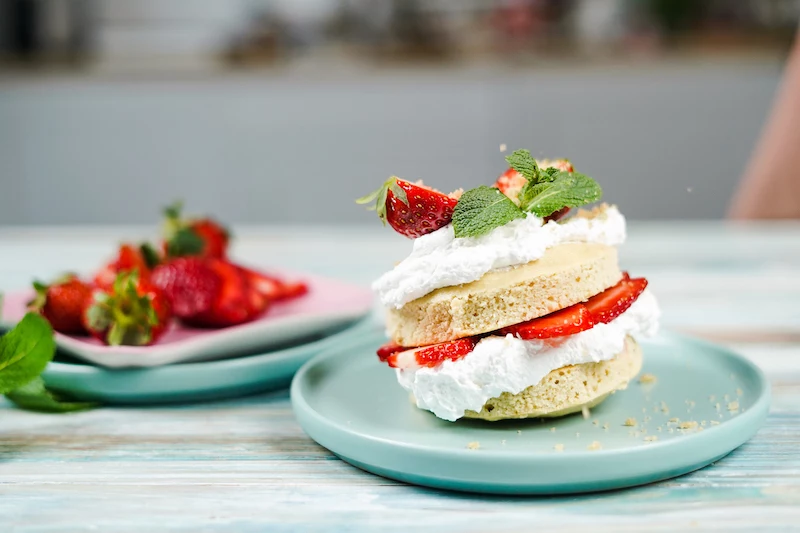
- The Secret Lamination Fold: This is a pro trick for creating those beautiful, flaky layers. Tip the shaggy dough onto a lightly floured surface. Pat it into a rough rectangle, about 1 inch thick. Now, fold it in thirds like you’re folding a business letter. Turn the dough 90 degrees and gently pat it out again. Repeat the fold. Do this just 2-3 times total. It’s a simple move that makes a huge difference.
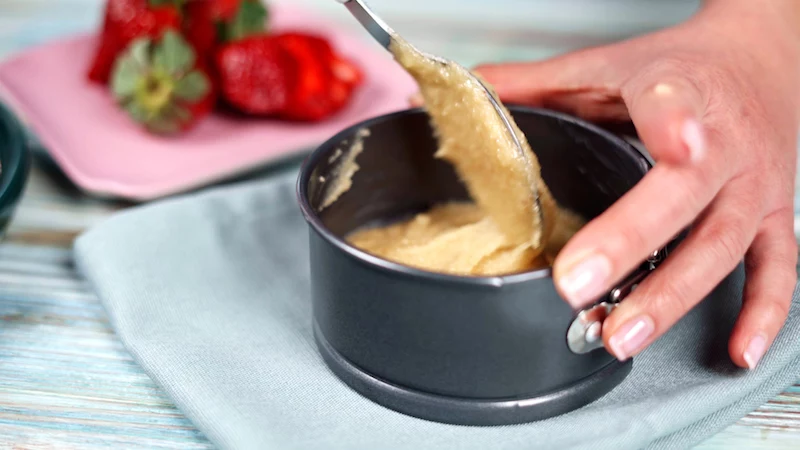
- Cut the Biscuits: Pat the dough to a final thickness of about 3/4 to 1 inch. Dip your biscuit cutter in a little flour, then press STRAIGHT down. Do not twist! Twisting seals the edges and stops the biscuit from rising tall and proud. Place the biscuits on your prepared baking sheet. You can gently re-pat the scraps for another biscuit or two, but they’ll be a little less tender.
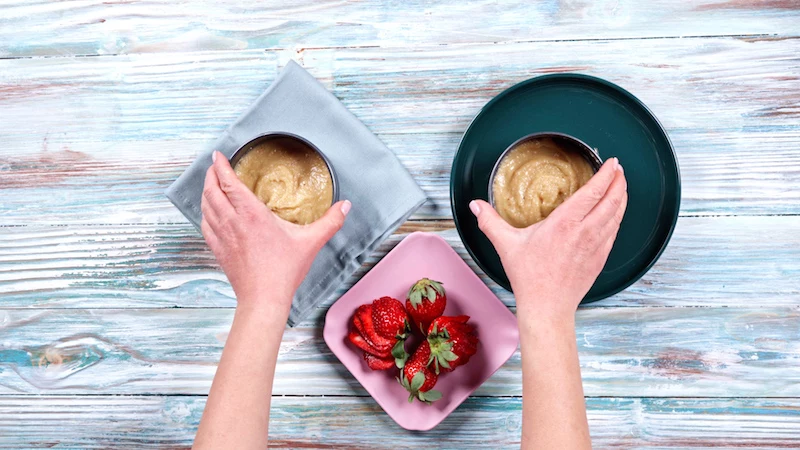
- Chill & Finish: For the absolute best rise, pop the tray of cut biscuits into the freezer for 10-15 minutes. This re-chills the butter one last time. Right before baking, you can brush the tops with the egg wash and sprinkle on a little extra sugar. It gives them a gorgeous, shiny, professional-looking crust.
- Bake: Bake at 400°F (200°C) for 14-18 minutes, until they’re tall and golden brown. Let them cool on the pan for a few minutes before moving them to a wire rack.
Part 3: The Cream and Assembly
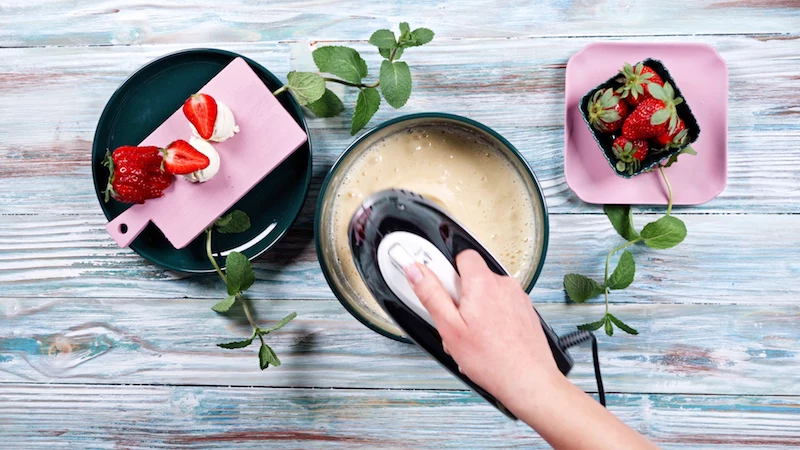
For whipped cream that doesn’t flop, everything needs to be COLD. I stick my metal mixing bowl and beaters in the freezer for 15 minutes before I start.
- Pour the cold heavy cream into your chilled bowl and beat on medium speed until it starts to thicken into soft peaks.
- Add the powdered sugar and vanilla, then keep beating until stiff peaks form. That means when you lift the beaters, the cream holds its shape. But be careful! If you go too far, it’ll get grainy and start turning into butter.
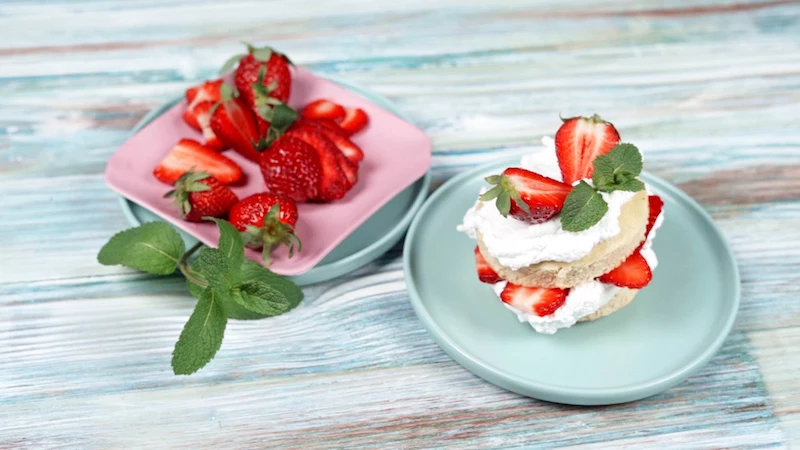
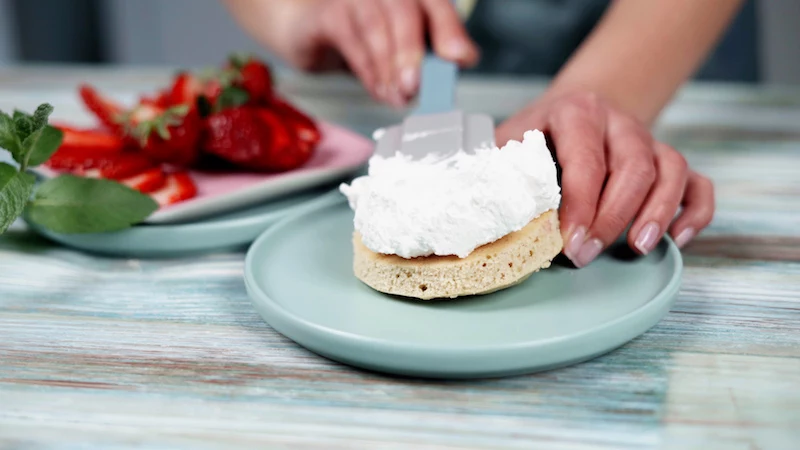
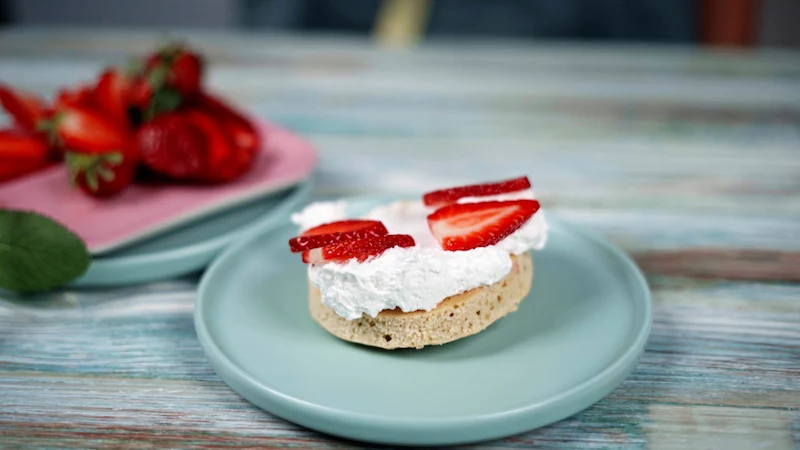
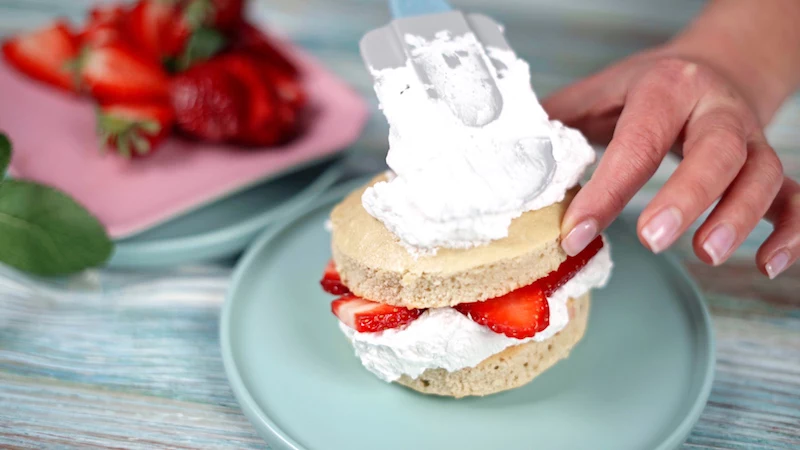
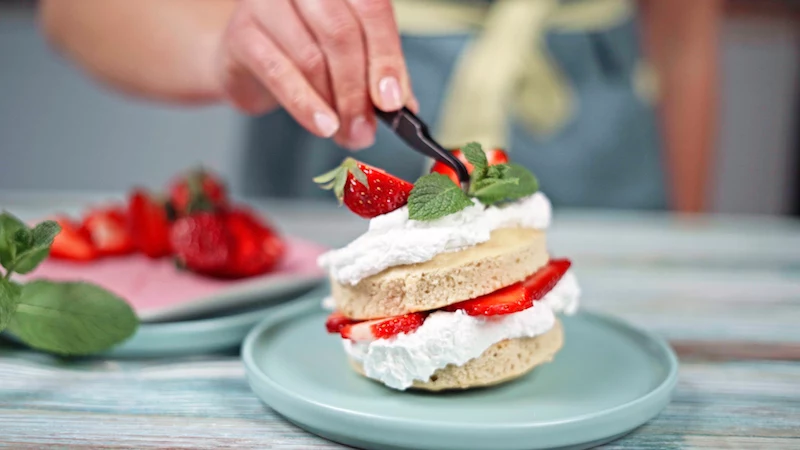
- Put It All Together: Assemble right before you serve. Slice a warm biscuit in half. Spoon a generous amount of strawberries and syrup on the bottom half. Add a big dollop of whipped cream, then the biscuit top. Finish with a little more cream and a few berries. Perfection.
Quick Fixes and Pro Tips
- Problem: My biscuits are flat and dense.
Solution: Nine times out of ten, your butter got too warm. Or, you might have over-mixed the dough or twisted the cutter. Next time, focus on keeping everything ice-cold and handling the dough as little as possible. - Problem: My biscuits taste a little gritty.
Solution: This can happen with rice flour. To fix it, try this pro-tip: After you mix the shaggy dough, wrap it in plastic and let it rest in the fridge for 20-30 minutes before folding. This lets the flours fully hydrate and results in a much smoother texture. - Problem: My whipped cream is a soupy mess.
Solution: Your cream or your bowl was too warm. Chill everything thoroughly and try again. Also, double-check that you’re using heavy whipping cream, which has at least 36% fat. Lighter cream just won’t whip up properly.
Get Creative With It
Once you nail the basic technique, the possibilities are endless.
- Flavor Twists: Add the zest of a lemon or an orange to your dry ingredients for a citrusy kick. A teaspoon of cardamom or cinnamon is also lovely.
- Dairy-Free / Vegan Version: For the biscuits, use a high-quality solid vegan butter (the kind in a block, like Miyoko’s Kitchen) and make your own vegan buttermilk (1/2 cup unsweetened almond milk + 1/2 tbsp lemon juice, let sit 5 mins). For the cream, chill a can of full-fat coconut milk overnight, then whip up the solid cream at the top with powdered sugar and vanilla. It’s a fantastic alternative.
- Make-Ahead & Freezing: This is a lifesaver. You can freeze the unbaked, cut biscuits! Place them on a tray in the freezer until solid, then toss them in a freezer bag. You can bake them straight from frozen; just add 3-5 minutes to the baking time.
Inspirational Gallery
Can the whipped cream be made dairy-free and still be delicious?
Absolutely. The new generation of plant-based whipping creams has completely changed the game. For a rich, stable whip that holds its shape beautifully, look for creams made with a blend of oils, like Country Crock’s Plant Cream or Silk’s Heavy Whipping Cream Alternative. Just make sure the cream, the bowl, and the whisk are all thoroughly chilled before you start—it’s the key to getting maximum volume.
- A biscuit that’s light, tender, and pulls apart in flaky layers.
- A rich, buttery flavor that doesn’t feel heavy or greasy.
The secret? Your butter has to be frozen. Grating frozen butter directly into your flour mixture creates tiny, solid pockets. When these hit the hot oven, they release steam, forcing the dough to separate into those irresistible layers. It’s a non-negotiable step for achieving that perfect shortcake texture.
The finishing touch: While the recipe calls for a simple dusting of mint, don’t be afraid to play with the presentation. A light drizzle of high-quality balsamic glaze over the strawberries adds a surprising tangy depth. For textural contrast, try a sprinkle of toasted, sliced almonds or crushed pistachios on top of the cream. It turns a rustic dessert into something truly elegant.
The average strawberry has about 200 seeds on its surface, and it’s the only fruit that wears its seeds on the outside.
When you’re macerating your strawberries (letting them sit in sugar to draw out their juices), this unique structure allows them to release their sweet, fragrant syrup without turning to complete mush. This process softens the fruit just enough while creating that essential sauce that soaks into the shortcake.
Granulated Sugar: The classic choice. It draws out a lot of juice, creating a beautifully clear, sweet syrup. The strawberries retain a pleasant firmness.
Maple Syrup: A fantastic alternative. It infuses the berries with a warm, caramel-like flavor and creates a slightly looser, more rustic sauce. It’s perfect if you’re aiming for a refined-sugar-free dessert.
For the purest strawberry flavor, stick with sugar. For a warmer, more complex profile, maple syrup is a winner.
Once you’ve mixed a large batch of your custom gluten-free flour blend, proper storage is key to keeping it fresh and effective.
- Transfer the blend to a large, airtight container. A glass canister or a dedicated plastic food container works perfectly.
- Store it in a cool, dark, and dry place, like a pantry or cupboard, for up to 3 months.
- For longer-term storage (up to 6 months), place the airtight container in the refrigerator or freezer to prevent the nut and whole-grain flours from going rancid.
Don’t underestimate the power of vanilla. While the recipe focuses on the core components, adding a scraped vanilla bean (or a teaspoon of high-quality vanilla bean paste, like Nielsen-Massey’s) to your biscuit dough will elevate the entire dessert. It adds a layer of aromatic warmth that beautifully complements the tang of the strawberries and the richness of the cream.
What if my biscuit dough feels impossibly sticky?
Don’t panic! Gluten-free doughs are notoriously stickier than their wheat-based counterparts because they lack gluten’s elasticity. Instead of adding a lot more flour (which can make the biscuits dry), lightly dust your hands and your work surface with sweet rice flour or tapioca starch. These starches are excellent for preventing sticking without compromising the final texture.
Xanthan gum can absorb more than 100 times its own weight in water.
This incredible absorbency is why xanthan gum is the unsung hero of gluten-free baking. In this shortcake recipe, it acts as the binder and emulsifier, mimicking gluten’s structural role. It holds the dough together, preventing that dreaded crumbly texture, and ensures your final biscuit is tender, not a sandy mess. A reliable brand like Bob’s Red Mill or Anthony’s Goods will give you consistent results.
Important note on mixing: The number one mistake in making any kind of biscuit—gluten-free or not—is overworking the dough. Once you add the liquid, mix only until the flour is just moistened. Lumps are not just okay; they are desirable! Over-mixing develops the small amount of protein structure in the GF flours and melts the butter, leading to tough, flat biscuits instead of light, flaky ones.
Don’t have fresh strawberries? High-quality frozen ones can work beautifully, with one crucial step. Thaw them completely in a colander set over a bowl. This allows the excess water to drain away, preventing a soggy shortcake. You can then gently macerate the thawed berries with sugar as usual. The collected juice in the bowl below can even be reduced on the stove into a potent strawberry syrup!
- Control over texture and flavor.
- More cost-effective in the long run.
- A fresher, more potent result.
The secret? Grinding your own brown rice flour. If you have a powerful blender like a Vitamix or Blendtec, you can make superfine brown rice flour at home in seconds. This ensures maximum freshness and completely eliminates the risk of a gritty texture that can sometimes come from store-bought bags.
Turn your dessert into an interactive experience with a ‘Strawberry Shortcake Bar.’ Bake the biscuits, then set out bowls of sliced strawberries, freshly whipped cream (both dairy and non-dairy!), and a few extra toppings. Think mini chocolate chips, toasted coconut flakes, lemon curd, and a small pitcher of that extra strawberry syrup. It’s a fun, memorable way for guests to build their perfect summer dessert.


