The No-Fail Gingerbread Guide I Wish I Had Years Ago
I sold my first gingerbread cookies over twenty years ago at a tiny Christmas market, and honestly, I was a mess. I still remember the sheer panic of that first big batch. Some of my cookies spread into these weird, puffy blobs, and my royal icing was a total disaster—either a runny mess or so thick it clogged every single piping tip I owned. It took years of trial, error, and learning from seasoned pros to really get the hang of it. Gingerbread isn’t just a recipe; it’s a craft. It’s about understanding the feel of the dough and why the ingredients behave the way they do.
In this article
So today, I want to pull back the curtain and share the real-deal methods I’ve learned and now teach. We’re going way beyond a simple ingredient list. We’ll cover the science of a sturdy cookie dough that actually holds its shape, master the different consistencies of royal icing (this is the key!), and walk through the techniques that will make your cookies look truly special. This is the stuff that turns frustrating holiday baking into something you’ll be genuinely proud of.

Your Gingerbread Game Plan: A Three-Day Project
First off, let’s be realistic. Making beautifully decorated gingerbread cookies isn’t a one-afternoon project. Spacing it out is the secret to keeping it fun. Here’s a timeline that works wonders:
- Day 1: Mix & Chill (About 30 minutes of work). This is the easy part. You’ll mix your dough and then tuck it into the fridge to chill overnight. The dough needs this time to rest.
- Day 2: Roll, Bake & Cool (Plan for 1-2 hours). You’ll roll out your cold dough, cut your shapes, and bake them. Then they need to cool completely, which takes a few hours.
- Day 3: Decorate! (The fun part!). Mix your icing and let your creativity run wild. This can take as long as you want, from a simple hour to a full afternoon of detail work.
The Foundation: A No-Spread Gingerbread Dough That Works
A great gingerbread cookie starts with a dough that’s flavorful but tough enough to be handled. And most importantly, it can’t spread in the oven. Every ingredient here has a job to do.

The Ingredients You’ll Need:
- 3 cups All-Purpose Flour
- 1 ½ tsp Baking Soda
- ½ tsp Salt
- 2 tsp Ground Ginger
- 2 tsp Ground Cinnamon
- ½ tsp Ground Cloves
- ½ tsp Ground Nutmeg
- ½ cup (1 stick) Unsalted Butter, softened to room temp
- ¾ cup Packed Brown Sugar
- 1 Large Egg
- ½ cup Unsulphured Molasses
A quick word on spices: If you can, grab a fresh set at the start of baking season. Old spices lose their punch, and gingerbread is all about that warm, spicy flavor. You can find good quality spices at most grocery stores; no need to get super fancy, just make sure they haven’t been in your cabinet for years.
Step-by-Step Dough Instructions:
1. In a medium bowl, whisk together your flour, baking soda, salt, and all those lovely spices. Set it aside. This is your dry mix.
2. In a large bowl, it’s time for the butter and sugar. You want to cream them together until they’re light and fluffy. The butter needs to be softened (around 65°F is perfect) so it can incorporate air. Cold butter won’t work, and melted butter will give you greasy, dense cookies. And yes, you can absolutely do this with a hand mixer or even a wooden spoon and some elbow grease if you don’t have a stand mixer! It just takes a little longer.

3. Beat in the egg and molasses until everything is well combined. The molasses is here for flavor and moisture, but its acidity also helps activate the baking soda for a tiny bit of lift. Heads up: Avoid blackstrap molasses; it’s too bitter and will overpower everything.
4. Gradually add your dry mix to the wet ingredients, mixing on low speed until just combined. Don’t overmix! Over-mixing develops too much gluten, which leads to tough, hard cookies instead of ones with a pleasant snap.
The Step You Absolutely Cannot Skip: Chilling
I cannot stress this enough: you have to chill the dough. After mixing, divide it in two, flatten each half into a disc, wrap it tightly in plastic wrap, and refrigerate it for at least four hours, but overnight is even better. This does two critical things: it lets the gluten relax (so your cookies don’t shrink) and it solidifies the butter. Cold fat melts slower in the oven, which is the ultimate secret to preventing spread.
I once tried to rush an order by freezing the dough for just an hour. The result? A whole tray of gingerbread blobs. It was a costly mistake, and now I preach the gospel of the overnight chill to everyone.
Dough Troubleshooting Quick Tip: If your dough seems way too crumbly after chilling, let it sit on the counter for 10-15 minutes to warm up slightly. If it’s too sticky, dust your hands and your work surface with a little extra flour. You’ve got this.
Rolling and Baking for Those Sharp Edges
When you’re ready, work with one disc of cold dough at a time. I like to roll mine directly on parchment paper to about 1/4-inch thickness. Using rolling pin guides (you can get these online for about $10) is a game-changer for getting perfectly even cookies that bake uniformly.
Cut your shapes and place them on a parchment-lined baking sheet. For extra insurance against spreading, I pop the whole tray of cut-out cookies into the freezer for 15 minutes before they go into the oven. This re-chills the butter one last time.
Bake at 350°F (175°C) for 9-12 minutes, depending on size. How do you know they’re done? The edges will look a bit darker, and the center will look dry. If you gently press the center, it should feel firm and not leave an indent. Let them cool on the baking sheet for five minutes before moving them to a wire rack to cool completely. And I mean completely. Never, ever decorate a warm cookie.
The Artist’s Secret: Mastering Royal Icing
That simple powdered sugar glaze is fine for a quick drizzle, but it never truly dries hard. For cookies you can stack, package, or mail, you need royal icing. It’s made from egg whites and powdered sugar, and it dries to a hard, matte finish.
For home bakers, I always recommend using meringue powder instead of liquid egg whites. It’s a dry, shelf-stable mix of egg whites and stabilizers that’s completely food-safe. You can find it at craft stores like Michael’s or Jo-Ann, or online. A container will run you about $8 to $12, but it will last you through the entire holiday season. Just add water!
The Only Royal Icing Recipe You’ll Need:
- 4 cups Powdered Sugar, sifted
- 3 tbsp Meringue Powder
- 9-10 tbsp Lukewarm Water
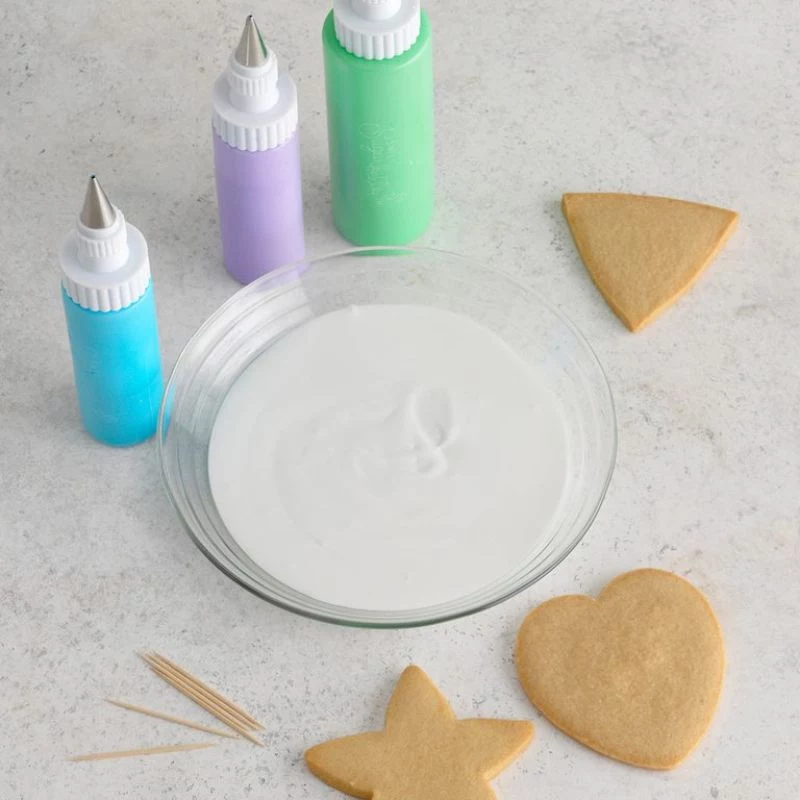
Combine the sugar and meringue powder in the bowl of a stand mixer. Add 9 tablespoons of water and mix on low speed with the paddle attachment for about 7-10 minutes. Using high speed or a whisk will create a ton of air bubbles, which are a nightmare later. Your icing is ready when it’s glossy, stiff, and the peaks stand straight up. This is your starting point: stiff consistency.
The Three Icing Consistencies (No Table Needed!)
The real skill in decorating is managing your icing’s consistency. You’ll start with that stiff batch and thin it out with tiny amounts of water. A small spray bottle is your best friend here for precise control.
- Stiff Icing: This is what you just made. Think of it like spackle. It’s super thick and perfect for assembling gingerbread houses or piping details that need to hold their shape, like ruffles or rosettes.
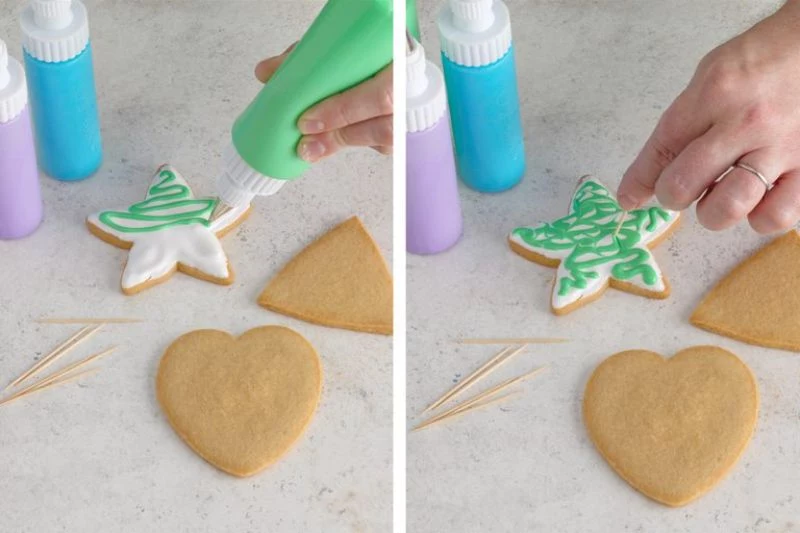
- Outline (or Piping) Icing: Add a tiny bit of water to your stiff icing until it’s the consistency of toothpaste. When you drag a knife through it, the line should hold its shape. This is what you’ll use to draw the borders or “dams” around the area you want to fill in.
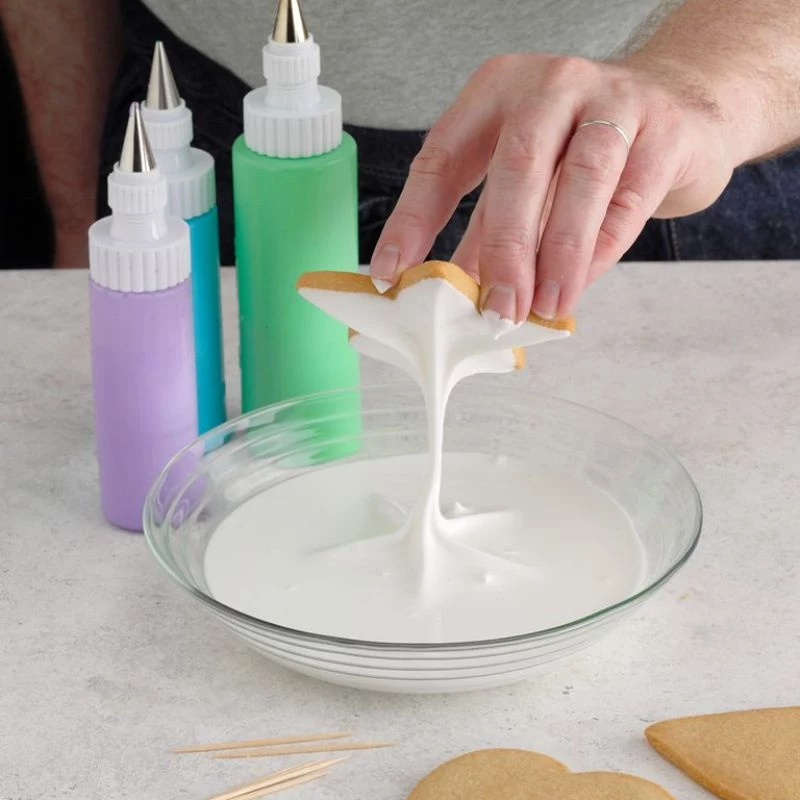
- Flood Icing: Now for the magic. Add a little more water until the icing is like thin honey or shampoo. The pro trick is the “15-second rule.” If you drag a knife through the surface of the icing, the line it creates should disappear and level out in about 15 seconds. This is the icing you use to “flood” or fill in the areas you outlined.
A Few Final Tips for Success
Common Pitfalls to Avoid:
– Not chilling the dough long enough: This is the #1 cause of gingerbread blobs.
– Over-mixing the dough: Leads to tough, unpleasant cookies.
– Using high speed for icing: Welcome to air bubble city! Your icing will be weak and pitted.
– Decorating warm cookies: Your beautiful icing will just melt and slide off.
For Total Beginners: Feeling overwhelmed? Just make simple round or square cookies for your first batch. This takes the pressure off getting perfect cutouts and lets you focus on nailing the icing consistencies. It’s a huge confidence booster!
Storage is Key: You can keep the unbaked dough wrapped tightly in the fridge for up to 3 days or in the freezer for 3 months. Let it thaw in the fridge overnight before using. Once your cookies are baked and fully decorated (let the icing dry for at least 8 hours, or overnight!), store them in an airtight container at room temperature. They’ll stay fresh for up to two weeks. And yes, you can stack them once that icing is rock hard!

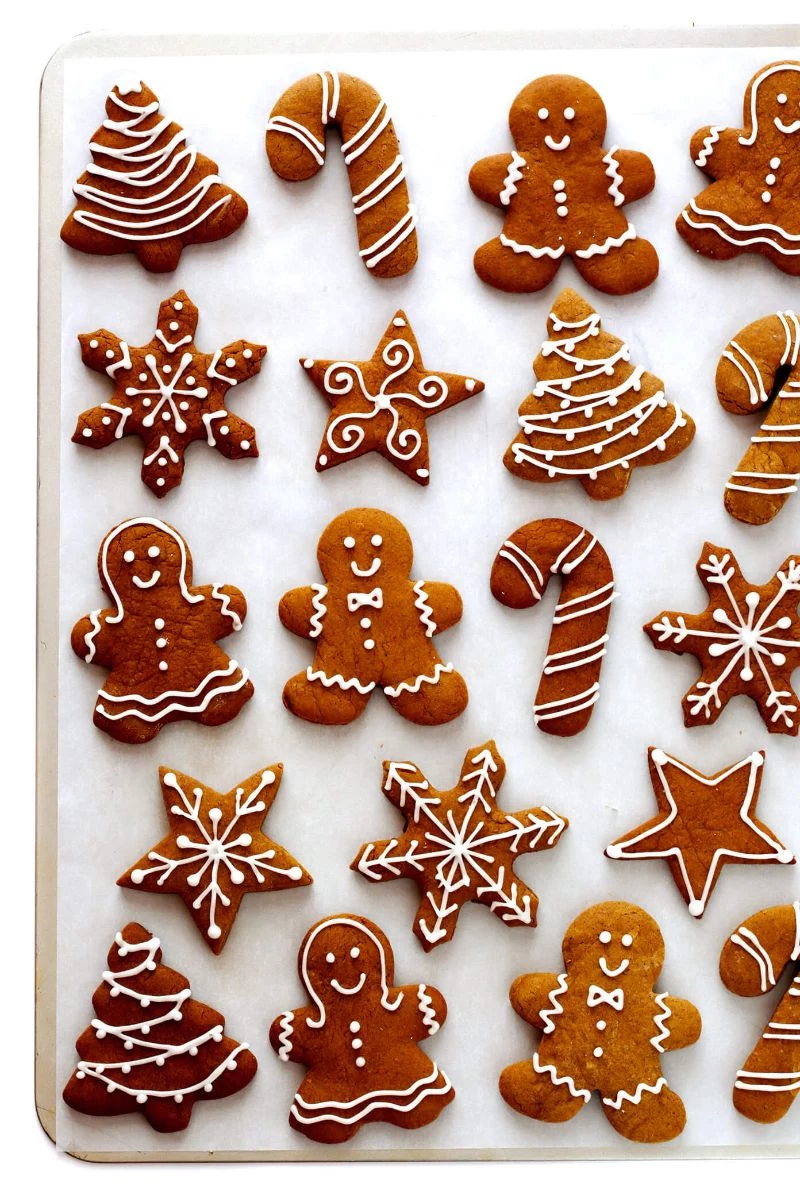
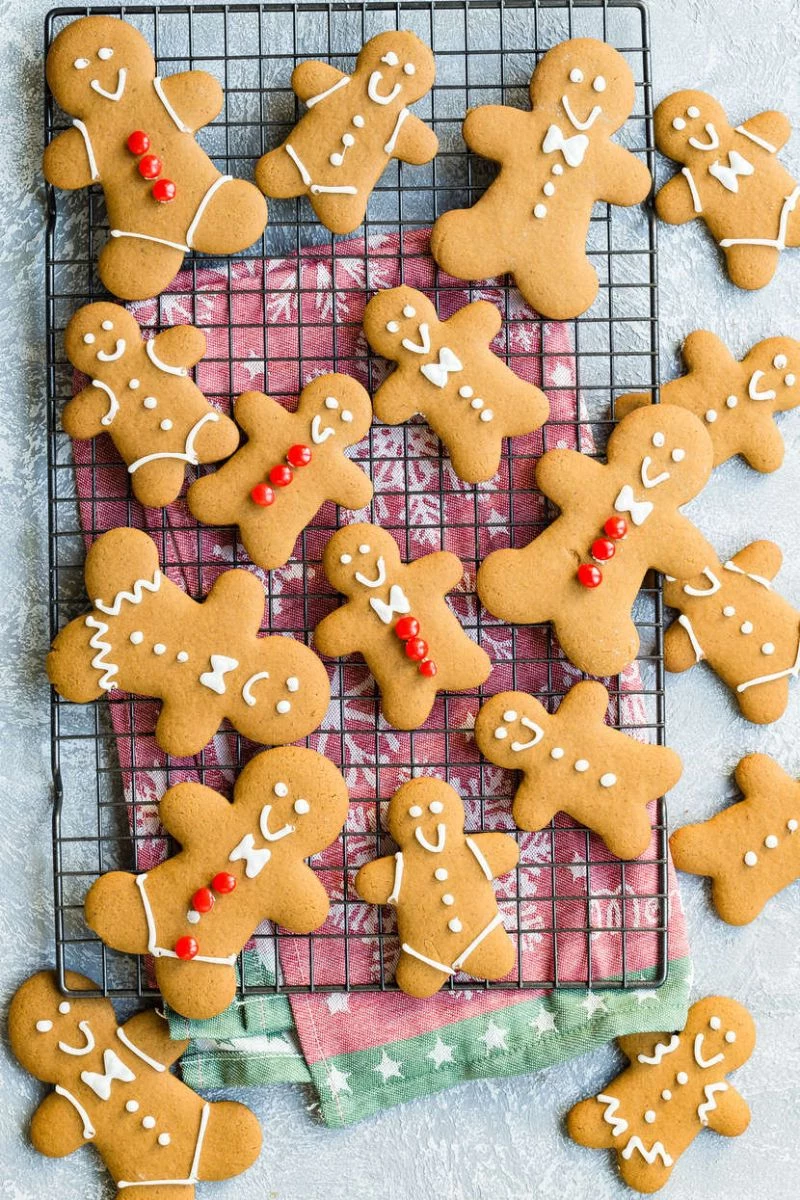
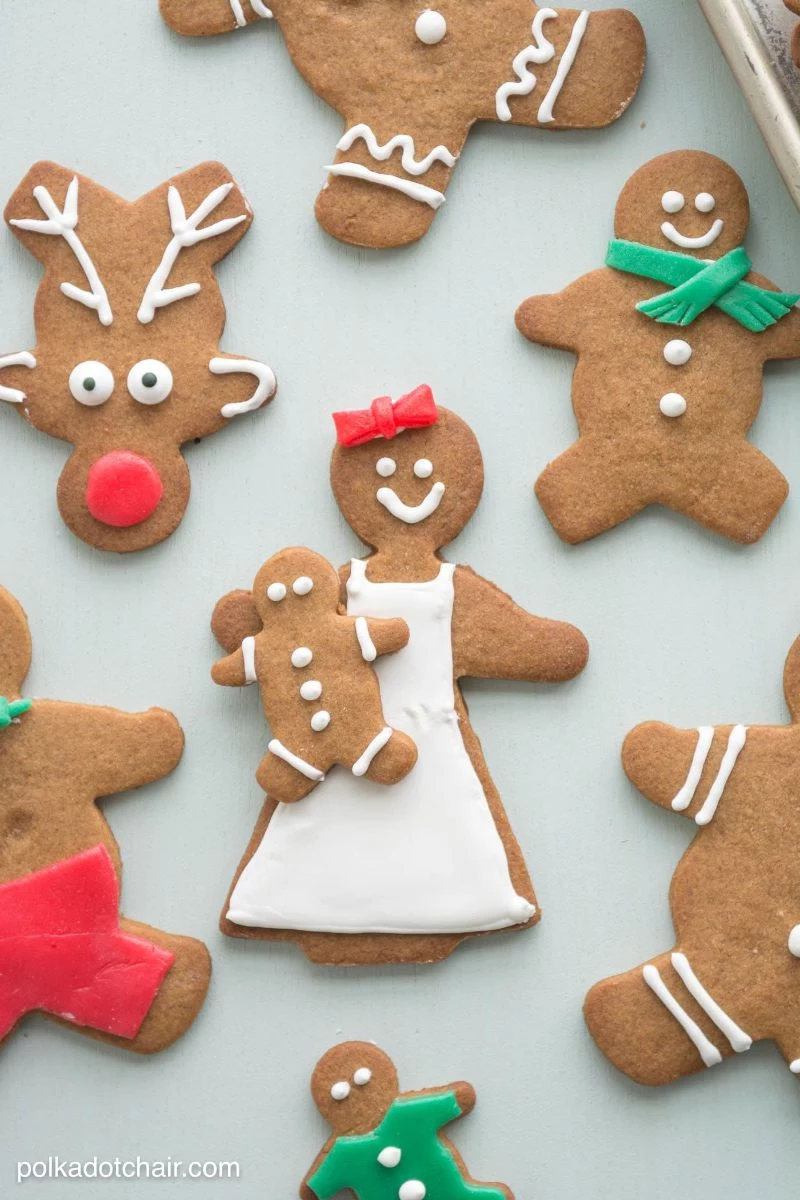
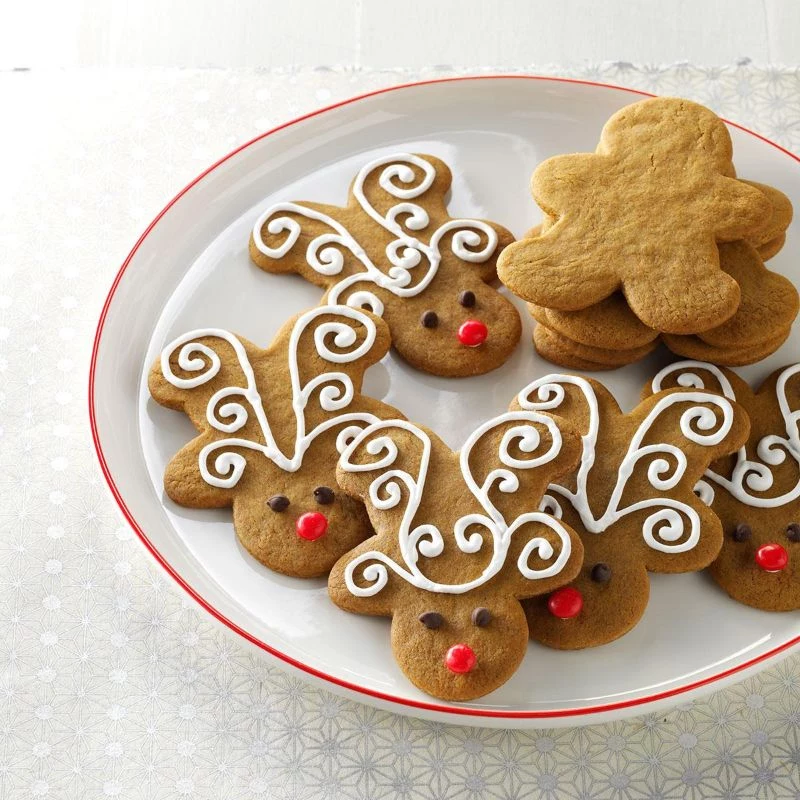
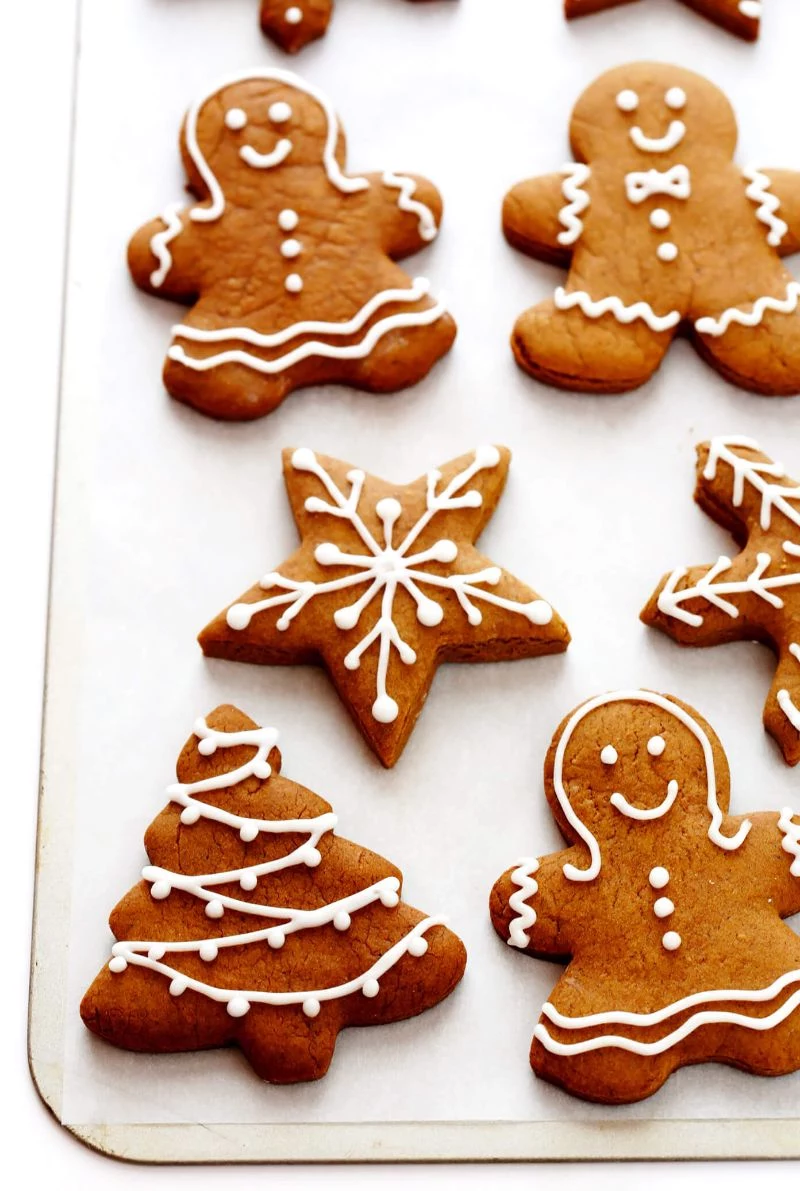
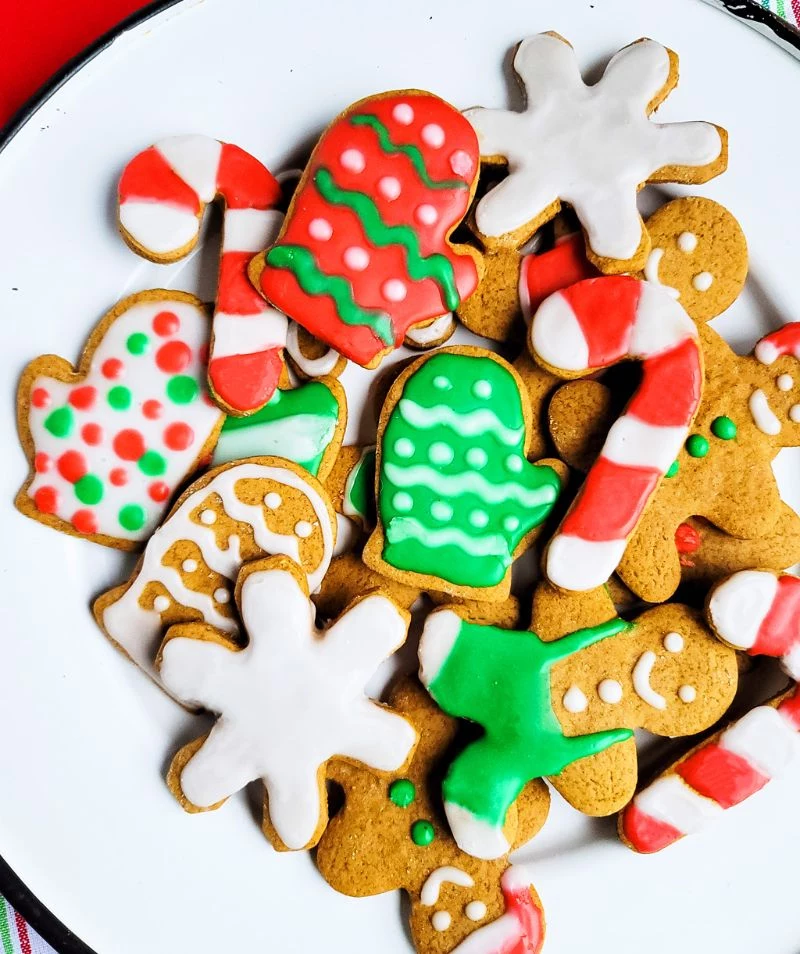
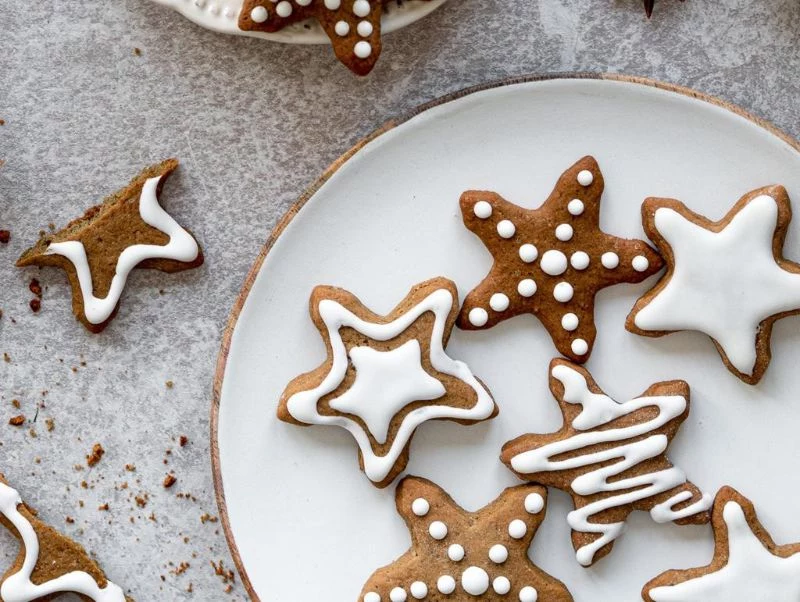
Inspirational Gallery

The age-old royal icing debate: which is better?
Meringue Powder: This is the go-to for foolproof results. Powders like Wilton’s or Judee’s create a stable, consistent icing that dries hard and is safe for everyone. It’s a lifesaver in humid climates.
Fresh Egg Whites: The traditionalist’s choice, providing a slightly softer bite and classic flavor. It requires careful handling due to the small risk of salmonella (use pasteurized egg whites to be safe) and can be less stable.
For beginners, meringue powder is the clear winner for reducing stress and guaranteeing great results.
Did you know? The tradition of shaping gingerbread into figures began in the court of Queen Elizabeth I of England, who delighted her guests with cookies baked in their own likeness.

Beyond the recipe, it’s the aroma that truly signals the start of the holidays. The sharp zing of ginger, the warm embrace of cinnamon, and the deep, sweet notes of molasses melting together in the oven create more than just a cookie; they create an atmosphere, bottling memories of childhood and festive anticipation into a single, intoxicating scent that fills every corner of the home.

- Create a stunning, crunchy base for a no-bake cheesecake.
- Layer them with whipped cream and fruit for a festive trifle.
- Sprinkle over vanilla ice cream for an instant flavor upgrade.
The secret to giving a second life to broken or slightly overbaked cookies? Simply pulse them into coarse crumbs in a food processor! No cookie left behind.
Think beyond the classic red and white. This year, try a more sophisticated palette. A wash of dusty blue paired with silver sanding sugar evokes a frosty winter night. Alternatively, consider an earthy combination of sage green, terracotta, and cream for a natural, rustic charm that feels both modern and timeless.
Can I freeze my gingerbread dough?
Absolutely! This is a fantastic time-saver. After you’ve mixed and kneaded your dough, divide it into two flat disks. Wrap each one tightly in two layers of plastic wrap, then slip them into a freezer-safe bag. It will keep beautifully for up to three months. To use, simply thaw it in the refrigerator overnight before rolling it out.

Want to go all-natural with your colors? It’s easier than you think.
- Vibrant Pink/Red: A tiny drop of beet juice or powder.
- Sunny Yellow: A pinch of turmeric.
- Earthy Green: Matcha or spinach powder.
- Rich Brown: A touch of unsweetened cocoa powder.
Mix the powders with a few drops of water or clear extract before adding them to your icing to avoid specks.
“The tiny craters ruining your smooth icing finish are caused by air bubbles.”
After mixing your royal icing, let it rest for 15-20 minutes. Then, stir it gently with a spatula, rather than a whisk, to knock out the air. Before filling your piping bag, give the bowl a few firm taps on the counter. For any stubborn bubbles that appear on the cookie, a cookie scribe or a simple toothpick is your best friend to pop them before the icing sets.

For a beautiful, artistic touch, try the watercolor effect. Once your white royal icing base is completely dry, mix a drop of gel food coloring (brands like Americolor or Chefmaster are perfect) with a few drops of clear vodka or lemon extract. Use a clean, food-safe paintbrush to apply delicate washes of color onto your cookies, just like a painting.

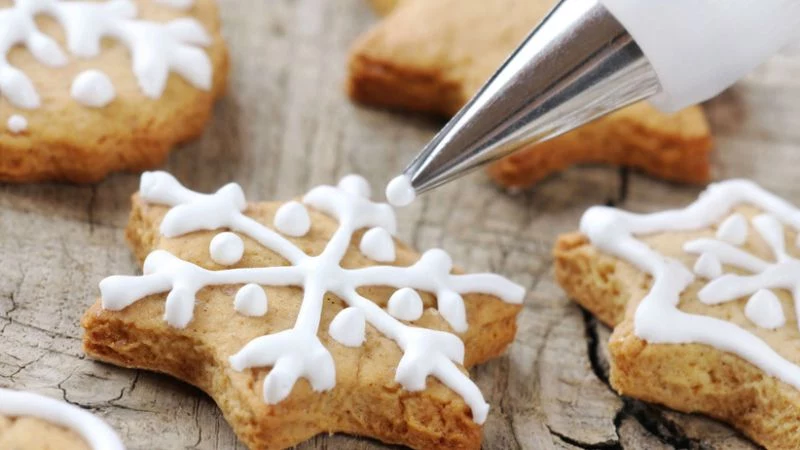
- A small round tip (like Wilton #2 or #3) is essential for outlining and writing.
- A smaller round tip (Wilton #1) is for incredibly fine details, like snowflake arms or eyelashes.
- A small open star tip (Wilton #14) is perfect for creating quick, festive borders or rosettes.
The Secret to Longevity: The key to keeping your decorated gingerbread cookies crisp and vibrant is proper storage. Once the icing is rock-hard (allow at least 8-12 hours), store them in an airtight metal tin. Layer the cookies between sheets of parchment paper to prevent them from sticking or scratching. Avoid the refrigerator at all costs—the humidity will soften the cookies and can cause dark icing colors to bleed.
“Baking is about a lot more than just goodies. It’s about memories.” – Buddy Valastro
If intricate piping feels daunting, a simple powdered sugar glaze is a wonderful alternative. Just whisk powdered sugar with a small amount of milk or water until it’s a thick but pourable consistency. You can dip the tops of your cookies for a quick, rustic coating or drizzle it on for an easy, elegant design. It won’t dry as hard as royal icing, but it’s delicious and incredibly kid-friendly.


