The Real Reason Your Chocolate Chip Cookies Aren’t Chewy (And How to Fix It for Good)
I’ve baked more chocolate chip cookies than I can count. Seriously, we’re talking tens of thousands. I got my start in a little neighborhood bakery where the owner, a very particular woman, taught me that a truly great cookie is never an accident. It’s all about chemistry, technique, and a surprising amount of patience.
In this article
My first attempt for her was a complete train wreck. The cookies spread into thin, greasy, sad little pancakes. She had me toss the whole tray (which hurt my soul) and began my real education with a bag of flour and two kinds of sugar. That lesson changed everything for me. It’s not about just following a recipe; it’s about understanding why you’re doing each step. That’s what separates a decent cookie from one people will be dreaming about for weeks.
So, this isn’t just another recipe list. We’re going deep into the pro methods that guarantee that perfect chewy texture. By the end of this, you won’t just have a recipe—you’ll have the knowledge to make consistently amazing cookies every single time.

The Science of the Chew: It Starts with Your Ingredients
A great cookie begins long before you even think about turning on the oven. It all starts with knowing what your ingredients do. Getting everything measured and ready is one thing, but understanding the role each player has on the team is the real game-changer.
Flour: More Than Just Filler
Flour is the backbone of your cookie. The key here is protein content, which creates gluten when it gets wet. Gluten provides structure and chew, but it’s a balancing act—too much gluten and you get a tough, bready cookie.
- All-Purpose Flour: This is the workhorse for a reason. Its moderate protein level (around 10-12%) gives you the perfect amount of chew without being tough. Honestly, this is what I use 99% of the time.
- Bread Flour: This one has a higher protein content (12-14%), which will give you a seriously dense and chewy cookie. Some pros mix it with all-purpose flour to nail a specific texture. If you want to try it, start with a 3-to-1 ratio of all-purpose to bread flour.
- Cake Flour: With its low protein (7-9%), this flour makes things soft and tender. That sounds nice, but it’s not what we want for a classic chewy cookie. It just doesn’t have the muscle to create that satisfying pull.
A little pro secret: Please, please, please measure your flour by weight. A digital kitchen scale is the best $15-$25 you will ever spend on your baking. You can grab one at Target or online. A packed cup of flour can weigh up to 30% more than a properly scooped one, and that’s the number one reason cookies turn out dry and cakey. Precision here is everything.
Fats: For Richness and Spread
The fat you choose is a huge deal, controlling both flavor and how much your cookies spread out. Butter is king for its incredible flavor.
- Softened Butter: Most recipes call for this, but what does it even mean? You’re aiming for a cool room temperature, about 65°F (18°C). It should give a little when you press it but not feel greasy or melty. Quick tip: If you forgot to take it out, just cut a cold stick of butter into small cubes. It’ll be perfectly softened on your counter in about 20-30 minutes.
- Melted Butter: Some recipes call for this specifically to create a fudgier, denser cookie. The melted butter coats the flour differently, which slows down gluten development. It’s a deliberate move for a different texture.
- European-Style Butter: This stuff has a higher fat content (around 82-85%). Less water means more fat, which means richer flavor and a more tender cookie. So… is the splurge worth it? A fancy butter that costs $6-7 is a nice upgrade, but to be frank, the biggest leap in flavor comes from the techniques we’ll discuss later. If you need to save money, stick with regular unsalted butter and focus on the process.
Sugars: The Sweet Science of Texture
Sugar does way more than just make things sweet. It’s a master of disguise, controlling moisture, browning, and spread.
- White Sugar: This one is all about creating those crisp, caramelized edges and helping the cookie spread.
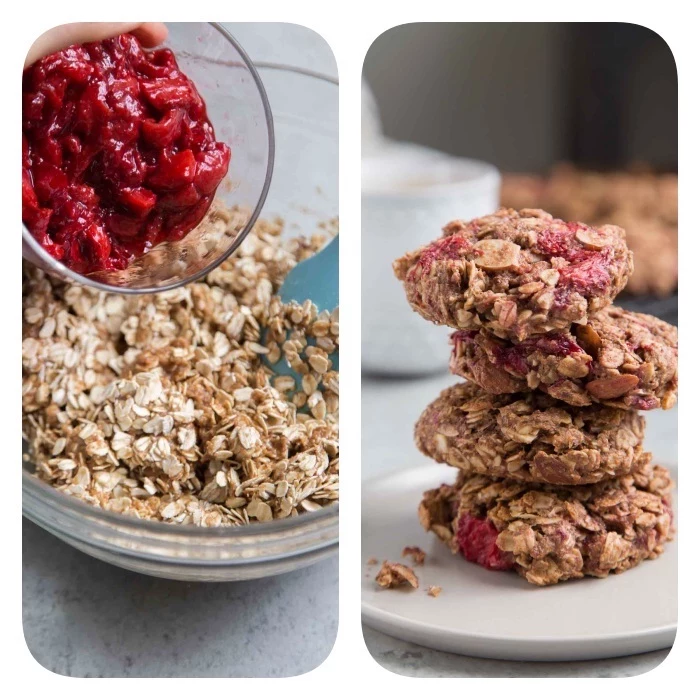
- Brown Sugar: This is where the magic of chewiness comes from. Brown sugar has molasses in it, which is hygroscopic—a fancy way of saying it loves to hang onto water. This moisture is the key to a soft, chewy center. Dark brown sugar has more molasses than light, giving you an even chewier cookie with deeper toffee notes. My go-to recipe always uses more brown sugar than white for maximum chew.
Eggs: The Ultimate Binder
Eggs do a lot of work. They add moisture, fat, and protein that bind everything together. A standard large egg is what you need. And here’s a classic trick from the pros: for an even richer, chewier cookie, add an extra egg yolk. It’s a tiny change that makes a huge difference. Oh, and if your eggs are fridge-cold, just pop them in a bowl of warm (not hot!) water for 5-10 minutes. Done.
The Little Guys: Leaveners, Salt, and Flavor
Baking soda is the standard leavener here. It reacts with the acid in the brown sugar to create tiny bubbles that give the cookie some lift. Salt is NOT optional. It’s crucial for balancing the sweetness and making the chocolate and butter flavors pop. Use fine sea salt. And for vanilla, please use the pure stuff. The flavor of pure vanilla extract is worlds away from the imitation kind.
Pro Techniques for Next-Level Texture
Okay, you’ve got the right ingredients. Now comes the part where technique separates the good from the great.
The Art of Creaming (And What If You Don’t Have a Stand Mixer?)
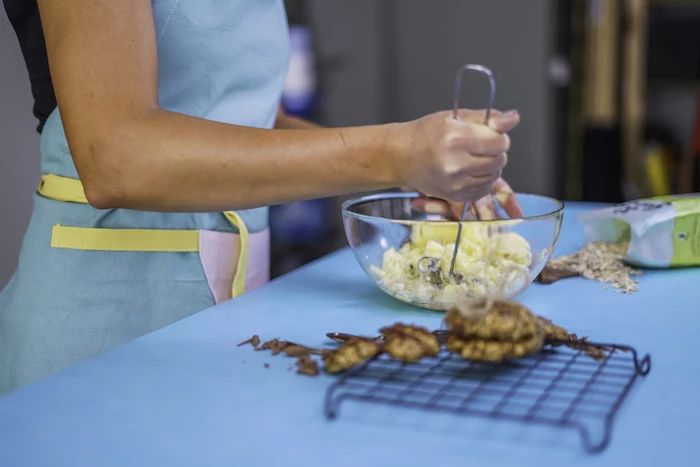
Creaming is when you beat the softened butter and sugars together until they’re light and fluffy. You’re literally whipping tiny air pockets into the fat, which helps the cookies rise. In a stand mixer, this takes a solid 3-4 minutes on medium. Don’t rush it!
No stand mixer? No problem. A hand mixer works just as well, you might just need to add a minute or two to the creaming time. And if you’re doing it by hand, grab a sturdy spatula and get ready for a little workout. The goal is the same: a mixture that’s visibly lighter in color and fluffy.
The Mandatory Chill: The Real Secret Weapon
If you only listen to one piece of advice, let it be this: chill your dough. I know, it’s annoying. You want cookies now. But this is the single most important step for achieving superior flavor and texture. Bakeries rest their dough for at least 24 hours, sometimes up to 72.
Here’s why it’s non-negotiable:
- It stops the spread. Chilling solidifies the butter. Cold butter takes longer to melt in the oven, so the edges of the cookie have time to set before the fat turns to liquid. This is how you get a thick cookie instead of a flat one.
- It deepens the flavor. This is the real magic. Over 24-72 hours, the dough cures. The starches and proteins break down, creating unbelievably deep toffee and caramel flavors that you simply can’t get from fresh dough. A 36-hour chill is my personal sweet spot.
I once got impatient and tried to bake a batch after only a 30-minute chill. I ended up with one giant, greasy cookie-pancake that fused together across the entire baking sheet. It was a humbling moment. Don’t be like me!
Okay, but what if you’re desperate? Look, I get it. For a “can’t-wait cookie” emergency, a 4-hour chill will at least prevent a total disaster. You’ll miss out on the incredible flavor development, but you’ll still get a pretty good cookie that doesn’t spread into oblivion.
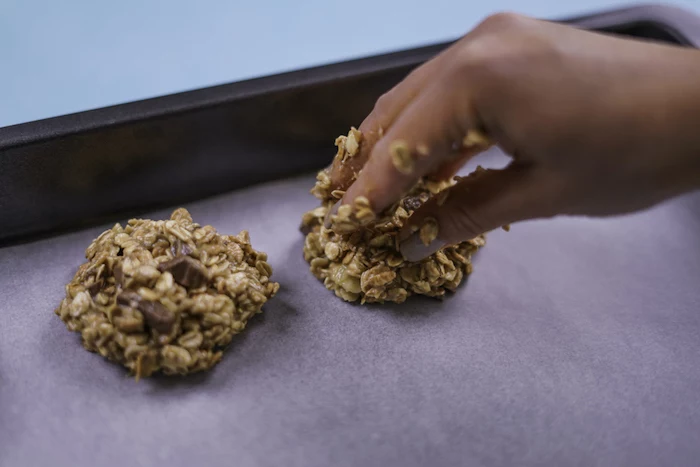
Shaping and Baking
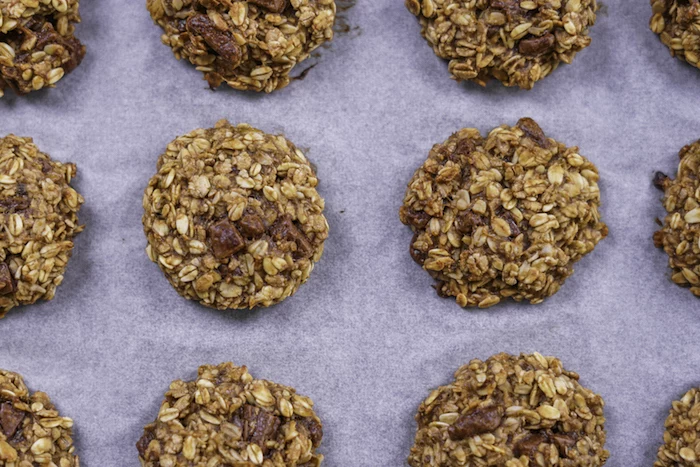
Uniformity is your friend. Use a cookie scoop for perfectly even portions, which means they’ll all bake at the same rate. I like a #24 scoop, which holds about 3 tablespoons. Roll the dough into a ball that’s a little taller than it is wide. This little trick helps it bake up thick before it spreads out.
Bake at 375°F (190°C) on a light-colored, heavy-duty aluminum baking sheet lined with parchment paper. Dark sheets can burn the bottoms. I prefer parchment over silicone mats because I find it gives a better, more even browning.
Pull the cookies when the edges are golden brown but the center looks a tiny bit pale and underdone. It will seem too puffy—that’s perfect. For a 3-tablespoon cookie, this is usually about 12-14 minutes. Let them cool on the hot baking sheet for 5-10 minutes. The residual heat will finish cooking the center to gooey perfection. This is called carryover cooking, and it’s essential!
My Go-To Chewy Chocolate Chip Cookie Recipe
This is it. The recipe I’ve tweaked and perfected over the years. I’m giving you weights because that’s how pros get consistent results, but I’ve included cup measurements, too.
Yields: About 18 large cookies
Prep time: 20 minutes
Chill time: 24 to 72 hours (seriously!)
Bake time: 12-14 minutes per tray
Ingredients:
- 2 ½ cups (320g) all-purpose flour
- 1 teaspoon (5g) fine sea salt
- ¾ teaspoon (4g) baking soda
- 1 cup (226g) unsalted butter, softened to a cool 65°F (18°C)
- 1 cup (220g) packed dark brown sugar
- ½ cup (100g) granulated white sugar
- 2 large eggs, room temperature
- 1 tablespoon (15ml) pure vanilla extract
- 12 oz (340g) good-quality semi-sweet chocolate, chopped
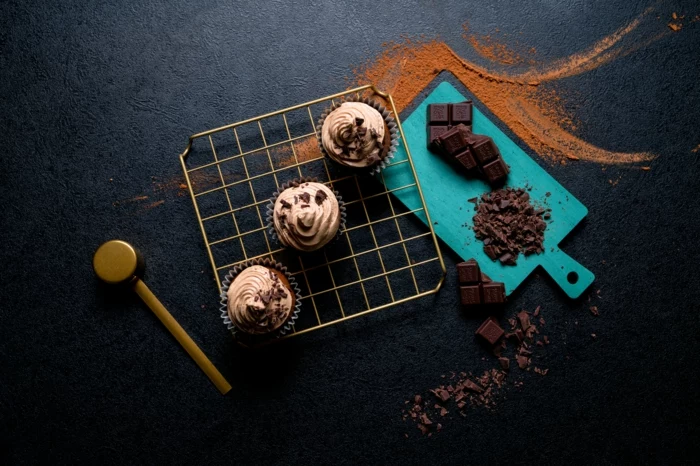
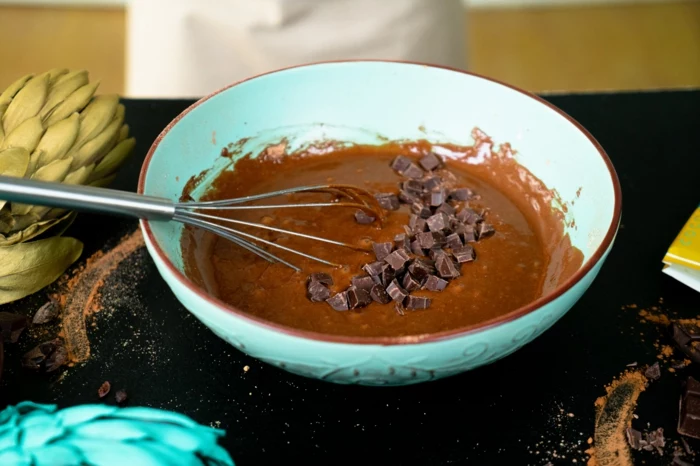
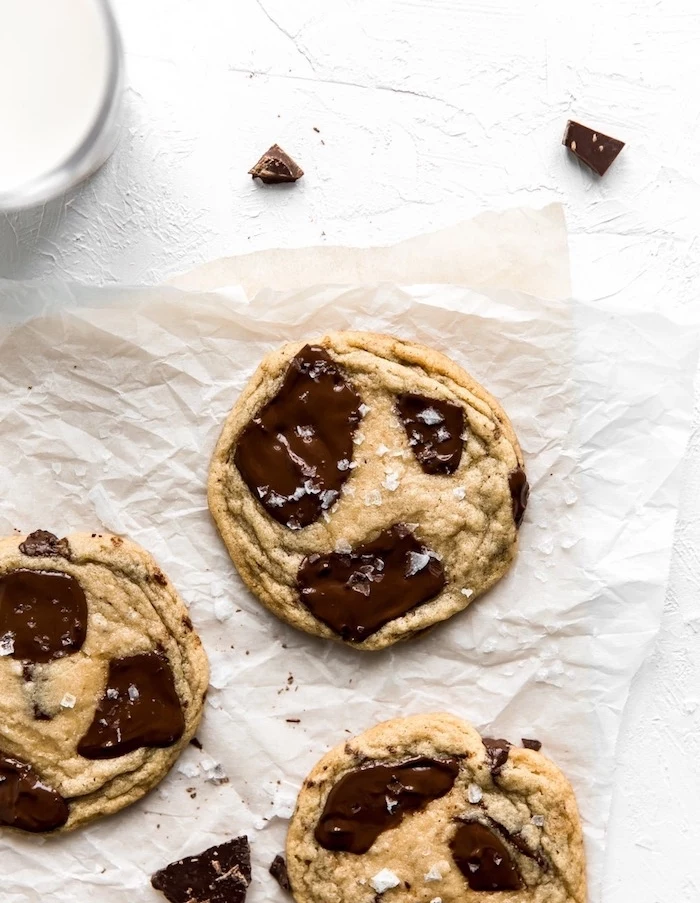
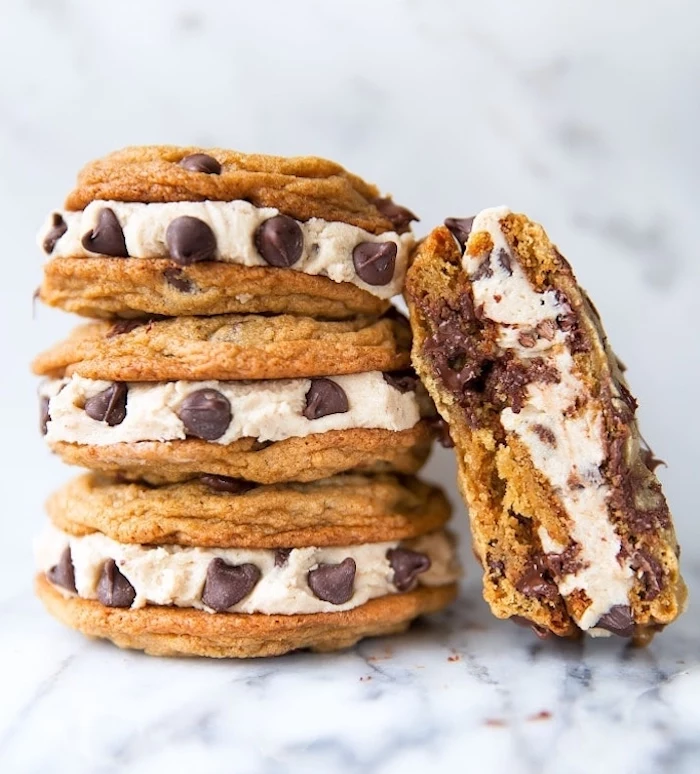
A quick word on the chocolate: using chopped chocolate from a bar (like Guittard, Callebaut, or even a Trader Joe’s Pound Plus bar) is so much better than chips. Chips have stabilizers to help them hold their shape. Chopped chocolate doesn’t, so it melts into gorgeous, gooey pools throughout the cookie.
Instructions:
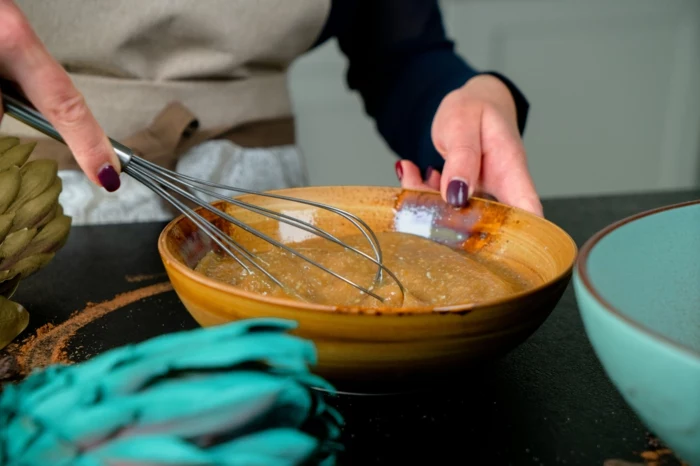
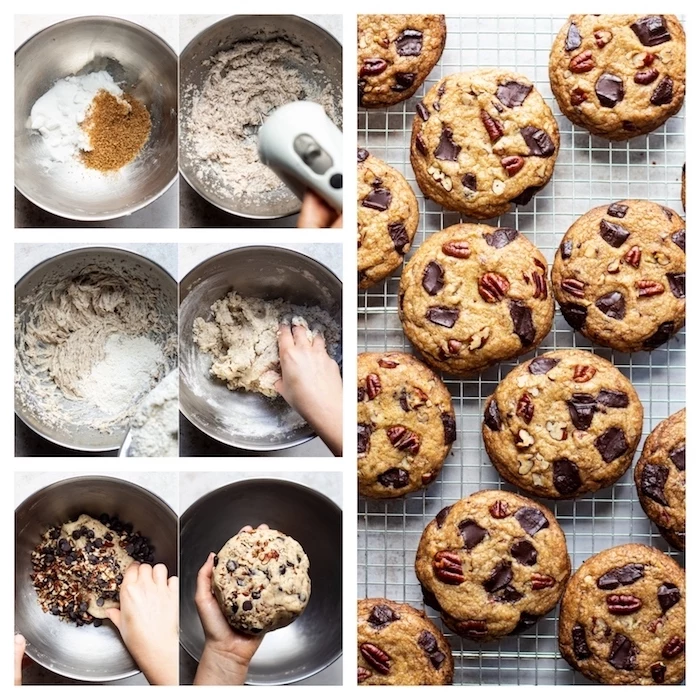
- Dry Stuff First: In a medium bowl, whisk the flour, salt, and baking soda together. Just get them nicely acquainted. Set it aside.
- Creaming Time: In a large bowl with a mixer, beat the softened butter and both sugars on medium speed for 3-4 minutes. Set a timer if you need to! It should get visibly lighter, pale, and fluffy. Scrape down the bowl halfway through.
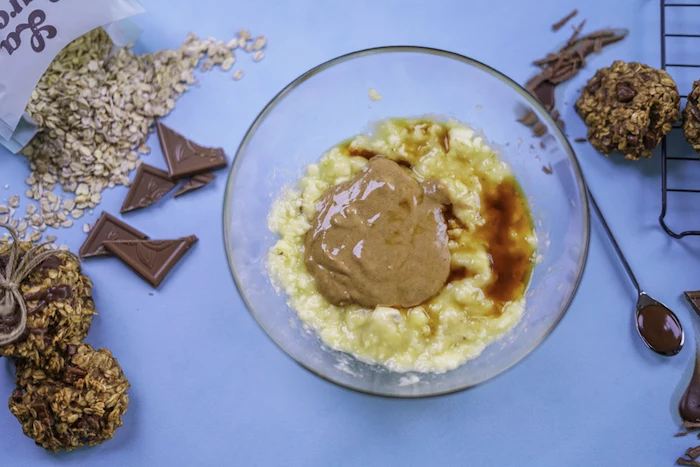
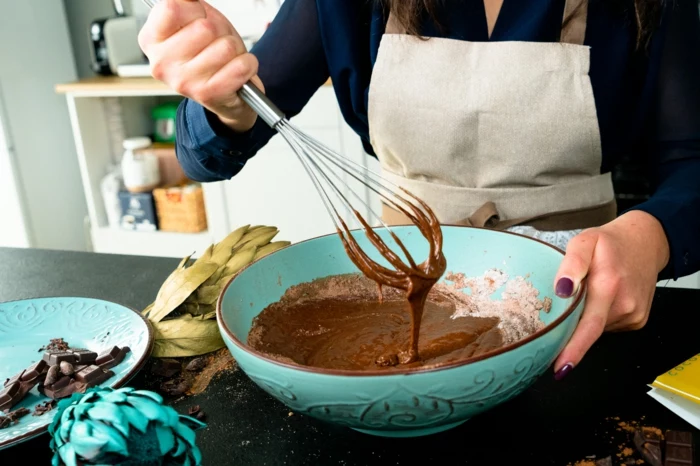
- Add Wet Ingredients: Add the eggs one at a time, mixing for about 30 seconds after each one. Then, beat in the vanilla.
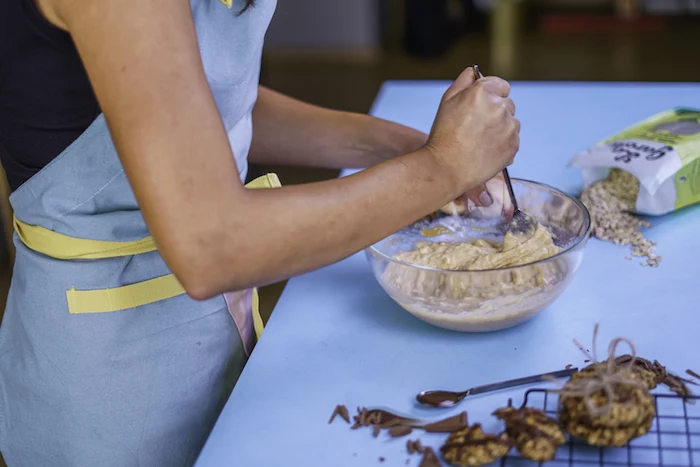
- Combine It All: Turn the mixer to low and slowly add the flour mixture. Mix just until the last streaks of flour disappear. Do not overmix here, or you’ll get tough cookies.
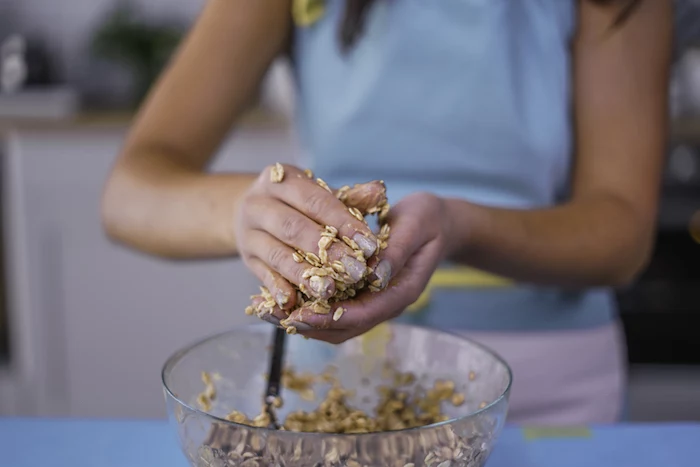
- Fold in the Good Stuff: Gently fold in your chopped chocolate with a spatula.
- The Big Chill: Scrape the dough into an airtight container and pop it in the fridge for at least 24 hours. Again, 36 hours is my favorite. Do not skip this. This is where the magic happens.
- Get Ready to Bake: When you’re ready, preheat your oven to 375°F (190°C). Line two baking sheets with parchment paper.
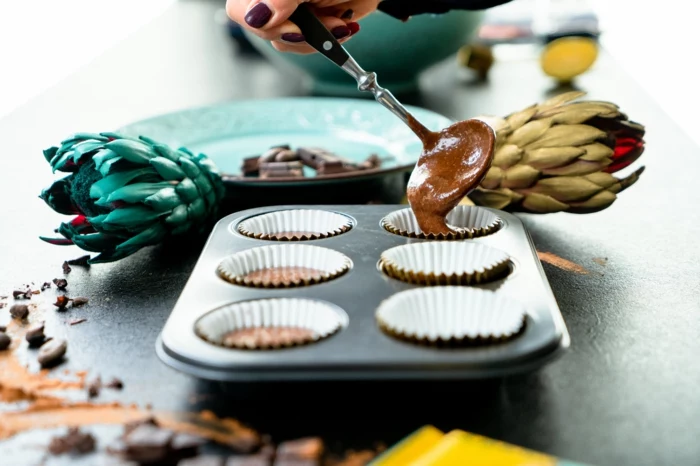
- Portion and Bake: Use a 3-tablespoon cookie scoop to portion out the cold dough. Roll into tallish balls and place them about 3 inches apart. Bake one sheet at a time for 12-14 minutes.
- Cool Down: Let the cookies cool right there on the hot baking sheet for 10 minutes before moving them to a wire rack. They’ll look puffy and underdone in the middle, but they will set up into chewy perfection as they cool.

Troubleshooting: What Went Wrong?
I’ve seen it all. Here are the most common cookie crimes and how to solve them.
- Problem: My cookies are flat, greasy Frisbees.
Likely Cause: Your butter was too soft, you didn’t chill the dough long enough, or your oven isn’t hot enough.
The Fix: Use cool, softened butter. Chill that dough for at least 24 hours. And maybe grab an oven thermometer (they’re cheap!) to make sure your oven is telling you the truth. - Problem: My cookies are hard, dry, and sad.
Likely Cause: You probably added too much flour (I’m telling you, use a scale!). Or you overmixed the dough after adding the flour, or simply baked them for too long.
The Fix: Weigh your flour. Mix only until combined. And pull them from the oven when they still look a little gooey in the center. - Problem: My cookies are puffy, cakey clouds.
Likely Cause: Again, probably too much flour. It’s also possible you got a little too excited and over-creamed the butter and sugar, whipping in too much air.
The Fix: Weigh your flour! And stick to that 3-4 minute creaming time.
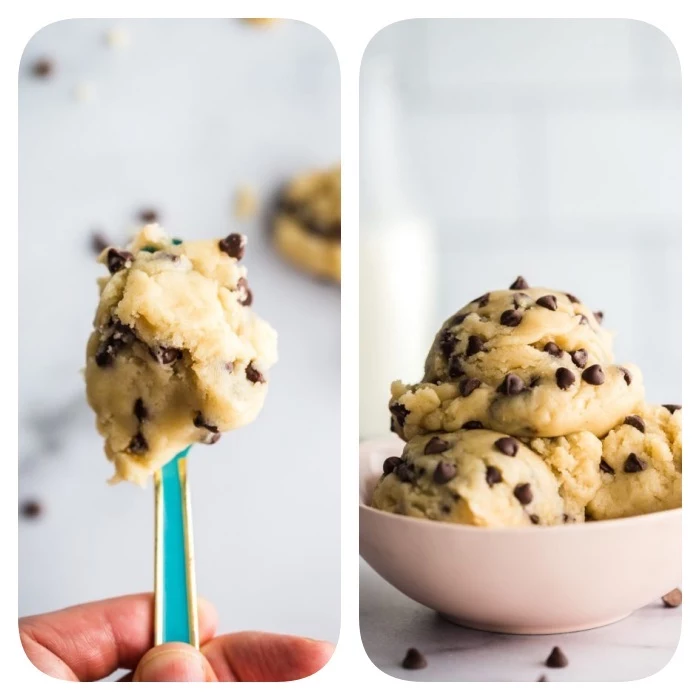
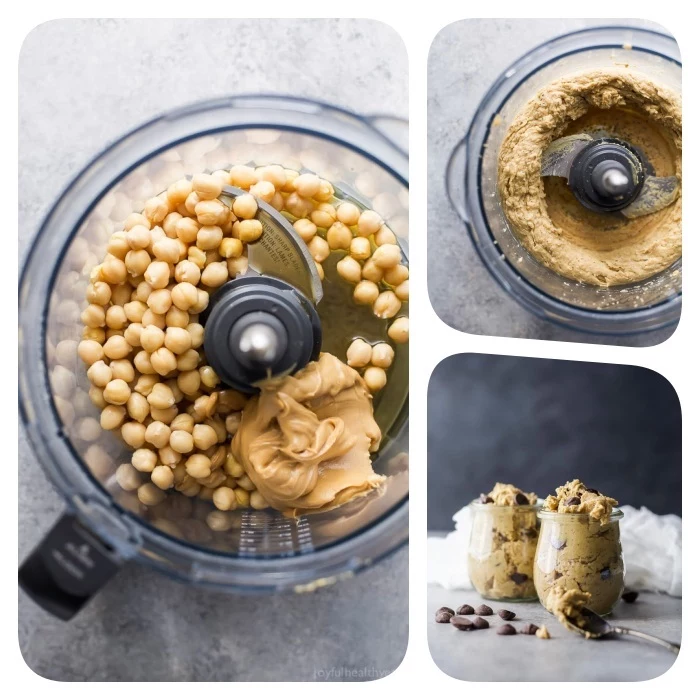
A Quick Word on Safety & Storage
Heads up! As tempting as it is, please don’t eat raw cookie dough. Raw eggs can carry Salmonella, and raw flour itself is a known source of E. coli. In a pro kitchen, this is a huge no-no. If you want to make safe, edible cookie dough, you need to use pasteurized eggs and heat-treat your flour by baking it to 165°F (74°C).
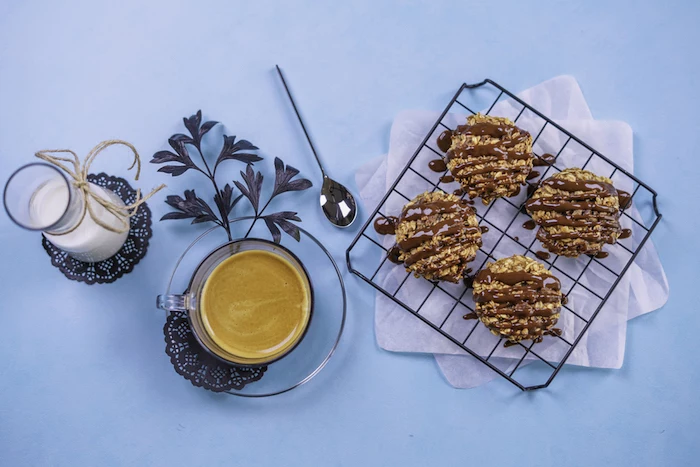
To store your baked cookies, put them in an airtight container at room temperature. For a little bonus-chewiness insurance, toss a slice of sandwich bread in there with them. The cookies will steal moisture from the bread, keeping them soft. They’re best within 3 days. For long-term, you can freeze the portioned, unbaked dough balls and bake them straight from the freezer—just add 2-3 minutes to the bake time. Enjoy!
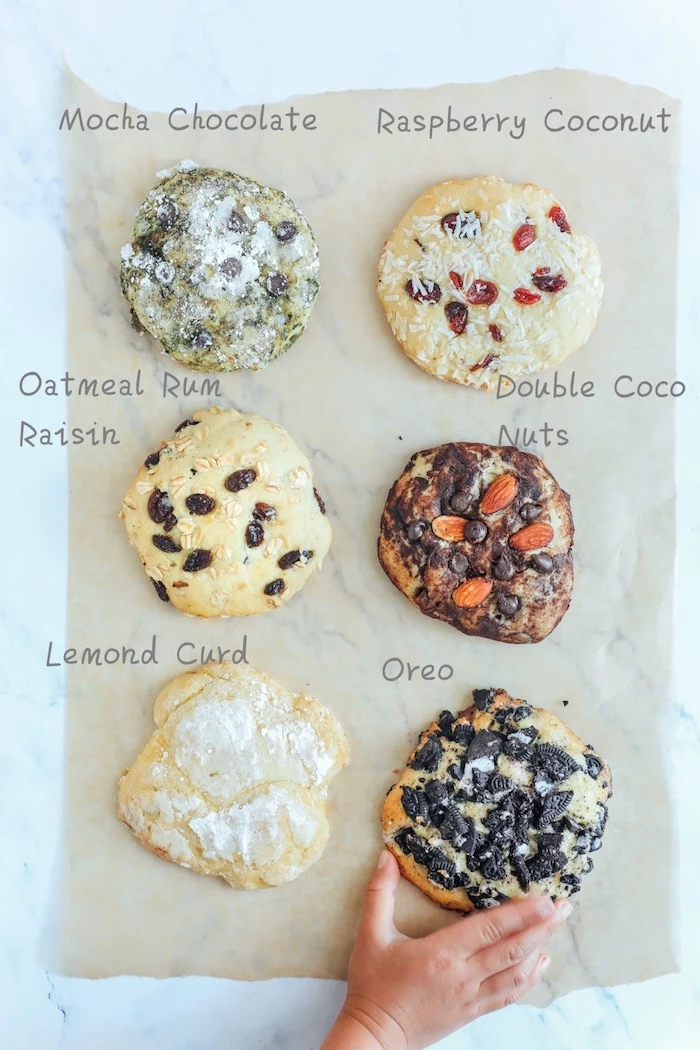
Inspiration Gallery


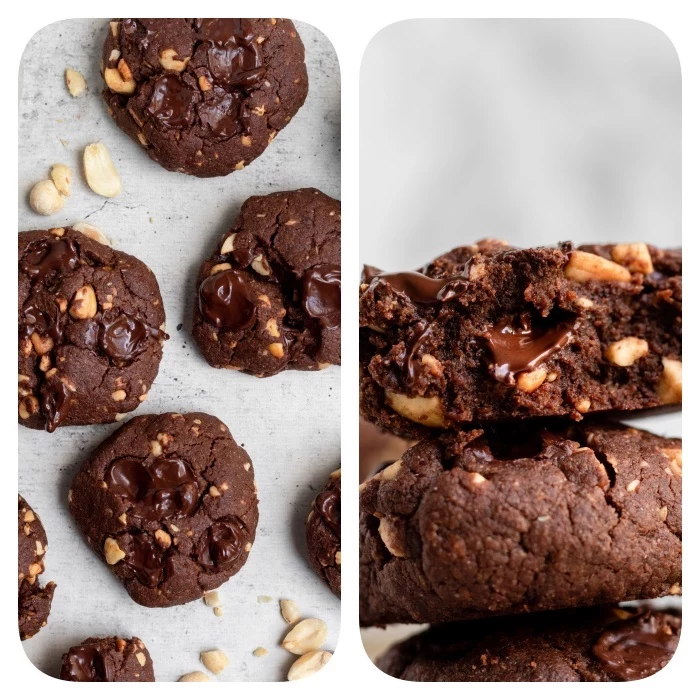
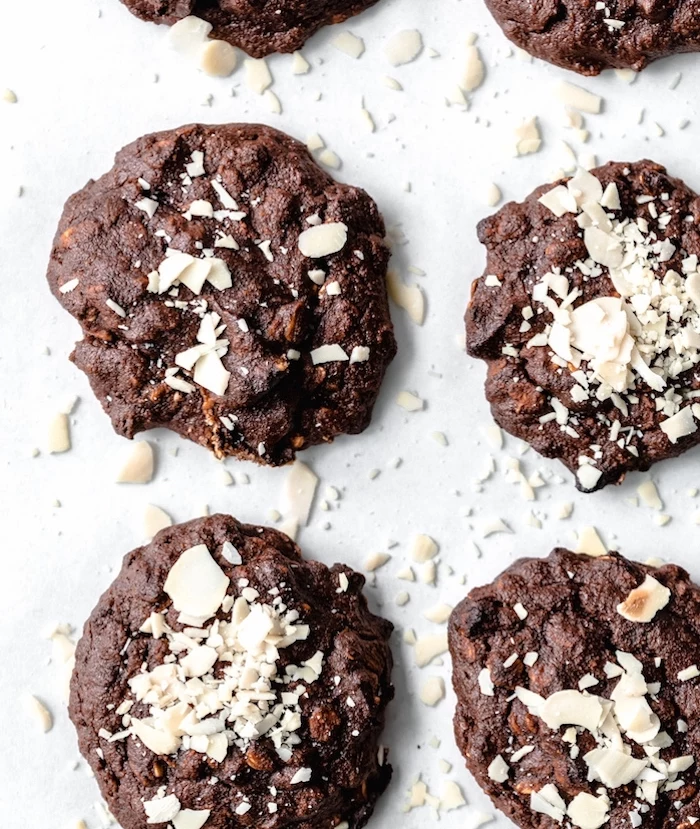
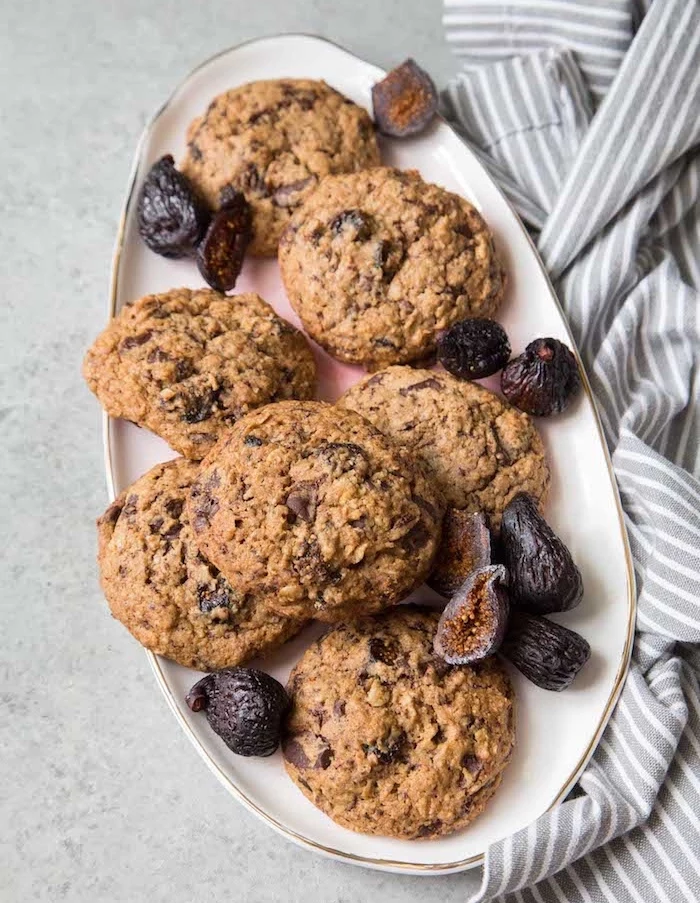
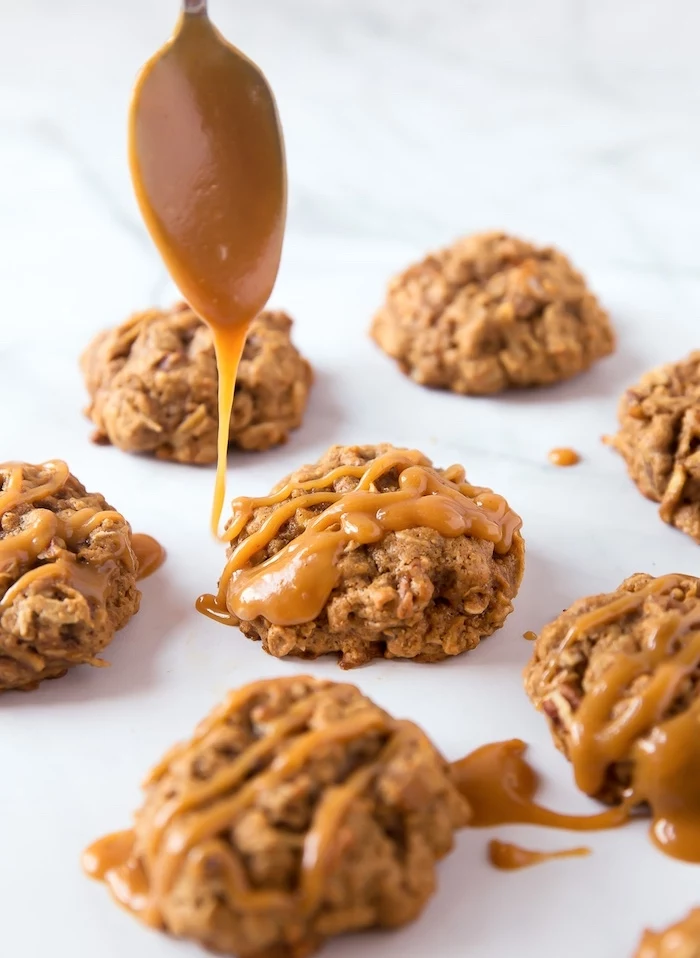
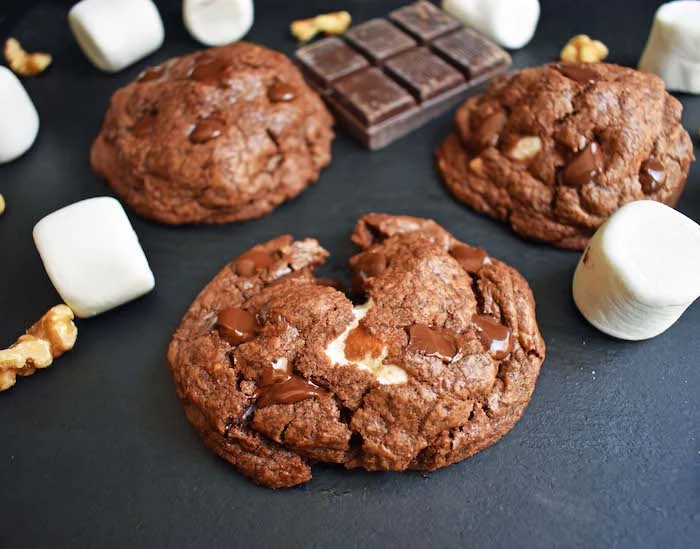
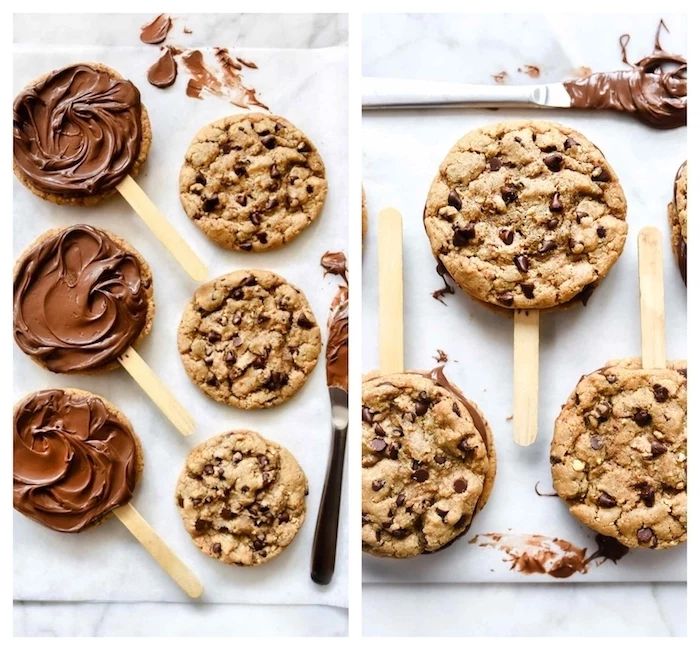
That irresistible nutty aroma wafting from high-end bakeries? It’s often the scent of browned butter, or beurre noisette. Gently melting butter until the milk solids toast and turn a beautiful amber color adds an incredible depth of flavor and a toffee-like richness that plain melted butter just can’t match. It’s a simple step that elevates a great cookie into an unforgettable one.

The original chocolate chip cookie was created by accident in 1938 by Ruth Wakefield at the Toll House Inn in Massachusetts. She ran out of baker’s chocolate and substituted it with chopped Nestlé semi-sweet chocolate, expecting it to melt and disperse. Instead, the pieces held their shape.
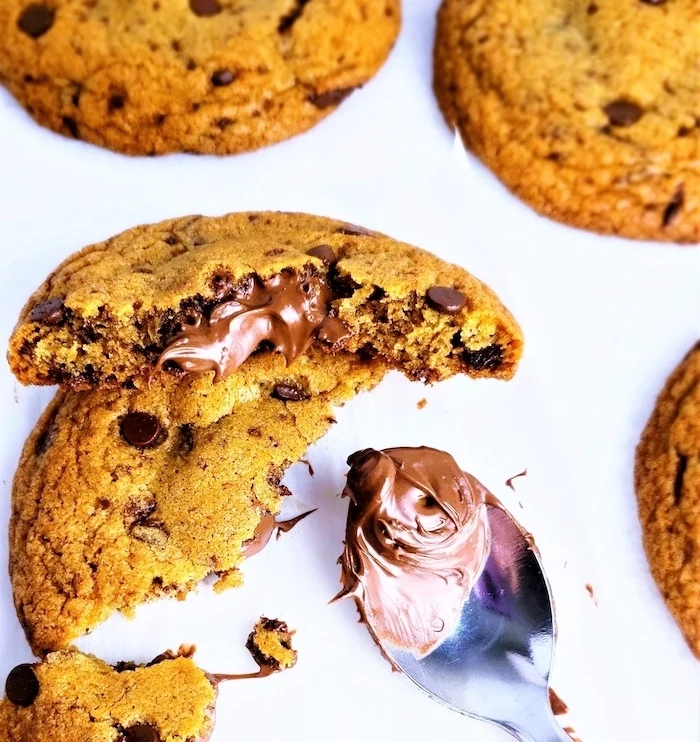
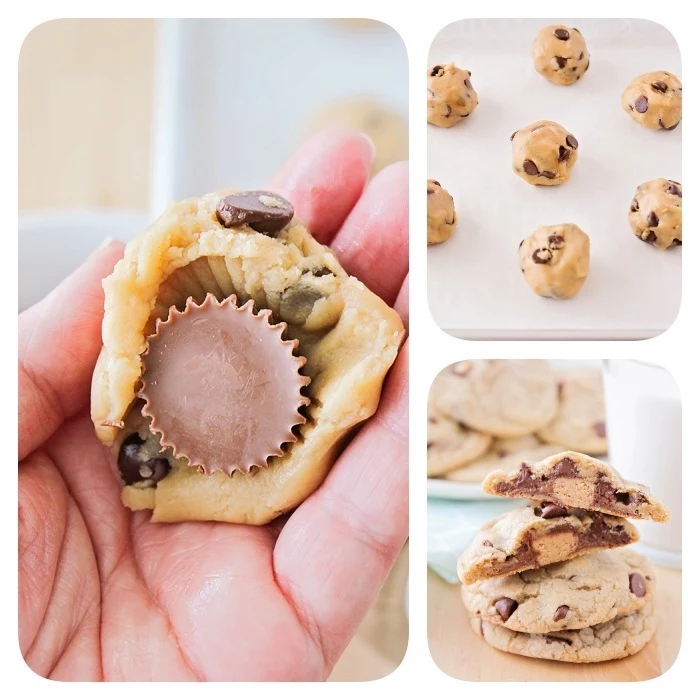
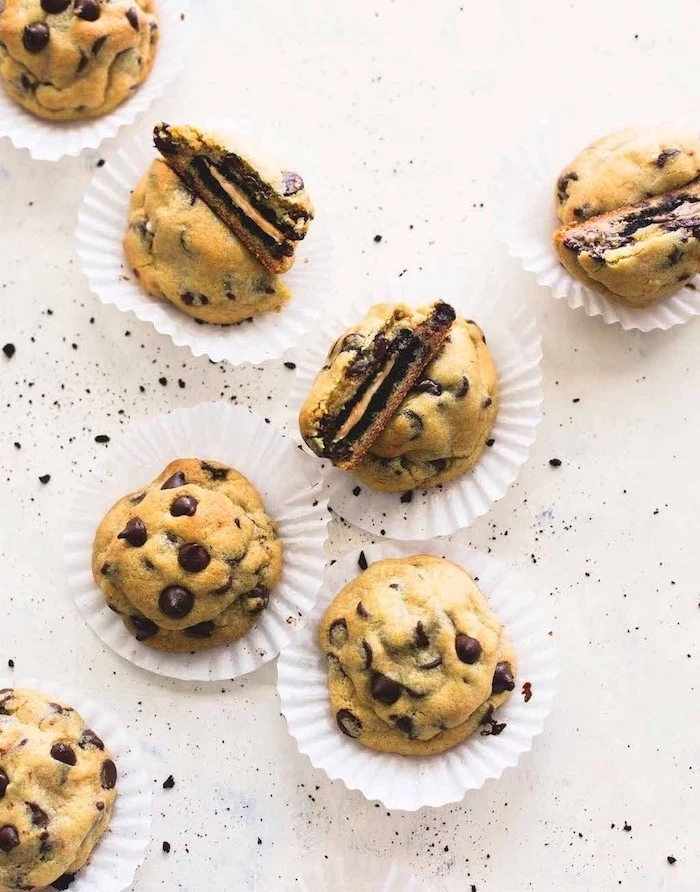
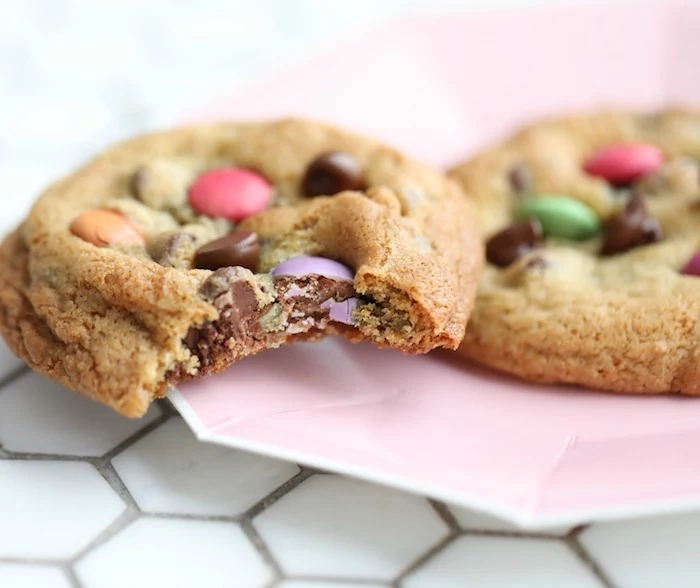
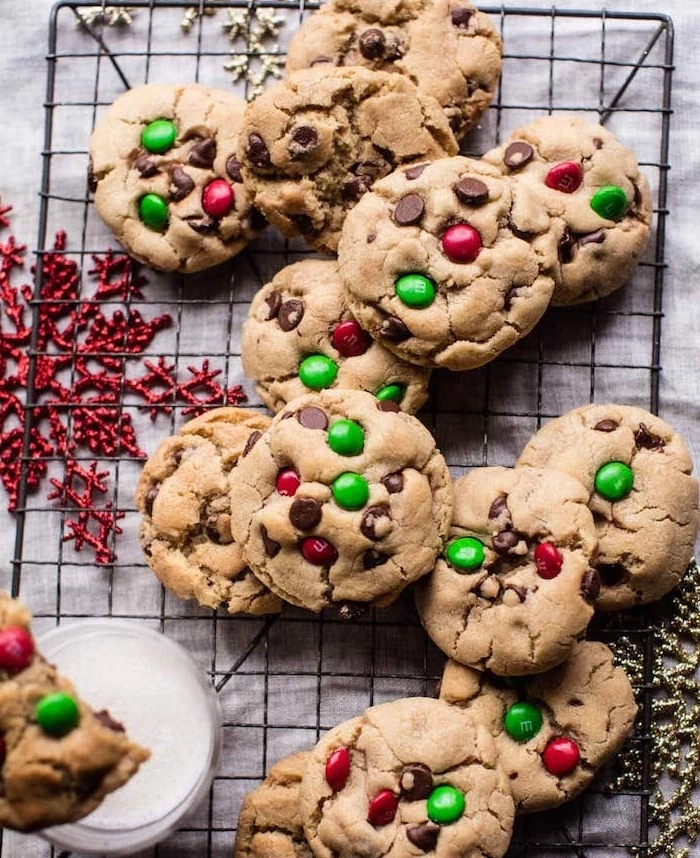
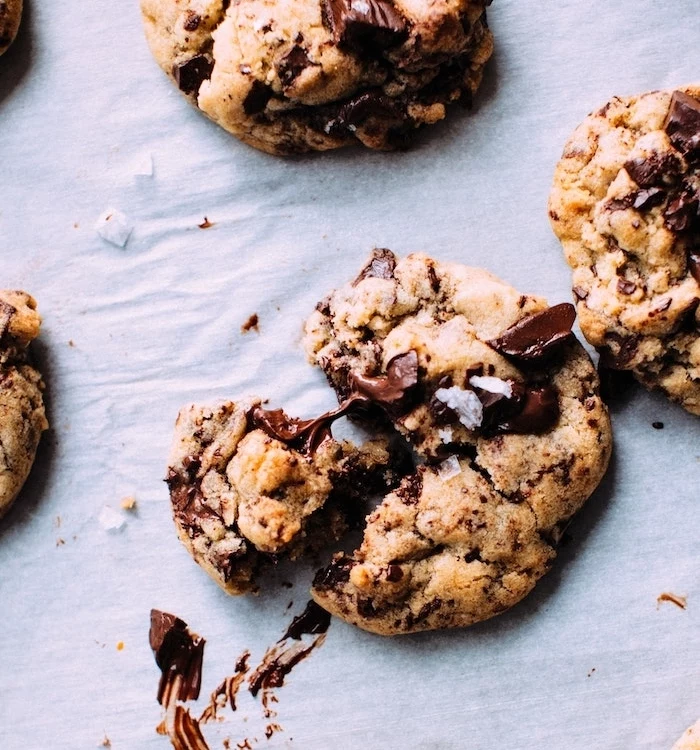
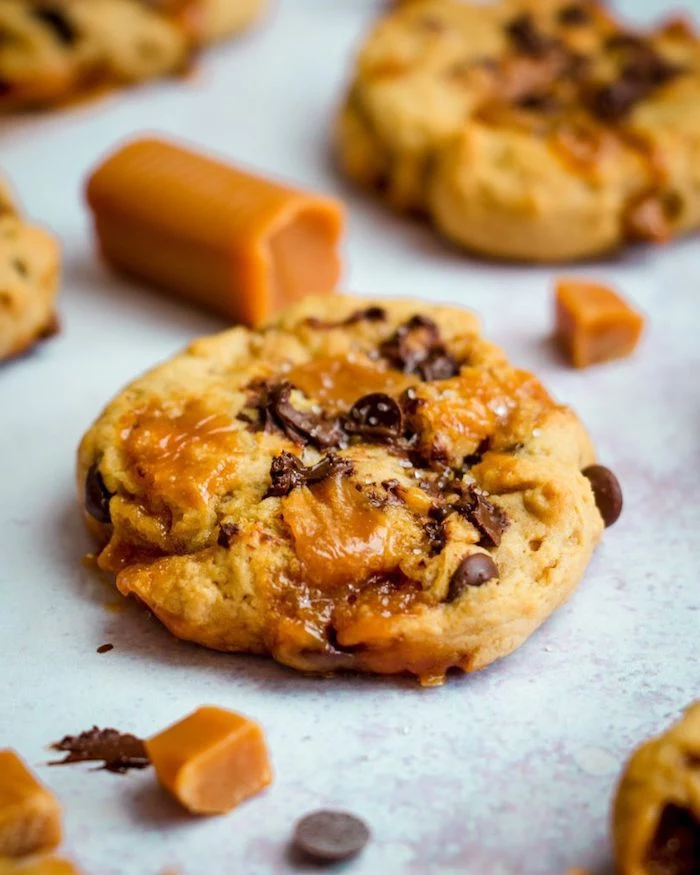
The secret to those perfect chocolate puddles: Don’t just rely on the chocolate chips mixed into the dough. After you’ve scooped your dough balls onto the baking sheet, gently press a few extra chocolate chunks or high-quality discs, like Valrhona fèves, right onto the top. They’ll melt into gorgeous, glossy pools as they bake, giving your cookies that professional, straight-from-the-bakery look.
Why did my cookies turn out puffy and cakey instead of chewy?
This is a classic case of too much air. It often happens when you cream the butter and sugar for too long, whipping excessive air into the mixture which then acts as a leavener. For a chewy cookie, mix the butter and sugar just until combined. Another culprit could be using cake flour or too much baking powder, which also promotes a light, airy texture instead of a dense chew.
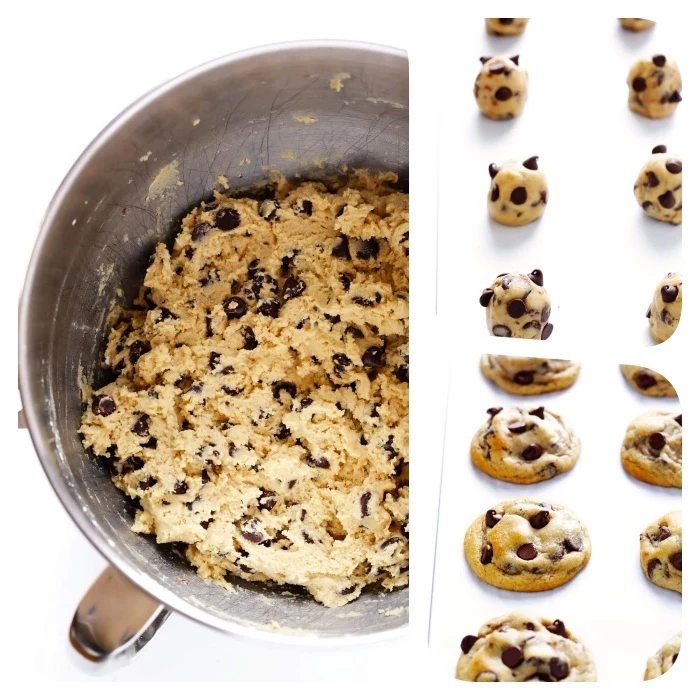
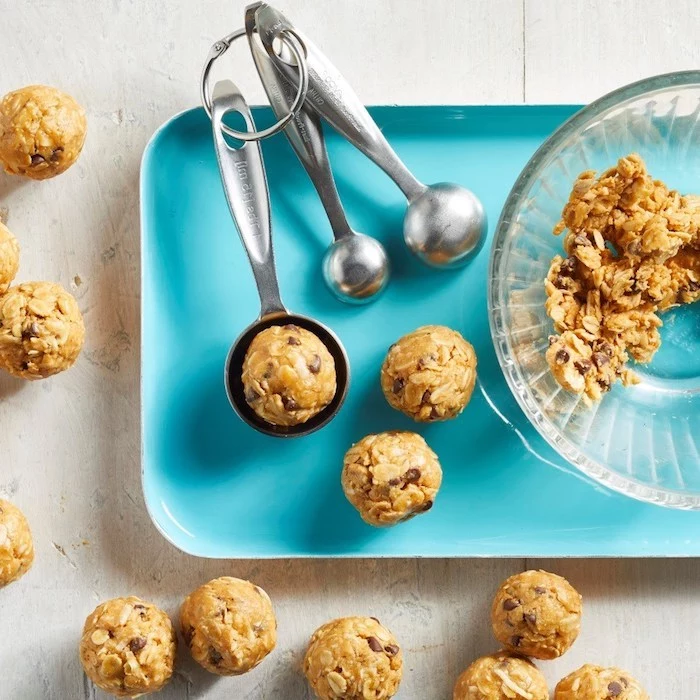
For that perfect, uniform look and even baking, an ice cream scoop is your best friend. Here’s why it works so well:
- Ensures every cookie is the same size, so they all bake at the same rate.
- Creates a perfectly round dough ball, which helps it spread evenly in the oven.
- Speeds up the portioning process, getting your cookies into the oven (or the fridge to chill) faster.

Dark Baking Sheets: Absorb more heat, which can lead to darker, crispier bottoms. If you use them, consider reducing the oven temperature by 25°F (about 15°C).
Light-Colored Baking Sheets: Reflect heat, promoting more even baking and golden-brown bottoms. They are generally the preferred choice for consistent cookie results.
For foolproof results, a heavy-gauge aluminum sheet from a brand like Nordic Ware is the industry standard.
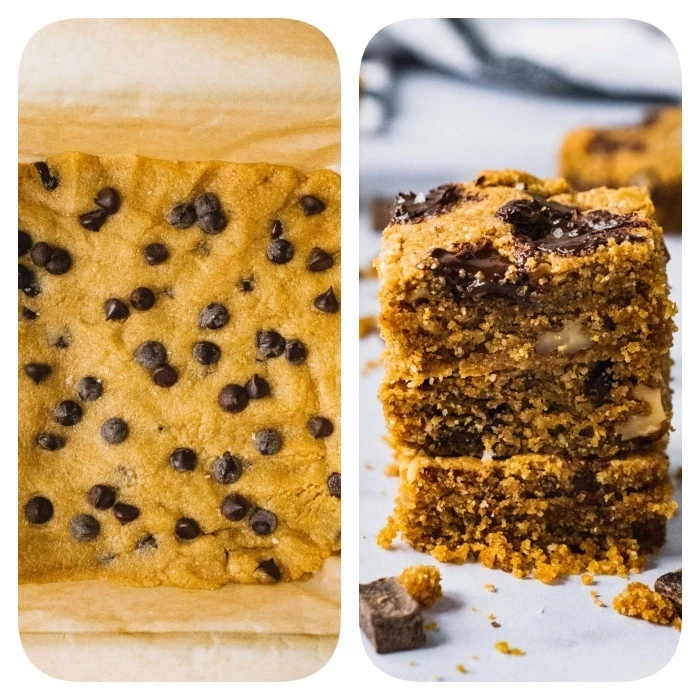
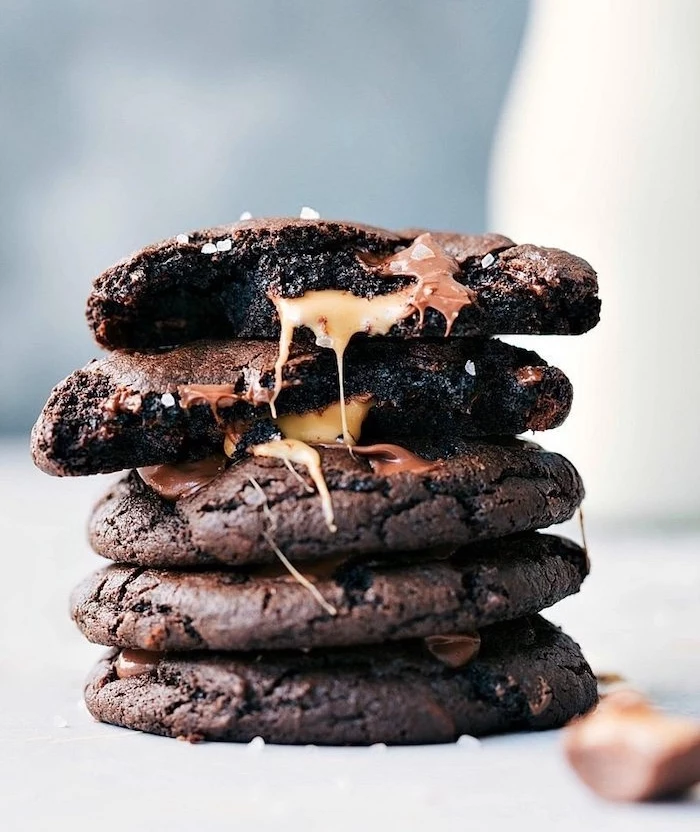
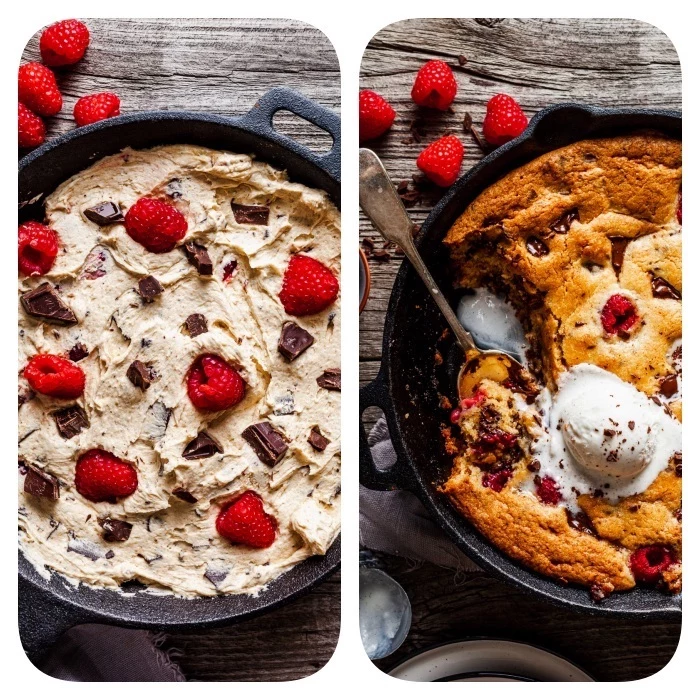
- Achieve a texture that’s crispy on the edges and gooey in the center.
- Develop deeper, more complex toffee and butterscotch flavors.
- Prevent the cookies from spreading into thin, greasy discs.
The secret? Chilling your dough. A minimum of 30 minutes in the refrigerator solidifies the butter, but for truly spectacular results, let the dough rest, covered, for 24 to 72 hours. This extended time allows the flour to fully hydrate, resulting in a superior chew and richer taste.
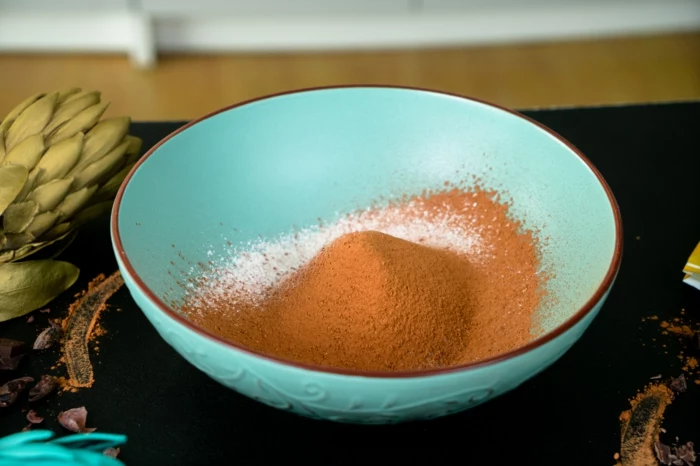
A baker’s secret weapon: Add a teaspoon of instant espresso powder to your dry ingredients. You won’t taste the coffee, but it works wonders to intensify and deepen the flavor of the chocolate, making it taste richer and more complex. It’s a subtle trick that adds an incredible layer of deliciousness.
According to pastry chef Christina Tosi of Milk Bar fame, a little cornstarch (or milk powder) is a game-changer for chewiness. Replacing a couple of tablespoons of flour with cornstarch can soften the proteins in the flour, leading to a more tender center.
This works by interfering with gluten formation, ensuring the cookie’s interior stays soft and chewy while the edges get perfectly crisp. It’s a simple swap that delivers a noticeable textural difference.
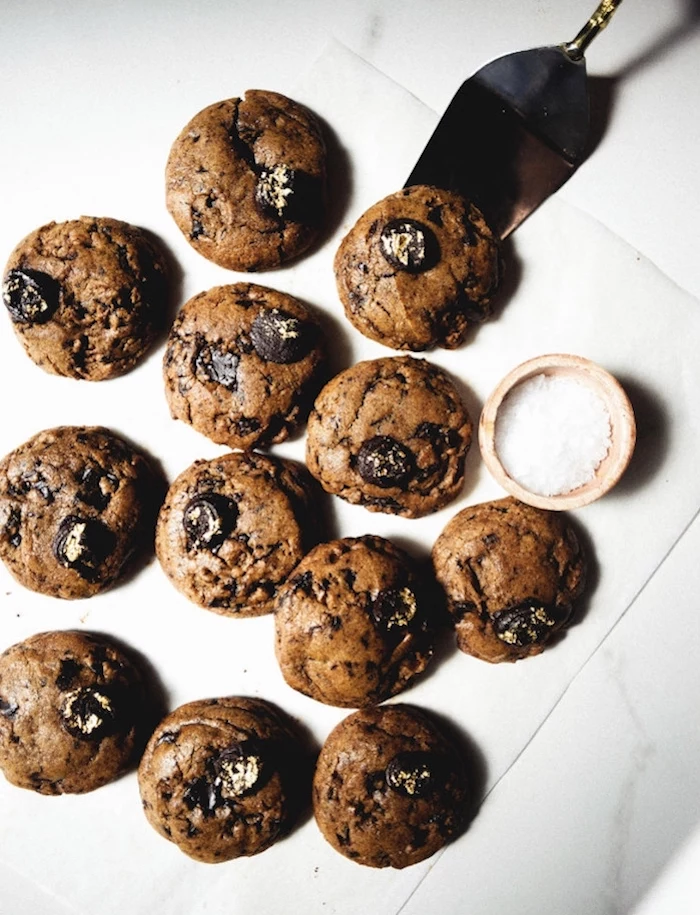
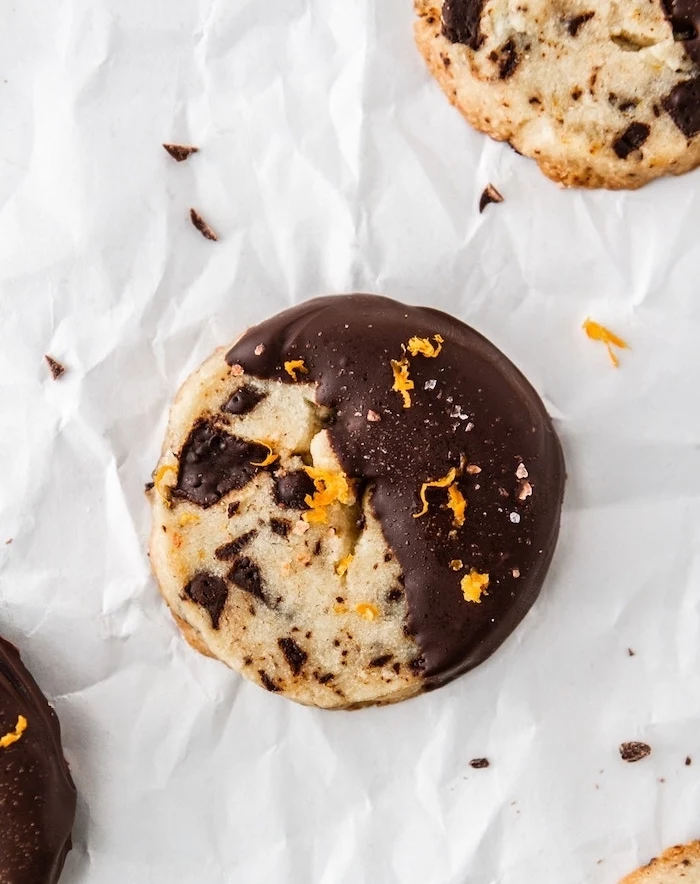
Don’t underestimate the power of finishing salt. A light sprinkle of flaky sea salt, like Maldon, on top of the cookies just before they go into the oven or immediately after they come out does two things: it adds a delightful, crunchy texture and its salinity cuts through the sweetness, making the chocolate and butter flavors pop. It’s the final touch that balances everything perfectly.

- Revive a slightly stale cookie by placing it on a microwave-safe plate with a small cup of water. Microwave for 15-20 seconds. The steam will gently rehydrate it.
- For a larger batch, place cookies in a sealed container or bag with a slice of fresh bread overnight. The cookies will absorb moisture from the bread.
- A quick 3-5 minute warm-up in a 300°F (150°C) oven will also bring back some of that fresh-baked magic.
Crucial step: Use room temperature ingredients. Cold eggs and butter don’t emulsify properly. This means they won’t blend smoothly into a cohesive dough, which can result in a greasy, uneven texture. Let your eggs and butter sit on the counter for at least 30-60 minutes before you begin mixing. It makes a world of difference.
Can I really just use bread flour like the article mentioned?
Yes, and it’s a fantastic trick for super chewy cookies! Bread flour’s higher protein content (like in King Arthur Bread Flour) develops more gluten, creating that satisfyingly dense, pull-apart texture. For your first try, don’t go all-in. Start by substituting half of the all-purpose flour with bread flour to see how you like the result. It’s a common technique used in specialty cookie shops.
The type of fat you use has a huge impact. While margarine or shortening can create a softer, more cake-like cookie, butter is key for flavor and chew.
- Standard Butter: Has a water content of around 16-18%, which creates steam during baking, helping with leavening.
- European-Style Butter: Brands like Plugrà or Kerrygold have a higher butterfat content (82% or more). This lower water content results in a richer flavor and a denser, chewier final product because less steam is produced.

Parchment Paper: A baker’s best friend. It creates a thin layer of air between the baking sheet and the dough, preventing over-browning and ensuring cookies don’t stick. It also makes cleanup a breeze.
Silicone Mat (e.g., Silpat): An excellent reusable option. It’s a great insulator, which can prevent cookies from spreading too much. However, this same insulation can sometimes lead to paler bottoms that don’t crisp up as much.
For a classic chewy cookie with slightly crisp edges, parchment paper is often the winner.
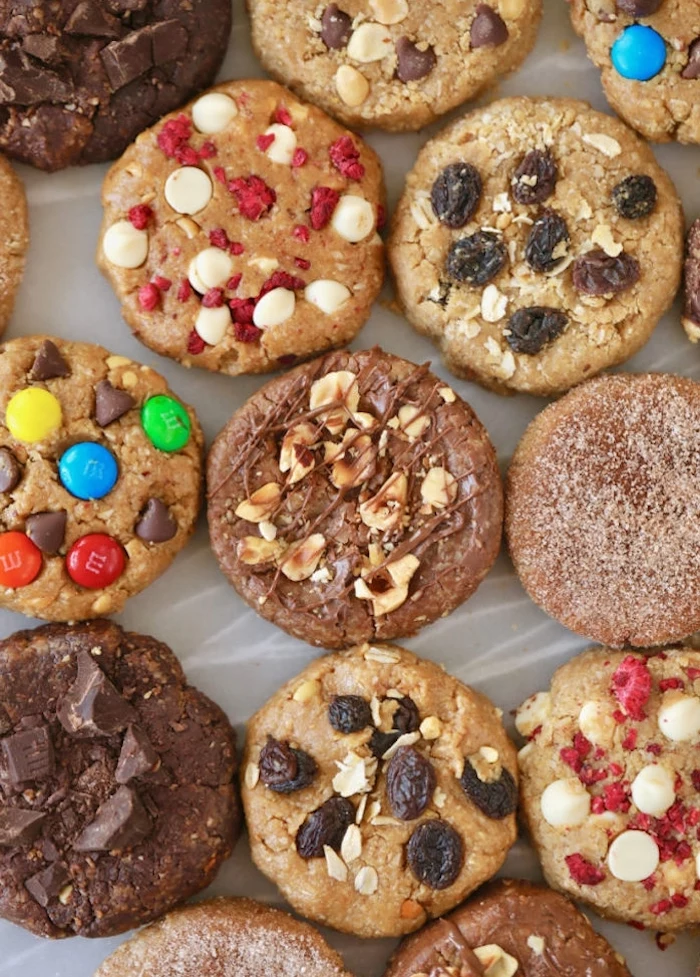
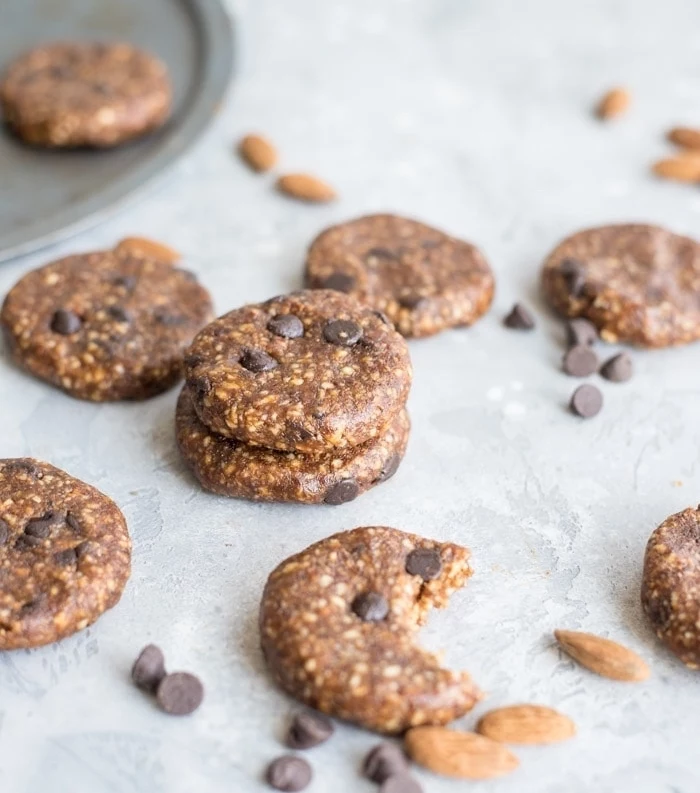
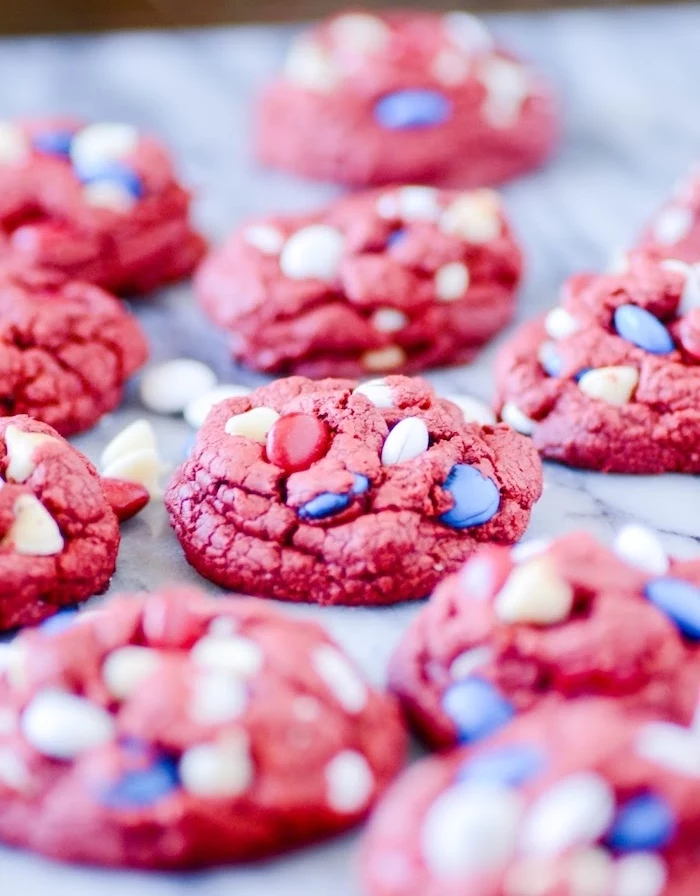
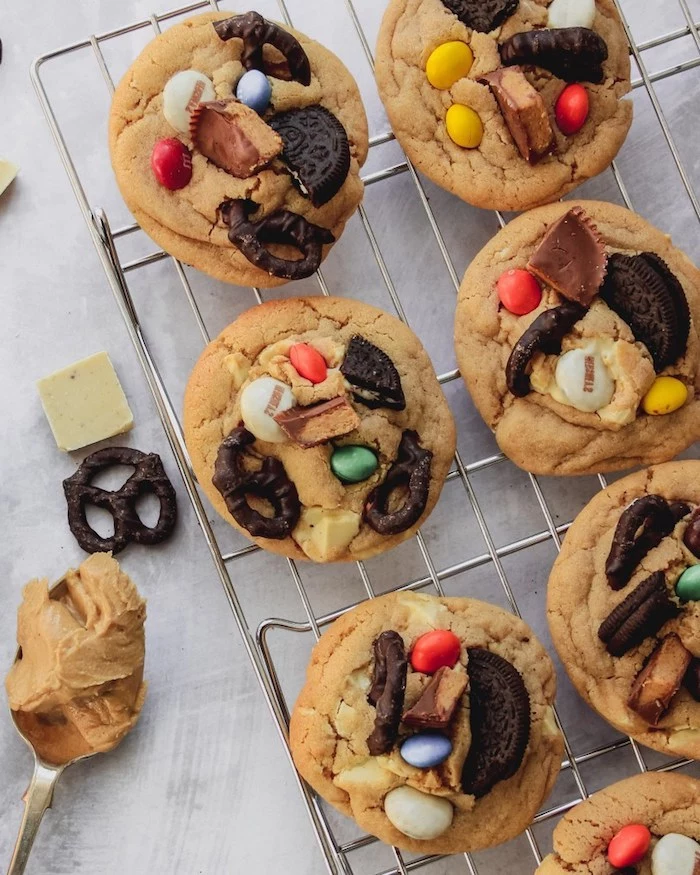
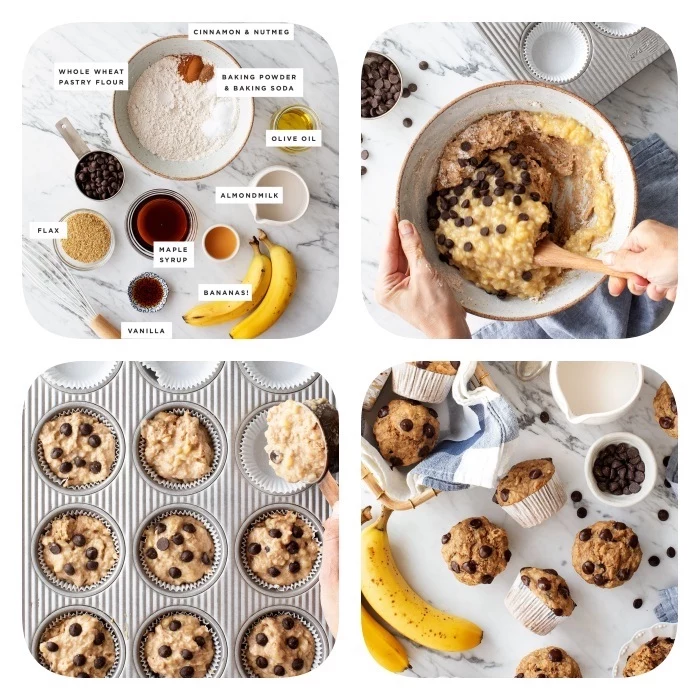
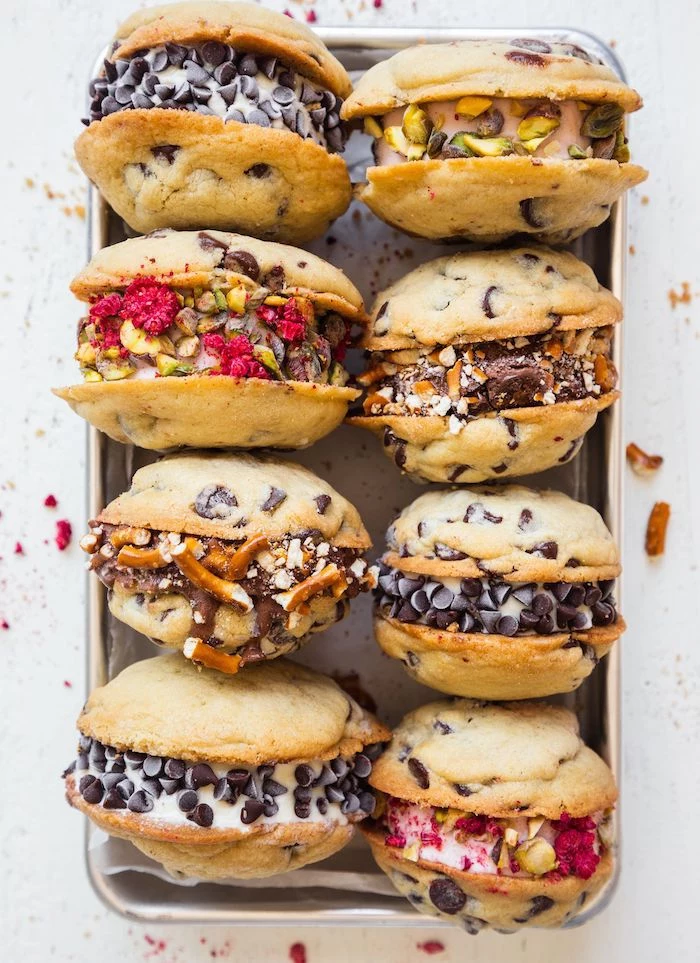
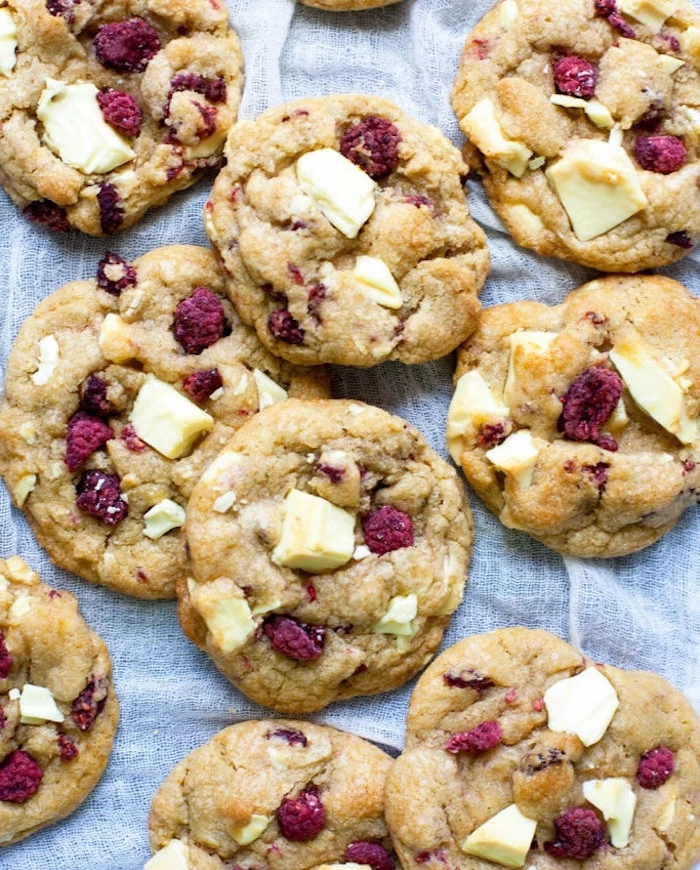
Think beyond standard chocolate chips. Creating a custom blend adds incredible texture and flavor complexity.
- For texture: Mix semi-sweet chunks with mini chips.
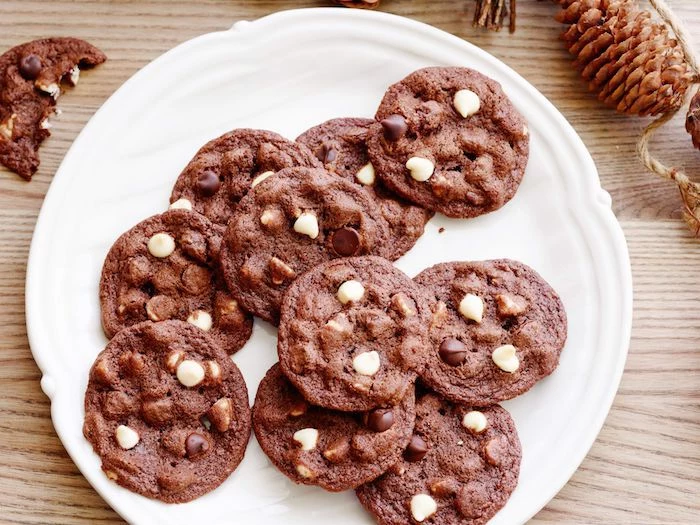
- For flavor depth: Combine dark chocolate (70% cacao) with sweeter butterscotch or peanut butter chips.
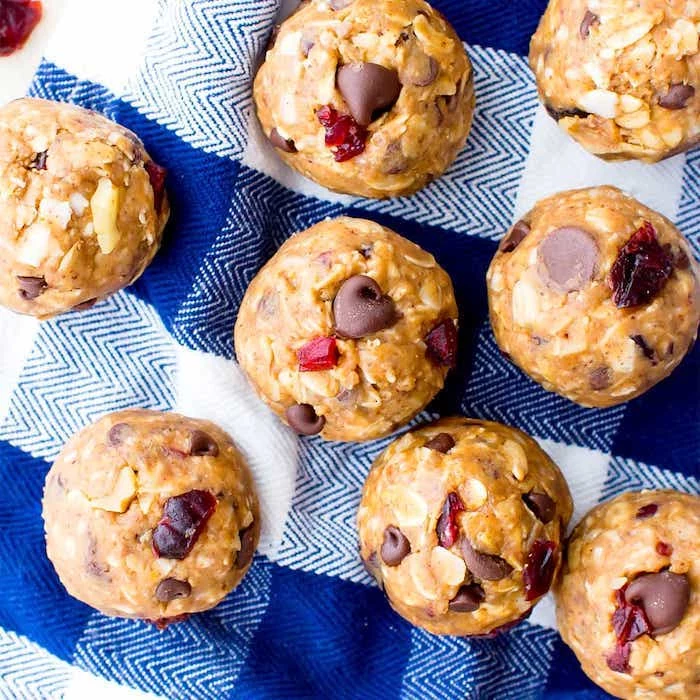
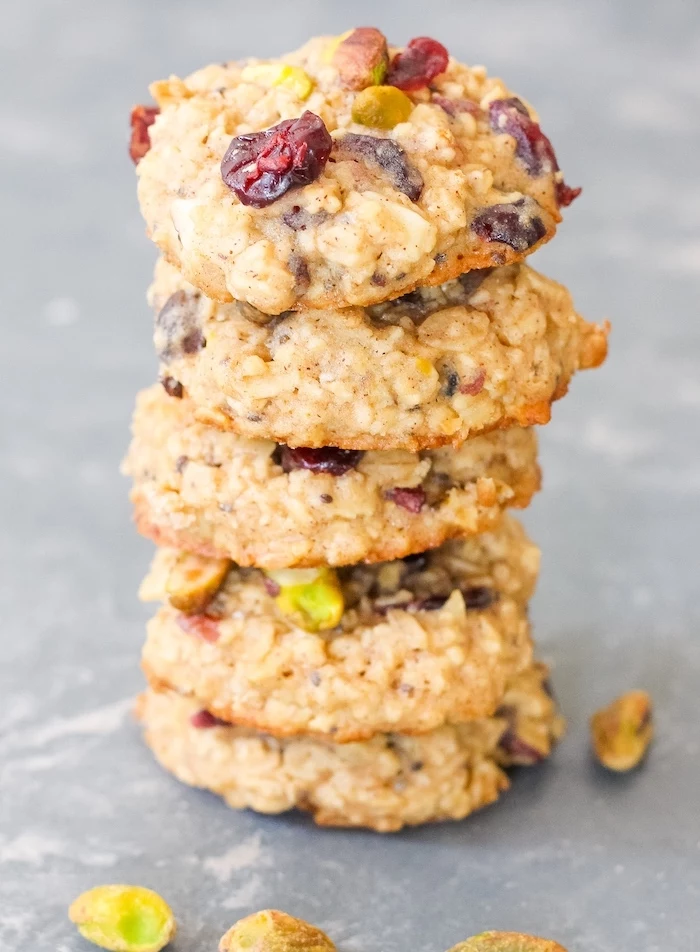
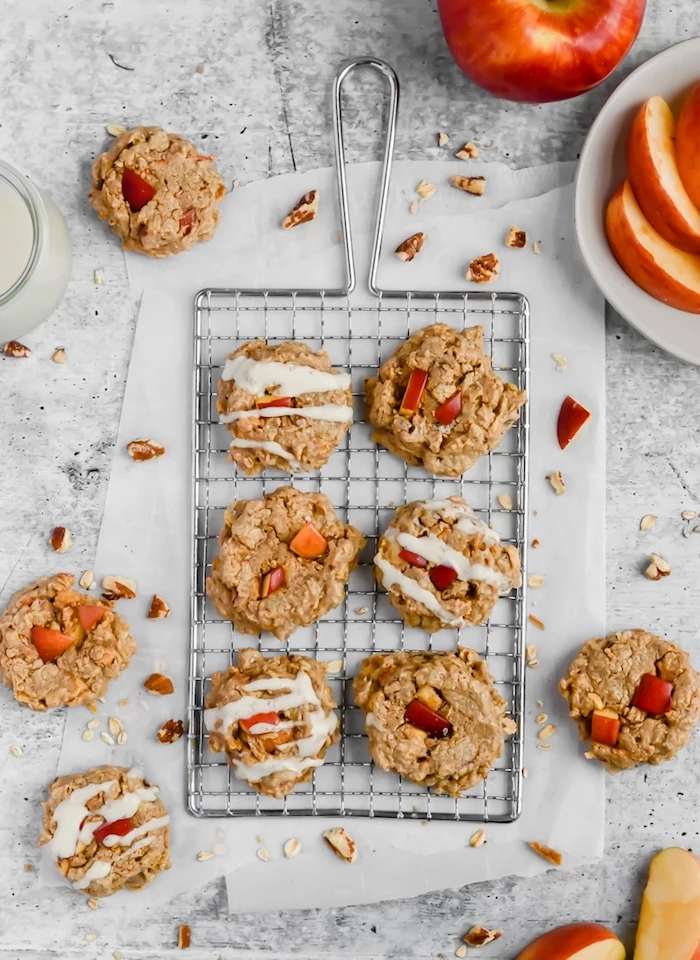
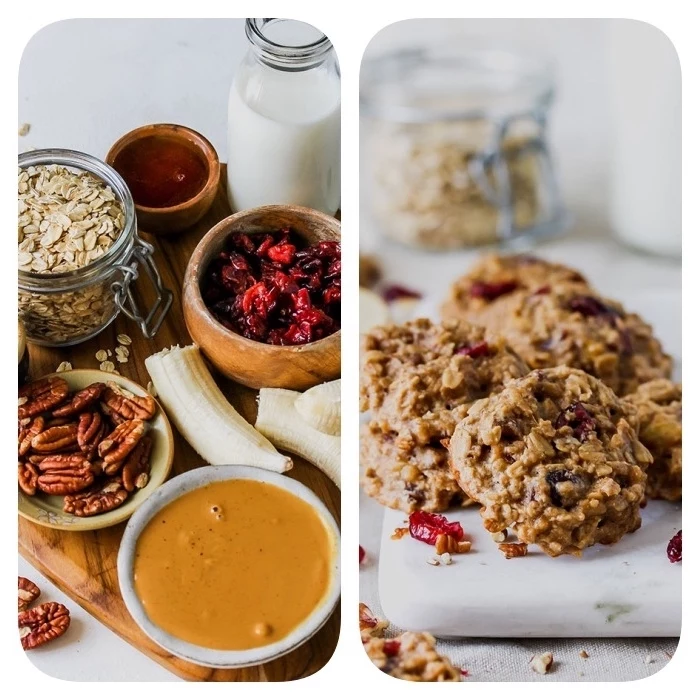
- For a nutty crunch: Add toasted and chopped pecans or walnuts.
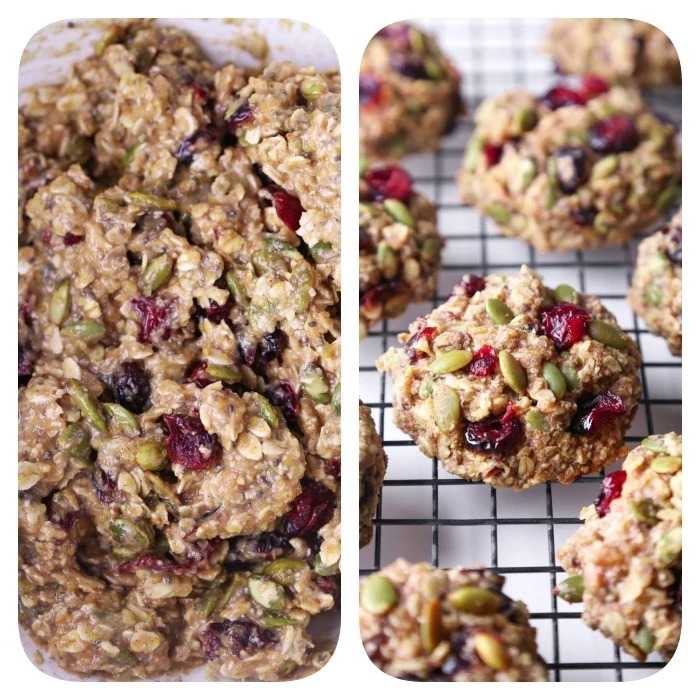
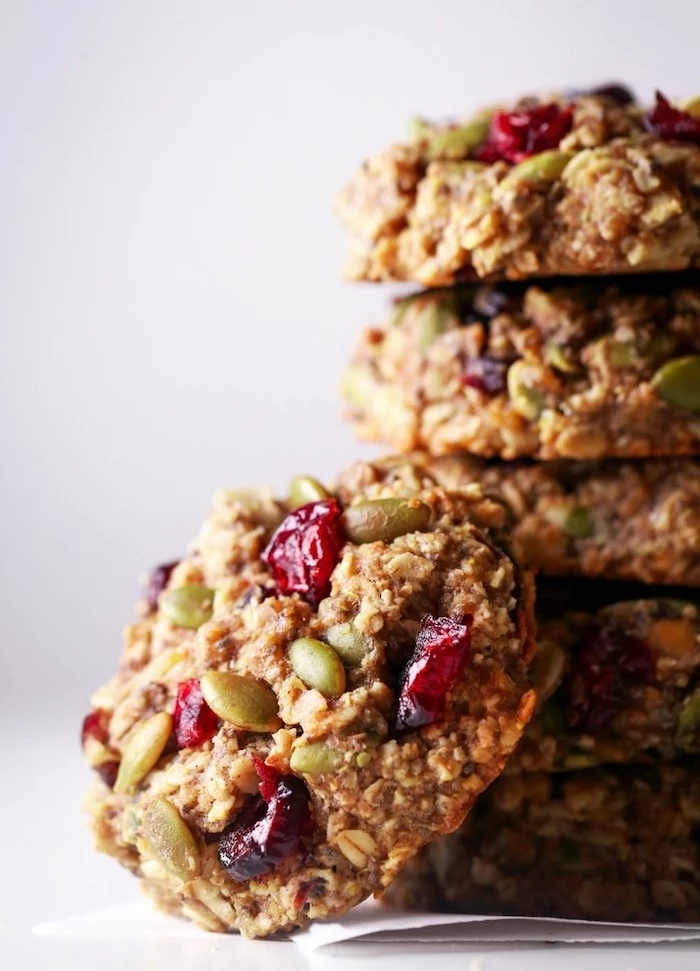
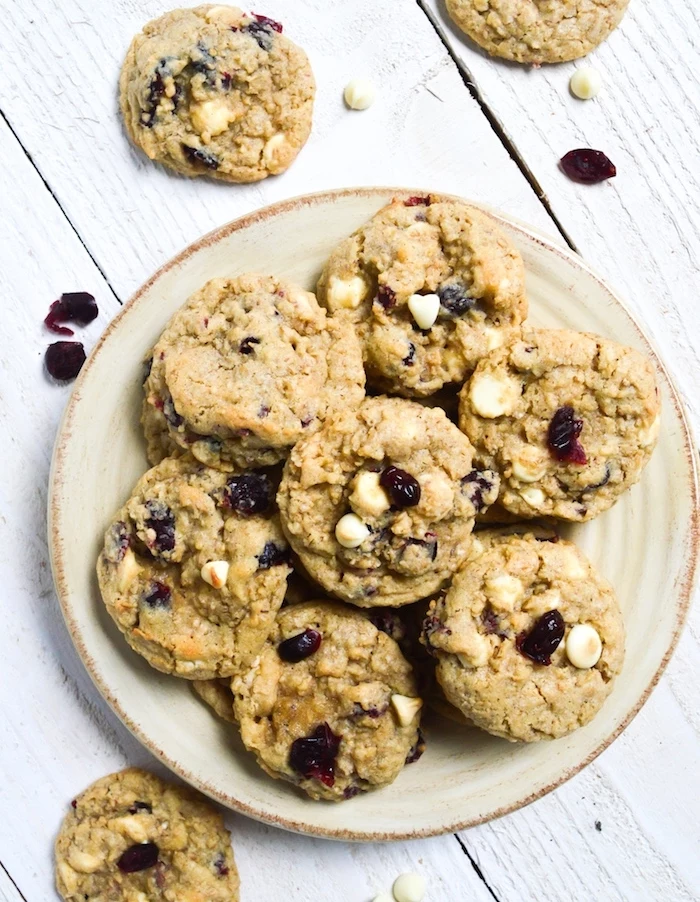
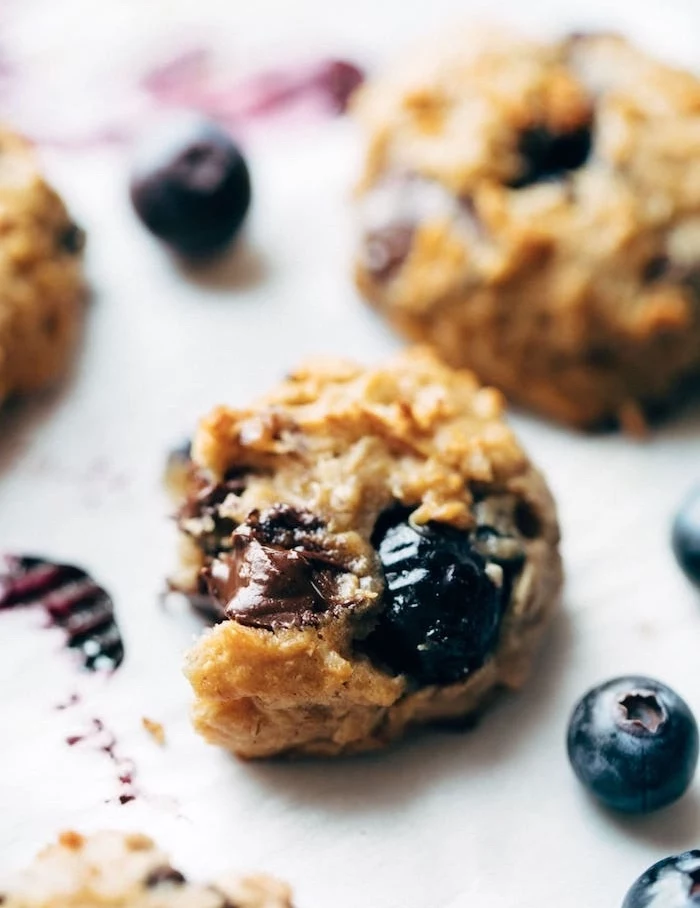
- For a chewy surprise: Toss in some dried cherries or cranberries.

Critical mistake to avoid: Over-mixing the dough once the flour is added. Mix only until the last streaks of flour just disappear. Every second you mix after that develops more gluten. While gluten is necessary for chew, too much of it will take your cookie from pleasantly chewy to tough and bready. Mix less than you think you need to.

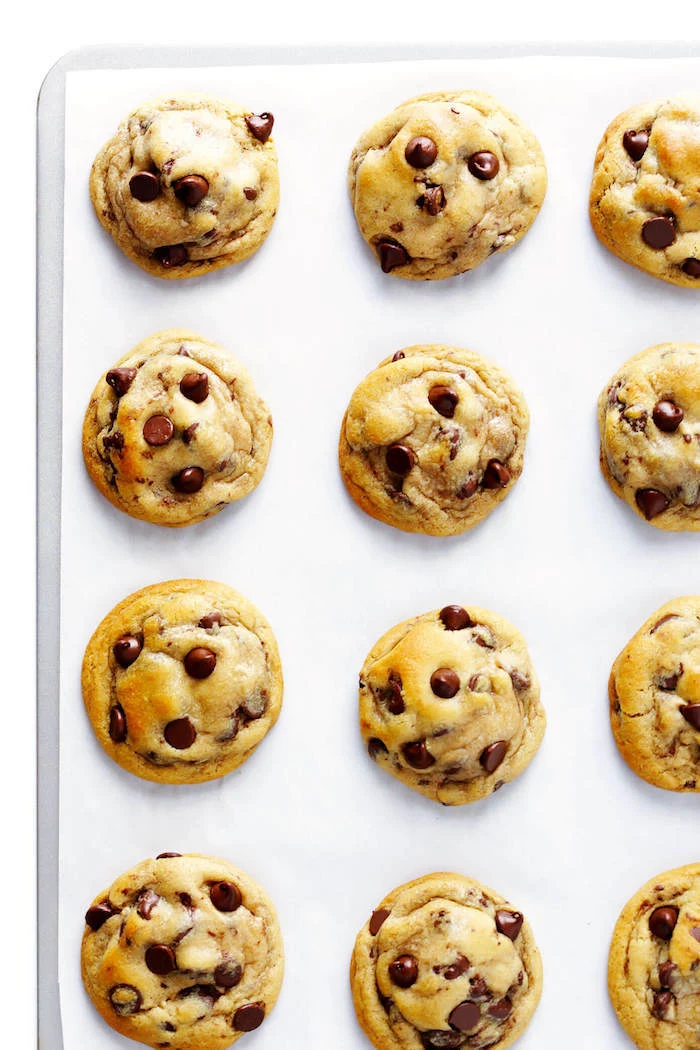
- Perfectly portioned, uniform cookies.
- A satisfyingly crisp edge.
- A soft, beautifully gooey center.
The trick? It’s called the
Most home ovens are liars. A study by a major appliance testing lab found that oven temperatures can be off by as much as 50°F (28°C) or more from what the dial says.
An inaccurate temperature is a primary cause of baking fails. An oven that’s too hot will burn the bottoms before the centers are cooked, while one that’s too cool will cause cookies to spread into thin crisps. An inexpensive oven thermometer is one of the most valuable tools you can own for consistent baking.
Freezing dough is a pro move for cookies on demand. Scoop the dough into balls, place them on a parchment-lined tray, and freeze until solid. Then, transfer the frozen dough balls to a zip-top bag. You can bake them straight from the freezer; just add 2-3 minutes to the baking time. The frozen start also helps prevent spreading, leading to thicker, chewier cookies.
What’s the difference between using brown sugar and white sugar?
It’s all about moisture and acidity. White sugar promotes crispness and spread. Brown sugar, on the other hand, contains molasses, which is hygroscopic (it attracts water) and slightly acidic. This moisture retention is essential for a soft, chewy texture, while the acid reacts with baking soda to provide lift. Most chewy cookie recipes use a higher ratio of brown sugar to white sugar for this very reason.
If you’re out of brown sugar, don’t panic. You can easily make your own.
- For every 1 cup of granulated white sugar, add 1 tablespoon of molasses for light brown sugar, or 2 tablespoons for dark brown sugar.
- Mix them together with a fork or in a stand mixer until the color is completely uniform.
This DIY version works perfectly in any cookie recipe and saves you a trip to the store.
Vanilla Extract: The standard workhorse. Made by soaking vanilla beans in alcohol. A good quality pure vanilla extract is essential.
Vanilla Paste: A thicker, more syrupy liquid that contains the actual seeds from the vanilla pod. It provides a more intense flavor and the beautiful visual specks of vanilla in your dough.
Vanilla Bean: The most potent and flavorful option. Scrape the seeds from one pod to replace about a tablespoon of extract. It’s a luxurious choice for when you want the vanilla to be a star player.

Stop creaming butter and sugar with a cold bowl. If you’re using a stand mixer like a KitchenAid, the metal bowl can get very cold, especially in winter. This can cause your room-temperature butter to firm up again as it mixes, preventing proper creaming. A quick rinse of the bowl with warm water before you start will solve the problem instantly.
On average, Americans consume about 300 cookies per person per year. That’s a lot of opportunities to get it right!


