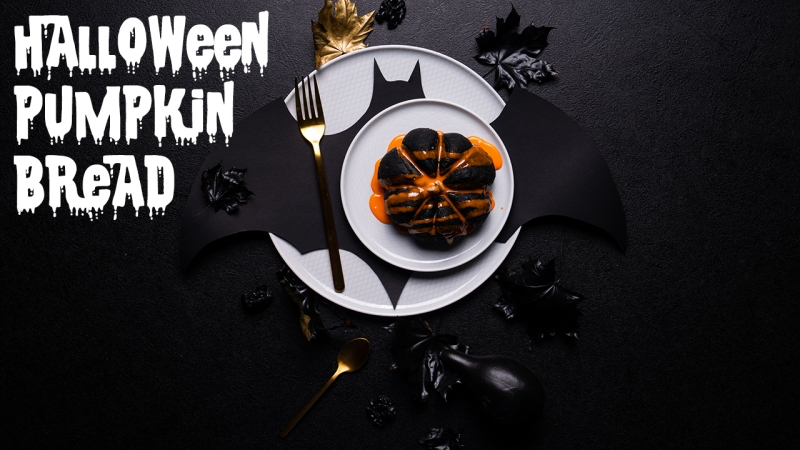
How to Bake Showstopper Black Pumpkin Bread (That Actually Tastes Amazing)
I’ve spent more than two decades in the kitchen, from pro bakeries to my own countertops, and let me tell you—nothing beats the smell of autumn baking. It’s not just cinnamon and yeast; it’s that feeling of cozy warmth that fills the house on a crisp day. It’s the pure satisfaction of pulling a perfect loaf from the oven. And for this season, the most dramatic bake has to be black pumpkin bread. It looks incredibly fancy, but at its heart, it’s a simple, honest loaf.
In this article
A lot of recipes treat this as a quick gimmick, focusing only on the spooky color. But for a baker, this is a chance to play with some fun, fundamental skills. We’re talking about managing a wet dough, understanding how fermentation works, and creating something that looks as good as it tastes. I’ve seen so many bakers-in-training wrestle with this sticky dough, only to beam with pride at their final pumpkin-shaped creations. So in this guide, we’re going beyond a basic recipe. We’re going to learn the craft behind the loaf.

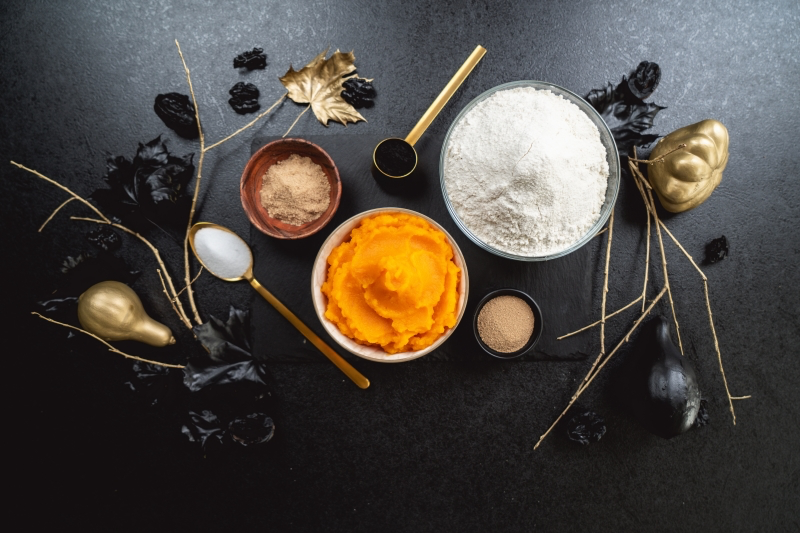
First, Your Baker’s Shopping List
Before we get our hands dirty, let’s talk ingredients. Good baking starts with good materials, and knowing what you need ahead of time is half the battle. This is what we call “mise en place,” or having everything in its place. It’s a game-changer.
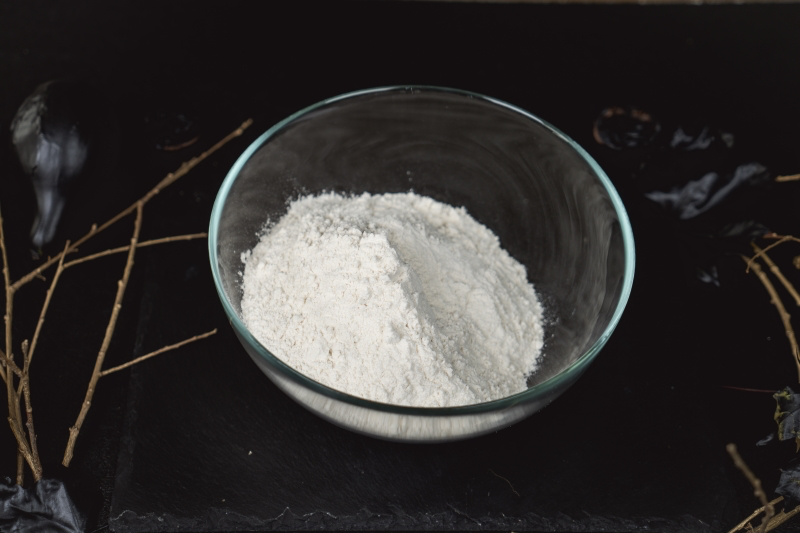
- Flour: All-purpose or bread flour works. We’ll get into the difference in a minute.
- Pumpkin Purée: One standard 15-ounce can (that’s about 425g). Make sure it’s 100% pure pumpkin, not pumpkin pie filling!
- Milk: Whole milk is great for richness. By the way, oat or soy milk work beautifully here, too!
- Yeast: Instant yeast is my go-to for its reliability.
- Sugar & Salt: Standard granulated sugar and fine sea salt.
- Spices: Think pumpkin pie spice—cinnamon, nutmeg, ginger, and a pinch of cloves.
- Food-Grade Activated Charcoal: This is the magic ingredient for the color. Heads up: You can’t just grab this anywhere. Look for it online (Amazon has tons of options) or in the supplement aisle of a health food store like Whole Foods or The Vitamin Shoppe. A small jar costs around $10-$15 but will last you for ages.
- 100% Cotton Butcher’s Twine: This is for shaping the pumpkins. Do NOT use synthetic craft twine; it can melt or release nasty stuff into your bread. You can find this in most grocery stores near the meat counter or in the kitchen gadget aisle. A roll is usually just a few bucks.
- For the Stem (Optional): A pecan half or a small piece of a cinnamon stick works perfectly.
The Ultimate Black Pumpkin Bread Recipe
Alright, ready to bake? Here are the measurements we’ll be working with. I’ve included both cups and grams because using a digital scale is a baker’s best friend for consistent results.
Yields: 4 small pumpkin loaves
Prep time: 30 minutes
Rise time: About 2 hours total
Bake time: 20-25 minutes
Ingredients:
- All-Purpose or Bread Flour: 3 ¼ cups (400g)
- Instant Yeast: 2 ¼ tsp (7g, or one packet)
- Granulated Sugar: 2 tbsp (25g)
- Fine Sea Salt: 1 ½ tsp (8g)
- Food-Grade Activated Charcoal: 1 tbsp (about 6g)
- Pumpkin Purée: ½ cup (120g) from a 15oz can
- Warm Milk (around 110°F/43°C): 1 cup (240ml), plus a little extra if needed
- Unsalted Butter, melted: 2 tbsp (28g)
The Baker’s Process: Step-by-Step
Now that we have everything, let’s walk through the process. Don’t rush these steps—good bread takes time.
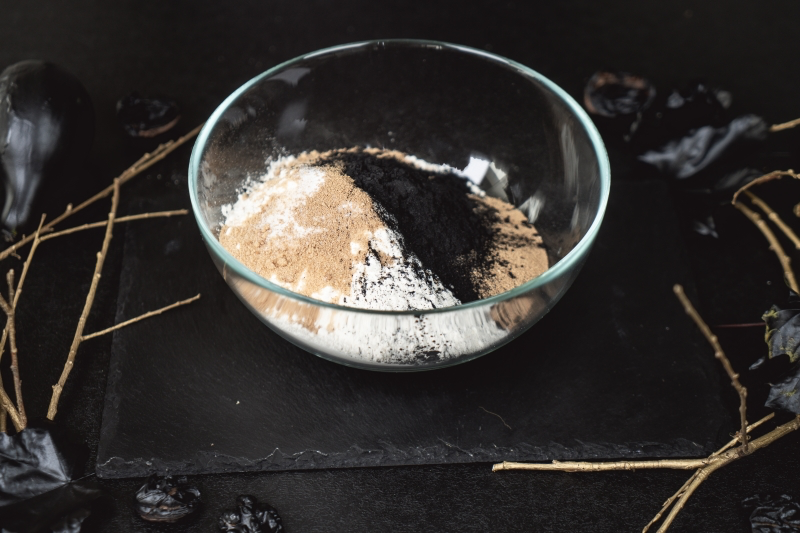
Step 1: Mix the Dough
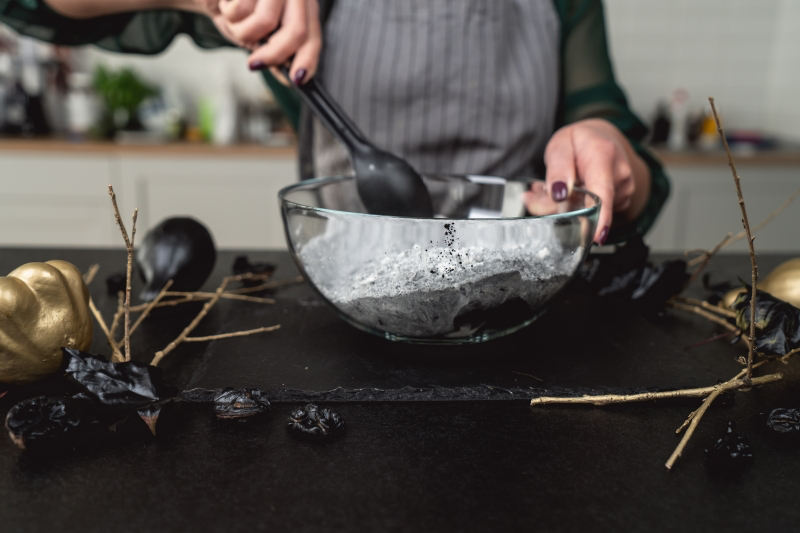
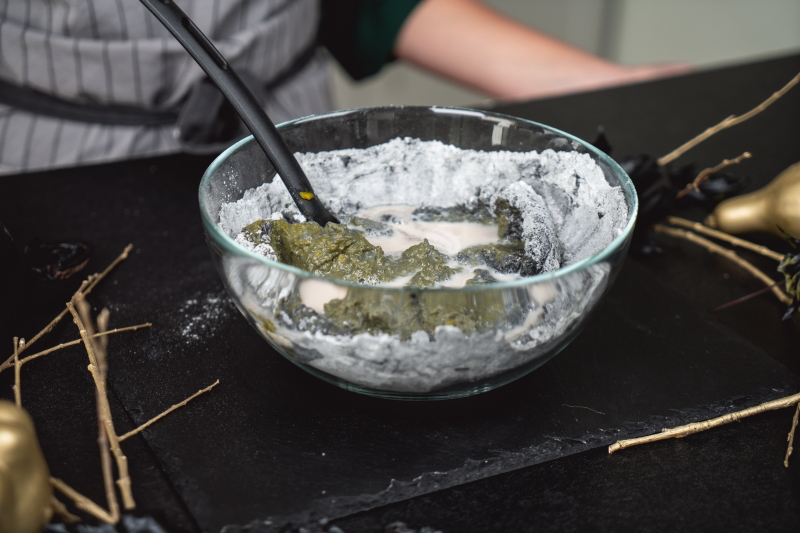
In a large bowl (or the bowl of your stand mixer), whisk together the dry ingredients: flour, instant yeast, sugar, salt, and the activated charcoal. Giving it a good whisk now means you won’t get streaks or pockets of salt later on.
Then, add the wet ingredients: the pumpkin purée, melted butter, and about three-quarters of the warm milk. Mix with a spatula until a shaggy, sticky dough forms. If there’s still dry flour at the bottom, add the remaining milk a little at a time until it’s all incorporated. The dough should be sticky. Don’t panic! Now, cover the bowl and let it rest for about 15-20 minutes. This little pause lets the flour absorb the liquid and makes kneading so much easier.
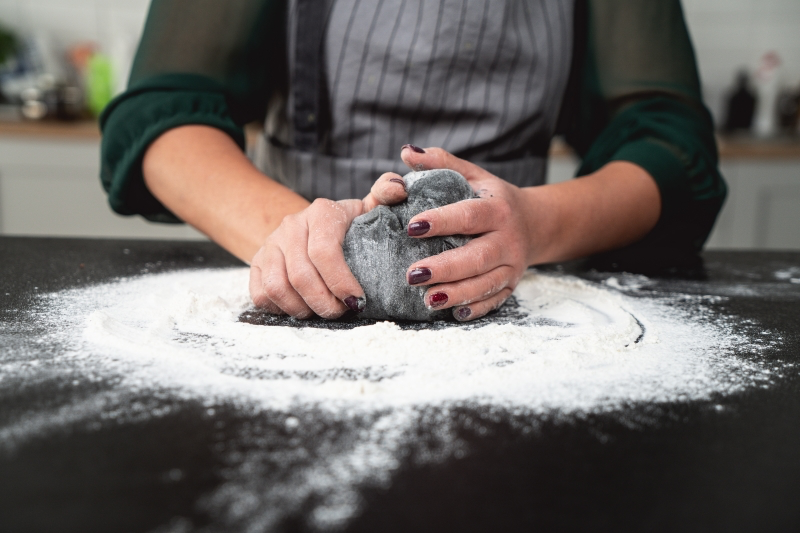
Step 2: Knead to Build Structure
This is where the magic happens. Kneading develops gluten, which gives the bread its structure and chew.
With a stand mixer: Using the dough hook, knead on a low-medium speed for 8-10 minutes. The dough will start out clinging to the sides of the bowl, but as the gluten develops, it will become smoother and start to pull away. Resist the temptation to add a bunch of extra flour!
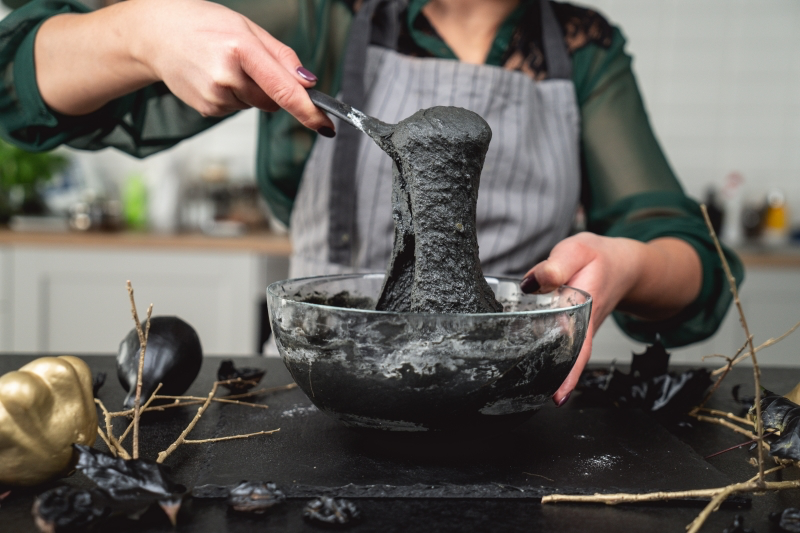
By hand: This dough is wet, so I highly recommend the “slap and fold” method. Lightly flour your counter, plop the dough down, and slap it on the surface. Stretch it forward, then fold it back over itself. It’s a sticky mess at first, I won’t lie. But after 10-15 minutes of this rhythm, you’ll feel the dough transform into a smooth, elastic ball. You’re done when you can do the “windowpane test.” Gently stretch a small piece of dough. If you can stretch it thin enough to see light through it without it tearing, you’re golden.
Step 3: The First Rise (Bulk Fermentation)
Place your kneaded dough into a lightly oiled bowl and cover it with plastic wrap or a damp towel. Let it rise in a warm, draft-free spot until it’s doubled in size. This usually takes 1 to 2 hours. A great spot is inside your oven with just the light on.
To check if it’s ready, use the “poke test.” Gently poke the dough with a floured finger. If the indent springs back immediately, it needs more time. If it springs back slowly but leaves a little dent, it’s perfect.
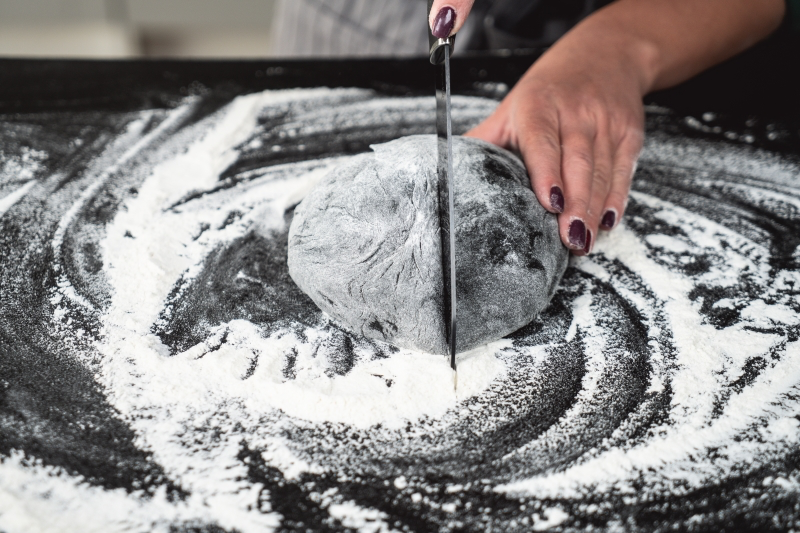
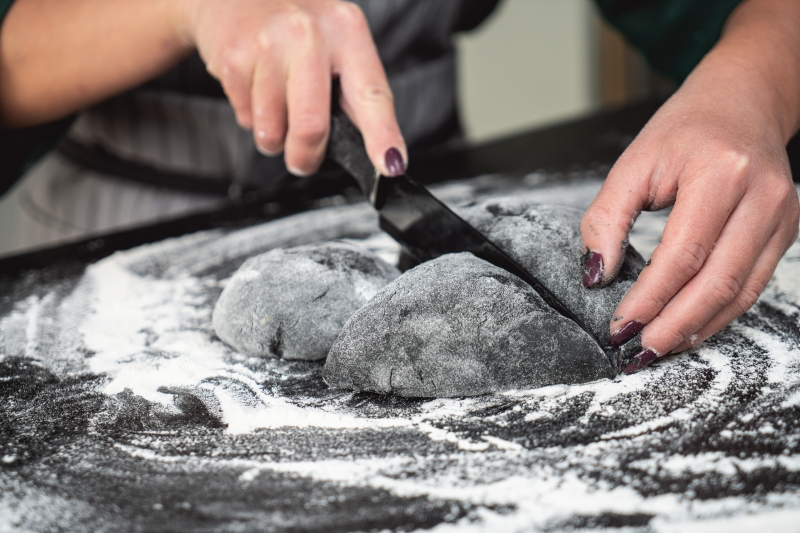
Step 4: Shape Your Pumpkins
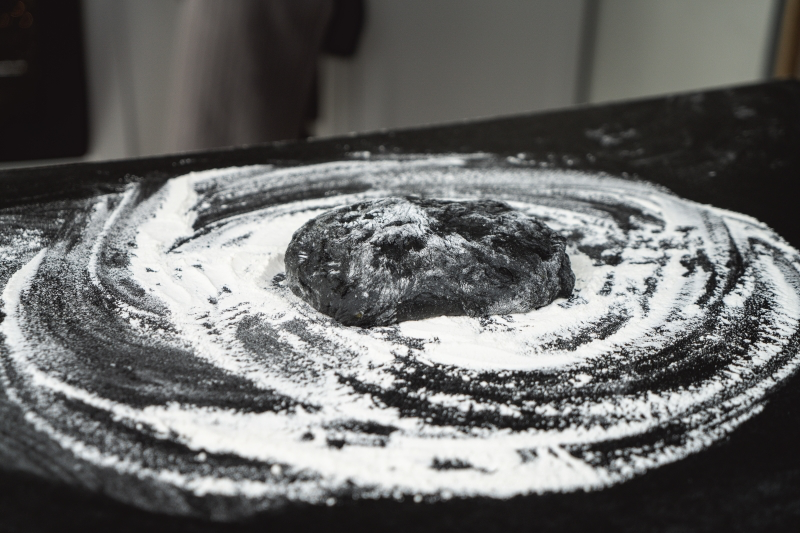
Gently press down on the risen dough to deflate it, and turn it out onto a lightly floured surface. Using a bench scraper or knife, divide the dough into four equal pieces. A scale is your best friend here for even-sized rolls.
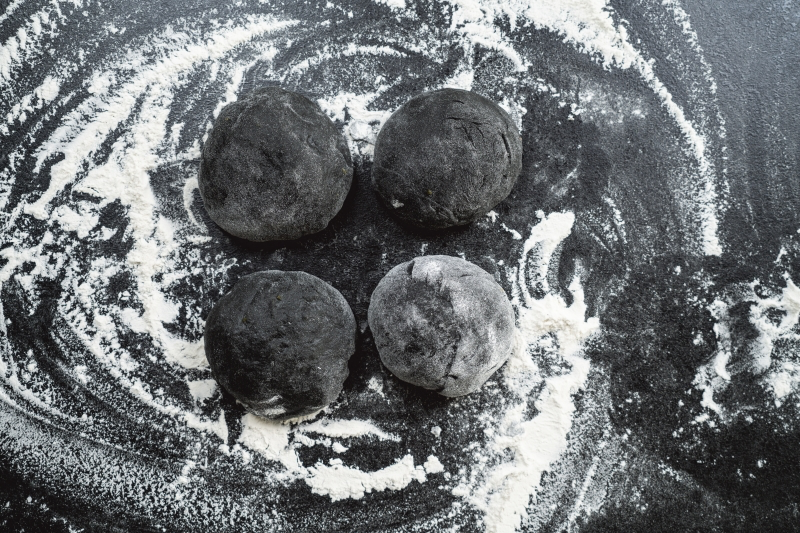
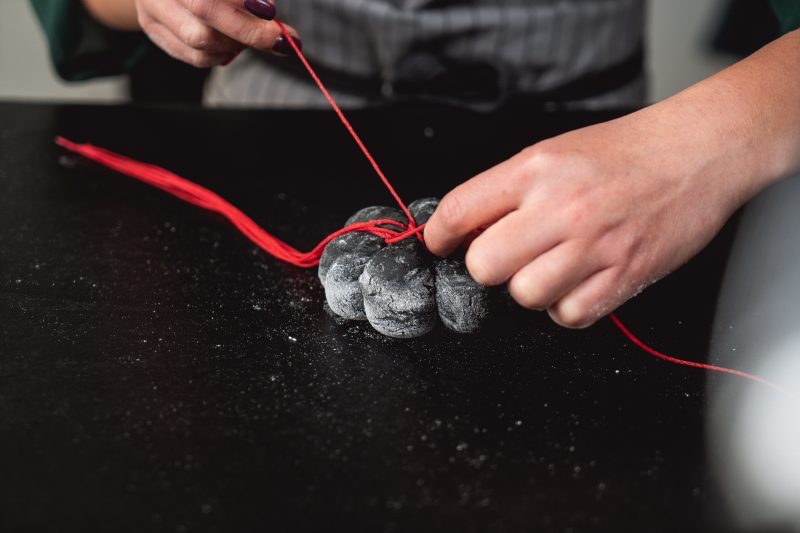
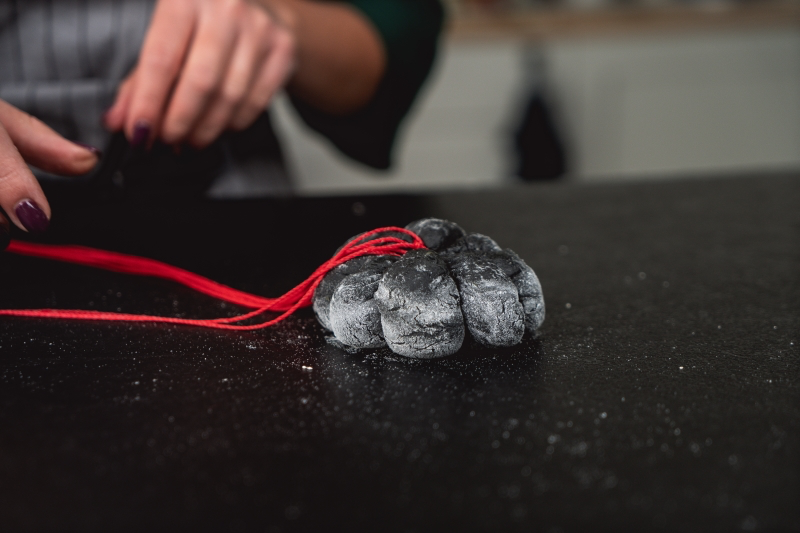
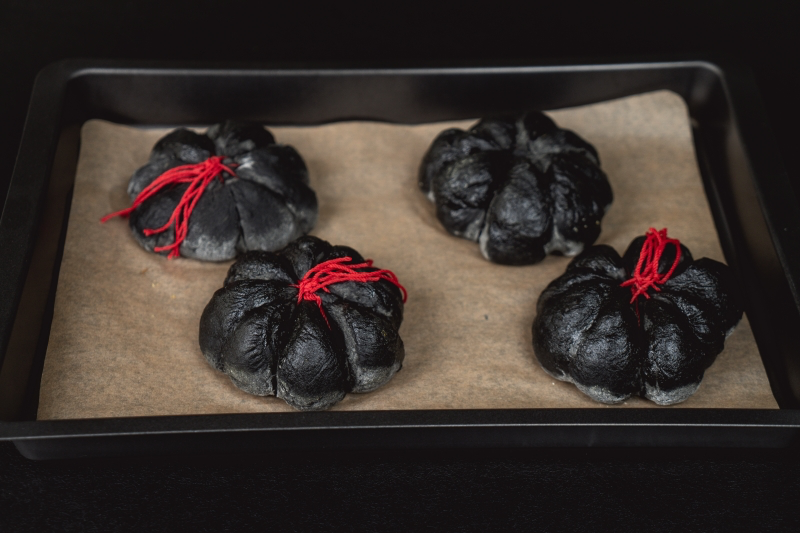
For each piece, form it into a tight, smooth ball. This builds tension on the surface so it rises up instead of out. Now, for the string! Remember to use 100% cotton butcher’s twine. A quick tip: soak the strings in a bit of cooking oil first. This prevents them from sticking to the bread after baking.
Cut four long pieces of string for each dough ball. Lay them on your counter in a star pattern. To make it easy, imagine a compass: lay one string North-South, one East-West, one Northeast-Southwest, and one Northwest-Southeast. Place your dough ball in the very center. Bring the strings up and tie them together at the top, like you’re tying a little package. Don’t tie them super tight—the dough needs room to expand. Trim the excess string.
Step 5: The Final Proof & Baking
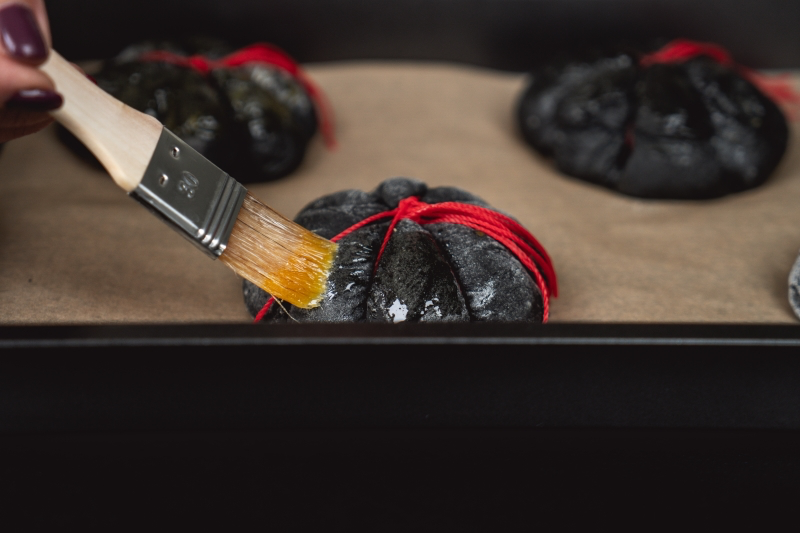
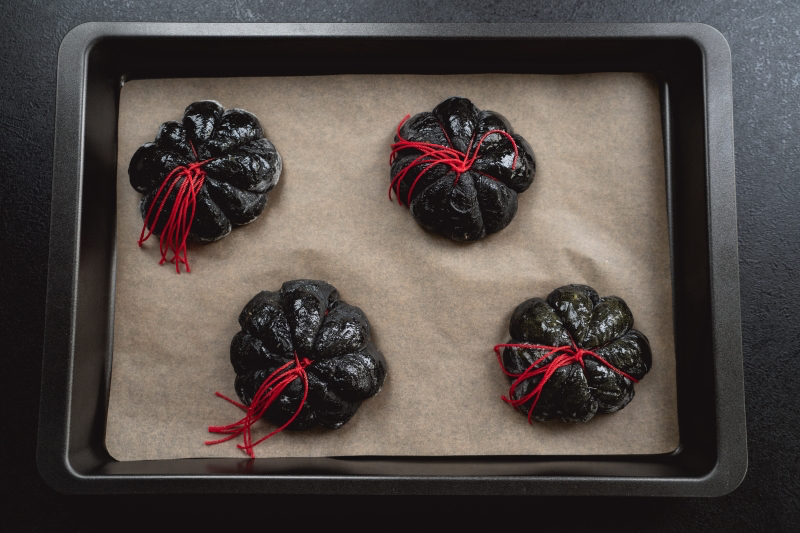
Place your tied loaves on a baking sheet lined with parchment paper. Cover them loosely and let them rise again for 30-45 minutes. They should look puffy and feel light. While they’re proofing, preheat your oven to 400°F (200°C).
For a bakery-style crust, try this steam trick: Place a metal pan (NOT glass, it can shatter) on the bottom rack of your oven while it preheats. Right before putting the bread in, carefully pour a cup of hot water into the pan. It will create a huge burst of steam—so be careful and keep your face away! Immediately close the oven door.
Bake the loaves for 20-25 minutes. Since you can’t judge doneness by color, an instant-read thermometer is the best tool. The bread is done when its internal temperature reaches 190-200°F (88-93°C). No thermometer? Carefully turn a loaf over and tap the bottom. It should sound hollow.
Step 6: Cool and Finish
Transfer the hot loaves to a wire rack immediately. You HAVE to let them cool for at least an hour before slicing. I know, it’s torture. But cutting into it too soon will give you a gummy, underdone texture as the inside is still setting.
Once cool, carefully snip the strings with scissors and gently pull them away. For the final touch, push a pecan half or a piece of a cinnamon stick into the top for a stem. Voilà!
Let’s Talk Ingredients (The ‘Why’ Behind the ‘What’)
Understanding your ingredients is what separates a good baker from a great one. Let’s break it down.
The Flour Showdown: All-Purpose vs. Bread Flour
So, which flour should you use? Honestly, it depends on the texture you’re after. There’s no wrong answer.
- All-Purpose Flour: This is your go-to for a softer, more tender crumb. It has a lower protein content (around 10-12%), which creates a less chewy, more cake-like texture that many people love for this kind of bread.
- Bread Flour: If you want a chewier loaf that holds its shape like a champ, bread flour is your friend. Its higher protein content (12-14%) builds a stronger gluten network, giving you a better rise and more chew. I often lean this way for shaped loaves.
A Quick Word on Activated Charcoal
This stuff is what gives the bread its dramatic color, but it’s pretty powerful. The first time I used it, my kitchen looked like a coal miner had sneezed everywhere. It’s very fine and will stain your hands, counter, and clothes, so wear an apron and be ready for cleanup!
CRITICAL HEALTH NOTE: Activated charcoal is known to absorb things in your stomach—that’s why it’s used in hospitals for some types of poisoning. Because of this, it can also absorb medications (like birth control, antidepressants, and thyroid meds), making them less effective. If you or anyone eating this bread is on medication, please consult a doctor or pharmacist first. Seriously. Your health is way more important than a cool-looking loaf.
Help! What Went Wrong? (Troubleshooting)
Even seasoned bakers have off days. If your bread didn’t turn out perfectly, here are a few common culprits:
- “My dough is a sticky monster!” Welcome to working with pumpkin! This dough is naturally wet. Trust the process. Use the slap-and-fold technique and avoid adding too much extra flour, which will make your bread dense.
- “My bread didn’t rise.” This is usually a yeast issue. Was your milk too hot (which kills yeast) or too cold (which makes it sluggish)? Is your yeast old? Always check the expiration date! Or, maybe your kitchen was just too chilly.
- “My bread is dense and heavy.” This could be a few things: you might have added too much flour to combat stickiness, you might not have kneaded it long enough to develop the gluten, or you didn’t let it rise long enough (under-proofed).
Serving, Storing, and Getting Creative
This bread is fantastic on its own, but a smear of salted butter is classic. To level up, try it with cinnamon-honey butter or a tangy cream cheese spread. For a savory twist, whipped goat cheese with fresh thyme is out of this world.
To store it, wait until it’s completely cool, then wrap it tightly. It’ll stay fresh at room temperature for about 3 days. Please, don’t put it in the fridge—it will go stale faster! It also freezes beautifully for up to three months.
Once you’ve nailed the basic recipe, feel free to experiment. Add a cup of toasted pecans or chocolate chips during the last minute of kneading. Or play with the spices—a little cardamom and orange zest would be incredible.
I really hope this gives you the confidence to try this amazing bread. Be patient with yourself. Your first loaf might not be perfect (my first few hundred weren’t!), but with every bake, you learn the feel of the dough and the deep satisfaction of creating something beautiful with your own two hands.
Inspiration:
To prevent the butcher’s twine from sticking to your finished loaf, give it a quick dip in neutral oil before tying up your dough. This simple step creates a barrier, ensuring the twine peels away cleanly after baking, leaving perfect pumpkin-shaped grooves without tearing the beautiful black crust.
- A vibrant, tangy counterpoint to the earthy pumpkin.
- A dramatic visual contrast on the serving platter.
The secret? Serve your black bread with a dollop of bright orange whipped honey butter or a zesty cream cheese spread infused with orange zest. The color pop is as impressive as the flavor combination.
Did you know? Activated charcoal is so porous that a single teaspoon has a surface area equivalent to a football field.
This incredible structure is what makes it a powerful colorant. The countless tiny pores trap light and color compounds, resulting in a deep, true black that food dyes struggle to replicate without chemical flavors. It colors your dough without affecting the delicate taste of pumpkin and autumn spices.
My dough is a sticky, unmanageable mess! What’s gone wrong?
Nothing! Pumpkin purée adds a lot of moisture, creating a high-hydration dough. Resist the urge to add too much extra flour, which will make the bread dense. Instead, embrace the stickiness. Use a well-oiled bowl for rising, a plastic bench scraper for handling, and lightly wet your hands instead of flouring them to shape the loaves. Trust the process—the result is a wonderfully moist crumb.
Activated Charcoal: Provides an intense, pure black color with virtually no impact on the bread’s flavor. It’s perfect for achieving that dramatic, spooky look while letting the pumpkin and spice shine through. Ideal for the purist.
Black Cocoa Powder: Yields a very dark brown, not a true black. It imparts a deep, rich, Oreo-like chocolate flavor. Consider using a quality brand like King Arthur or Valrhona. A great option if you want to create a ‘chocolate pumpkin’ loaf.
A critical health note: Activated charcoal is known for its absorbent properties, which is why it’s used in medical settings. However, this means it can also absorb medications, vitamins, and nutrients, rendering them less effective. If you or your guests are on any medication (especially birth control or heart medication), it’s wise to consume this bread several hours apart from taking pills. When in doubt, consult a healthcare professional.
Want to push the flavor profile? The classic pumpkin spice is just a starting point. Think about adding these to the dough for a unique twist:
- Cardamom and Orange Zest: Adds a sophisticated, slightly floral and citrusy brightness.
- Espresso Powder: A teaspoon will deepen the flavor complexity without making it taste like coffee.
- Candied Ginger: Finely chopped pieces provide sweet and spicy bursts throughout the loaf.
- Black Sesame Seeds: For a nutty crunch and to enhance the dark aesthetic.
The tradition of dark, almost black, breads isn’t new. Think of dense German Pumpernickel, which gets its deep color from a long, slow baking process and coarse, whole rye meal.
While our black pumpkin bread uses a modern trick with charcoal for its color, it taps into a long-standing aesthetic appreciation for dark, hearty loaves that signify warmth, nourishment, and a connection to the harvest.
For the ‘stem’ of your pumpkin loaf, don’t just stop at a pecan half. A small piece of a real cinnamon stick from a brand like Simply Organic not only looks authentic but also adds a wonderful aroma as the bread cools. For a more gnarled, spooky look, a single whole clove or a twisted piece of dried fruit leather works beautifully.


