Stop Ruining Your Steaks: The Real Pro’s Guide to Grilling
I’ve been cooking over live fire for a long, long time. But let’s be clear: my journey started with a whole lot of disappointment. I’m talking about a cheap kettle grill, a bag of those self-lighting briquettes, and chicken that was somehow both burnt to a crisp on the outside and alarmingly raw on the inside. It tasted like chemicals and failure. Frustrating doesn’t even begin to cover it.
In this article
The big “aha!” moment for me was watching an old-timer at a local cook-off. He wasn’t using any fancy gear. He was just… in control. He understood the fire. That’s when I realized grilling isn’t about blasting meat with as much heat as possible. It’s a craft. It’s about managing heat.
So, after years in professional kitchens and teaching others the ropes, I’ve boiled it all down. The gap between a backyard amateur and a seasoned pro has nothing to do with how much their grill costs. It’s about understanding the fundamentals: your fuel, your fire setup, the meat you choose, and your timing. This is what we’re digging into today—the stuff that actually works, every single time.
First Things First: Your Fuel Is Your Flavor
Your very first decision—what to burn—shapes everything that follows. It sets the stage for your heat, your cooking style, and most importantly, the taste of your food. Let’s break down the options, because this choice really matters.
Charcoal: The Heart of Grilling
For a lot of us, if you’re not using charcoal, you’re not really grilling. It’s what gives food that classic, smoky flavor that a gas grill just can’t touch. But even in the world of charcoal, you’ve got a big decision to make.
Lump charcoal is basically pure, carbonized hardwood. Think of it as the wild card. It burns incredibly hot and fast, which is exactly what I want for a quick, hard sear on a thinner steak or for charring vegetables. It also reacts fast when you adjust the vents on your grill. The downside? The pieces are all different sizes, so you can get hot and cool spots. It requires a more active hand. A good bag of lump, with nice big pieces, will probably cost you between $20 and $30.
Then you have charcoal briquettes—those uniform, pillow-shaped blocks you see everywhere. They are the workhorses of the grilling world. Made from compressed charcoal dust and binders, their biggest advantage is consistency. They burn evenly and provide a steady, long-lasting heat. This is my pick if I’m cooking for a crowd and need to grill batch after batch of chicken or pork chops without the fire dying out. Heads up, though! Steer clear of any “easy-light” or “match-light” versions. They’re soaked in lighter fluid, and trust me, you can taste it in the final product. Stick to the classic, plain briquettes in the big blue bag; they’re reliable for a reason.
A Quick Word on Wood
Adding wood to your charcoal fire isn’t about fuel; it’s about seasoning. It’s how you layer in that next level of smoky complexity. The trick is to pair the right wood with the right meat.
- Bold & Strong (Hickory, Mesquite): These are powerhouses. Hickory is your classic barbecue flavor, amazing with pork. Mesquite is even more intense, so it holds up to beef, but go easy on it—too much can make things bitter.
- The All-Rounder (Oak): Oak is my go-to for just about anything. It’s a solid, medium-strength smoke that works beautifully with big cuts of beef.
- Mild & Sweet (Apple, Cherry): These fruitwoods are much more delicate. They’re perfect for poultry and pork because they add a hint of sweet flavor without overwhelming the meat. By the way, cherry wood gives food a gorgeous, deep red hue.
Quick tip: A lot of people say you should soak wood chips for hours, but honestly, it’s mostly a myth. All you’re really doing is creating steam, which cools down your fire. A quick 30-minute soak is more than enough. For a longer, steadier smoke, I prefer using wood chunks and I don’t soak them at all—just toss them right onto the hot coals.
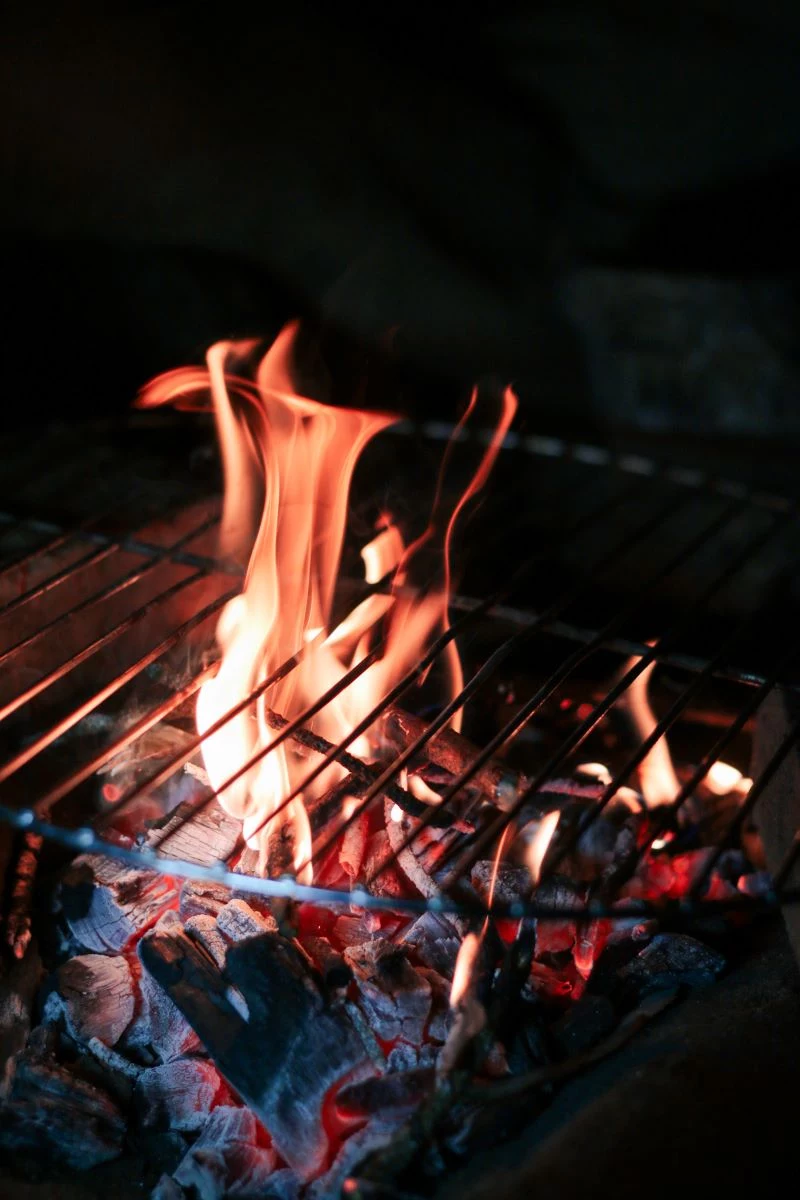
The Most Important Technique: The Two-Zone Fire
If you learn only one thing from this article, let it be this. A two-zone fire is the secret to gaining total control over your grill. It’s simple: you create a hot side for searing and a cool side for gentle cooking. It gives you a safe spot to move food if things get a little too fiery.
Here’s how you set it up on a charcoal grill:
- Use a Chimney Starter. Please, forget the lighter fluid. A chimney starter is a simple metal can that will light your charcoal cleanly and quickly using just a bit of newspaper. You can grab one for about $20 at any hardware store, and it’s the best money you’ll ever spend on grilling.
- Wait for the Ash. Your coals are ready to go when the ones at the top of the chimney are covered in a light gray ash. This usually takes about 15-20 minutes. Don’t dump them while they’re still black and smoking—that’s just bad flavor waiting to happen.
- Pile ‘Em Up. Carefully pour all the hot coals onto ONE side of the grill grate, leaving the other half completely empty. That’s it. You now have a direct (hot) zone and an indirect (cool) zone.
Oh yeah, and that cool zone is your get-out-of-jail-free card. If you get a big grease flare-up on the hot side, don’t panic! Just calmly move your food over to the cool side, let the flames die down, and then move it back.
Getting the Grill Ready
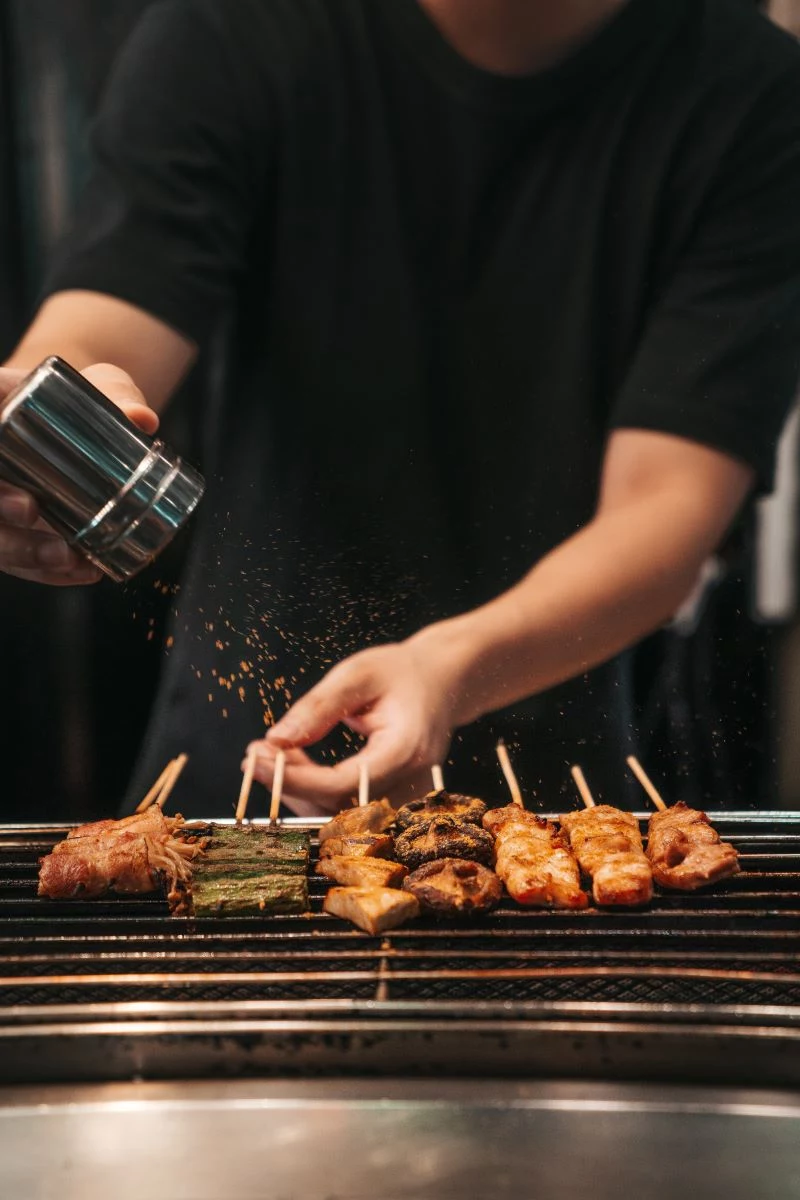
A clean, oiled grate is non-negotiable for preventing food from sticking. Once your grill is preheating, give the grates a good scrub with a wire brush. Then, to oil them, pour a little high-smoke-point oil (like canola or grapeseed) onto a folded paper towel, grab it with long tongs, and wipe it over the hot grates. Safety first: Never, ever spray cooking oil directly onto a hot grill unless you enjoy fireballs near your face.
And don’t trust the thermometer in your grill lid. It’s usually way off. I use the hand test. Carefully hold your palm about five inches above the hot side:
- 2-3 seconds: High heat (450-550°F). Perfect for searing.
- 4-5 seconds: Medium-high heat (400-450°F). Great for most things.
- 6-7 seconds: Medium heat (350-400°F). For denser foods or indirect cooking.
Choosing Your Meat: It’s All About Collagen
You can have the most perfect fire in the world, but if you choose the wrong cut of meat, you’re doomed. Understanding the meat is just as vital as understanding the fire. The key concept here is collagen.
Collagen is connective tissue. Muscles that work hard (like the shoulder or leg) have lots of it, making them tough. But when cooked low and slow for a long time, that collagen melts into gelatin, making the meat incredibly juicy and tender. This is why you smoke a brisket, you don’t grill it.
For fast, high-heat grilling, you need naturally tender cuts with very little collagen.
- Good choices include: Ribeye, New York strip, flank steak, skirt steak, pork loin chops, and any cut of chicken.
Tough, collagen-rich cuts like chuck roast, brisket, and pork shoulder are terrible for grilling. They will be tough as leather. Save those for your smoker or Dutch oven.
And please, talk to your butcher! They are an amazing resource. Instead of just asking for a steak, say, “I’m grilling tonight and want a great steak for around $20.” A good butcher can guide you to the perfect cut for your budget. Always ask for thick cuts—at least 1.5 inches. A thin pork chop or steak will dry out long before you ever get a good sear on it.
The Prep: How to Get That Perfect Crust
Before you even think about seasoning, pat your meat completely dry with paper towels. I can’t stress this enough. Wet meat steams; dry meat sears. Searing creates the Maillard reaction—that magical process that gives grilled food its delicious, deep-brown crust. It only happens on a dry surface.
The Pro Move: Dry Brining
This is a game-changer. A dry brine is just salting your meat ahead of time. Use coarse kosher salt and season the meat generously on all sides. As a rule of thumb, I go with about 1/2 teaspoon of coarse salt per pound of meat. It will look like a lot, but trust the process. Place the salted meat on a wire rack over a baking sheet and pop it in the fridge, uncovered, for at least an hour (or up to a day for a thick roast). The salt draws out moisture, which then dissolves the salt and gets reabsorbed into the meat, seasoning it deeply while drying out the surface for a perfect sear.
For rubs, you can’t go wrong with a simple mix of kosher salt, coarse black pepper, and granulated garlic. Just be careful with rubs that have a lot of sugar—it can burn over high, direct heat. For sugary rubs, I cook on the indirect side for most of the time, then move to the hot side for just a minute to caramelize the sugar without torching it.
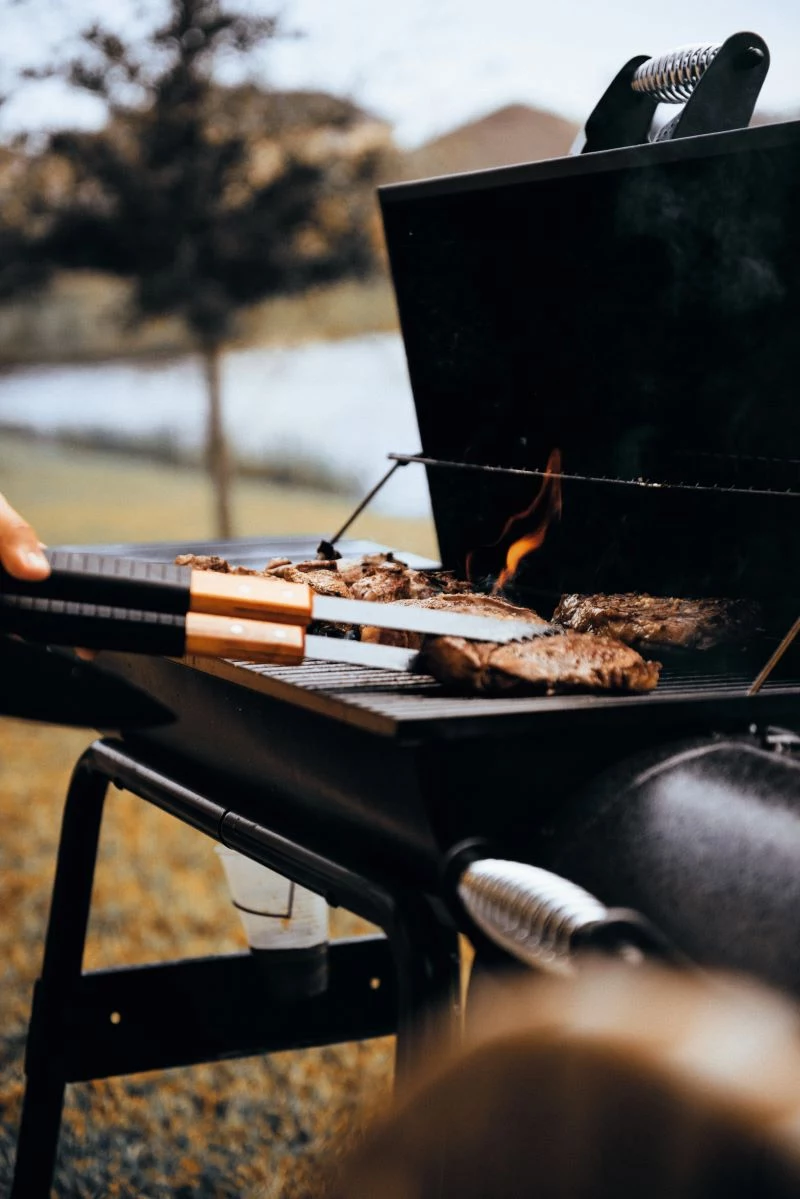
The Cook: Bringing It All Together
Okay, your fire is ready, your meat is prepped. It’s go time. This is where you use that two-zone setup.
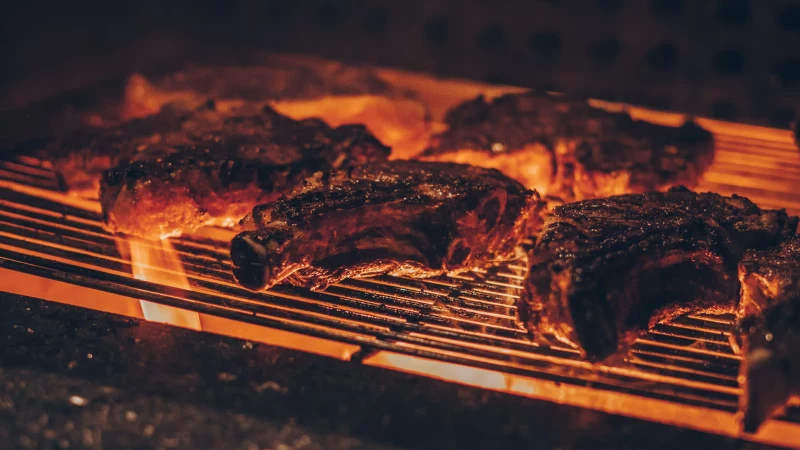
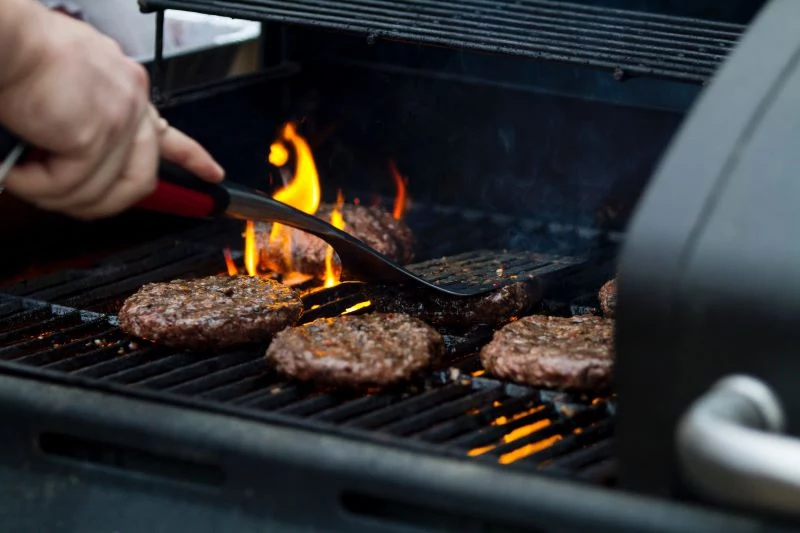
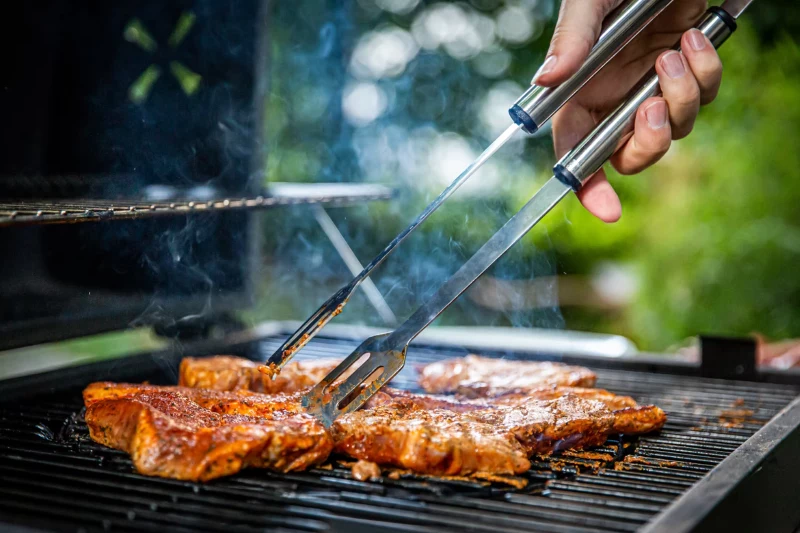
- Sear Hot: Place your meat directly over the hot coals. Don’t touch it for 1-2 minutes. Let it get a beautiful crust.
- Flip and Repeat: Turn the meat and sear the other side for another 1-2 minutes.
- Finish Cool: Move the meat to the cool, indirect side of the grill. Put the lid on, with the top vent positioned over the food. This creates a convection effect, pulling smoky air over the meat and cooking it gently and evenly.
Stop Guessing, Start Temping
If you buy one tool, make it a quality instant-read digital thermometer. It is the ONLY way to know for sure when your meat is done. Guessing is for amateurs. A thermometer is for consistent, perfect results.
You don’t have to break the bank, either. You can find a fantastic, reliable one online for around $30. If you feel like splurging on a pro-grade model that the top chefs use, those can run closer to $100, but honestly, the $30 version will completely change your grilling game.
Good to know: Always pull meat off the grill about 5°F before it hits your target temp. It will continue to cook as it rests.
- Beef: 125°F for Rare, 135°F for Medium-Rare, 145°F for Medium
- Pork: 145°F (Forget the old advice; 160°F will give you a dry, sad pork chop)
- Chicken: 165°F (Always temp the thickest part of the thigh on bone-in pieces)
For really thick cuts (over 1.5 inches), try the reverse sear. You start the meat on the cool side (aim for a grill temp around 225-275°F) and cook it slowly until it’s about 15°F below your final goal. Then, you move it to the screaming hot side for a minute per side to build that final crust. It takes longer, but the result is a perfectly even pink from edge to edge.
Don’t Skip The Rest!
This is easily the most overlooked step. When you cook meat, the muscle fibers tighten and push all the juices to the center. If you slice it right away, all that flavor pours out onto your cutting board. Resting lets the fibers relax and reabsorb that moisture.
Let steaks and chops rest for 5-10 minutes. A big roast needs at least 15-20 minutes. I usually just leave it on the cutting board and avoid tenting it with foil, which can make that beautiful crust go soft and steamy.
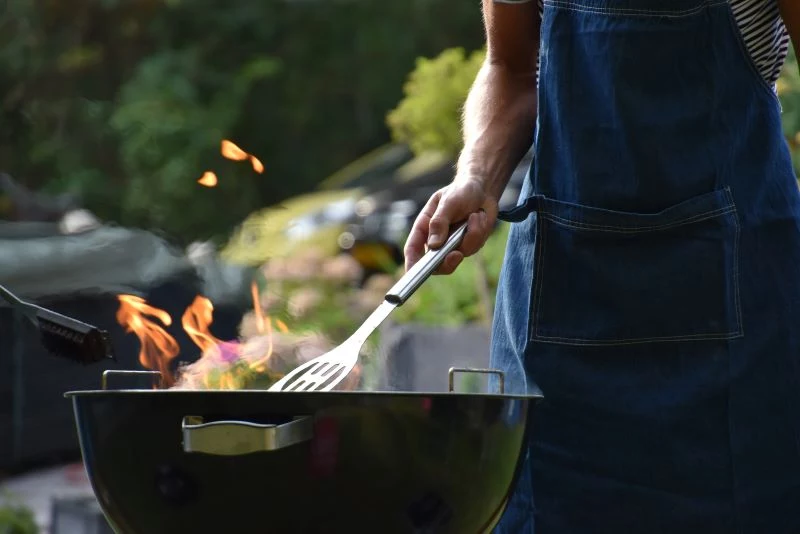
A Few Final Thoughts on Safety & Your Toolkit
Grilling is a blast, but live fire demands respect. Keep your grill at least 10 feet away from your house or any deck railings. I’ve seen vinyl siding melt from a grill that was too close—it’s a real and costly mistake. Always have a fire extinguisher or a box of baking soda handy for grease fires, and let your coals cool completely for at least 48 hours before you toss them (in a metal can, never plastic!).
My Recommended Beginner’s Toolkit
Thinking about getting serious? You don’t need to spend a fortune. Here’s what I’d recommend for a killer setup that won’t break the bank:
- A Classic Kettle Grill: These are versatile and durable. A solid one will run you about $150-$200 and will last for years.
- A Chimney Starter: Absolutely essential. About $20.
- Long-Handled Tongs: Don’t singe your arm hair. A good pair is about $15.
- An Instant-Read Thermometer: The key to consistency. Plan on about $30 for a great one.
For around $250, you can have a setup that will let you cook anything to perfection. The rest is just practice. You’re going to make mistakes. Every cook is a lesson. Focus on the fundamentals, enjoy the process, and get ready to make some truly incredible food.


