Skip the $15 Smoothie Shop: Your Ultimate Guide to Perfect, Creamy Bowls at Home
I’ve spent a lot of time in professional kitchens, from those chaotic breakfast joints to chill health food cafes. And let me tell you, the first rule of smoothie bowls is simple: consistency is king. When someone orders one, they’re not looking for a runny soup you can sip with a straw. They want something thick, creamy, and solid enough to hold a mountain of toppings. Honestly, it’s not magic—it’s a craft built on a few key secrets that many online recipes just… leave out.
In this article
- First Things First: Time & Money
- The Secret to That Thick, Spoonable Texture
- Your Thickener Toolkit: Choosing the Right Base
- The Foolproof Blending Method
- Meal Prep Hack: The 3-Minute Smoothie Bowl
- Build-Your-Own-Bowl: Four Go-To Templates
- Quick Fixes: Your Smoothie Bowl FAQ
- The Art of Topping (It’s All About Contrast)
- A Final Word on Tools and Clean-Up
- Inspirational Gallery
So many of those picture-perfect bowls you see online don’t explain why your attempt turned into a watery mess or how to balance the flavors so it doesn’t just taste like sweet mush. My goal here is to pull back the curtain and share the real techniques I learned through trial, error, and countless early morning prep shifts. This is the guide I wish I had when I started.
First Things First: Time & Money
Let’s get this out of the way. Why bother? Two reasons: it’s way cheaper, and it’s faster than you think.
A fancy bowl from a juice bar can easily set you back $12 to $15. Ouch. Making it at home? You’re looking at maybe $2.50 to $4.00, depending on your ingredients. That’s a huge saving that adds up fast.
As for time, once you get the hang of it, this is a 10-minute breakfast, tops. Plan for about 5 minutes of prep (gathering ingredients, maybe slicing a banana) and 5 minutes of actual blending and topping. If you use my meal prep trick below, it’s even faster.
The Secret to That Thick, Spoonable Texture
The number one complaint I hear is, “Mine always turns out too thin!” This almost always comes down to the ratio of frozen stuff to liquid. Think of your bowl as a frozen emulsion; the goal is to keep it that way.
The Golden Ratio
Here’s the rule of thumb we lived by in the kitchen: a 2.5-to-1 ratio by volume. For every 2.5 cups of frozen fruit, you use no more than 1 cup of liquid. Seriously. It’s always better to start with less liquid—say, half a cup—and add a tiny splash more if the blender is really struggling. Patience is your best friend here.
And no, you can’t just use fresh fruit and a cup of ice. It’s not the same! Ice cubes just water everything down and give you a coarse, icy slush. Frozen fruit contains frozen water plus fiber and sugars. When you blend it, that fiber creates a thick, sorbet-like consistency that ice alone can’t replicate. Frozen bananas are the undisputed champs here; their low water content and natural starches create a ridiculously creamy base.
Your Thickener Toolkit: Choosing the Right Base
Beyond the basic banana, a few other key players can totally transform your bowl’s texture. There’s no table-perfect answer for every bowl, it’s more about what you’re trying to achieve.
- The Classic Creamer: Frozen Banana. For pure, scoopable creaminess, nothing beats it. It adds natural sweetness, so you can often skip extra sugars. It’s best for berry, chocolate, or peanut butter bowls where its mild flavor is a perfect complement.
- The Secret Weapon: Avocado. Need richness and density without adding flavor? A quarter of an avocado is your answer. The healthy fats create a velvety, luxurious texture that’s amazing in green bowls or chocolatey ones. You won’t taste it, I promise.
- The Low-Sugar Hero: Frozen Steamed Cauliflower. Okay, stay with me here. This was a kitchen secret for customers wanting lower-sugar options. Steam some cauliflower florets, let them cool, and freeze them. They add incredible bulk and creaminess with virtually zero taste. When you blend it with strong flavors like cocoa powder or tart berries, it’s completely undetectable.
- The Boosters: Chia, Flax, and Nut Butter. A tablespoon of ground flax or chia seeds will absorb liquid and act like a gel, thickening things up nicely. Nut butters also do a great job, adding both fat and protein that help stabilize the whole mixture.
The Foolproof Blending Method
In a busy cafe, you can’t afford to mess up a bowl. It wastes time and money. This is the foolproof process we drilled into every new cook, and it works just as well at home.
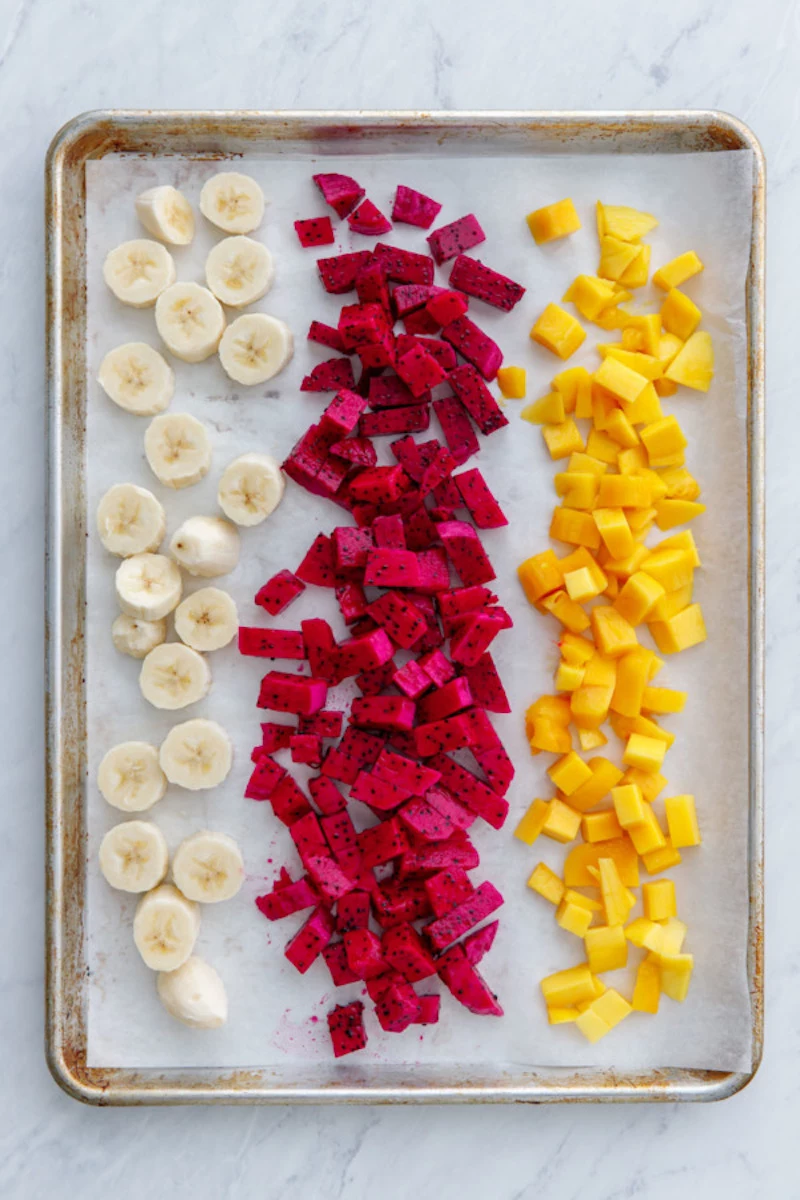
Step 1: Prep Your Ingredients Like a Pro
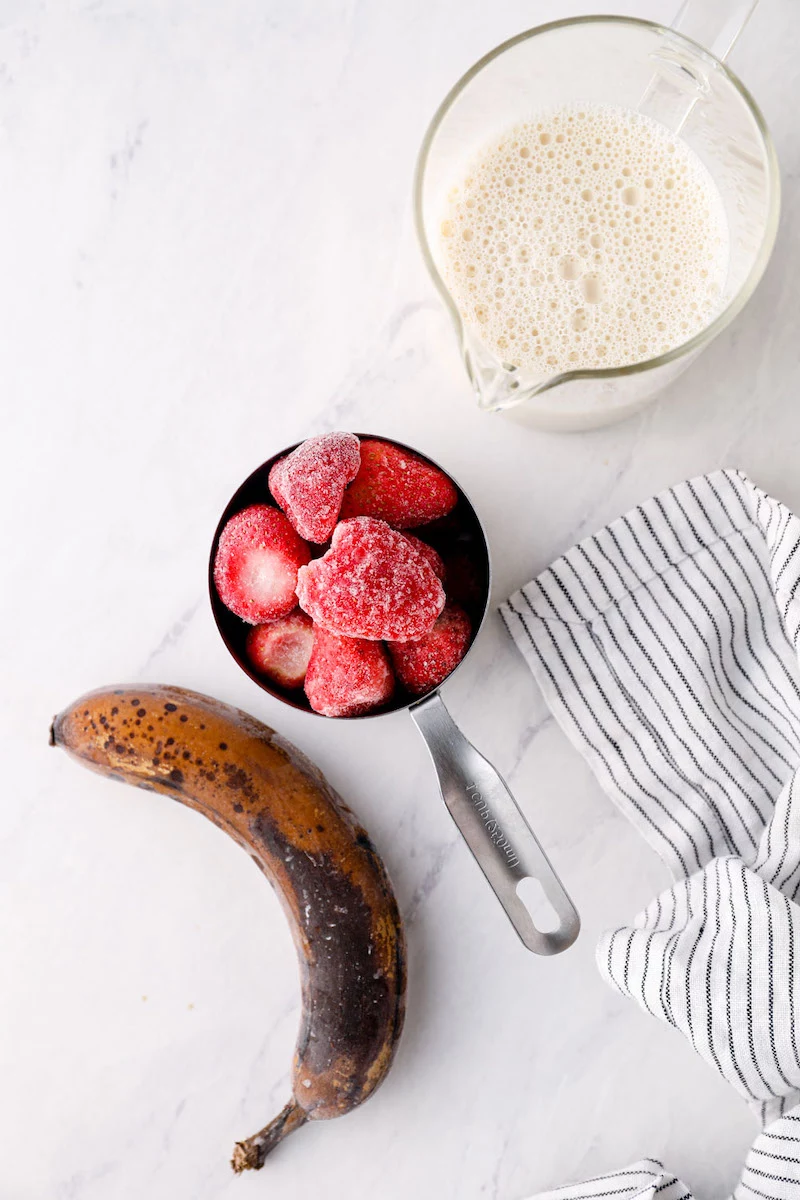
Success starts before you even turn the blender on. Never, ever freeze a banana whole. Peel it, slice it into 1/2-inch coins, and spread them on a parchment-lined tray to freeze. Once solid, toss them in a freezer bag. They’ll be good for up to 3 months! This prevents a giant, blender-killing ice block. The same goes for mangoes or peaches.
Quick tip: Always use overripe bananas (the ones with lots of brown spots). The starches have turned to sugar, making them way sweeter and more flavorful, so you won’t need to add honey or syrup.
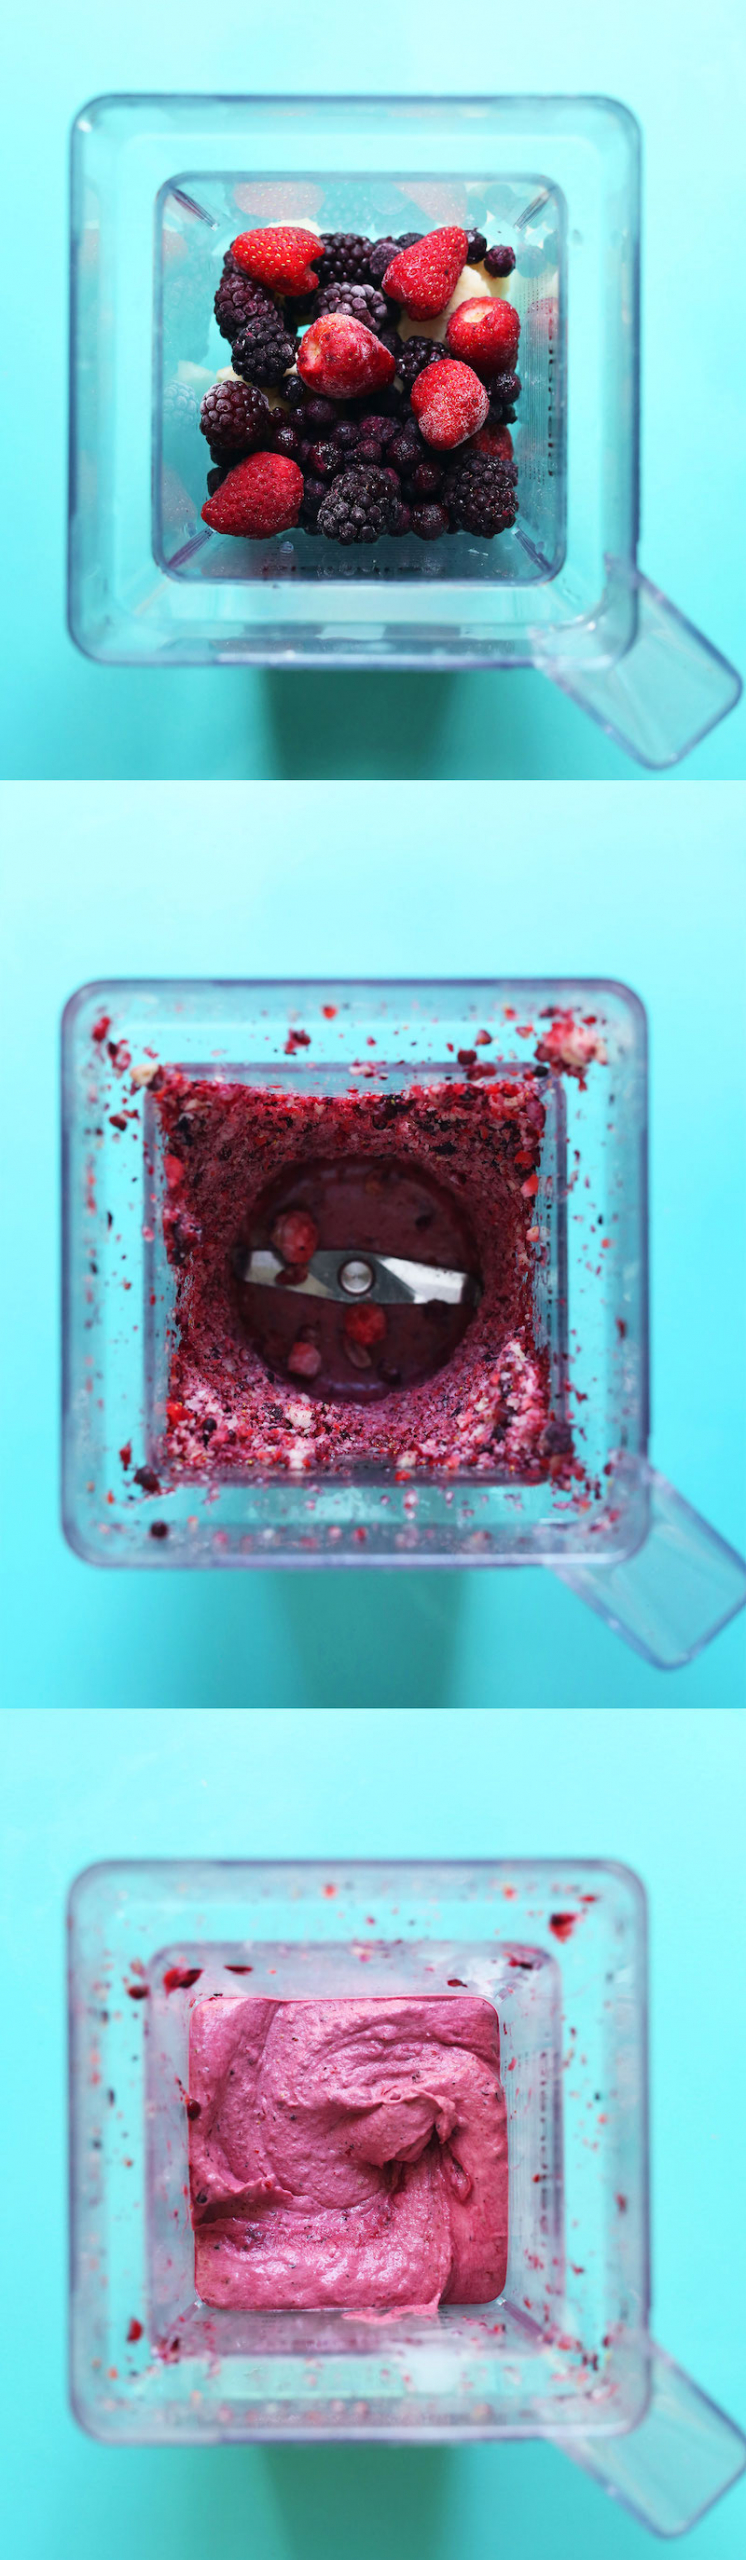
Step 2: The Blending Process
- Liquids First: Always pour your milk or water in first. This helps the blades spin freely and create a vortex to pull the solids down.
- Soft Stuff Second: Add any fresh greens like spinach, protein powders, or nut butters.
- Frozen Last: Pile all your frozen fruit and other solids on top. The weight helps push everything down.
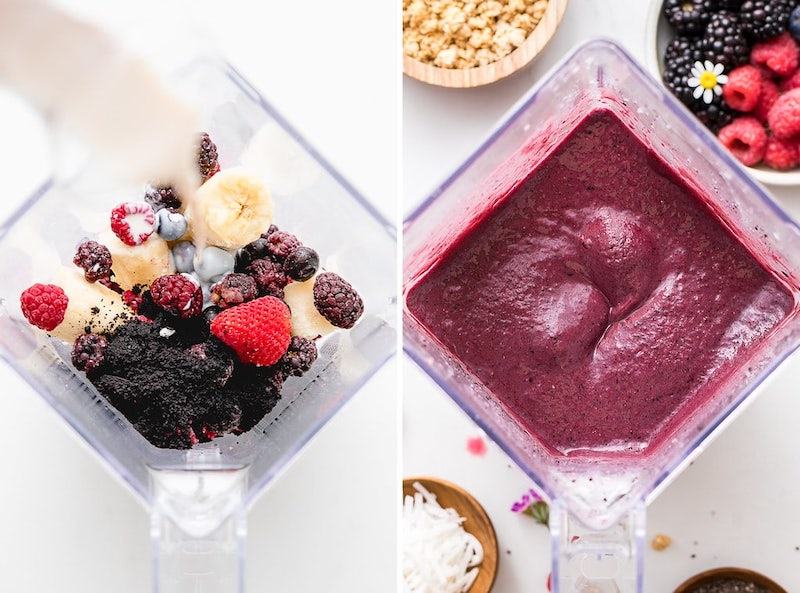
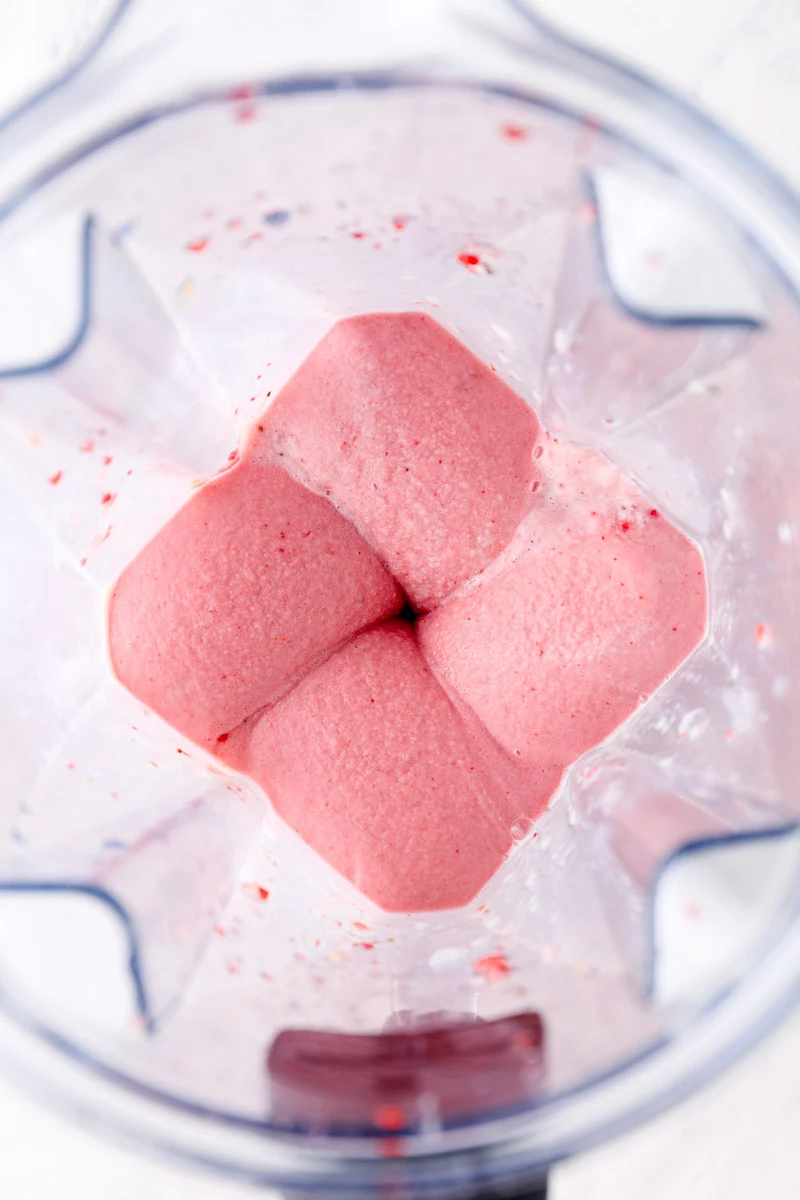
- Start Low, Go High: Start the blender on its lowest speed. You’ll hear it chopping away. If you have a high-powered blender with a tamper, use it to constantly push the ingredients down. This is the most crucial step! Without it, you’ll get air pockets, and the blades will just spin uselessly.
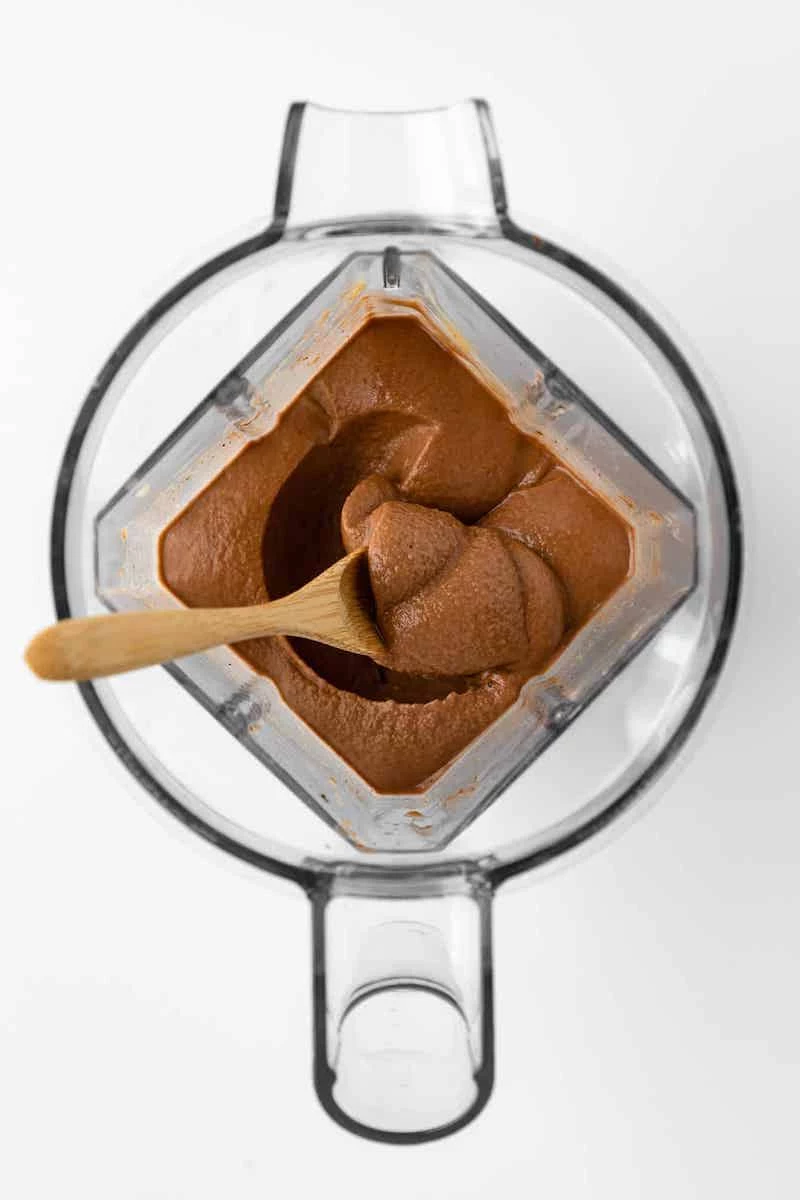
- Crank It Up: After about 30-45 seconds on low, once the big chunks are gone and it’s starting to move, turn the blender to its highest speed. Let it go for another 30-60 seconds until it’s perfectly smooth and has the consistency of soft-serve ice cream.
Heads up! For those with a standard blender: You can absolutely still do this! You just need a bit more finesse. Let your frozen fruit sit on the counter for 5-10 minutes to soften slightly. You may need to stop the blender a few times, unplug it, and scrape the sides down with a spatula. Just be patient and don’t add too much liquid out of frustration—that’s the fastest way to a smoothie soup.
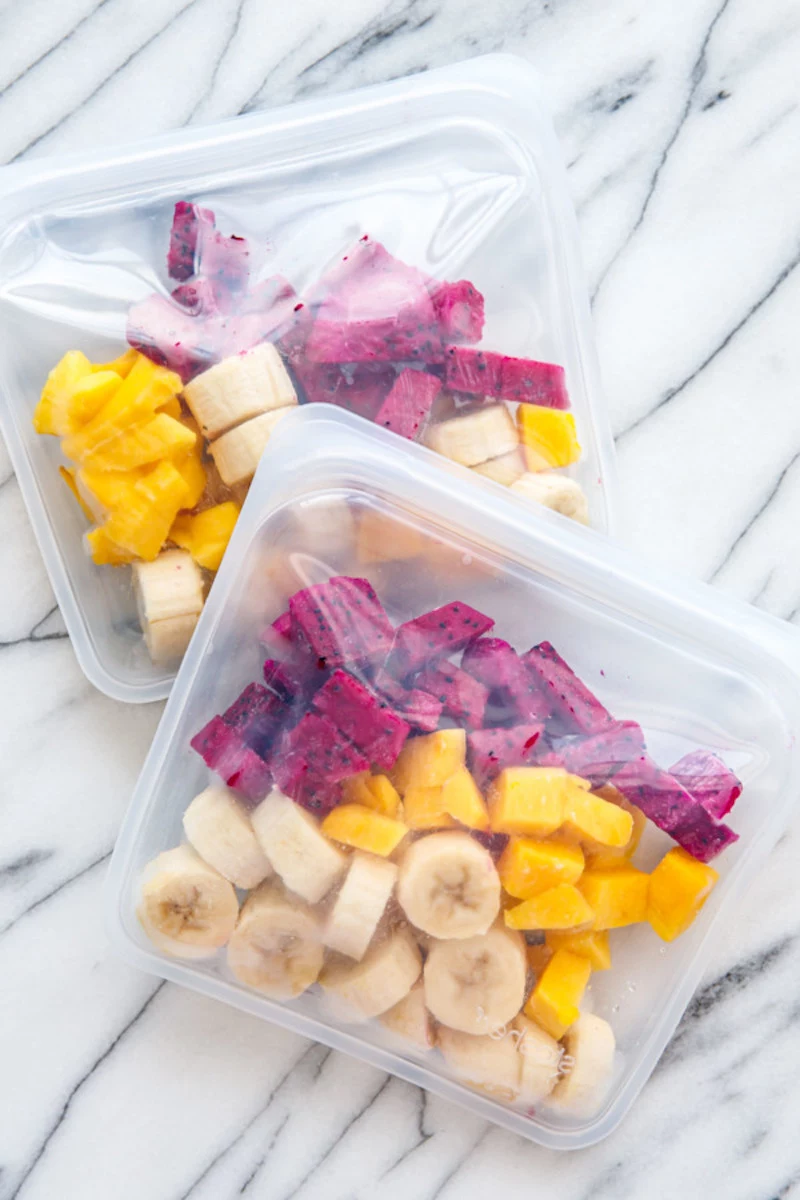
Meal Prep Hack: The 3-Minute Smoothie Bowl
This is a game-changer for busy mornings. Grab a few freezer-safe bags. Portion your frozen fruits, any powders (protein, cocoa), and boosters (like chia seeds or cauliflower) into each bag. In the morning, all you have to do is dump the contents of one bag into the blender, add your liquid, and blend. It turns a 10-minute project into a 3-minute one.
Build-Your-Own-Bowl: Four Go-To Templates
Think of these as starting points. Once you nail the structure, you can get creative. Just remember the 2.5 parts frozen to 1 part liquid rule!
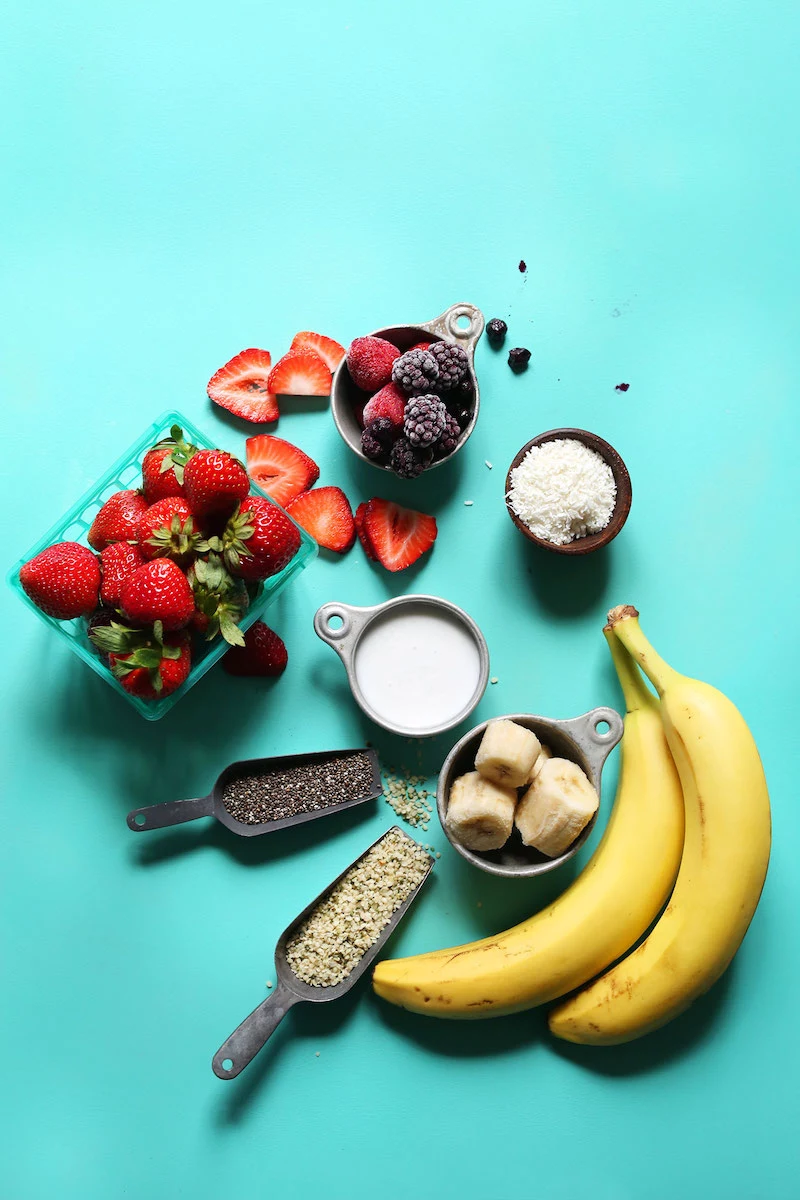
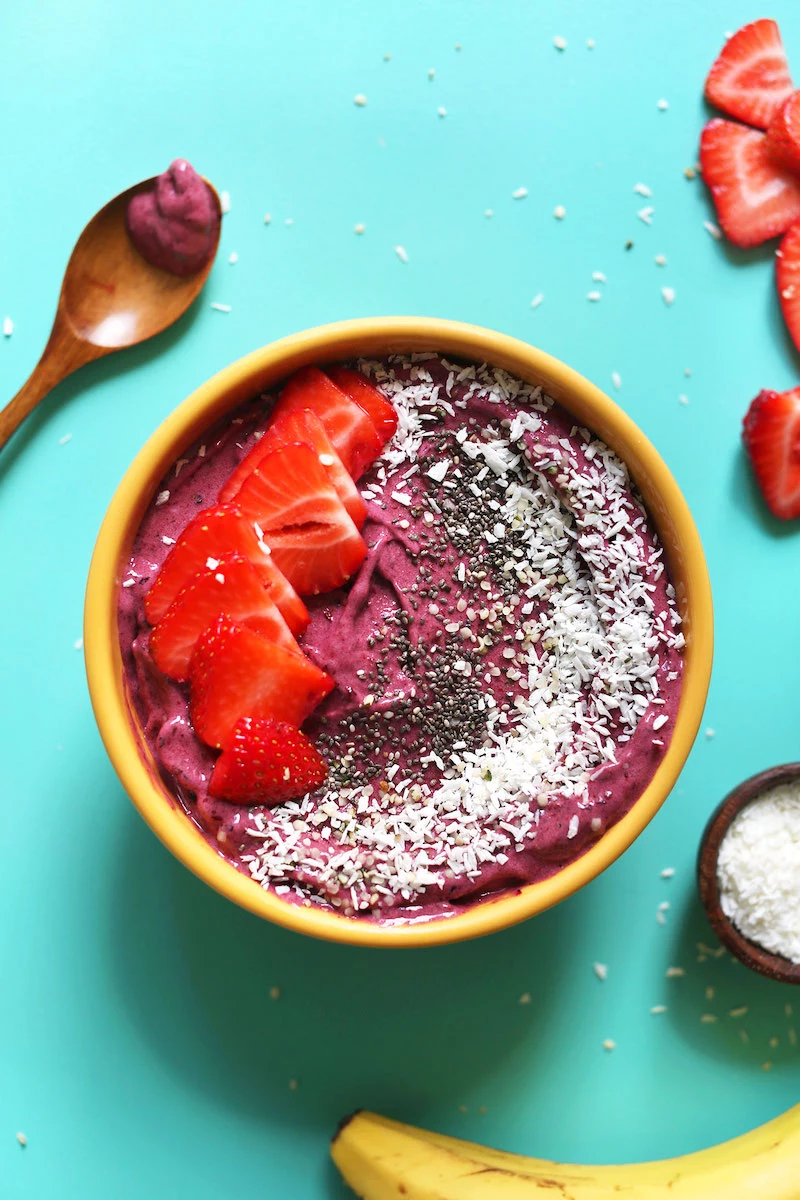
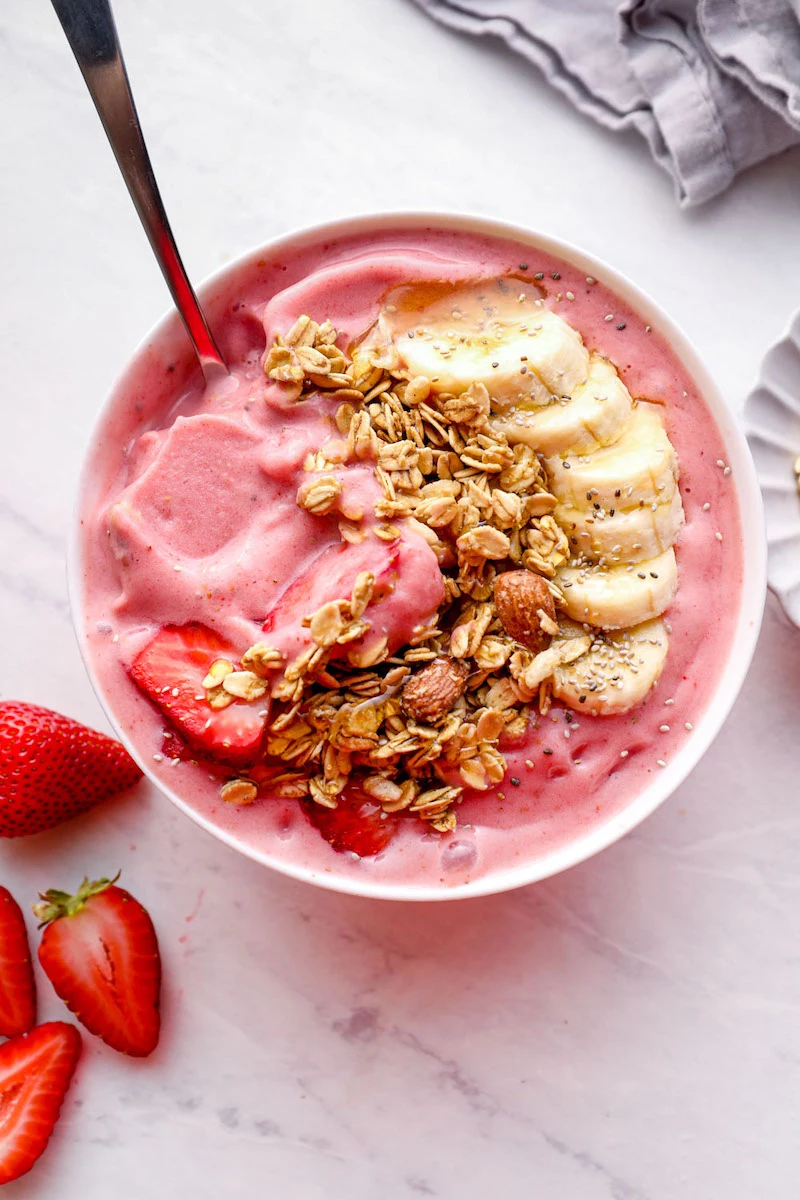
- The Creamy Berry Classic (Approx. $2.75/bowl): The perfect balance of sweet and tart. Blend 1 frozen banana, 1.5 cups of frozen mixed berries (from a bag at Target or your local grocery store), a scoop of vanilla protein powder (optional), and about 1/2 cup of almond milk.
- The Green Power Bowl (Approx. $3.50/bowl): Nutrient-dense without the sugar crash. Blend 1 cup frozen mango, 1 cup frozen cauliflower, 1/2 an avocado, a big handful of fresh spinach, and 1 cup of coconut water. By the way, spinach is much better than kale here—kale can be bitter and gritty.
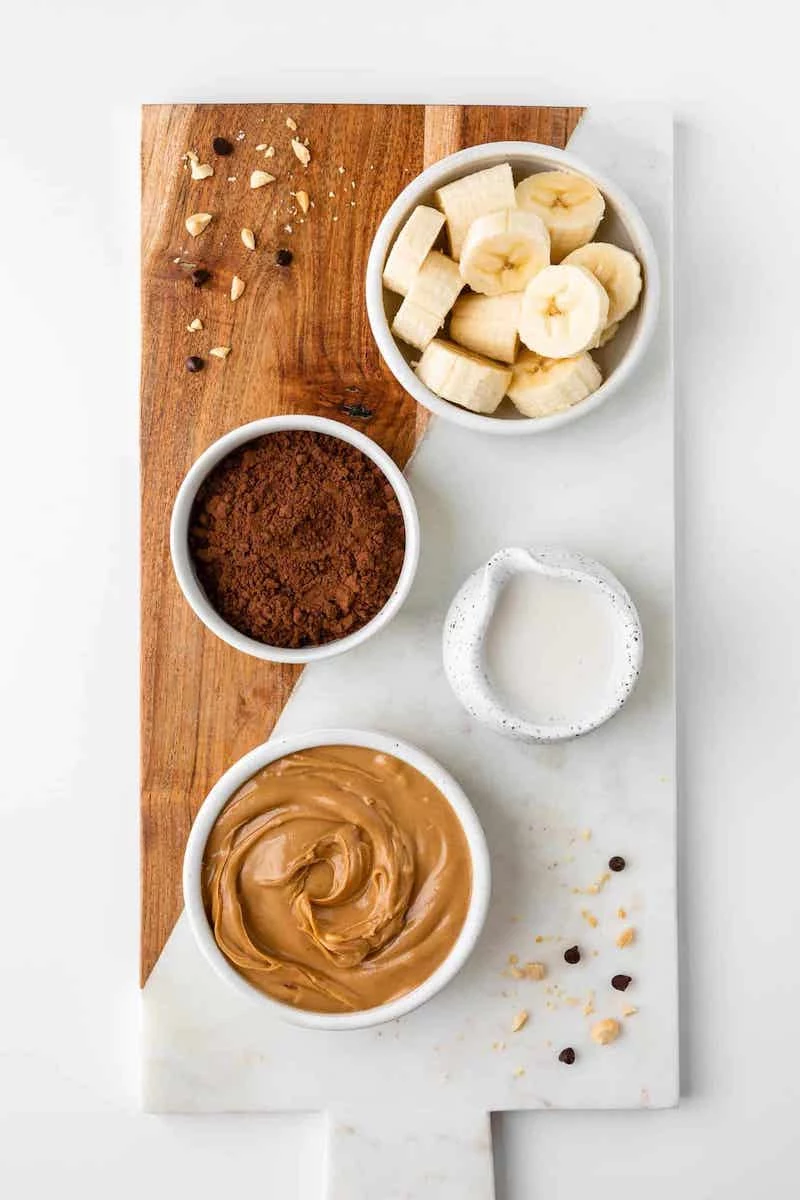
- The Chocolate Peanut Butter Dream (Approx. $3.00/bowl): Tastes like dessert, but it’s packed with protein. Blend 2 frozen bananas, 2 tablespoons of unsweetened cocoa powder, 2 tablespoons of natural peanut butter, and about 1/2 cup of oat milk. For extra caramel-like sweetness, throw in a pitted Medjool date.
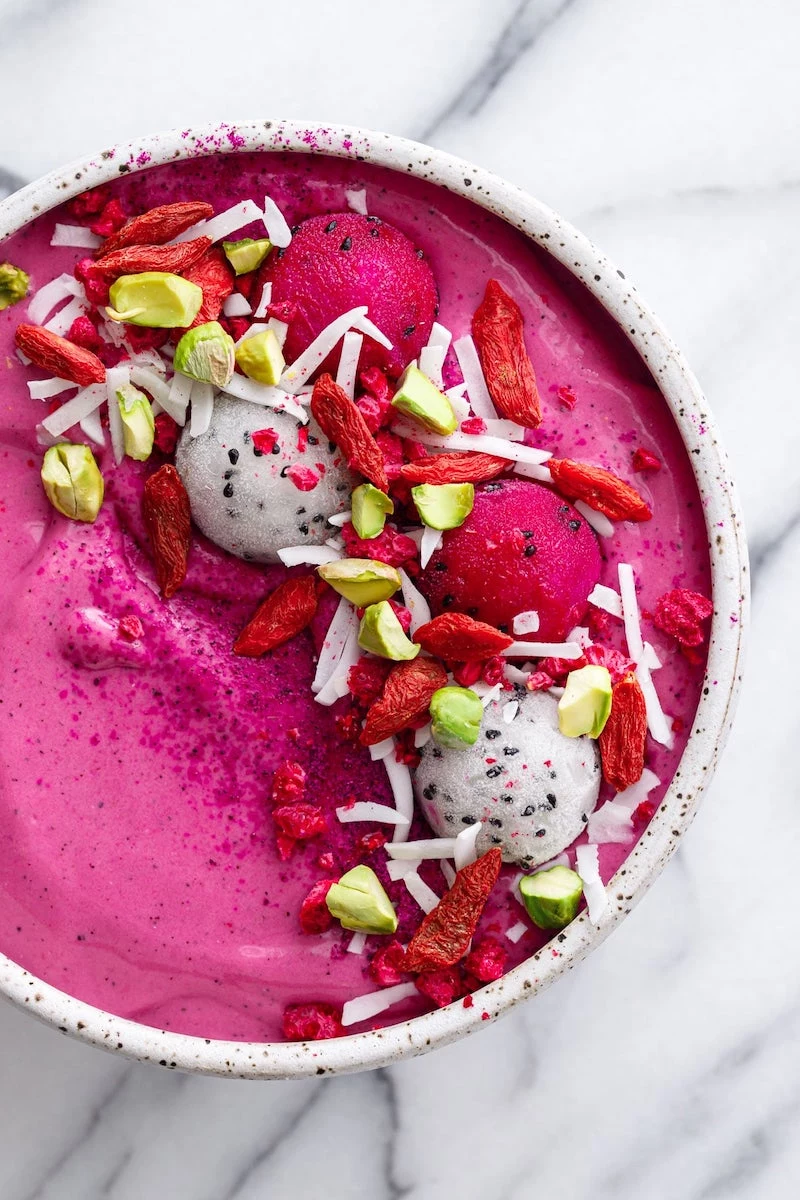
- The Tropical Sunrise Bowl (Approx. $4.00/bowl): Pure sunshine. Blend 1.5 cups frozen mango, 1 cup frozen pineapple, and 1 cup of orange juice or coconut milk. For a stunning color, try using a pack of unsweetened frozen pitaya (dragon fruit)—the Sambazon brand is a good one to look for. A squeeze of fresh lime at the end makes it pop.
Quick Fixes: Your Smoothie Bowl FAQ
Things don’t always go to plan. Here’s a quick troubleshooting guide.
- “Help! It’s too thin!” The easiest fix is to add more frozen fruit, a few cubes of frozen cauliflower, or a tablespoon of chia seeds. Blend again. This is why you always start with less liquid!
- “Help! It’s too thick and won’t blend!” Your blender needs a little more help. Add liquid one tablespoon at a time until it just starts to circulate. And make sure you’re using that tamper (or stopping and scraping).
- “Help! It tastes… bland.” A pinch of salt can work wonders to bring out the flavors. A squeeze of lemon or lime juice can brighten everything up. Or, if it’s a sweet bowl, a drizzle of maple syrup or a single date can add the depth it needs.
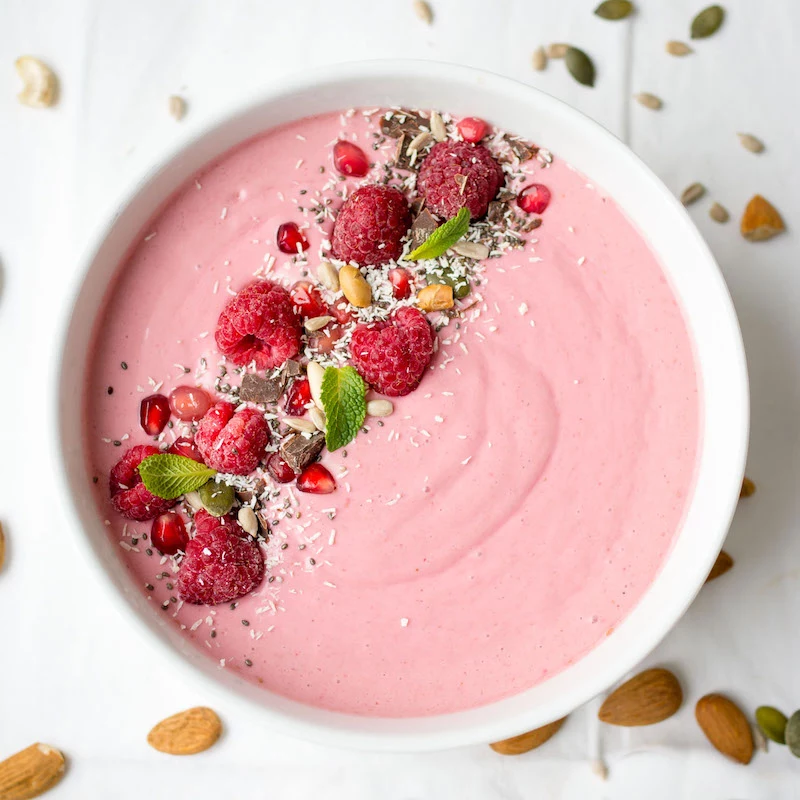
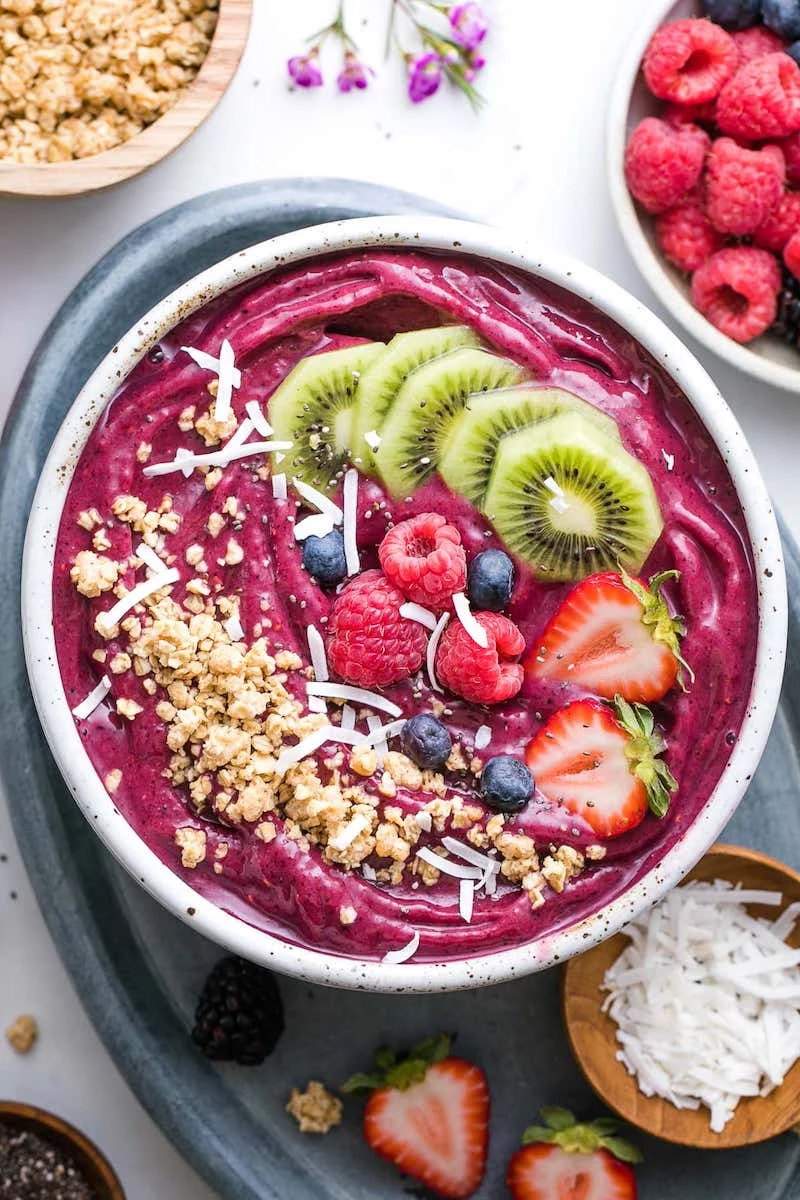
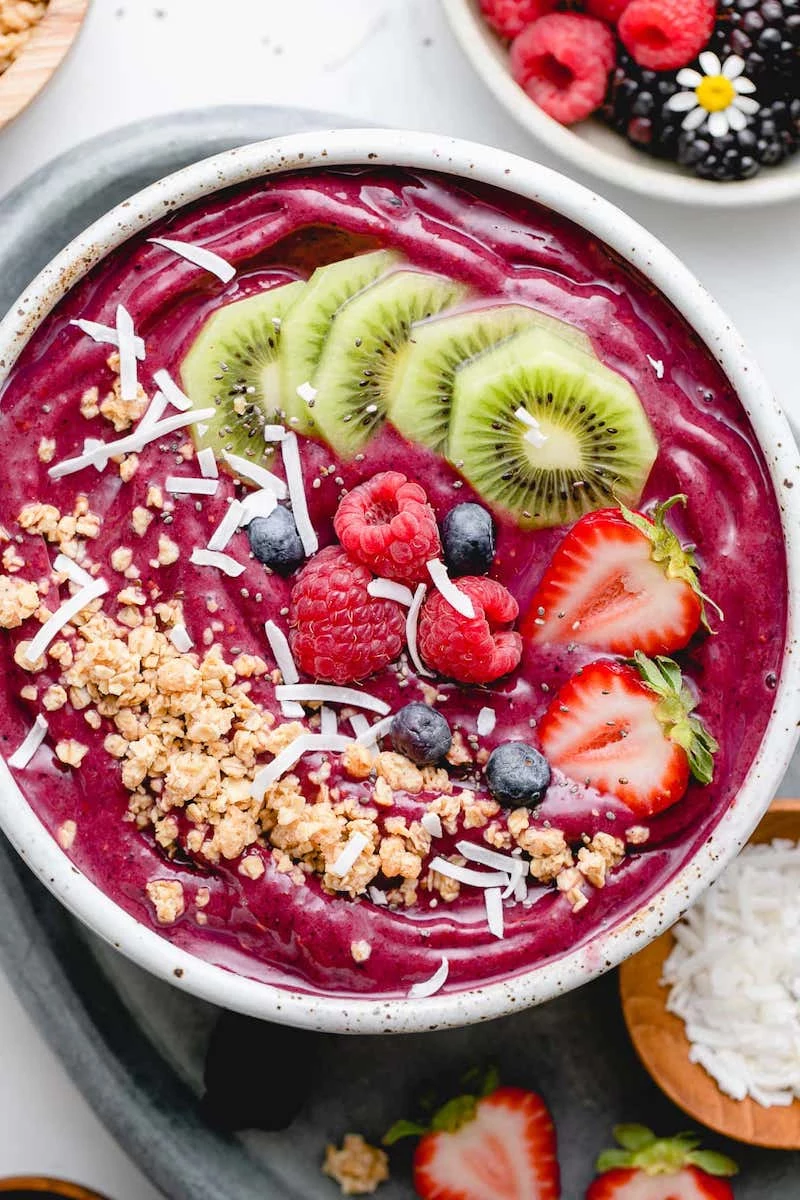
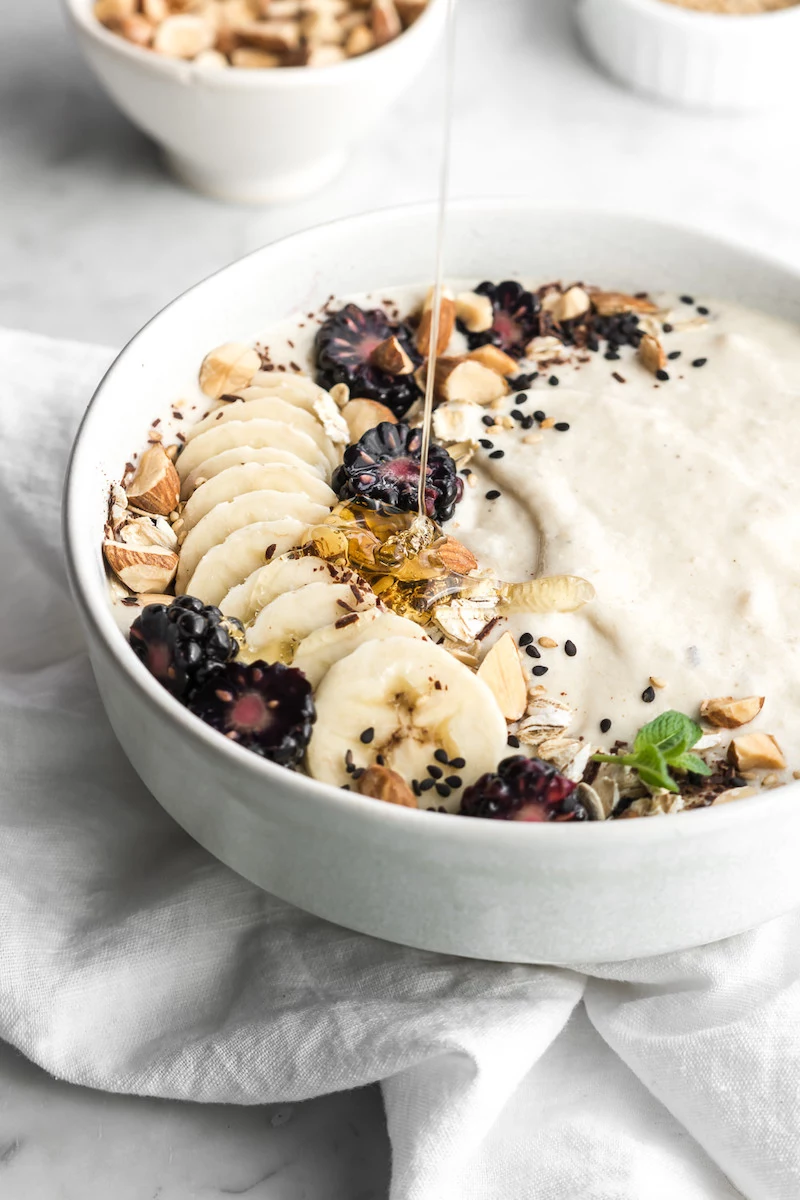
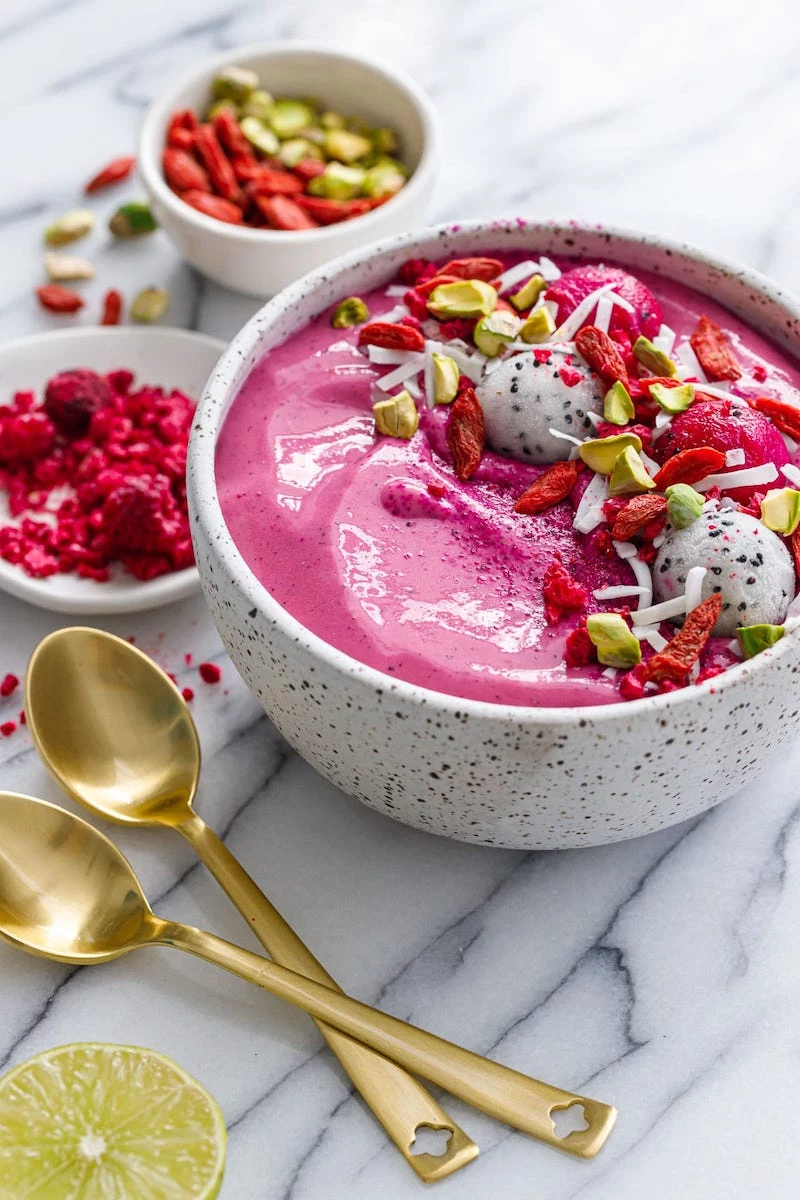
The Art of Topping (It’s All About Contrast)
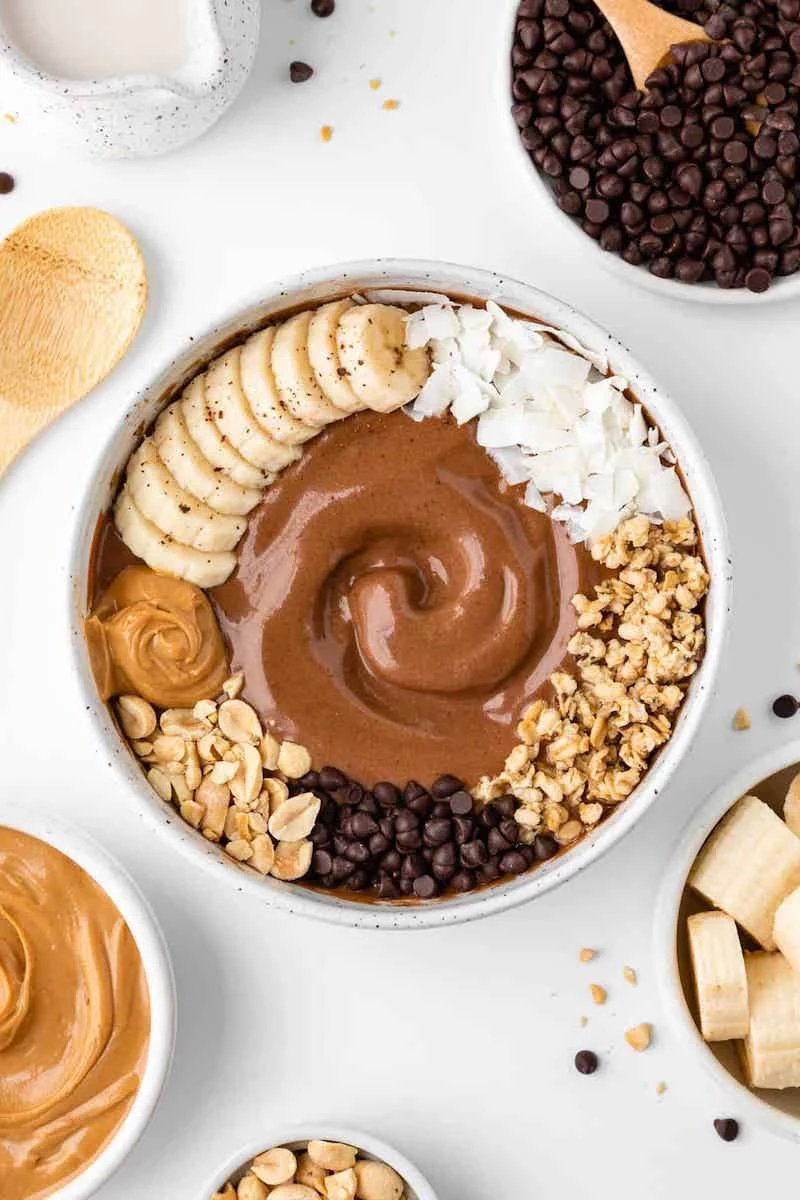
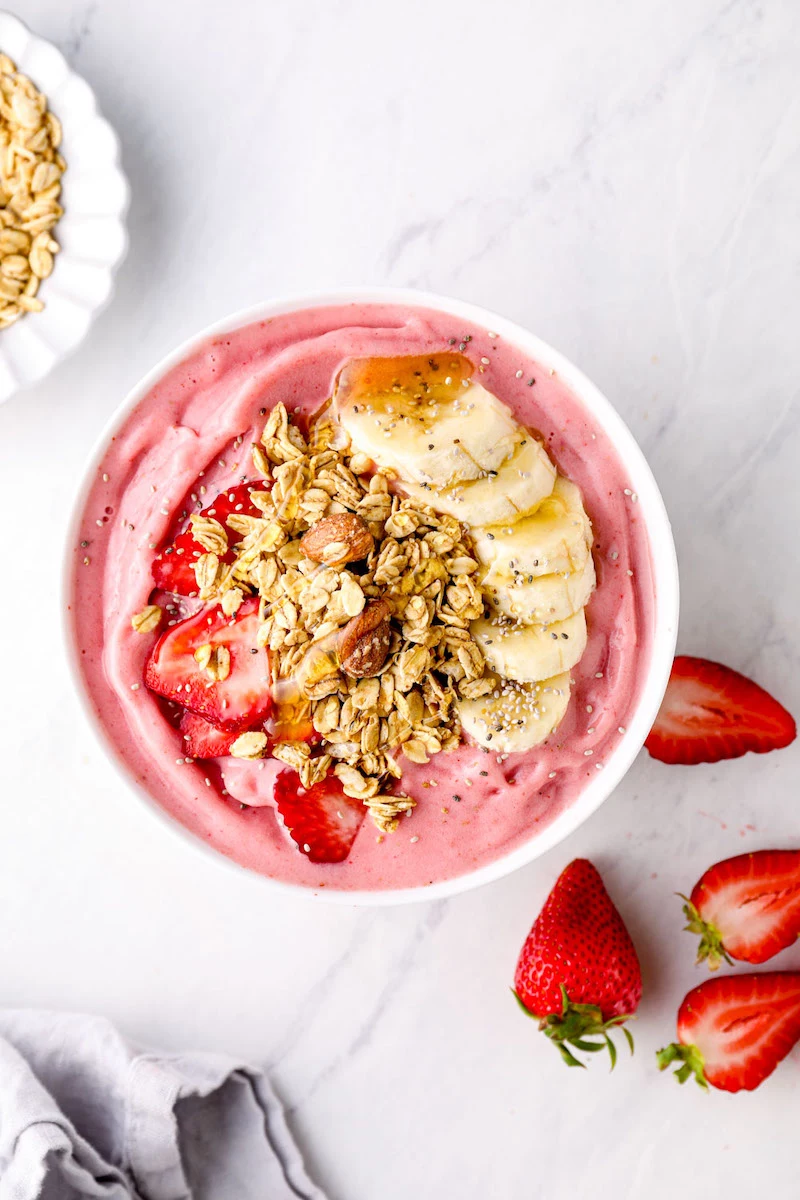
A great bowl needs texture. The base is cold and smooth, so your toppings should bring the crunch, chew, and color.
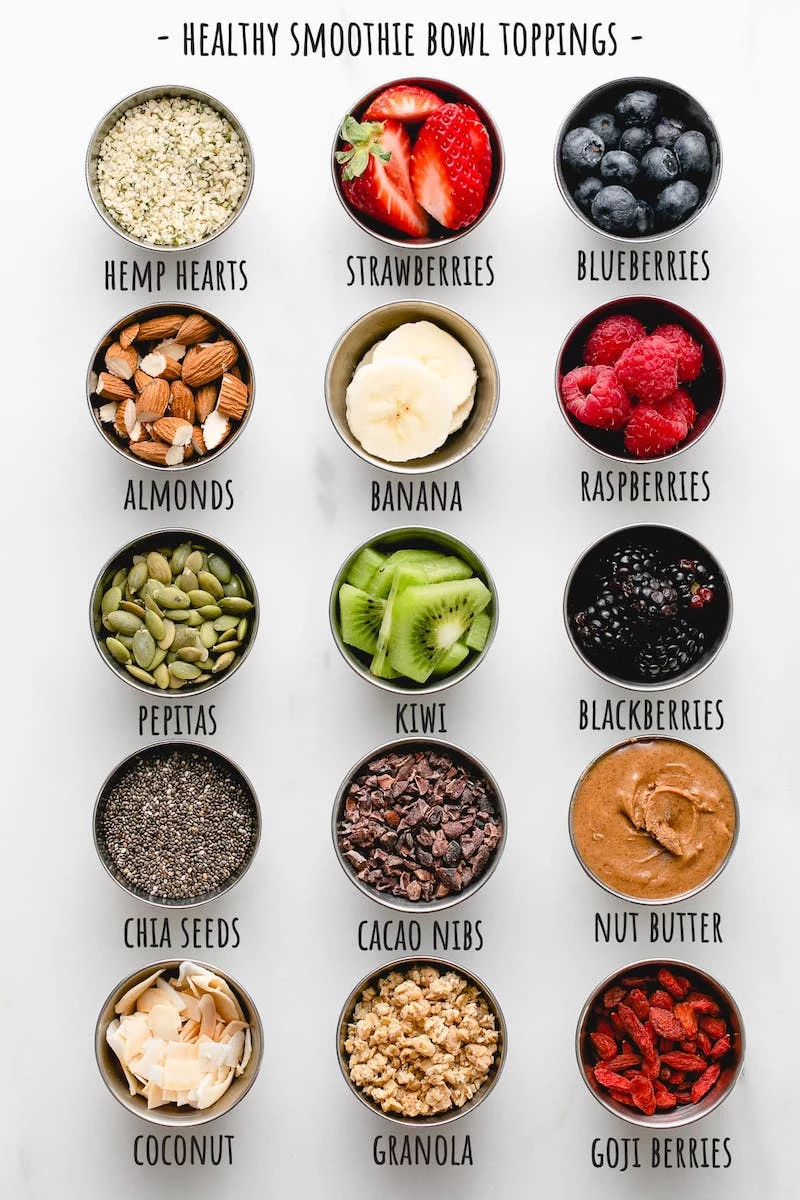
- For Crunch: Low-sugar granola (look for one with less than 5g of sugar per serving), toasted almonds, pumpkin seeds (pepitas), or cacao nibs for a bitter chocolatey kick.
- For Chew: Toasted unsweetened coconut flakes are my personal favorite. Chopped dates or goji berries also work, but use them sparingly since they’re sweet.
- For Freshness & Color: A few fresh berries or banana slices make a huge difference.
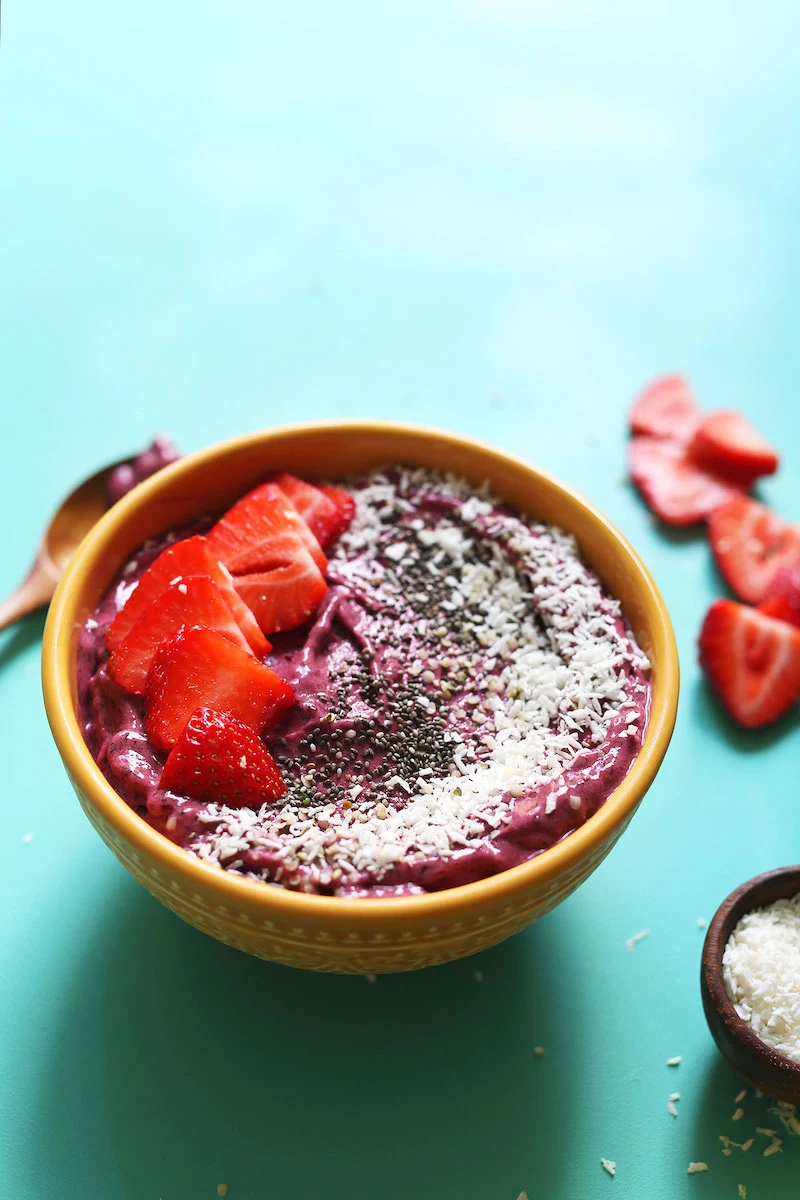
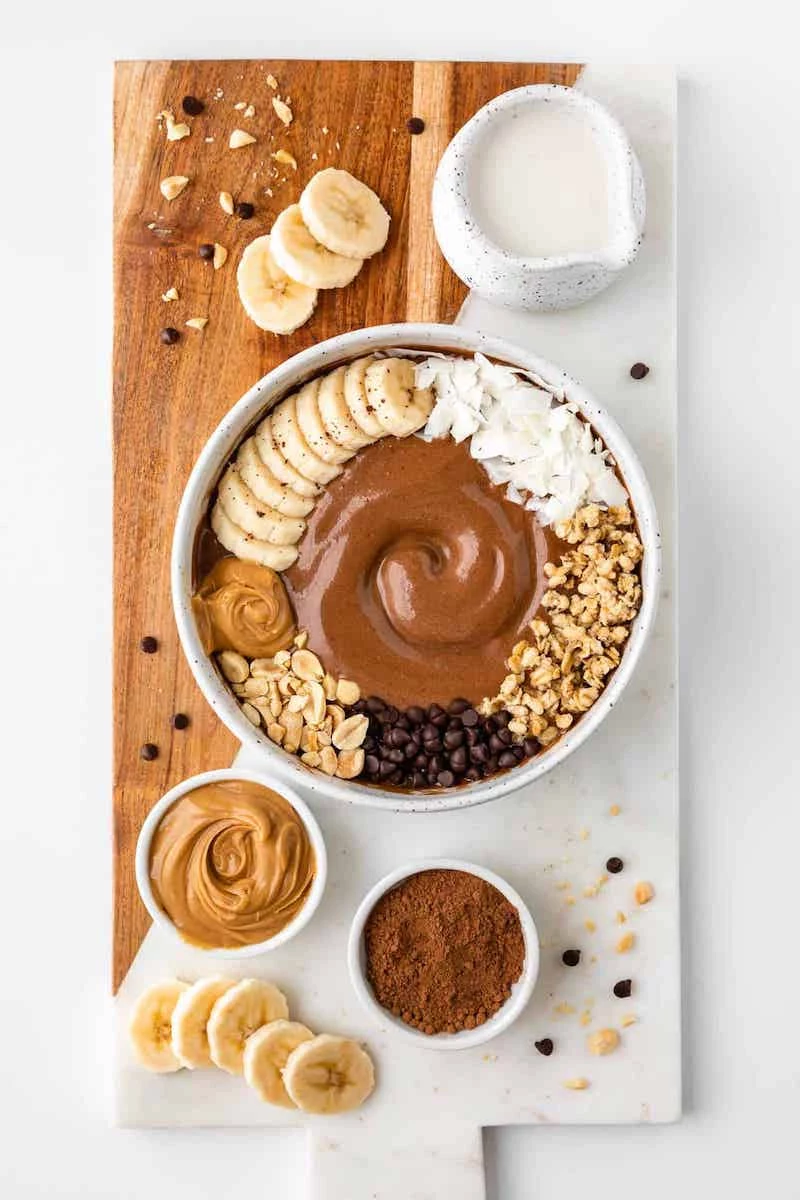
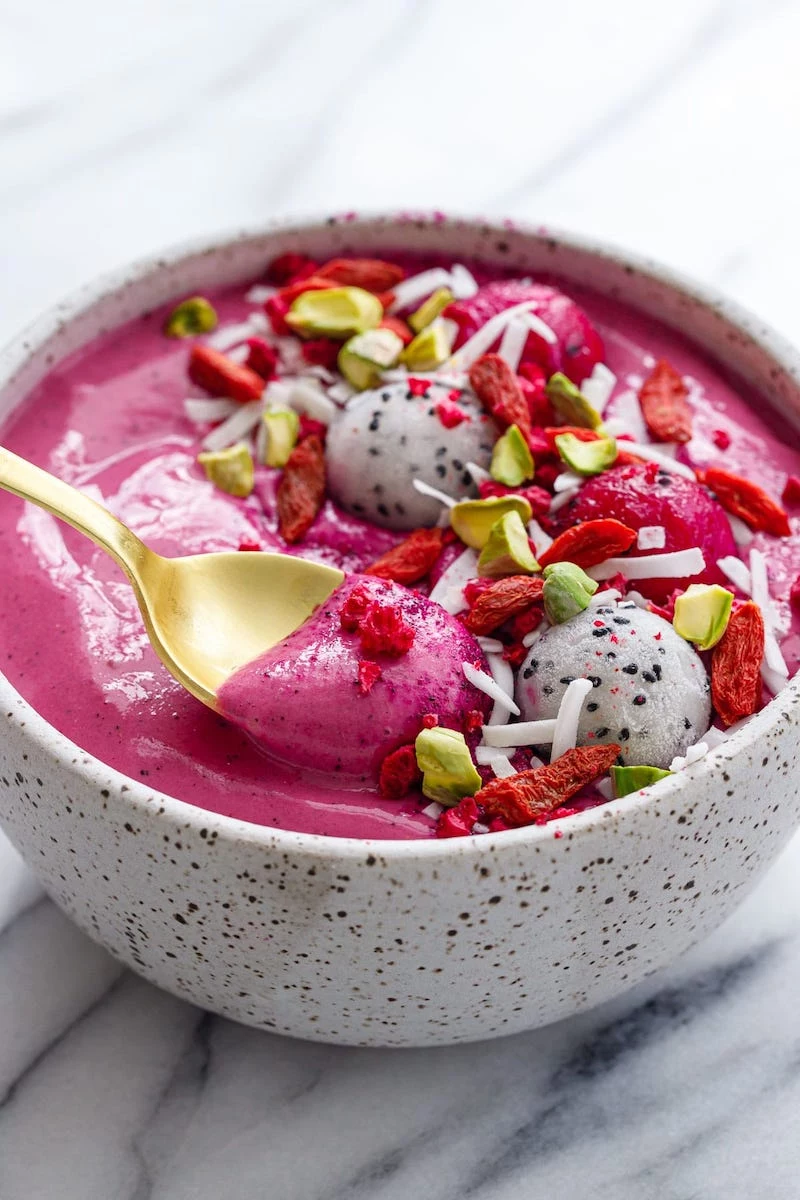
Pro tip: Don’t just dump toppings in the middle. Arrange them in lines or sections. It looks way better and ensures you get a little bit of everything in each bite. If your toppings sink immediately, you know your base is too thin.
A Final Word on Tools and Clean-Up
A high-powered blender like a Vitamix or Blendtec is a fantastic investment for this, but not a requirement. Just be mindful not to burn out the motor on a standard blender. If you smell it getting hot, give it a rest.
Oh, and for cleanup? That thick base can set like cement. Don’t scrub. Just rinse the blender, fill it a third of the way with warm water, add a drop of dish soap, and blend on high for 30 seconds. It’ll clean itself. You’re welcome.
Inspirational Gallery
The global smoothie market is projected to reach $17 billion by 2026, largely driven by the demand for healthy, convenient meal replacements.
Your homemade bowl is part of a massive wellness trend. The difference? You control every single ingredient, skipping the hidden sugars and preservatives often found in commercial preparations. You’re not just saving money; you’re taking direct control of your nutrition.
The Blender’s Best Friend: Don’t underestimate the power of the tamper—that black plastic stick that comes with high-powered blenders like a Vitamix or Blendtec. It’s the key to thick bowls. Use it to push the frozen fruit down into the blades while the machine is running. This action prevents air pockets from forming and eliminates the need to add extra liquid, which is the number one enemy of a thick, spoonable texture.
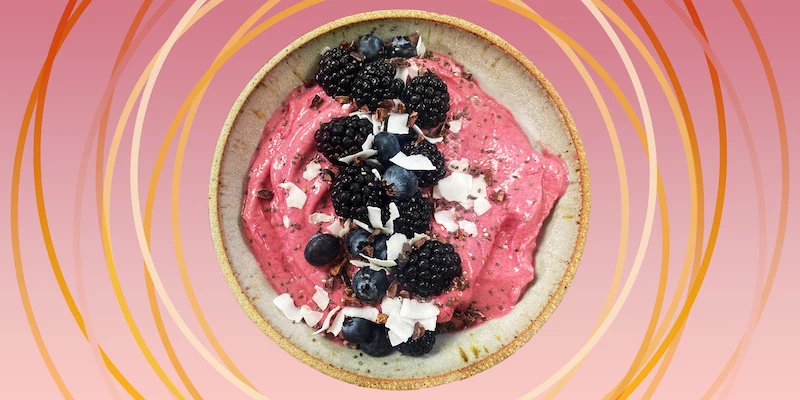
- A vibrant pink from pitaya or raspberries.
- A deep purple from açaí or blueberries.
- A lush green from spinach and mango.
- A sunny yellow from pineapple and turmeric.
The secret? Building your bowl around one color family. It not only looks stunning but also helps streamline flavors. A messy brown color is often a sign you’ve mixed too many competing ingredients.
How do I add protein without that chalky taste?
The trick is to choose the right powder and pair it with a creamy fat. A neutral-flavored plant-based protein, like Orgain Simple or Vega One, blends more seamlessly than some whey proteins. More importantly, add a tablespoon of cashew butter, almond butter, or a quarter of an avocado. The healthy fats mask any potential grittiness and amplify the creamy texture.
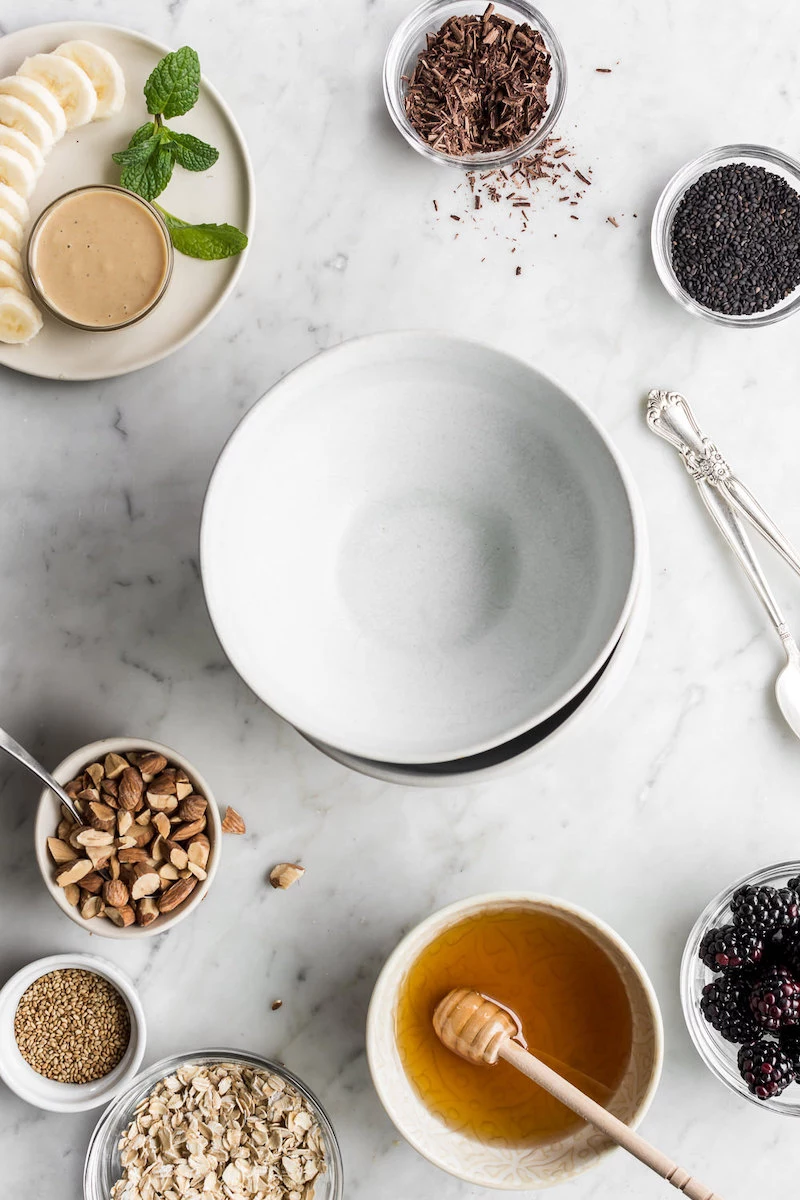
Tired of store-bought granola that’s either too sweet or too expensive? Create your own signature crunch.
- Combine rolled oats, chopped nuts (almonds, pecans), and seeds (pumpkin, sunflower) on a baking sheet.
- Drizzle lightly with maple syrup and a touch of melted coconut oil.
- Bake at 300°F (150°C) for 20-25 minutes, stirring halfway. Let it cool completely for maximum crispiness.
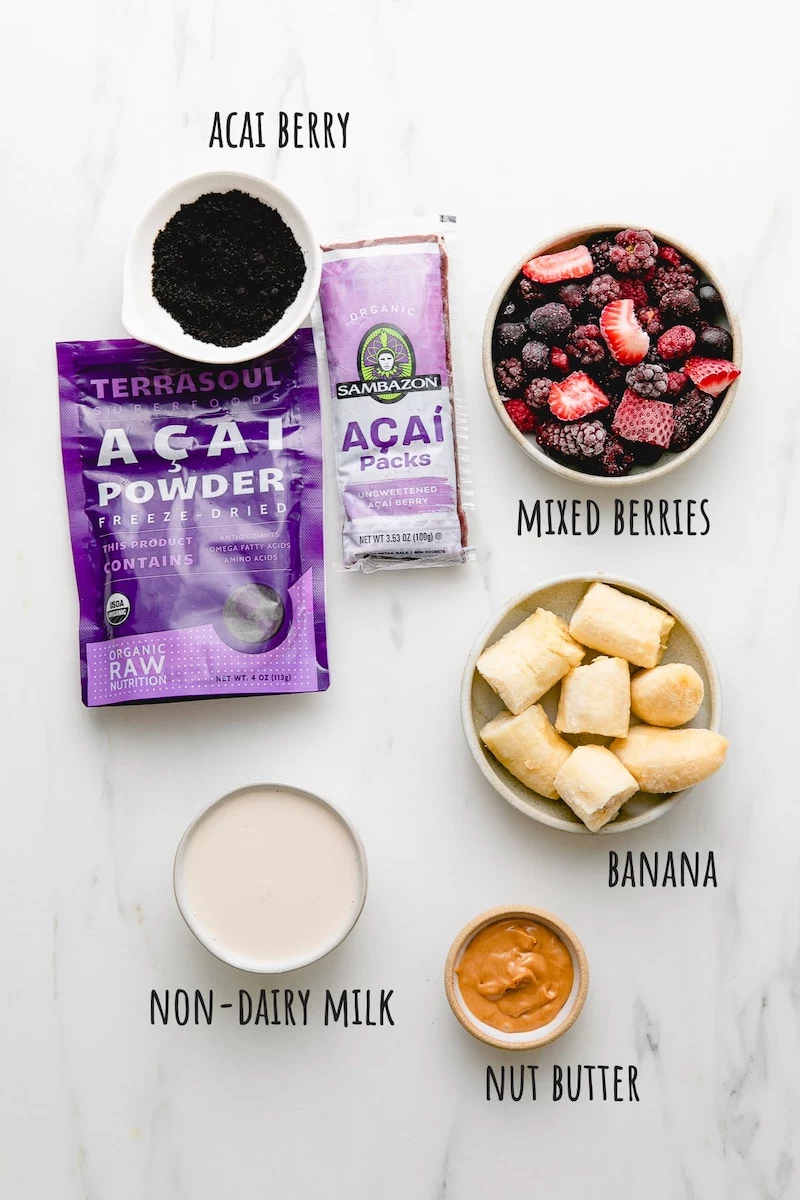
In its native Brazil, the traditional açaí na tigela (“açaí in the bowl”) is often served less sweet than its Western counterparts, sometimes blended with just a touch of guaraná syrup and topped with banana and granola.
The quest for the perfect base liquid goes beyond just water or milk. Think about the flavor profile you want to achieve. For a rich, tropical vibe, full-fat canned coconut milk is unparalleled. For a neutral, low-calorie option that lets the fruit shine, unsweetened almond milk is the go-to. And for an extra protein boost with a tangy finish, try using kefir.
Vitamix: The industry standard for a reason. Its powerful motor and tamper create an ultra-smooth, vortex-like blend, resulting in a sorbet-like consistency with no graininess. It’s a significant investment but pays off for daily users.
Ninja: A more budget-friendly powerhouse. Models with the ‘Smoothie Bowl’ function or the ‘Nutri Ninja’ cups are fantastic. The texture might be slightly less silky than a Vitamix, but it’s more than capable of producing a thick, delicious bowl.
For most home users, a high-quality Ninja offers the best balance of price and performance.
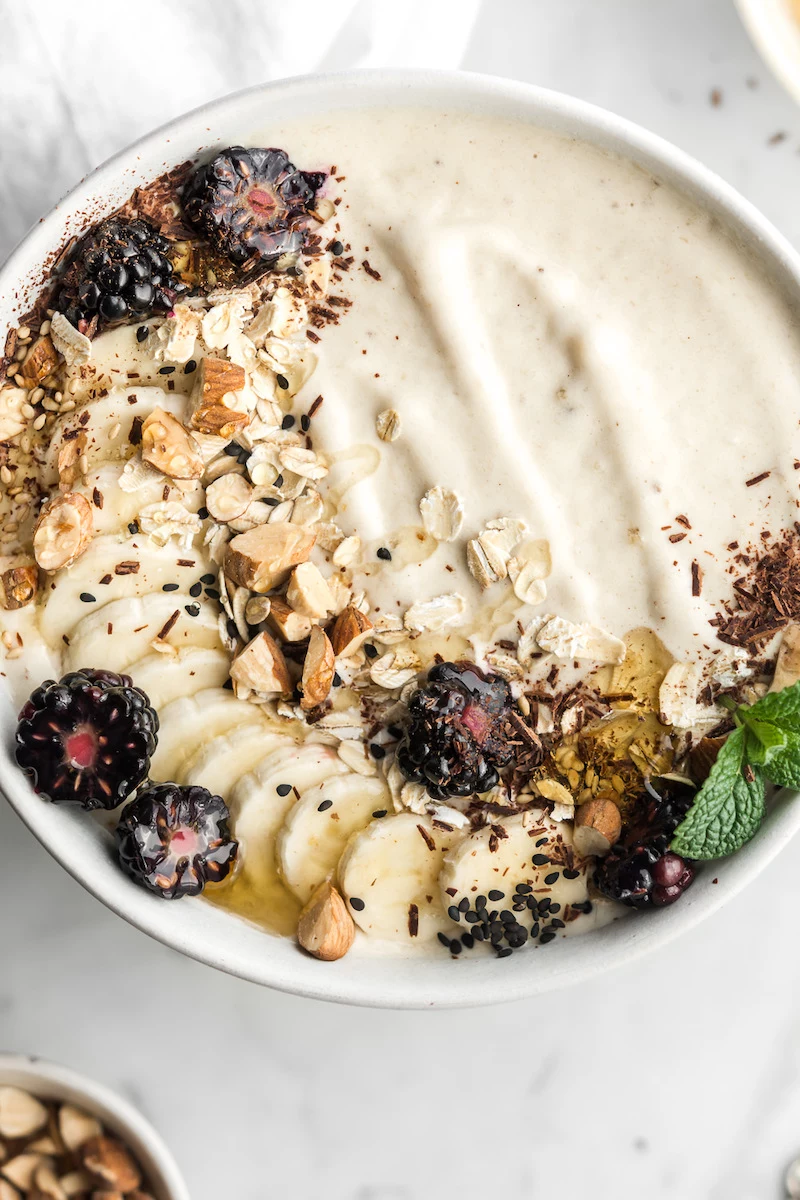
One of the biggest mistakes is a topping imbalance. You need contrast. If your base is smooth and creamy, your toppings should offer crunch and chew. Avoid putting soft fruits on top of a soft base—it becomes one-dimensional. Instead, focus on toasted coconut flakes, cacao nibs, bee pollen, or a sprinkle of hemp hearts for that satisfying textural pop.
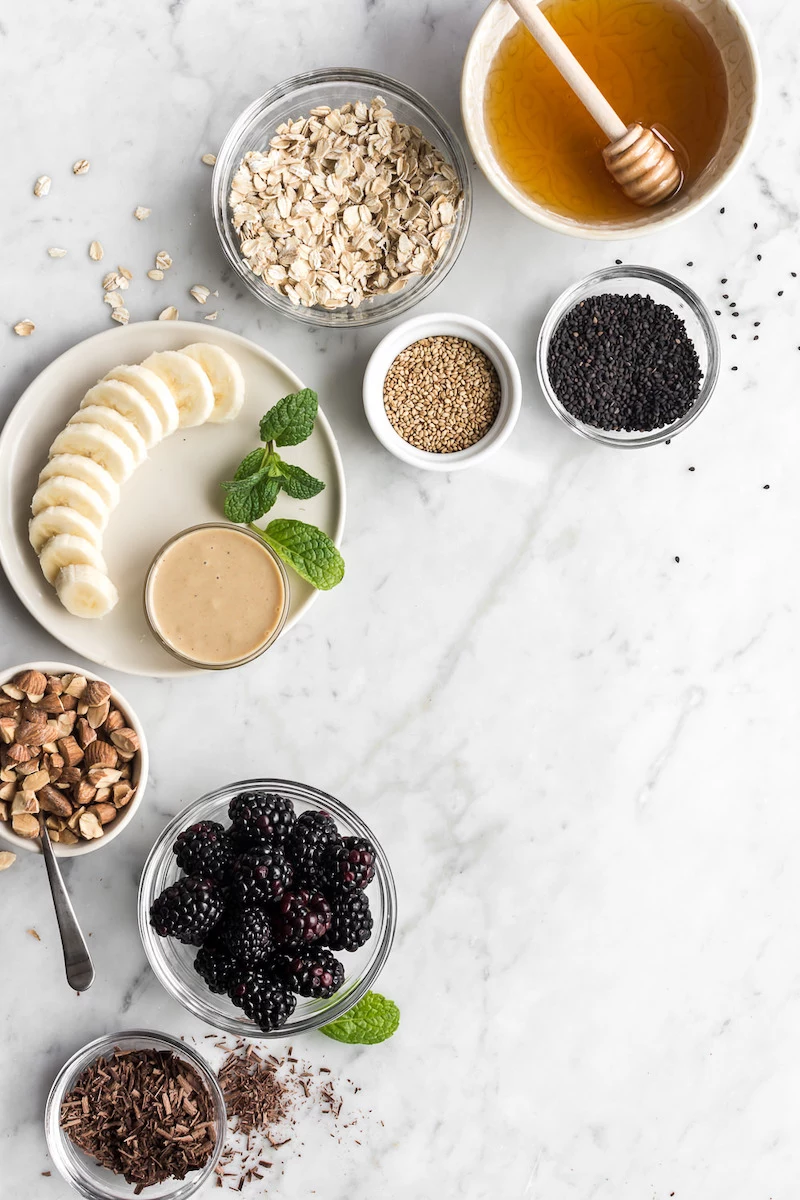
- Improves gut health with fiber.
- Boosts creaminess without adding fat.
- Keeps you full longer.
The secret? A humble scoop of rolled oats. Add 2-3 tablespoons directly into your blender with the frozen fruit. They thicken the base beautifully and add a wholesome, satisfying texture for almost no cost.
Can I really meal prep smoothie bowls?
Absolutely, but don’t blend them ahead of time. The magic is in the ‘smoothie pack.’ Portion your frozen fruit, greens, powders, and seeds into individual zip-top bags or containers and store them in the freezer. In the morning, just dump one pack into the blender, add your liquid of choice, and blend. It cuts prep time down to less than two minutes.
A single serving of wild blueberries, a popular smoothie bowl ingredient, has a higher concentration of the antioxidant anthocyanin than a serving of cultivated blueberries.
This means that by choosing your ingredients carefully, you’re not just making breakfast; you’re building a powerful defense against cellular stress. The deep, rich colors of berries are a visual clue to their potent nutritional content.
Don’t fear the fat: Adding a spoonful of fat is crucial for that coveted velvety mouthfeel and for helping your body absorb fat-soluble vitamins. Avocado is king for undetectable creaminess. Soaked cashews add a rich, neutral flavor. And a drizzle of high-quality tahini, like the kind from Soom, can add a sophisticated, nutty depth to a simple banana bowl.
Go beyond the fruit. A pinch of spice can completely transform your bowl. A dash of cinnamon in a chocolate-peanut butter bowl enhances its warmth and richness. A tiny bit of cardamom in a mango-banana bowl lends an exotic, chai-like aroma. And a touch of ground ginger can give a tropical pineapple bowl a zesty, invigorating kick.
To create those beautiful, Instagram-worthy swirls, the key is temperature and technique. Warm your nut butter (like peanut or almond butter) slightly so it’s more fluid. Once your smoothie base is in the bowl, use a spoon to drop dollops on top. Then, take a toothpick or the tip of a knife and gently drag it through the dollops to create elegant patterns. It’s a 10-second step that makes your bowl look professionally made.
Think beyond sweet: The next wave in the bowl world is savory. Picture a base of frozen avocado, spinach, cucumber, and a splash of unsweetened almond milk. Top it with a drizzle of extra virgin olive oil, toasted pumpkin seeds, a sprinkle of flaky sea salt, and everything bagel seasoning. It’s a refreshing, nutrient-dense lunch that will completely change how you think about blended bowls.

- Hides perfectly behind stronger flavors like mango or pineapple.
- Adds iron, folate, and vitamin K.
- Creates a beautiful green hue without a ‘grassy’ taste.
The secret? Use fresh, tender baby spinach. Unlike kale, it blends to a completely smooth consistency and has a much milder flavor. It’s the easiest way to sneak in a serving of greens at breakfast.
The freezer is your friend: Got bananas with a few too many brown spots? Don’t toss them! Peel, slice, and freeze them on a baking sheet before transferring to a bag. Overripe bananas are sweeter and have a more intense flavor, which means you’ll need less (or no) added sweetener in your bowl. This works perfectly for mangoes, peaches, and berries too, drastically reducing food waste.
For an extra boost in creaminess and nutrition, turn to seeds. Add a tablespoon of chia seeds or ground flaxseeds to your blender. They absorb liquid, acting as natural thickeners, while also providing a powerful dose of Omega-3 fatty acids and fiber. For the best result, let your finished bowl sit for 2-3 minutes before adding toppings; this gives the seeds time to work their magic.
Adaptogens for mood: Elevate your bowl from a simple meal to a functional ritual by adding adaptogens.
- Add a teaspoon of maca powder for energy and hormonal balance; it has a pleasant, malty flavor that pairs well with chocolate or banana.
- Whisk in ashwagandha powder for stress relief; its flavor is more assertive, so pair it with strong ingredients like dark berries or cacao.
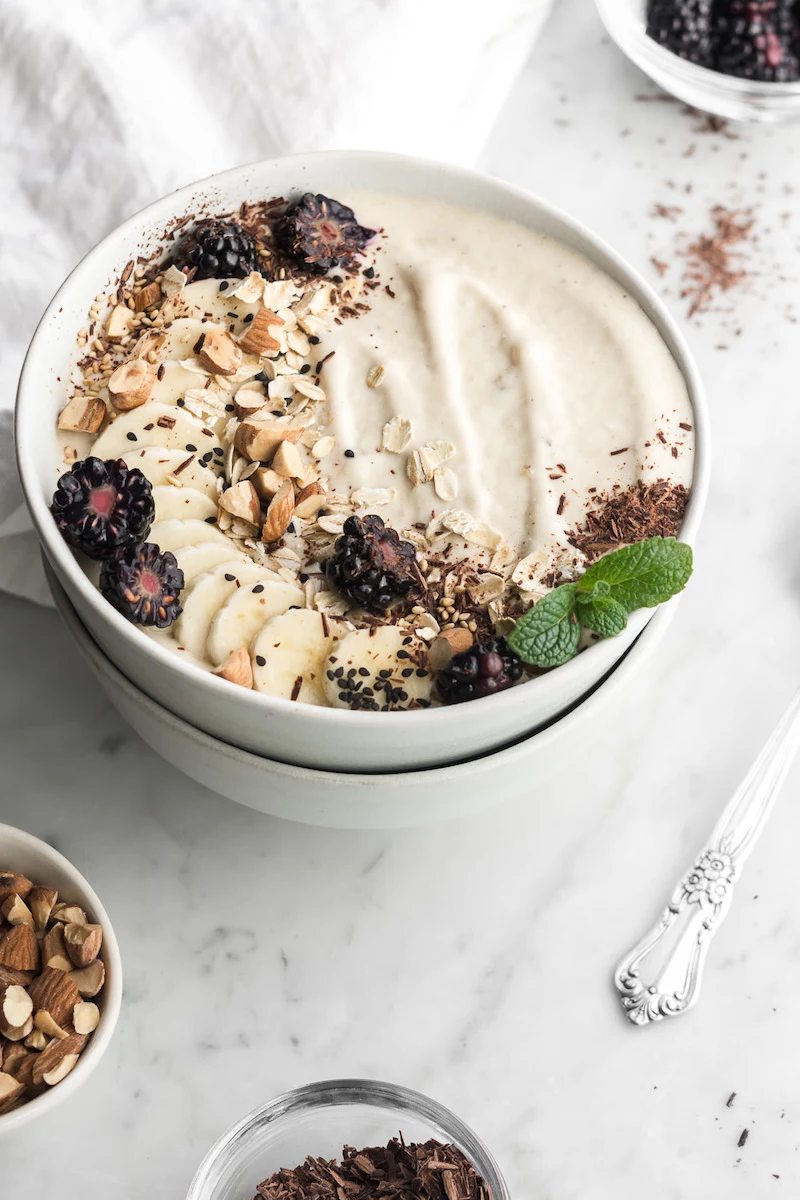
The vessel matters. Eating from a wide, shallow bowl, like a natural coconut bowl or a beautiful ceramic piece from a brand like East Fork, transforms the experience. It gives you a larger surface area to artfully arrange your toppings and makes the act of eating feel more intentional and luxurious than slurping from a tall glass.
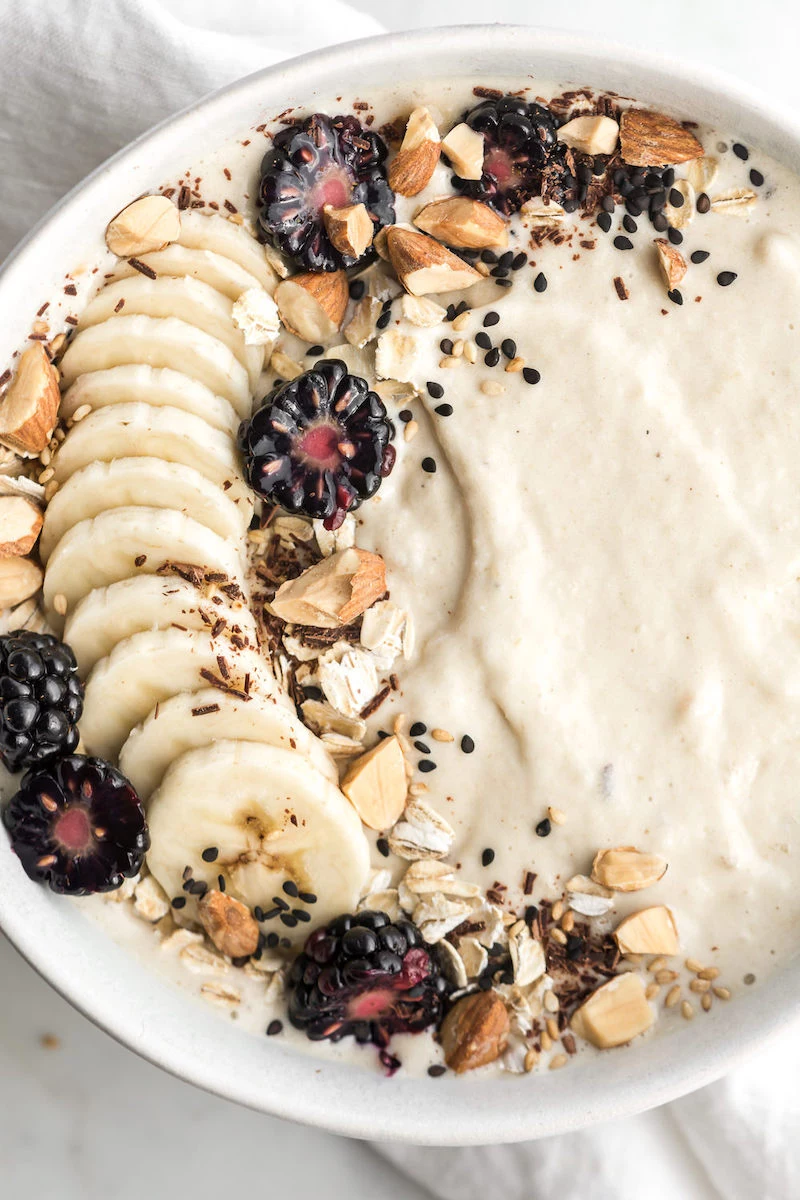
The sogginess trap: Certain toppings should be added only at the very last second. Granola, puffed rice, or delicate freeze-dried raspberries will absorb moisture from the frozen base and lose their crunch within minutes. Add your creamy elements like yogurt or nut butter first, then your fruit, and save the crunchy bits for the final flourish right before you dig in.


