The Real Deal: Your Guide to Tempering Chocolate for That Perfect Snap
I’ve spent years working with chocolate, and my journey started in a way you might not expect. It wasn’t in some fancy, gleaming kitchen. It was in the back of a small, traditional patisserie. My mentor, a stern but brilliant pro, handed me a block of dark chocolate and a simple bench scraper. My first job? It wasn’t making elaborate desserts. It was to melt and cool the exact same batch of chocolate, over and over, for a whole week.
In this article
That’s how I learned. I learned its texture, the specific smell it gives off when it’s getting too hot, and that deeply satisfying snap when it’s finally handled just right. That experience taught me something fundamental: making true chocolate isn’t just about mixing stuff in a bowl. It’s about chemistry and control.
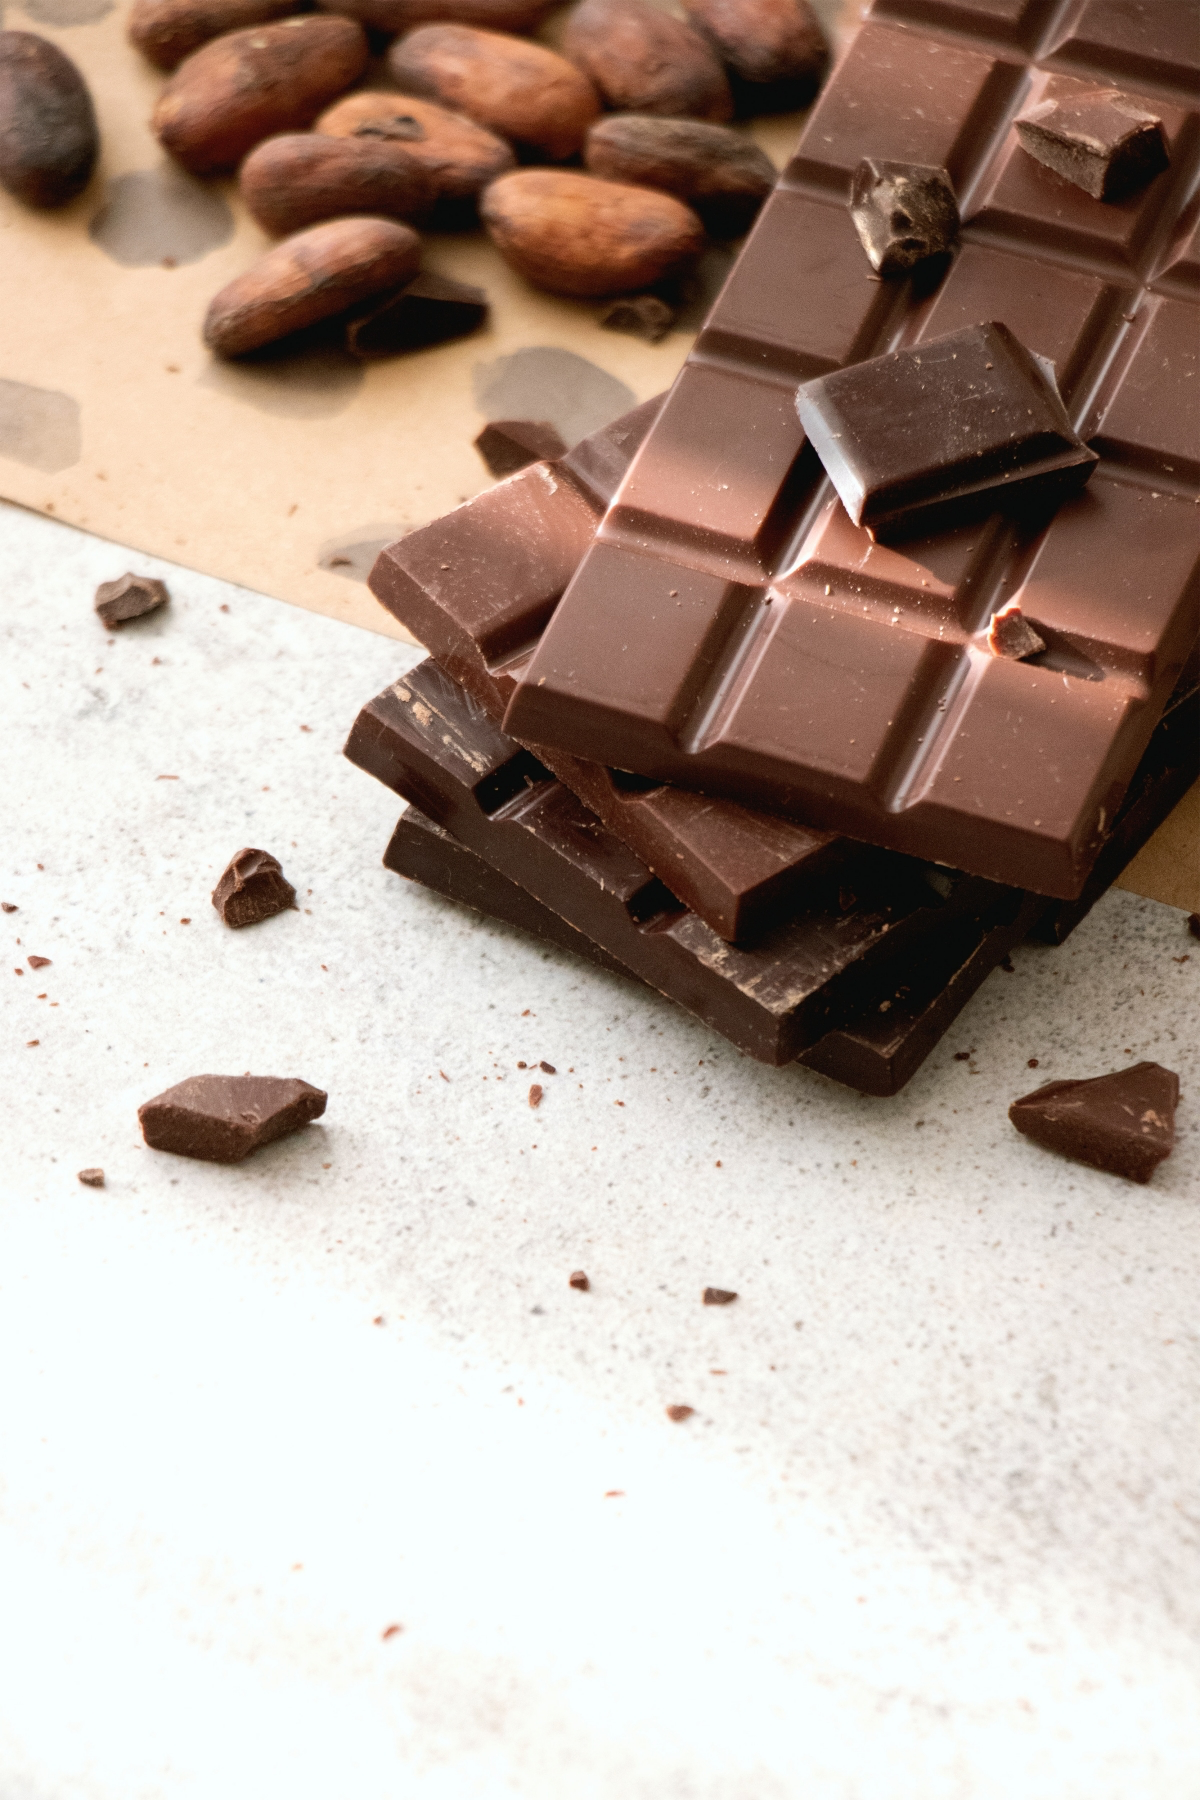
A lot of online recipes promise “easy homemade chocolate,” and they often use things like coconut oil or powdered milk. And hey, those can make some tasty fudge-like treats. But let’s be real, they aren’t chocolate. They will never have that glossy shine or the clean break of a professionally made bar. Why? Because they’re missing the magic ingredient that defines chocolate’s very structure: properly crystallized cocoa butter.

This guide is all about understanding that magic. I’m not going to give you shortcuts that mess with the final result. I’m going to show you the proper techniques, the same ones the pros use. It takes patience and a bit of precision, but the result is something you can be genuinely proud of.
The Science That Makes Chocolate Snap (The Short Version)
Before we grab a single tool, you need to get what’s happening inside the chocolate. Honestly, everything we’re about to do comes down to one core idea: polymorphism. It sounds like a fancy science term, but the concept is pretty simple. Cocoa butter—the natural fat from the cacao bean—can harden into six different crystal shapes. Think of it like stacking LEGOs. Some stacks are wobbly and fall apart, while one specific stack is perfectly ordered and strong.
In the world of chocolate, we only care about one of those shapes: the Form V (or Beta) crystal. When chocolate is loaded with these good crystals, we say it’s “in temper.” This is what gives you all the good stuff:
- A Glossy Finish: The surface is smooth and the tightly packed crystals reflect light perfectly.
- A Clean Snap: That signature sound. The strong crystal structure breaks cleanly instead of bending or crumbling.
- A Silky Mouthfeel: Form V crystals melt right around body temperature, which is why good chocolate melts so beautifully on your tongue.
- Shrinkage: As it sets, tempered chocolate pulls away from the mold just slightly, making it super easy to release.
All the other crystal forms are unstable. They’re what cause dull, streaky chocolate that feels greasy and melts in your hands before it even gets to your mouth. So, “tempering” is just our way of coaxing the cocoa butter to form those perfect Form V crystals and nothing else. We do it by carefully controlling the temperature, and every single step has a purpose.
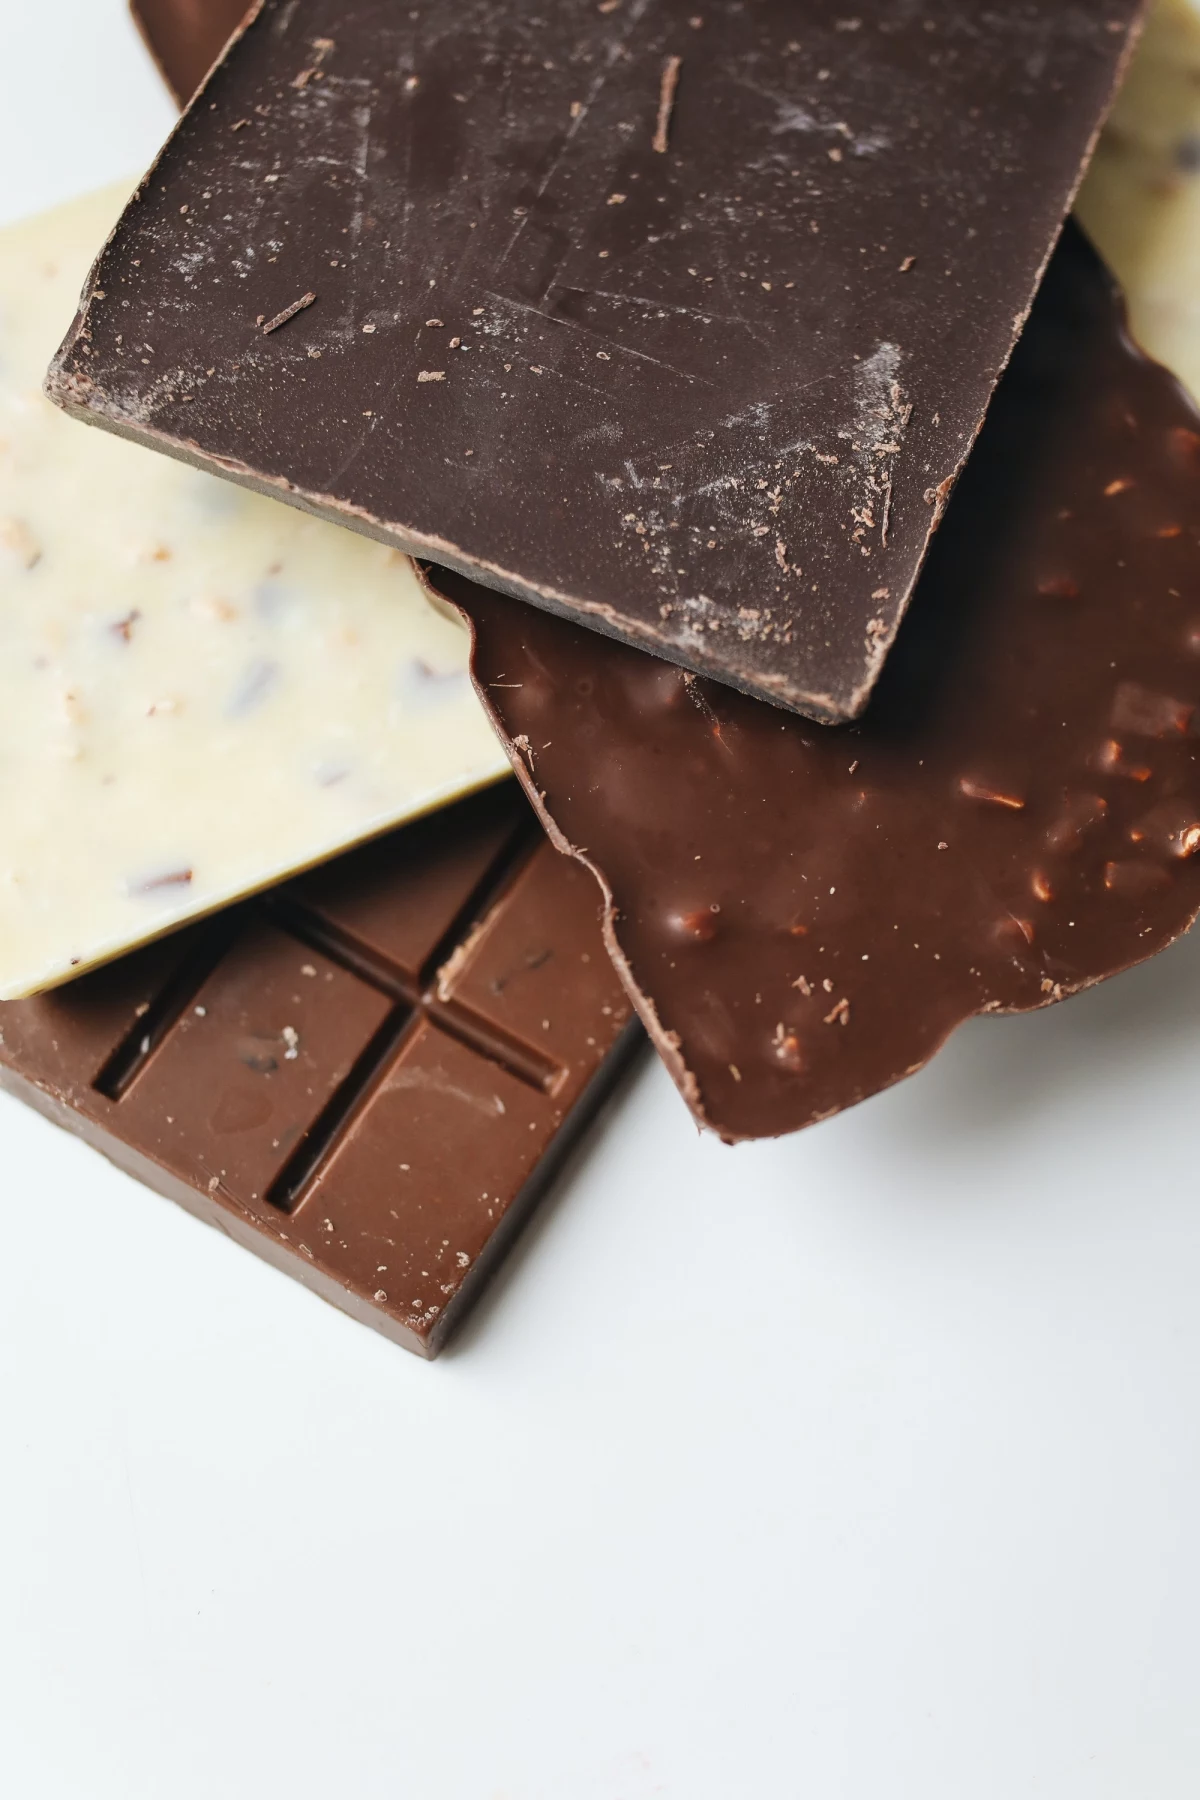
Choosing Your Chocolate: Couverture vs. Compound
Your finished chocolate can only be as good as what you start with. In the professional world, there’s a clear line between two types of chocolate, and knowing the difference is your first step to getting a great result.
Couverture Chocolate: This is the real deal. It’s high-quality chocolate defined by a high percentage of cocoa butter, usually 32% or more. That extra fat makes the chocolate more fluid when it’s melted, which is crucial for getting a thin, even coating. It’s made with just cacao solids, cocoa butter, sugar, and maybe a little lecithin or vanilla. This is what you absolutely must use. You won’t find it in the baking aisle with regular chocolate chips. You’ll need to hit up a specialty baking supply store or order it online. Look for brands that come in small discs or wafers (often called ‘callets’ or ‘pistoles’), as they melt easily. Expect to pay between $15 and $25 for a 2.2 lb (1kg) bag from a good brand.
Compound Chocolate: This is what you usually find in cheap baking chips or those colorful candy melts. To cut costs, the cocoa butter is replaced with other vegetable fats like palm oil. Because these fats are different, compound chocolate can’t be tempered. It just melts and hardens. It’s easy, for sure, but it will always lack the rich flavor and satisfying texture of true chocolate.
And a quick word on standard chocolate chips from the grocery store: just avoid them for this. Most are made to hold their shape in cookies, so they have less cocoa butter and added stabilizers that will fight you every step of the way during tempering.
Your Toolkit: The Right Stuff for the Job
You don’t need a fancy kitchen, but you do need the right tools. Precision is everything in chocolate work. Guessing temperatures is a surefire way to get frustrated. Here’s what’s on my bench:
- Digital Kitchen Scale: Chocolate is all about ratios. Measuring with cups is a recipe for disaster. You have to weigh your ingredients.
- Accurate Digital Thermometer: This is your most critical tool. An instant-read one is best, and a good one will only set you back $15 to $30. It’s a worthy investment. Oh yeah, test it first! Stick it in a pot of boiling water; it should read close to 212°F / 100°C. Then test it in ice water; it should read 32°F / 0°C. If it’s off by a degree or two, that’s fine—just remember to adjust your target temperatures accordingly.
- Glass or Stainless Steel Bowls: You’ll need two that can nest to create a double boiler. Make sure the top bowl doesn’t touch the water below. Plastic bowls are a no-go; they can hold onto odors and heat unevenly.
- Silicone Spatulas: Perfect for stirring and getting every last bit of chocolate out of the bowl.
- Polycarbonate Molds: For that truly professional, super-glossy finish, nothing beats a hard plastic mold. You can use silicone molds, but they’re flexible and just don’t give the chocolate that same mirror-like shine.
A CRITICAL WARNING: Water Is Your Worst Enemy. I once watched someone ruin a massive batch of expensive white chocolate with a single drop of steam. The chocolate seized instantly, turning from a beautiful, fluid liquid into a thick, grainy paste. This happens because the sugar in the chocolate latches onto the water and clumps up. It’s a texture that can’t be fixed for tempering.
But wait! If this happens to you, DON’T throw it out. While it’s no longer good for making bars or bonbons, that seized chocolate is perfect for things that don’t need temper, like rich brownie batter, hot chocolate, or a decadent chocolate sauce. It’s a great save that can salvage a $20 mistake!
The Art of Tempering: Step-by-Step
Tempering is a three-act play: melting, cooling, and re-warming. Each type of chocolate has its own precise temperature targets. Seriously, write these down or screenshot this. They are your roadmap to success.
The targets below are a fantastic starting point. Remember that different brands might have slightly different ideal temperatures, but these are the universal standards.
- For Dark Chocolate (55-75% Cacao):
1. Melt to: 113-122°F (45-50°C)
2. Cool down to: 81°F (27°C)
3. Re-warm to a working temp of: 88-90°F (31-32°C) - For Milk Chocolate:
1. Melt to: 104-113°F (40-45°C)
2. Cool down to: 79°F (26°C)
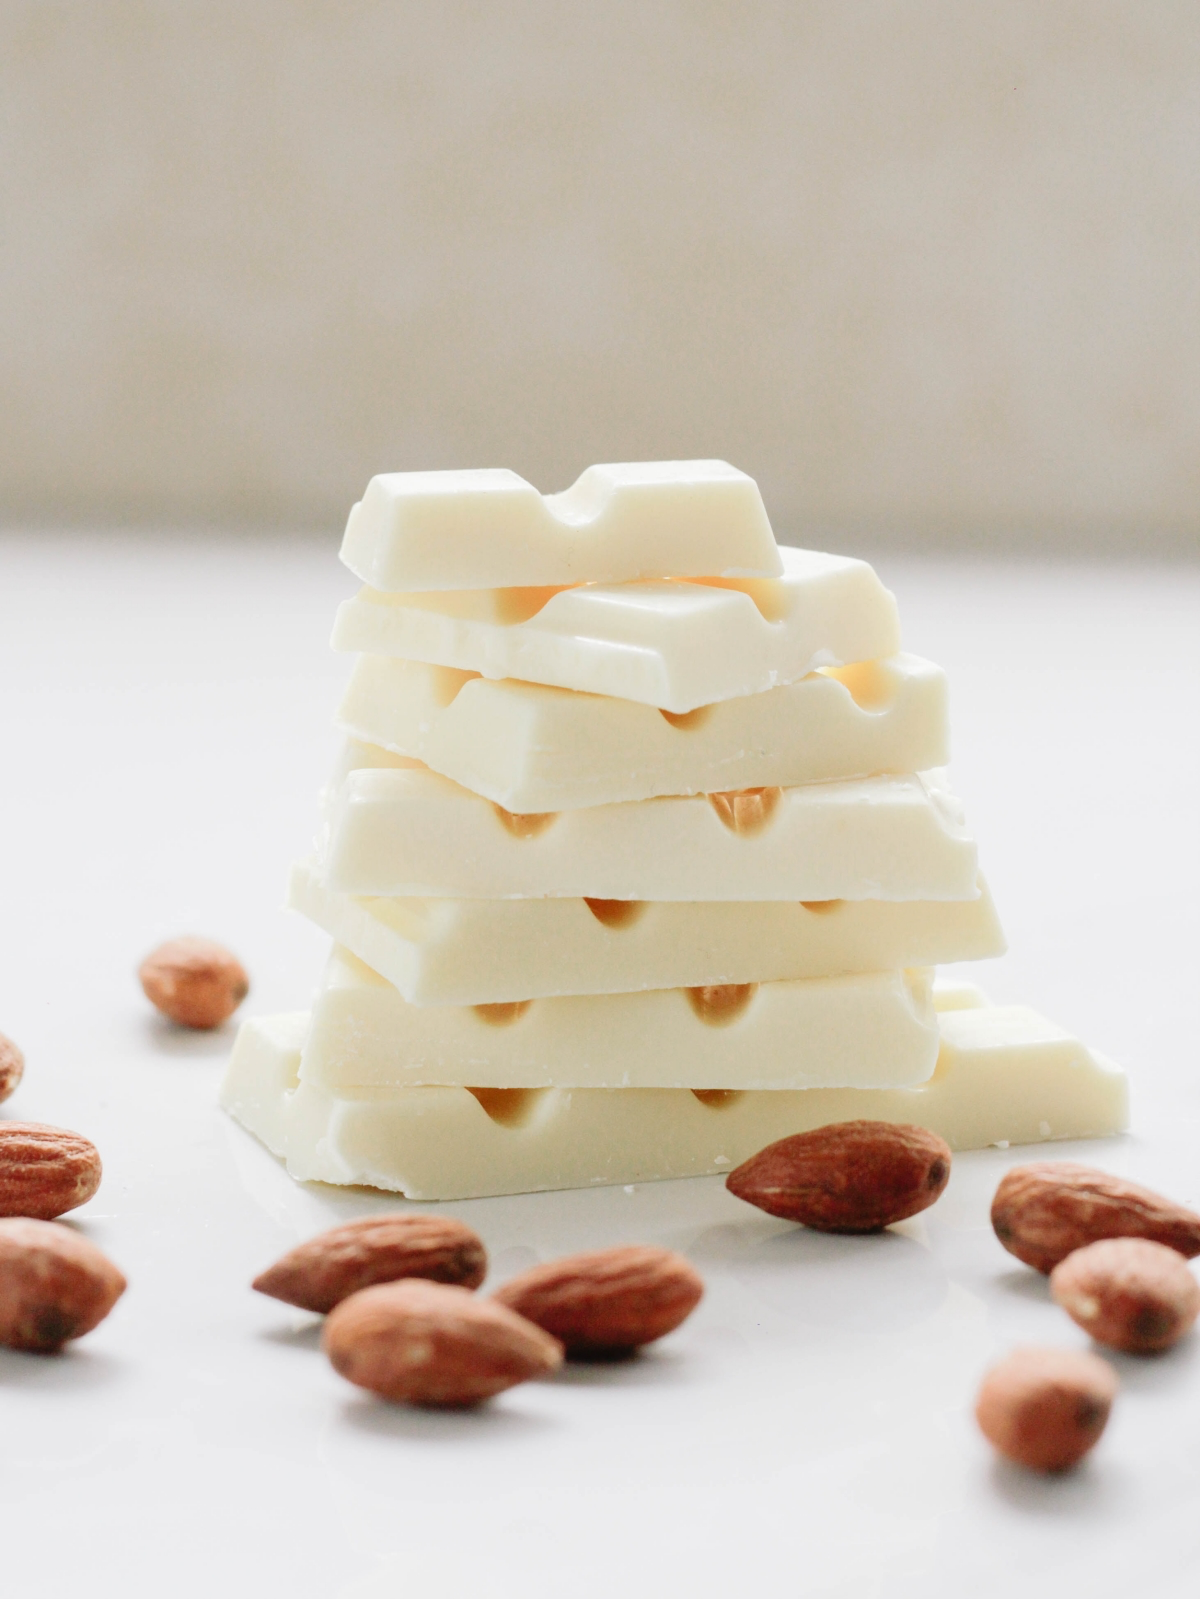
3. Re-warm to a working temp of: 84-86°F (29-30°C) - For White Chocolate:
1. Melt to: 104-113°F (40-45°C)
2. Cool down to: 77°F (25°C)
3. Re-warm to a working temp of: 82-84°F (28-29°C)
Milk and white chocolate have lower targets because their milk solids can burn easily. You have to be extra careful with them. For home chocolatiers, the most reliable method is called seeding. Let’s walk through it. Plan on this taking about 30-45 minutes of your focused attention.
The Seeding Method: Your Most Reliable Bet
This technique uses solid, already-tempered chocolate to introduce—or “seed”—those stable Form V crystals into your melted chocolate. It’s the most foolproof method without needing a giant tempering machine.
Step 1: Prep Work. Chop your couverture chocolate (unless you’re using callets). Weigh it. Separate about 25-30% of the total chocolate and set it aside. This is your “seed.” Chop this seed portion into small, fine pieces so it melts quickly and evenly later on. Quick tip: Don’t try to temper a tiny amount, like 100g. It’s incredibly hard to control the temperature. A batch of 300g to 500g (about 10-16 oz) is the sweet spot for beginners.
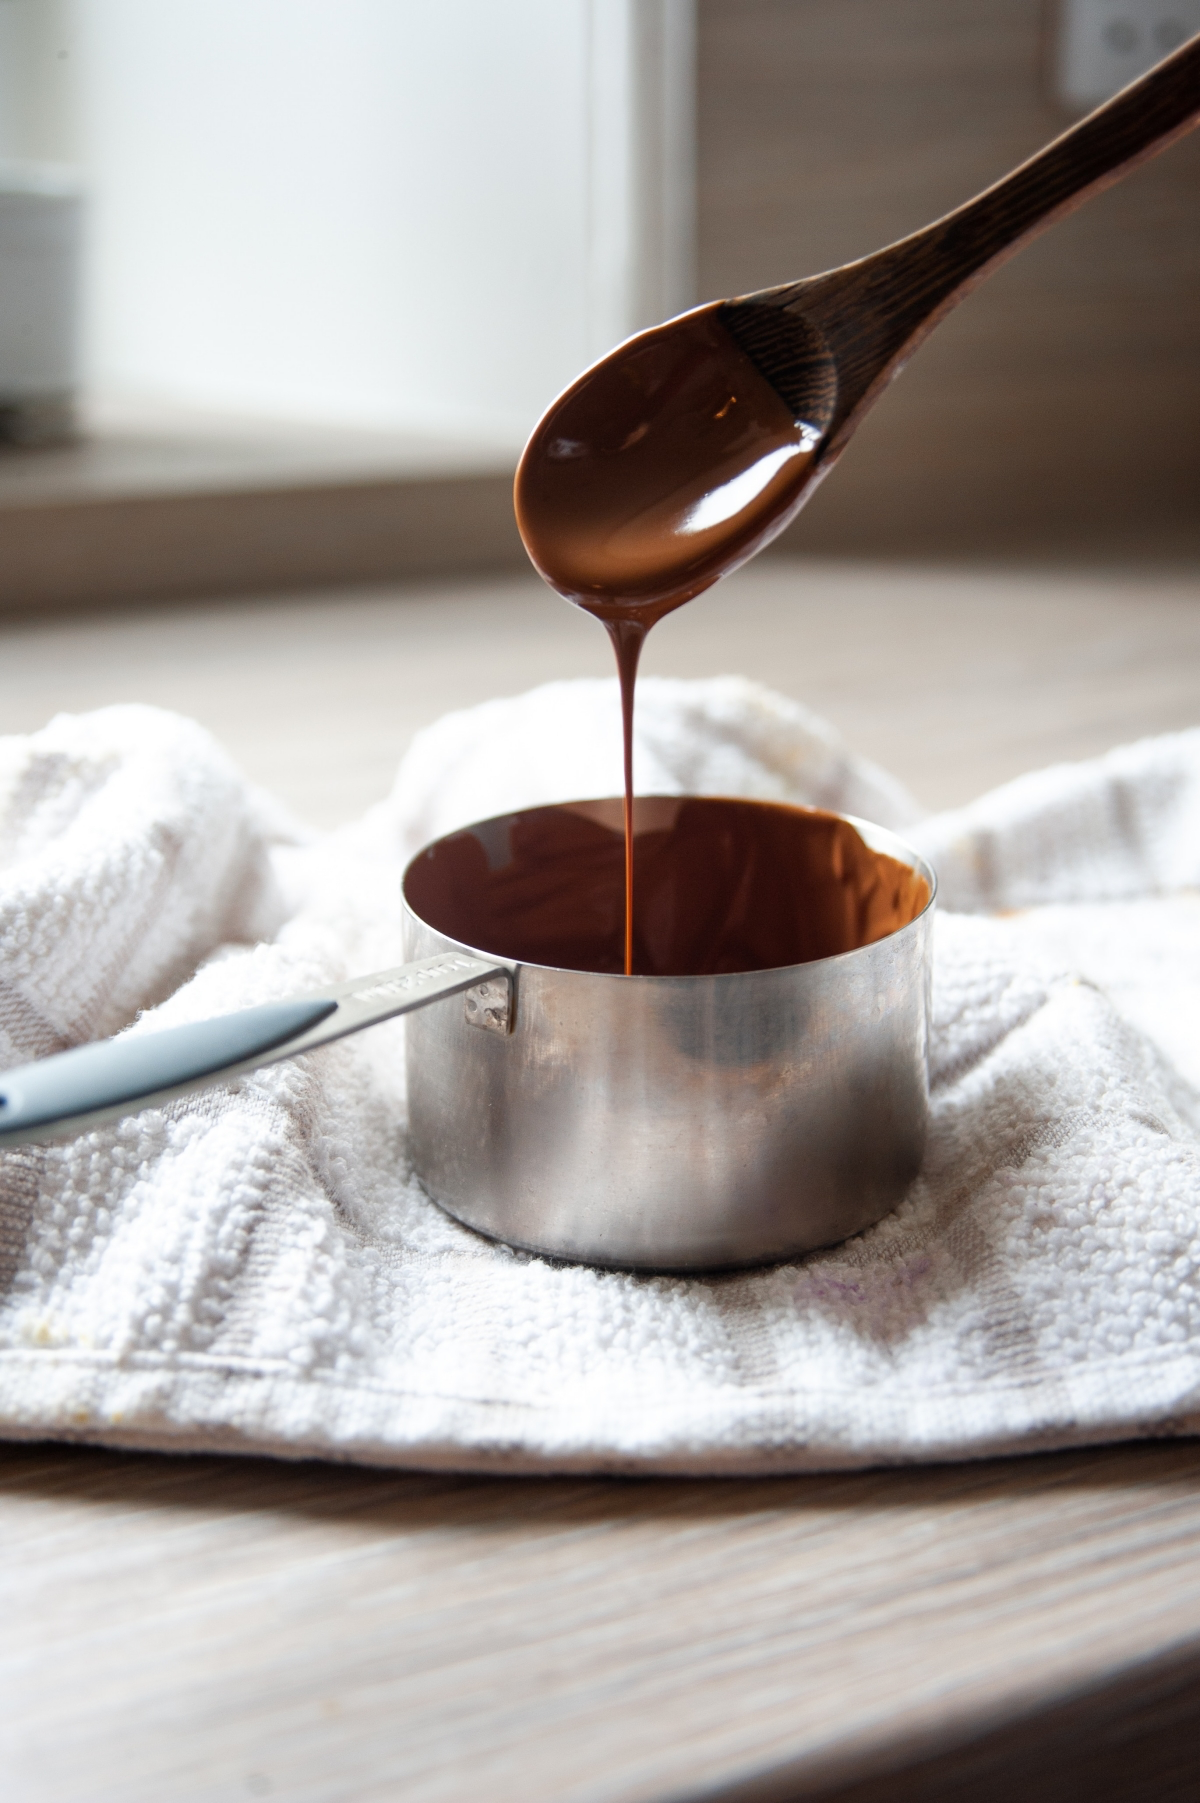
Step 2: The Melt. Place the larger portion (70-75%) of your chocolate in a clean, dry bowl. Set it over a saucepan of barely simmering water (a bain-marie). The water shouldn’t be boiling, and it must not touch the bottom of the bowl. Stir occasionally as it melts. Use your digital thermometer and heat it until it reaches that initial melting temperature for its type (e.g., 113-122°F for dark). This step is about wiping the slate clean by melting out all the existing crystals, good and bad.
Step 3: Seeding & Cooling. Once you hit the target temp, take the bowl off the heat. Immediately wipe the bottom of the bowl dry. Now, start adding your reserved seed chocolate a little at a time, stirring constantly. The goal is to cool the whole batch down. As the seed chocolate melts, it releases its perfect Form V crystals, which act like magnets, encouraging all the other melted chocolate to form identical crystals. Keep stirring and adding seeds until you reach the cooling target (e.g., 81°F for dark). This takes patience. Don’t rush it.
Step 4: The Re-warm. Your chocolate is now cool and probably a bit thick. We need to raise the temperature just enough to make it fluid again without destroying our hard-won crystals. Place the bowl back over the warm water for just a few seconds at a time. Stir, check the temp, and take it off. Be SO careful here. You want to nudge the temperature up to the final working temp (e.g., 88-90°F for dark) and not a single degree higher. If you overshoot, you’ll have to start the whole process over again.
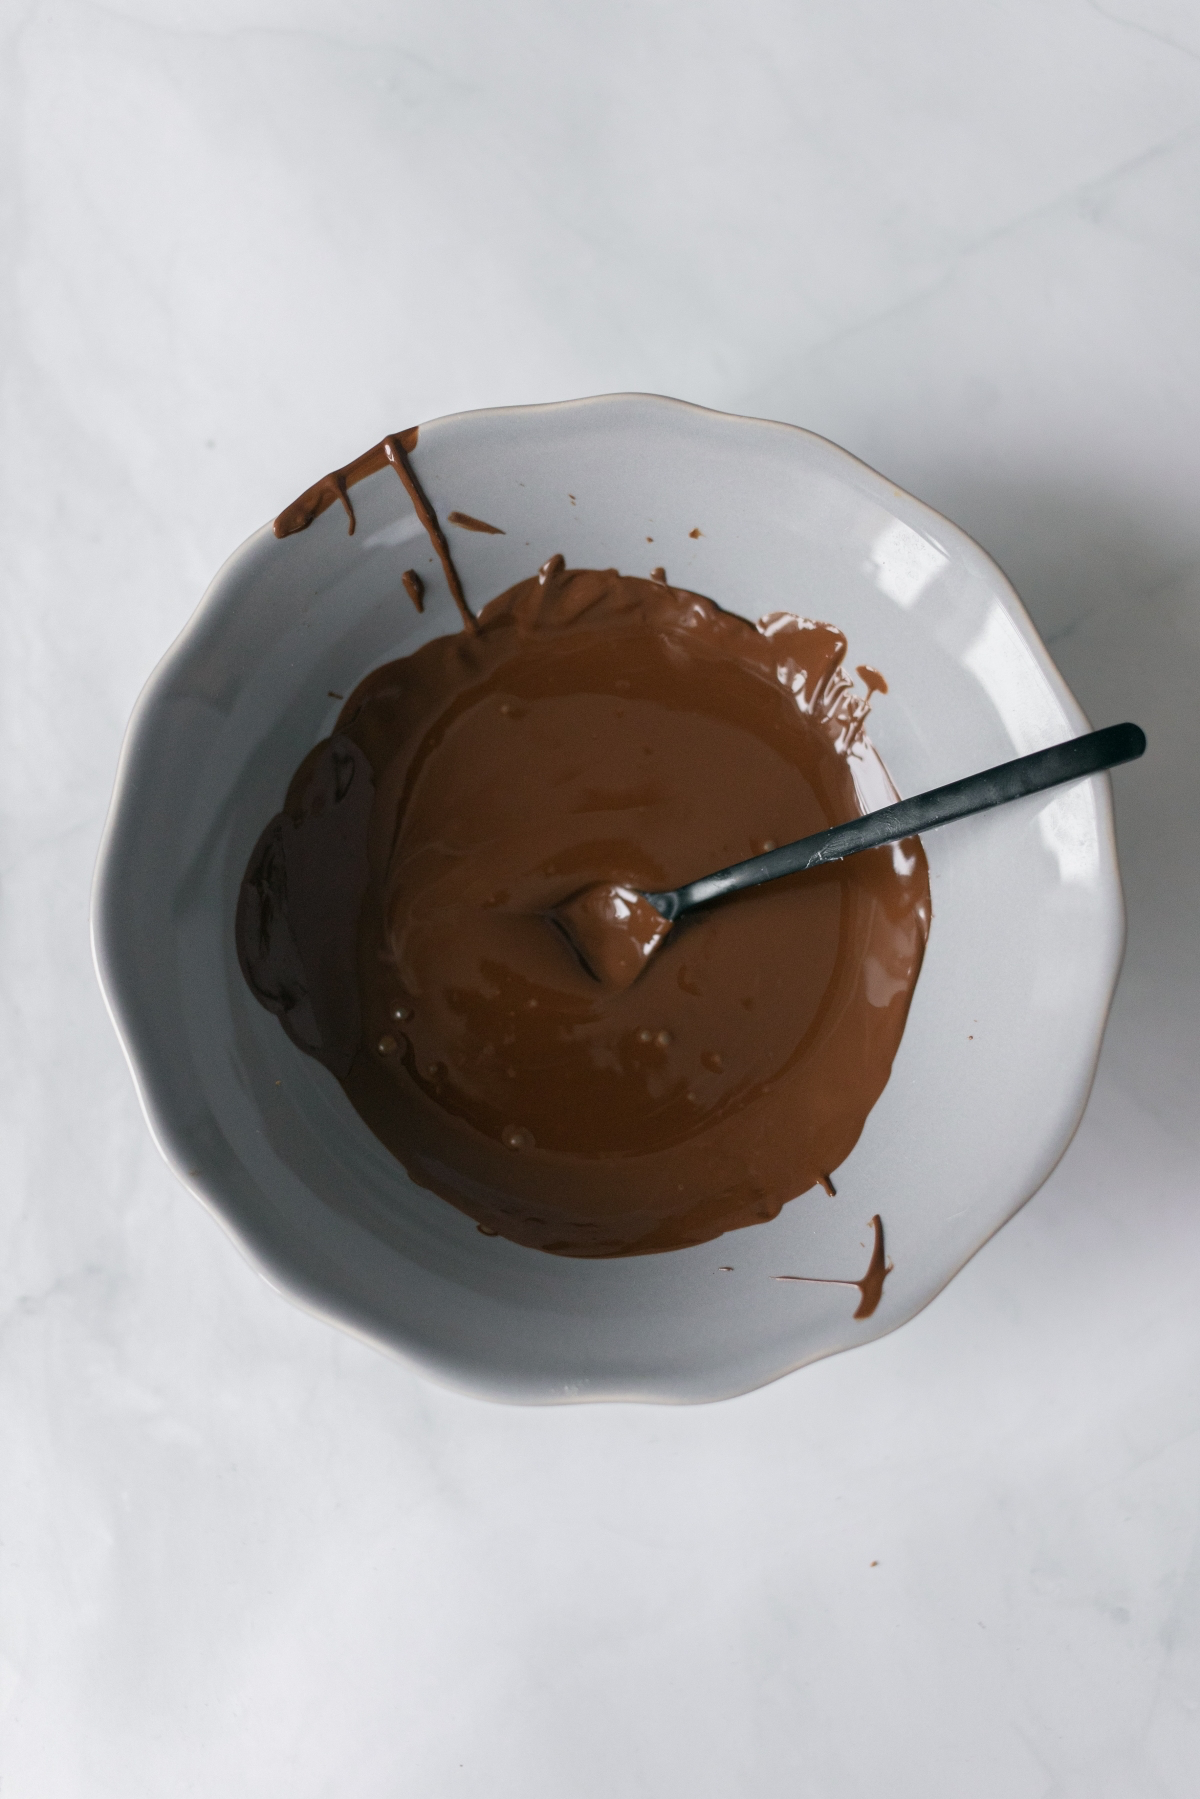
Step 5: The Test. How do you know if it worked? Dip the tip of a knife or a strip of parchment paper into the chocolate and set it on the counter. At a normal room temperature (around 68°F / 20°C), it should set firm and streak-free within 3 to 5 minutes. If it’s still soft or looks dull after 5 minutes, it’s not in temper. Don’t panic. Just reheat it all to the starting temperature and try the seeding process again. Trust me, my first dozen attempts failed. It’s just part of learning the craft.
Your First Project: Chocolate Bark
Before you jump into fancy molds, I highly recommend a low-stakes first project: making chocolate bark. It’s the perfect way to test your temper without any pressure. Simply pour your tempered chocolate onto a sheet of parchment paper, spread it into a thin layer, and sprinkle on whatever you like (toasted nuts, dried fruit, sea salt). Let it set, then break it into pieces. If it snaps cleanly, you nailed it!
From Liquid Gold to Finished Bars
Once your chocolate is in temper, work calmly but efficiently. It will start setting as it cools.
Recipe 1: Classic 70% Dark Chocolate Bar
- Ingredients: 300g high-quality 70% dark couverture chocolate.
- Equipment: Polycarbonate bar molds, your tempering tools.
Method:
1. Make sure your molds are perfectly clean and bone dry. A pro trick for an extra-glossy finish is to polish the inside of each cavity with a soft cotton ball. This removes any microscopic dust or residue.
2. Temper your dark chocolate using the seeding method, hitting your temperatures exactly (Melt to 113-122°F, cool to 81°F, rewarm to 88-90°F).
3. Once you’ve confirmed your chocolate is in temper, carefully pour it into the molds. Pour from a low height to avoid creating air bubbles.
4. Now, tap the molds firmly on the countertop several times. You’ll see little bubbles rise to the surface. This is essential for a solid, professional-looking bar.
5. Let the molds set at a cool room temperature (64-68°F / 18-20°C) for at least 4-6 hours. Whatever you do, don’t put them in the fridge! The humid air can cause “sugar bloom,” creating a gritty white film on the surface.
6. To demold, just flip the mold upside down over a clean counter. If the chocolate was tempered correctly, the bars will have shrunk just enough to fall right out with a satisfying clack.
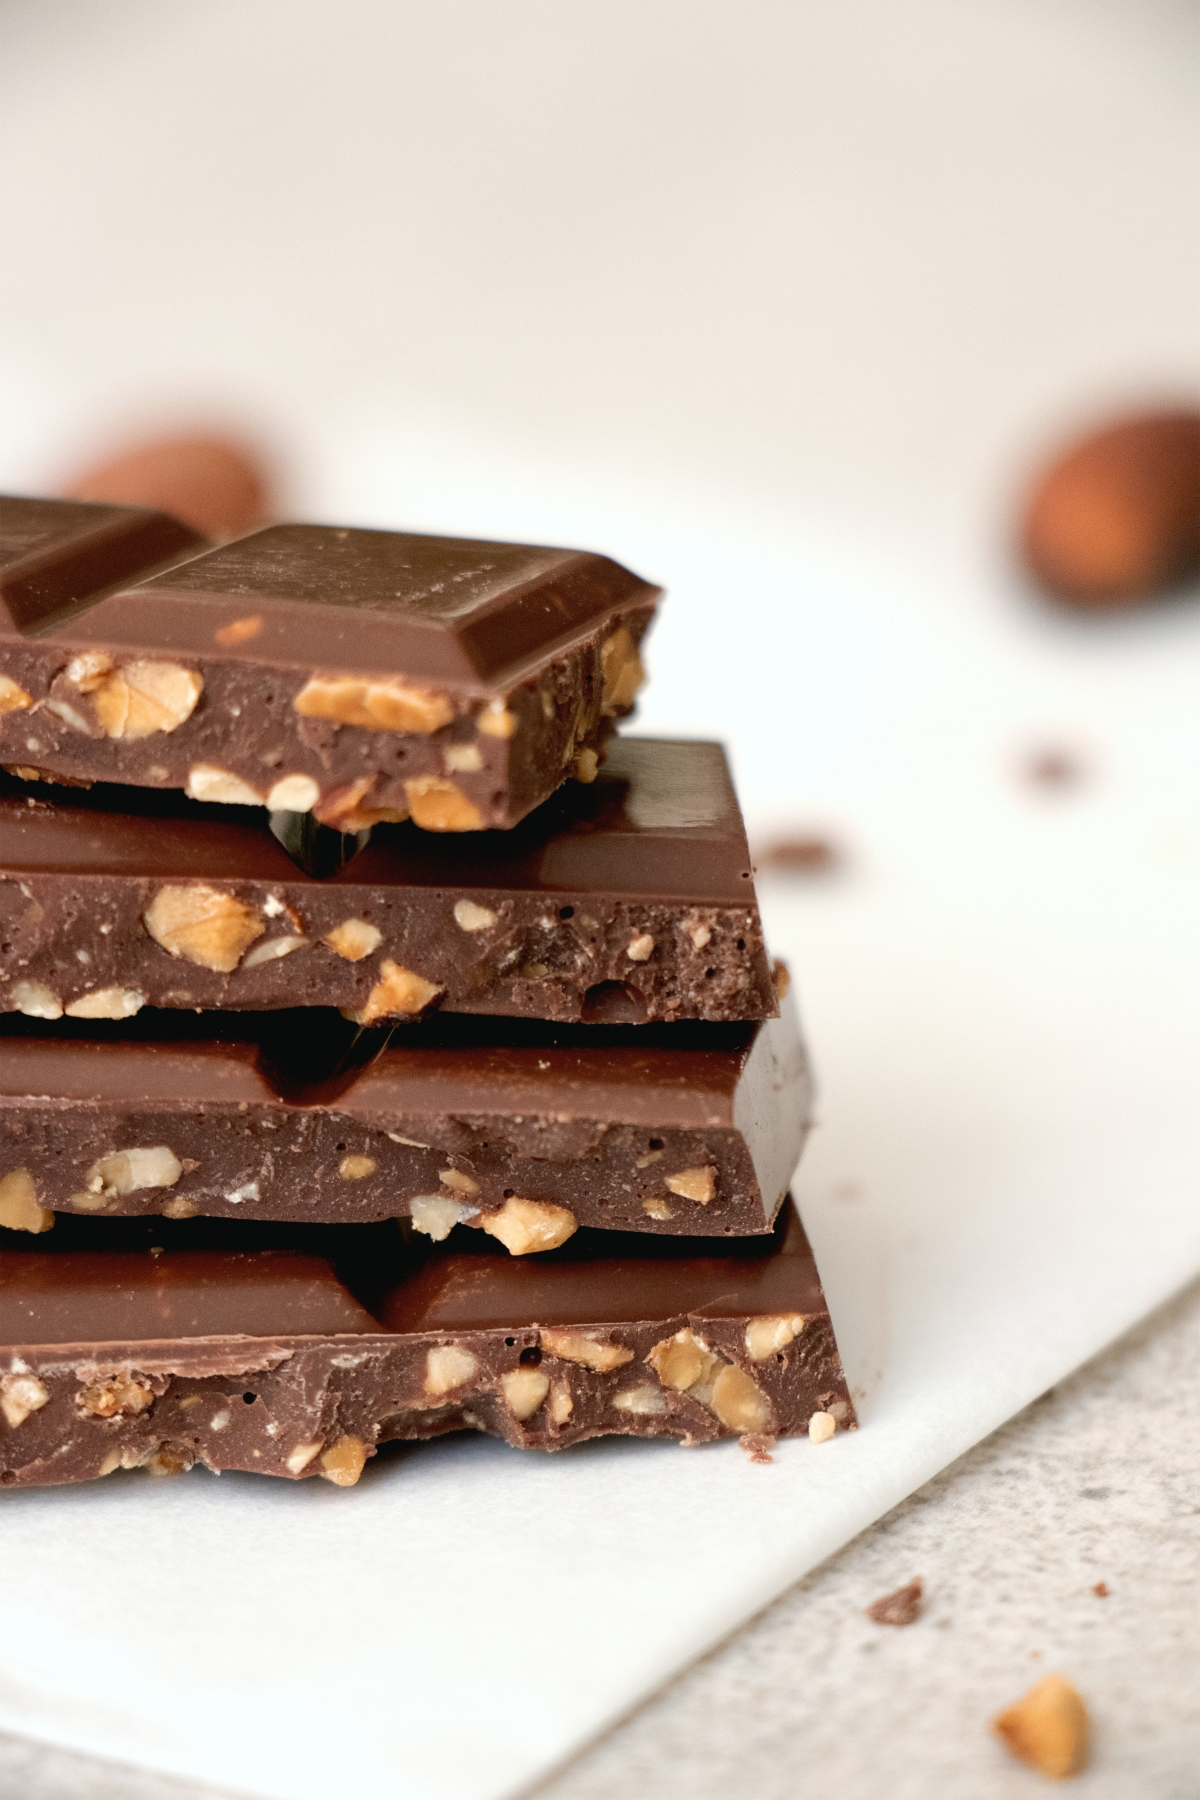
Recipe 2: Next Level – Hazelnut Gianduja
This is a classic Italian confection, and it’s absolutely sublime. Gianduja isn’t just chocolate with nuts; it’s a silky emulsion of chocolate and finely ground hazelnut paste.
- Ingredients:
– 150g raw, skin-on hazelnuts
– 200g high-quality milk couverture chocolate
– A pinch of fine sea salt
Method:
1. First, make the hazelnut paste. Preheat your oven to 350°F (175°C). Spread the hazelnuts on a baking sheet and toast for 10-12 minutes, until they’re fragrant and the skins are blistered. The smell is one of the best things on earth.
2. While they’re still warm, dump the nuts into a clean kitchen towel and rub them vigorously to get most of the skins off. A few bits left on are fine.
3. Put the warm, skinned hazelnuts into a food processor. Good to know: You’ll need a fairly powerful food processor for this, think something with at least 1000 watts. A less powerful one might struggle or burn out its motor. Process them for a solid 5-10 minutes. They’ll go from crumbs to a thick paste, and finally, they’ll release their natural oils and become a smooth, liquid paste. That’s hazelnut butter.
4. Temper the milk chocolate using the seeding method (Melt to 104-113°F, cool to 79°F, rewarm to 84-86°F).
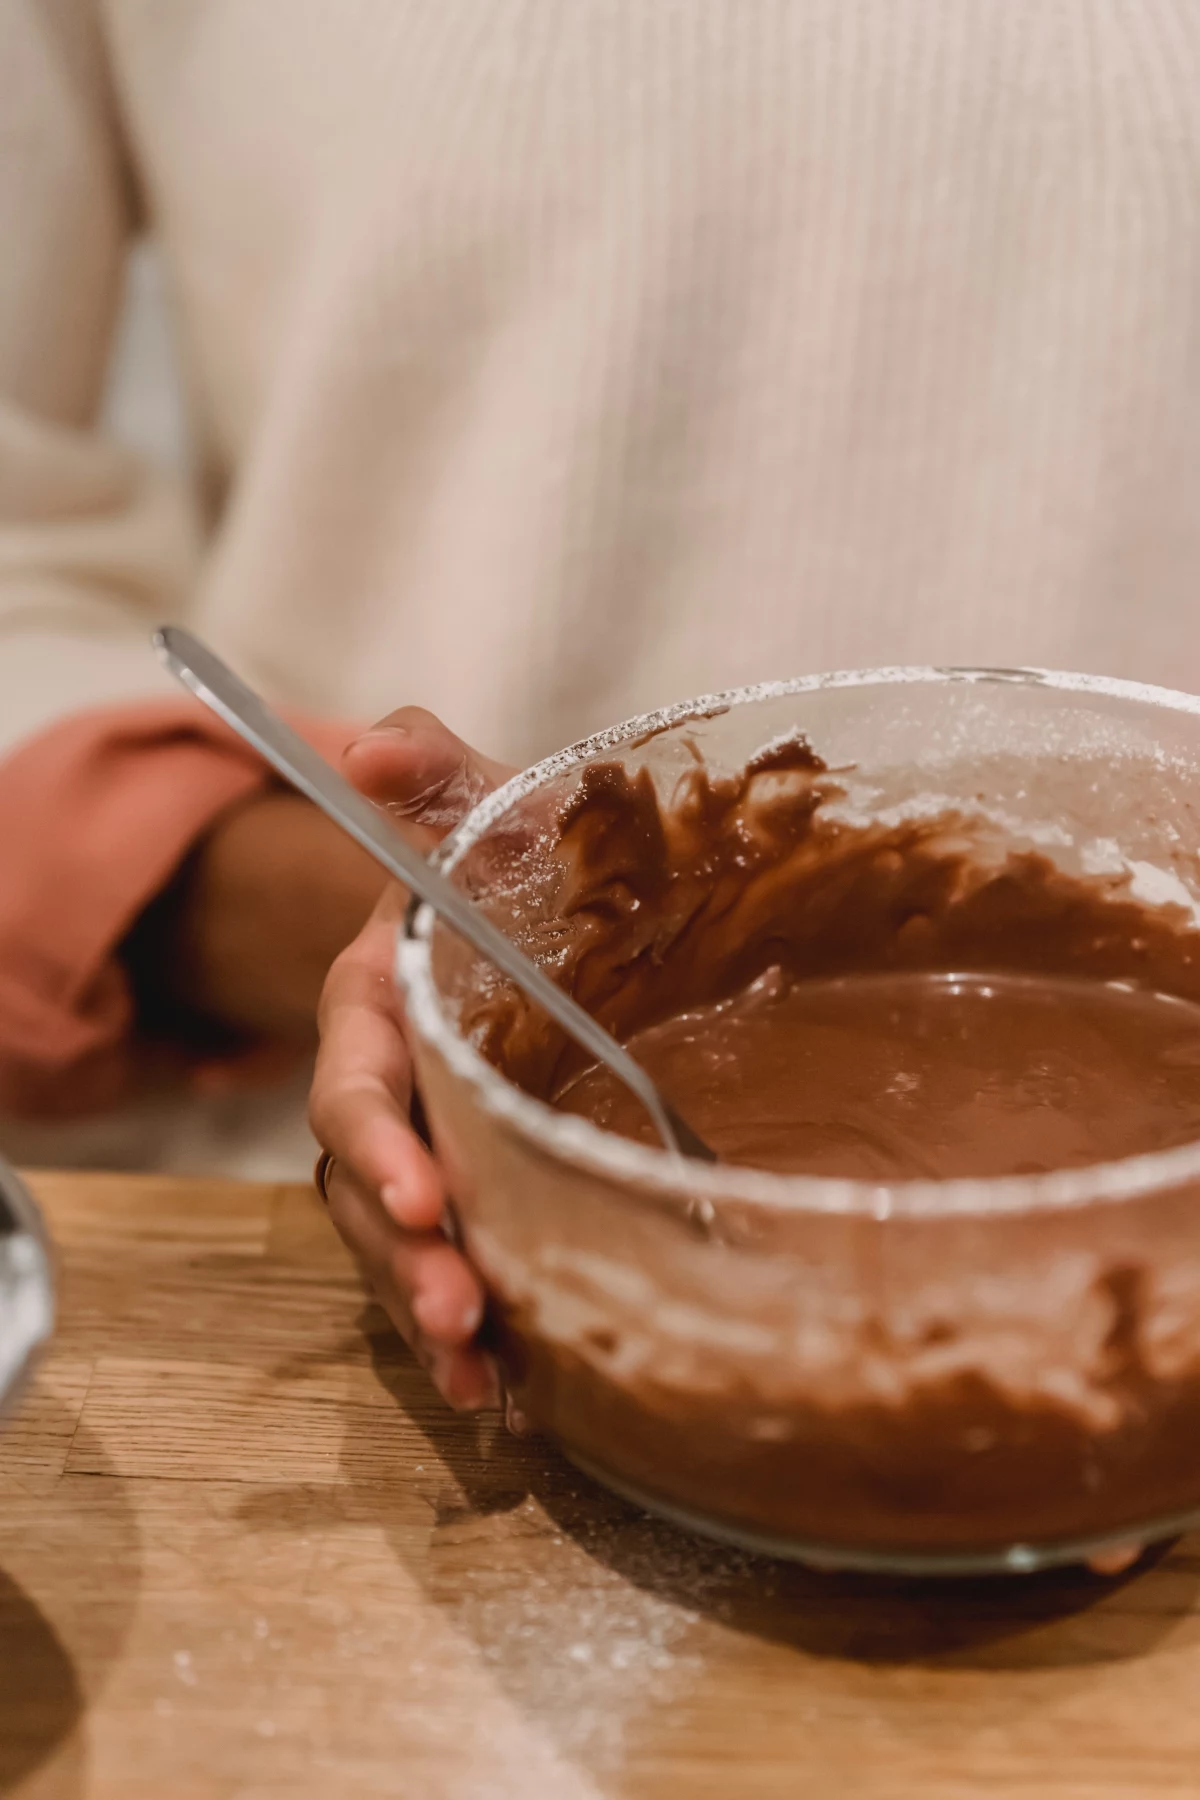
5. Once the chocolate is in temper, add the warm hazelnut paste and the pinch of salt. Stir gently until it’s all combined and the mixture is smooth.
6. Pour the gianduja into a small, parchment-lined loaf pan or smaller molds. Let it set at cool room temperature for 12-24 hours. Gianduja is softer than a plain bar because of the nut oils, so it needs more time to firm up.
7. Once set, cut it into squares. The texture is dense, silky, and an absolute showstopper.
Troubleshooting Common Problems
Things go wrong. It happens to all of us. Here are the most common issues:
- My chocolate has white streaks or spots. This is fat bloom. It means the cocoa butter crystals separated and weren’t stable—your chocolate wasn’t in temper. It’s still totally edible, but the texture is off. The only fix is to re-melt and re-temper.
- My chocolate is getting too thick while I work. Your chocolate has cooled below its working temp. Gently wave a hairdryer on low over the bowl for a few seconds, stirring constantly, until it’s fluid again. Keep your thermometer handy to make sure you don’t go over the working temperature.
- My kitchen is too warm! This can make it hard for chocolate to set properly. Try to work in the coolest part of the day, or set up a small fan nearby (not pointing directly at the chocolate) to create some gentle air circulation.
- My bar won’t come out of the mold. This is the classic sign of untempered chocolate. Tempered chocolate shrinks and releases itself. If it’s stuck, the structure is too soft. You might have to pop it in the freezer for a few minutes just to harden it enough to force it out, but the surface will likely be dull.
Storing your finished chocolate is easy: keep it in an airtight container in a cool, dark, and dry place, like a pantry. A wine fridge set around 64°F (18°C) is ideal. Just never the regular refrigerator.
Good chocolate is a craft built on precision and patience. Don’t get discouraged if your first few tries aren’t perfect. Each batch teaches you something. You’re not just following a recipe; you’re learning to work with one of nature’s most fascinating ingredients. That first clean snap from a bar you made yourself? It’s worth all the effort. I promise.


