I’ve spent a lot of my life in professional kitchens, and let me tell you, the Saturday night rush is exactly as intense as it looks on TV. The roar of the hoods, the constant clatter of pans… it’s controlled chaos. Orders are flying in, and you have minutes, not hours, to get a perfect plate of food out the door. Every. Single. Time.
Most people think cooking at home is a totally different universe. And in some ways, it is—you don’t have a team of prep cooks or someone else washing your mountain of dishes. But the core principles that let a restaurant kitchen serve hundreds are the very same ones that can help you get a fantastic dinner on the table on a Tuesday night.
It’s not about finding some magic 30-minute recipe. It’s about understanding a few key techniques that the pros rely on.
I’ve trained new cooks who came in with all the passion in the world but zero process. They were slow, disorganized, and completely stressed out. The first thing we teach them isn’t a fancy dish. We teach them how to think and how to move. That’s what I want to share with you—the foundational skills that turn cooking from a frustrating chore into a genuinely satisfying process.
But before we even dive in, here’s a quick win you can use tonight. Seriously, just do this one thing: Pat your chicken, pork, or fish completely dry with a paper towel before you cook it. You will be absolutely shocked at the difference it makes in getting a beautiful, brown crust. Okay, now for the real secrets.
The Most Important Skill You’re Probably Skipping
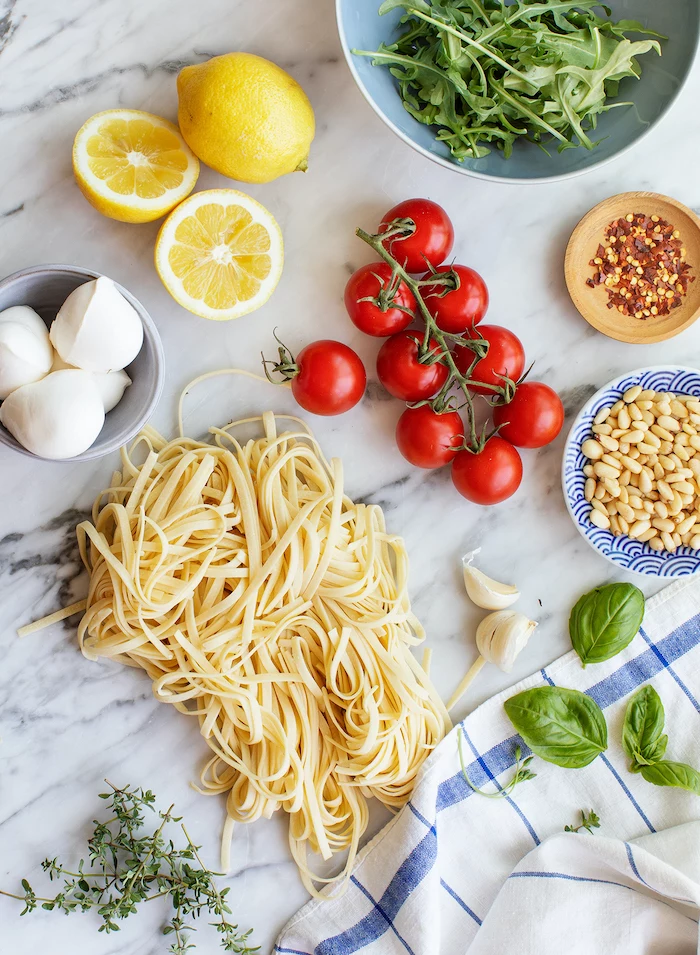
In every professional kitchen, you’ll hear the French term ‘mise en place’ (pronounced meez-on-plahss). It just means “everything in its place.” Before a single pan even thinks about getting hot, every single ingredient is prepped. Onions are chopped. Spices are measured out. Sauces are whisked together. Everything is sitting in its own little bowl, ready to go.
I know what you’re thinking. That sounds fussy and just creates more dishes to wash. I get it. But I promise you, it’s the absolute secret to calm, fast cooking. When you’re trying to frantically chop an onion while your chicken is already in the pan, you risk burning the chicken. When you have to stop and rummage for the soy sauce, your hot pan cools down. That’s when chaos takes over, and stress follows right behind. A proper ‘mise en place’ turns cooking into a smooth, almost relaxing, assembly line.
For example, if you’re making a simple stir-fry, spending 10 minutes on prep before the stove is on saves you 20 minutes of stress later. Get your veggies chopped, your protein sliced, and your sauce mixed. Then, the actual cooking part is a breeze.
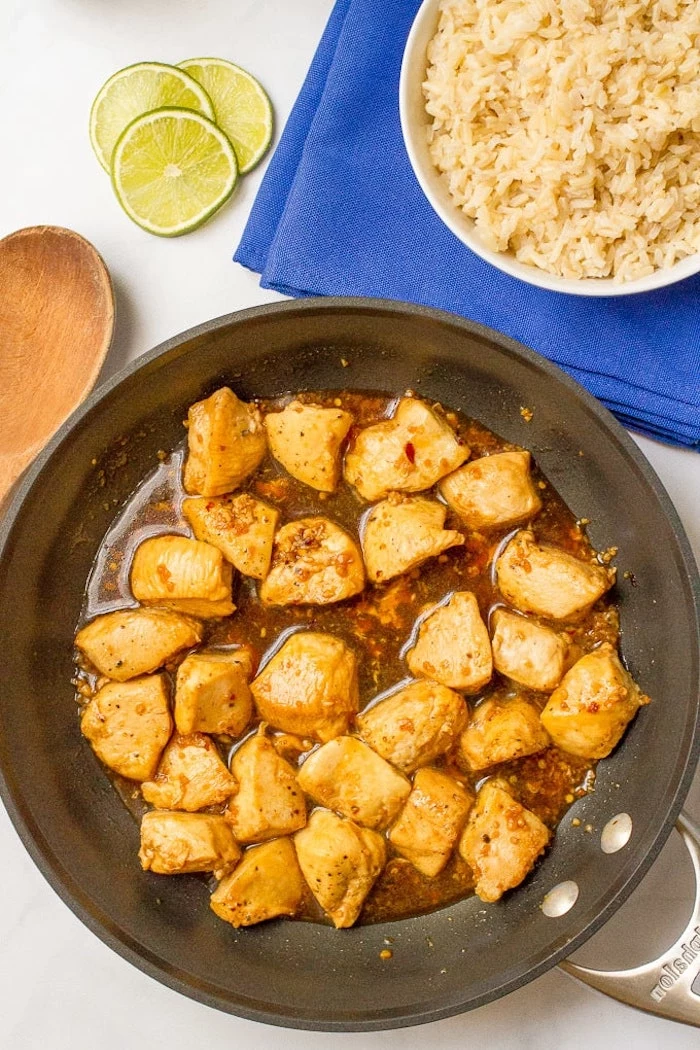
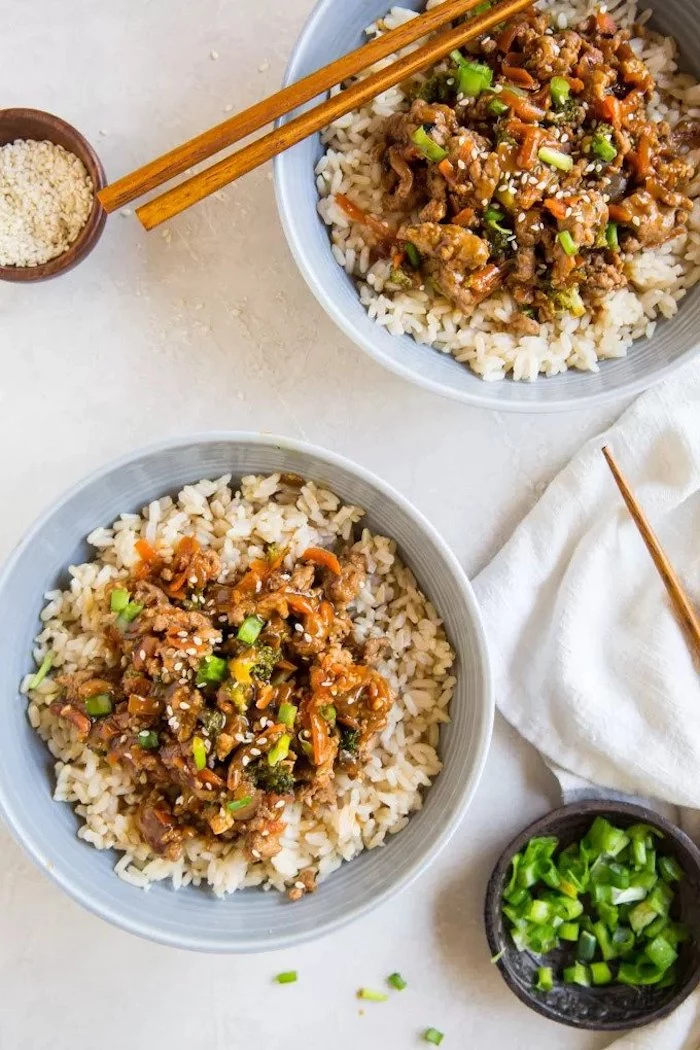
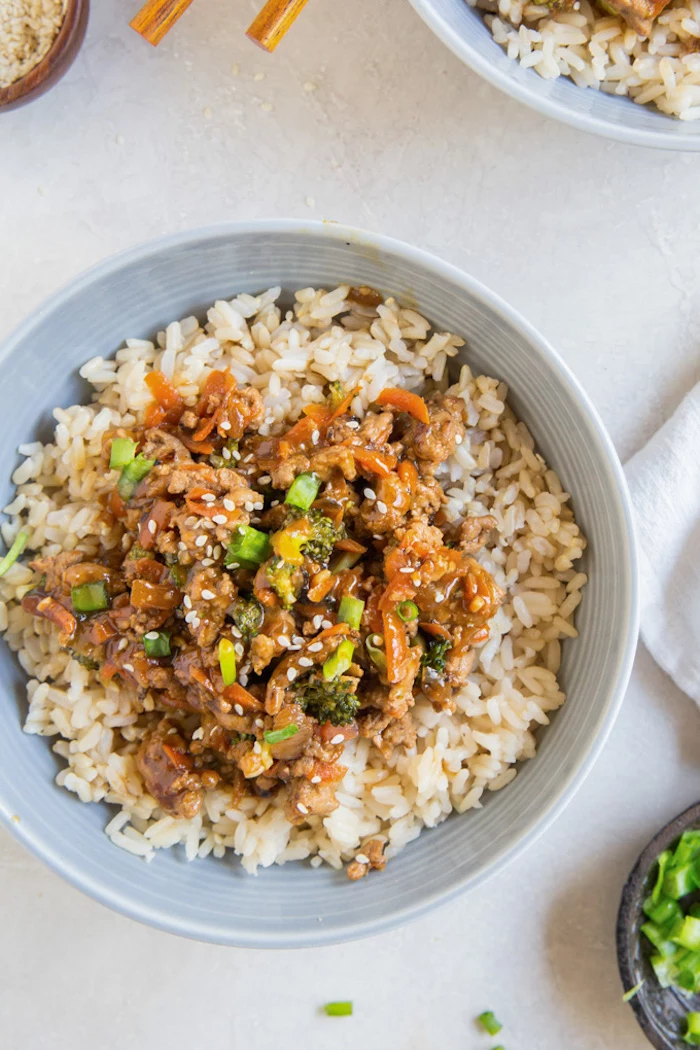
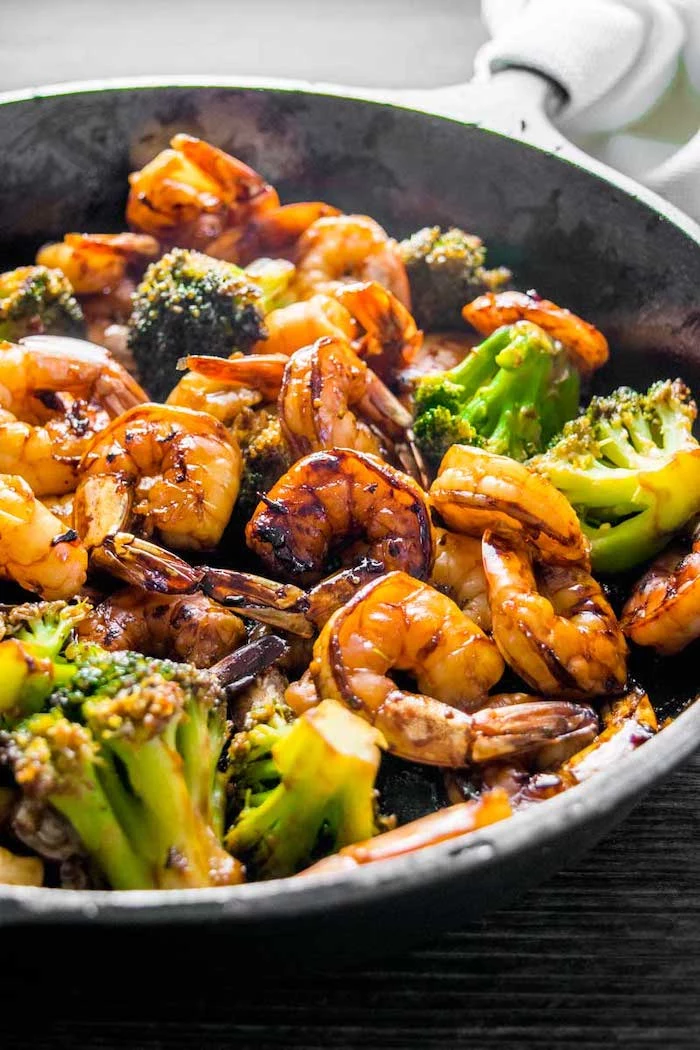
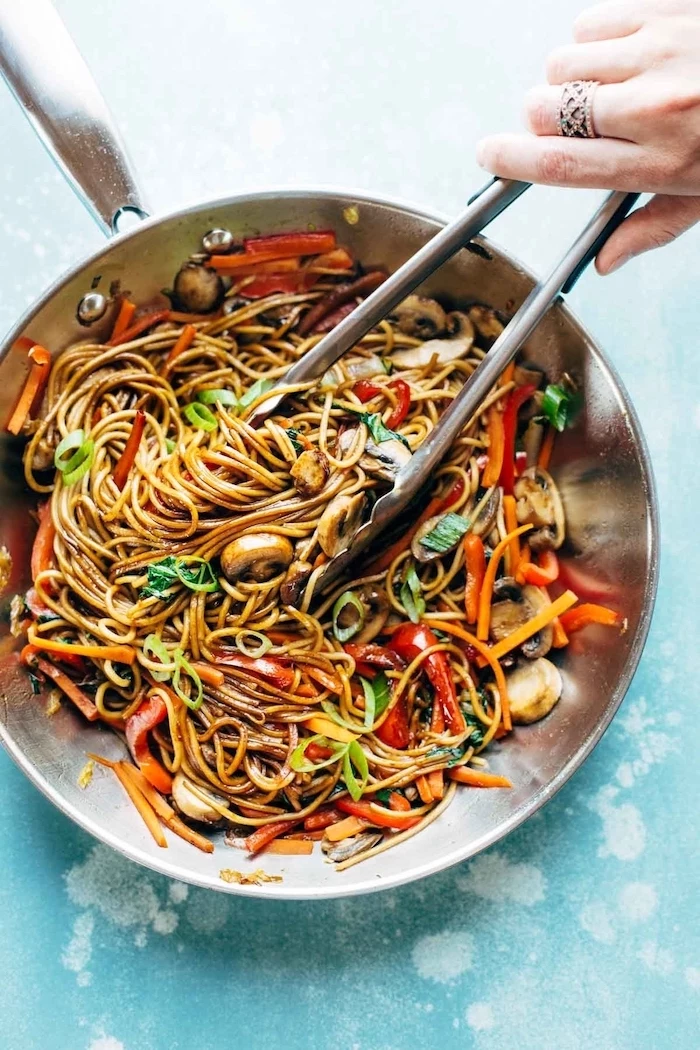
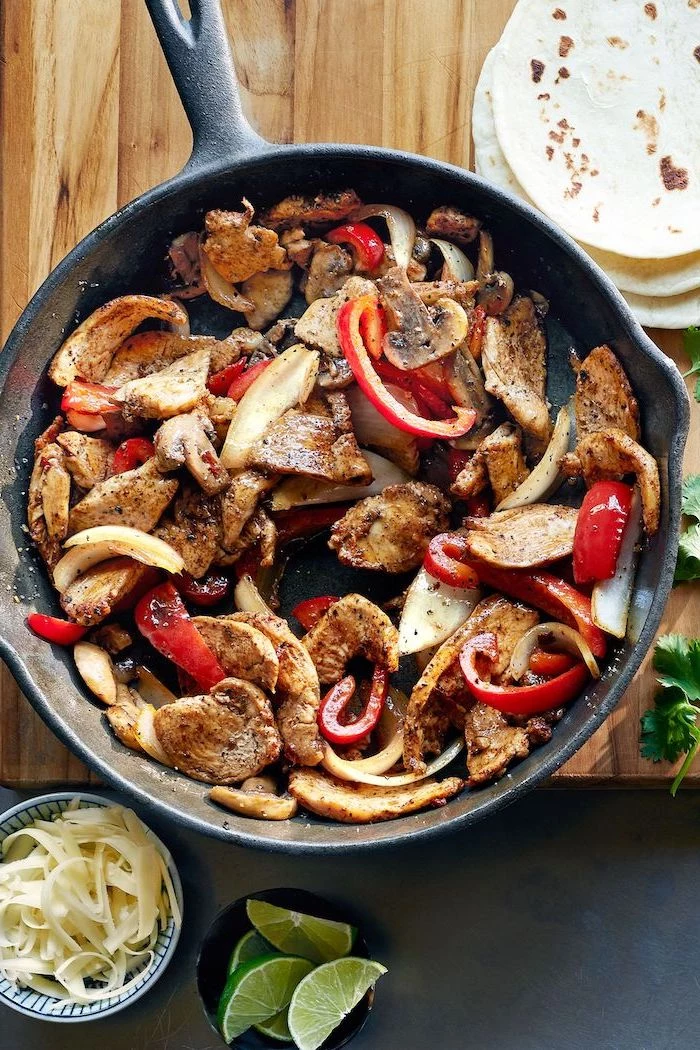
Technique 1: The High-Heat Stir-Fry (Without the Soggy Veggies)
The stir-fry is the undisputed champion of weeknight meals. It’s fast, uses one pan, and can be adapted to whatever is lingering in your fridge. But a truly great stir-fry is a world away from a sad pile of steamed, soggy vegetables. The goal is that complex, smoky flavor you get from a great restaurant, which comes from one thing: intense heat.
That incredible flavor is from something called the Maillard reaction, which is just the fancy science term for browning. It happens when food hits high temperatures (around 300°F), creating deep, savory flavor. To get it, your pan has to be screaming hot and your ingredients have to be dry. Too much moisture in the pan will steam your food instead of searing it.
You don’t need a special wok, by the way. A big, heavy-bottomed skillet or sauté pan works perfectly. The key is to not crowd the pan. If you dump everything in at once, the pan’s temperature will plummet, your food will release water, and you’ll be boiling your dinner. Cook in batches if you have to! It’s a few extra minutes that makes all the difference.
A Quick Guide to Searing Oils: Heads up! For high-heat cooking like this, you need an oil with a high smoke point. Think canola, grapeseed, avocado, or vegetable oil. Save your fancy extra-virgin olive oil for salad dressings; it will just burn and taste bitter at these temperatures.
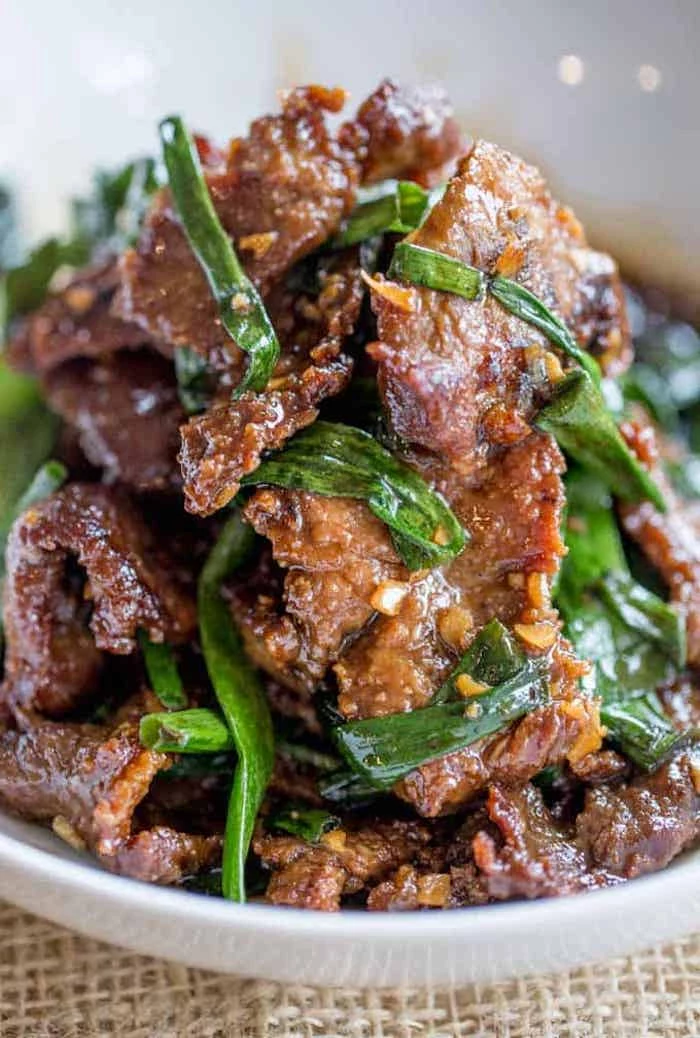
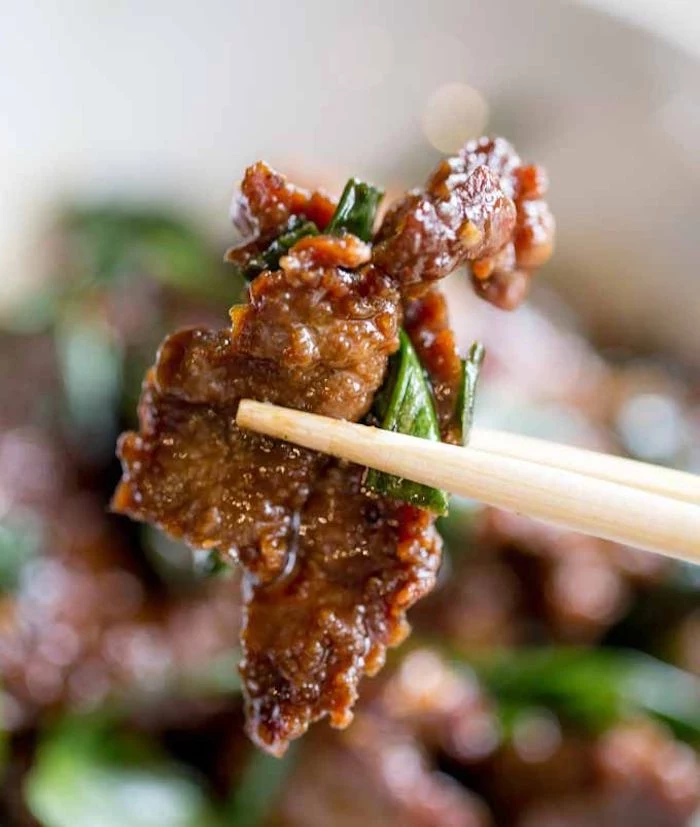
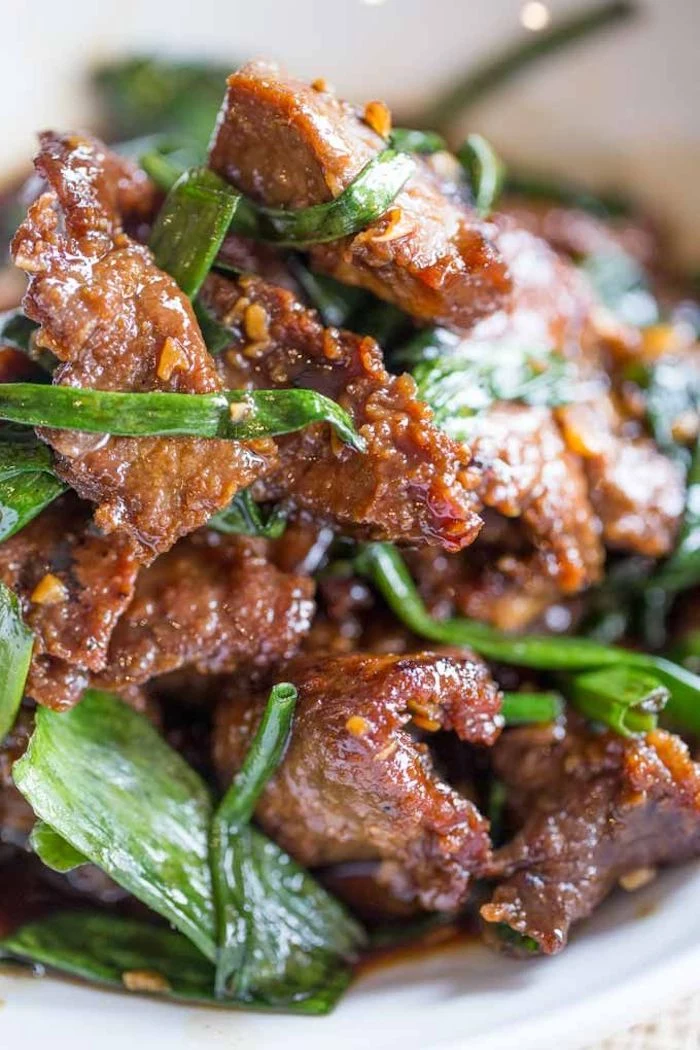
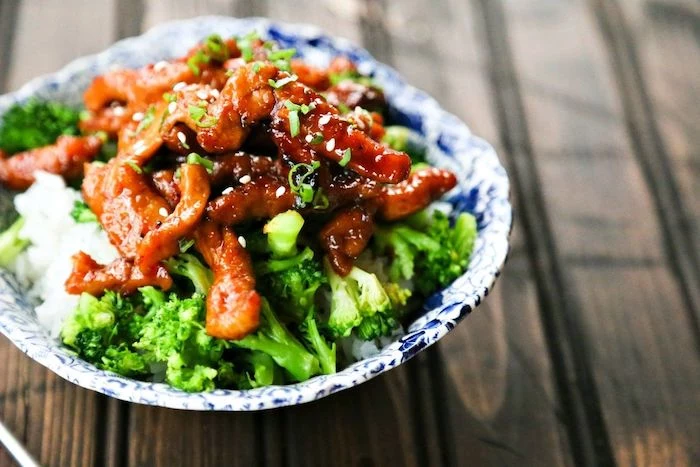
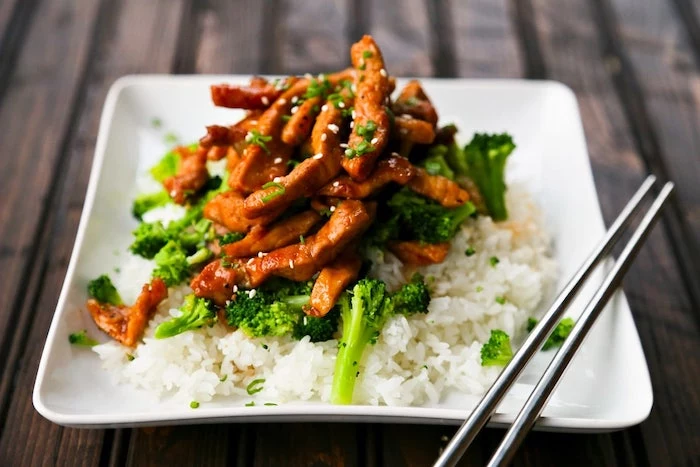
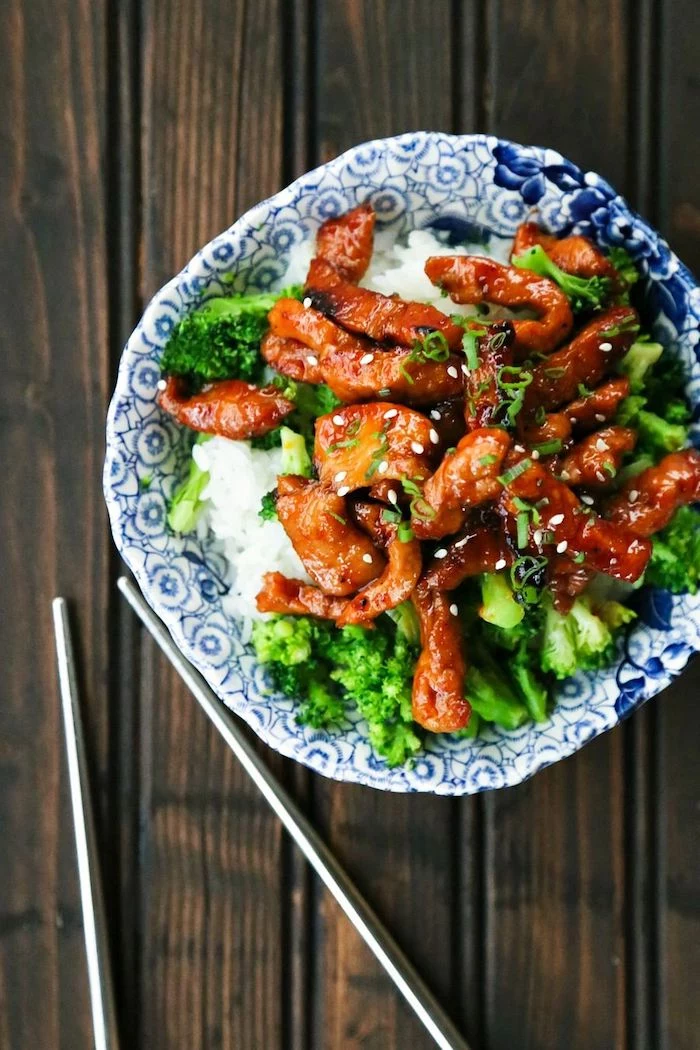
Let’s Build a Mongolian-Style Beef Stir-Fry
This classic dish is a perfect way to practice. We’ll use flank steak, which is delicious but can get tough if you don’t handle it right.
Step 1: Slice the Beef Right. Look at the meat. You’ll see the muscle fibers running in one direction (the grain). You need to slice thinly against that grain. This shortens the muscle fibers, making the meat tender instead of chewy. This single step transforms a tough cut.
Step 2: The Velveting Trick. Tossing the sliced beef in a little cornstarch is a restaurant technique called velveting. It creates a protective barrier that keeps the meat juicy and also helps thicken your sauce later. It’s a game-changer.
Step 3: Get the Pan HOT. Add your high-smoke-point oil and crank the heat to high. You’ll know it’s ready when the oil shimmers or a drop of water sizzles and evaporates instantly. Don’t be shy with the heat.
Step 4: Cook in Batches. Add the beef in a single layer. Let it sit for 60-90 seconds without moving it to get a deep brown crust. Flip, sear the other side briefly, and then remove it from the pan. Repeat with the rest of the beef.
Step 5: Build the Sauce. Lower the heat, add your garlic and ginger, and cook for just 30 seconds until fragrant. Then pour in your pre-mixed sauce. A great starter sauce you can build on is: 1/4 cup soy sauce, 2 tablespoons water, 1 tablespoon brown sugar, and 1 teaspoon of cornstarch all whisked together. The sauce will bubble up and lift all those tasty browned bits off the bottom of the pan—that’s where the flavor is!
To save money: Flank steak is great, but let’s be real, it can be pricey. Sirloin works well, and boneless, skinless chicken thighs are fantastic and more forgiving than breasts. For a veggie version, use firm tofu. And if you do, you HAVE to press it first. It’s easy: slice the block, wrap it in paper towels, and put something heavy on top (like a cast-iron pan) for about 20 minutes. This gets the water out so it can actually get crispy.
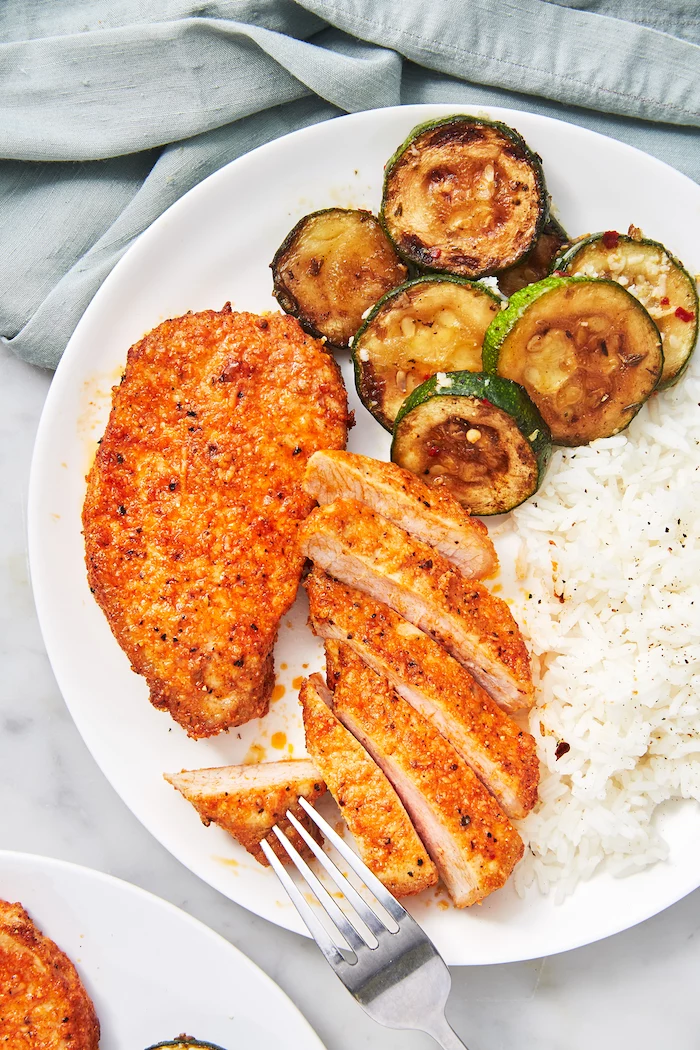
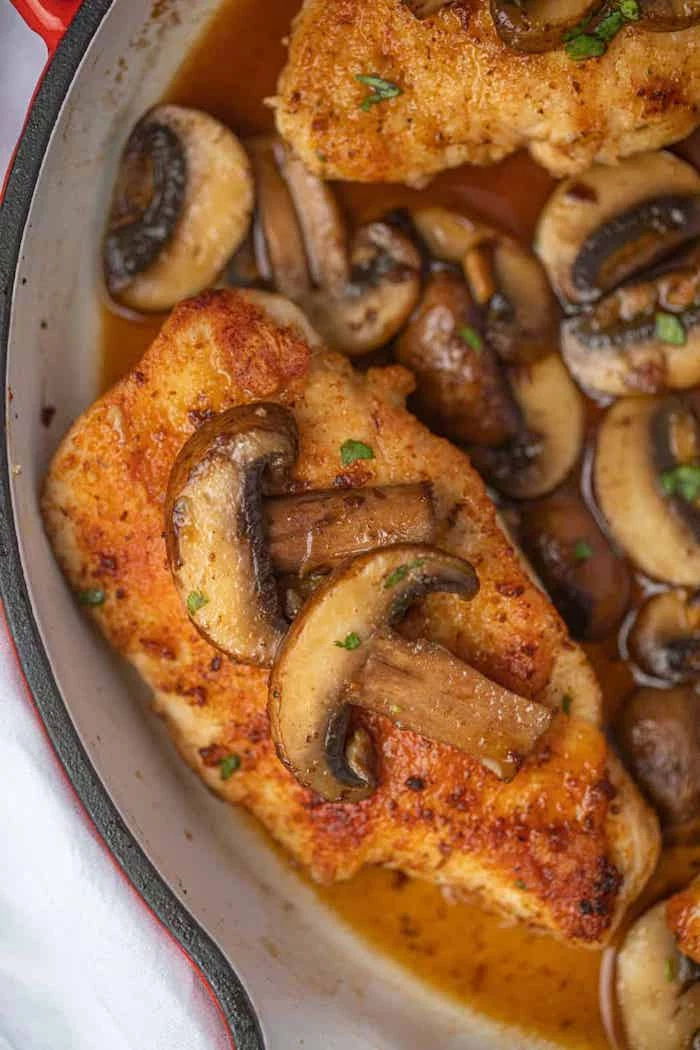
Technique 2: The Perfect Pan-Sear and Instant Sauce
Learning to properly pan-sear a chicken breast or pork chop and then make a delicious sauce in the same pan will make you feel like a kitchen wizard. It’s fast, efficient, and is the sworn enemy of dry, boring meat.
The two golden rules are the same as before: a very dry surface on your protein and a properly hot pan. A stainless steel or cast-iron skillet is your best friend here because they hold heat like a champ. We also use something called carryover cooking. We pull the meat from the pan just before it’s done, and it finishes cooking to the perfect temperature while it rests.
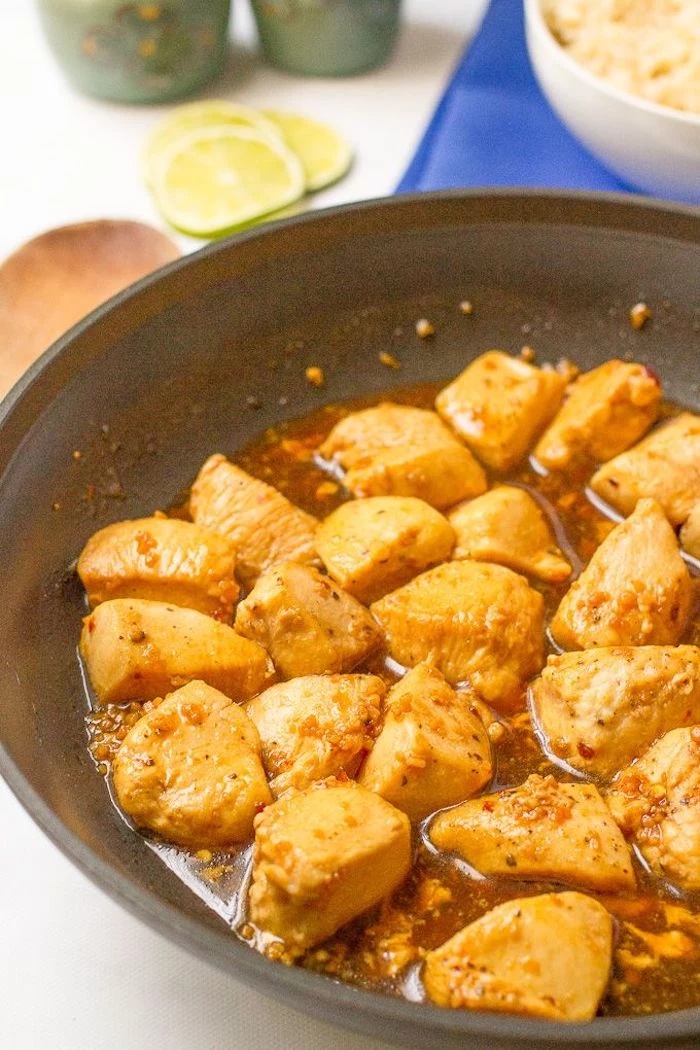
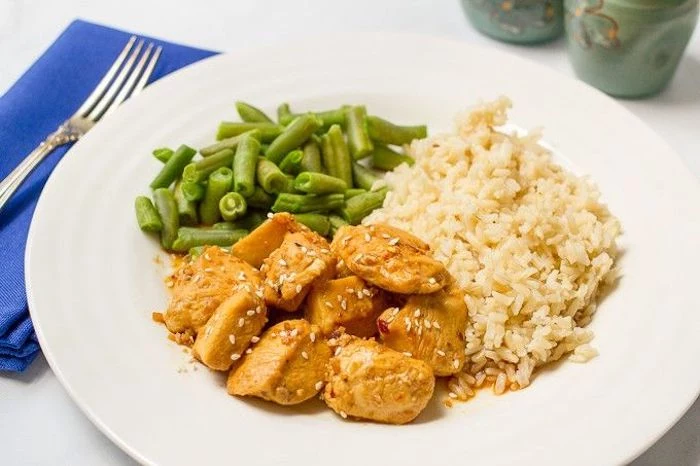
Let’s Make Honey-Garlic Pork Chops
Take your pork chops (about 1-inch thick) out of the fridge 15-20 minutes before cooking. Pat them bone dry and season generously with salt and pepper.
Get your skillet hot over medium-high heat with a splash of oil. Place the chops in the pan; you should hear a loud sizzle. Now, the hard part: don’t touch them. Let them sear for 3-4 minutes to form a beautiful crust. Flip and cook for another 3-4 minutes. The best way to know if it’s done? An instant-read thermometer. It’s the best $15 you will ever spend in your kitchen. Seriously. You can get a great one like a ThermoPro on Amazon or at Target; you don’t need a fancy $100 model. For pork, you’re looking for an internal temp of 145°F. I pull mine out at 140°F and let it rest.
Once you’ve moved the pork to a plate, turn the heat down to medium. Add a minced clove of garlic to the pan and stir for 30 seconds. Now for the sauce! For a can’t-mess-it-up glaze, pour in about 1/4 cup chicken broth, 2 tablespoons of honey, 1 tablespoon of soy sauce, and a teaspoon of apple cider vinegar. Use a wooden spoon to scrape up all the browned bits as the sauce bubbles and thickens. This should only take a minute or two.
A quick warning about garlic… it burns fast. Trust me, I have scraped more burnt, bitter garlic into the trash than I care to admit. It usually happens when you get distracted for just a second. If it smells acrid and looks too dark, just wipe out the pan and start the sauce again with new oil. It’s not worth ruining the whole dish.
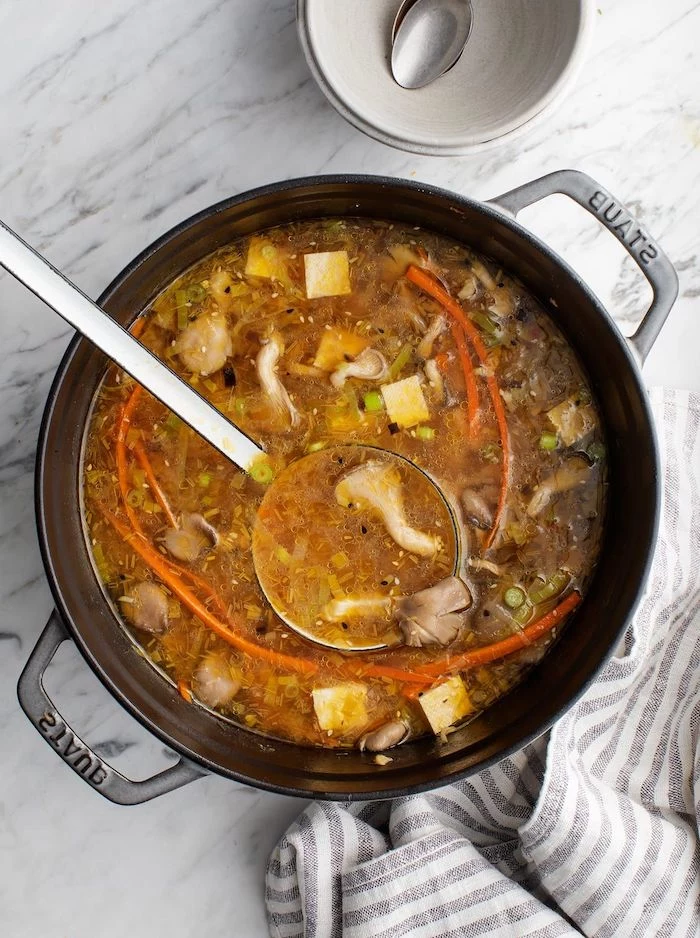
Technique 3: The One-Pot Meal, Elevated
The one-pot meal is a weeknight hero, but it often ends up being mushy or bland. The secret to making it amazing is to build flavor in layers, infusing your starch (like rice or pasta) with flavor from the inside out.
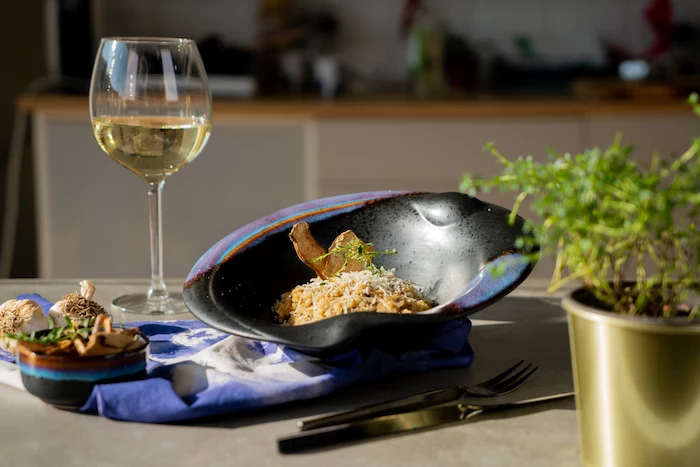
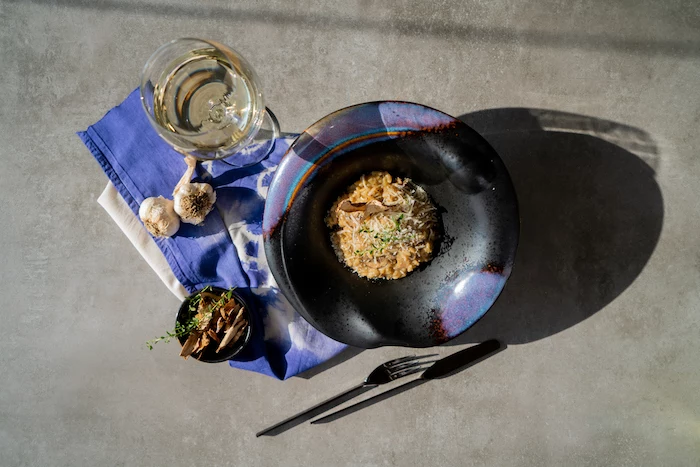
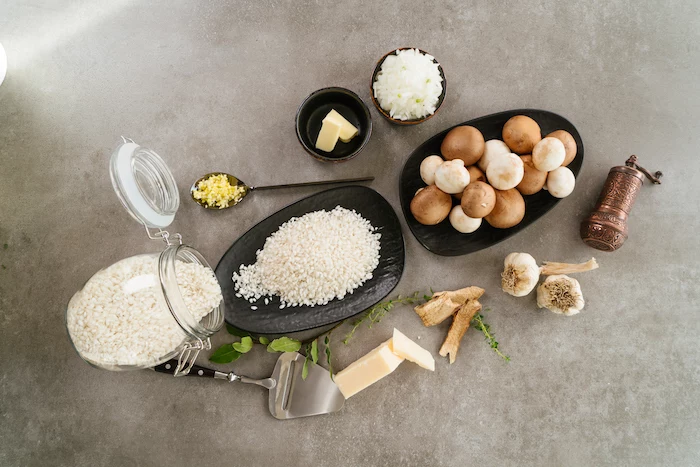
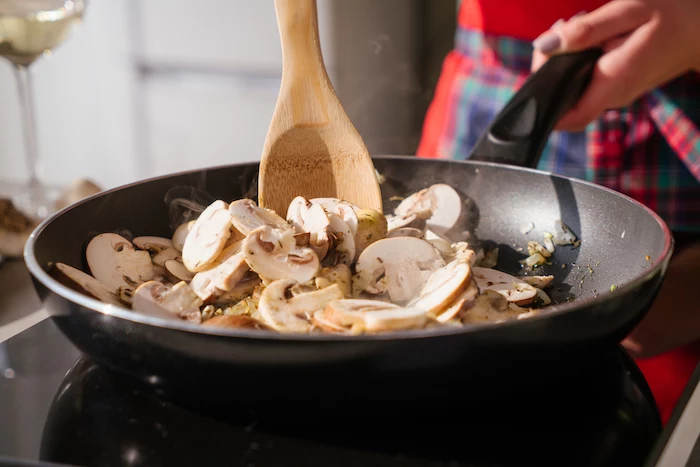
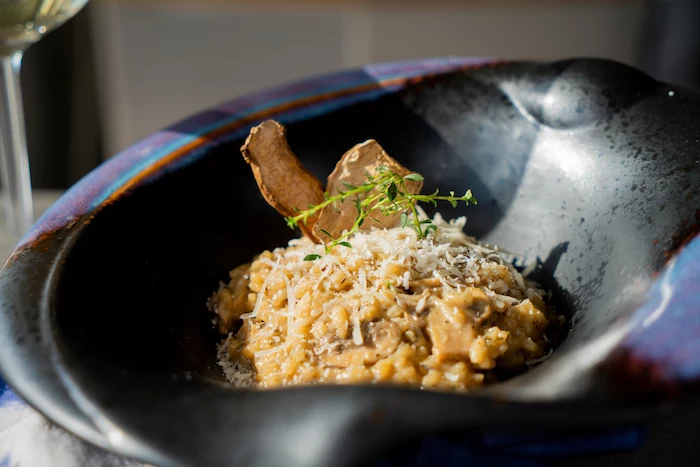
Let’s Make a Weeknight Mushroom Risotto
People get so intimidated by risotto, but it’s really not that hard. It just requires about 20 minutes of focused time. You’ll need Arborio rice for this—your regular long-grain rice won’t work because it doesn’t have the right kind of starch to get creamy. You can find Arborio at most grocery stores for a few bucks; it’s a cheap way to make a dinner that feels incredibly fancy.
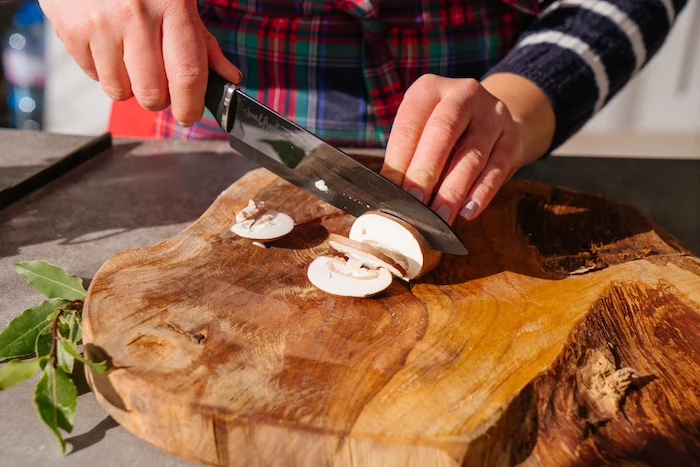
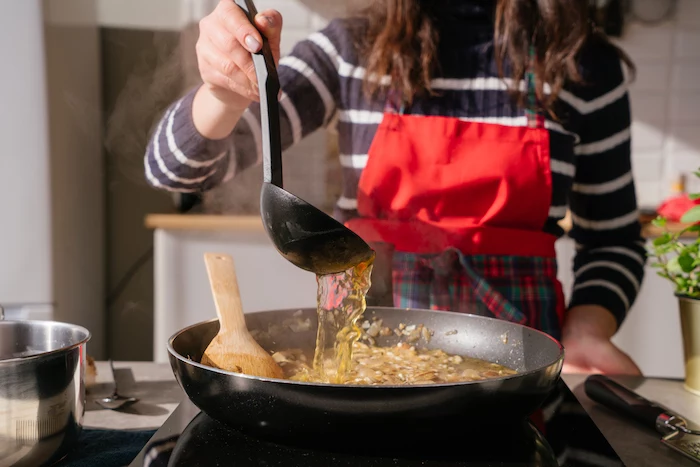
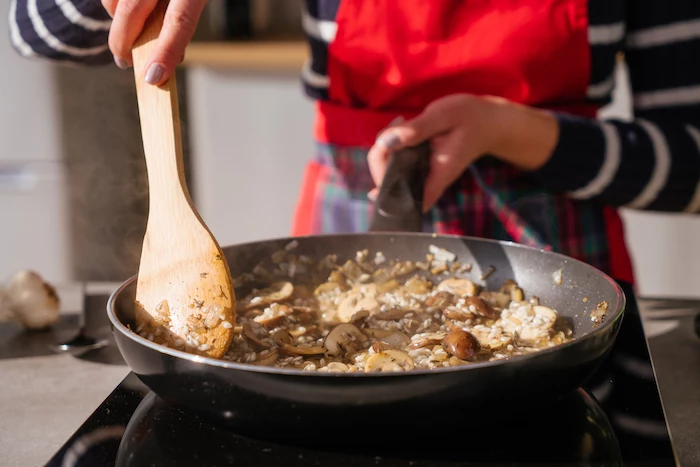
Start by browning your mushrooms in a wide pot to develop their flavor, then set them aside. In the same pot, soften a chopped onion or shallot. Then, add the Arborio rice and stir it for a couple of minutes to toast the grains. This is a crucial step! Pour in a splash of white wine (optional, but it adds great flavor) and stir until it evaporates. Then, start adding hot chicken or vegetable broth, one ladleful at a time, stirring until it’s mostly absorbed before adding the next. You don’t have to stir constantly, just for about 30 seconds after each addition. After about 18-20 minutes, the rice will be tender with a slight bite.
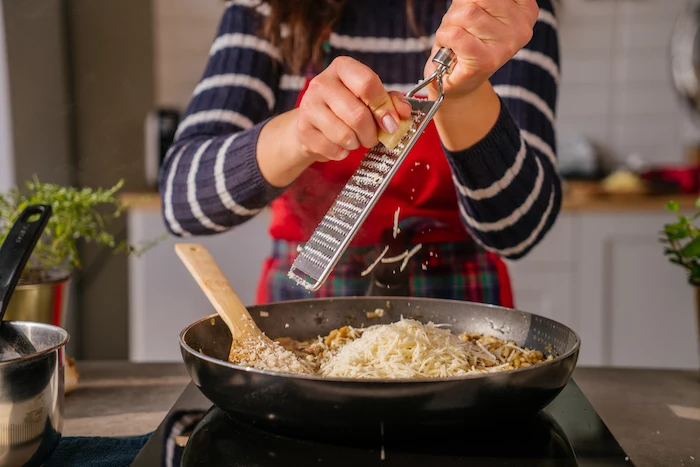
Now for the magic finish. Take the pot off the heat. Vigorously stir in a knob of cold butter and a generous handful of grated Parmesan cheese. Add your cooked mushrooms back in. This final step creates that signature velvety, creamy texture without a drop of cream. It’s so worth it.
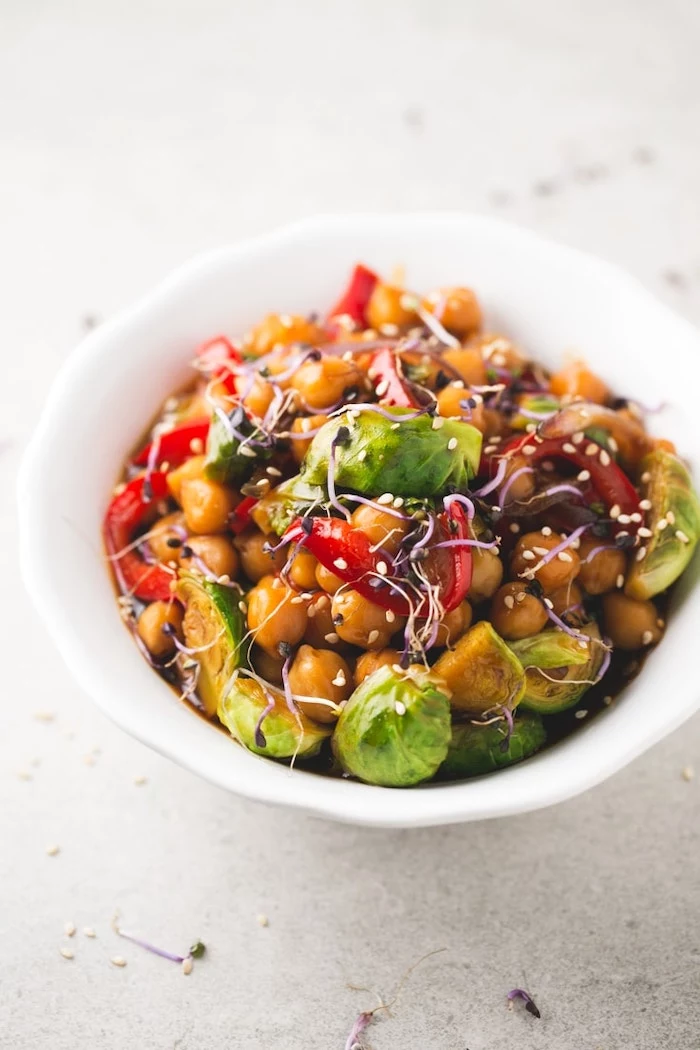
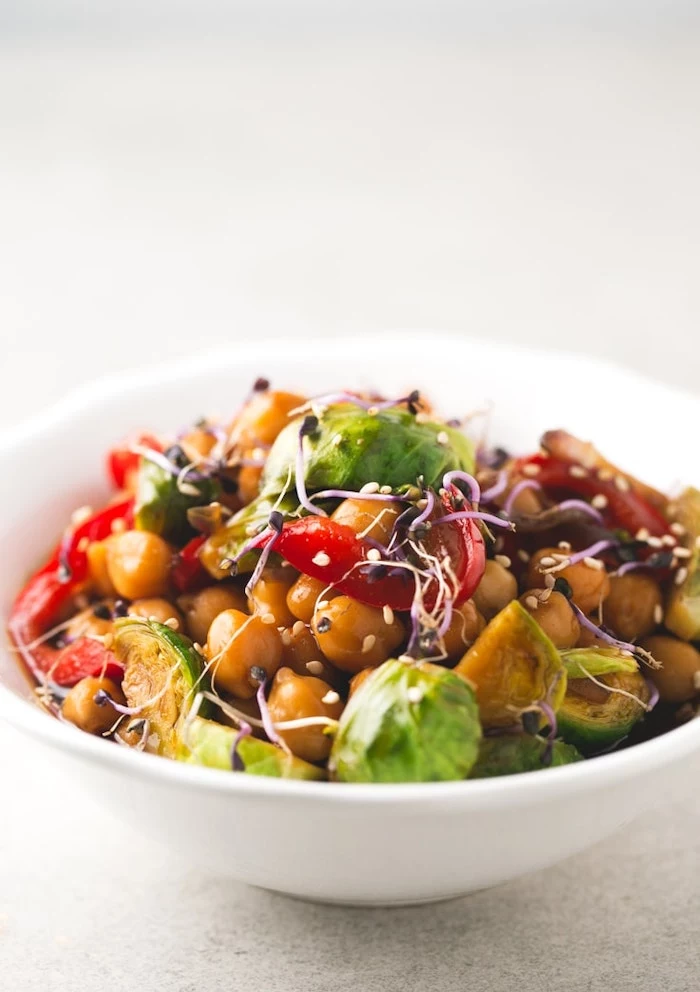
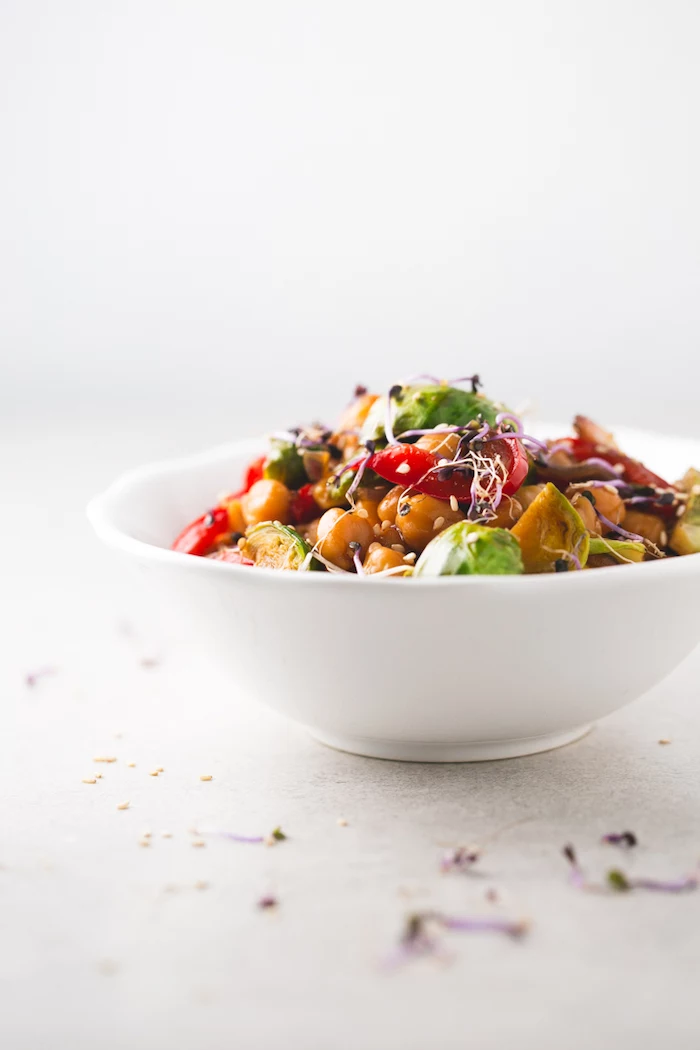
Technique 4: The Art of the Assembled Bowl
Some of the best weeknight meals aren’t really cooked at all—they’re assembled from well-chosen components. Think grain bowls, burrito bowls, or poke bowls. The skill here is all about prepping components ahead and balancing flavors, textures, and even temperatures.
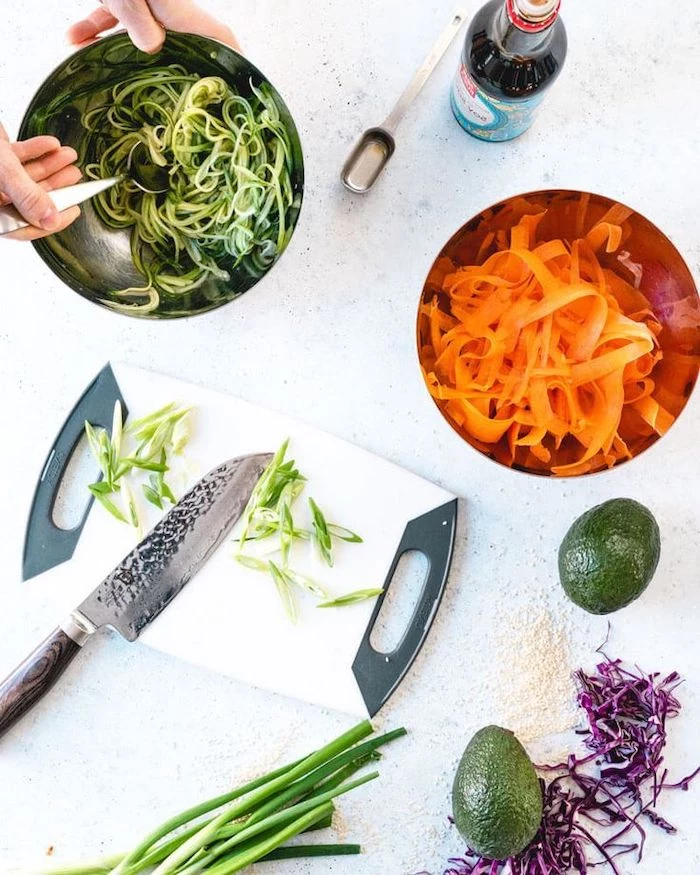
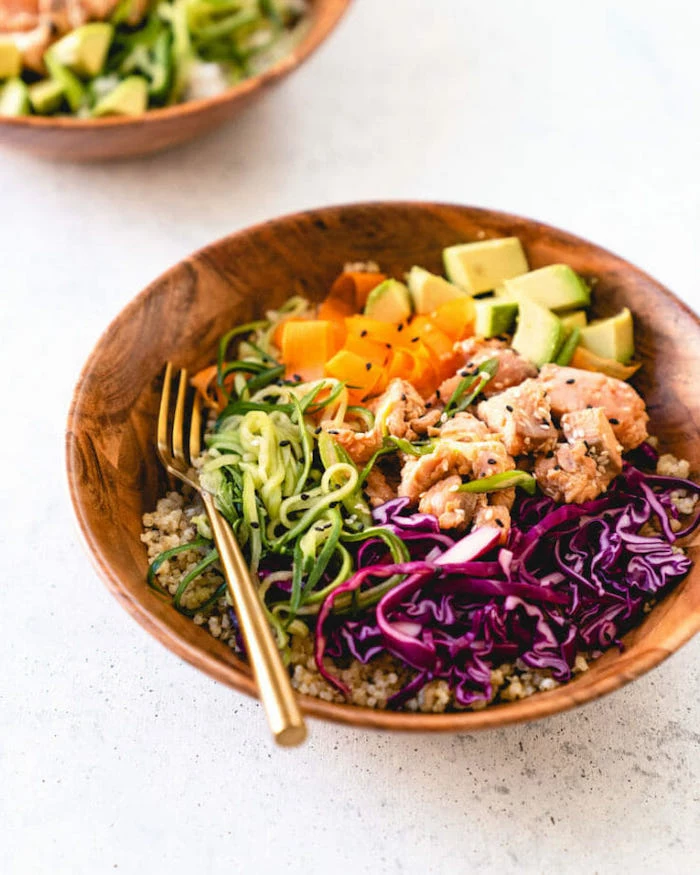
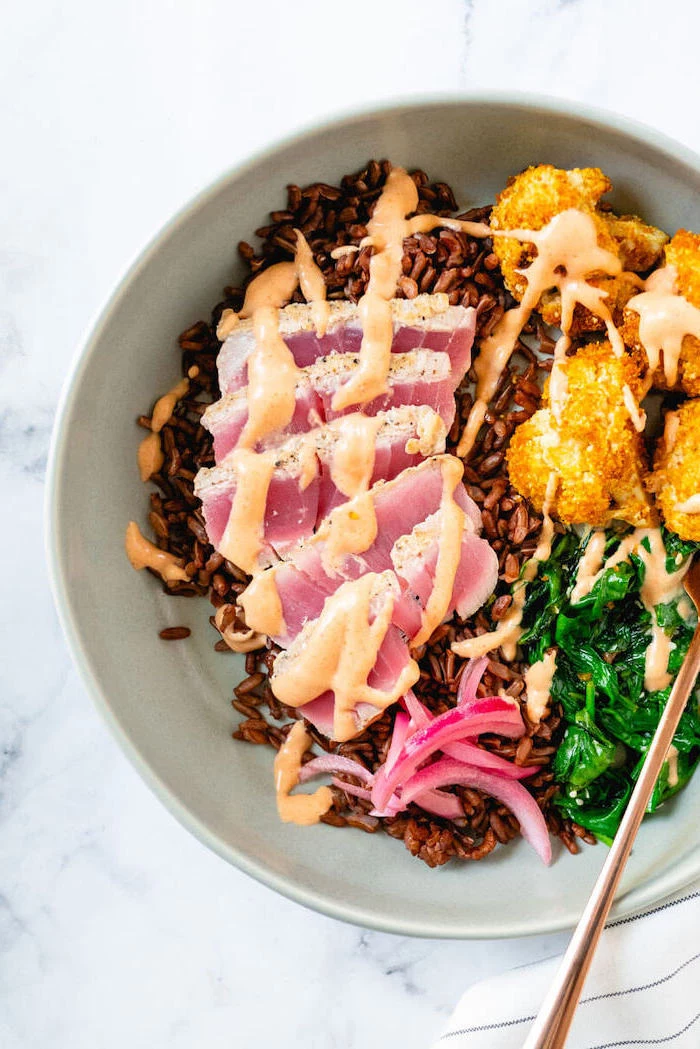
Let’s Build a Salmon Poke Bowl
Poke bowls are the perfect example of assembly. The only cooking involved is the rice.
A VERY Important Safety Warning: You absolutely cannot use any old salmon fillet from the grocery store for this. To be eaten raw, fish must be ‘sushi-grade’ or ‘sashimi-grade,’ which means it has been professionally deep-frozen to kill any potential parasites. This is a non-negotiable food safety rule. Always ask your fishmonger if their fish is safe to eat raw. If you can’t find it or you’re not comfortable, no problem! This bowl is just as delicious with a piece of salmon that you’ve quickly pan-seared (using Technique
2!) and flaked, or even with good-quality smoked salmon.
Once you have your fish sorted, the rest is easy. Start with a base of cooked rice. Cube your salmon and toss it gently in a marinade of soy sauce and a little sesame oil. Prep your veggies: shredded cabbage, sliced cucumber, creamy avocado. Assemble it all in a bowl, arranging everything so it looks nice. Finish with a sprinkle of toasted sesame seeds or some chopped green onions.
Your Mission, Should You Choose to Accept It
Getting faster and more confident in the kitchen is a journey. It’s about understanding these core ideas, not just following recipes blindly. So here’s your homework for this week: try just one of these. I suggest starting with Technique
2: The Pan-Sear and Instant Pan Sauce. It’s fast, the results are immediate, and you’ll feel like a total rockstar. Don’t worry about making it perfect. Just give it a shot and see how it feels to make an incredible meal in under 20 minutes.
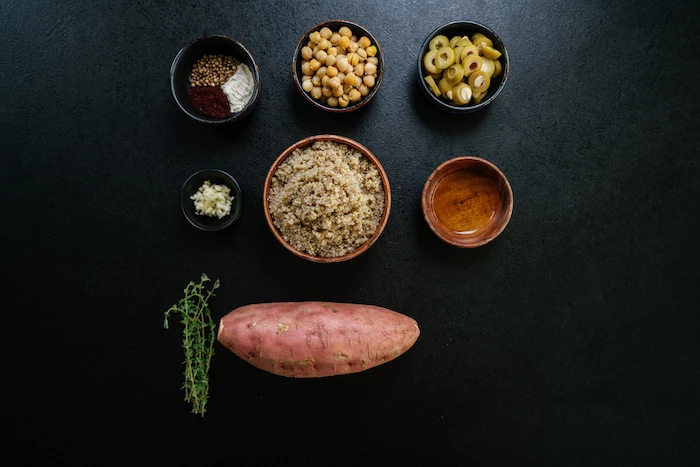
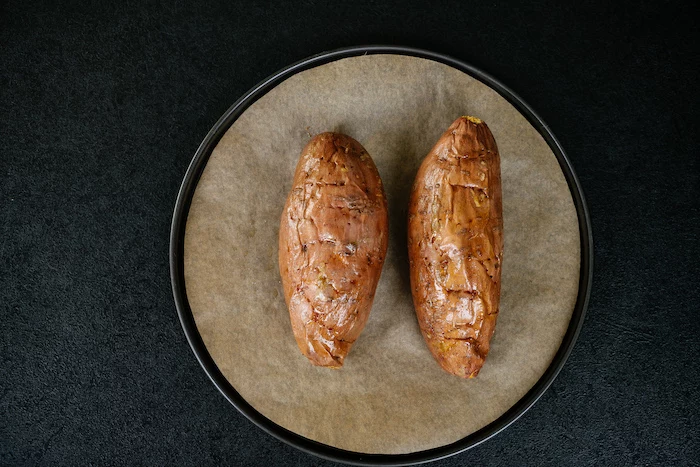
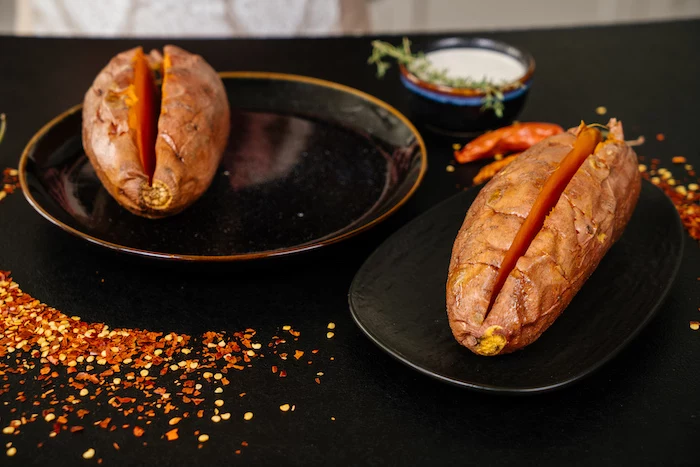
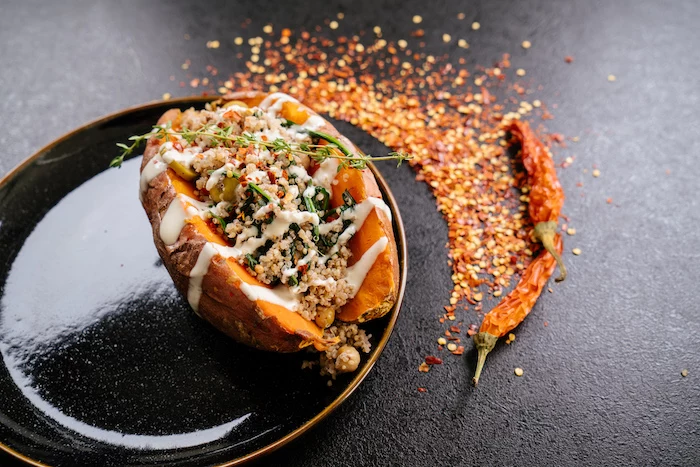
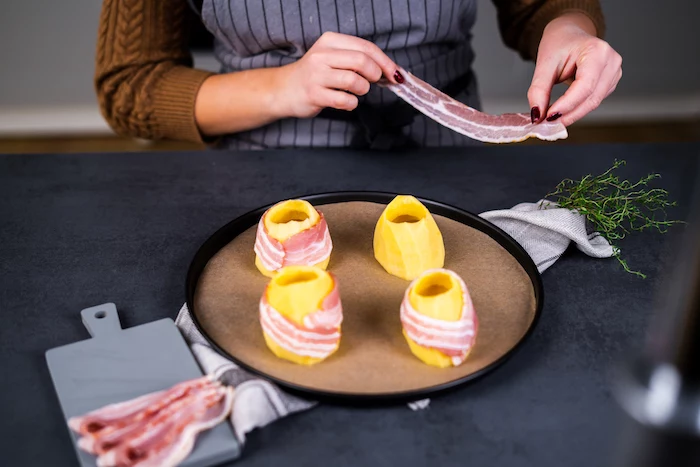
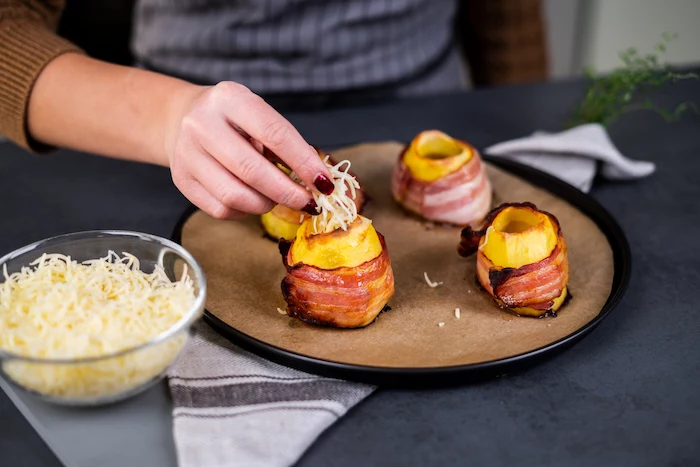
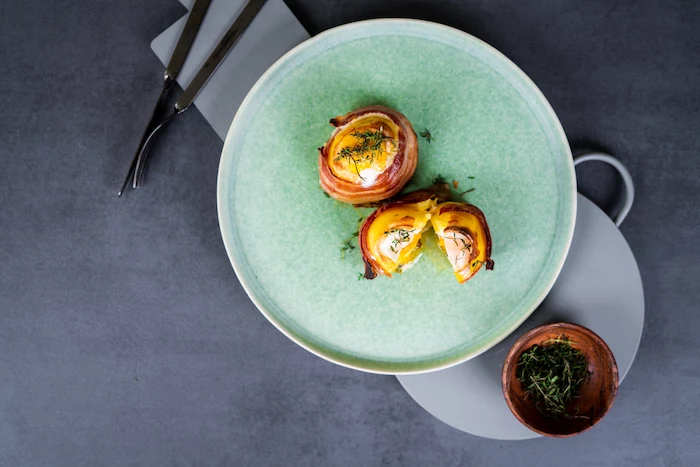
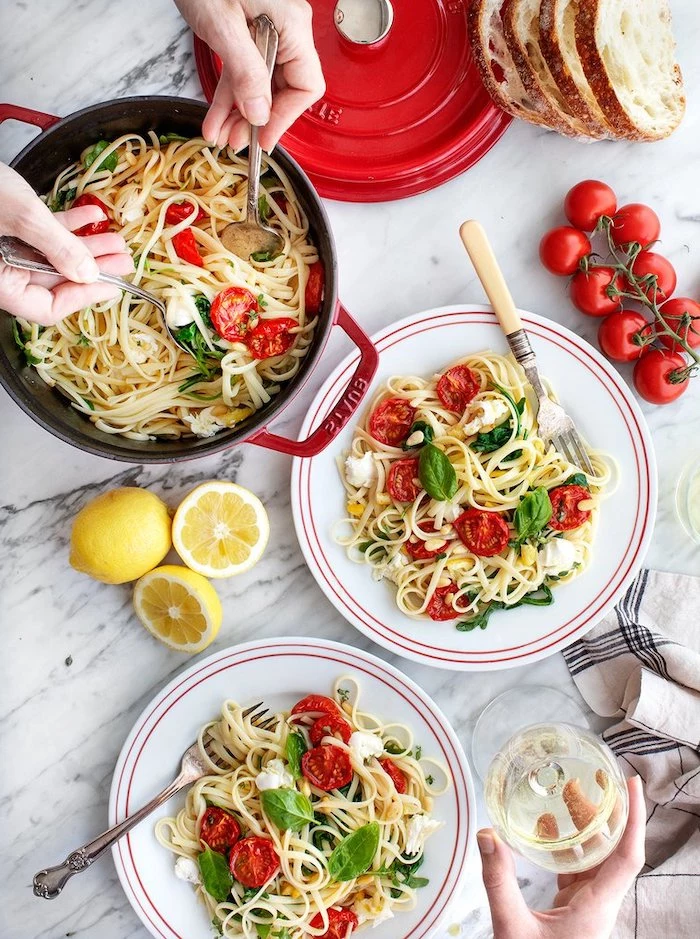
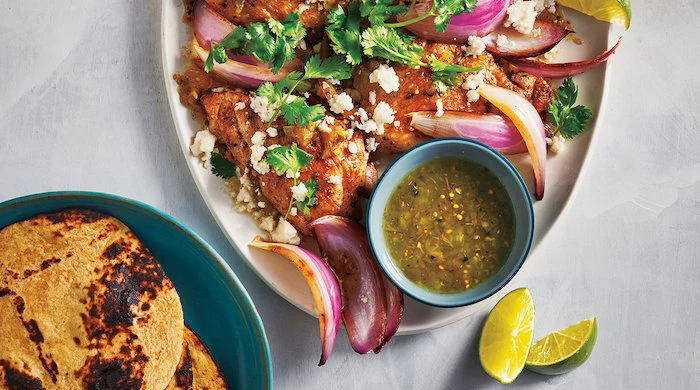
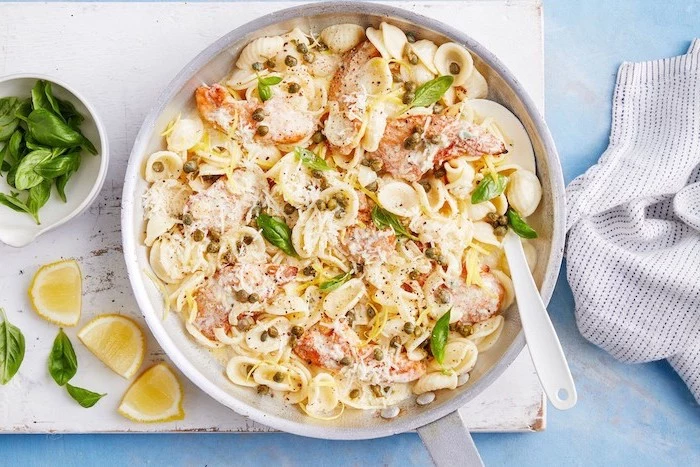
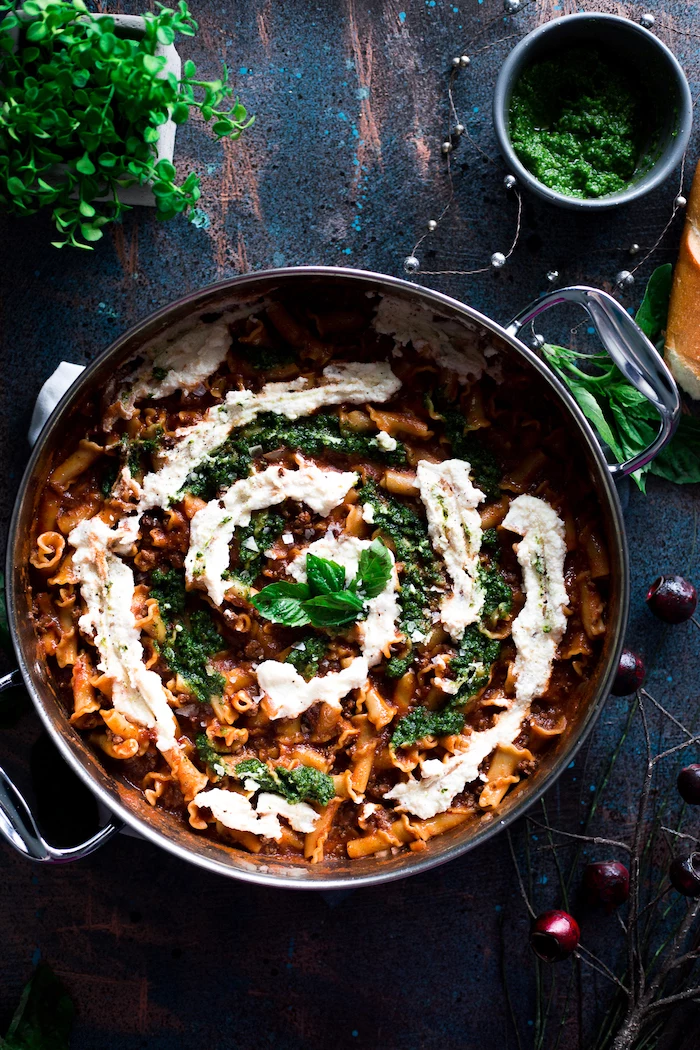
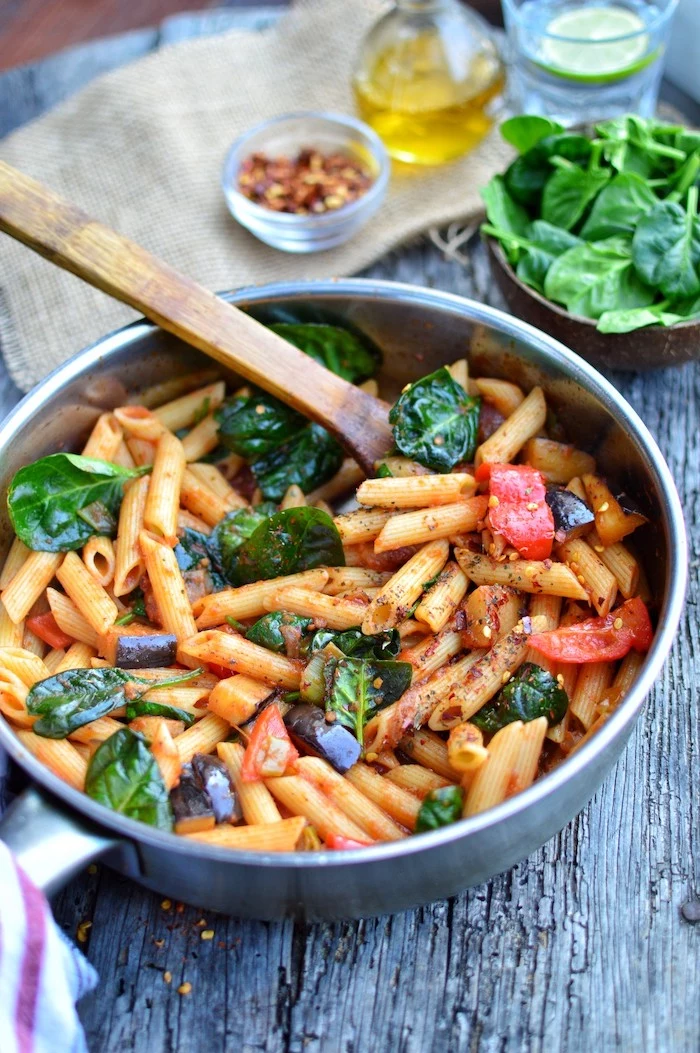
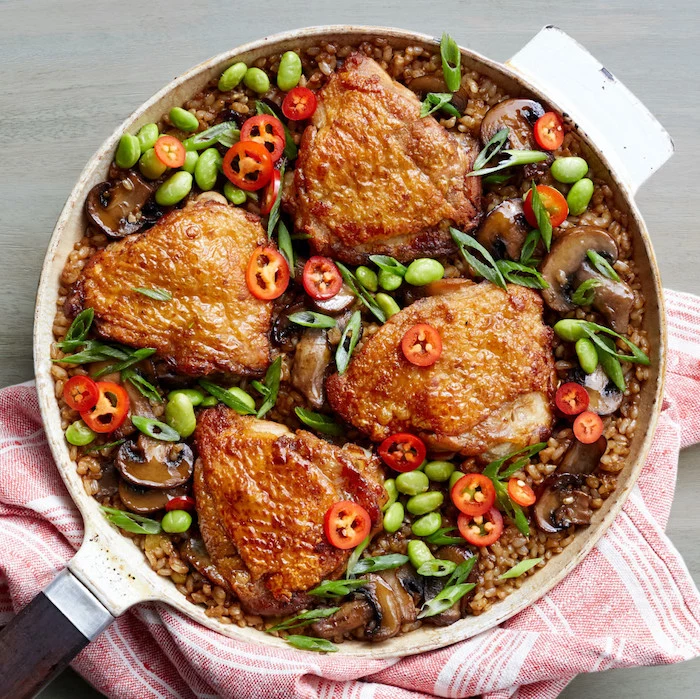
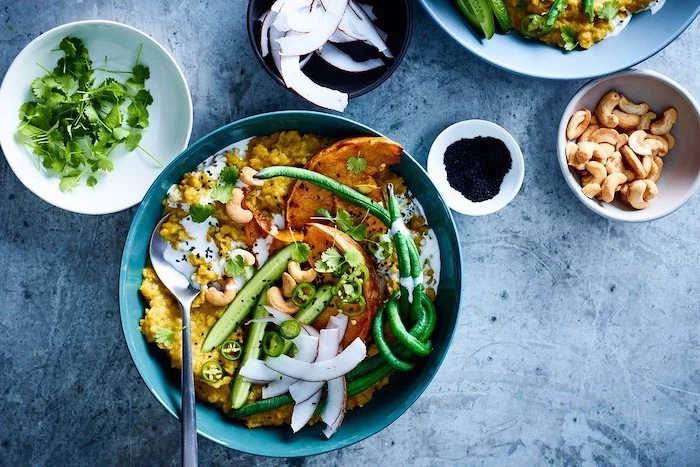
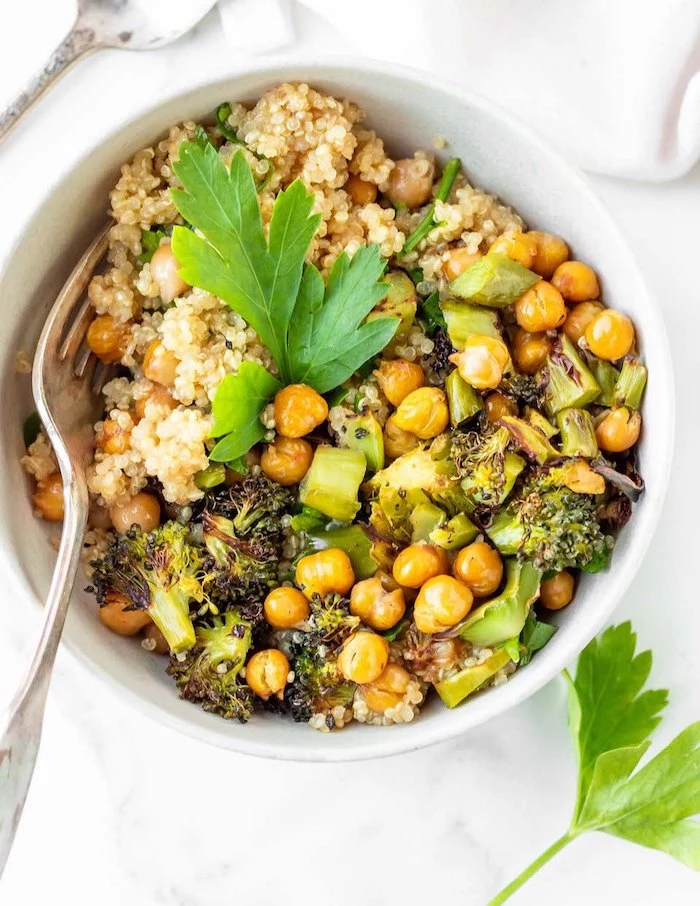
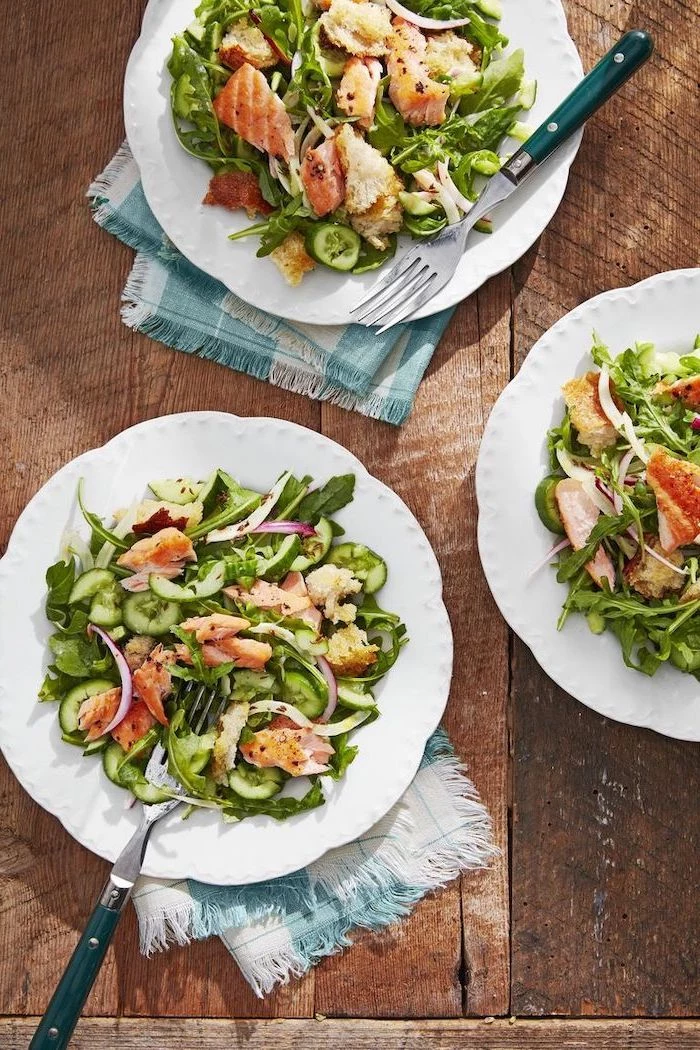
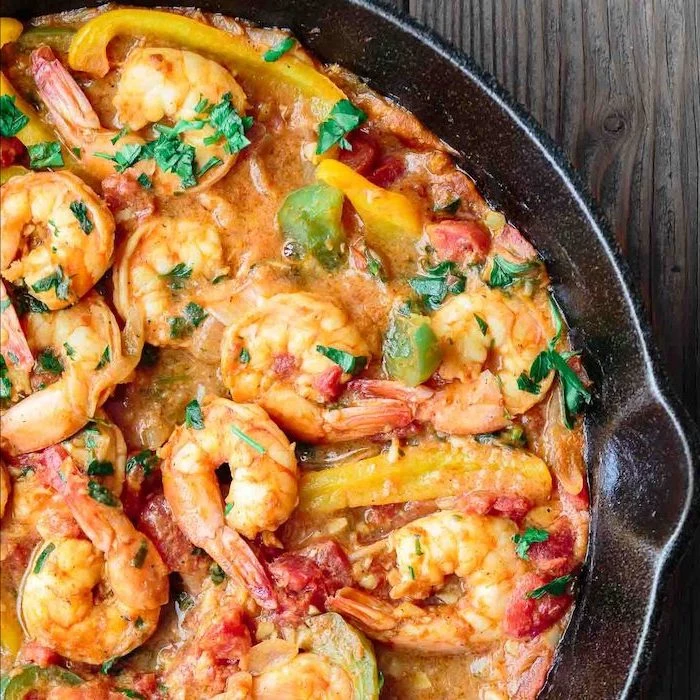
Inspiration Gallery
A secret weapon in many restaurant kitchens isn’t an exotic spice, but a tube of tomato or anchovy paste. A small squeeze into your pan at the beginning of cooking adds an incredible depth of savory, umami flavor that tastes like the dish has been simmering for hours. It’s the fastest way to build a flavorful foundation for sauces, stews, or even simple sautéed vegetables.
Save your Parmesan rinds in the freezer.
Keep a jar of high-quality sun-dried tomatoes in oil.
Always have a lemon on hand for a last-minute hit of acid.
The secret to elevating simple meals? These pantry power-ups add instant complexity and brightness with zero extra chopping.
Why aren’t my roasted vegetables getting crispy?
You’re likely dealing with two culprits: overcrowding and moisture. When vegetables are packed too tightly on a sheet pan, they steam instead of roast. Give them space! Use two pans if you have to. Also, make sure your vegetables are completely dry before tossing them with oil. A little bit of cornstarch tossed with the oil and spices can also create an incredibly crisp exterior.
According to the USDA, the Maillard reaction—the chemical process that browns food—begins around 285°F (140°C).
This is why preheating your pan is non-negotiable for flavor. Placing food in a cold pan slowly steams it, preventing that delicious, complex crust from forming. Give your pan a good 3-5 minutes on medium-high heat until a drop of water sizzles and evaporates instantly. That’s the sign it’s ready for action.
A dull knife is more dangerous than a sharp one. It requires more pressure to cut, making it more likely to slip off the food and into your hand. Investing in a single, quality 8-inch chef’s knife from a brand like Wüsthof or Global, and keeping it honed, will transform your prep speed and safety more than any other tool.
Forget measuring every spice individually in the heat of the moment. Create a ‘house blend’ you can use on everything from chicken to roasted potatoes.
4 parts smoked paprika
2 parts garlic powder
2 parts onion powder
1 part black pepper
1 part dried oregano
Combine them in a jar and you have an instant flavor booster ready to go.
Garlic Press: Quick and easy, but can create a harsh, sometimes bitter flavor because it crushes the cloves so aggressively.
Microplane Grater: Creates a fine, delicate paste that melts seamlessly into sauces and dressings. Ideal for raw applications or when you want the garlic flavor to infuse without any chunky bits. A Microplane is the pro’s choice for a reason.
“Salt doesn’t just make things salty, it makes things taste more like themselves.” – Samin Nosrat, Chef and Author of ‘Salt, Fat, Acid, Heat’
This is the key. Salting in layers—a little on your onions as they sauté, a pinch on your meat before searing, another in the sauce—builds flavor dimension. A final taste and adjustment before serving is the step that separates good home cooking from great cooking.
The next time you make pasta, don’t dump all the cooking water. That starchy, salty liquid is pure gold. Add a few tablespoons to your sauce. The starch helps the sauce cling beautifully to the pasta and gives it a creamy, glossy consistency without adding any extra cream or fat. It’s the oldest Italian trick in the book.
It cleans up with a simple wipe.
It goes from stovetop to oven seamlessly.
It will outlive you.
It provides a superior, even sear on meat.
The hero? A simple, well-seasoned cast-iron skillet. An inexpensive 10-inch pan from a brand like Lodge is one of the best investments you can make for your kitchen.
What’s one thing I can prep on Sunday to make my week easier?
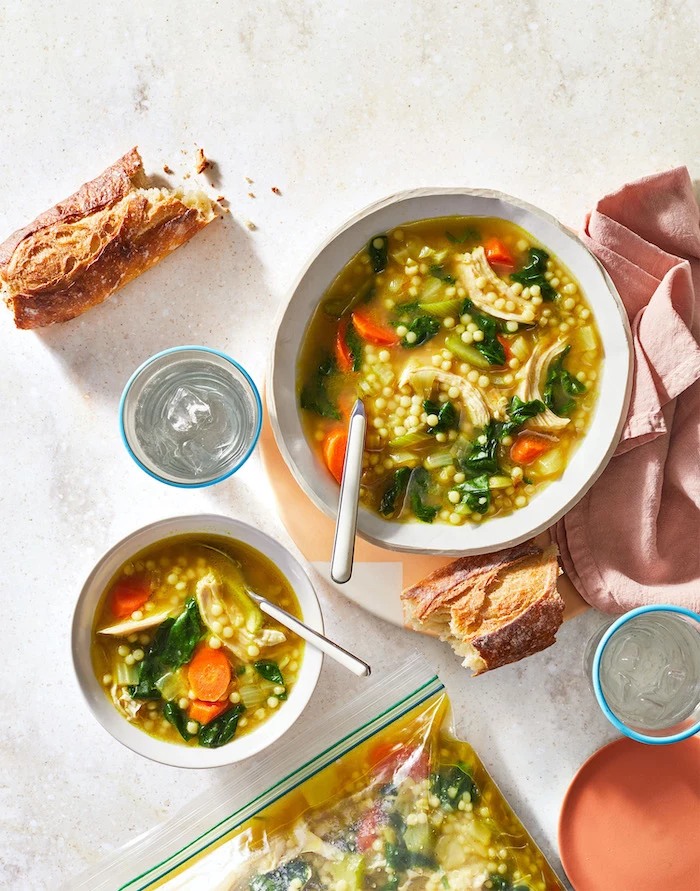
Make a big batch of a versatile grain like quinoa or farro. Keep it in a sealed container in the fridge. You can then quickly turn it into a grain bowl with a fried egg and avocado for lunch, toss it into a soup to make it more hearty, or use it as a base for a quick shrimp and vegetable stir-fry for dinner.
Think beyond recipes and start thinking in flavor profiles. A simple formula for a quick Asian-inspired sauce is: Salty + Sweet + Acid + Aromatic. For example: soy sauce (salty), a touch of honey (sweet), rice vinegar (acid), and grated ginger (aromatic). Whisk it together and pour it over simple steamed vegetables and chicken for an instant, dynamic meal.
A study from the University of Giessen in Germany found that simply improving the presentation of a salad increased participants’ perceived value and how much they consumed.
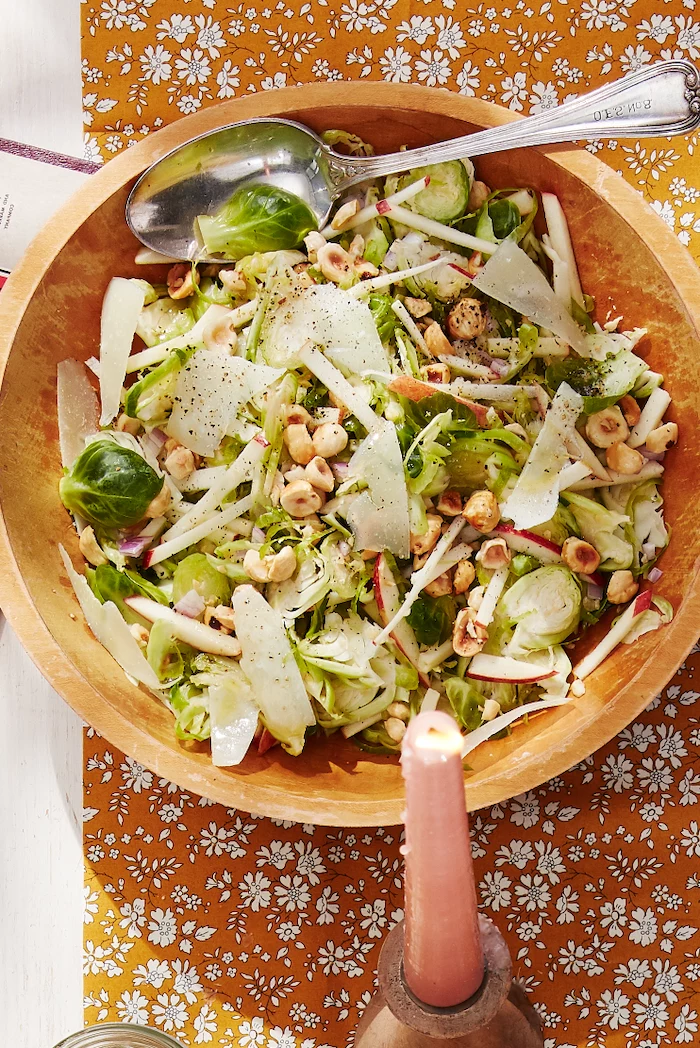
You don’t need fancy tools. Just use your biggest bowl to toss a salad so nothing flies out. Use a vegetable peeler to make elegant ribbons of carrot or cucumber. And always finish with a sprinkle of something fresh, like chopped parsley or chives. It takes 30 seconds and makes a weeknight meal feel like a special occasion.
To avoid a mountain of dishes, clean as you go. Finished with the onion-chopping cutting board? Rinse it and put it in the dishwasher immediately. Have five minutes while something simmers? Wipe down the counter. This ‘kitchen reset’ habit means that by the time dinner is served, most of the cleanup is already done, leaving you with just the plates and pans from the final cook.
Don’t throw away your vegetable scraps! Keep a large resealable bag in the freezer for onion skins, carrot peels, celery ends, and herb stems. Once it’s full, empty it into a pot, cover with water, and simmer for an hour. Strain it, and you have a flavorful, free vegetable broth that’s far better than anything from a carton.
Perfectly smooth, creamy soups without risky transfers to a blender.
Homemade mayonnaise or aioli in 60 seconds.
Small-batch pesto or dressings made right in their storage jar.
The tool behind this magic is an immersion blender. A reliable model from Cuisinart or Braun is a game-changer for creating silky textures with minimal cleanup.
The Mistake: Adding finely minced garlic to a ripping hot pan at the same time as onions.
The Fix: Garlic burns in under a minute, turning bitter and ruining your dish. Onions, which contain more water, can cook for 5-7 minutes to soften and sweeten. Always add your garlic in the last 30-60 seconds of sautéing, right before you add a liquid like wine, broth, or tomatoes to the pan.
The average American household throws out approximately $1,600 worth of produce annually.
A weekly ‘fridge audit’ before you go grocery shopping is the best way to combat this. See that slightly wilting spinach? Plan to throw it in a soup. Have a few sad-looking carrots and celery sticks? They’re perfect for a stir-fry base. Cooking with what you have first isn’t just budget-friendly, it’s a core principle of an efficient kitchen.
That amazing crust on a restaurant steak? It’s not just about a hot pan. After you sear your protein, remove it from the pan to rest. Add a splash of wine, broth, or even water to the hot pan to deglaze, scraping up all the browned, stuck-on bits (called ‘fond’) with a wooden spoon. Let it reduce for a minute, add a pat of butter, and you have an instant, professional-tasting pan sauce.
Frozen shrimp is a weeknight dinner superhero. It thaws in minutes under cool running water. Pat it completely dry, then toss it into a hot pan with garlic, lemon juice, and a knob of butter. Serve with that pre-cooked grain or some quick-cooking pasta for a delicious, high-protein meal in under 15 minutes.
Is an air fryer really worth the counter space?
If you love crispy textures but hate deep-frying, absolutely. It’s essentially a small, high-powered convection oven. It excels at reheating leftovers (making pizza and fries crispy again), roasting vegetables in half the time of a conventional oven, and cooking things like chicken wings or salmon fillets with a fantastic texture and minimal oil. Brands like Ninja or Cosori are popular for a reason.
Your freezer is a time machine. Double your recipe for chili, bolognese sauce, or meatballs and freeze half. Use proper freezer-safe containers or bags, pressing out all the air to prevent freezer burn. On a future chaotic evening, you’re just a simple reheat away from a wholesome, home-cooked meal. Label everything with the dish name and date!
Sheet Pan: The workhorse. Ideal for roasting large batches of vegetables, chicken thighs, or an entire ‘sheet pan dinner’. Spreading things out is key for browning.
Sauté Pan: Has straight, high sides. Perfect for making sauces, braising, or dishes with liquid, as the sides prevent splattering and allow for more volume.
Using the right pan for the job isn’t fussy—it’s fundamental to getting the right result.
A can of chickpeas, rinsed and smashed with lemon juice, tahini, and garlic.
A can of black beans, warmed with cumin and served over rice with a fried egg.
A can of cannellini beans, blended with olive oil, rosemary, and garlic for a quick dip.
A well-stocked pantry is the ultimate stress-reducer, and canned beans are its most valuable player.
Stop thinking you need a different recipe for every night of the week. Instead, master one technique and vary the ingredients. Learn to make a great stir-fry, then swap the chicken for shrimp, the broccoli for bok choy, or the soy-based sauce for a peanut-based one. This ‘theme and variation’ approach builds confidence and drastically reduces the mental load of meal planning.
Emily Thompson is a Culinary Institute of America graduate who has worked in Michelin-starred restaurants before transitioning to food writing and education. Author of three cookbooks, she specializes in seasonal cooking and making gourmet techniques accessible to home cooks. Emily's recipes have been featured in Food & Wine and Bon Appétit.
To provide the best experiences, we use technologies like cookies to store and/or access device information. Consenting to these technologies will allow us to process data such as browsing behavior or unique IDs on this site. Not consenting or withdrawing consent, may adversely affect certain features and functions.
Functional
Always active
The technical storage or access is strictly necessary for the legitimate purpose of enabling the use of a specific service explicitly requested by the subscriber or user, or for the sole purpose of carrying out the transmission of a communication over an electronic communications network.
Preferences
The technical storage or access is necessary for the legitimate purpose of storing preferences that are not requested by the subscriber or user.
Statistics
The technical storage or access that is used exclusively for statistical purposes.The technical storage or access that is used exclusively for anonymous statistical purposes. Without a subpoena, voluntary compliance on the part of your Internet Service Provider, or additional records from a third party, information stored or retrieved for this purpose alone cannot usually be used to identify you.
Marketing
The technical storage or access is required to create user profiles to send advertising, or to track the user on a website or across several websites for similar marketing purposes.