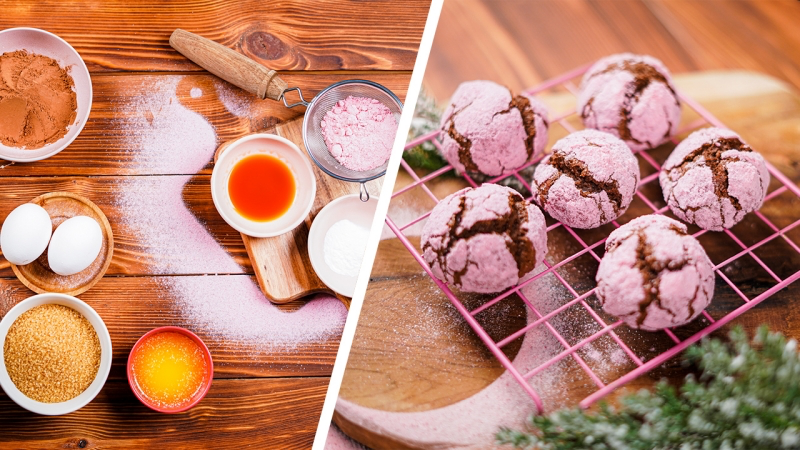
Your Ultimate Guide to Fudgy, Flawless Gluten-Free Chocolate Crinkle Cookies
I’ve spent a huge part of my professional baking career in the world of gluten-free, and let me tell you, it’s a completely different ballgame. You quickly learn that just swapping out regular flour for a GF alternative is a recipe for disaster. Gluten-free baking has its own science, its own rhythm.
In this article
And chocolate crinkle cookies? They are the perfect test. They look so simple, but getting that rich, fudgy center with a perfectly cracked, snowy-white surface is a real technical challenge. Get it wrong, and you end up with gritty, flat little discs where the sugar has melted into a sad, sticky mess. We’ve all been there.
So, I’ve decided to lay out the exact method I’ve perfected over countless batches. This isn’t just a quick recipe; it’s a deep dive into the ‘why’ behind each step, so you can make gorgeous, delicious gluten-free crinkle cookies every single time. We’ll get into the science of the crinkle, the secrets of a good flour blend, and the critical steps that the pros use to guarantee that iconic finish.
So, Why Do They Actually ‘Crinkle’?
Before we even think about ingredients, let’s talk about what makes a crinkle cookie, well, crinkle. It’s not some kitchen mystery; it’s a pretty cool bit of science. Understanding this is your key to getting it right.
When you slide that chilled dough into a hot oven, a race begins. The baking powder immediately reacts, releasing carbon dioxide gas that pushes the dough up and out. At the exact same time, the outside of the cookie starts to dry out, forming a thin crust. This crust hardens while the inside is still rising and spreading like crazy. Eventually, the pressure from the rising interior becomes too much for that rigid crust, and it cracks apart. Voila! You get those beautiful crinkles.
Oh yeah, and that powdered sugar coating? It’s not just for looks. Sugar is hygroscopic, which is a fancy way of saying it pulls in moisture. This helps the cookie’s surface dry out even faster, encouraging that crust to form before the rest of the cookie sets. This creates more drama between the crust and the rising interior, leading to deeper, more defined cracks.
The Deal with Gluten-Free Flour
In traditional baking, wheat flour gives us gluten—a protein web that creates structure, elasticity, and that satisfying chew. When you take it away, you lose that entire framework. Most gluten-free flours are just starches, and they behave very differently.
This is why so many GF goodies turn out gritty or crumbly. The flours haven’t had enough time to really soak up the moisture. It’s also why they can spread into thin pancakes; there’s no gluten to hold them together. This method is specifically designed to tackle those problems head-on.
The Pro’s Gluten-Free Flour Blend (And a Plan B)
To be frank, I stopped using pre-made, all-purpose GF flour blends in my kitchen a long time ago. They can be wildly inconsistent, and many just don’t have the right balance of starches for delicate recipes. For a cookie that needs to be both fudgy and chewy, making your own blend gives you total control.

It sounds intimidating, but it’s really just mixing a few things together. Think of it as creating a simple spice blend. Here’s a shopping list for what you’ll need. You can find most of these at larger grocery stores like Whole Foods or online. Reliable brands like Bob’s Red Mill are usually a safe bet.
My Go-To Cookie Flour Shopping List:
- Fine Brown Rice Flour
- Potato Starch (Heads up: this is NOT the same as potato flour!)
- Tapioca Starch (sometimes called tapioca flour)
- Sweet Rice Flour (often sold as Mochiko)
- Xanthan Gum
To make a big batch, just whisk everything together thoroughly in a large bowl and store it in an airtight container. For about 1000g of mix, use a ratio of roughly 4 parts brown rice flour, 2 parts potato starch, 2 parts tapioca starch, and a little less than 1 part sweet rice flour, with about 2% of the total weight being xanthan gum. Getting the xanthan gum mixed in evenly is crucial, as it’s what holds the cookies together.
Budget Tip: Your initial investment for these flours might be around $25 to $35, but that single batch of blend will be enough for at least 5-6 batches of these cookies, making it more economical in the long run.
Okay, but what if I just want to use a store-bought blend?
Look, I get it. Making a blend is a step. If you absolutely must use a pre-made bag, grab one that’s labeled as a “1-to-1” or “measure-for-measure” baking flour. The most important thing is to check the ingredients list to see if it already contains xanthan gum. If it does, you can omit the xanthan gum from the recipe. If it doesn’t, you’ll still need to add it. Just be aware that the final texture might be a little different—maybe a bit less chewy or slightly denser—but it’s a great way to start before you commit to the custom blend.
The Complete Method: Let’s Bake Some Cookies
Using a digital kitchen scale for grams is the best way to get consistent, professional results. I’ve included cup measurements, but baking is a science, and weight is way more accurate.
Yields: About 2 dozen cookies
Prep Time: 20 minutes
Chill Time: 4 hours minimum (seriously, don’t skip this!)
Bake Time: 11-13 minutes
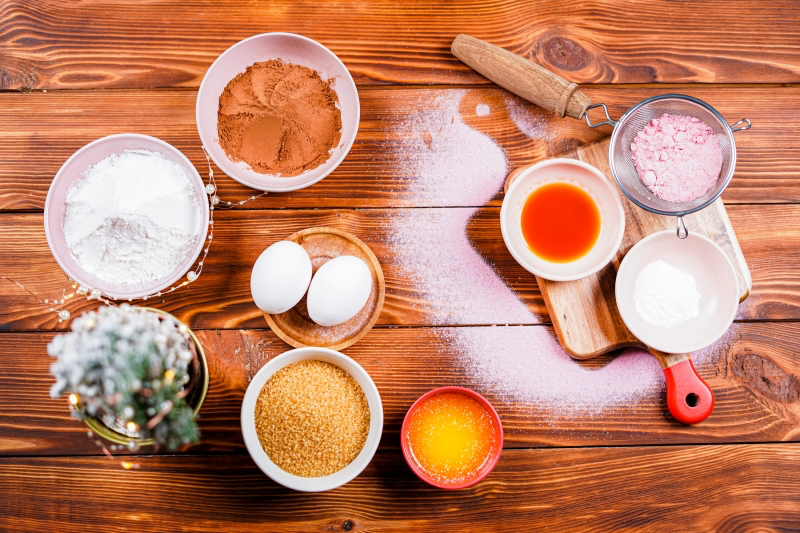
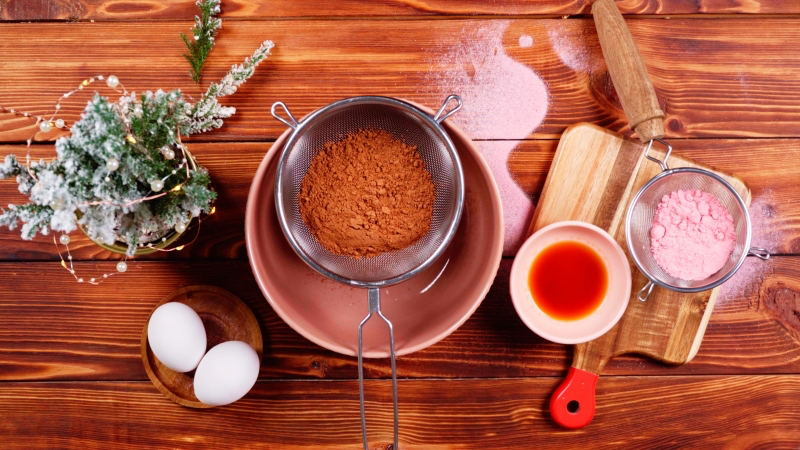
The Ingredients:
- Unsweetened Cocoa Powder (65g / ¾ cup): I really prefer Dutch-processed cocoa here. It gives a darker, richer color and a smoother, less acidic flavor.
- Granulated Sugar (200g / 1 cup)
- Light Brown Sugar, packed (110g / ½ cup): Adds moisture and chewiness.
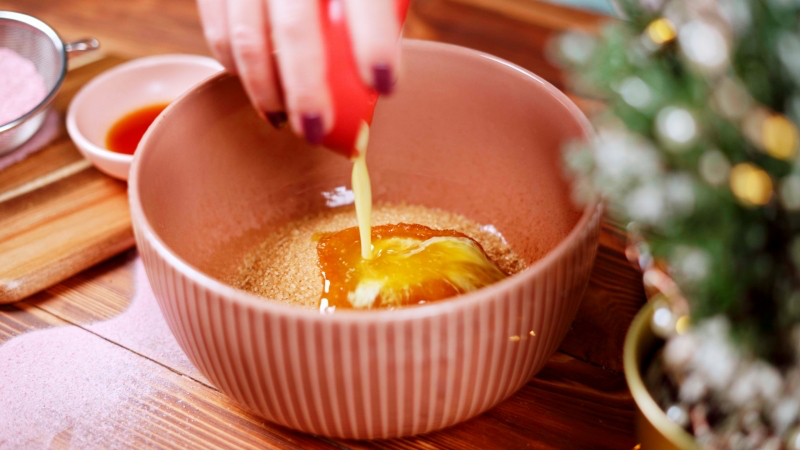
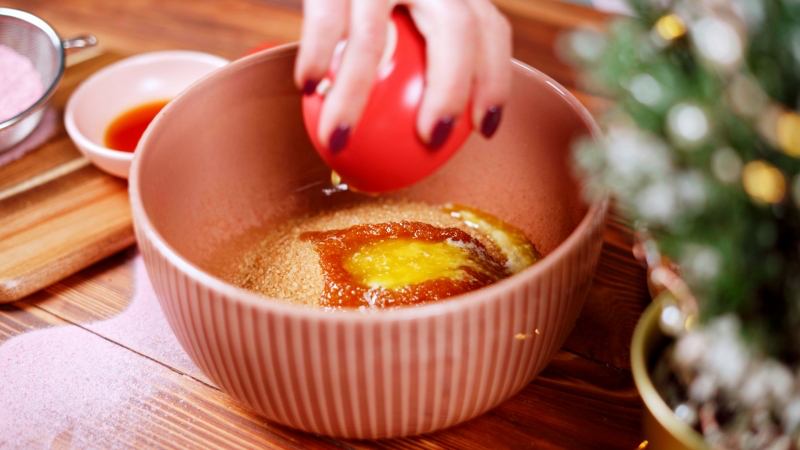
- Unsalted Butter, melted (113g / ½ cup or 1 stick): Using melted butter is key for that brownie-like, fudgy texture.
- 2 Large Eggs (at room temperature): Quick tip! If you forgot to take your eggs out, just pop them in a bowl of warm (not hot!) water for 5-10 minutes.
- Pure Vanilla Extract (8g / 2 tsp): The real stuff makes a difference.
- My Go-To Gluten-Free Flour Blend (165g / 1⅓ cups): Or a 1-to-1 store-bought blend, as discussed above.
- Baking Powder (4g / 1 tsp): Make sure it’s fresh!
- Salt (3g / ½ tsp)
For the Signature Coating:
- Granulated Sugar (about 50g / ¼ cup)
- Powdered Sugar (about 100g / 1 cup)
Step-by-Step Instructions:
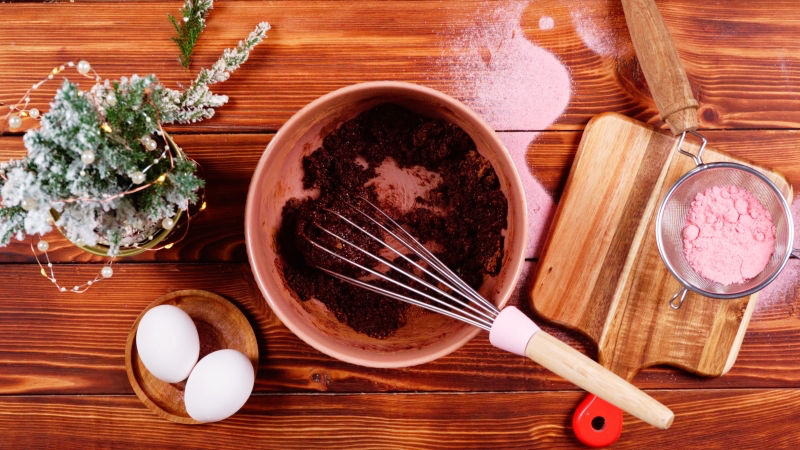
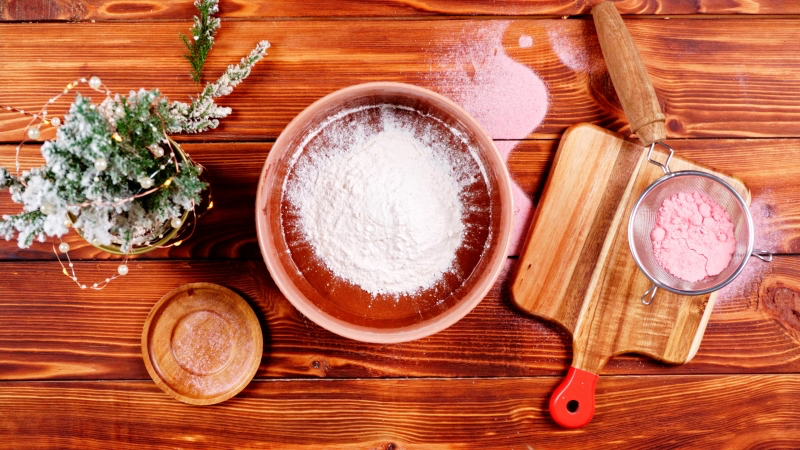
1. Mix the Dries: In a medium bowl, whisk together your flour blend, cocoa powder, baking powder, and salt. Don’t just give it a quick stir—whisk for a good 30 seconds to make sure everything, especially the baking powder, is evenly distributed.
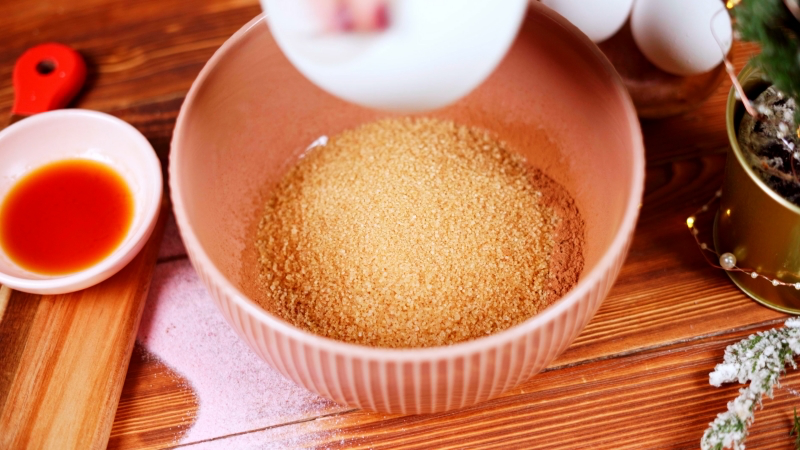
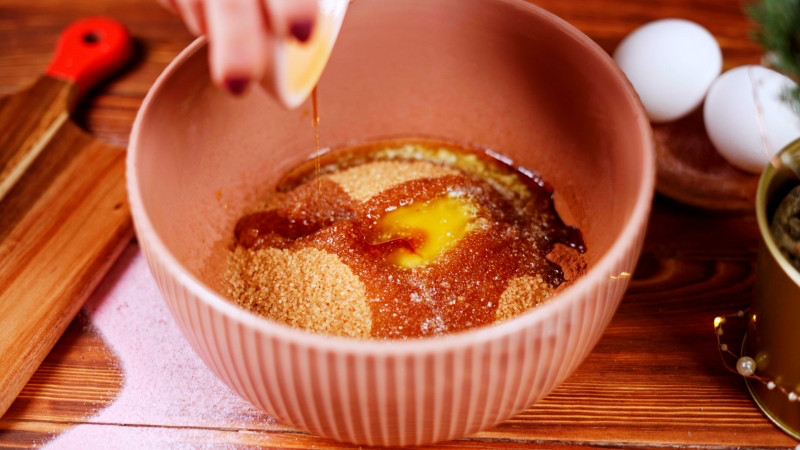
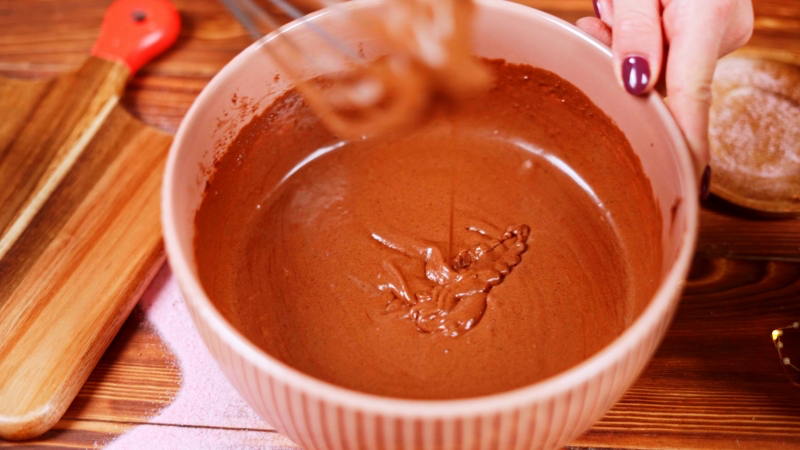
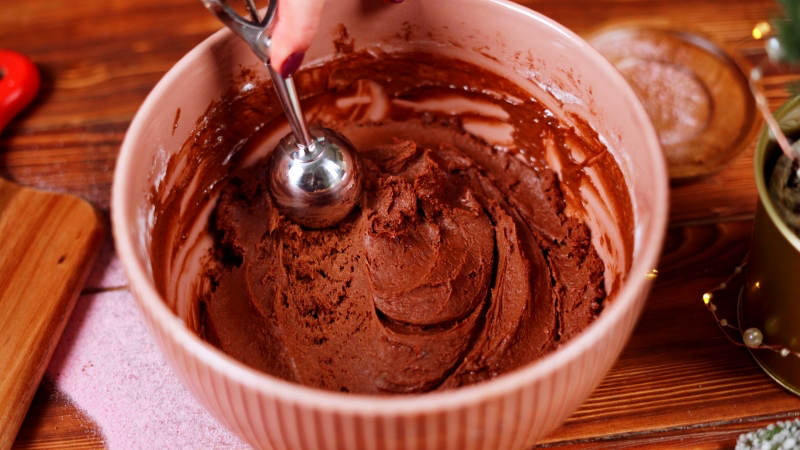
2. Mix the Wets: In a separate large bowl, whisk the granulated sugar, brown sugar, and melted butter until it’s smooth and looks like wet sand.
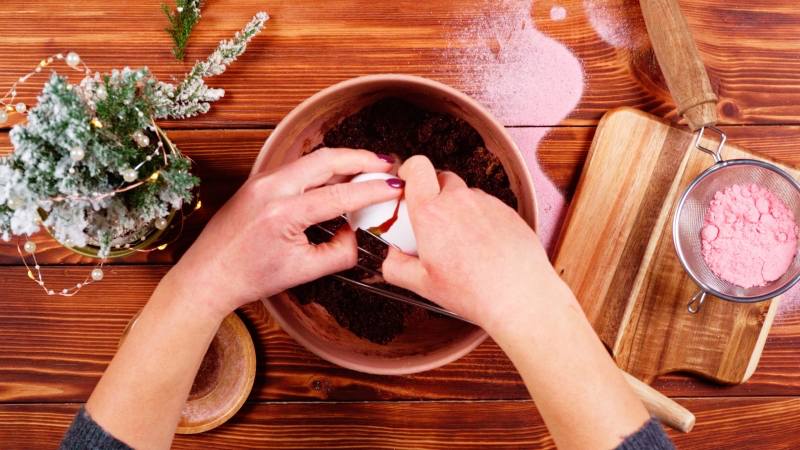
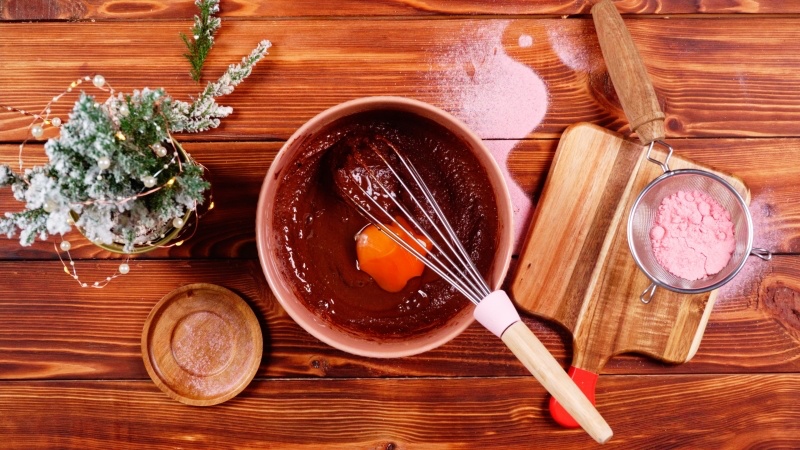
3. Add the Eggs: Add the eggs one at a time, whisking hard for about 30 seconds after each one. Once both are in, keep whisking for another minute until the mixture gets thick, glossy, and a little lighter in color. This whips in some air, which helps the cookies rise.
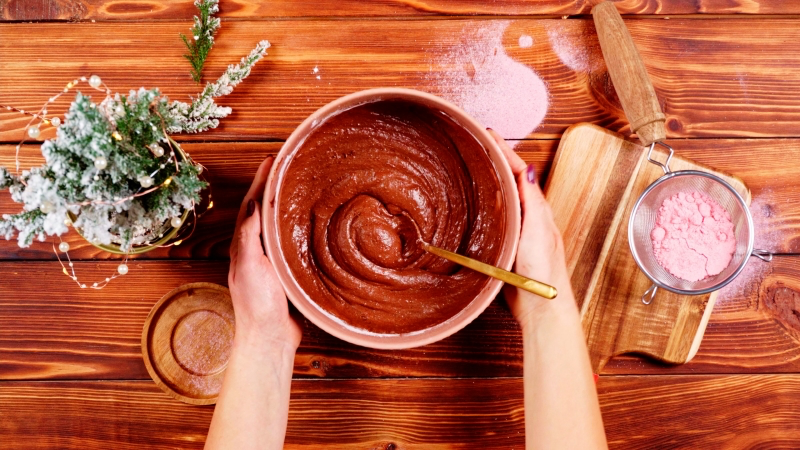
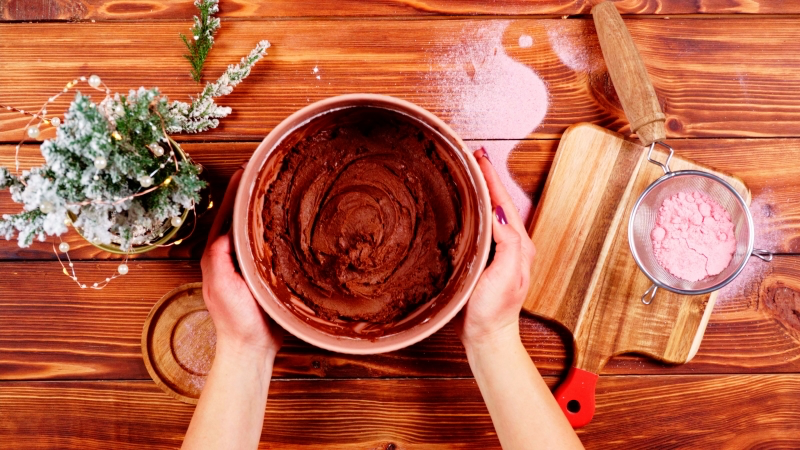
4. Fold it all Together: Pour the dry ingredients into the wet. Use a spatula to fold everything together until you just stop seeing streaks of flour. Don’t overmix!
5. The All-Important Chill: This is the most critical step. I cannot stress this enough. Cover the bowl with plastic wrap, pressing it right onto the dough’s surface, and chill it for at least 4 hours. Honestly, overnight is even better. I once got impatient and only chilled a batch for an hour. I ended up with a single, giant, flat cookie-puddle. A delicious puddle, but definitely not a crinkle cookie. Learn from my mistake: do not skip the chill! It lets the GF flours fully hydrate (bye-bye, grittiness) and solidifies the butter so the cookies don’t spread too thin.
6. Prep and Coat: Preheat your oven to 350°F (175°C) and line two baking sheets with parchment paper. Put the granulated sugar in one small bowl and the powdered sugar in another.
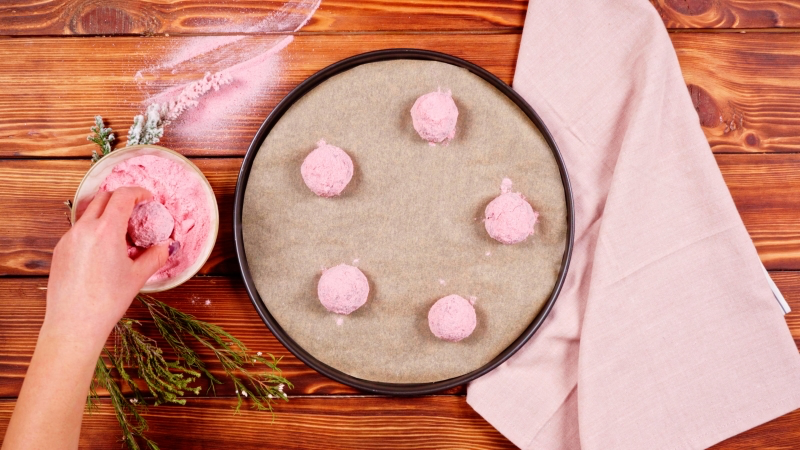
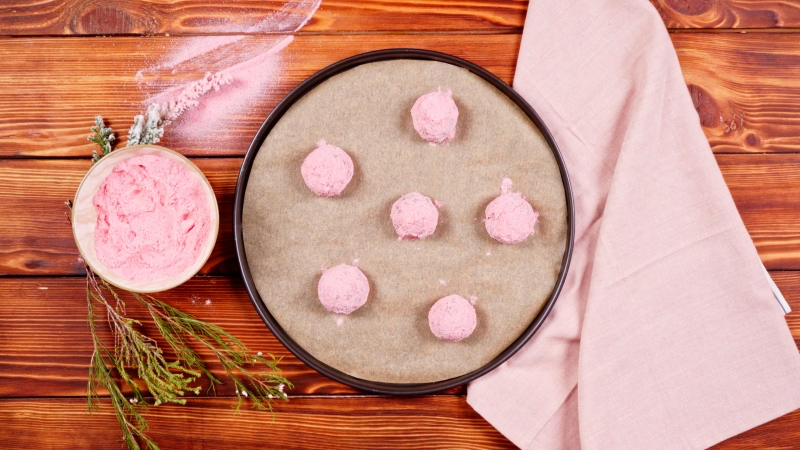
7. The Double-Sugar Trick: Here’s a pro move for the brightest, crackliest tops. Use a small cookie scoop (about 1.5 tablespoons) to portion out the cold dough. Roll it into a smooth ball. First, roll the ball generously in the granulated sugar. This gives the powdered sugar something to grip. Then, roll it in the powdered sugar until it’s so thickly coated you can’t see any chocolate dough. Seriously, don’t be shy.
8. Bake ’em Up: Place the coated dough balls about 2 inches apart on your baking sheets. Bake for 11-13 minutes. They’re done when the edges look set but the centers still seem a little soft and underbaked. They will have puffed up and cracked beautifully.
9. Cool Down: Let the cookies cool on the baking sheet for 5 minutes before moving them to a wire rack. They’ll continue to cook a bit and firm up. The texture is best once they’re totally cool.
Troubleshooting: What to Do When Things Go Wrong
It happens! Here are a few common hiccups and how to fix them.
- My cookies are flat! This is almost always from not chilling the dough long enough. The butter was too soft. It could also be that your oven runs cool. An inexpensive oven thermometer is a baker’s best friend.
- The powdered sugar vanished! You probably skipped the granulated sugar coat. That first coat acts as a barrier. By the way, if you live in a really humid place, that moisture in the air can also cause the sugar to melt. Try to work quickly or even pop the tray of coated cookies back in the fridge for 10 minutes before baking.
- My cookies are gritty. You rushed the chill time. I know it’s hard to wait, but those gluten-free flours need every minute of that 4-hour (or overnight) rest to absorb the liquid and become smooth.
Fun Variations to Try Next
Once you’ve got the basic technique down, it’s time to play. A classic variation for the holidays is a Peppermint Crinkle—just swap the vanilla for pure peppermint extract. For a sophisticated twist, add a teaspoon of instant espresso powder with the cocoa; it won’t taste like coffee, but it will make the chocolate flavor incredibly deep and rich. Or, for a little warmth, add ½ teaspoon of cinnamon and a pinch of cayenne for a Mexican hot chocolate vibe.
Storage Tips
Store your cooled cookies in an airtight container at room temperature. They’re at their peak in the first three days but will stay good for up to a week. The dough also keeps beautifully in the fridge for up to 3 days. Even better, you can scoop the dough into balls (don’t coat them in sugar yet!), freeze them solid on a tray, and then toss them in a freezer bag. You can bake them right from frozen—just add a minute or two to the baking time.
Inspiration:
Dutch-Process vs. Natural Cocoa: For that deep, dark, Oreo-like color and flavor in your crinkles, opt for Dutch-processed cocoa powder like Droste or Valrhona. It’s been treated to neutralize its acidity, resulting in a smoother, less bitter taste that lets the pure chocolate notes shine through.
Natural Cocoa Powder: This type is more acidic and will react differently with your leavening agents. It often yields a lighter, reddish-brown cookie with a slightly sharper flavor. Both work, but for ultimate fudginess and visual drama, Dutch-process is the professional’s choice.
My powdered sugar melted into a sticky glaze. Why?
This is a classic crinkle conundrum! The secret is a two-step coating process. Before rolling the chilled dough balls in powdered sugar, give them a light, preliminary roll in granulated sugar. The larger crystals of the granulated sugar act as a protective barrier, absorbing initial moisture as the cookie bakes and preventing the powdered sugar from dissolving into the surface. This ensures that iconic, snowy-white finish remains intact.
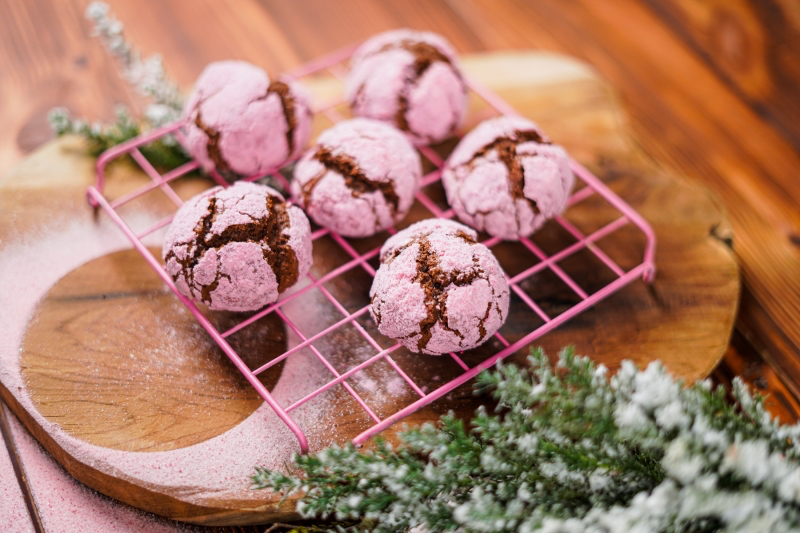
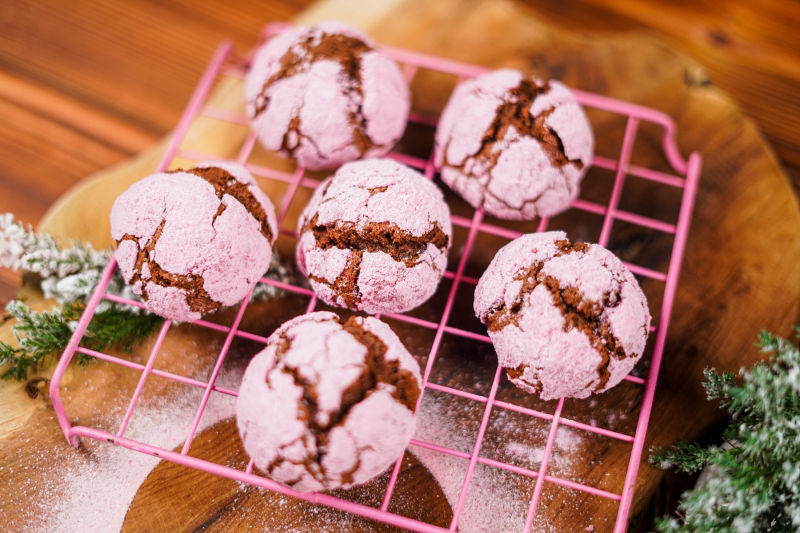
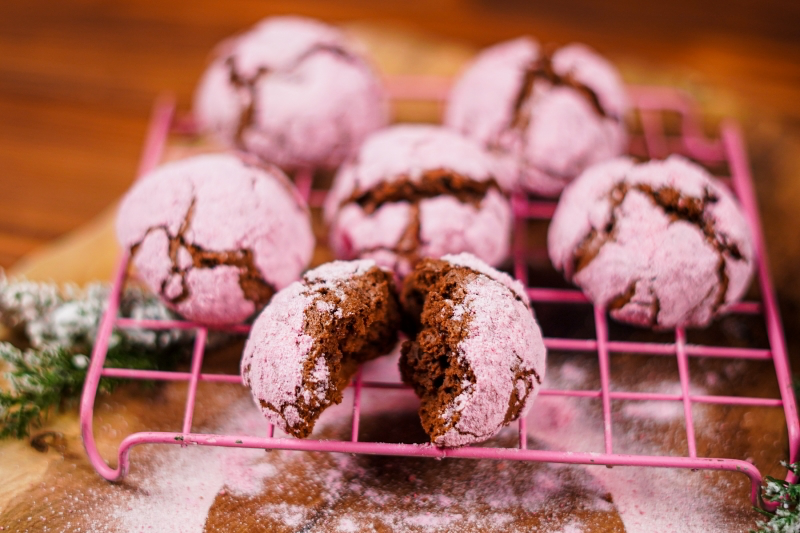
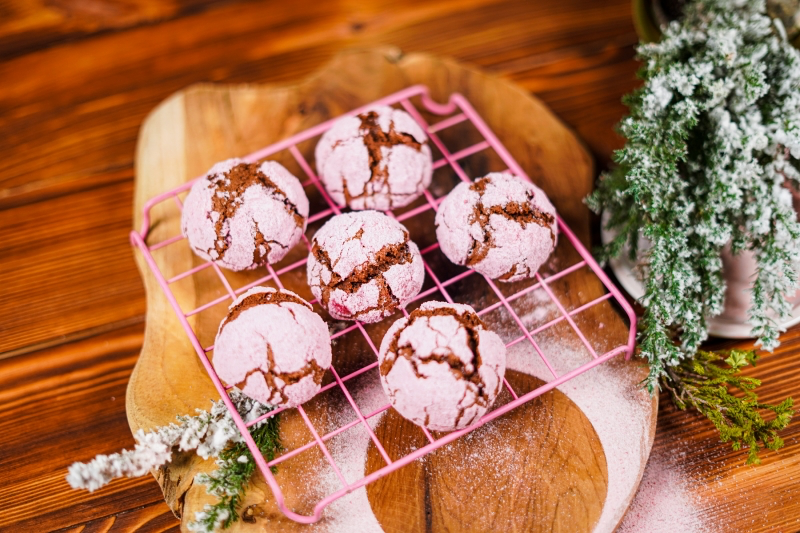
- A vibrant, festive color that stands out on any cookie platter.
- Perfectly uniform cracks against a rich pink or red backdrop.
- A subtle flavor hint of vanilla or red berries.
The trick to brilliant color? It’s all in the coloring. Avoid liquid food coloring, which can thin the dough. Instead, use a concentrated gel food color, like those from AmeriColor or Wilton. Just a tiny drop creates a deep, vibrant hue without compromising that essential fudgy texture for your pink velvet crinkles.
According to culinary historians, the crinkle cookie is a 20th-century American invention, famously popularized by a recipe from Helen Fredell of St. Paul, Minnesota, and featured in a Betty Crocker contest in the 1950s.
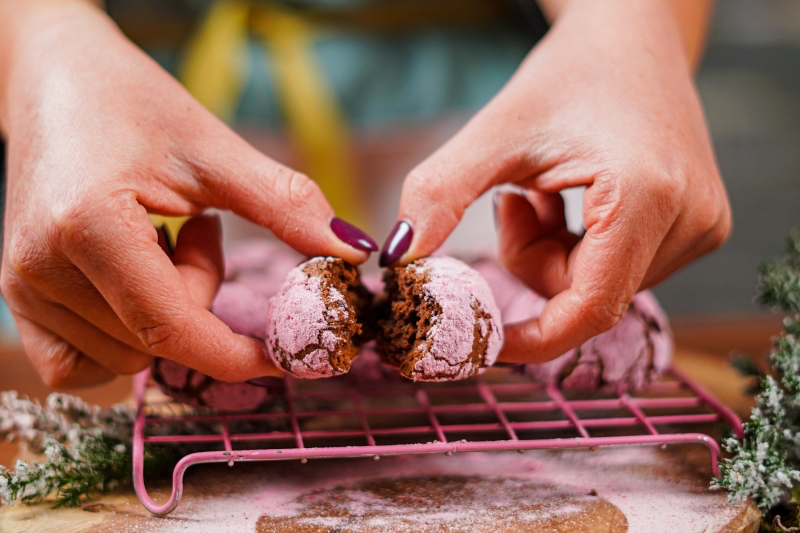
Its enduring popularity lies in that irresistible textural contrast—a crisp shell giving way to a rich, brownie-like interior. It’s a piece of delicious, nostalgic Americana that has adapted beautifully to the gluten-free world.
The chill is non-negotiable. We cannot stress this enough: chilling the dough for at least 4 hours (or even better, overnight) is the most critical step for success. This process solidifies the fats, which prevents the cookies from spreading into thin, sad discs in the oven. It also allows the gluten-free flours to fully hydrate, which is the key to eliminating any grittiness and achieving that coveted, smooth, melt-in-your-mouth texture.
For an extra touch of holiday magic or a sophisticated twist, consider these finishing touches just after baking:
- While still warm, lightly press a single, high-quality chocolate mint, like an After Eight, onto the center of each cookie.
- Add a pinch of flaky sea salt (Maldon is perfect) to the tops before baking to enhance the chocolate flavor.
- For a festive sparkle, dust with edible gold or pearl luster dust immediately after they come out of the oven.
Did you know? Not all gluten-free flour blends are ideal for soft, fudgy cookies. Many all-purpose blends are high in rice flour, which can lead to a slightly gritty mouthfeel.
For a superior texture, look for a blend that contains a higher proportion of finer-milled flours and starches, like sorghum, tapioca starch, and potato starch. Blends like King Arthur’s Gluten-Free Measure for Measure or Bob’s Red Mill 1-to-1 Baking Flour are specifically formulated to avoid this grittiness and are excellent choices for this recipe.
A world of flavor awaits beyond classic chocolate. Infuse your dough with new personality:
- Mexican Hot Chocolate: Add 1/2 teaspoon of cinnamon and a pinch of cayenne pepper to the dry ingredients.
- Chocolate Orange: Mix in the finely grated zest of one large orange for a bright, zesty aroma.
- Peppermint Mocha: Incorporate 1 teaspoon of instant espresso powder and 1/2 teaspoon of peppermint extract for a festive kick.

The moment the oven door opens is pure sensory delight. The wave of warm, intense chocolate fragrance fills the kitchen, a promise of the richness to come. Visually, the cookies are a study in contrasts: the deep, dark, almost black dough fractured by a web of brilliant white cracks, each one a unique map of the cookie’s journey from soft dough to chewy perfection.
Can I make these dairy-free without losing texture?
Absolutely. The key is choosing the right fat substitute. Instead of butter, use a high-quality, solid vegan butter block like Miyoko’s Kitchen Cultured Vegan Butter or Melt Organic sticks. These have a higher fat content that mimics dairy butter perfectly. Avoid soft tub-style spreads, which contain more water and can make the cookies spread too much. And don’t forget to use dairy-free chocolate chips, like those from Enjoy Life Foods or Pascha Chocolate.
- Your dough was too warm when it went into the oven.
- You over-mixed the dough after adding the baking powder, deflating the air pockets.
- Your oven wasn’t fully preheated to the correct temperature.
These are the top three culprits for flat crinkles. A hot oven is crucial for creating that initial ‘set’ on the cookie’s crust, allowing the inside to rise and ‘crinkle’ it. Patience during the chilling phase and a properly calibrated oven are your best friends.
To keep your gluten-free crinkles perfectly soft and fudgy, proper storage is everything. Let them cool completely on the baking sheet before moving them. Store them in an airtight container at room temperature. For maximum longevity, place a slice of gluten-free bread in the container; it will sacrifice its moisture to keep the cookies tender for up to four days. Avoid the refrigerator, which will dry them out and harden the texture.
Parchment Paper: A baker’s reliable standby. It guarantees your cookies won’t stick and makes for an effortless cleanup. It provides a slight buffer from the hot metal pan, which is excellent for delicate bakes.
Silicone Mat (e.g., Silpat): Known for promoting even browning on the bottom of cookies due to excellent heat distribution. However, its slick surface can sometimes cause slightly more spread.
For crinkle cookies, where controlling spread is a top priority, we recommend sticking with high-quality parchment paper.
The secret to a truly fudgy center often lies in the chocolate itself. While cocoa powder provides the flavor base, incorporating melted chocolate or high-quality chocolate chips adds cocoa butter to the dough. This extra fat is what produces that dense, chewy, brownie-like texture. For an exceptional result, use a good quality semi-sweet chocolate with at least 60% cacao, such as chips from Guittard or Callebaut.
Making incredible crinkle cookies doesn’t always require expensive baking chocolate. You can create an intensely flavorful and moist cookie using a high-quality cocoa powder and oil.
- The Swap: In many recipes, you can substitute the melted butter for a neutral-flavored oil (like canola or avocado) and use a rich Dutch-processed cocoa powder instead of melted chocolate.
- The Benefit: This oil-based method often results in an even fudgier, more tender cookie that stays moist for longer. It’s a fantastic and often more budget-friendly alternative.


