How to Paint a Perfect Rainbow Mural (Without Losing Your Mind)
I’ve been a decorative painter for a long, long time. I’ve tackled everything from simple wall finishes to murals that cover entire rooms. And you know what request I get surprisingly often? A rainbow. A client will ask for one in a kid’s room, wanting something bold, crisp, and perfect—an arch that looks like it truly belongs on the wall.
In this article
A rainbow seems easy, right? It’s just a few curved stripes of color. But honestly, the gap between a wobbly, messy DIY rainbow and a flawless, professional one is all about technique. It’s a project that will definitely test your patience and precision.
But you can absolutely do this. The goal here is to walk you through the method the pros use, so you can get a result you’re genuinely proud of. Forget the frustration of bleeding paint and uneven colors; we’re going to cover everything from prep to paint.
First Things First: Know What You’re Getting Into
Before you even think about picking colors, let’s set some realistic expectations. This isn’t a one-afternoon project. Because you have to let each color stripe cure properly before taping over it, you need to plan for some downtime.
Here’s a quick rundown:
- Project Timeline: Plan for this to take about 5 to 7 days. Don’t panic! Most of that is just drying time. You’ll only be doing about 1-2 hours of active work each day.
- Difficulty Level: I’d call this Intermediate. It’s not technically hard, but it demands a LOT of patience and attention to detail.
- Estimated Cost: Your budget will probably land somewhere between $75 and $150. This depends heavily on the quality of paint you choose and what tools you might already have hiding in your garage.
Your Complete Shopping List
Nothing’s worse than having to run to the store mid-project. Let’s get everything you need upfront. You can find most of this at a good hardware store like Lowe’s or Home Depot.
- Wall Cleaner: A TSP substitute (Trisodium Phosphate) is my go-to for making sure the wall is squeaky clean.
- Repair Supplies: Get a small tub of spackling compound for nail holes and some sandpaper (one medium 120-grit and one fine 220-grit).
- Primer: A high-quality, water-based latex primer. I’ll explain why a tinted one is a great idea in a bit.
- Paint: For the rainbow itself, sample pots are your best friend! A little 8-ounce sample pot is usually more than enough for a single 4- to 6-inch stripe, and it’ll save you a ton of money over buying quarts. Pick an eggshell or satin finish for a subtle, cleanable sheen.
- Painter’s Tape: This is NOT the place to cheap out. Get the good stuff. I always use FrogTape (the green one) or 3M ScotchBlue Platinum. It costs a few bucks more, but it’ll save you hours of fixing bleeds.
- Brushes & Rollers: Grab a quality 2-inch angled sash brush for cutting in and a small 4-inch roller with low-nap covers (1/4 inch is perfect) for a smooth finish.
- Layout Tools: You’ll need a tape measure, a pencil, and a ball of string. A small nail or tack is also needed for the string method. And get a white artist’s eraser, not the pink one on your pencil, as it won’t leave smudges on your primed wall.
- Safety Gear: Don’t forget rubber gloves and maybe some safety glasses for the cleaning part.
The Foundation: Flawless Prep is Everything
I cannot stress this enough: your final rainbow is only as good as the wall you paint it on. Seriously, prep work is ninety percent of the job. I’ve seen murals fail and peel off in sheets because the painter skipped these steps. Don’t be that person.
Clean, Patch, and Sand
First, give the wall a good scrub. Mix your TSP substitute with water according to the directions, put on your gloves, and wash the wall down with a sponge. Then, rinse it with a clean, damp cloth and let it dry completely. This might take a full day.
Once it’s dry, fill any nail holes or cracks with spackle. Apply it in thin layers, letting it dry between coats. Then, sand the patches smooth—start with 120-grit sandpaper to knock down the high spots and finish with 220-grit to make it disappear. Feather the edges so the patch blends perfectly into the wall.
The Magic of Primer
Primer is non-negotiable. It seals the wall, covers any stains or patches, and gives your paint a uniform surface to stick to. If you’re painting over a dark color, primer is a lifesaver.
Quick tip: Ask the person at the paint counter to tint your primer to a light gray. Just say, “Can you tint this with about 25% black?” They’ll know exactly what to do. A gray base helps vibrant colors, like the reds and yellows in a rainbow, pop with fewer coats.
Roll on one even coat of primer over the whole wall and let it cure. And yes,
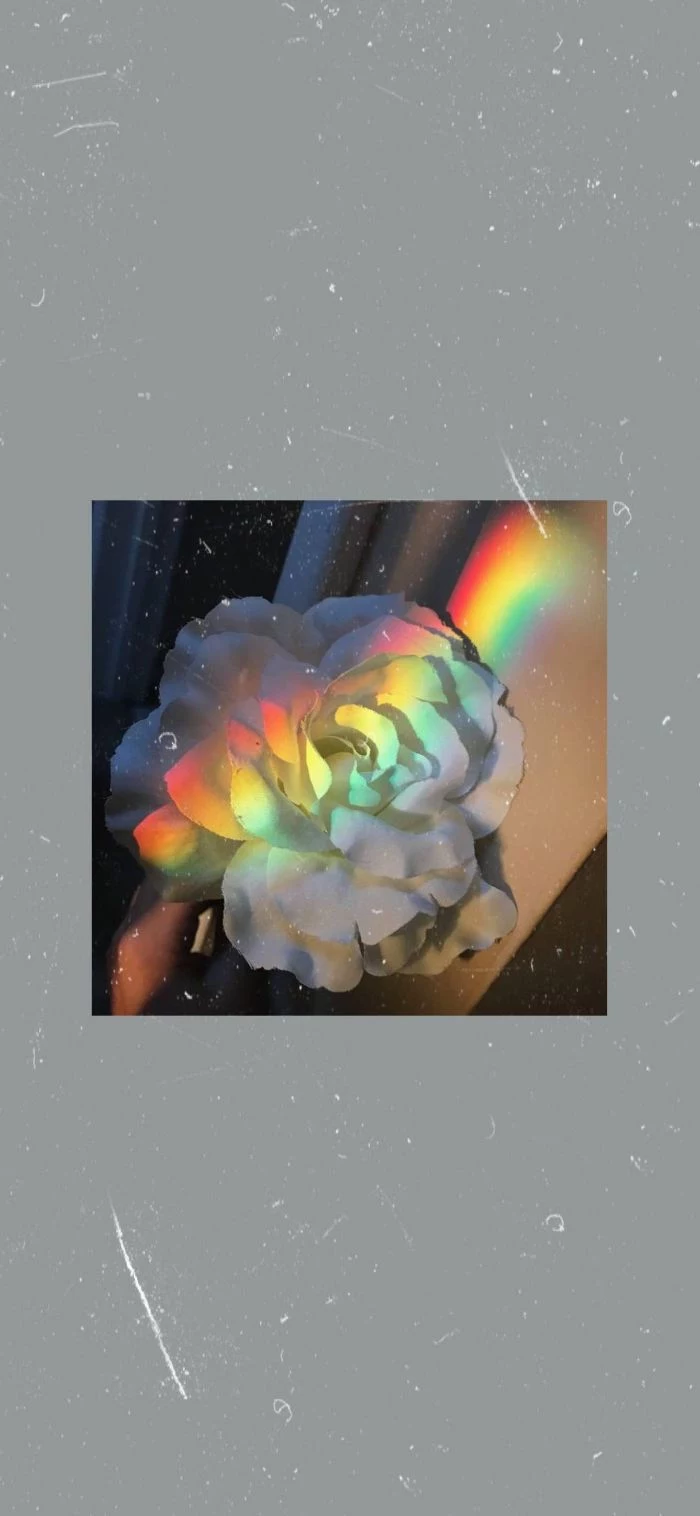
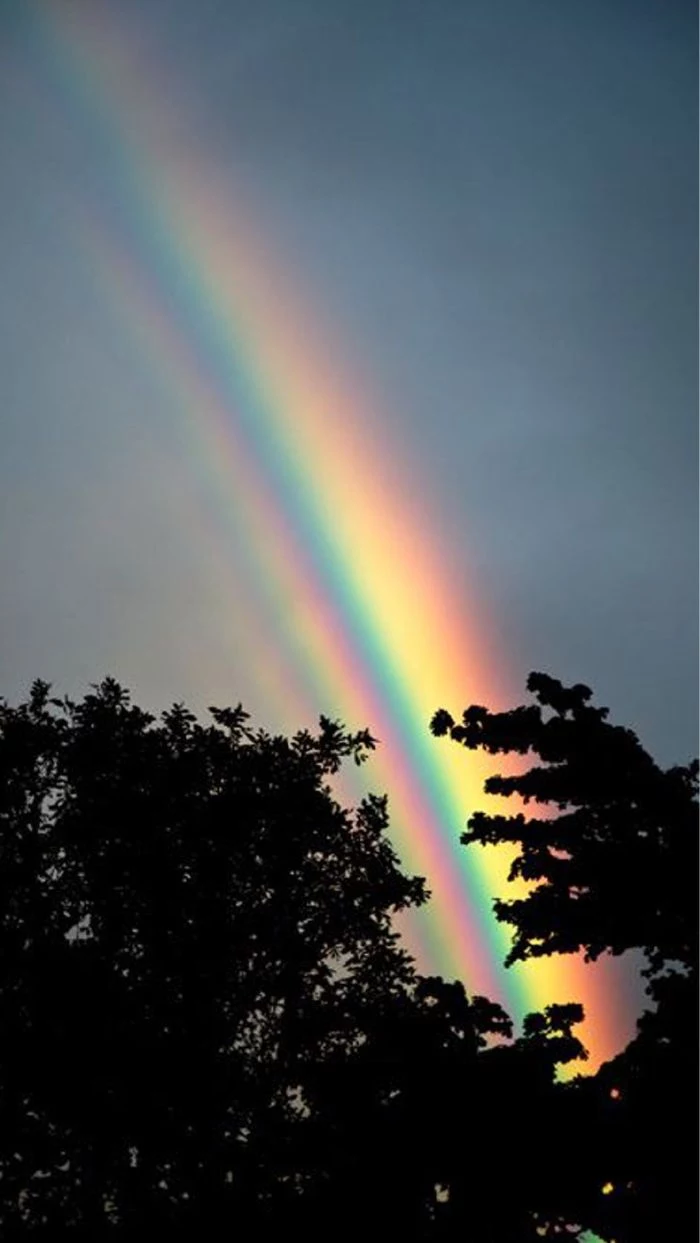
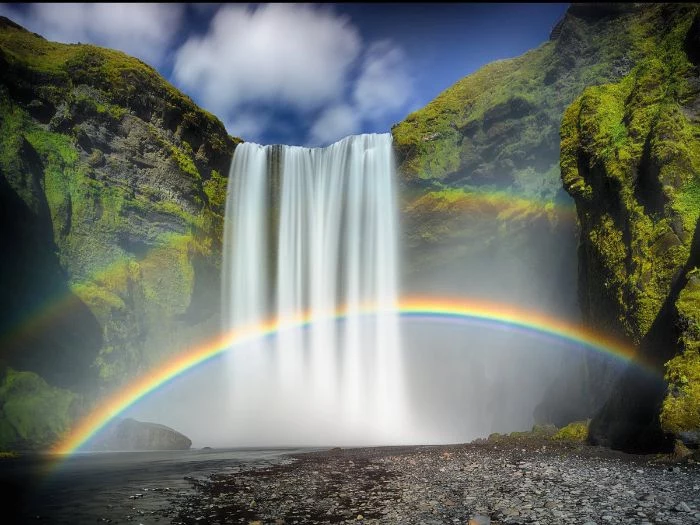
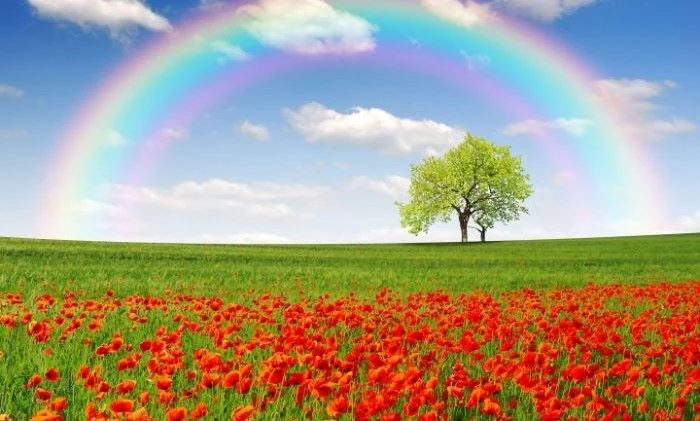
Inspirational Gallery

Matte or Satin? The Finish Matters. When selecting your paints, the sheen makes a huge difference. A matte finish will give you a soft, velvety look that hides minor wall imperfections, perfect for a calming, contemporary rainbow. A satin or eggshell finish offers a slight luster, making the colors pop a bit more and, crucially, making the wall easier to wipe clean—a major plus for a child’s room.

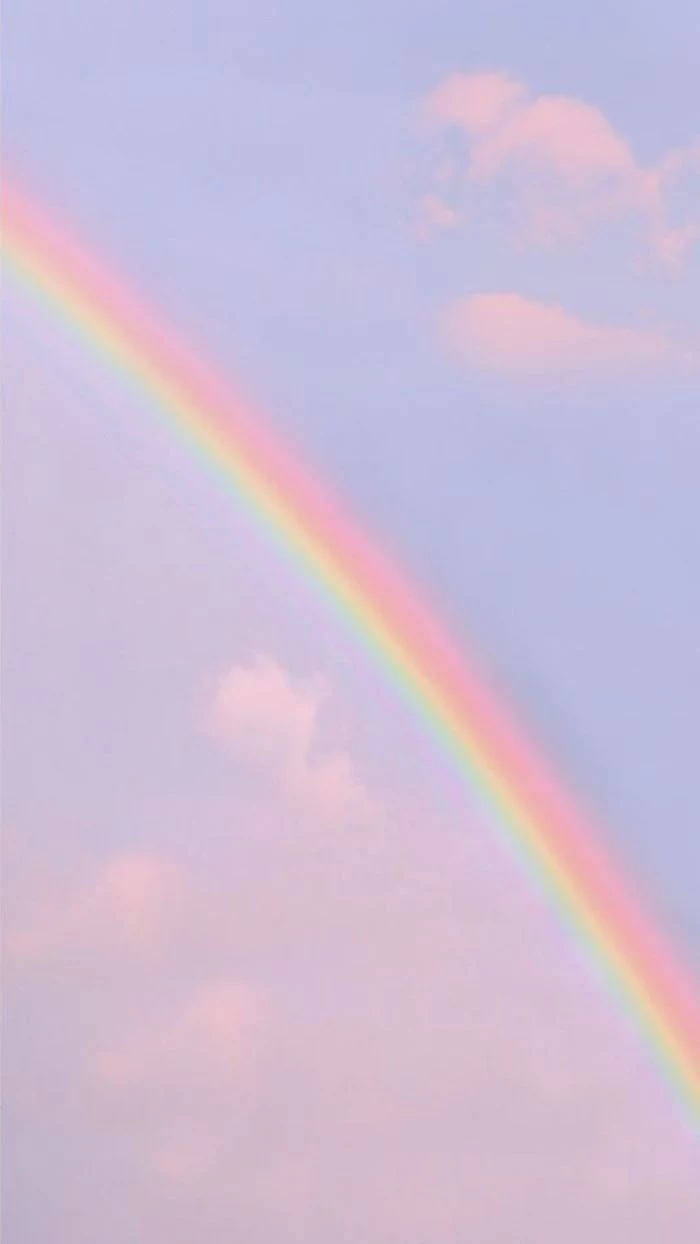
- Create a soft, ethereal vibe by adding fluffy, hand-painted clouds at the ends of your rainbow’s arch.
- For a touch of glam, make one of the stripes—like yellow or orange—a metallic gold or copper paint.
- Extend the rainbow onto the ceiling for a truly immersive and surprising effect.
The secret? Thinking beyond the simple arch…

More than 75% of homeowners feel a major sense of accomplishment after completing a home improvement project they initially thought was beyond their skill level.
This rainbow mural is exactly that kind of project. While it requires patience, the moment you peel back that final piece of tape and see the crisp, vibrant result, you’re not just looking at a decorated wall—you’re looking at a testament to your own capability.

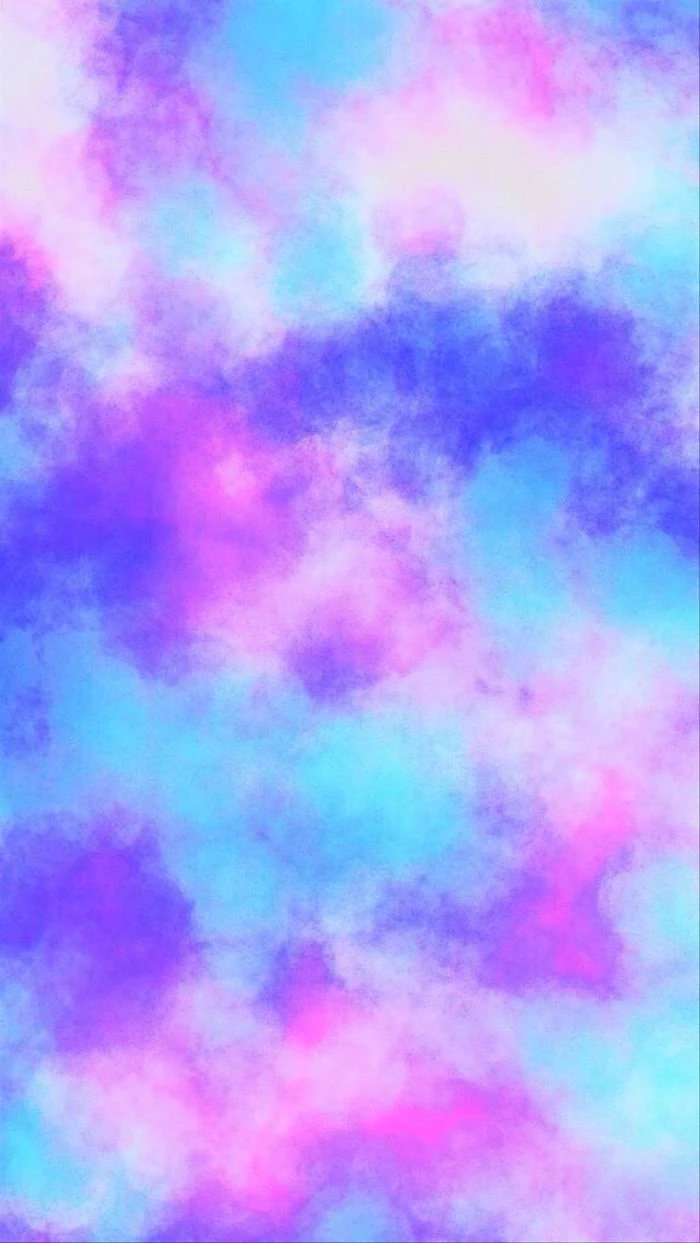
What if I don’t want a classic, vibrant rainbow?
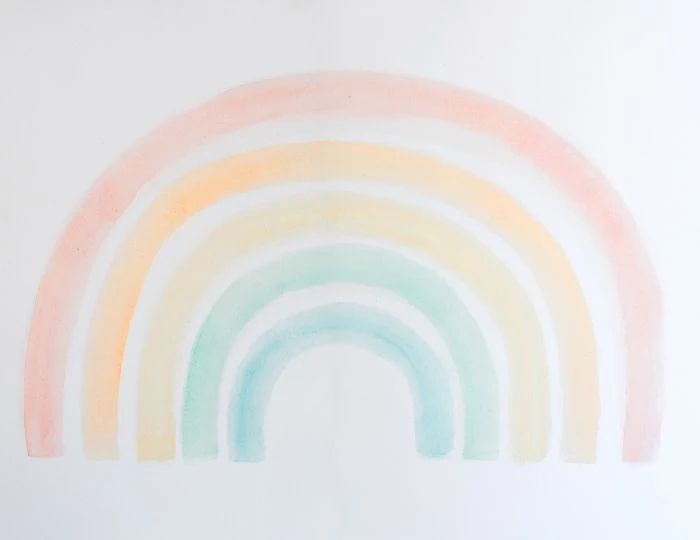
Explore a more modern, muted palette. Instead of primary red, try a terracotta or dusty rose. Swap bright yellow for a warm ochre. Replace royal blue with a moody slate or teal. Brands like Farrow & Ball (try ‘Setting Plaster’) or Benjamin Moore’s Historical Collection offer sophisticated, earthy tones that can turn a rainbow from playful to chic.
The biggest enemy of a clean line is paint bleed under the tape. The pro secret is the ‘paint-the-base-color-first’ trick. After applying your tape for a stripe, paint a thin layer of your main wall color along the tape’s edge. This seals the tape, so any bleed-through is in the wall color. Let it dry, then paint your rainbow color over it for a flawlessly sharp line.
“Color is a power which directly influences the soul.” – Wassily Kandinsky

Save Money with Sample Pots: A full quart of seven different colors can get expensive. Since each stripe requires very little paint, head straight for the sample pots. They typically cost just a few dollars each and contain more than enough paint for a standard-sized mural. This is the perfect way to get high-quality color from brands like Sherwin-Williams or Behr without the high-end price tag.

For an ultra-precise arch, don’t just eyeball it. The classic string-and-pencil compass method described in the article is great, but for ultimate accuracy, consider a laser level with a rotating function. You can set it to project a perfect line on the wall, allowing you to tape with unparalleled precision. It’s a tool you’ll find uses for in countless other home projects, too.
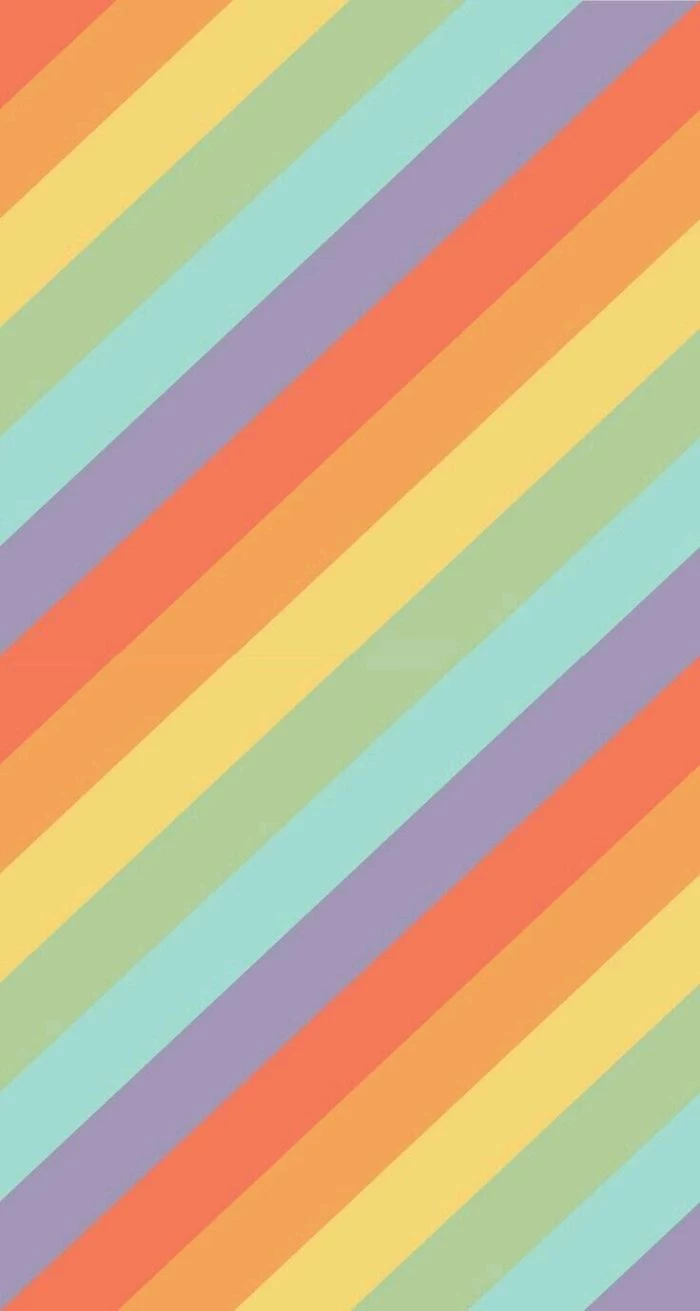
Full Rainbow: A classic, cheerful statement that uses all seven colors. It’s bold, energetic, and perfect for playrooms or creative spaces. Creates an instant focal point.
Gradient Rainbow: Choose one core color (like blue) and paint stripes using several shades, from light sky blue to deep navy. This creates a sophisticated, ombré effect that feels more artistic and less literal.
Both are beautiful, but the gradient approach can integrate more seamlessly into existing decor.
Feeling intimidated by paint? You can still get the look without the long drying times. High-quality wall decals offer a perfect, mess-free alternative. Brands like WallPops or Chasing Paper offer removable rainbow decals in various styles, from bohemian arches to minimalist lines. It’s a fantastic solution for renters or for those who like to change their decor frequently.
- Get perfectly crisp, bleed-proof lines.
- Achieve a professional, painted-on look.
- Remove tape without peeling off the fresh paint.
The secret? Using the right painter’s tape. Don’t grab the cheapest option. Invest in a quality tape like FrogTape Multi-Surface. Its PaintBlock Technology reacts with latex paint to create a micro-barrier, sealing the edges for the sharpest lines possible.

Help, my paint bled under the tape! Is it ruined?
Don’t panic! It’s fixable. Wait for the stripe to dry completely. Then, take a very small, fine-tipped artist’s brush and carefully paint over the bleed with your original wall color. It’s like a mini cover-up job. Apply two thin coats for best results. Patience is key here, too!
Consider the scale of your rainbow carefully before you start. A huge, wall-spanning rainbow can overwhelm a small room, while a tiny one might look lost on a large, empty wall. A good rule of thumb is for the rainbow’s width to occupy between one-third and one-half of the wall’s total width. This creates a balanced, intentional focal point.

According to a study on indoor environments, painting a room with colors you love can measurably improve your mood and reduce stress. The multi-hued nature of a rainbow provides a rich visual stimulus that is often associated with happiness and optimism.
Important: Let each color fully cure, not just dry. Paint might feel dry to the touch in an hour, but it takes days to cure and harden completely. The article’s 5-7 day timeline is crucial. If you apply painter’s tape to a stripe that is only touch-dry, you risk peeling off the new paint when you remove the tape for the next stripe. This is the number one mistake that trips people up.

Don’t feel confined to a wall. A rainbow arching over a doorway creates a whimsical and welcoming entrance to a room. You can also paint one on the ceiling, with the center point directly above a bed or play area, for a magical, sky-like effect that draws the eye upward and makes the room feel more expansive.

Create a healthier indoor environment by opting for Low-VOC or Zero-VOC paints. Volatile Organic Compounds are solvents that get released into the air as paint dries and can affect air quality. Major brands like Benjamin Moore (Aura line) and Sherwin-Williams (Harmony line) offer excellent low-VOC options in thousands of colors, so you don’t have to compromise on your perfect rainbow palette.

- A clean, damp microfiber cloth is usually all you need for dusting.
- For scuffs or marks, use a soft sponge with a tiny drop of mild dish soap and warm water.
- Avoid abrasive cleaners or harsh scrubbing, which can dull the paint finish.
If you used a satin or eggshell finish, cleaning will be much easier than with a matte finish.

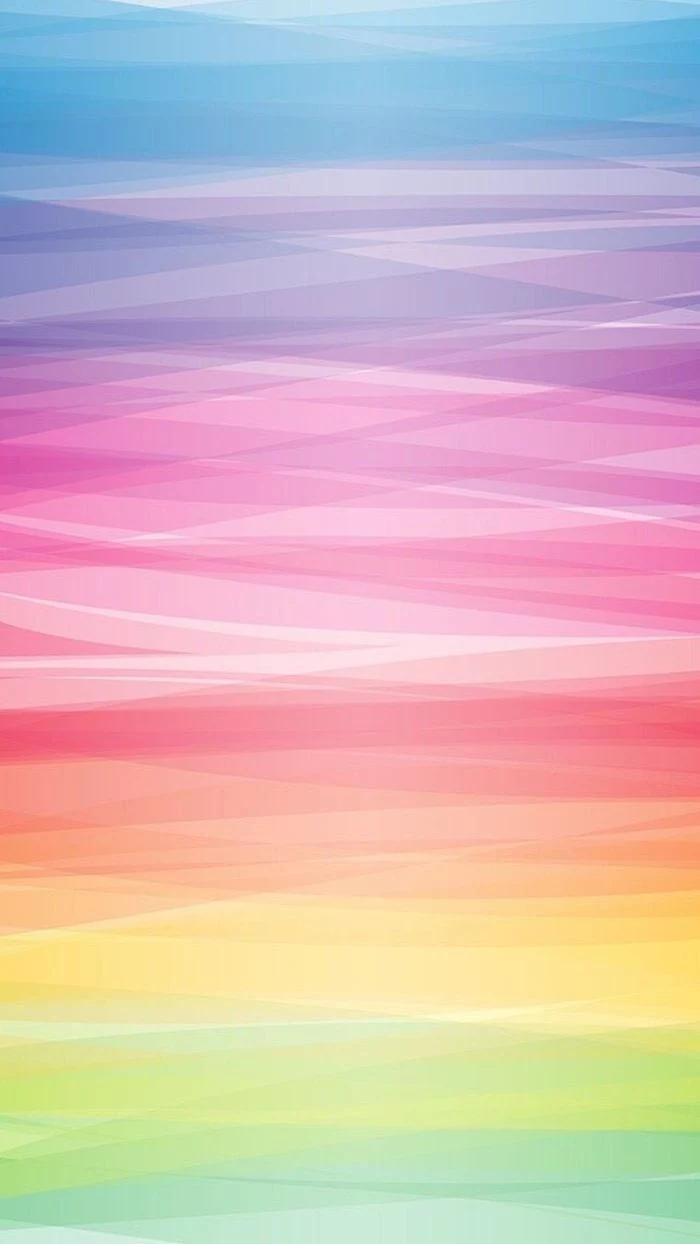
What wall color is the best backdrop for a rainbow?
For maximum pop, a crisp white (like Benjamin Moore’s ‘Chantilly Lace’) is unbeatable. It makes the rainbow colors appear brighter and more saturated. For a softer, more integrated look, a very light gray or a warm off-white provides a neutral canvas without the starkness of pure white. Avoid busy or dark wall colors that will compete with the mural.

The Scandinavian design trend has embraced the rainbow, but in a very specific way. Think minimalist, single-line arches or rainbows made of just 3-4 muted colors like mustard, rust, and sage green. The shape is often imperfect and hand-drawn, celebrating a more organic, less structured feel. It’s rainbow-as-art rather than rainbow-as-symbol.

Did you know? The first person to scientifically explain the rainbow was the Persian scholar Qutb al-Din al-Shirazi in the 13th century, long before Isaac Newton’s famous prism experiments. He correctly identified that rainbows are formed by light refracting twice through water droplets.

Washi Tape Mural: A fantastic, no-commitment option. Use different colored rolls of washi tape to create your stripes. It’s repositionable, won’t damage walls, and is perfect for a quick weekend project or a dorm room.
Fabric Wall Hanging: If you’re handy with a sewing machine, stitch together strips of colored fabric to create a large rainbow tapestry. It adds color, texture, and a soft, bohemian touch to the room.

For a truly magical touch, consider using a glitter paint for one of the stripes. A clear topcoat with suspended glitter, like Rust-Oleum’s Glitter Interior Wall Paint, can be painted over one of your colored stripes (pink or yellow work well) to add a subtle sparkle that catches the light. It’s an unexpected detail that takes the mural to the next level.

A common design mistake is to make the color stripes too wide or too narrow. For a classic look, aim for each stripe to be between 1.5 and 3 inches (4-7 cm) wide. This width is substantial enough to be seen clearly from across the room but not so wide that the arch becomes clunky. Use a ruler to mark your widths evenly before taping.
Instead of having your rainbow’s ends just stop abruptly at the floor or baseboard, give them a creative finish. You could have them end in fluffy, white painted clouds, or have them ‘disappear’ behind a piece of furniture like a bookshelf or dresser. Another playful idea is to have the rainbow arch directly over a toy box, as if it’s a magical treasure chest.


