A Jeweler’s Guide to Untangling Necklaces Without Losing Your Mind
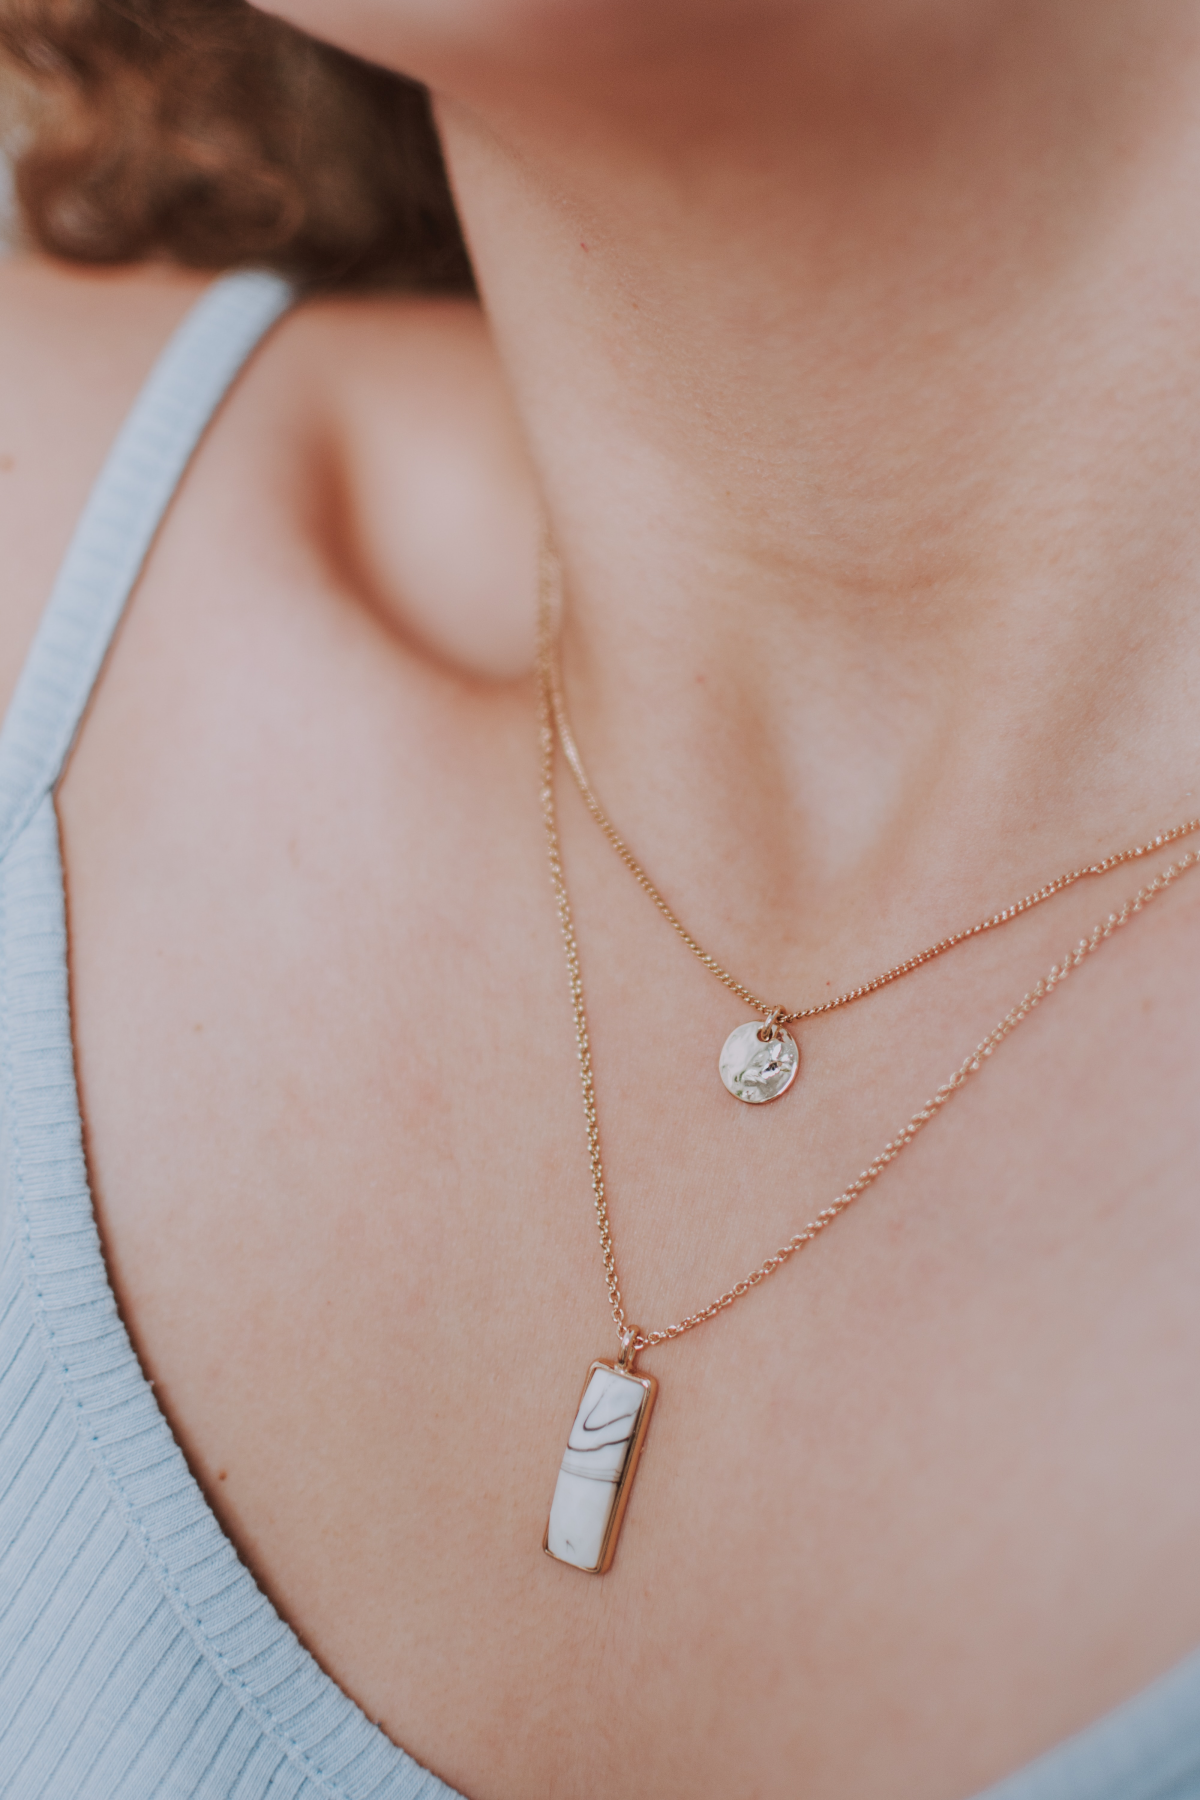
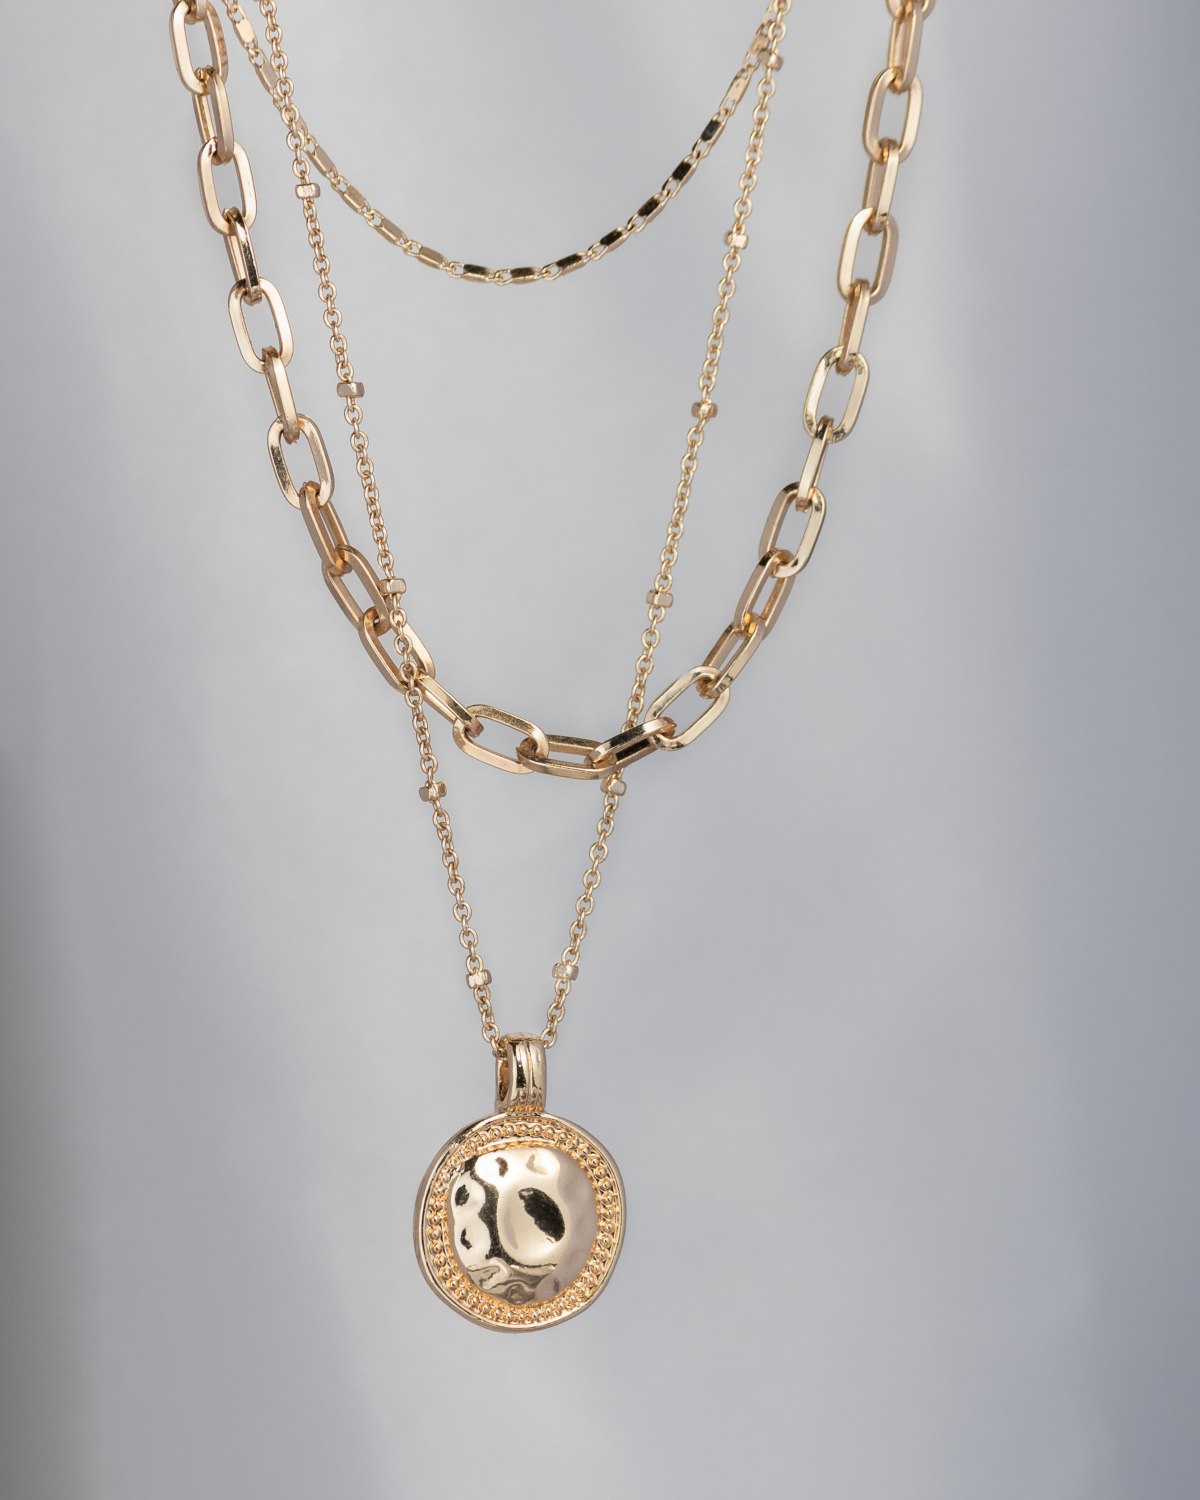
We’ve all been there. You reach for your favorite necklace, only to find it’s become a tiny, infuriating ball of knotted metal. It’s that sinking feeling of seeing a treasured piece held hostage by a tangle that seems to get tighter the more you look at it. Honestly, it’s one of the most common and frustrating problems we see at the jewelry bench.
In this article
And it’s more than just an annoyance. A bad knot can do real damage. If you pull too hard, you risk stretching or snapping delicate links. Using the wrong tools (I’m looking at you, kitchen drawer pliers) can scratch the finish right off. Over time, that knot creates a weak spot, making the chain more likely to break when you least expect it. So, let’s walk through the methodical, safe approach the pros use to save fine jewelry. This isn’t about quick hacks; it’s about understanding the puzzle in front of you and gently solving it.
First, Why Do Chains Tangle So Easily?
It’s not just bad luck—it’s physics. A chain is a long, flexible system, and like most things in the universe, it prefers chaos over order. A perfectly straight chain is an unnatural state. Tossing it on a dresser gives it the perfect opportunity to settle into its most comfortable, jumbled-up form. But the design of the chain itself plays a huge role, too.
Thinking about which type of chain you have can tell you a lot about the risk:
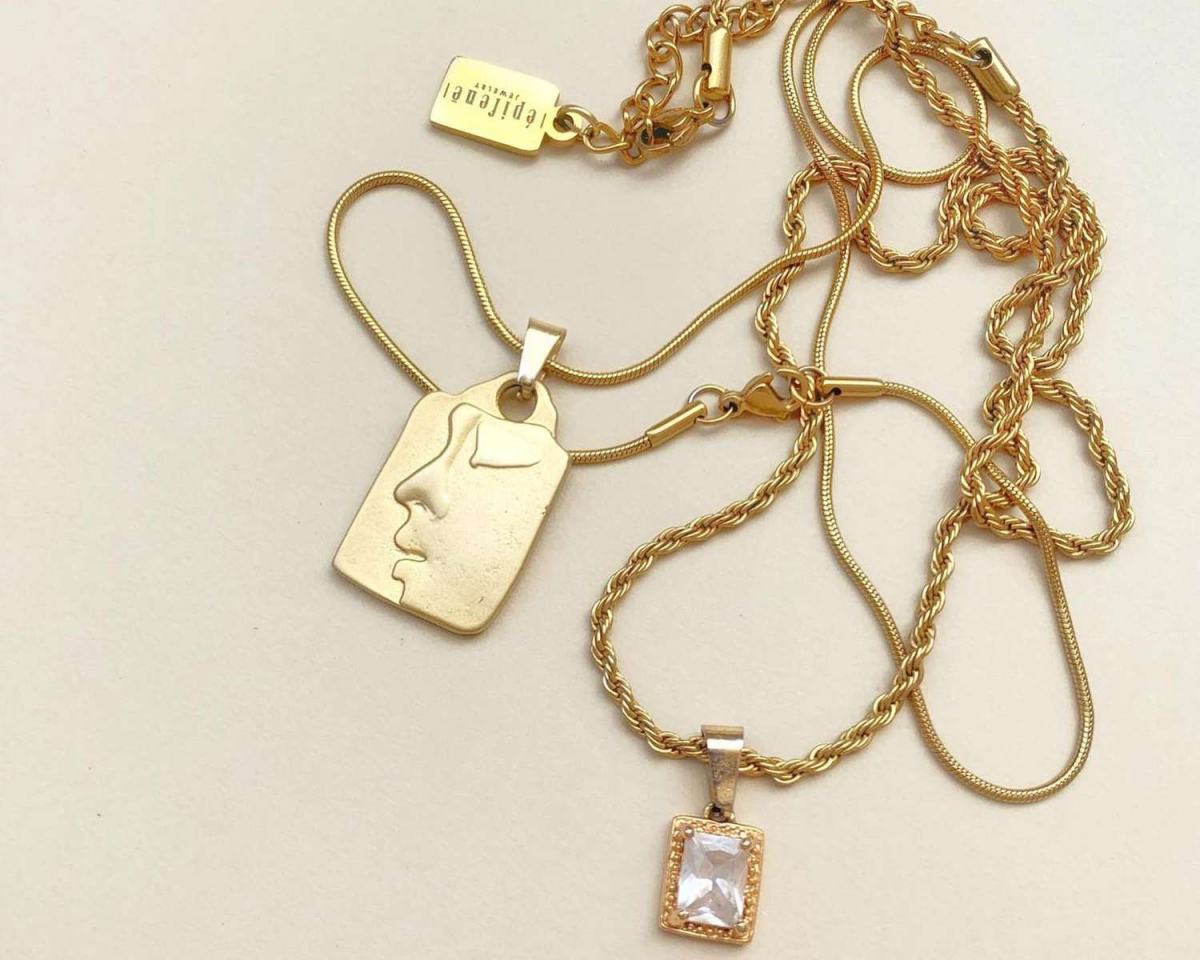
- Cable, Rolo, and Rope Chains: These are the usual suspects. Their simple, interlocking links are incredibly flexible, which is great for wearing but also makes them prone to twisting and knotting up. Rope and Singapore chains, with their twisted design, are especially good at catching on themselves.
- Snake and Herringbone Chains: These sleek chains have a very low risk of forming a classic knot. The REAL DANGER here is kinking. A sharp bend can permanently dent the tiny plates, creating a spot that will never lie flat again. Trying to “unknot” a kink will almost always break it. This is a job for a professional, period.
- Box and Wheat Chains: These guys are generally more tangle-resistant. Their links are more structured and less likely to collapse into a mess. They’re not totally immune, but they’re definitely a safer bet for everyday wear and tear.
Your Toolkit: What You Actually Need
Okay, let’s get you set up. Having the right tools makes this job go from impossible to manageable. Expect this process to take anywhere from 10 minutes for a simple knot to over an hour for a real monster—so put on some music and get comfortable.
The Workspace: Work on a dark, non-reflective surface. A piece of black felt or velvet on a table is perfect. It provides high contrast so you can see the shiny chain, and it stops it from sliding around. And please, use good lighting! A bright, adjustable desk lamp is your best friend here.
The Tools (Pro vs. Home): This is where it gets serious. Never, ever use household pliers. You will crush the link.
- Picks: At the shop, we use a pair of sharp steel scribers. For a DIY setup, two sturdy sewing pins or needles work great.
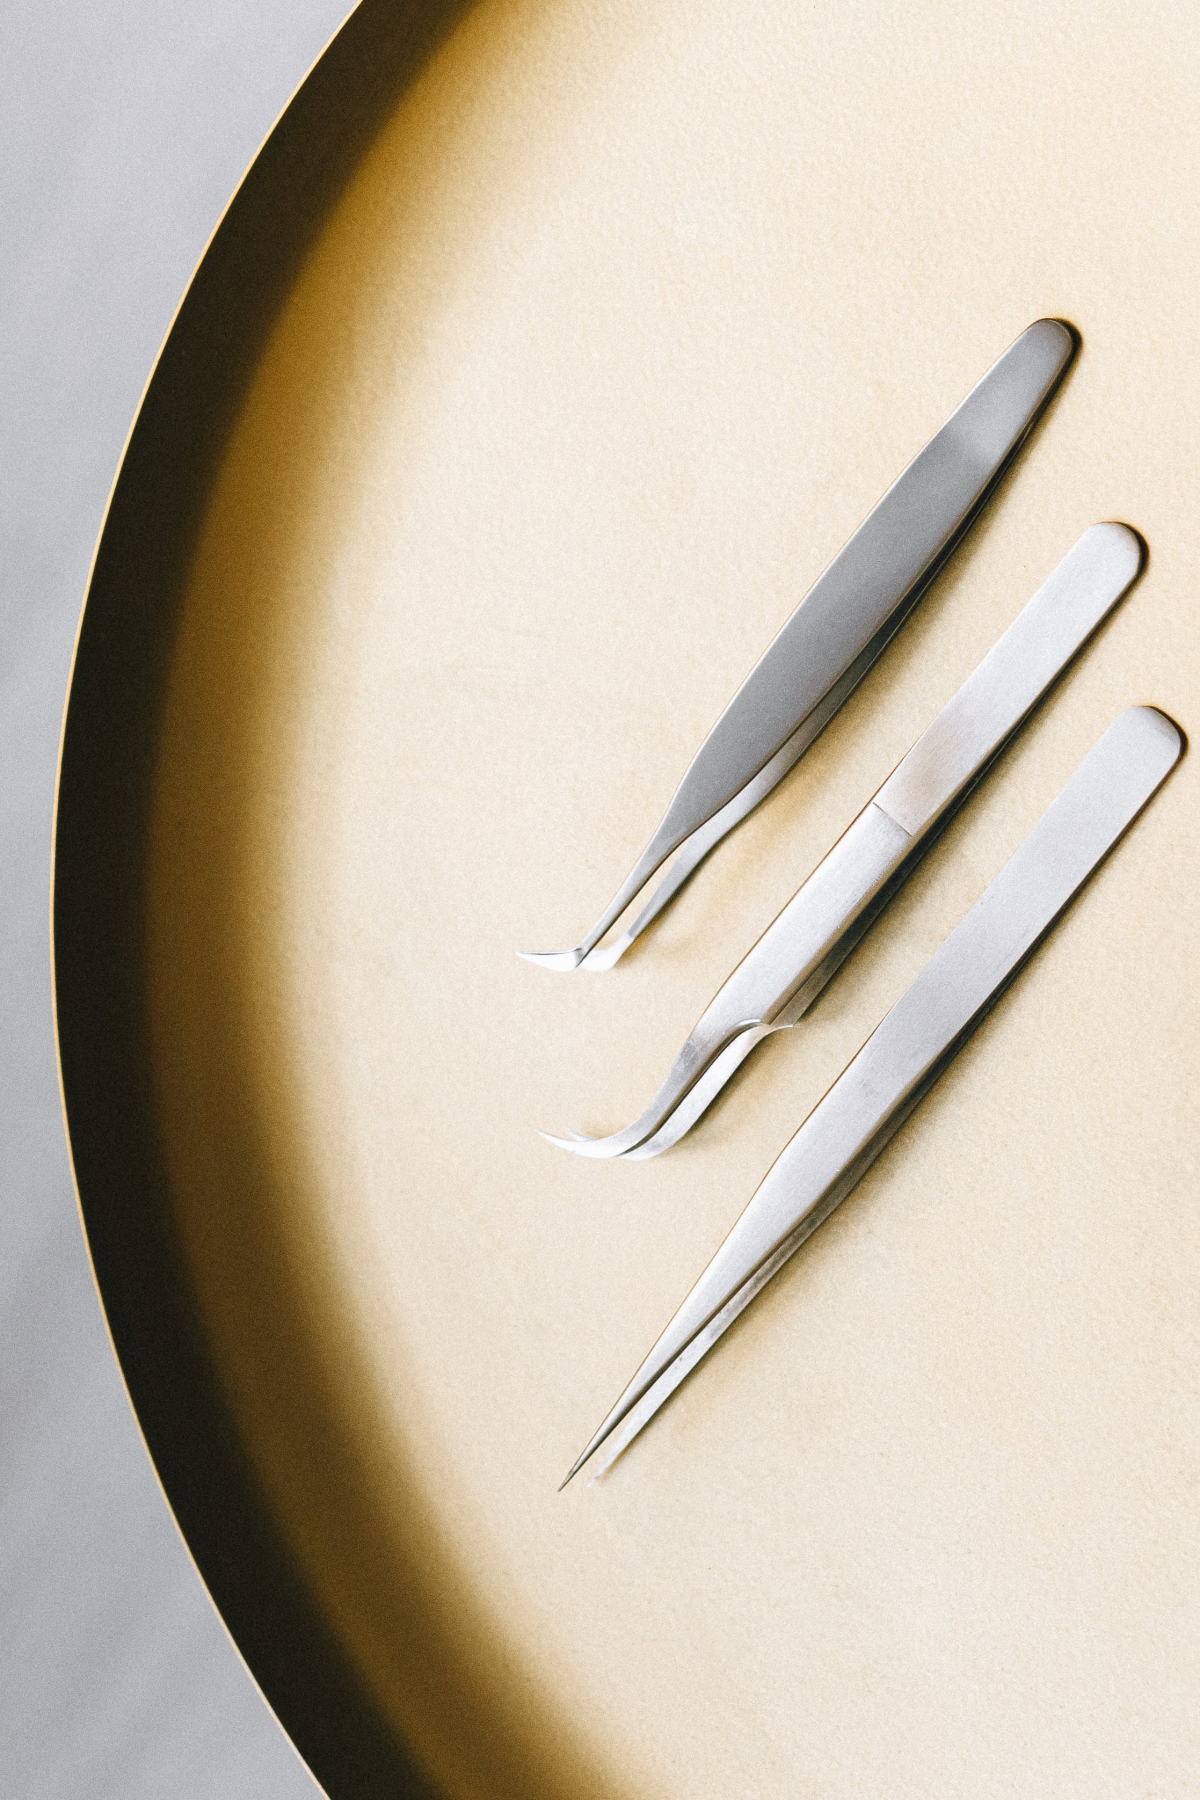
- Tweezers: This is important—get non-magnetic tweezers, usually made of brass or titanium. A standard steel pair will make a steel clasp cling to it, which is incredibly frustrating. A good pair will run you about $10 online, and it’s worth every penny.
- Magnification: For fine chains, you need to see what you’re doing. A simple magnifying glass works, but a hands-free visor (around $15-$25 at a craft store or on Amazon) is a game-changer.
- Lubricant: A tiny drop reduces friction. In the shop, we use a clear, light mineral oil or watchmaker’s oil. At home, a simple solution of one part mild dish soap to ten parts water works perfectly and is easy to clean. Heads up! Whatever you do, DO NOT use something like WD-40 or cooking oil. They leave a sticky residue that’s a nightmare to clean and just attracts more dirt later.

The Step-by-Step Method to Free Your Chain
With your station prepped, you’re ready to go. Patience is your most important tool now.
Step 1: Unclasp the Necklace. I can’t stress this enough. This is the most critical first step. A clasped chain is a closed loop, making it a hundred times harder to untangle. Open it up!
Step 2: Lay It Flat and Assess. Place the knotted chain on your dark mat. Don’t try to do this in your hands. Spread it out so you can see what you’re dealing with. Find where the ends of the chain enter and exit the tangle.
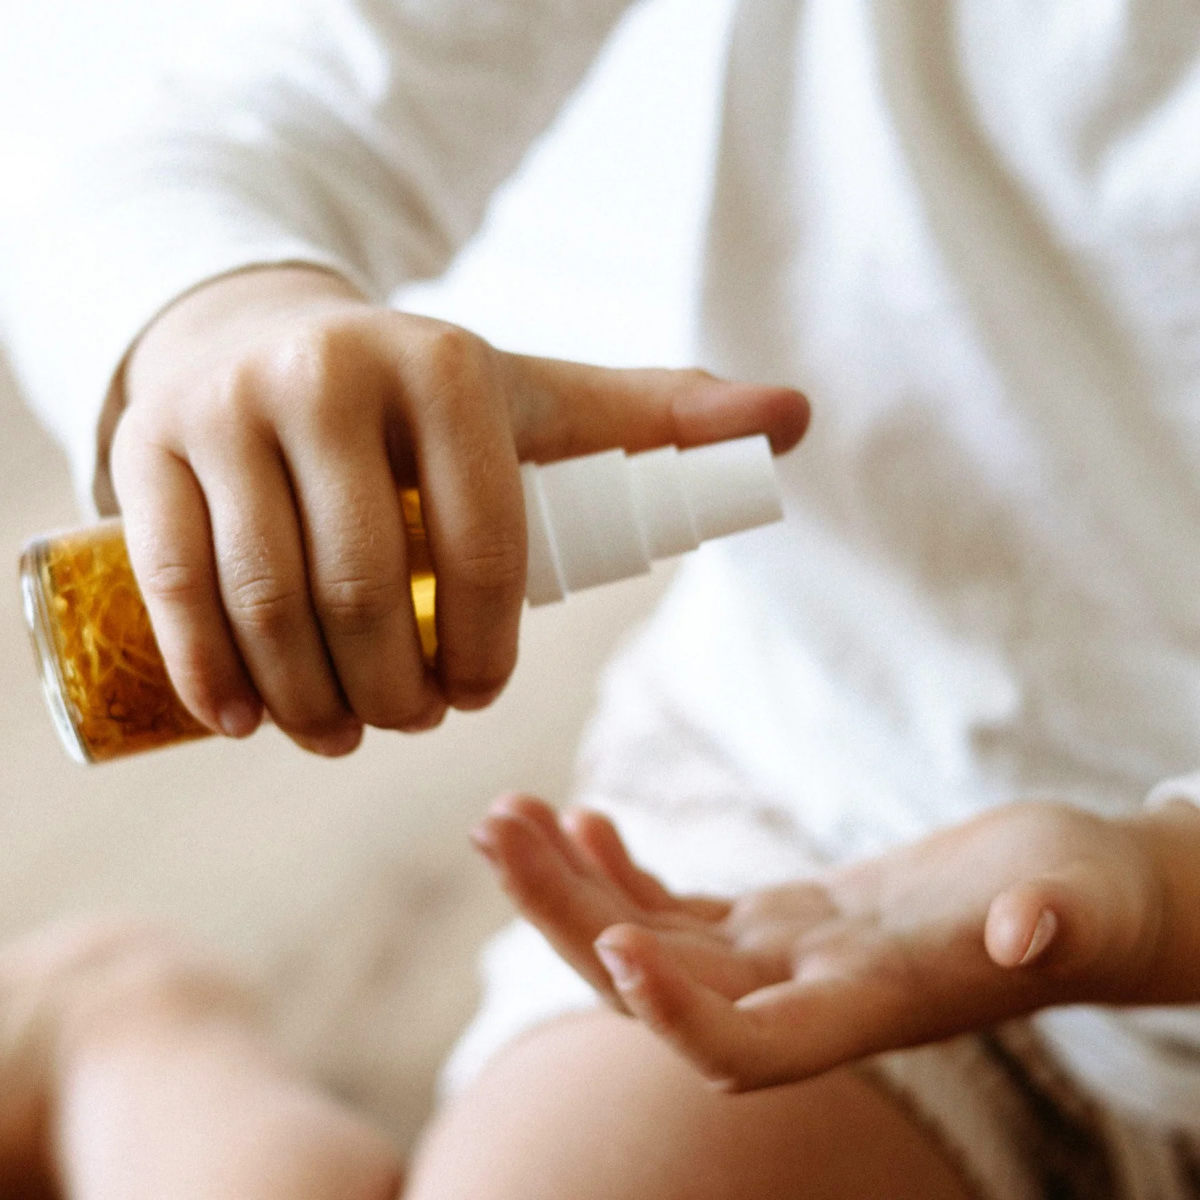
Step 3: Add a Tiny Bit of Lubricant. Using the tip of a pin, apply a single, tiny drop of your chosen lubricant (or soap-water mix) right into the center of the knot. You don’t need to soak it; you just want to help the links slide past each other.
Step 4: Gently “Fluff” the Knot. Take your two pins or picks and insert their tips into the center of the knot. Now, don’t pull it apart. Your goal is to gently wiggle the picks back and forth. Think of it less like pulling and more like you’re trying to gently inflate the knot from the inside out. You’re just introducing space and slack. You’ll literally see the knot start to grow in size and loosen up.
Quick tip: It helps to have a visual for your progress. Your knot might start as a dense, pea-sized ball. After 10-15 minutes of gentle wiggling, it should look more like a loose, airy grape. That’s when you know you’re on the right track.
Step 5: Follow the Chain Backwards. Once you have some slack, look closely to find one end of the chain. Your job is to reverse the path it took into the knot. Use one pick to hold the knot steady and the other to gently nudge the end of the chain back out through the loops. Don’t pull—nudge it. Sometimes you have to push it backward a bit to get enough slack to pull it through a loop.
Step 6: The Final Release. There’s usually a tiny, satisfying ‘tick’ sound when the last part of the chain comes free. Lay it out straight and inspect for any stretched or damaged links.
Step 7: Clean It Up! This is crucial, especially if you used any kind of lubricant. Any residue will attract dirt and can irritate your skin. Just clean the necklace in a small bowl of warm water with a few drops of mild dish soap. A super soft baby toothbrush works wonders for getting into the links. Rinse it well and pat dry with a soft, lint-free cloth.
What About Super Stubborn Situations?
For an Insanely Tight Knot: The Powder Trick
If a knot is super tight and dry, a fine powder can be a lifesaver. Place the chain in a small plastic baggie with a teaspoon of baby powder or cornstarch. Seal it and shake gently. The powder acts like millions of tiny ball bearings, drastically reducing friction. Pour it out onto your work surface and start the wiggling process. Just be aware, this can be messy and isn’t a great idea for necklaces with pearls or porous stones, as the powder is hard to clean from their surfaces. Make sure you rinse it extra thoroughly afterward.
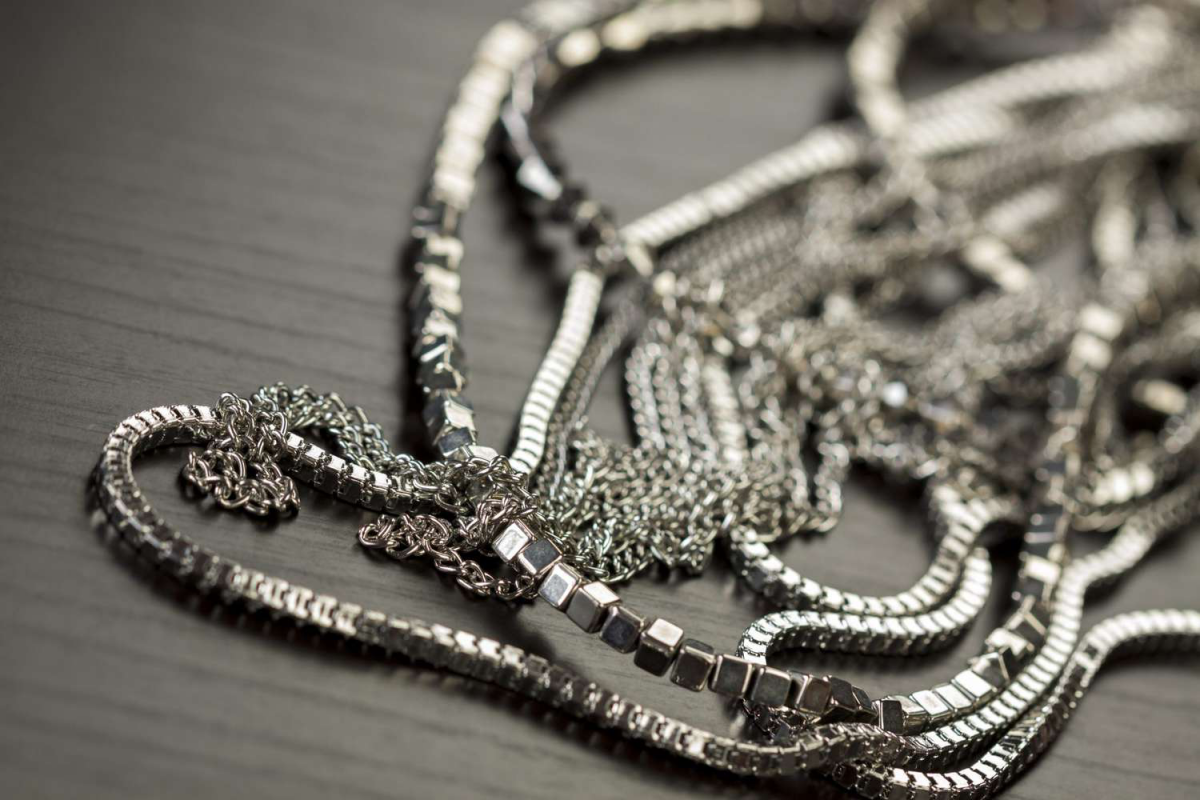
For Multiple Tangled Chains (The Nightmare Scenario)
This is the worst, especially after a vacation. The key is to isolate and conquer. First, unclasp ALL the chains. Then, pick one (usually the heaviest or thickest) to be your anchor. Focus only on freeing that single chain, following its path through the mess. Once the first one is free, the rest of the problem will look much less intimidating. Repeat, one chain at a time.
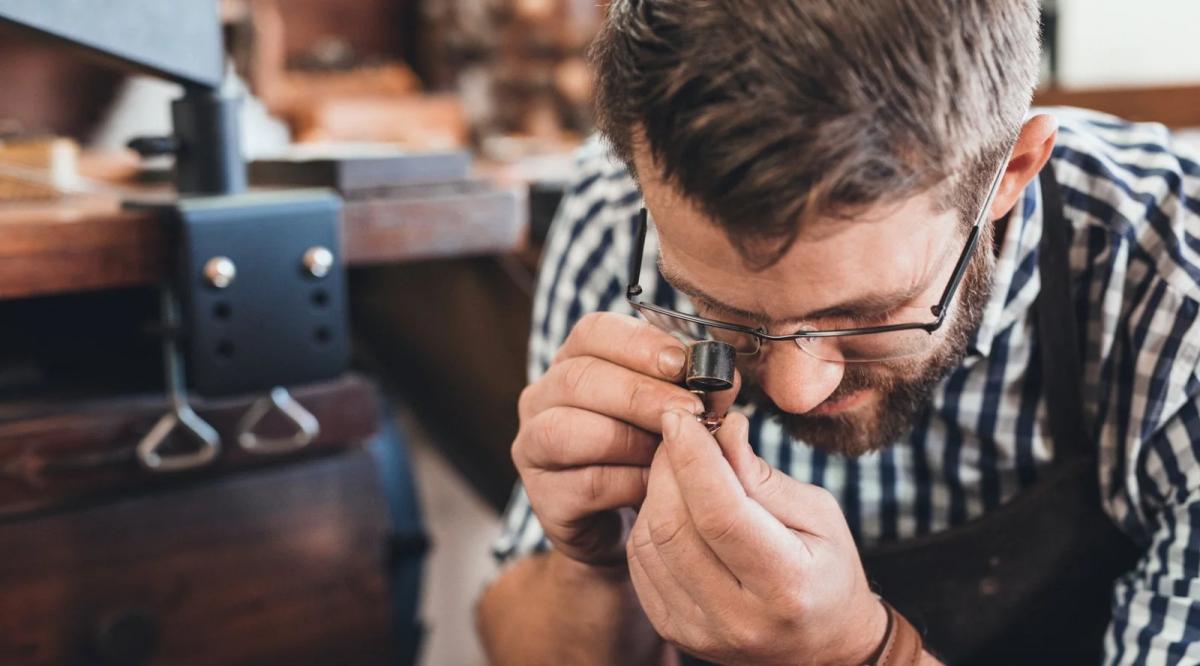
When to Tap Out and See a Professional
Look, my first rule at the bench is “do no harm.” Sometimes, the risk of damaging a piece at home is just too high. It’s time to stop and visit a local jeweler if:
- The knot is tighter than a pinhead and you can’t see any individual links.
- The chain is kinked (a sharp V-bend), not knotted. This is especially true for snake or herringbone chains.
- A gemstone or pearl is caught in the middle of the knot. You could easily break a prong or chip the stone.
- The piece is a valuable heirloom or has huge sentimental value.
To be frank, a professional untangling is not expensive. Most shops charge a small bench fee, usually between $20 and $50, depending on how bad it is. That’s a small price for peace of mind. By the way, here’s a lesser-known trick we use: sometimes for an impossible knot, we’ll put the piece in an ultrasonic cleaner. The high-frequency vibrations can literally shake the knot loose without us touching it. It’s pretty cool to watch!
The Best Fix: Prevent Knots Before They Start
Of course, the easiest knot to deal with is the one that never happens. Proper storage is everything.
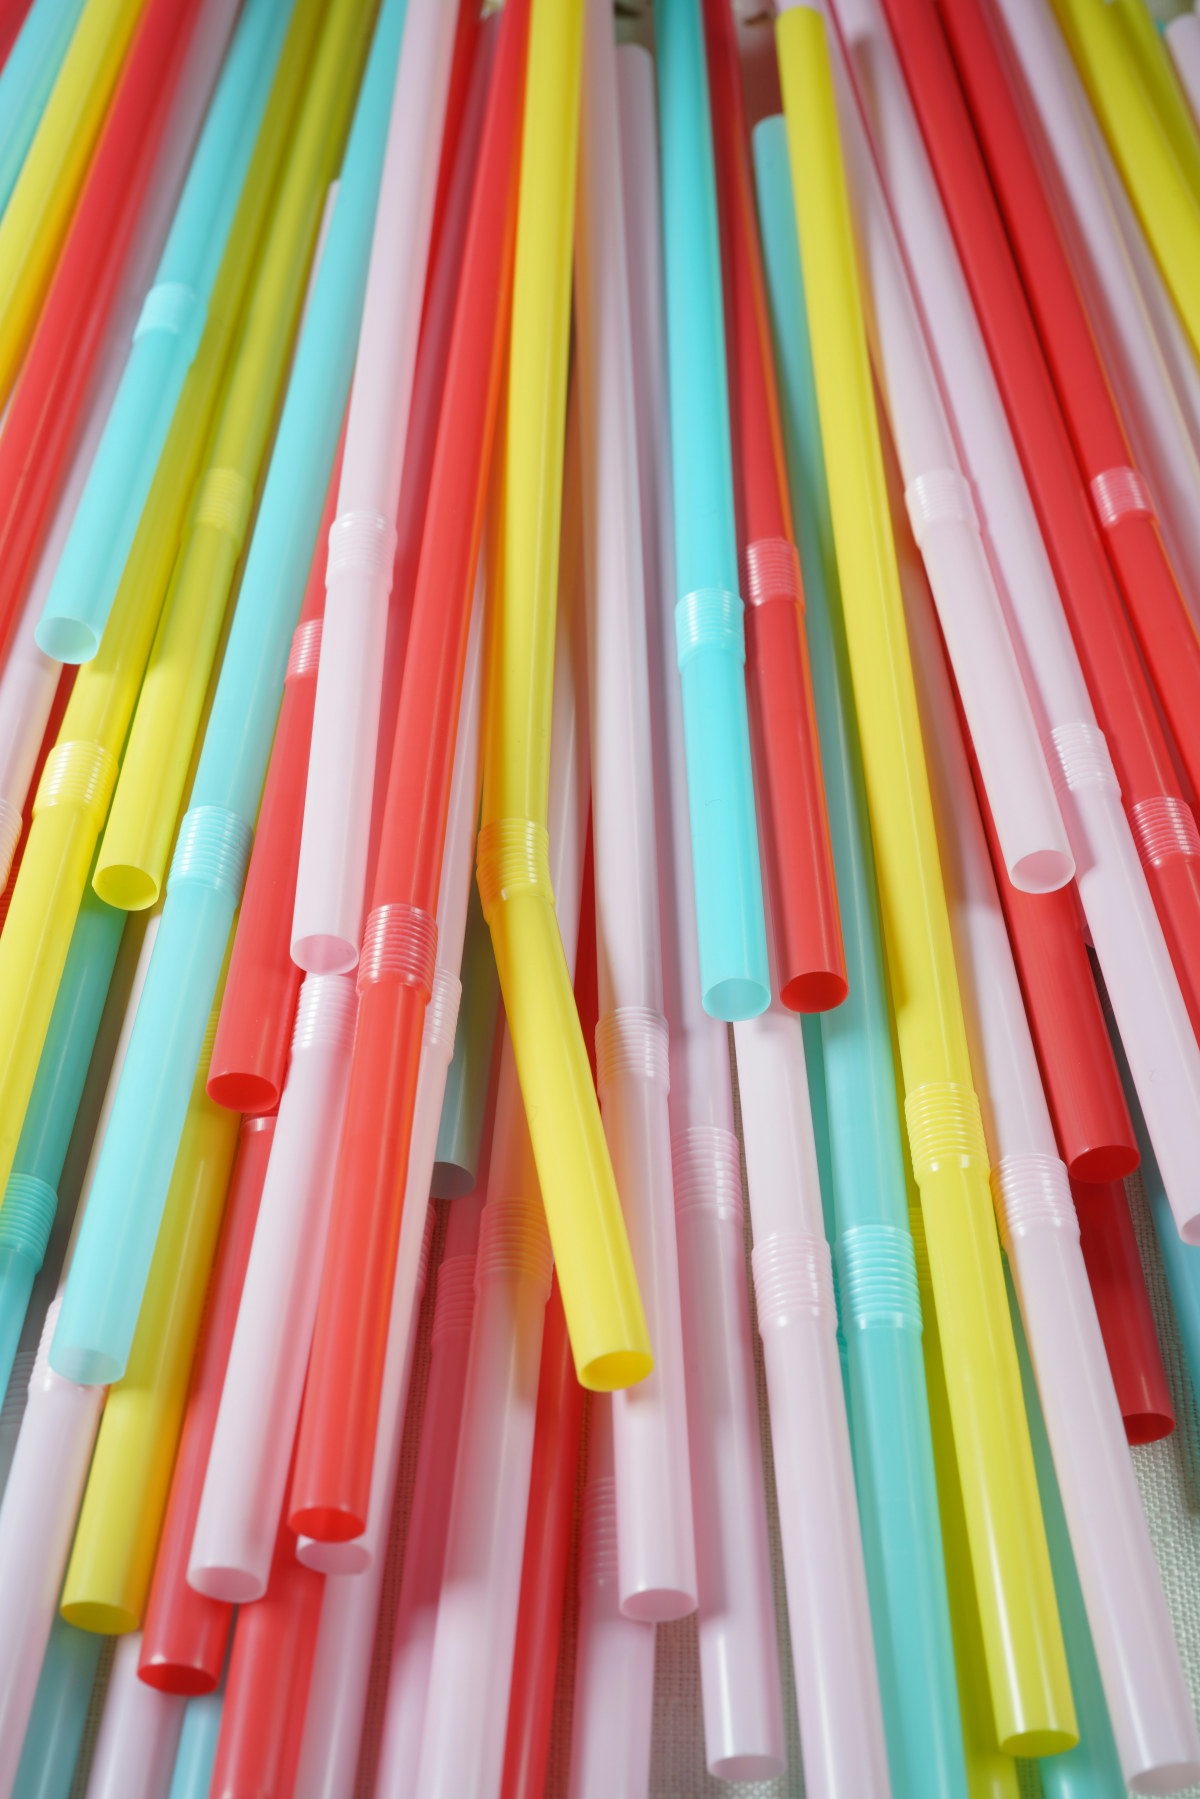
The golden rule is that chains should never touch each other when stored. A jewelry box with individual compartments or a hanging organizer is ideal. For travel, a jewelry roll is fantastic. But here’s a cheap and easy trick: the drinking straw method. Unclasp the necklace, thread one end through a regular plastic straw, and re-clasp it. The straw acts as a rigid spine and prevents tangling. You can even cut the straw to size.
Try this right now: Go grab one necklace and a straw. Thread it through and clasp it. It takes 30 seconds and you’ve just saved yourself a future headache. Boom.
Taking a moment to care for your jewelry isn’t just about maintenance; it’s about preserving memories and art. The satisfaction of turning a tangled mess back into a beautiful, wearable piece is well worth the effort and patience.
Galerie d’inspiration
That stubborn knot still won’t budge?
A tiny drop of a lubricant can be your secret weapon. Use the tip of a safety pin to apply a minuscule amount of baby oil or a specialized jewelry solution directly onto the knot. This reduces friction between the links, allowing them to glide apart more easily as you work. Just be sure to gently clean your necklace with a soft cloth and mild soap afterward to remove any oily residue.
The best way to win the battle against knots is to prevent the war from starting. Proper storage is everything, and it doesn’t have to be complicated.
- At Home: A jewelry box with individual, velvet-lined compartments is ideal. Brands like Stackers offer modular trays that keep each piece from touching. For a simpler approach, a hanging organizer lets gravity do the work.
- On the Go: A dedicated travel roll or a case with built-in loops and pouches is non-negotiable. Tossing chains into a cosmetic bag is asking for trouble. Even threading a fine chain through a simple drinking straw can save it during a short trip!


