Beyond the Apps: A Real-World Guide to a Flawless Creative Workflow
I’ve been in the creative marketing game for a long time, and I’ve seen projects go from brilliant ideas to absolute train wrecks. I’ll never forget managing a product launch where the final printed boxes showed up in a completely wrong shade of blue. The client was beyond angry, we missed our deadlines, and the company took a serious financial hit.
In this article
So, what went wrong? It wasn’t a lack of talent or a bad concept. It was a simple, totally preventable process mistake. The designer had been working in an RGB color profile—perfect for screens—but the file was never converted or proofed for CMYK, the standard for printing. It was a very expensive way to learn how crucial the right tools and, more importantly, the right process really are.
Getting great creative work done consistently isn’t about finding one magical app. It’s about building a reliable system, a digital assembly line where ideas are shaped, polished, and delivered without a hitch. A stunning design is worthless if it’s technically impossible to produce. A great video is useless if it gets stuck in a never-ending feedback loop. This isn’t just a list of popular apps; it’s a look at the professional framework for how to actually use them, from that first spark of an idea to the final campaign report.
The Foundation: Where Projects Are Won or Lost
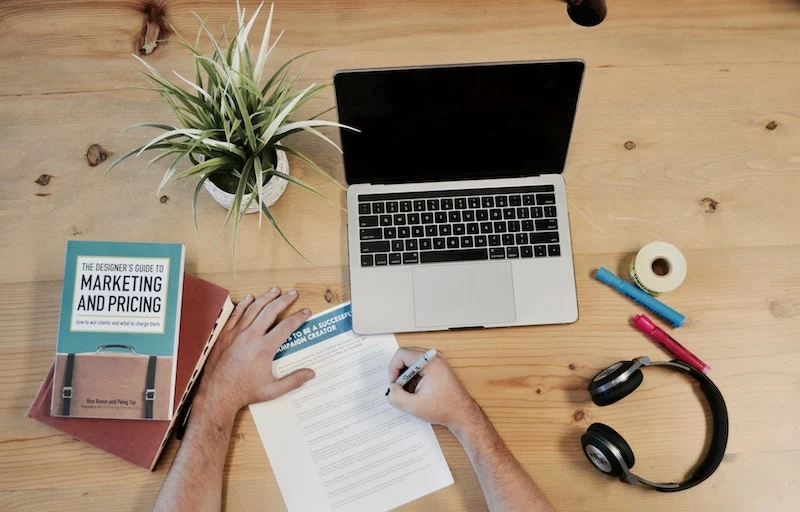
Before you even think about opening a design program, the most important work has to happen. This is all about strategy and planning. Without a solid foundation, you’re just making pretty things that don’t solve any real problems, wasting a ton of time and energy in the process.
The Creative Brief: Your Project’s North Star
Honestly, the single most important tool isn’t software at all. It’s a document: the creative brief. In every professional setting I’ve been in, no real work starts until this brief is signed off. Think of it as a contract that forces everyone to get on the same page and avoids that dreaded phrase: “I don’t know what I want, but I’ll know it when I see it.”
A solid brief always includes:
- The Goal: What are we actually trying to do here? (e.g., “Increase webinar sign-ups by 20%.”)
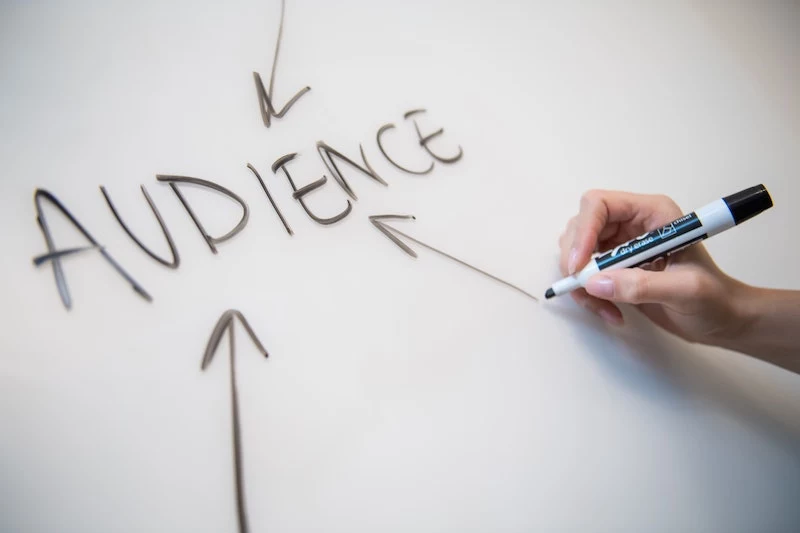
- The Audience: Who are we talking to, specifically? (e.g., “Project managers in tech, aged 30-45, not C-level execs.”)
- The Key Message: If they remember only one thing, what should it be? (e.g., “Our software saves you 10 hours a week.”)
- The Deliverables: A precise list of what you’re making. (e.g., “Three 1200×628 pixel static ads for social media, one 15-second vertical video, two email banners.”)
- The Must-Haves: Logos, legal disclaimers, specific CTAs—anything that’s non-negotiable.
- The Timeline: Key dates and who has the final say.
But what happens when a client pushes back, saying, “A brief is a waste of time, just get started!”? This is a huge red flag. A great response is to frame it as a way to save them money and time: “I completely understand the urgency. This brief should only take us 15-20 minutes to align on, and it will prevent us from spending hours on revisions later. It’s the best way I know to get you the result you want on the first try.” That usually does the trick.
Did you know? Most pro designers will tell you they spend the first 20% of a project’s timeline on the brief and research alone. Getting that part right saves so much time later.
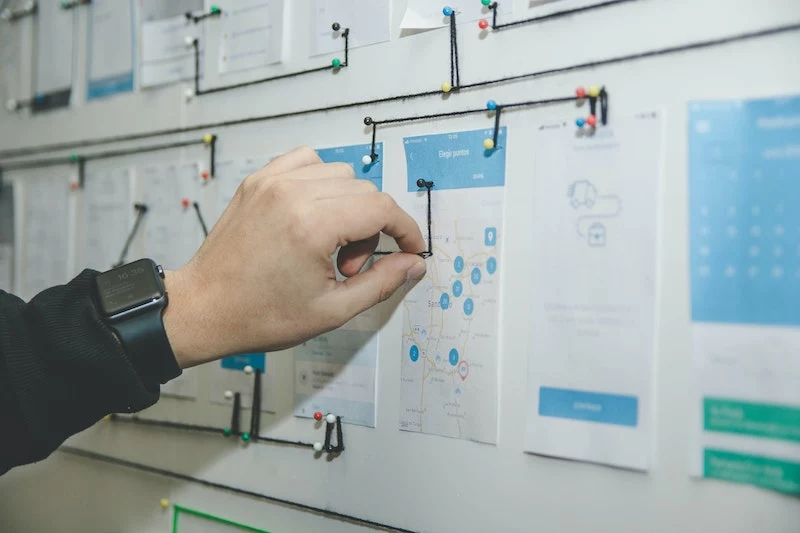
Project Management: Your Workflow’s Engine Room
Once the brief is locked, you need a central place to track everything. Relying on email is a recipe for disaster—I’ve seen crucial feedback completely disappear into long, confusing chains. A good project management tool is your single source of truth.
It doesn’t have to be complicated. For small teams or solo creatives, a tool like Trello is fantastic. It’s a visual, card-based system that’s super intuitive. You can set up a basic project board in less than 15 minutes. For something a bit more focused on task lists and dependencies, Asana has a really robust free version. Both are great for keeping things organized without a steep learning curve.
For larger teams or agencies needing more power, platforms like Monday.com or the paid tiers of Asana (which start around $11/user/month) are the next step up. These tools let you track team workload, build complex timelines, and automate parts of your process. At one agency, we used our PM tool to see who was swamped and who had bandwidth, which helped us prevent burnout and keep projects moving smoothly.

Heads up, though: a fancy tool can’t fix a broken process. I’ve seen companies spend thousands on a platform that nobody uses correctly. The key is getting everyone on board. Start simple and make it mandatory for all project communication to happen within the tool, not DMs or text messages.
Sourcing Your Raw Materials: Assets & Licensing
Your creative work is only as good as its ingredients. We’re talking high-quality photos, videos, fonts, and illustrations. Where you get them matters for both quality and legal safety. Ignoring licensing is one of the quickest ways to land your company in hot water.
I once had to break the news to a small business that the “free” image they’d grabbed from a web search for their homepage was actually a rights-managed photo from a major stock agency. They received a demand letter for thousands of dollars. It’s a common and very dangerous mistake.

Here’s what you need to know:
- Royalty-Free (RF): This is the most common license type. You pay a one-time fee to use the asset in multiple ways, forever (within limits). This is what you get from sites like Adobe Stock, Shutterstock, or iStock. You can expect to pay anywhere from $10 for a single image to a subscription costing $30-$60 per month for a set number of assets. It’s versatile and cost-effective, but always read the license—you might need an “Extended License” for things like merchandise.
- Rights-Managed (RM): This is more restrictive and usually more expensive. You’re licensing an asset for a very specific use, region, and time period. Big ad campaigns use this to ensure a competitor can’t use the same hero image. It offers exclusivity but requires careful tracking.
What about the “free” sites like Unsplash or Pexels? They can be great for blog posts or internal mockups. But for a major commercial campaign, I’d be cautious. There’s a small but real risk that someone uploaded a photo they didn’t have the rights to. The legal protection you get from a paid site is often worth the investment for important projects.
Fonts: The Voice of Your Brand
A font is a critical brand asset, and just like images, fonts are software you license, not own. Using a desktop font on a website without the right web license is a violation that foundries actively search for.
To keep things safe and simple, Google Fonts (free) and Adobe Fonts (included with a Creative Cloud subscription) are the professional standard for most work. The quality is high, the selection is huge, and they are properly licensed for both web and print. If you need something truly unique, buying from a boutique foundry is a great option, but be prepared to buy separate licenses for desktop, web, and app use. It’s a necessary cost for a distinct brand identity.
The Workshop: Where the Magic Happens
This is where your raw materials get turned into the final product. The pro perspective isn’t about which tool is “best,” but which tool is right for the job.

Graphic Design: Vector vs. Raster Is Non-Negotiable
That blue box disaster I mentioned? It all came down to not understanding this one concept. It’s the absolute bedrock of digital design.
- Raster (Pixels): Think photographs. Tools like Adobe Photoshop or Affinity Photo work with a grid of pixels. They’re perfect for editing photos and creating rich, textured digital art. The downside? You can’t scale them up without them getting blurry and pixelated.
- Vector (Math!): Think logos and icons. Tools like Adobe Illustrator or Affinity Designer use mathematical paths to create shapes. A vector graphic can be scaled from a tiny app icon to a massive billboard with zero loss of quality. Your logo should ALWAYS be in a vector format.
A Quick Social Media Ad Workflow:
So how does this play out in a real project? Imagine you’re making a social media ad. Here’s how you’d use the right tool for each step:
- Start in Illustrator (Vector): Design the company logo and any custom icons or text treatments here. You need them to be infinitely scalable and crisp.
- Move to Photoshop (Raster): This is where you edit your background image or product photo. You can color-correct it, remove blemishes, and get the mood just right.
- Combine in a Layout Program: Finally, you bring it all together. You could use a professional tool like Adobe InDesign, or something more accessible like Canva. Here, you place your vector logo and your edited raster photo, add your headline, and export the final ad at the exact pixel dimensions you need.
By the way, tools like Canva are brilliant for what they do. They empower marketing teams to quickly create on-brand graphics without needing a design degree. The trick is for the professional design team to create locked-down brand templates first. This maintains consistency while allowing for speed.
Video and Audio: It’s a Package Deal
A common rookie mistake is to focus 100% on the visuals and completely neglect the audio. Bad sound can make a beautiful video feel cheap and amateurish.
For editing, the pro suite is often Adobe Premiere Pro for video editing and After Effects for motion graphics. But some newer tools are changing the game. Descript, for instance, is amazing for interview-style content; it transcribes the audio, and you can edit the video just by deleting words in the text. It’s an incredibly fast way to get a rough cut done.
But let’s talk about sound. The audio from your camera’s built-in mic is usually terrible. Quick tip: the single best investment you can make to improve your video quality is a decent microphone. A $20-$30 USB mic for your computer or a lavalier mic that clips to your shirt will make you sound 100 times more professional. It’s the best return on investment you’ll find.
The Assembly Line: Review, Feedback, and Approval
This is where so many projects grind to a halt. A messy feedback process is frustrating for everyone. I once had five different stakeholders sending conflicting notes in one giant email chain. It was chaos. We fixed it immediately with a structured process.
The goal is to get clear, consolidated, and actionable feedback. A few ground rules:
- One Point of Contact: Designate one person to collect all the feedback, resolve any conflicts, and deliver a single set of notes to the designer.
- Be Specific: “I don’t like it” is useless. “Can we increase the headline font size by 10%?” is actionable.
- Use Smart Version Control: A good file naming system is your best friend. Instead of `Ad_new.psd` or `Final_Ad.psd`, use a clear, descriptive structure. For example: `ClientName_CampaignName_Ad-A_v1_internal-review.psd`, which then becomes `…v2_client-feedback.psd`, and finally `…v3_FINAL.psd`. No more confusion about which version is the latest.
Tools can help a ton here. For video, Frame.io or Vimeo‘s review tools are a lifesaver. Stakeholders can leave time-stamped comments right on the video (e.g., “At 0:15, this text is hard to read”). For static designs, tools like Filestage or even the commenting features in Figma and Google Docs keep all the conversation tied directly to the creative.
Distribution and Asset Management
Okay, you’ve made something great. Now what? You need an organized way to store your work and get it out into the world.
For social media, schedulers like Buffer or Later are essential for efficiency. You can batch-create your content and schedule it out for the week, freeing you up for more important tasks. Just a pro tip: always double-check how the scheduled post looks on the native platform. Sometimes formatting gets weird.
As a company grows, a shared Google Drive folder becomes a nightmare of old logos and unapproved photos. This is where a Digital Asset Management (DAM) system comes in. Think of it as a private, searchable library for all your brand assets. You can control who has access to what, add tags to make things findable, and ensure everyone is using the most current, approved version. A DAM system is a serious investment (think hundreds or even thousands of dollars a month), but for a brand that’s serious about consistency, it’s a necessary step up.
Putting It All Together: The Craftsman, Not the Hammer
Tools will always be changing. AI features are being built into everything now, and they can be fantastic for brainstorming or handling boring, repetitive tasks. But they aren’t a replacement for strategy, skill, or good taste.
A tool can’t understand your customer or build a coherent brand strategy. That’s the work of a creative professional. The real skill is building a reliable process that lets human creativity shine.
Feeling overwhelmed by all this? Here’s a 10-minute action you can take right now: go to your main project folder and create three sub-folders: `01_Assets`, `02_Working_Files`, `03_Final_Exports`. It’s a tiny step that will make your life instantly more organized.
To make it even simpler, here are a couple of sample toolkits:
- The ‘Scrappy Startup’ Kit (Low Budget, High Hustle): For project management, the free tier of Trello. For design, Canva. For assets, Google Fonts and Unsplash. Total cost? Potentially $0.
- The ‘Pro Agency’ Kit (Industry Standard): For project management, Asana or Monday.com. For creative, the full Adobe Creative Cloud suite (around $55/month). For assets, a subscription to Adobe Stock. For video review, Frame.io. This is the setup for high-volume, high-quality work.
Ultimately, always remember the lesson of the wrong-colored box: the technical details are every bit as important as the big idea.


