Tired of Crumbly Bath Bombs? Here’s How to Make Them Like a Pro
I’ve been making bath bombs for a long, long time. My hands have pretty much been permanently dusted with baking soda and citric acid for years. And in that time, I’ve seen it all. I’ve seen bath bombs that crumble into dust if you look at them wrong, ones that swell up like weird science experiments, and those that just fizzle out with a sad little plop. Honestly, in the beginning, my workshop looked like a disaster zone more often than not.
In this article
- The Simple Science Behind the Fizz
- Let’s Talk Ingredients (and Where to Get Them)
- Your First Pro-Level Bath Bomb: A Shopping List
- Let’s Get Our Hands Dirty: The Step-by-Step Process
- Troubleshooting 101: When Things Go Wrong
- Molding, Curing, and Advanced Fun
- Safety, Storage, and Selling
- Inspirational Gallery
But all those failures taught me the most important lesson: making a truly great bath bomb isn’t about just following a recipe you found online. It’s about understanding the why behind the ingredients and learning how to get them to play nicely together.
So many guides give you a basic list and tell you to mix. But they skip the crucial details that make the difference between a one-time craft project and a stable, amazing product. They don’t tell you why that 2:1 ratio is so important, or how using the wrong oil can turn your bath into a slip-and-slide. This guide is different. We’re going to walk through this like you’re right here with me, and my goal is to give you the confidence to not just follow a recipe, but to start creating your own.
The Simple Science Behind the Fizz
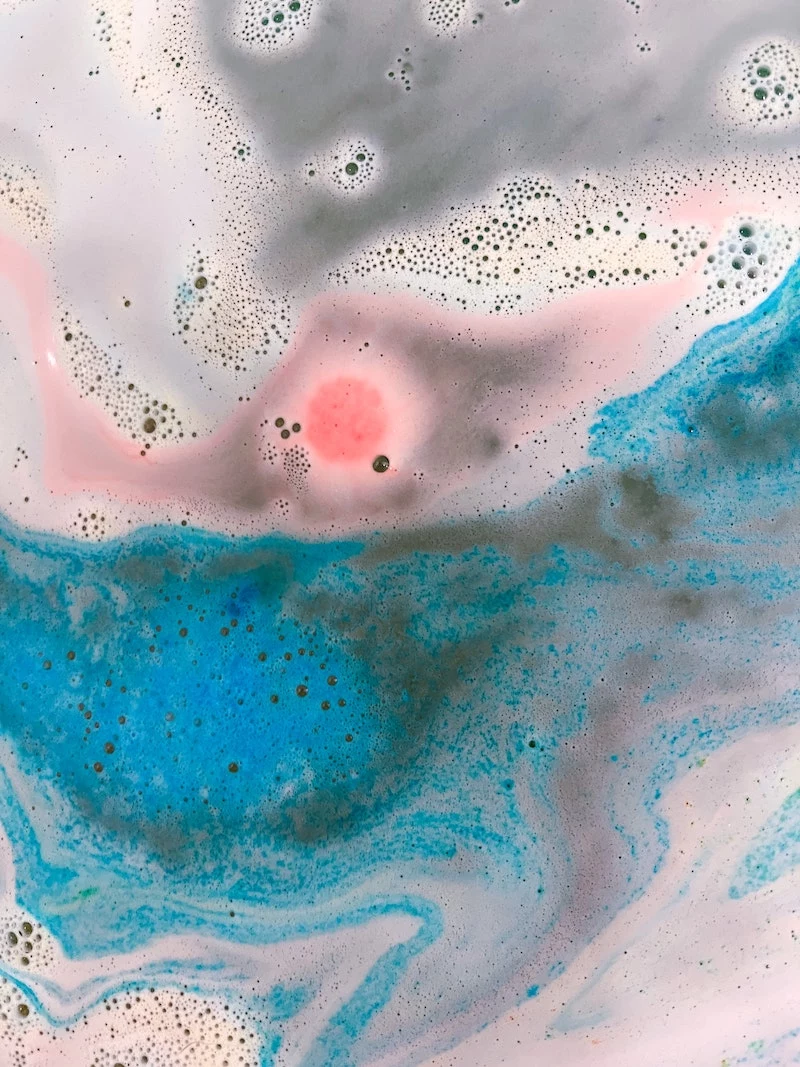
At its core, a bath bomb is just a little package of potential energy. It’s a simple acid-base reaction waiting for water. The two main players are sodium bicarbonate (good old baking soda) and citric acid. When they’re dry, they’re perfectly happy to sit next to each other. But the moment you add water, the magic starts.
Baking soda is a weak base, and citric acid is, well, a weak acid. When they dissolve in bathwater, they neutralize each other, creating sodium citrate (a skin-softening salt), water, and a ton of carbon dioxide gas. Those CO2 bubbles are what create that satisfying, fizzing spectacle.
The gold standard ratio is 2 parts baking soda to 1 part citric acid by weight. So, for every 500 grams of baking soda, you’d use 250 grams of citric acid. This isn’t a random number; it’s calculated to achieve a near-perfect neutralization. This keeps the final bathwater from being too alkaline or too acidic, leaving it feeling silky and soft on your skin. Too much baking soda can feel gritty, while too much citric acid might irritate sensitive skin.
And this brings me to my first non-negotiable rule: use a digital scale. Please, for the love of all things fizzy, do not use measuring cups. A cup of baking soda can weigh a different amount every time depending on how you pack it. Grams are precise. Precision is what separates a decent bath bomb from a fantastic one.
Let’s Talk Ingredients (and Where to Get Them)
Beyond the main duo, every other ingredient has a job, whether it’s hardening the bomb, moisturizing your skin, or just making it look and smell pretty. Let’s break it down.
The Core Powders:
- Baking Soda (Sodium Bicarbonate): This is your foundation. I always buy it from a soap-making supplier. The stuff they sell is usually a finer grade than what’s at the grocery store, which helps create a smoother, harder bomb.
- Citric Acid: The activator. Heads up! You want to find anhydrous citric acid. Anhydrous just means ‘without water.’ Some food-grade citric acid is monohydrate, which has a tiny water molecule attached. That tiny bit of water can be enough to start a slow, premature fizzing in your mix, causing it to swell or even ruin the batch. This was a game-changer for me.
A Quick Note on Epsom Salts: You might notice I don’t use Epsom salts, which are common in many DIY recipes. Here’s why: salts are humectants, meaning they draw moisture from the air. In a humid environment, this can make your bath bombs ‘sweat,’ get warty, and activate long before they ever see a bathtub. I stick to clays and butters to get that silky water feel without the risk.
Hardeners and Fillers: These give your bombs structure. Without them, you’d have a soft, crumbly mess.
- Kaolin Clay: A staple for a reason. It hardens the bomb beautifully and adds a gorgeous, silky slip to the water that feels amazing. It also helps anchor your scents and colors. A must-have, in my opinion.
- Cornstarch: A cheap and effective option, great for beginners. It works as a hardener and also slows down the fizz, making the show last a little longer.
- Cream of Tartar: This is my secret weapon for super hard, durable, almost rock-like bombs. It also helps create a more foamy, frothy bubble. It’s a bit pricier, but a little goes a long way.
Oils and Butters (Your Binder & Moisturizer):
- Light Oils: Think sweet almond, grapeseed, or fractionated coconut oil. They’re liquid, easy to mix, and add great moisture.
- Hard Butters: Cocoa or shea butter are fantastic for skin conditioning, but you have to melt them first. A good combo is maybe 75% liquid oil and 25% melted butter.
The MOST Important Ingredient You’re Probably Missing: Okay, listen up, because this is the biggest secret that separates homemade from professional. You need an emulsifier. Without one, all those lovely oils you added will just float on top of the water in a greasy slick. Not only does it feel gross, but it’s a SERIOUS slipping hazard in the tub.
The industry standard is Polysorbate 80. It’s a liquid that forces oil and water to mix. It disperses your oils and butters throughout the water, eliminating the greasy film. As a bonus, it also helps prevent colorants from leaving a stubborn ring around your tub. For me, this is NOT an optional ingredient.
Your First Pro-Level Bath Bomb: A Shopping List
Ready to get started? Here’s a realistic look at what you’ll need and what it might cost to get your initial supplies. I recommend looking at dedicated soap-making suppliers like Bramble Berry, Nurture Soap, or Mad Micas—they vet their products for cosmetic use.
- Digital Kitchen Scale: The most important tool! Around $20 on Amazon or at any big box store.
- Anhydrous Citric Acid: About $10-$15 for a 1-pound bag.
- Baking Soda: You can start with a box from the store, but a larger bag from a supplier is more cost-effective.
- Kaolin Clay: Usually around $5-$8 for a decent-sized bag that will last you ages.
- Sweet Almond Oil (or similar): A 16 oz bottle might run you $10-$15.
- Polysorbate 80: This is a must. A 4 oz bottle is about $7-$10 and will last a long time.
- Fragrance Oil (Skin-Safe): This varies wildly, but expect to pay $5-$15 for a 1-2 oz bottle of a quality scent.
- Bath Bomb Molds: A set of stainless steel sphere molds costs about $10-$15.
- 99% Isopropyl Alcohol: A few bucks at the pharmacy. Get this, not the 70% version.
So, you’re looking at an initial investment of around $70-$90 to get properly set up with high-quality ingredients that will make dozens of bath bombs.
Let’s Get Our Hands Dirty: The Step-by-Step Process
Alright, let’s make something! For your first go, try this simple but effective recipe. It makes about 3-4 medium-sized bombs. Plan on about 45 minutes for mixing and molding, not including the drying time.
My Go-To Beginner Recipe:
- Baking Soda: 250g
- Citric Acid: 125g
- Kaolin Clay: 15g
- Sweet Almond Oil: 15g
- Polysorbate 80: 7g
- Your Favorite Skin-Safe Fragrance Oil: 5-7g
Step 1: Get Organized (Mise en Place) Grab a large glass or stainless steel bowl, a smaller bowl for your liquids, your scale, a sifter or fine mesh sieve, a small spray bottle with your 99% alcohol, and your molds. Put on some gloves—this can get messy.
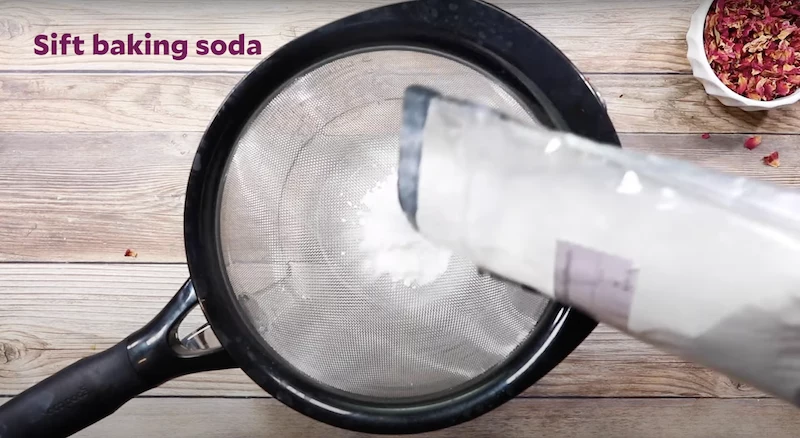
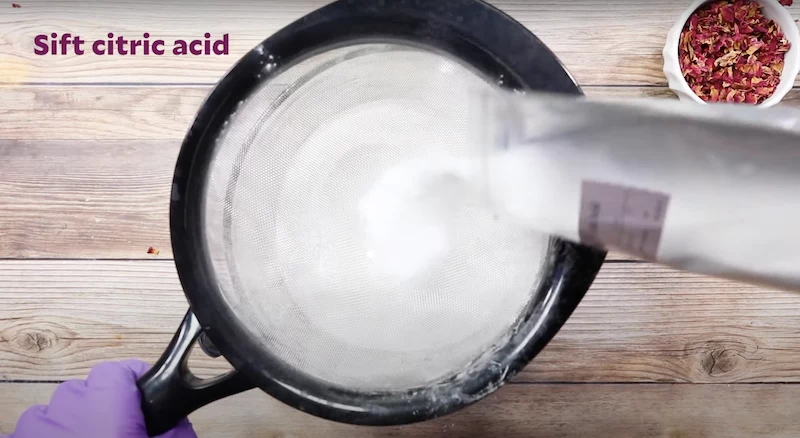
Step 2: Sift Your Dry Stuff Place your large bowl on the scale and tare it to zero. Weigh your baking soda, citric acid, and kaolin clay directly into the bowl. Now, sift them all together. Don’t skip this! Sifting breaks up clumps and makes your final mix so much smoother. Whisk everything together for a solid minute to make sure it’s all blended.

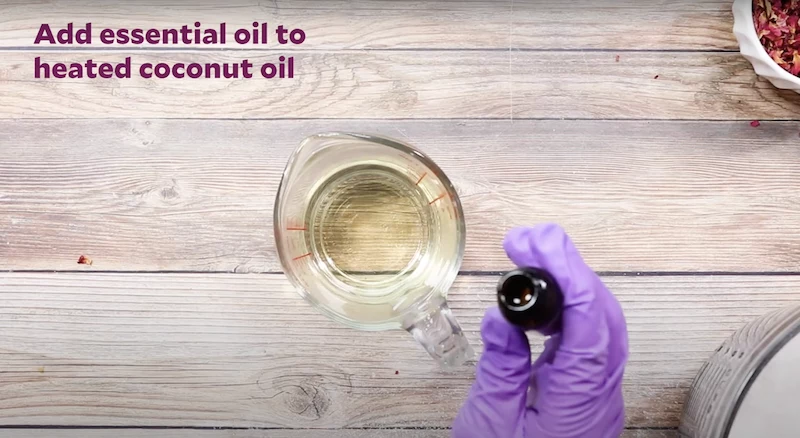
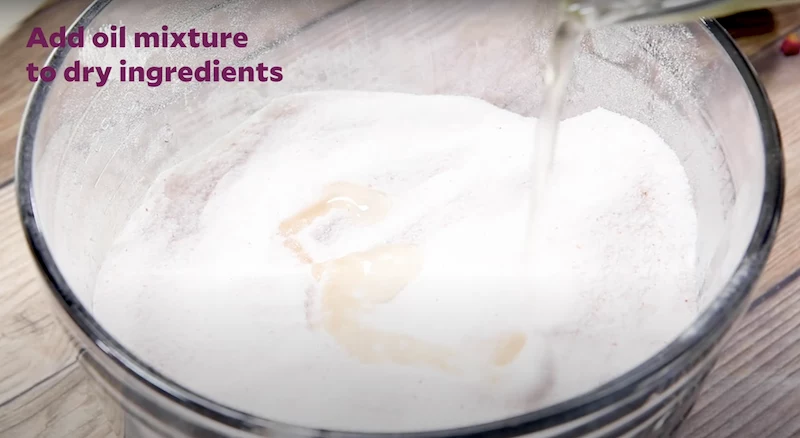
Step 3: Mix Your Wet Stuff In the smaller bowl, weigh your sweet almond oil. Add your Polysorbate 80 and fragrance oil to the almond oil. Whisk them together until they’re fully combined.
Step 4: The Crucial Combo This is where people mess up. Do NOT dump the liquids in all at once. You’ll have a fizzy volcano on your hands. Instead, add a tiny, slow drizzle of the oil mixture into the dry powders while constantly mixing with your other hand. Keep drizzling and mixing, using your fingers to break up any oily clumps. Your goal is to distribute the liquid as evenly as possible.
The mixture will still feel really dry. That’s totally normal. Now, do the squeeze test. Grab a handful and squeeze. If it holds its shape for a second before crumbling, you’re perfect. We’re aiming for the consistency of cool, damp sand.
Step 5: The Binding Spray This is where your spray bottle of 99% alcohol comes in. The alcohol provides moisture to bind the mix but evaporates quickly, preventing a premature reaction. Lightly spritz the surface of your mix once or twice, then immediately dig in and mix it all up. Do the squeeze test again. Is it holding its shape? If not, do one or two more spritzes and mix. Go slow. You’re done when you can squeeze a handful and it holds its shape firmly, only breaking when you give it a solid poke. Be warned: one spray too many can set the whole thing off!
Troubleshooting 101: When Things Go Wrong
Don’t panic if a batch goes sideways. It happens! Here are a few common issues and how to fix them.
- Problem: My bomb is cracking as it dries.
Solution: Your mix was likely too dry. Next time, add just one or two more spritzes of alcohol before molding. It can also happen if your environment is extremely dry, so try drying them in a slightly less arid room. - Problem: My bombs are ‘warty’ or expanding!
Solution: This is the classic sign of too much moisture. Either you added too much liquid, or (more likely) the humidity in your room is too high. This is humidity’s calling card. You MUST dry them in a cool, dry room. A dehumidifier is your best friend if you live in a humid climate. - Problem: They’re crumbly and soft even after drying.
Solution: The mix was probably too wet when you molded it. If it feels like wet slush instead of damp sand, it won’t ever harden properly. You might also need to add more hardener, like a bit of kaolin clay or cream of tartar, to your next recipe. - Problem: It started fizzing in the bowl!
Solution: You added liquid too fast. If it’s just a faint fizz, work quickly and mold everything immediately. You can often save the batch, though the bombs might be a bit softer. If it’s expanding like crazy, it’s a loss. Toss it and try again, going much slower next time.
Molding, Curing, and Advanced Fun
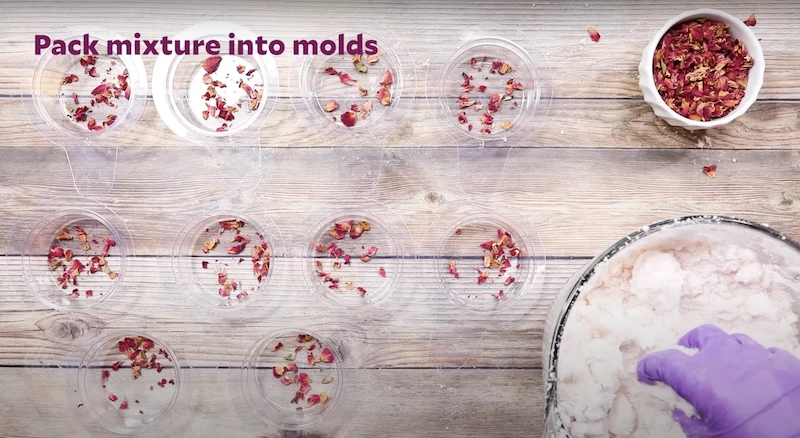
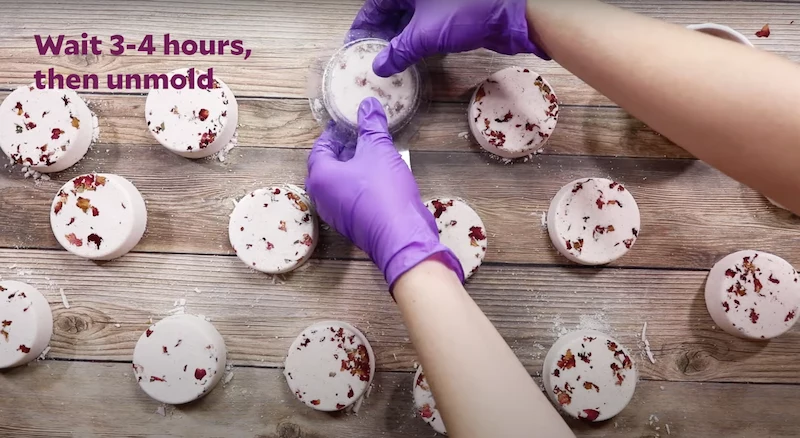
For those classic sphere molds, don’t just pack each half and smoosh them together. That creates a weak seam. Instead, generously overfill each half of the mold, letting the mix pile up. Then, press the two halves together firmly. The excess mix provides the compression needed for a solid bomb. Give it a good squeeze, then carefully remove one half of the mold, tap the other gently with a spoon, and it should release.
Now comes the test of patience: curing. Place your bombs on a soft, dry surface (like a tray lined with paper towels) in a cool, dry room for at least 24 hours, and up to 3 days. They need to dry out completely to become rock-hard. Do NOT put them in a humid bathroom to dry!
Once you’ve mastered the basics, you can have fun with colors and additives.
- A Pro Tip for Color: To avoid speckles, try ‘blooming’ your colorants. I mix my mica powder or water-soluble dyes directly into my wet ingredients (the oil/Poly 80 mixture) and whisk it thoroughly before adding it to the dry stuff. This gives you a much more even, vibrant color. And please, don’t use grocery store food coloring. I’ll never forget the time it turned my batch a murky brown and stained my hands for two days. Lesson learned!
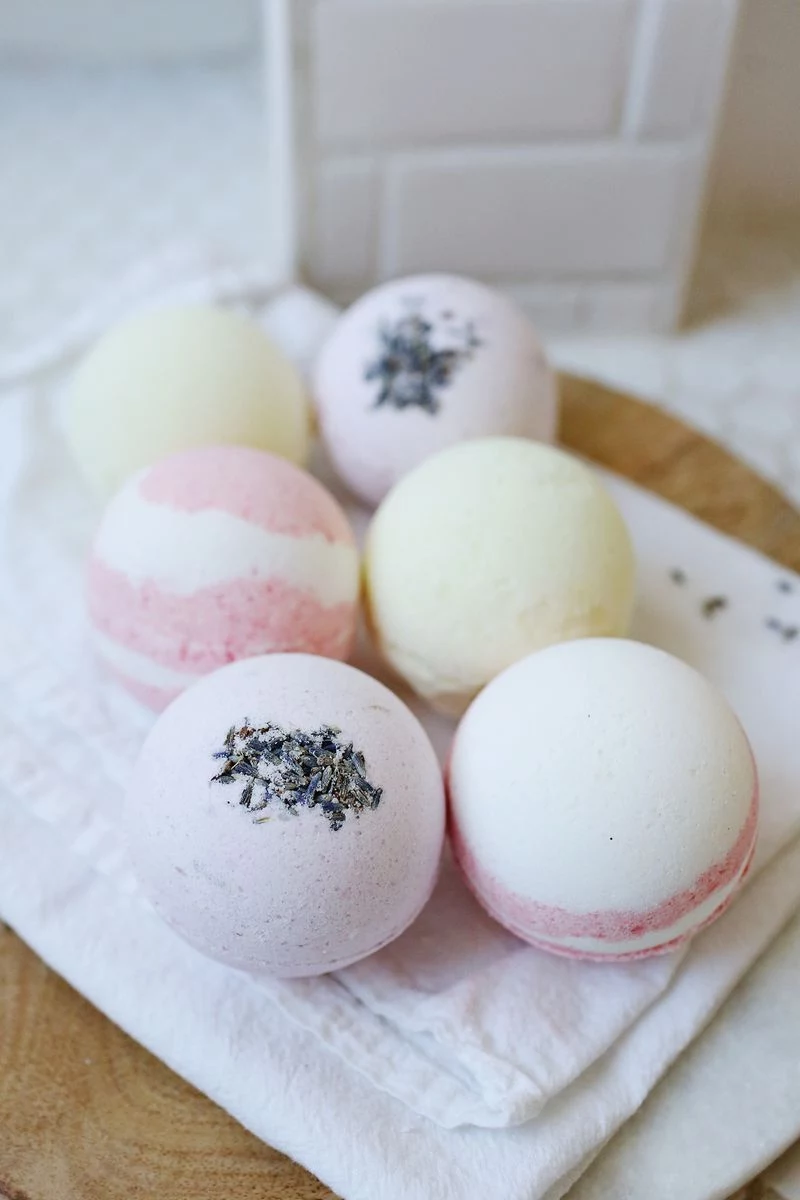
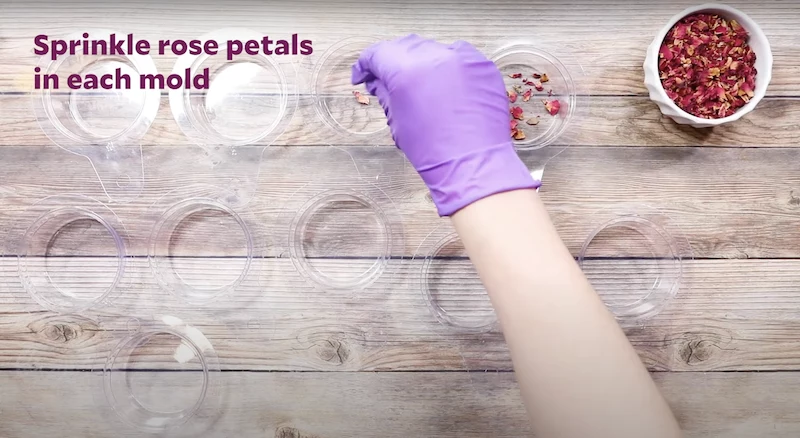
- Fun Add-ins: You can add dried botanicals like lavender buds or rose petals, but be warned they make a mess in the tub. Another fun trick is making tiny, highly-colored ‘pucks’ of bath bomb mix, letting them dry, and then embedding them in the center of a larger bomb for a surprise burst of color.
Safety, Storage, and Selling
Always wear gloves and maybe even safety glasses—citric acid in the eye is no fun. The slipping risk from oils is real, so again, I can’t stress the importance of Polysorbate 80 enough. If you gift or sell them, a little warning label about exiting the tub with caution is a smart move.
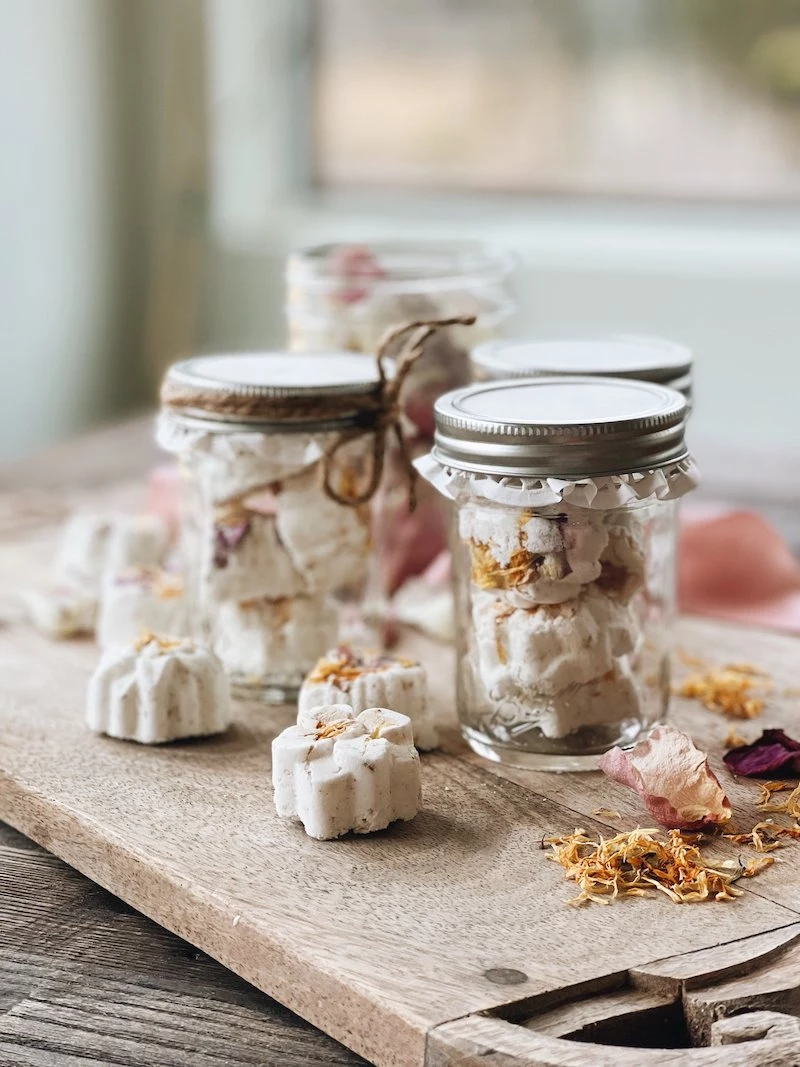
Once they are fully cured and hard, they need to be stored in airtight packaging. Shrink-wrap is the professional standard for blocking out all moisture. For personal use, a sealed jar works great. They’ll stay potent for about 6-12 months.
By the way, if you plan to sell your creations, you’re stepping into the world of regulated cosmetics. In the U.S., you’re required by the governing body for cosmetics to label your products properly with a full ingredient list, net weight, and your contact info. It’s the law, so do your research if you want to turn this hobby into a business.
Don’t get discouraged if your first few tries aren’t perfect. Every batch, even the failed ones, is a lesson. Pay attention to the feel of the mix, respect the chemistry, be patient, and soon enough, you’ll be making incredible bath bombs you can be proud of.
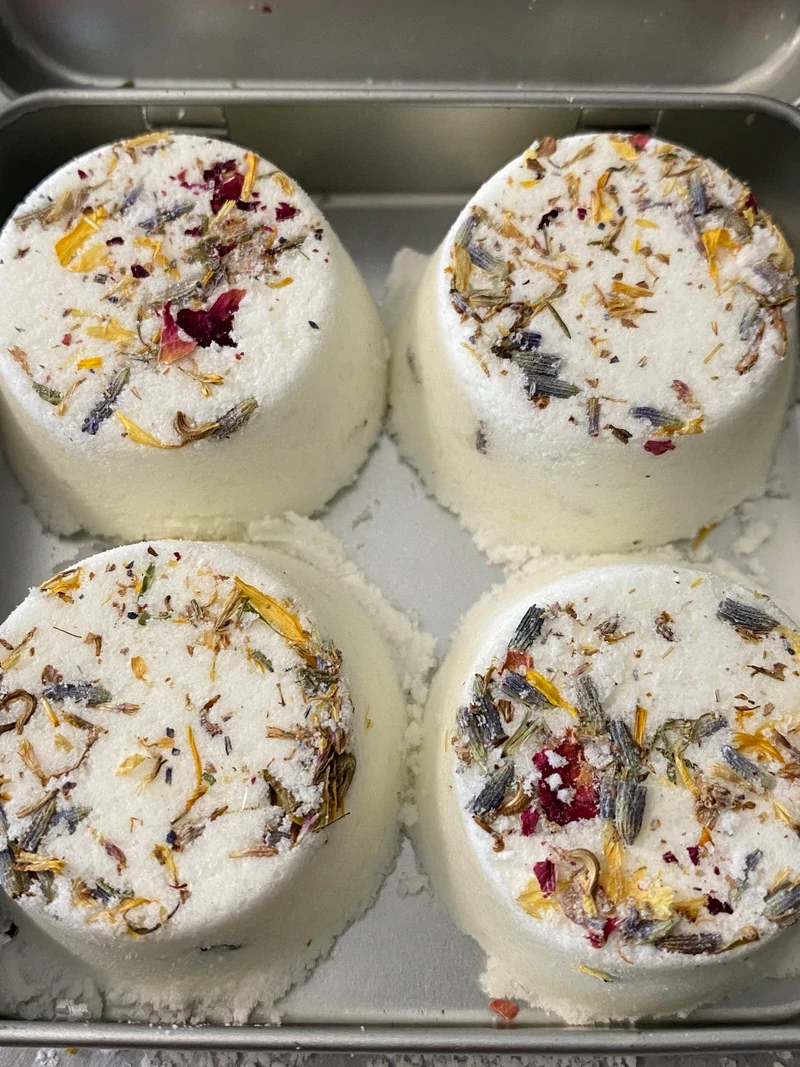
Inspirational Gallery
Wondering why your bath bombs look perfect, only to crack hours later?
This is often a drying issue. If the environment is too dry or has aggressive air circulation (like from a fan or vent), the exterior of the bomb hardens too quickly while the inside is still reacting and expanding. This creates pressure that leads to cracks. Try letting them dry in a more stable, less drafty area, like a guest bathroom with the door closed, for a full 24-48 hours.
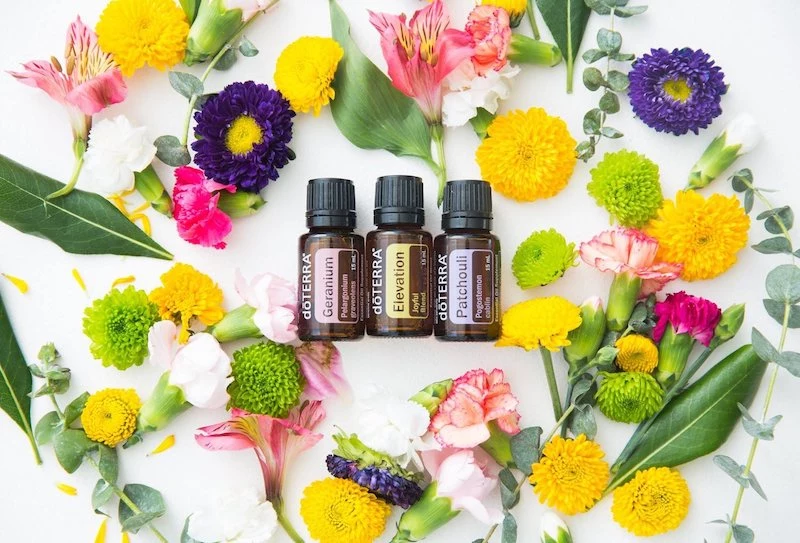
The global essential oil market was valued at over USD 21 billion in 2022.
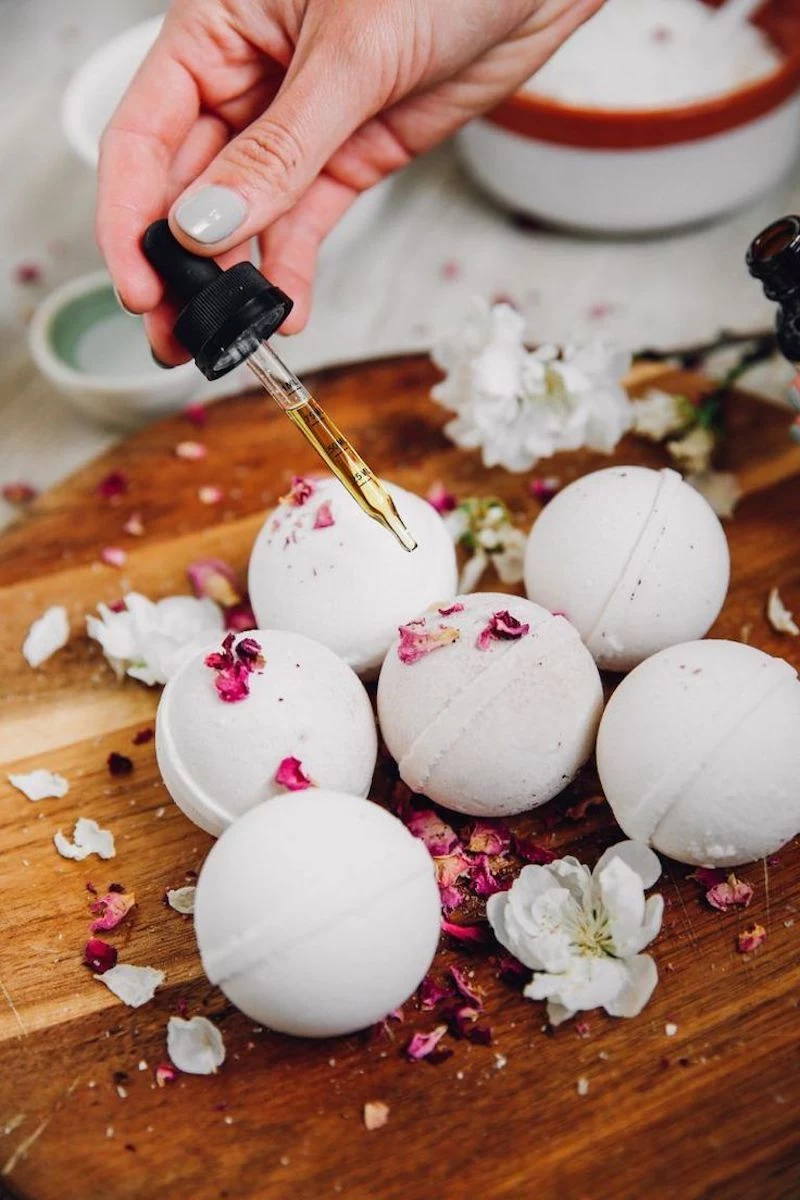
This boom isn’t just about pleasant smells; it’s about targeted effects. When choosing scents, think about the desired mood. Lavender is famously calming, perfect for a pre-bedtime soak. Peppermint and eucalyptus can feel invigorating and are great for a morning bath or to soothe stuffy sinuses. A few drops of a quality oil, like those from Plant Therapy or NOW Foods, can elevate your creation from a simple fizz to a true aromatherapy experience.

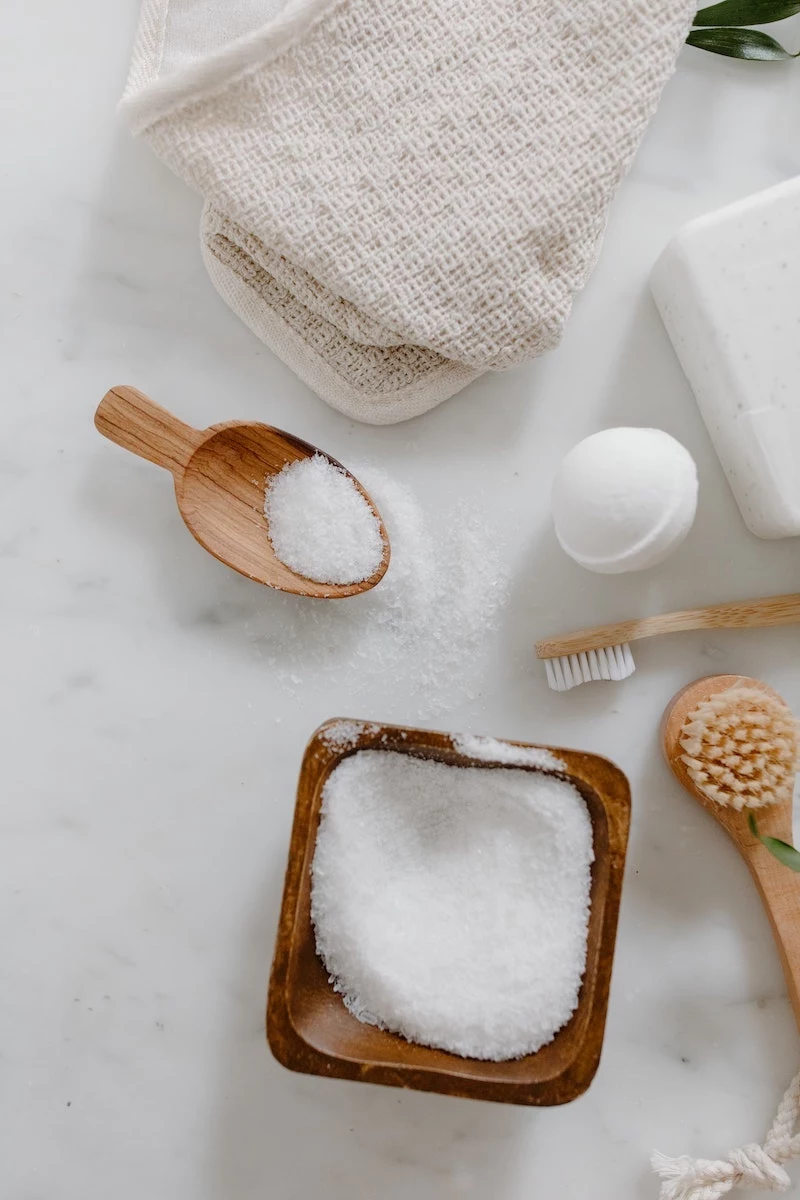
- A harder, more durable bath bomb that survives shipping and handling.
- A silky, luxurious feel in the bath water.
- A natural way to gently purify and soften the skin.
The secret? Adding a tablespoon of clay to your dry ingredients. Kaolin clay is a gentle, popular choice that helps create a solid structure, while bentonite clay adds a wonderful ‘slip’ to the water.
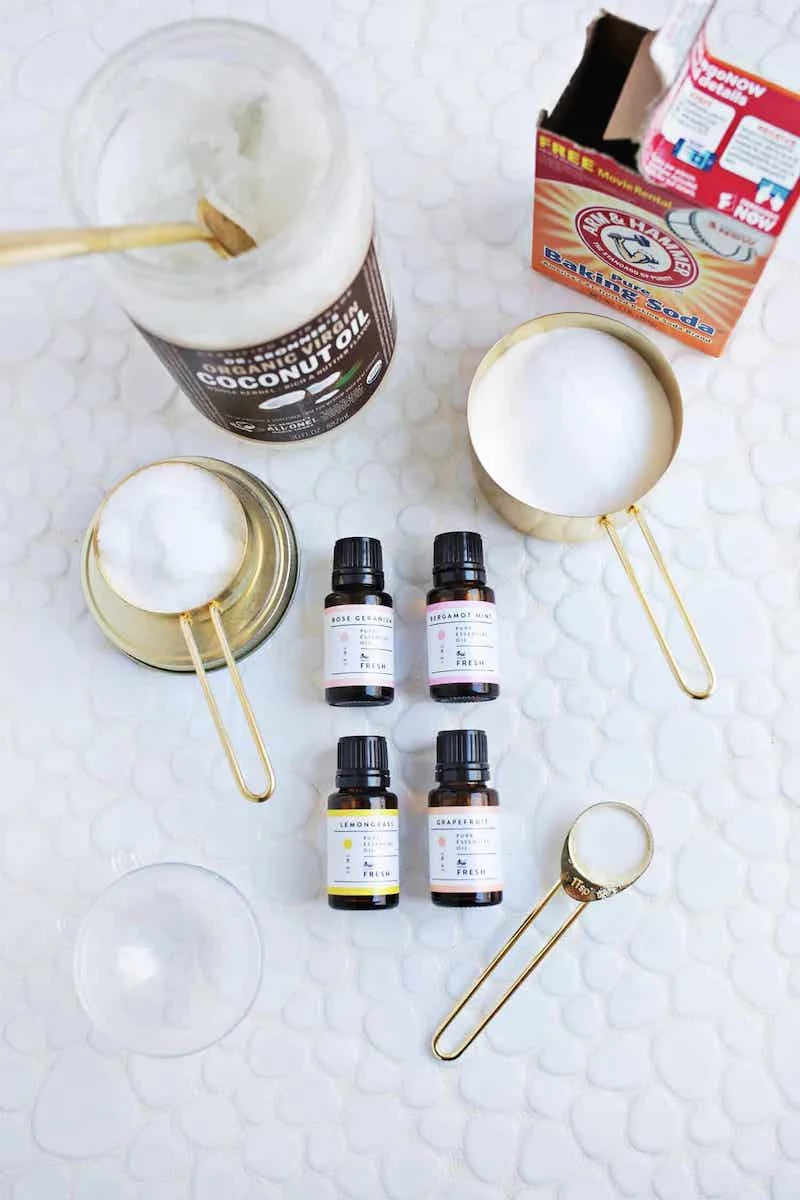
The Battle of the Binders: Witch Hazel vs. Isopropyl Alcohol
The liquid you use to bind your mix is critical. While a spritz of water works, it can easily trigger the fizzing reaction prematurely.
Witch Hazel: A popular choice, it contains alcohol and astringent properties, allowing for slightly more moisture without setting off the bomb. It’s a great starting point for beginners.
91%+ Isopropyl Alcohol: The pro’s choice. It evaporates extremely quickly, moistening the mix just enough to mold without activating the citric acid and baking soda. The result is a more compact, solid bomb.
Crucial Tip: Your worst enemy isn’t a bad recipe—it’s humidity. Baking soda and citric acid are hygroscopic, meaning they pull moisture from the air. On a rainy or humid day, your mix can start to expand and fizz before you even get it in the mold. If your mixture starts to grow, work faster or wait for a drier day. Running a dehumidifier in your workspace can be a game-changer.
Bringing vibrant color to your bath bombs is an art, but it’s crucial to use skin-safe colorants that won’t stain the tub. Avoid using standard food coloring, as it can dye skin and leave a stubborn ring.
- Micas: These powdered minerals, often sold by craft suppliers like Bramble Berry, add beautiful shimmer and color. For best results, mix them with a bit of polysorbate 80 to help them disperse in the water instead of floating on top.
- Water-Soluble Dyes (Lakes): These are concentrated pigments that create deep, uniform color in the water without staining. A little goes a very long way!
Never again scrub a colored, oily ring from your bathtub after a relaxing soak.
The magic ingredient is Polysorbate 80. It’s an emulsifier, meaning it helps oil and water mix. Adding a small amount (about 1-2% of your total recipe weight) to your liquid oils ensures that the butters, oils, and colorants in your bomb disperse throughout the bathwater instead of clinging to the sides of the tub—and you!
For an extra touch of luxury and skin-nourishing power, adding a hard butter is a fantastic upgrade. Shea butter adds incredible creaminess and moisturizing properties, while cocoa butter will make your bomb firmer and give it a faint, delicious chocolatey scent.


