Found Maggots in Your Compost? Don’t Panic. Here’s What to Do.
I’ll never forget the first time I lifted the lid on a new compost bin. I was expecting that rich, dark, earthy goodness, but instead, I was met with a writhing, pulsing mass of white grubs. My gut reaction was, of course, disgust. It’s a pretty primal response, and if you’re reading this, you probably know the feeling.
In this article
But here’s the thing I’ve learned after years of managing everything from small backyard bins to huge community garden systems: maggots aren’t really the problem. They’re a symptom. Think of them as nature’s little messengers, showing up to tell you that something in your compost pile is a bit out of whack.
Honestly, the maggot question comes up in every single gardening workshop I’ve ever taught. People worry they’ve failed, ruined their compost, or created some kind of health hazard. So, let’s move past that initial “ick” factor and figure out what they’re trying to tell you. Understanding why they appeared is the key to getting rid of them for good.
First, Let’s ID Your Uninvited Guests
Before you do anything, you need to know what you’re looking at. In the world of compost, there are two main types of larvae people call “maggots,” and they mean completely different things for the health of your pile. Getting this right is the most important first step.
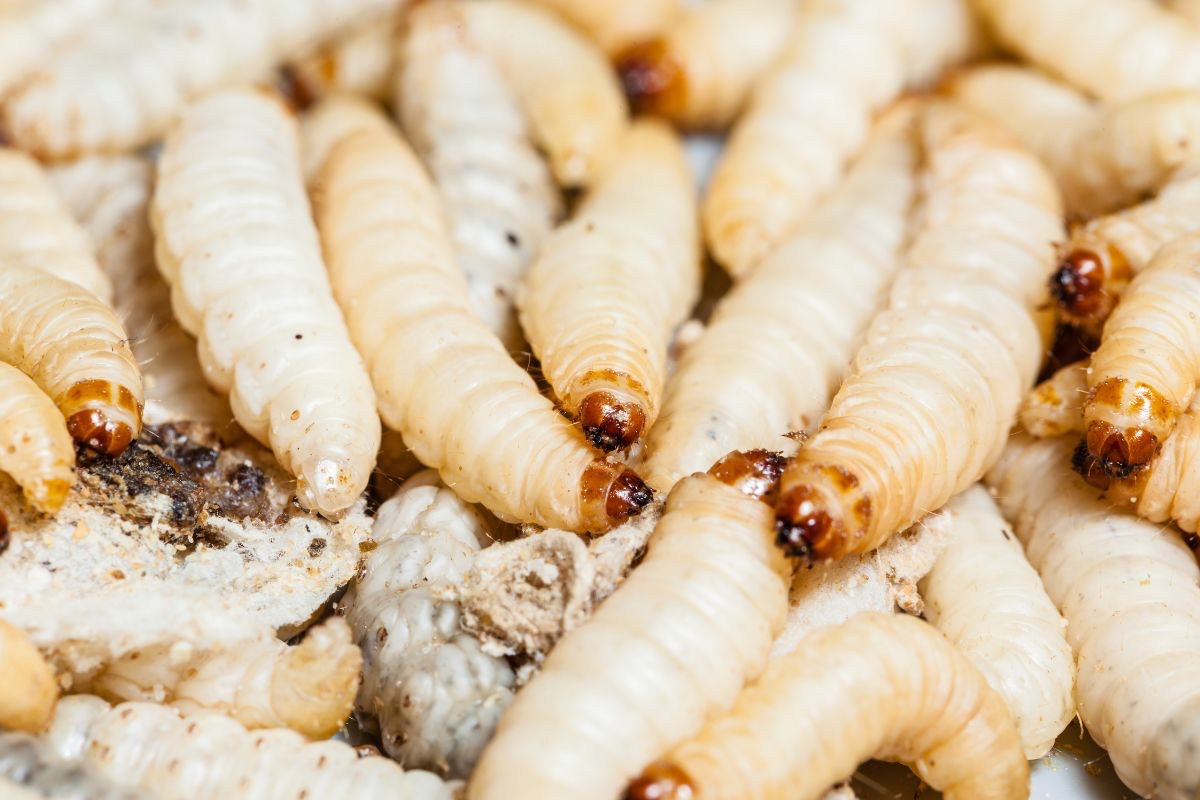
The Problem Child: The Housefly Maggot
This is the one that usually causes the concern. Housefly maggots are exactly what you’d picture: small, creamy-white, maybe a quarter-inch long with a pointed head. They move in that classic frantic, writhing way that makes your skin crawl. Seeing a ton of these is a clear signal that your compost has gone wrong. Houseflies are attracted to foul, rotten smells—specifically the kind that comes from a pile that’s too wet and not getting enough air. Their presence points directly to an unhealthy, stinky environment, often because of things like meat or dairy scraps.
The Helpful Cousin: The Black Soldier Fly Larva (BSFL)
Now, if you see grubs that are bigger, fatter, and grayish-brown, you’ve probably hit the jackpot. These are Black Soldier Fly Larvae (BSFL), and they can grow up to an inch long. They move with a more determined, less chaotic crawling motion. Finding these is actually a fantastic sign! BSFL are composting superstars. They devour organic matter, including tricky stuff like meat and fats, and their digestive process actually makes the compost less attractive to houseflies. Many pro composters cultivate these on purpose. If you have BSFL, my advice is usually to just let them do their thing. They’re working for you.
But I get it… even if they’re helpful, they’re still grubs. If you’d prefer fewer of them, the trick is to keep your pile a little bit on the drier side and make sure you’re adding plenty of carbon. They thrive in really wet, active environments, so tweaking the balance will make your pile less of a five-star resort for them.
So, Why Did They Show Up in the First Place?
A good compost pile is all about balance. We’re trying to create the perfect home for beneficial microbes to thrive. When the conditions are off, other organisms see an opportunity. The science is pretty simple: flies are just looking for a moist, nutrient-rich spot to lay their eggs. A poorly managed pile is the perfect nursery.
The core of the issue usually comes down to the Carbon-to-Nitrogen ratio. Think of it like a recipe with two main ingredients:
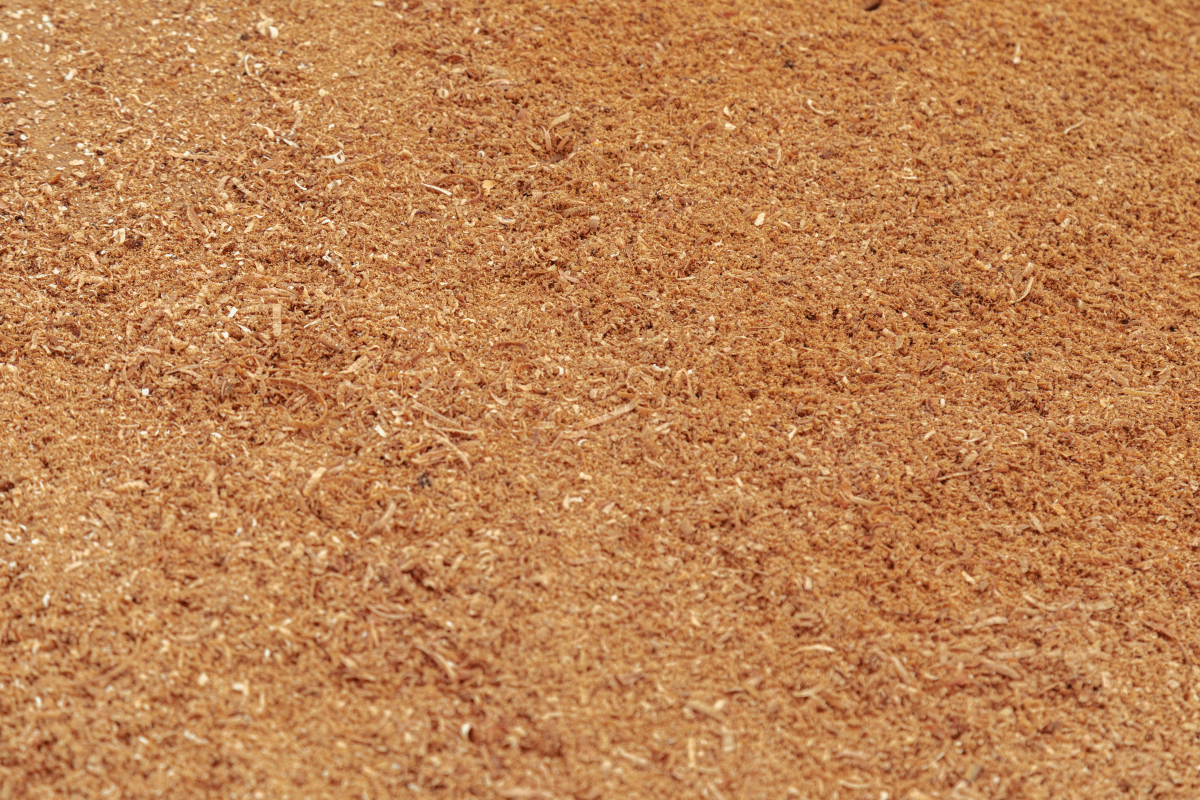
- “Browns” (Carbon): These are your dry, woody materials that provide structure and air pockets. Think dried leaves, straw, sawdust, and shredded cardboard or newspaper.
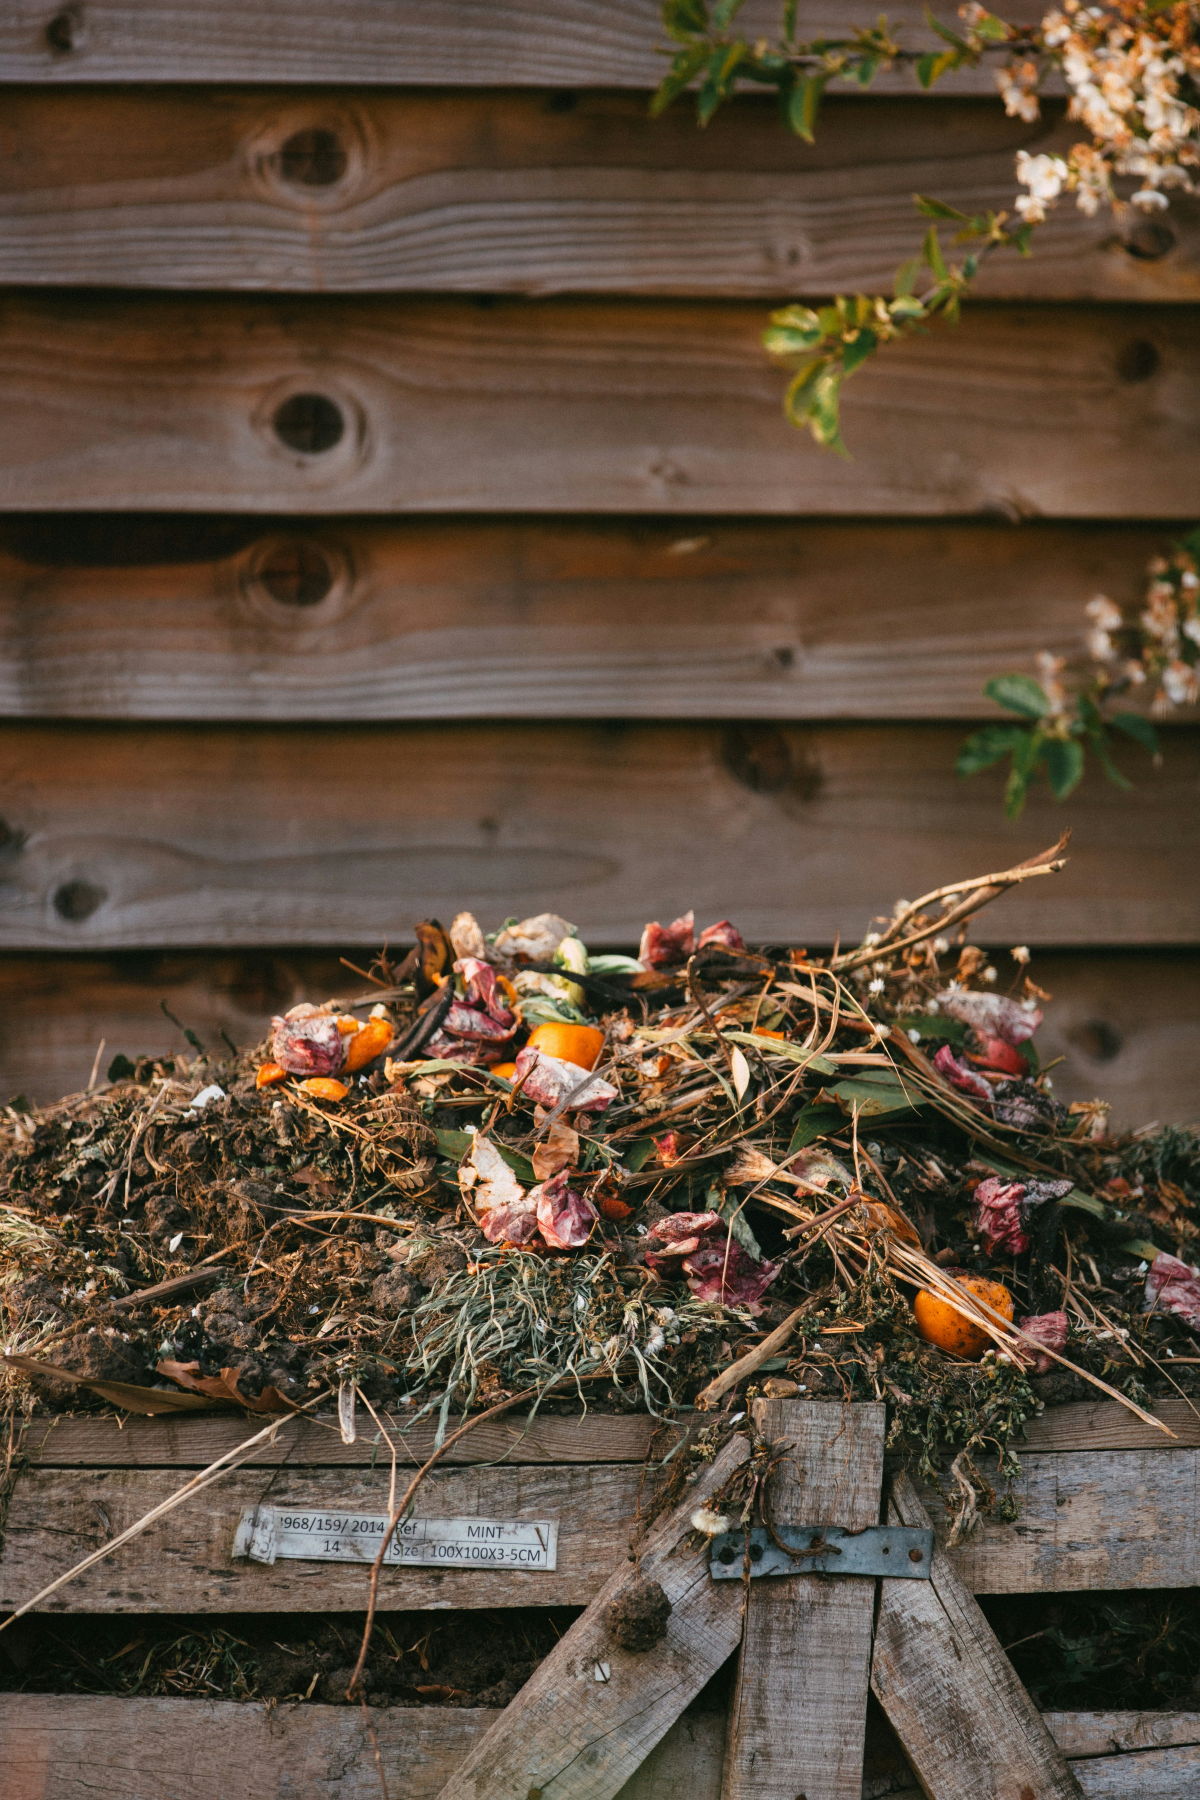
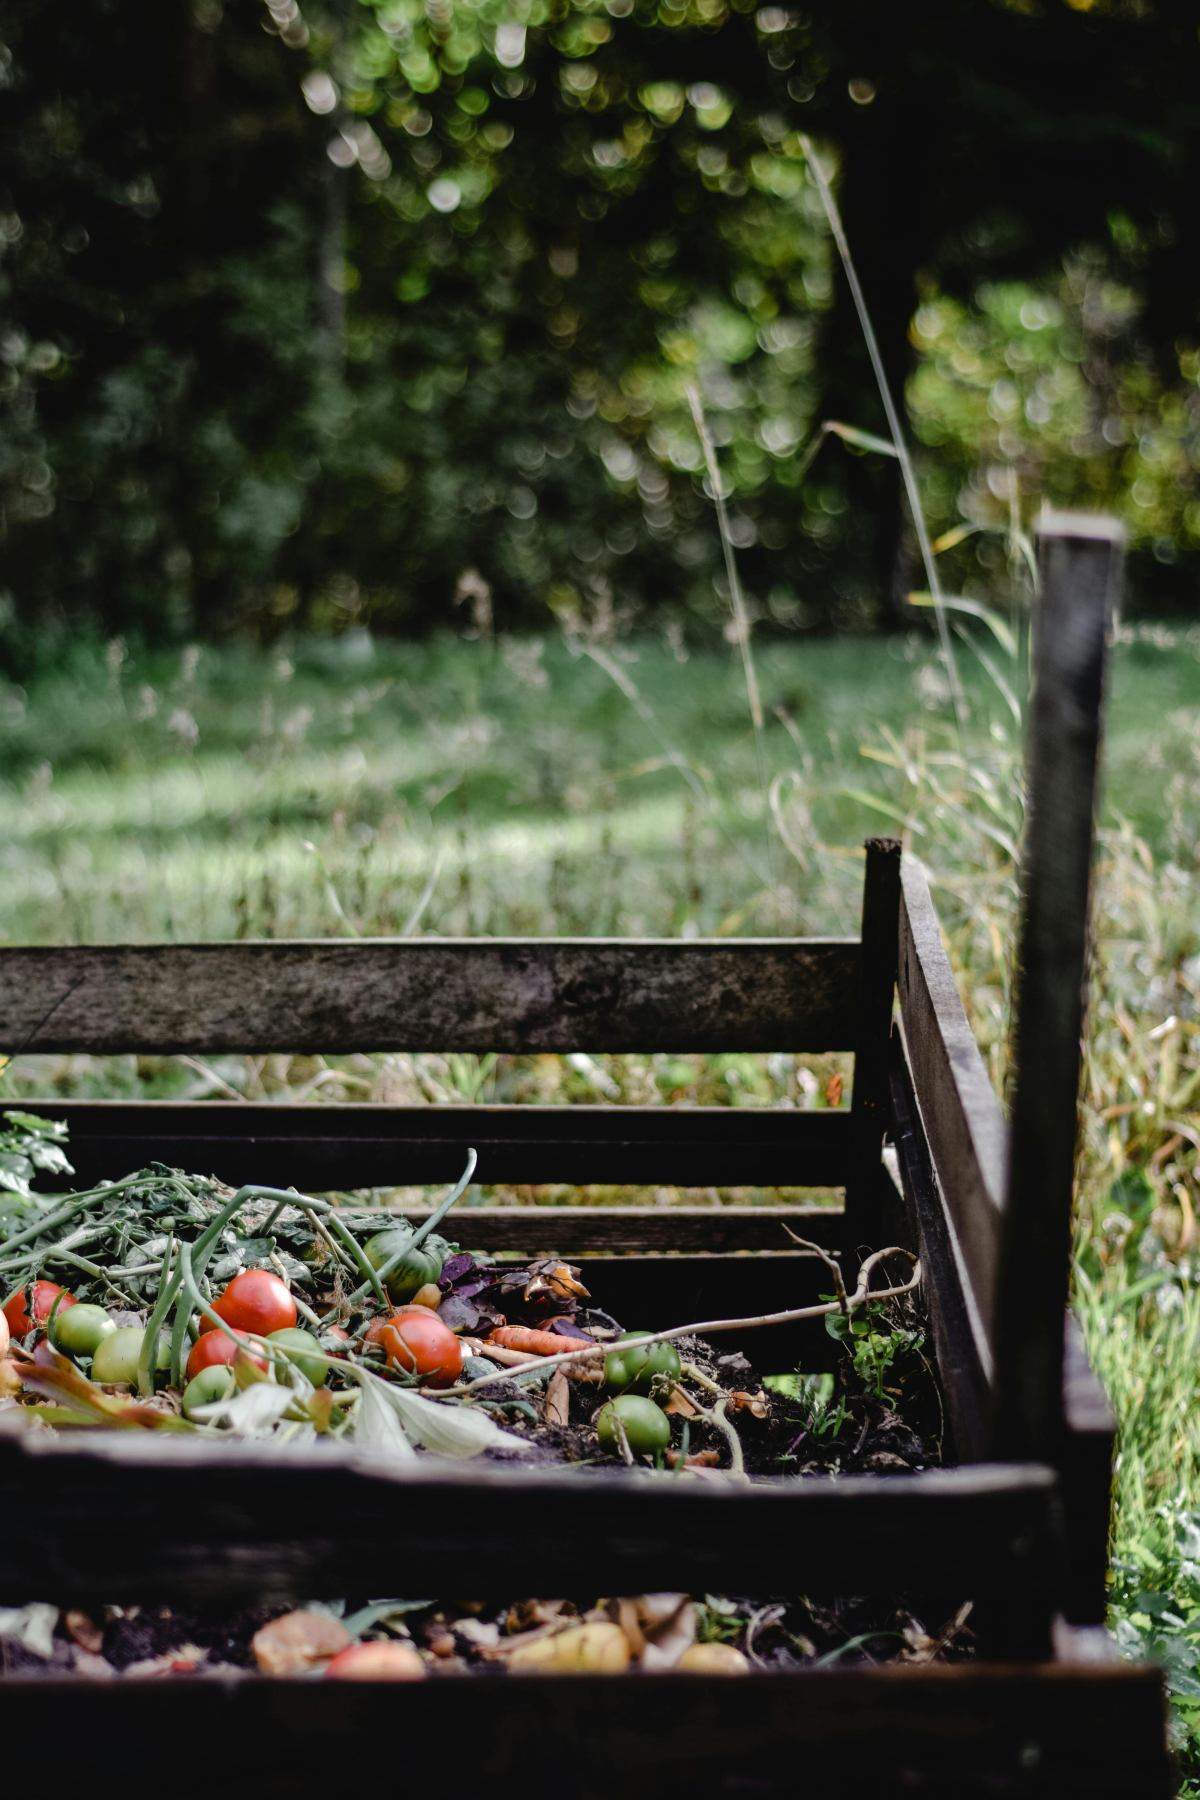
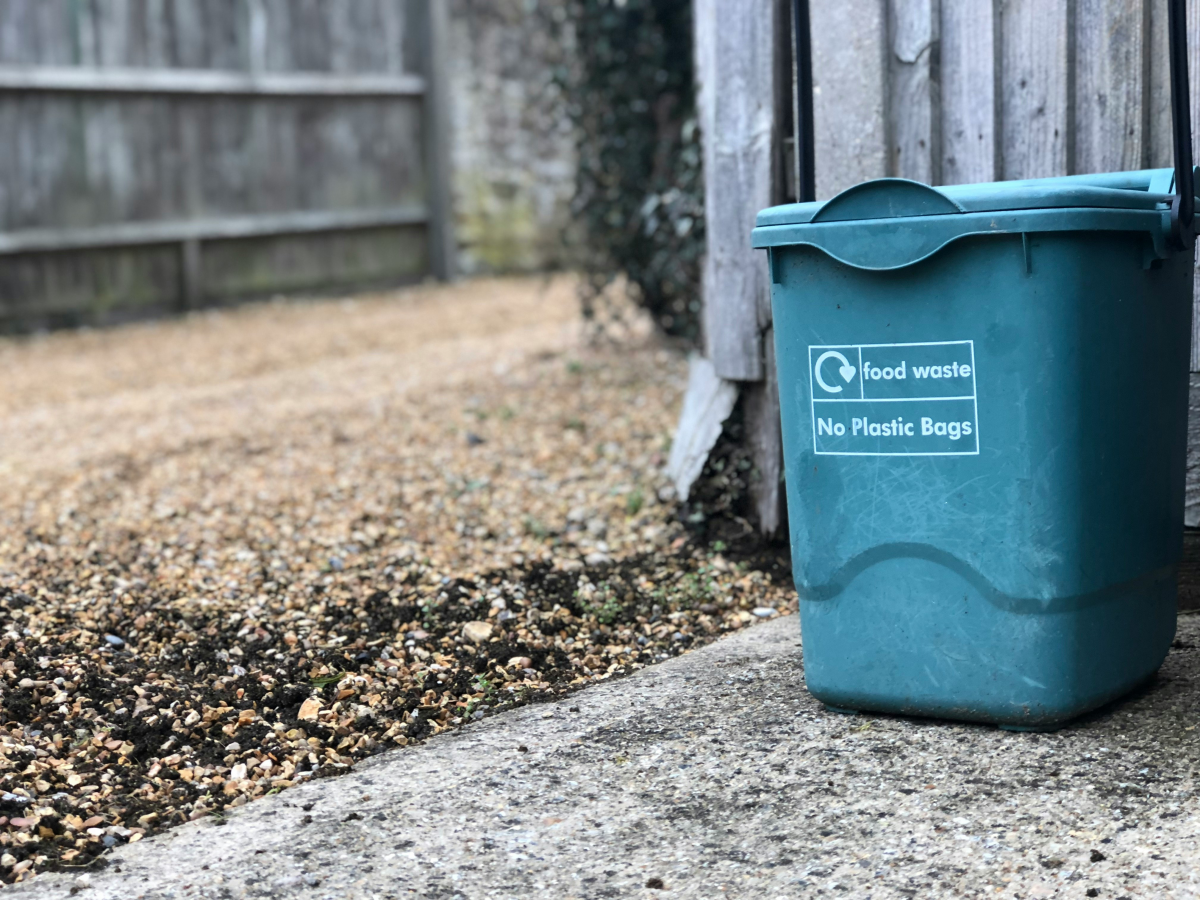
- “Greens” (Nitrogen): These are your wet, fresh materials that provide moisture and protein for microbes. This includes kitchen scraps like veggie peels, coffee grounds, and fresh grass clippings.
Houseflies are drawn to a pile with way too much nitrogen. When you dump in a ton of kitchen scraps (“greens”) without enough “browns,” the pile becomes a dense, wet, and smelly mess. It suffocates, goes anaerobic, and produces odors that scream “dinner time!” to every fly in the neighborhood.
Quick Tip for Easy Browns: Don’t have a yard full of leaves? No problem. Some of the best carbon sources are totally free and probably already in your house. Ripping up Amazon boxes, cardboard egg cartons, toilet paper rolls, and non-glossy junk mail works perfectly. I keep a paper shredder in my garage just for this—it makes fantastic, fluffy carbon for the compost bin.
Let’s Play Detective: Diagnosing Your Pile
You can figure out exactly what’s wrong in a few minutes using your senses. Here’s a quick checklist I run through:
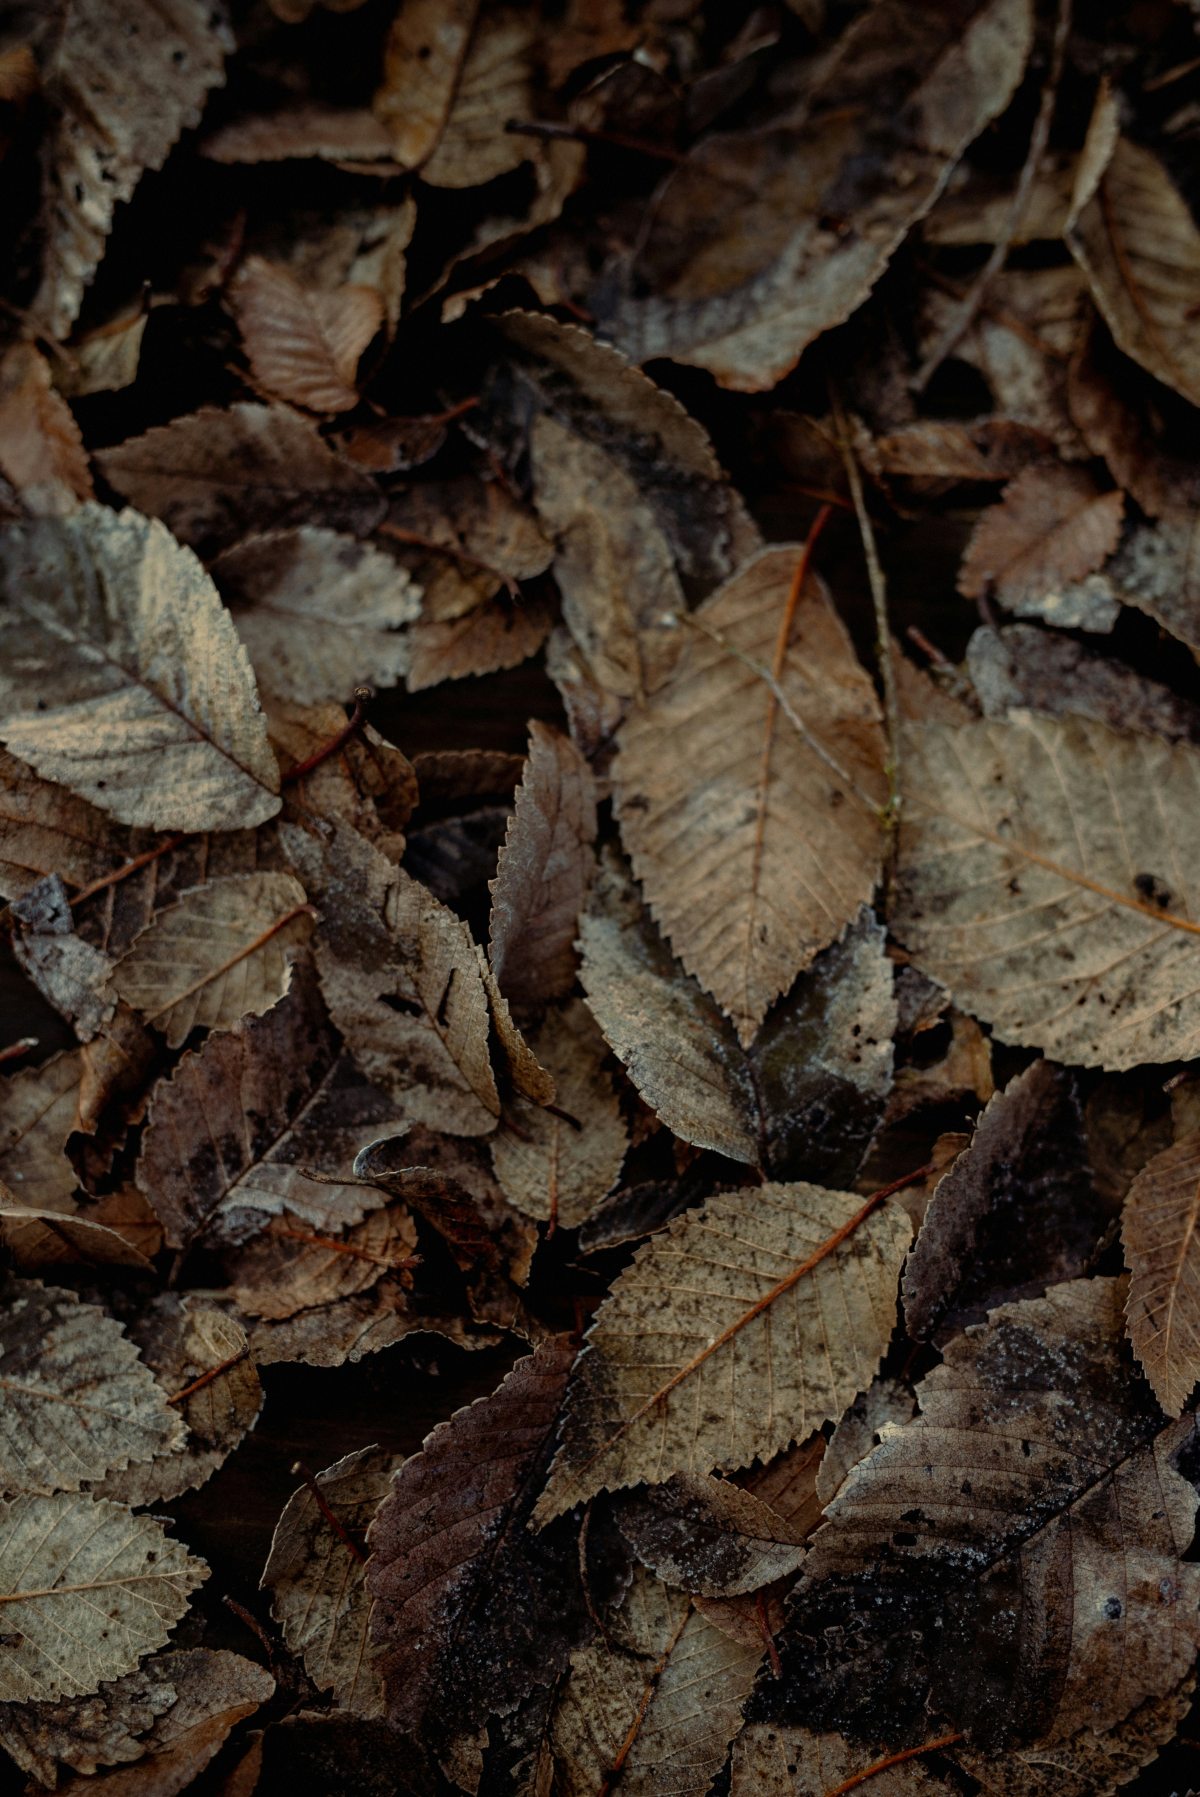
1. The Smell Test: A healthy pile smells sweet and earthy, like a forest floor. If you smell anything else, you’ve got a clue.
- Ammonia (like a dirty cat litter box): A dead giveaway that you have way too many “greens” and not enough “browns.”
- Rotten Eggs: This means the pile is far too wet and has gone completely anaerobic. It’s basically a swamp in there.
2. The Feel Test: Put on some gloves and reach into the center. Is it hot? An active pile should be noticeably warm, even hot (130-160°F), which is enough to kill fly eggs. If your pile is cold and wet, it’s stalled. Then, grab a handful and squeeze. It should feel like a wrung-out sponge. If water streams out, it’s too wet.
3. The Visual Test: Use a pitchfork to turn over a section. Are you seeing big, slimy clumps of grass clippings or undigested food? Those are airless pockets where the rot starts.
Okay, Let’s Fix This: Your Action Plan
Once you’ve diagnosed the issue, fixing it is straightforward. The goal is to immediately correct the environment and then build good habits to prevent a relapse.
Heads up! Here’s your emergency shopping list:
You probably have most of what you need, but just in case, here’s what to grab. You can find these at any hardware store or garden center like Home Depot or Lowe’s.
- Garden Pitchfork: Essential for aerating. A shovel just moves clumps around. Expect to pay about $30.
- Sturdy Gloves: A non-negotiable. Around $15 for a good pair.
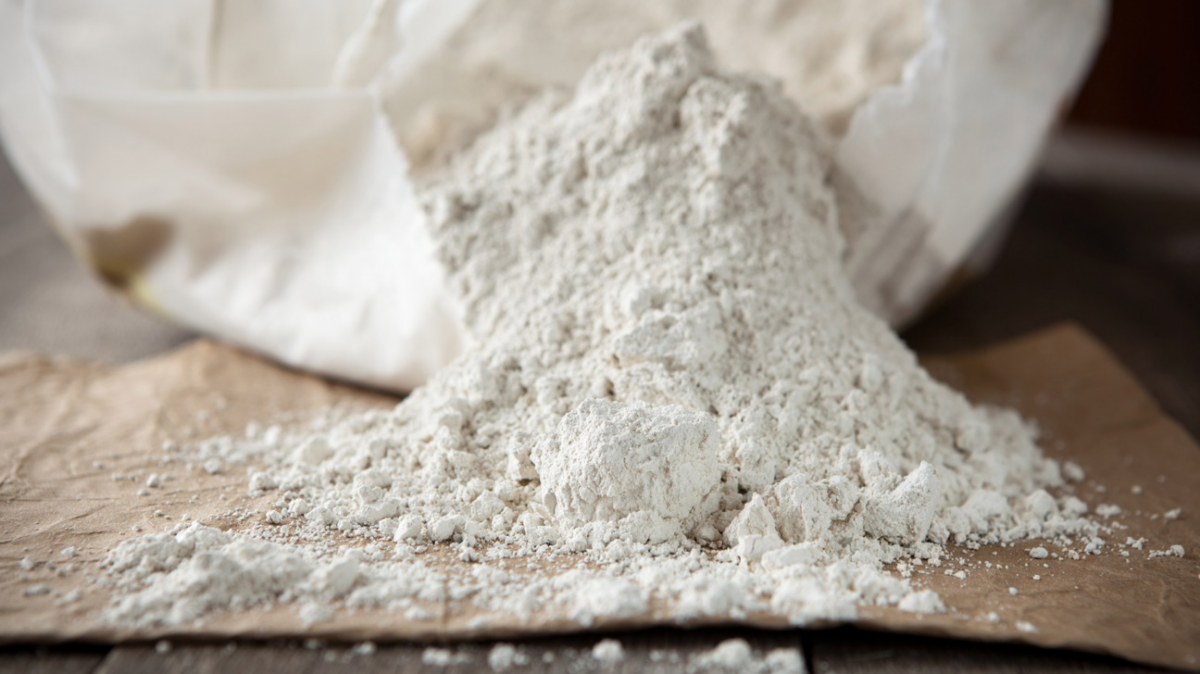
- A Natural Amendment (Optional): A bag of either food-grade Diatomaceous Earth or standard garden lime (calcium carbonate) can help speed things up. This should run you $10 to $20. CRITICAL NOTE: Never, ever use hydrated lime or builder’s lime. It’s highly caustic and will kill your compost pile dead.
Immediate Fixes for a Maggot Takeover:
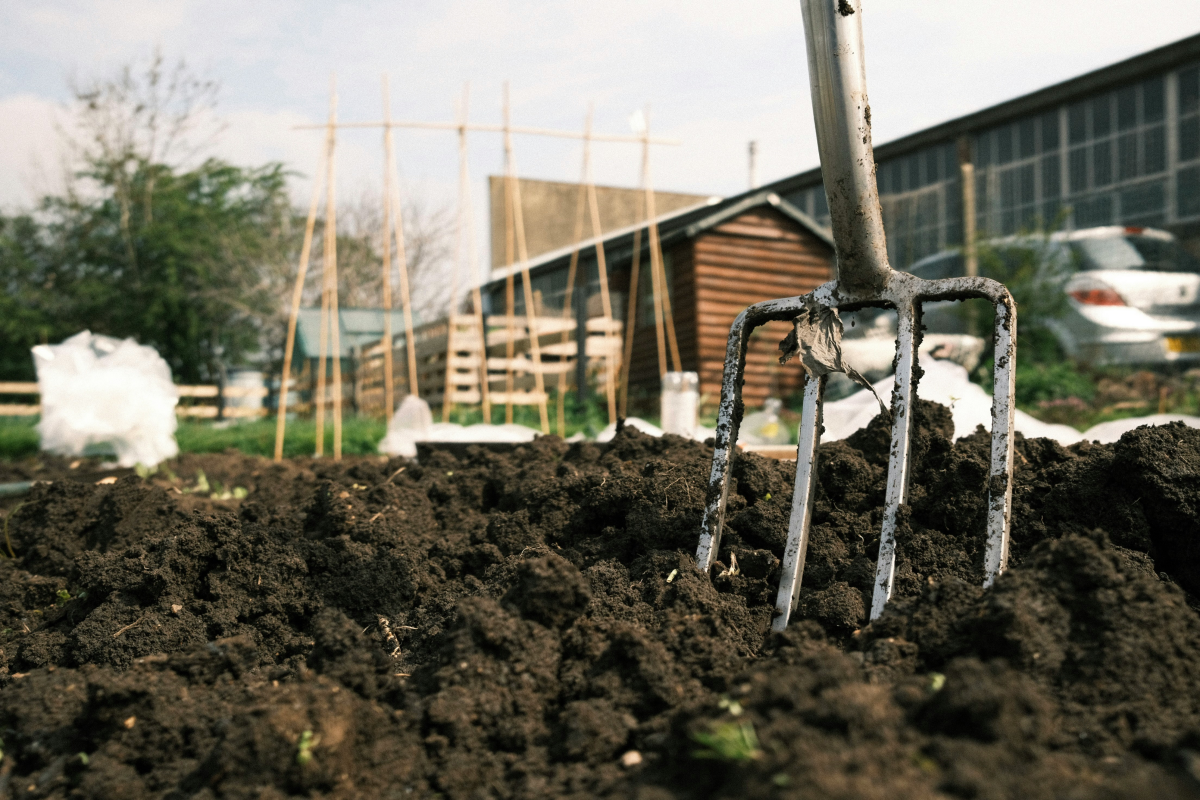
- Fluff It Up: Your first job is to get air into the pile. Use a pitchfork to lift and break apart all the dense, wet clumps. This alone makes the environment less welcoming for maggots.
- Bring on the Browns: This is the most important step. You need to add a lot of carbon. For a typical 3×3 foot pile, I’m talking a wheelbarrow full of shredded leaves or cardboard. Add a thick layer (at least 6-8 inches) and mix it thoroughly into the wet, green material. Your goal is to absorb all that excess moisture.
- Bury the Evidence: Make sure any smelly kitchen scraps are buried deep in the center of the pile, with at least a foot of other material surrounding them. This insulates the smell and lets the pile’s heat do its job.
- Add an Amendment (If needed): If the infestation is really bad, a light dusting of diatomaceous earth or garden lime on the surface can help. DE dehydrates insects, while lime temporarily raises the pH, making it unpleasant for flies to land and lay eggs.
What to Expect (A Timeline):
This isn’t an instant fix, so don’t panic if you still see some stragglers. Here’s a realistic timeline:
- Day 1: After adding carbon and aerating, the rotten smell should be gone almost immediately, replaced by a more neutral, damp-earth scent. You will still see maggots.
- Day 3: The pile should start to feel warm or even hot in the center. You should see significantly fewer maggots, as the changing environment and heat drive them away or kill them off.
- Day 7: The vast majority of maggots should be gone. The pile should now have a pleasant, earthy smell, and you’ll know you’re back on track.
The #1 Question: Is My Compost Still Safe to Use?
Let’s get this out of the way, because it’s the biggest worry people have. YES, your finished compost is 100% safe to use on your vegetable garden.
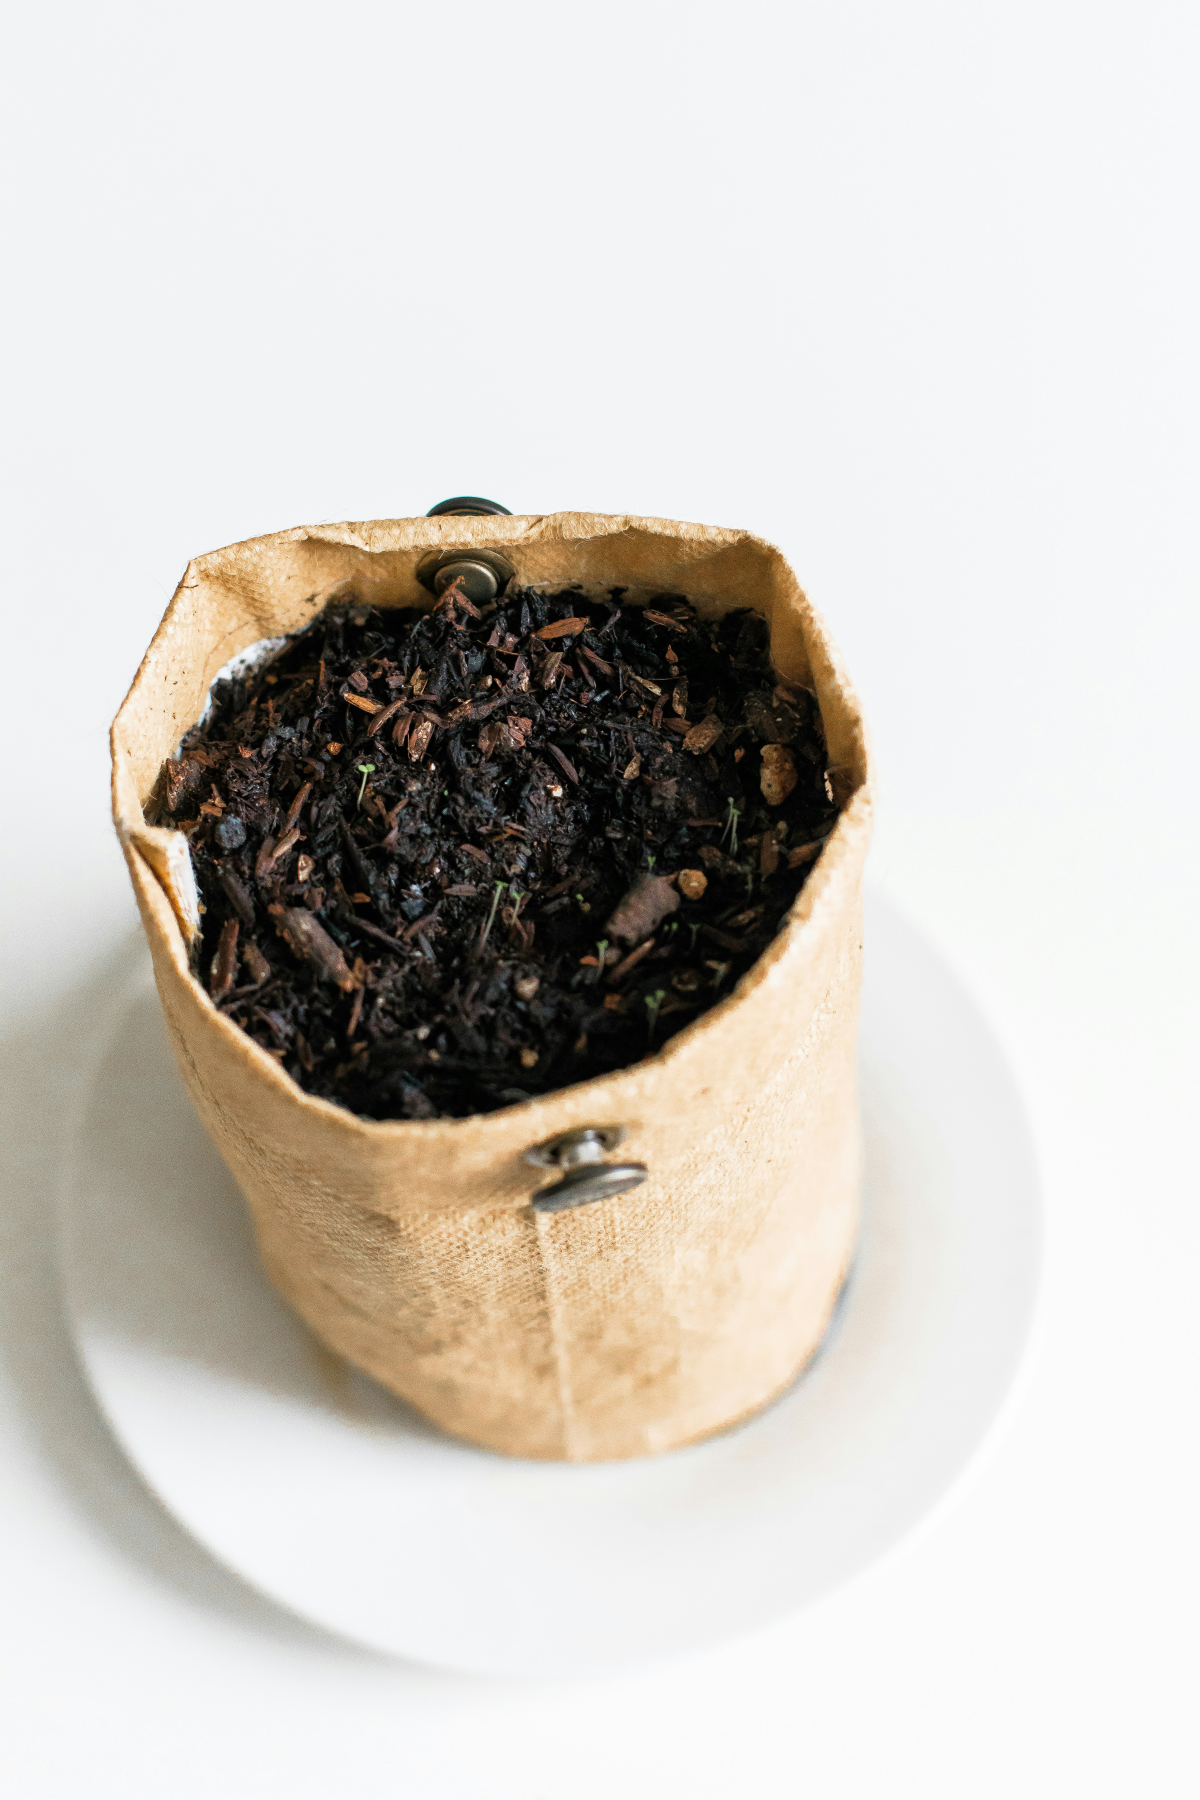
Think about it: the maggots were a temporary symptom of a problem you have now fixed. The composting process itself, especially the hot phase, is designed to kill off pathogens and weed seeds. Once the material has broken down into dark, crumbly, sweet-smelling humus, what happened during its awkward teenage phase doesn’t matter. The maggots are not a permanent contamination. So please, don’t throw it out! It will still turn into beautiful, nutrient-rich food for your garden.
How to Make Sure This Never Happens Again
Fixing it once is great. Preventing it forever is better. It just takes a few simple habits.
- Keep a “Browns” Stash: This one habit solves 90% of compost problems. Keep a dedicated bin, can, or pile of dry carbon right next to your compost. Every time you add a bucket of kitchen scraps, add at least an equal volume of browns. I usually go for double.
- Bury Your Scraps: Don’t just toss kitchen waste on top. Pull back the existing material, dump your scraps in the middle, and cover them back up with a few inches of browns or finished compost. Flies won’t burrow to lay eggs.
- Turn It: Aim to turn your pile with a pitchfork every week or two. This keeps it aerated and prevents smelly pockets from forming.
Seeing maggots can be jarring, but now you can see it as a valuable lesson. Your pile was just sending you a very clear message: “Hey! I need more carbon and air!” By learning to read these signs, you’re not just making compost; you’re becoming a more skilled and observant gardener. Before you know it, you’ll be able to diagnose a pile with a single glance and a quick sniff, just like an old pro.
Galerie d’inspiration
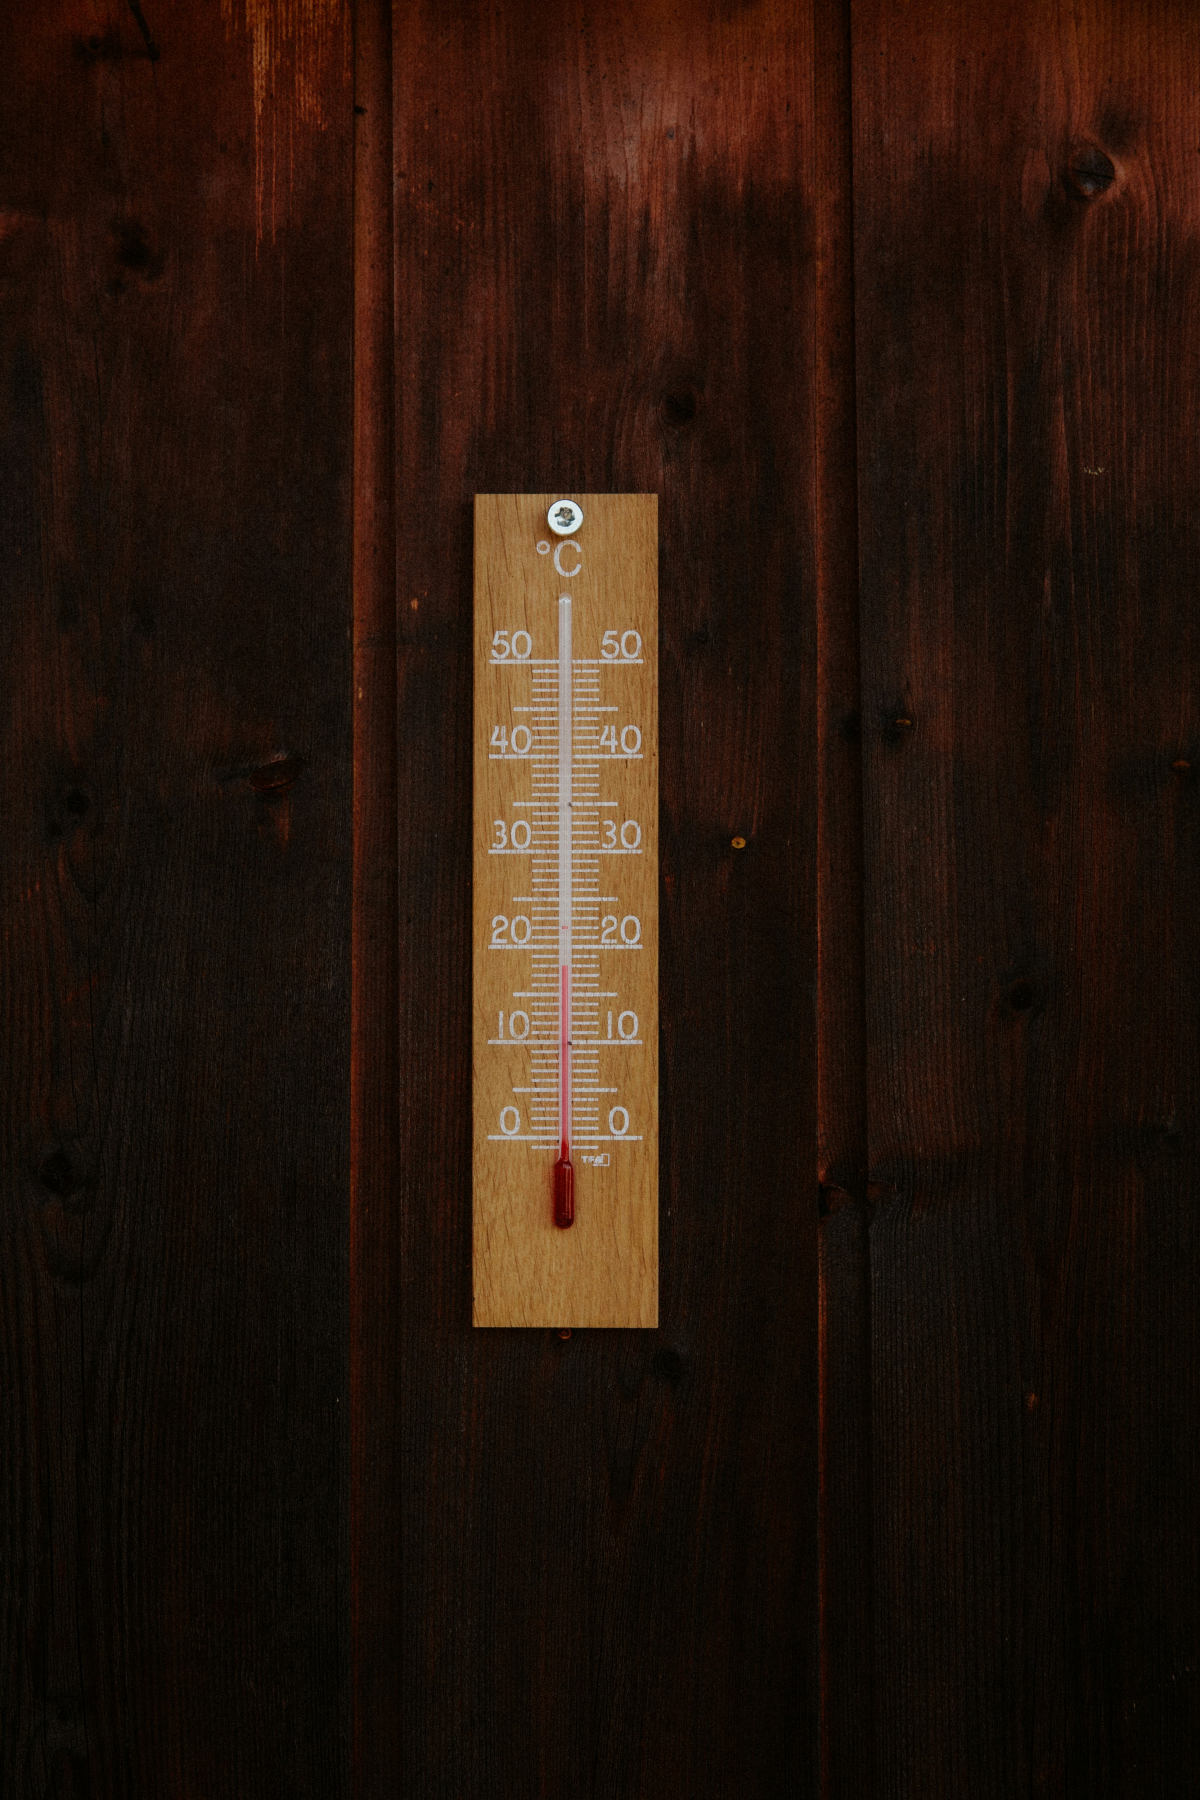
Wondering if your compost is at the right temperature to deter pests?
A hot compost pile is a happy—and largely maggot-free—pile. The ideal internal temperature for active decomposition is between 130-160°F (55-70°C). This heat not only kills off pathogens and weed seeds but also makes the environment inhospitable for fly eggs and larvae. A simple long-stemmed compost thermometer, like the Reotemp or Cate’s Garden models, is an invaluable tool. If your pile isn’t heating up, it likely needs more nitrogen-rich “greens” (like kitchen scraps) or a bit of moisture to get the microbes working.
Did you know? A single Black Soldier Fly Larva can consume twice its body weight in organic waste every single day.
Unlike houseflies, which are drawn to rot, Black Soldier Flies are attracted to fresh food waste. Their larvae (BSFL) are such efficient decomposers that they often out-compete the microbes that cause foul odors. By quickly breaking down scraps, they prevent the putrid smells that attract common houseflies in the first place, acting as tiny guardians of your compost’s health.
The Dry-and-Dusty Fix: If your compost is too wet and swarming with housefly maggots, try this two-step trick.
- First, mix in a generous amount of absorbent “brown” material. Think shredded newspaper, torn-up cardboard egg cartons, or sawdust. This immediately starts to correct the moisture imbalance.
- Then, sprinkle a light layer of food-grade diatomaceous earth over the surface. It’s a natural desiccant that will help control the existing larvae without harming the beneficial organisms deep within your pile.


